When you click on links to various merchants on this site and make a purchase, this can result in this site earning a commission. Affiliate programs and affiliations include, but are not limited to, the eBay Partner Network.
HOW TO: Easy and very quick (5-10 min) way to remove your 2001-2006 LS430 subwoofer
Upon request, I have briefly documented how you can easily and quickly access and remove your subwoofer to repair or replace it.
This method is possible to do by yourself but is a little easier with a helper for steps 8 and 9.
What tools you need: 10 mm socket or wrench, 12mm socket, 2 hands (4 are preferred)
Step 1: Slide all the way up and fully remove both rear headrests on the driver and passenger side by pushing the release button on left side (when facing the rear of the car). *It is not necessary to completely remove the headrests to gain access to the nuts removed in step 3 or to be able to remove the subwoofer itself - and removing them may be difficult/not possible if you have a UL model due to the headrests being power operated - you can just slide both headrests up to gain access to the nuts. Removing the headrests completely may give you easier access to the entire rear deck if soundproofing the rear deck as described in my thread about that, which is linked at the end of this post.
Step 2: Pry off circle plastic cover behind each headrest to expose 1 nut behind each headrest.
Step 3: Remove 2 (12mm) nuts - 1 on each side of the seat (already removed in photos) **Note to owners of UL models with power rear seats courtesy of member CelsiorFin: "If you have like I do power rear seats you must move them somewhat ahead to access those 12mm nuts"
Step 4: Fold down the rear armrest.
Step 5: Open the trunk pass through access door. Using only your fingers, pull the plastic panel that surrounds the pass through to the trunk outwards/towards the front of the car. This panel is just snapped in and no tools are required to pull this away. It is attached to the leather at the bottom of it so you can't and don't need to do anything other than just unsnap it and laying it flat on the arm rest. (already unsnapped in picture)
Step 6: Remove the 3 (12mm) bolts that secure the center headrest. They're already removed in this picture, but I circled the holes that they came out of so there's no confusion. Slide the curved small plastic panel that's behind the center headrest up and away. (Not pictured, but it should be fairly obvious. This panel has two grooves molded into it for the two supports of the center headrest.)
Step 7: Remove 1 (12mm) nut that's located to the left (when facing the rear of the car/on the passenger side) of where the center headrest was attached. Also already removed in this picture, but again I circled the exact location of this nut.
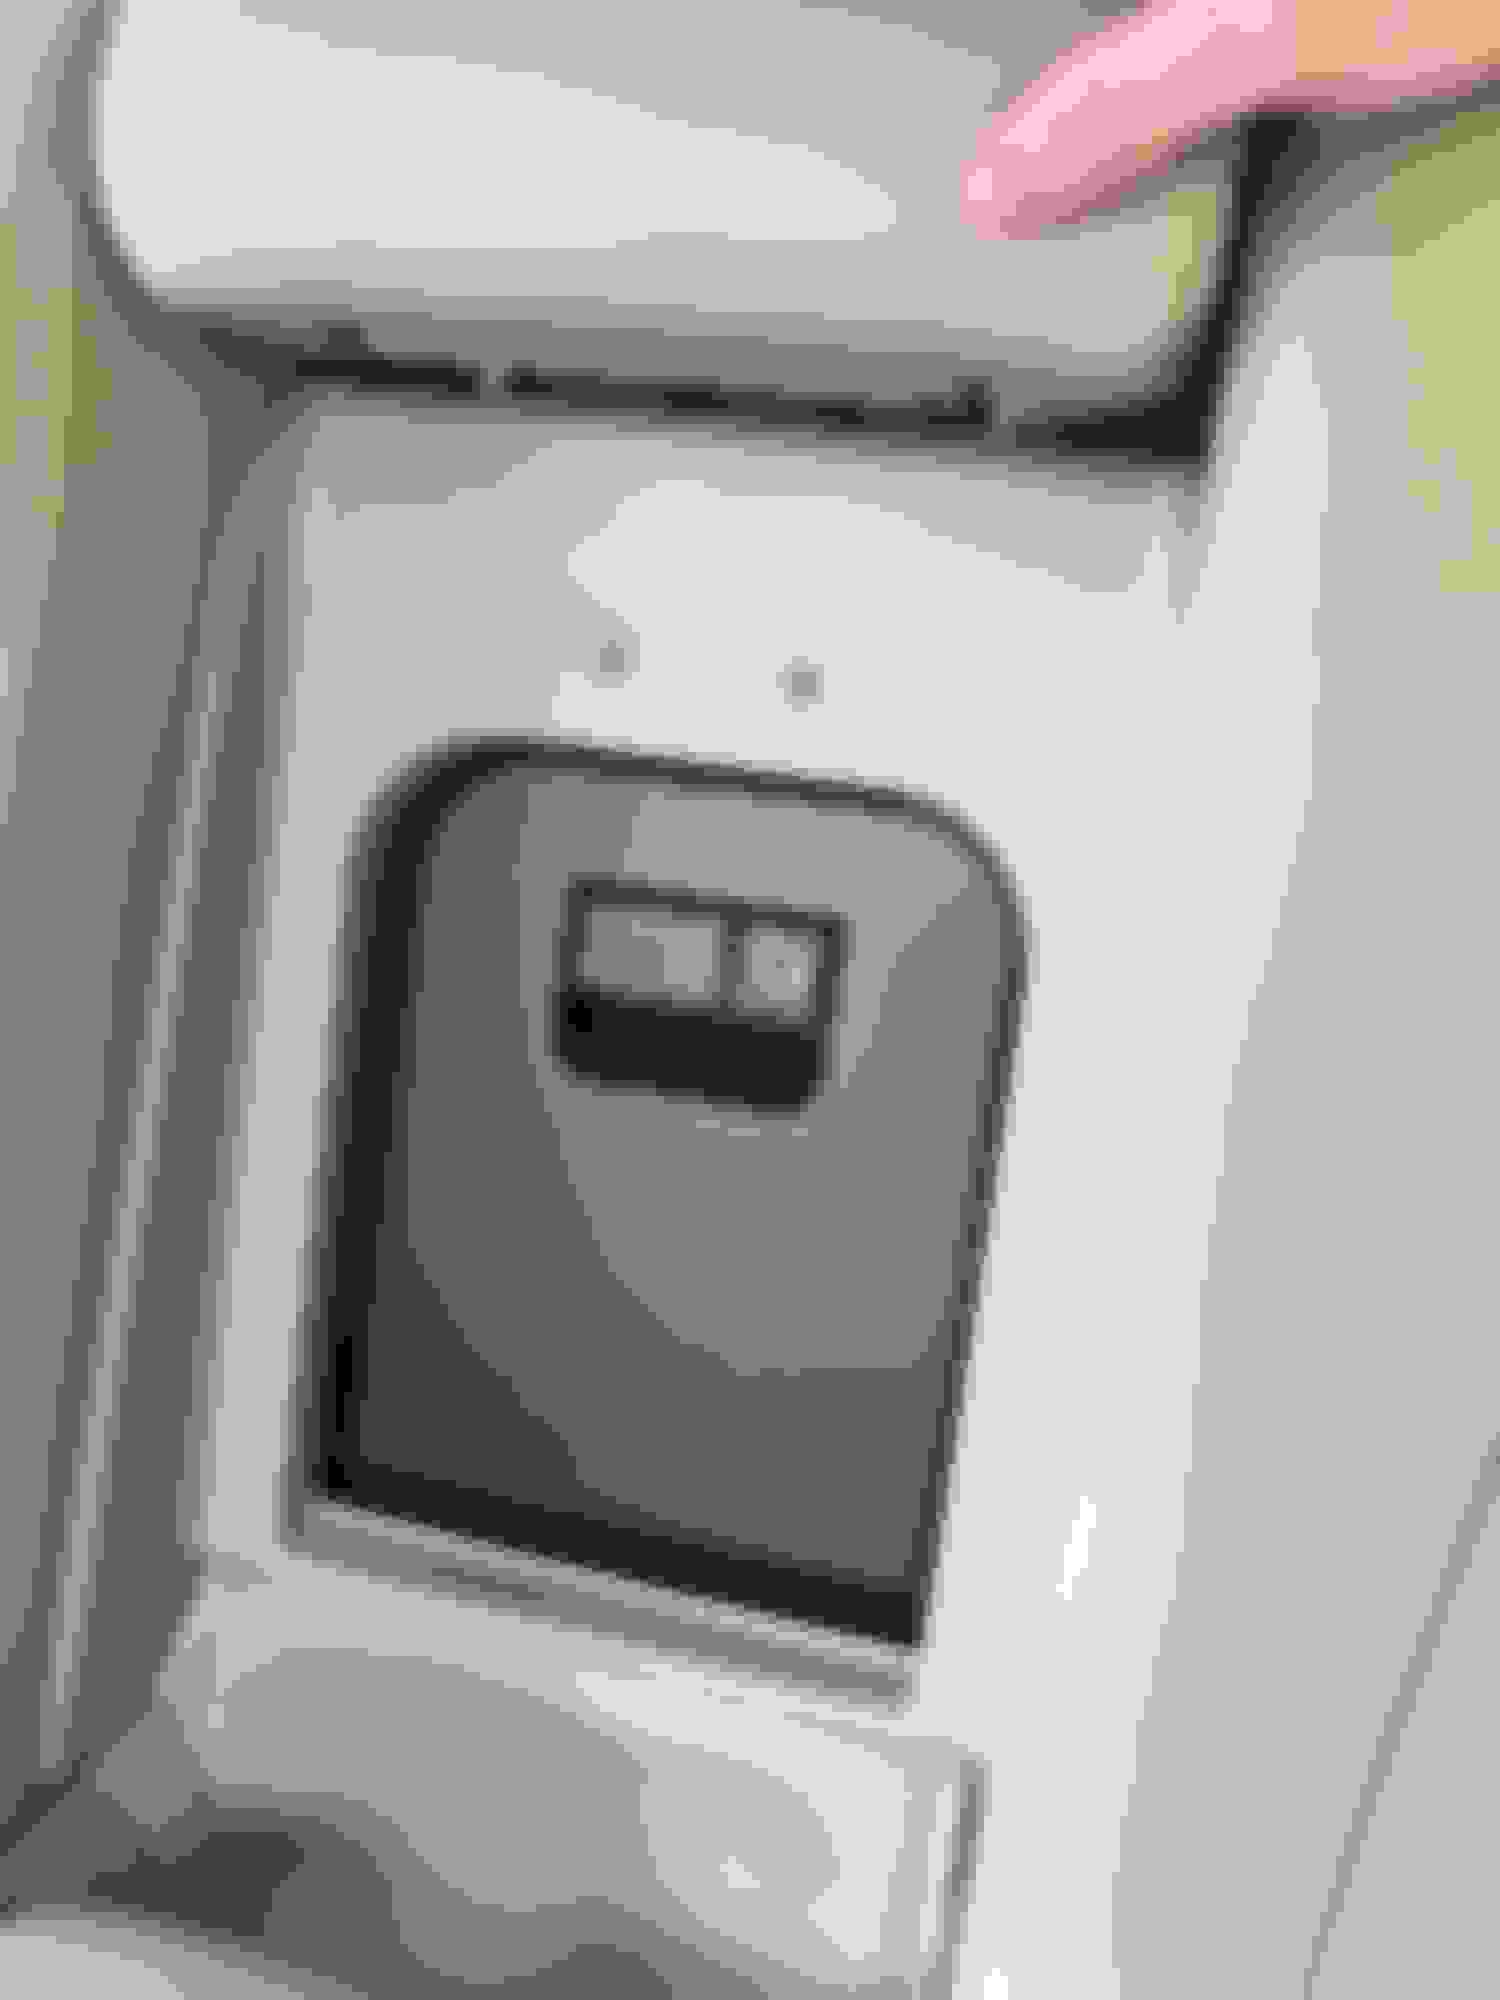
Step 8: What you'll be looking at at that point is pictured below. Next, from the top of the seat back, pull the back of the rear seat toward you/toward the front of the car a few inches using one hand. You can do this by reaching over and pulling against the back of the leather cushion itself or the thin metal bar that runs across the top of the back of the seat (the metal bar that's just above where the center headrest was mounted). **the seat back may not immediately want to pull away because it may be slightly binding up on the studs of the bolts near the side headrests (in step 3) and/or the stud next to the center headrest (in step 7). If this happens, you can just yank the seat back just a little harder to get it to break loose. Don't worry about damaging the threads on the bolt studs unless it requires a LOT of effort break it loose. If it really doesn't want to pull forward, try to see which stud is binding and pull the seat cushion forwards as well as in what ever direction reduces or eliminates the binding.**
Step 9: Once the seat back is pulled a few inches forward/away from the rear deck, take your other hand pull upwards on the middle of the cardboard rear deck cover while gently pushing the edge of it towards the back of the car so it bends a little and clears the seat back. (The seat back probably wont want to stay pulled out without continuous pressure, hence why two hands are needed, and a helper is preferred) Be careful as you do this since the rear deck is cardboard, albeit pretty strong cardboard. If doing this alone, I've found the best way to accomplish this is by pulling the middle of the rear deck up while pulling on the top middle of the seat back. Once the middle is pulled upwards a little and part of it is clear of the seat back, let go of both pieces and reposition with one hand on the top of the seat back behind driver side headrest area. and pull the deck lid up from behind that side of the seat back with your other hand. Though it does give you more clearance/room to work with, it takes more effort and isn't necessary to completely pull the entire rear deck up and above the seat back at the very end of each side where it meets the C-pillar, so you can just pull it up in the middle as the picture below shows. The rear deck does look like it's slightly creasing in two places when you do this, but after doing this almost a dozen times now, I can confirm that it doesn't actually crease the cardboard causing any permanent damage. If doing this with a helper, one of you can pull the seat back forward while the other pulls the cardboard rear deck upwards
Step 10: Once the cardboard rear deck piece is pulled up a good 6-8 inches above the metal part of the rear deck as shown above, you can let go of/stop pulling on the seat back and you should have sufficient room to reach underneath cardboard rear deck cover with a socket to access the bolts that hold the subwoofer in place. Remove the 4 (10mm) bolts that secure the subwoofer and unplug the connector.
Step 11: Lift up on the subwoofer from the edges of it and slide it out from between the cardboard and metal pieces of the rear deck.
***While you have this taken apart, consider covering the openings/holes in the rear deck lid with soundproofing material to increase the performance of your subwoofer. Covering these holes essentially turns your entire trunk into an 'enclosure' for the subwoofer. A detailed tutorial on how to do this can be found here.Total cost to do this: $20. Total time to complete: about 1 hour.
Reassembly
Once you're done repairing the subwoofer or have a replacement ready, reinstall it in the same fashion that you removed it, replace the 4 bolts that secure it in place and plug it back in. Pull the seat back forwards again towards the front of the car and push the edge of the cardboard rear deck towards the back of the car so it clears the top of the seatback, then push it down back in place. If you pulled the cardboard rear deck cover up all the way across the back seat including the ends of it right next to the C-pillars, put those ends in first then work your way towards the middle. Push the seat back towards the back of the car so it's flush and fully against the rear deck. Replace everything else in the exact reverse of how you disassembled it.
Thanks for the write up. Good information! Seems like there's many different ways to accomplish this job..
Yes, this is the more "traditional" approach to subwoofer removal. It is a tried-and-true method as documented on this forum numerous times before. Post #2 on link below is one example that has been around for years... IT WORKS! https://www.clublexus.com/forums/ls-...nd-part-s.html
Yes, this is the more "traditional" approach to subwoofer removal. It is a tried-and-true method as documented on this forum numerous times before. Post #2 on link below is one example that has been around for years... IT WORKS! https://www.clublexus.com/forums/ls-...nd-part-s.html
I knew I wasn't the only one on here to use this method, and definitely not the first. At least my write up seems to be somewhat more comprehensive and detailed for those that need to have their hand held a little more than others when doing a job like this *shrug*
I just did that using this method and it was so easy way to do it... Thanks!
Something I noticed when I did this.
1. There is no need to "fully remove both rear headrests". I have in my car power rear headrests so I don't even know how to fully remove them.
2. And if you have like I do power rear seats you must move them somewhat ahead to access those 12mm nuts (Step 3)
1. There is no need to "fully remove both rear headrests". I have in my car power rear headrests so I don't even know how to fully remove them.
You are correct. You can access the bolts behind them just the same, I just prefer to fully remove the headrests for better access to the entire rear deck, especially since I was doing the soundproofing I described in my thread about it and liked the better access that removing them provides.
Originally Posted by CelsiorFin
2. And if you have like I do power rear seats you must move them somewhat ahead to access those 12mm nuts (Step 3)
 06-21-18, 01:28 AM