When you click on links to various merchants on this site and make a purchase, this can result in this site earning a commission. Affiliate programs and affiliations include, but are not limited to, the eBay Partner Network.
The battery light came on in my '05 while driving home the other day. Battery voltage with the car running was 11.3. I removed the alternator from the car and decided to rebuild it myself. I'm replacing all of the electrical components but not the bearings as they are more involved and not prone to failure. Here's how:
Remove the 3 nuts on the back plastic cover
Lift the cover off and remove the charge post cover
Remove the 2 screws securing the brush housing (the screws on either side of the red piece)
Lift the brush holder straight up and out. The red part is just a dust shield you can leave on the holder. There are 2 spring loaded brushes in the holder. Measure the length of the exposed part of each brush. New is 10-12mm, replace if either is less than 4.5mm. Brushes are $10 and come preinstalled in the new holder.
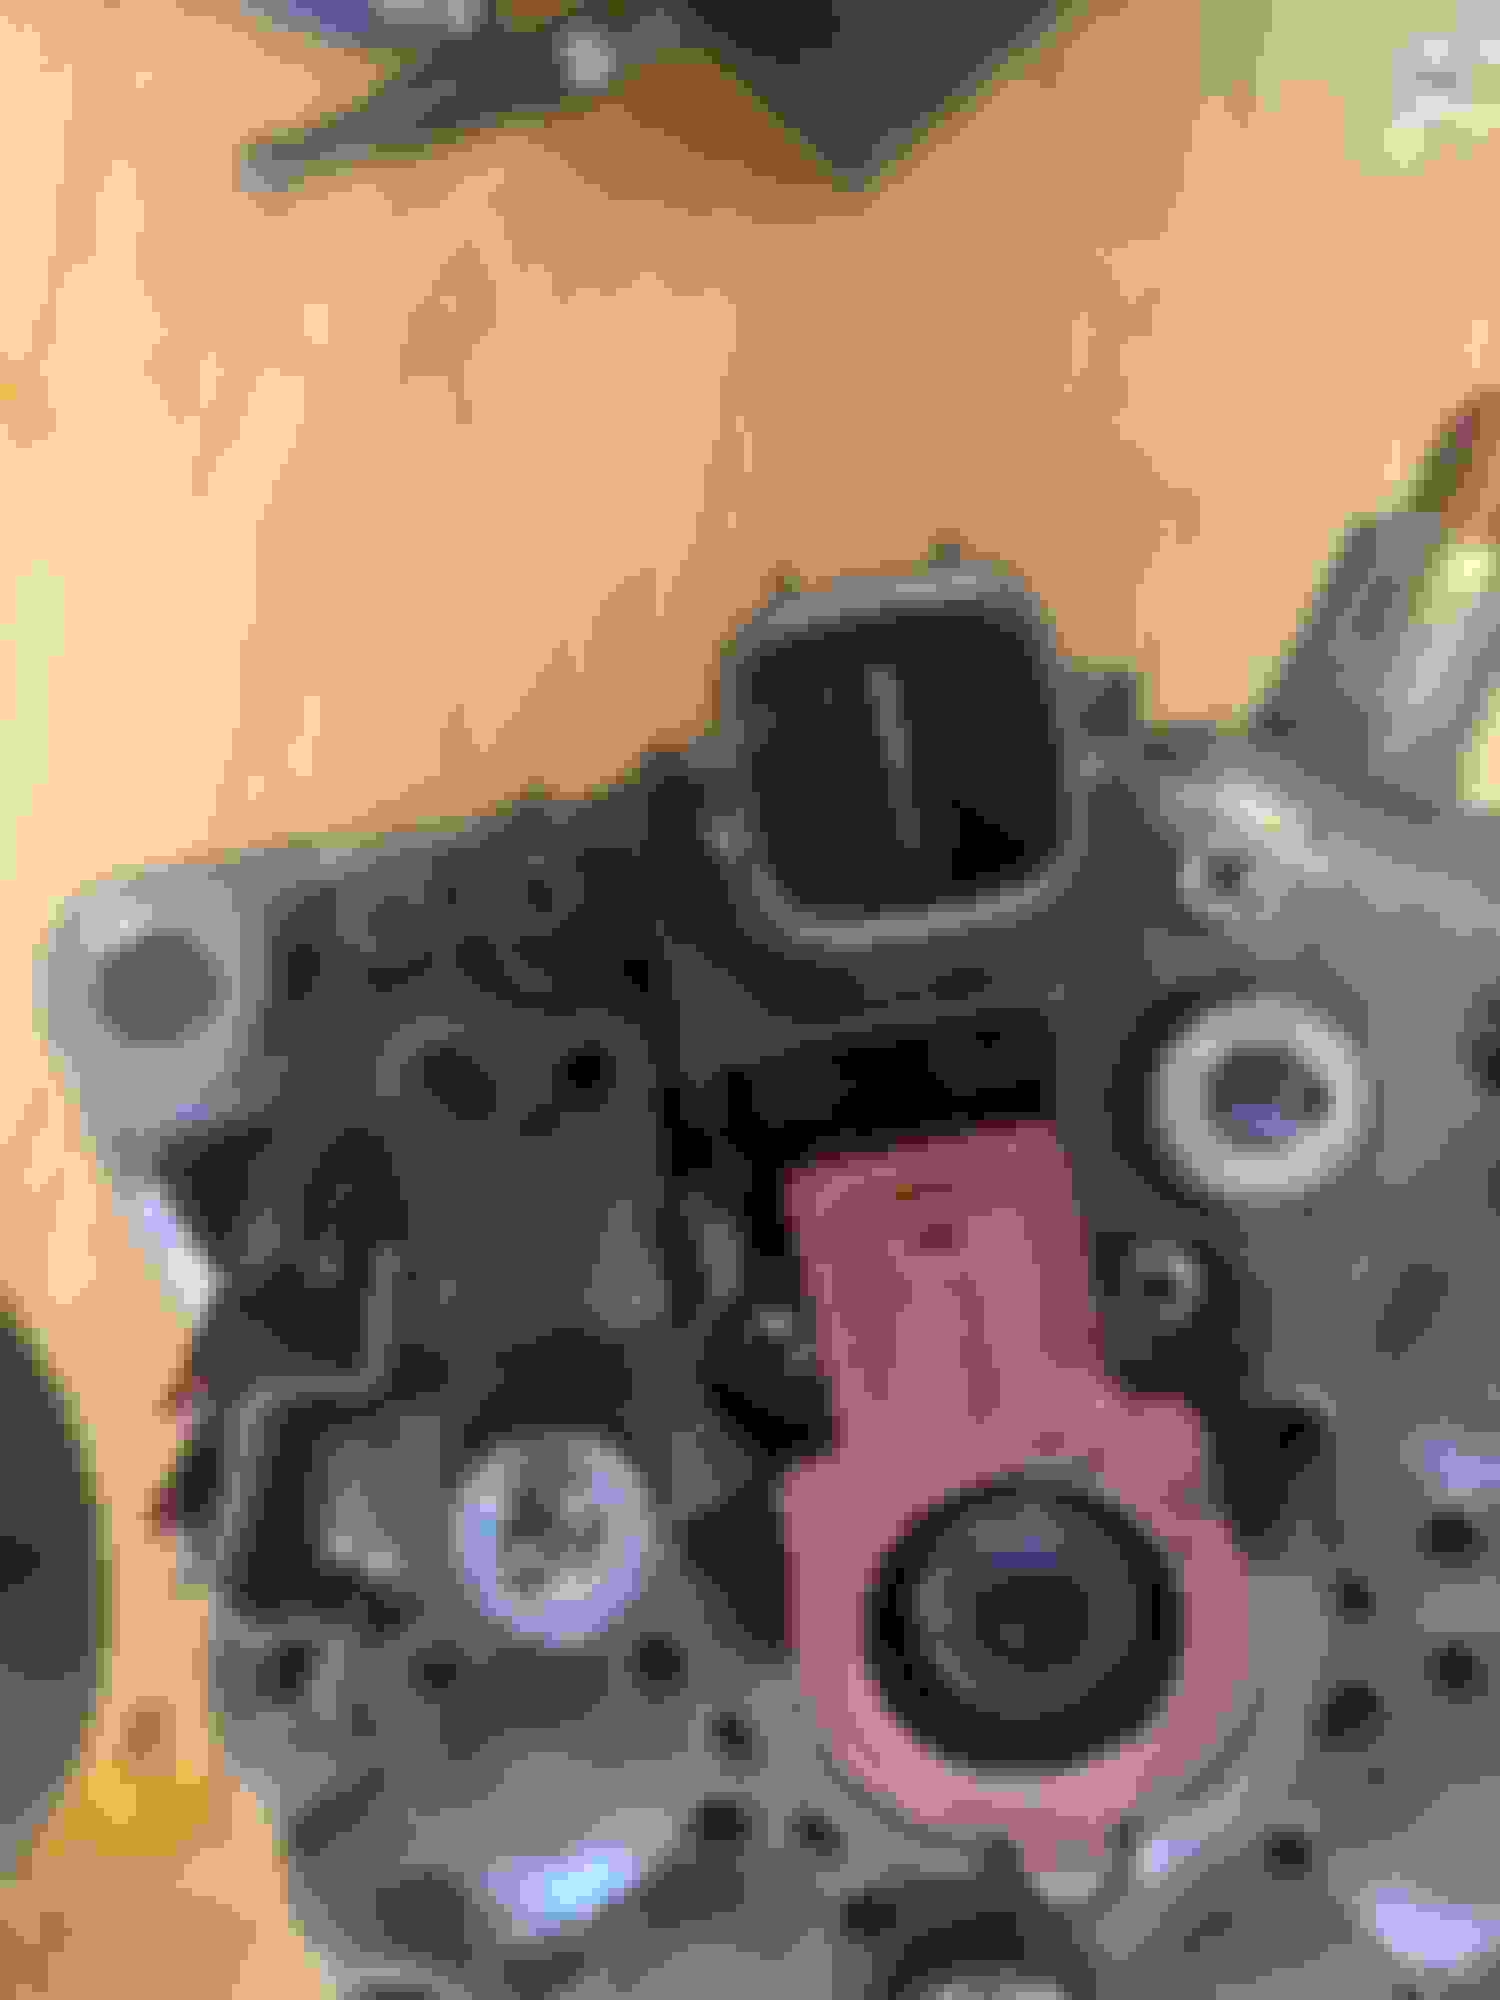
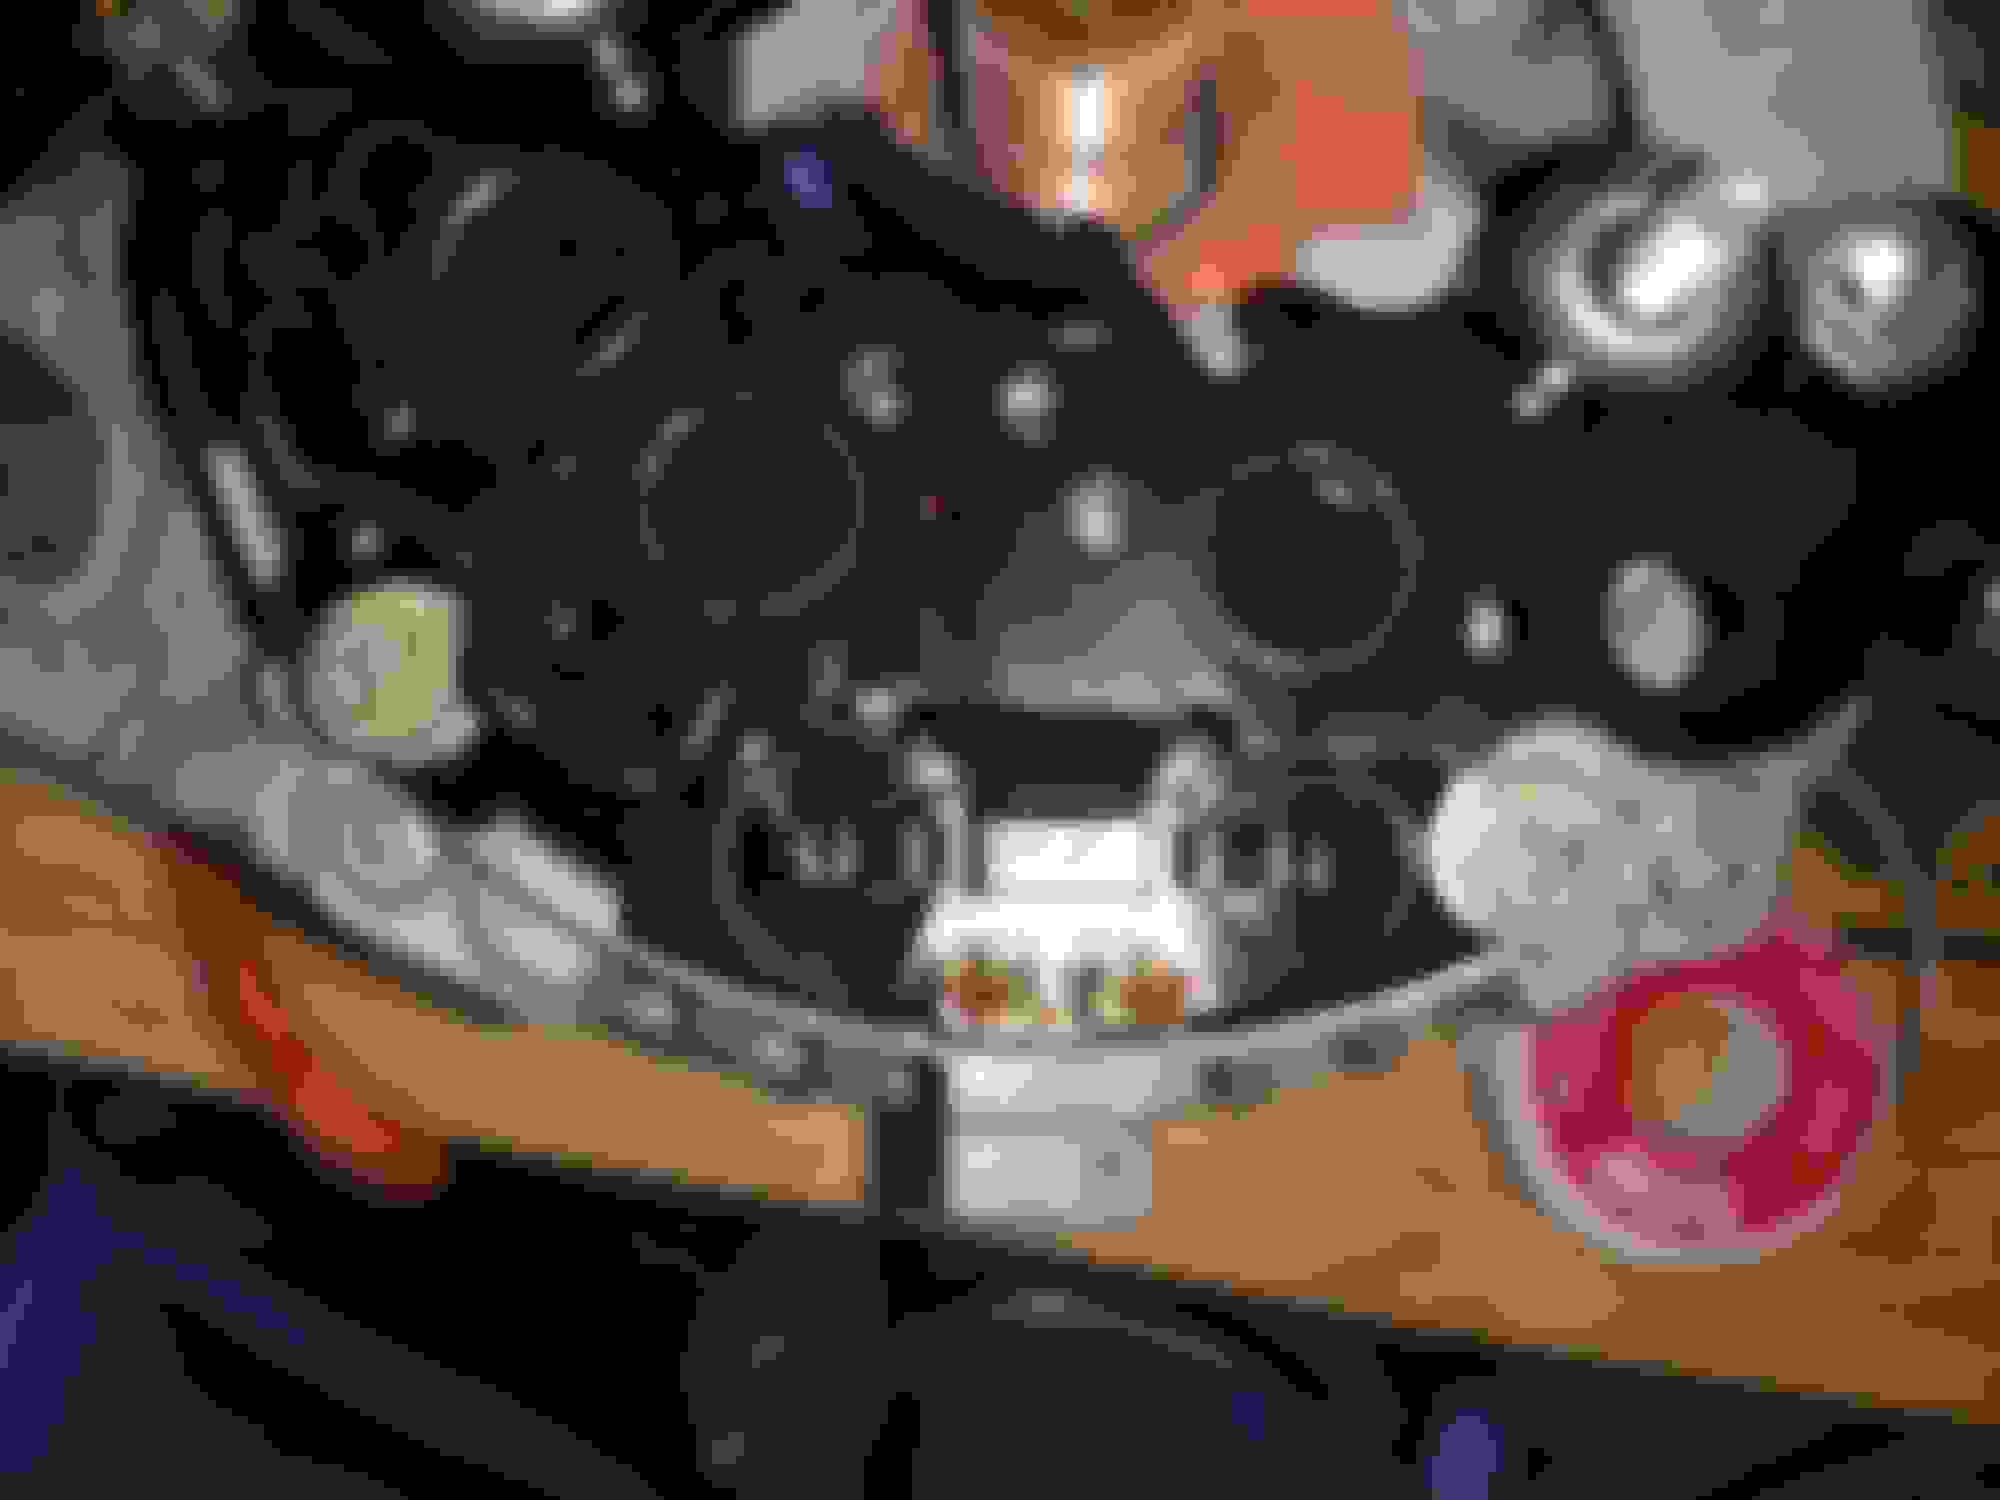
Remove the other 2 screws holding the voltage regulator in place. Now pry open the crimped tang securing the regulator to the diode assembly. If you are replacing the diodes at the same you don't need to uncrimp it and go to the next step. The tang is in the center of the pic:
Voltage regulator:
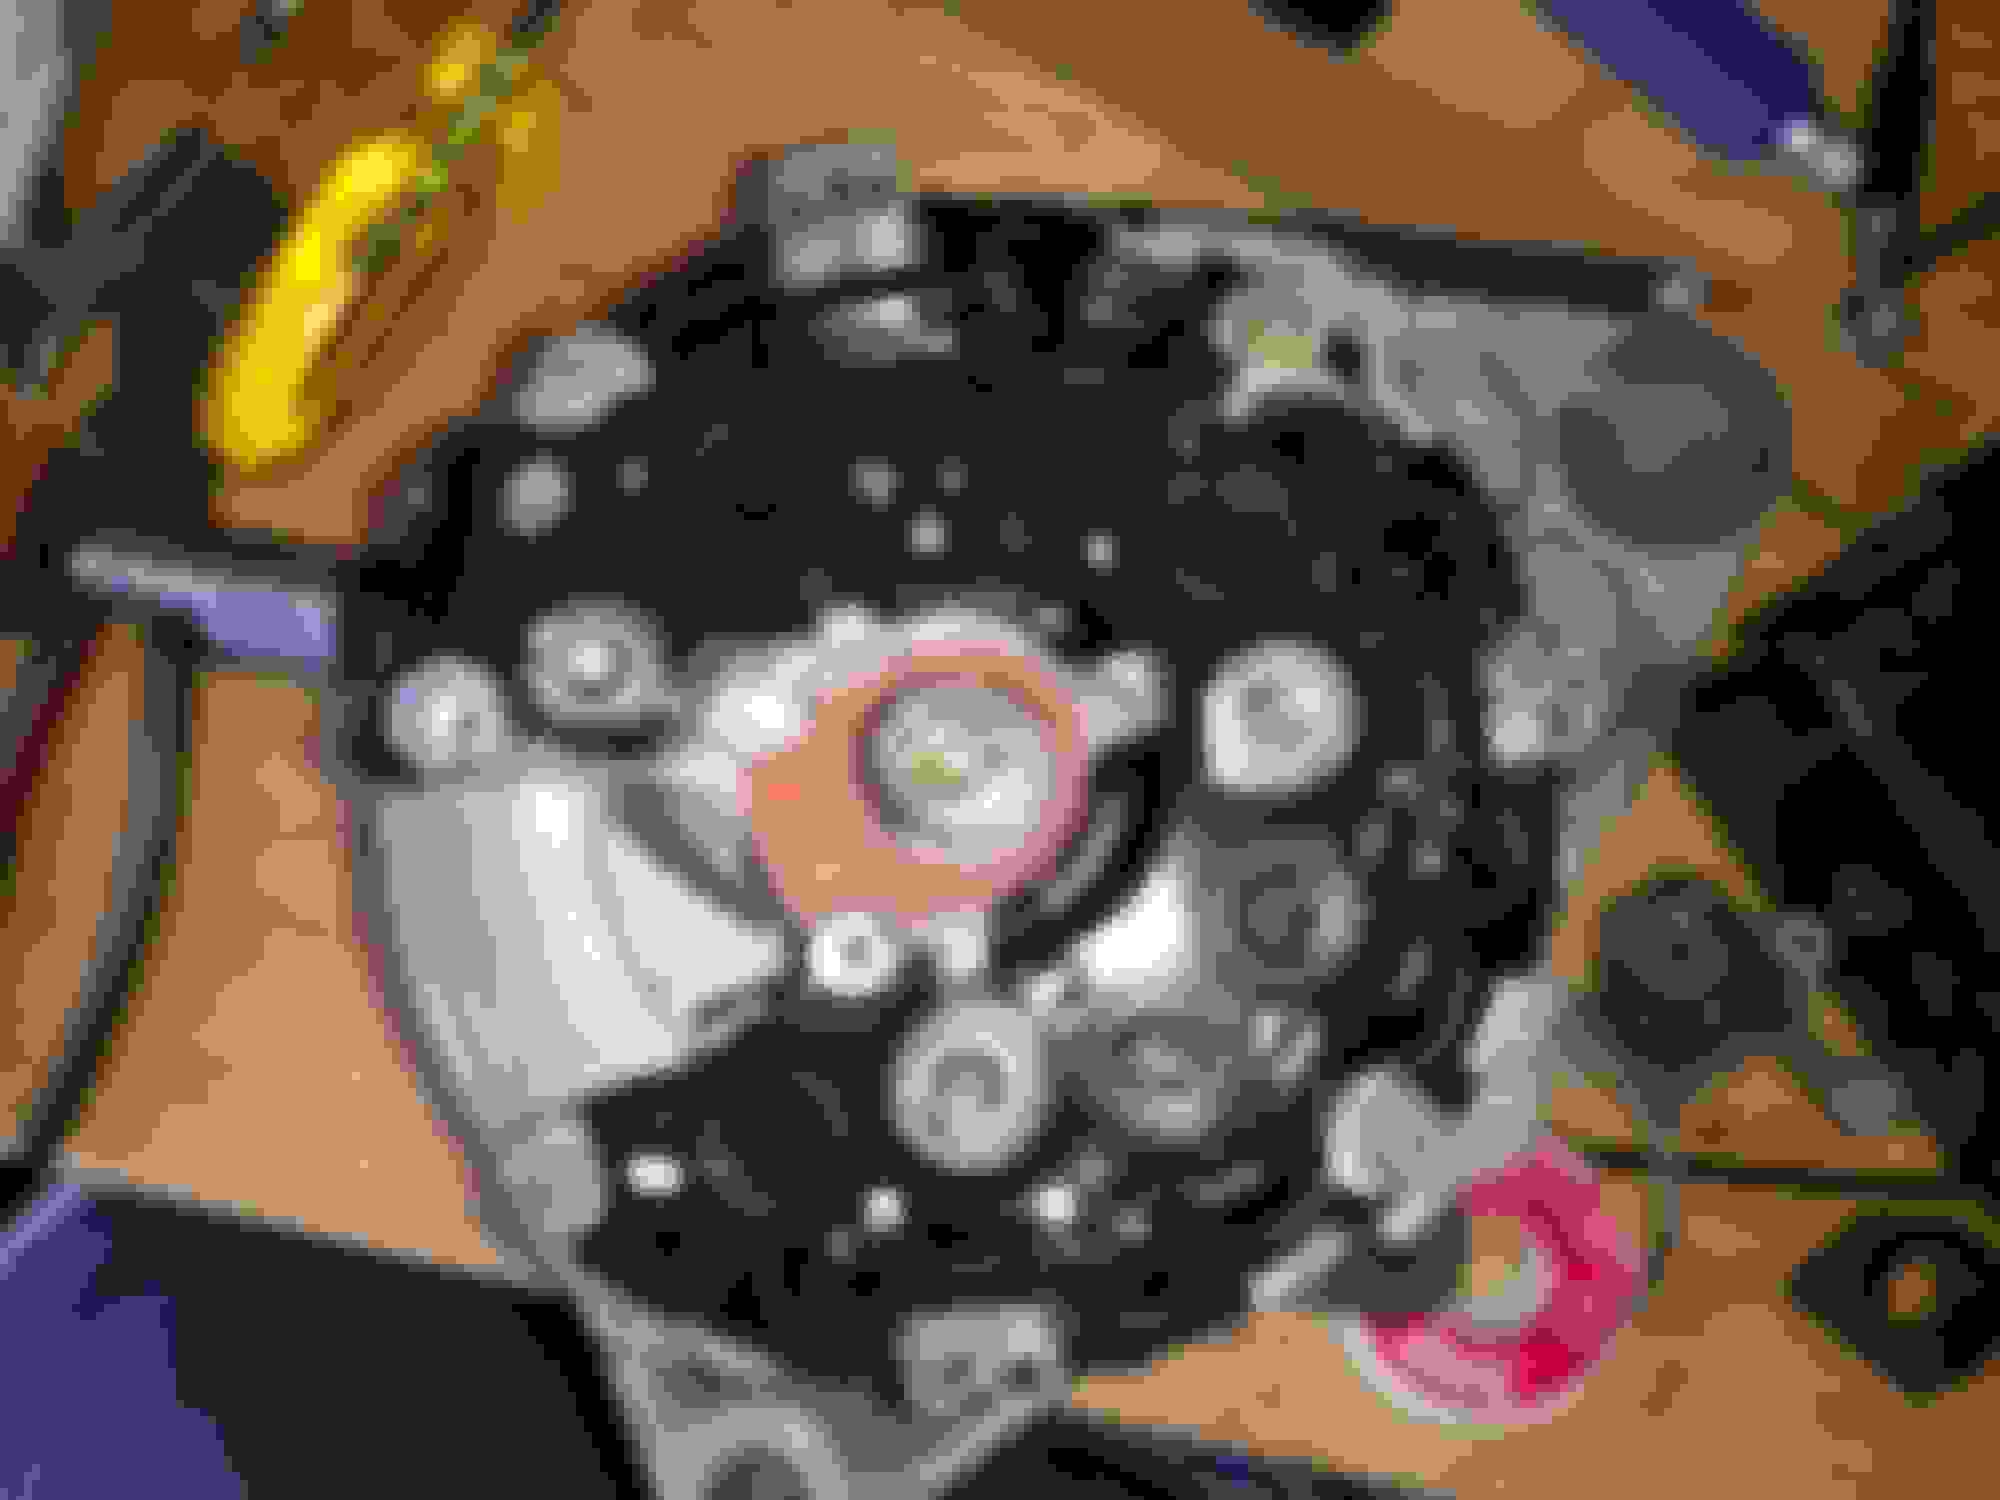
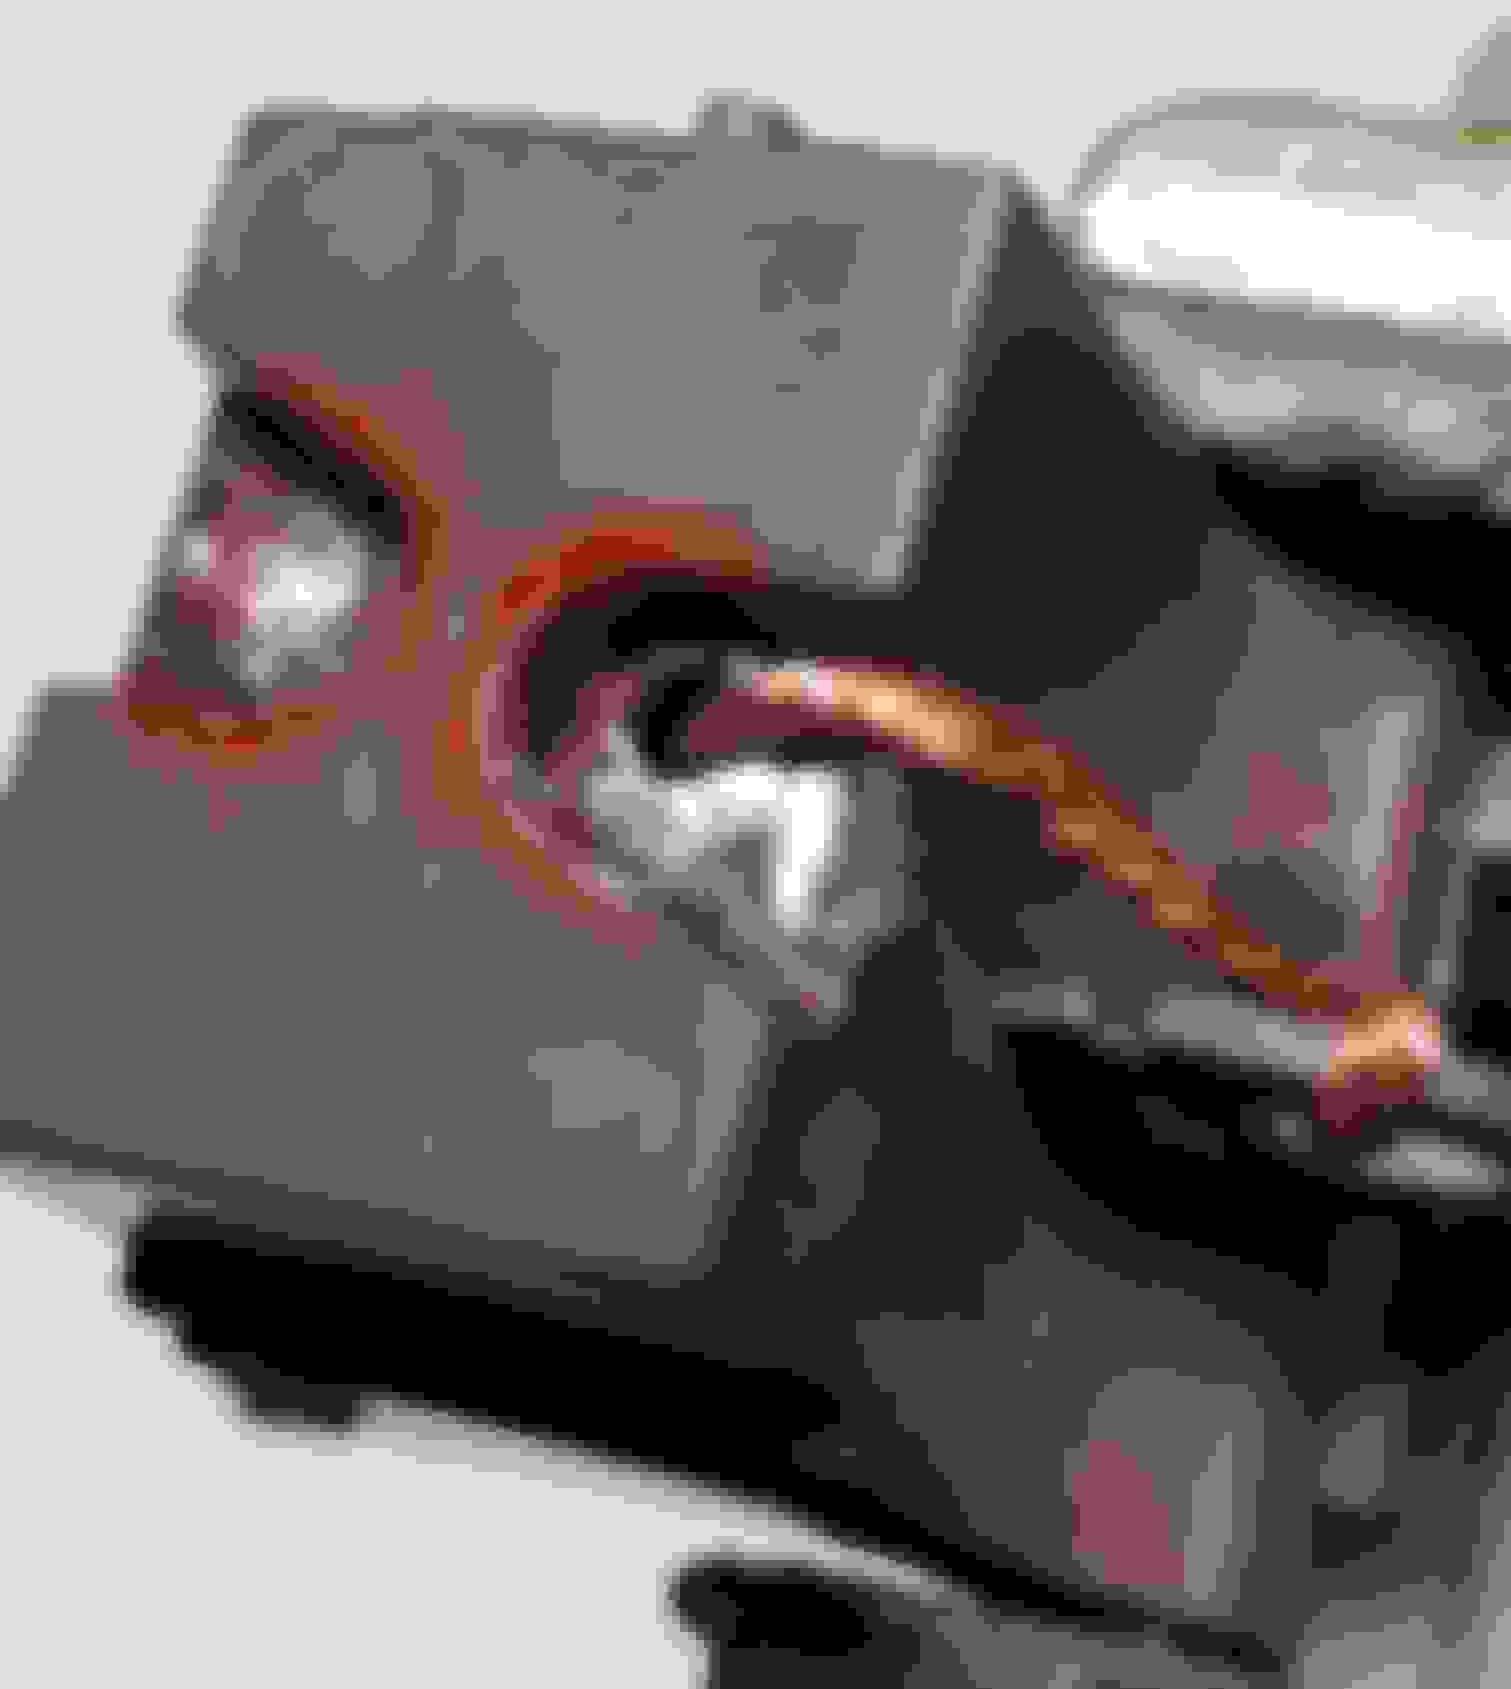
To remove the diode assembly, first remove the 4 screws holding it down. You must then cut the 6 solder joints holding it to the coil assembly. Cut as high as possible to preserve as much wire length as you can for reassembly. After cutting I split the joints fully with a small screwdriver.
Lift the diode assembly straight up after the joints are split.
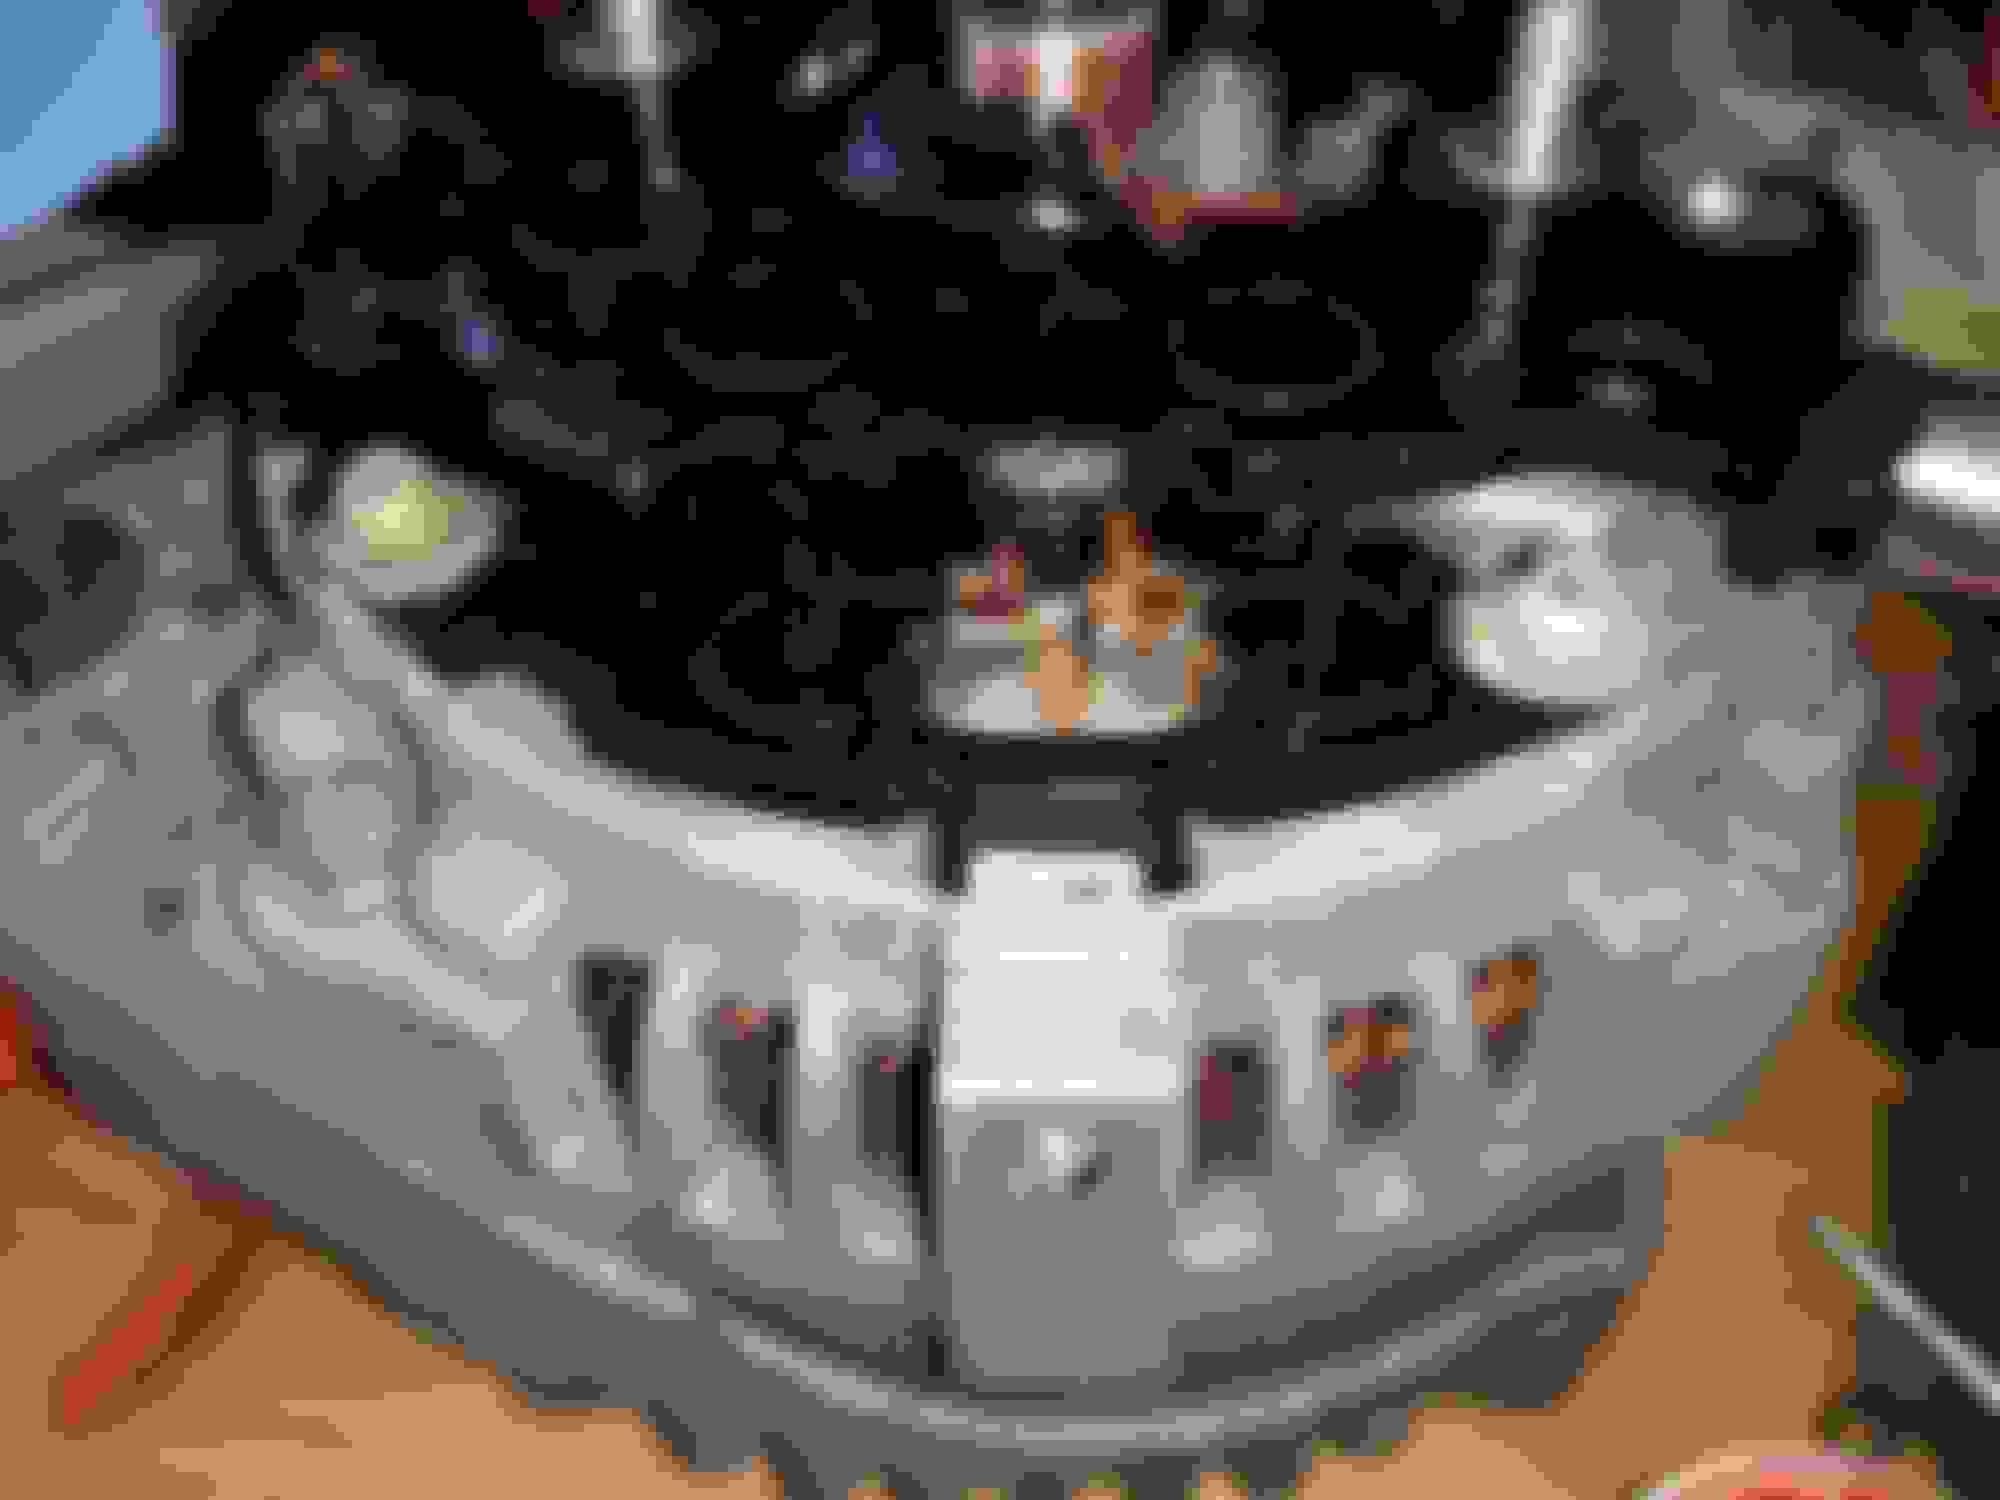
Inspect the copper surfaces that the brushes contact for any severe grooves.
Polish the copper by laying the alternator on it's side and wrapping the shaft in sandpaper. Spin the pulley by hand and sand until the copper is bright and shiny. Blow out any dust created. I used 280 grit paper as that is what I had.
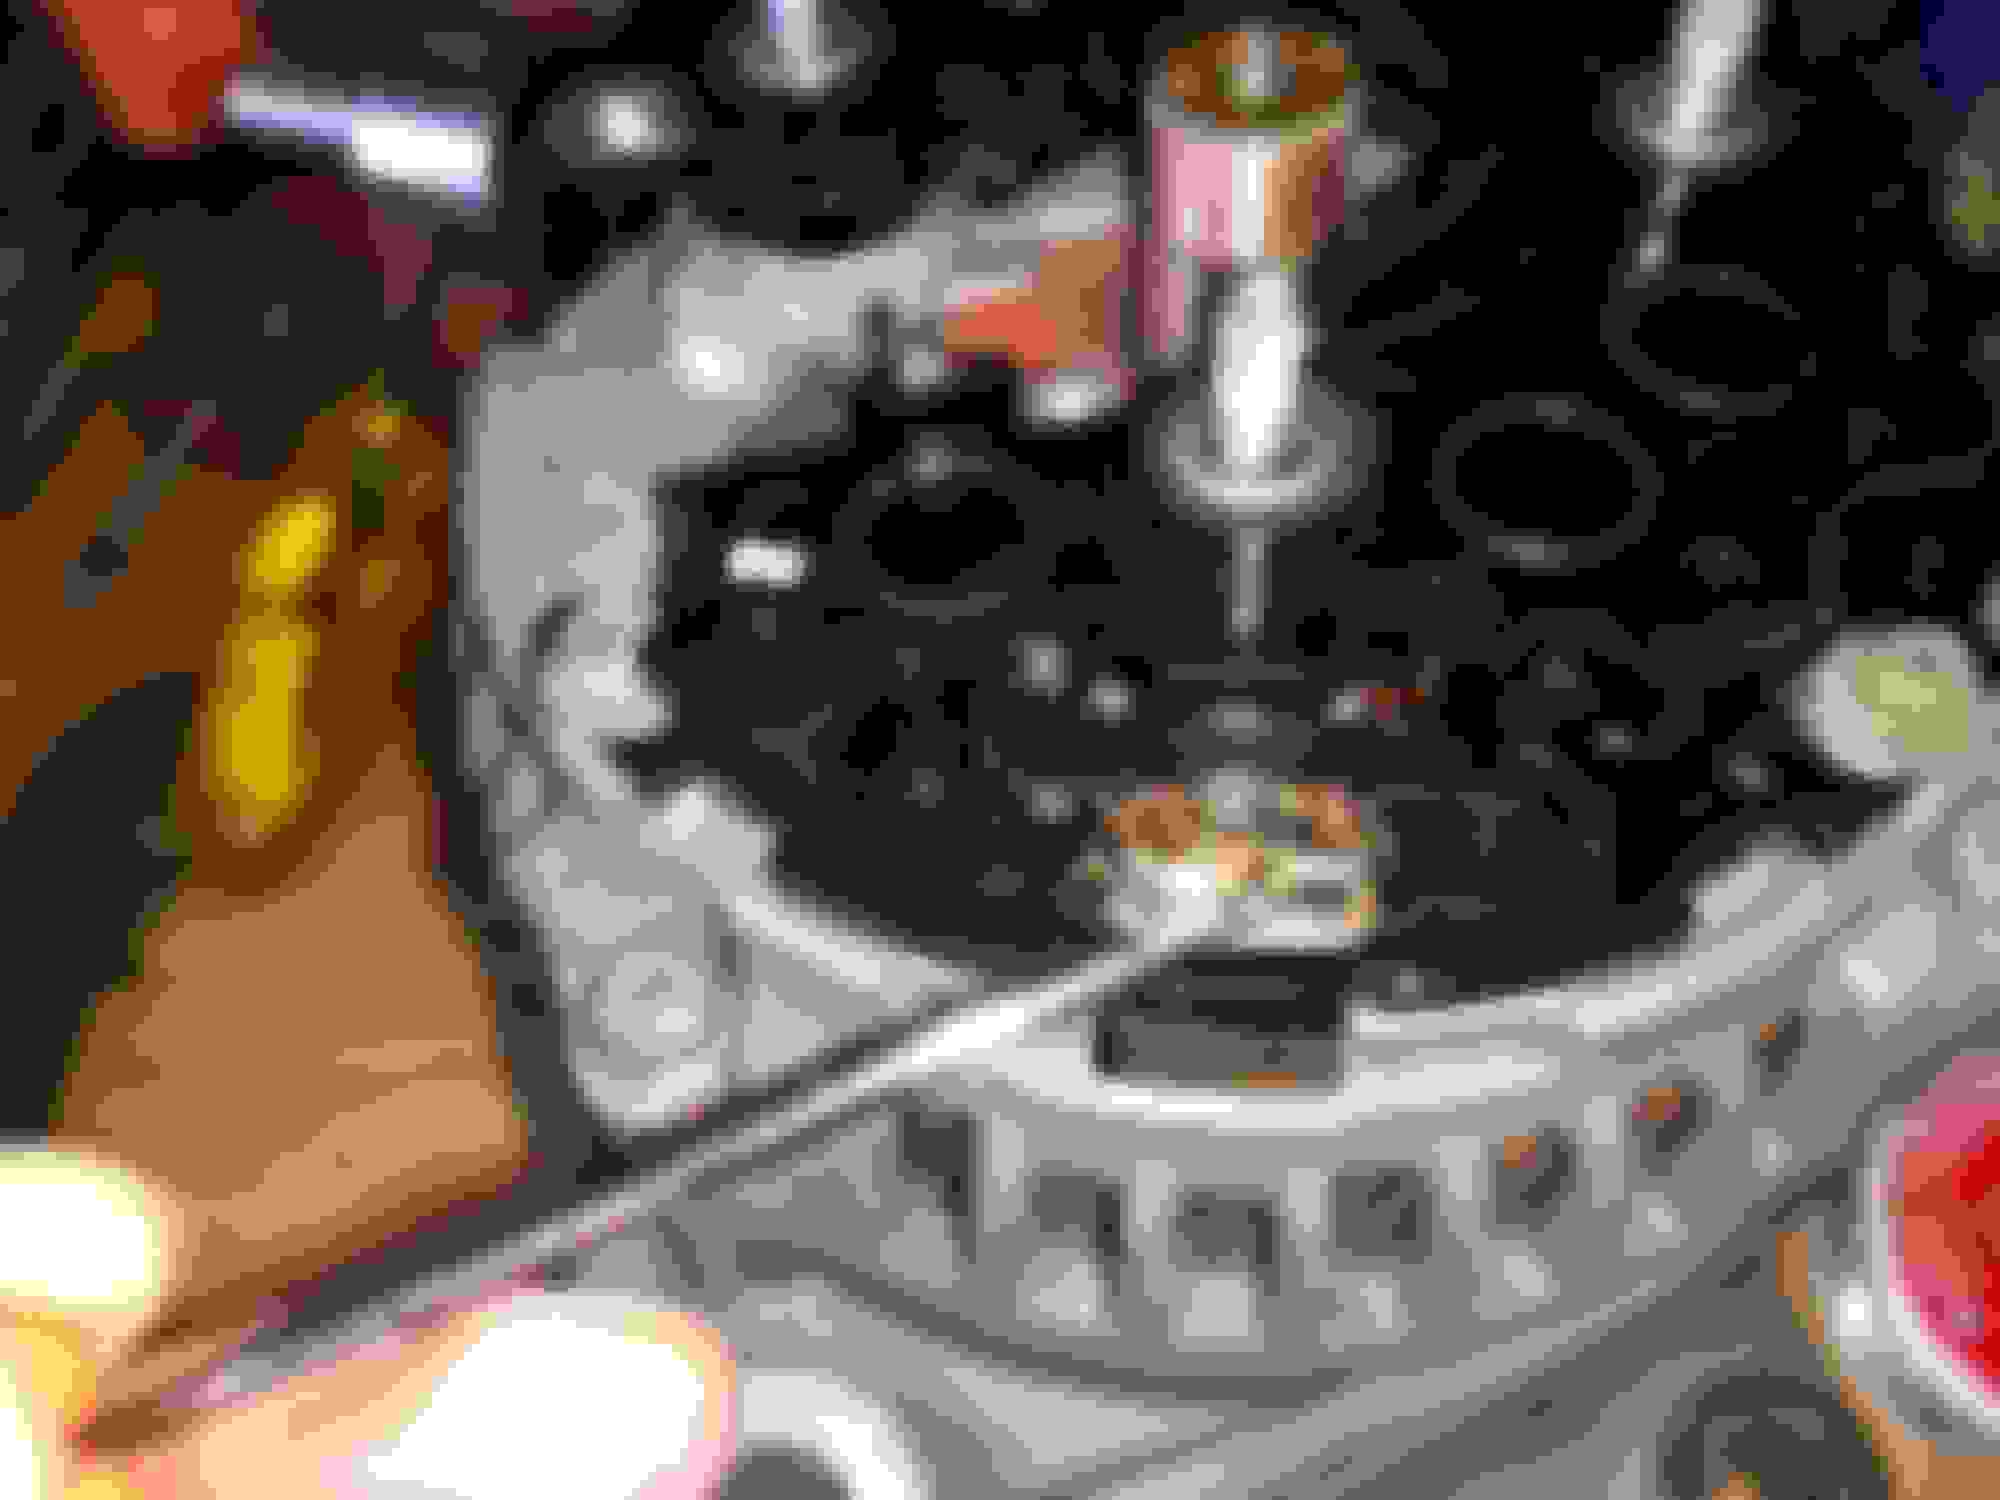
Use the sandpaper or a wire brush to clean the 6 wires that you cut to remove the diodes as we will be soldering them to the new diode assembly.
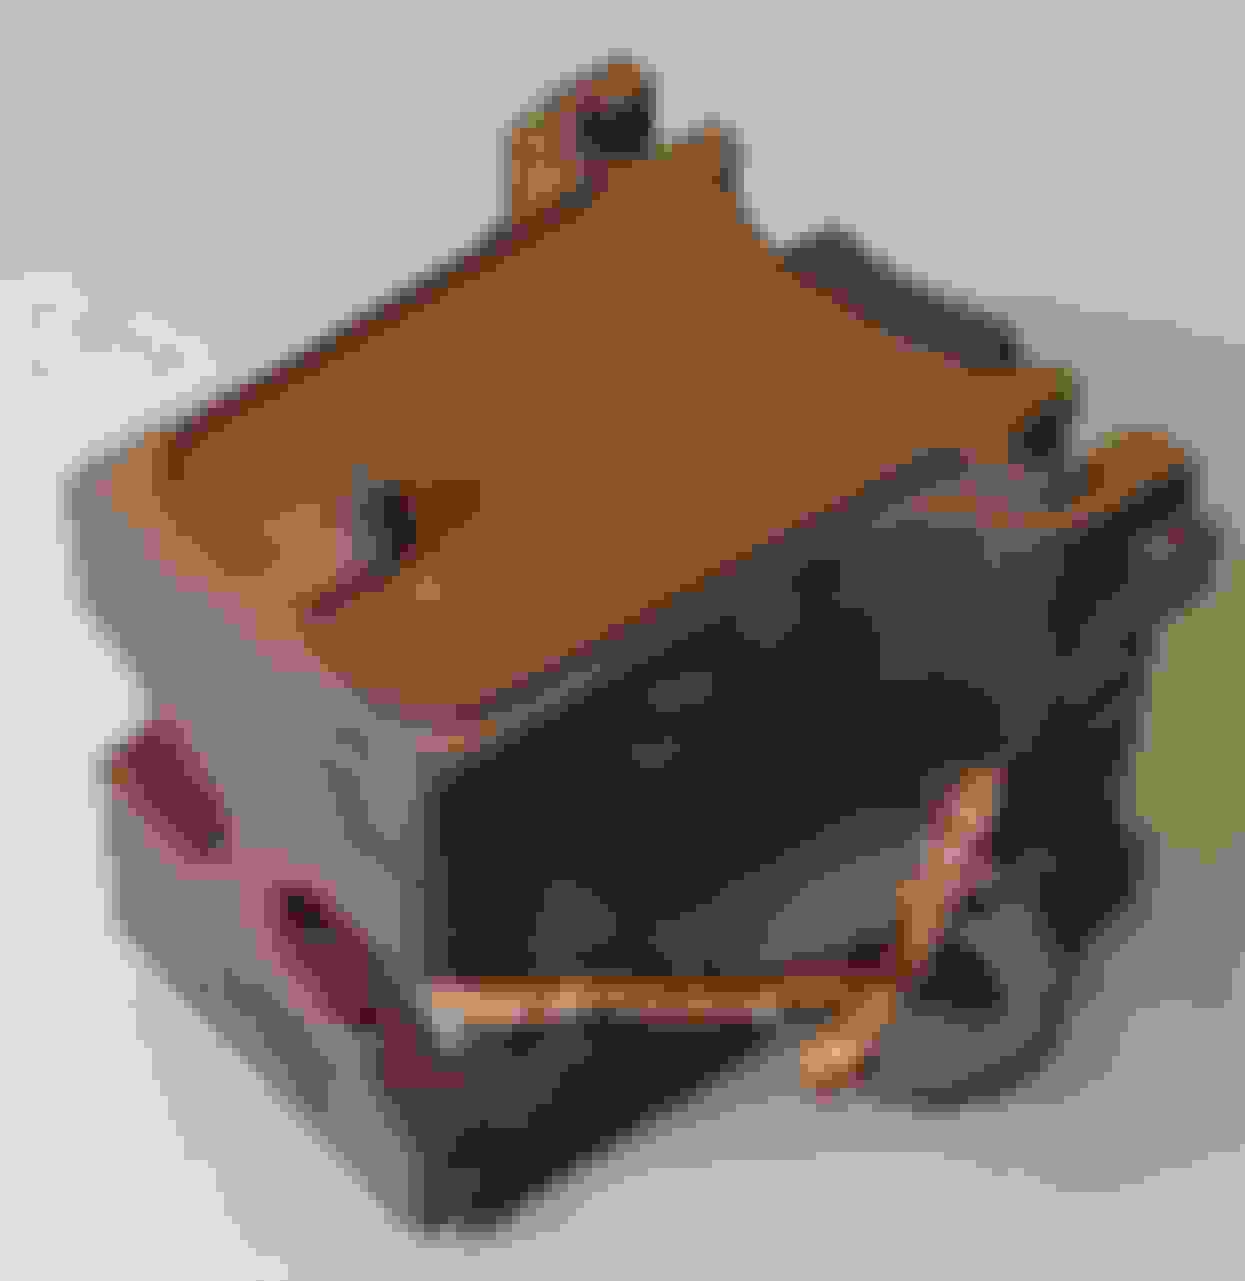
Here's what it should look like before reassembly.
I ordered the parts online. It was $30 for the rebuild kit which included the 2 bearings, voltage regulator, and the brush holder loaded with brushes. It was another $30 for the diode assembly.
I ordered my parts online. It took a week to get them and when I did I realized my order was missing the rectifier/diode assembly. After no response from the seller I filed a complaint with PayPal and they refunded my money within minutes. Weird.
To begin reassembly I started with installing the diode assembly. Make sure it is fully seated and install the 4 screws holding it in place.
I then put paste flux on all the joints I was going to solder.
Using an awl press the coil wires towards the outside of each connection.
While pushing the wires out use needle nose pliers to crimp the fittings on the rectifier.
They should be locked in place before soldering.
I used a small butane torch to solder all 6 connections. If you use a torch be mindful of where the flame is pointed. I soldered one side of each connection first and let them cool before I soldered the other 3.
Remove The one screw that also retains the voltage regulator. Install the regulator with it's 2 screws. Flux and then crimp it to the rectifier. Solder the connection.
Push the new brushes into the holder and secure with a small Allen wrench.
Install the brush holder with it's 2 screws and remove the Allen wrench.
Slide on the change post cover and reinstall the rear cover with the 3 nuts.
Reinstall on the vehicle, fire it up, and check the voltage. Mine was 13.8 which seems to be normal for these cars. My multimeter will only measure up to 10 amps so I couldn't measure it's output.
The most common failure point on these alternators is the voltage regulator followed closely by worn out brushes. The rectifier is less failure prone but is usually the cause if the amp output is low or alternating current is detected in the system.
Hopefully this diy was educational and will save some of you some money.
A good idea to not rule out exchaning the bearings . I took a part a few idler roller ballbearings for the auxiliaries drivebelt at 20+ years old , More or less dry bits intead of grease and the bearing sounded dry and "hissed" a bit when spunn ( no excessive play yet ) . If you really do not want to exchange bearings you could if it is possible try to lift the rubber lip carefully and get a little fresh grease in there. May give you a few more service years. I would definitely try to exchange the bearing though. Sealed bearings will not go on for ever.
I wanted to replace the alternator brushes at the 3rd timing belt job at 450,000km (281k miles). Because I did not have the correct part at hand, I rebuilt the brush holder. A local starter/alternator shop sold me the brushes for $5. I thought this information might be helpful if you are in a bind and can not source the parts in time to complete a rebuild.
The brush holder comes apart by sliding the light colored part down (goes only one way). Photo shows one brush already replaced and the difference between a worn brush and the new brush in bottom corner.
Scrape away the red lacquer with a small screw driver and de-solder the brush from the rear of the holder, You should end up with a through-hole after sucking out the solder - or use an air compressor to blow away the liquid solder (watch your eyes). Leave the spring in place and thread the brush from the front through the hole in the rear of the holder and wrap the copper around the eyelet so the brush is just held in the holder and can fully extend. Then solder the brush wire and snip the excess wire. Repeat for the other brush.
 09-09-18, 11:20 PM