When you click on links to various merchants on this site and make a purchase, this can result in this site earning a commission. Affiliate programs and affiliations include, but are not limited to, the eBay Partner Network.
I will eventually have to replace the steering rack, and I'm a little worried about doing the job. I know this is nothing compared to what you've done, but how difficult would this job be? I don't have to drop the frame or anything, right?
I will eventually have to replace the steering rack, and I'm a little worried about doing the job. I know this is nothing compared to what you've done, but how difficult would this job be? I don't have to drop the frame or anything, right?
No frame removal required. To remove the rack you just have to disconnect the power steering lines, tie rod ends, steering shaft, and the 2 nuts holding the rack to the frame.
Got the car started last week. Runs great and is quiet again with NO OIL LEAKS! New oil pump puts out 90 psi at idle on a cold start. Once fully warm it puts out 30 psi at idle (book says over 4.3 is good) and 82 psi at 3k rpms (book says 43-85 psi). If anyone is interested I will disassemble my old oil pump and post pics.
If anyone is interested I will disassemble my old oil pump and post pics.
Nice work. I suppose you were waiting until it cooled off down there in AZ before doing the job? I'd be interested in the pics of the old pump. I'm wondering if you will find any scratch marks or any unusual wear in it as it seems that the root cause of your issue was the clogged filter screen...
Got the car started last week. Runs great and is quiet again with NO OIL LEAKS! New oil pump puts out 90 psi at idle on a cold start. Once fully warm it puts out 30 psi at idle (book says over 4.3 is good) and 82 psi at 3k rpms (book says 43-85 psi). If anyone is interested I will disassemble my old oil pump and post pics.
Interested in images of oil pump internals...and if any visible wear
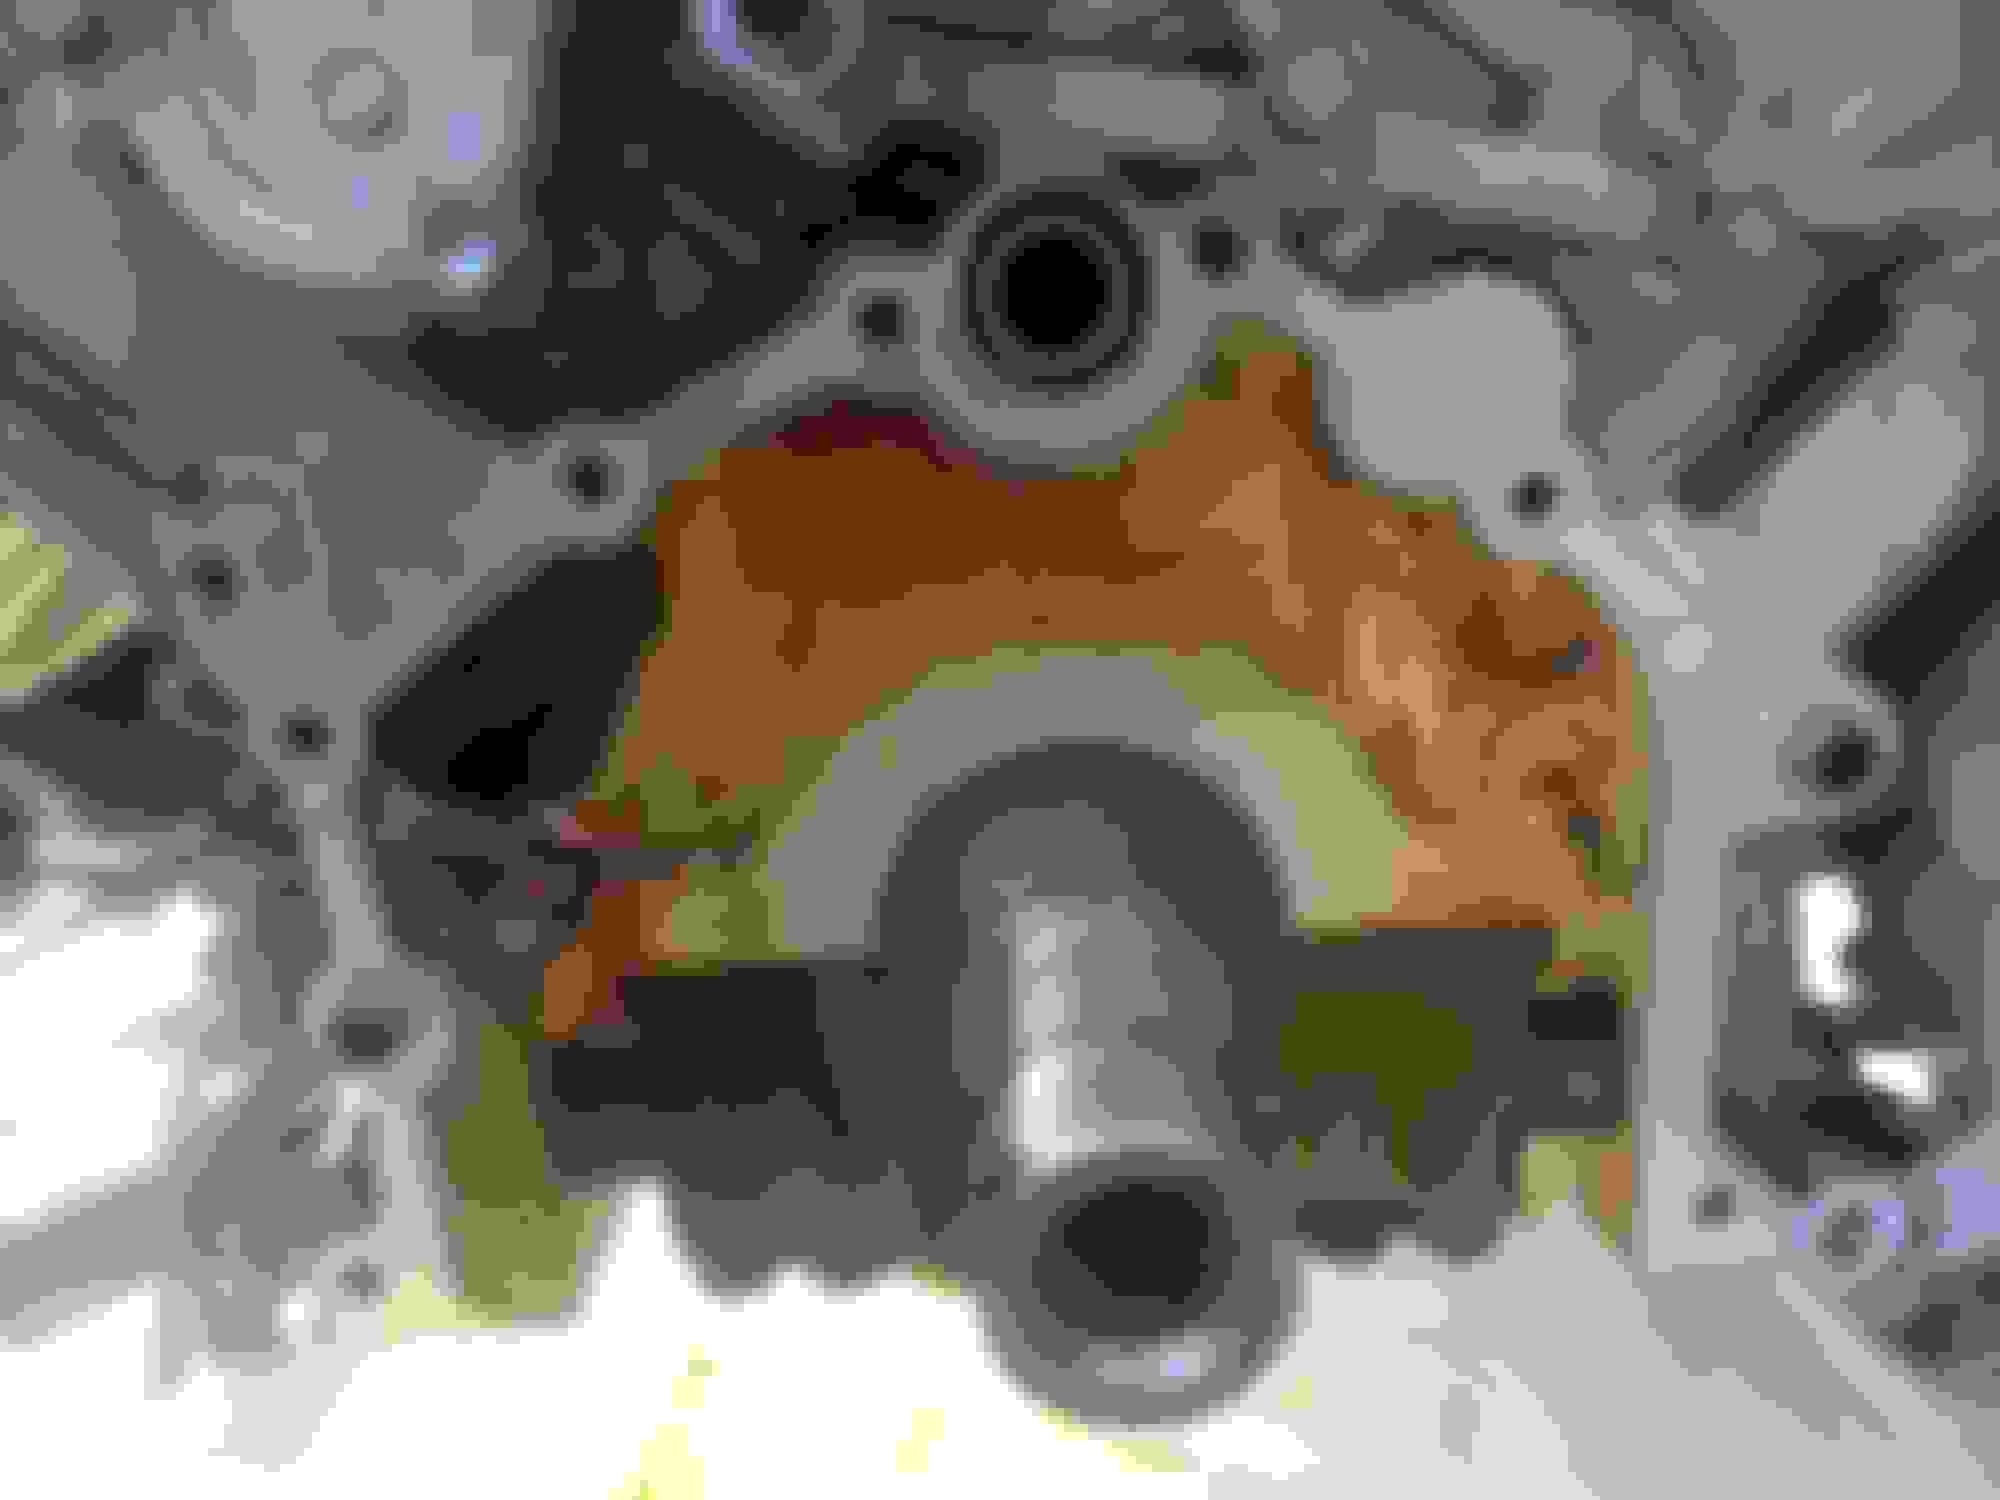
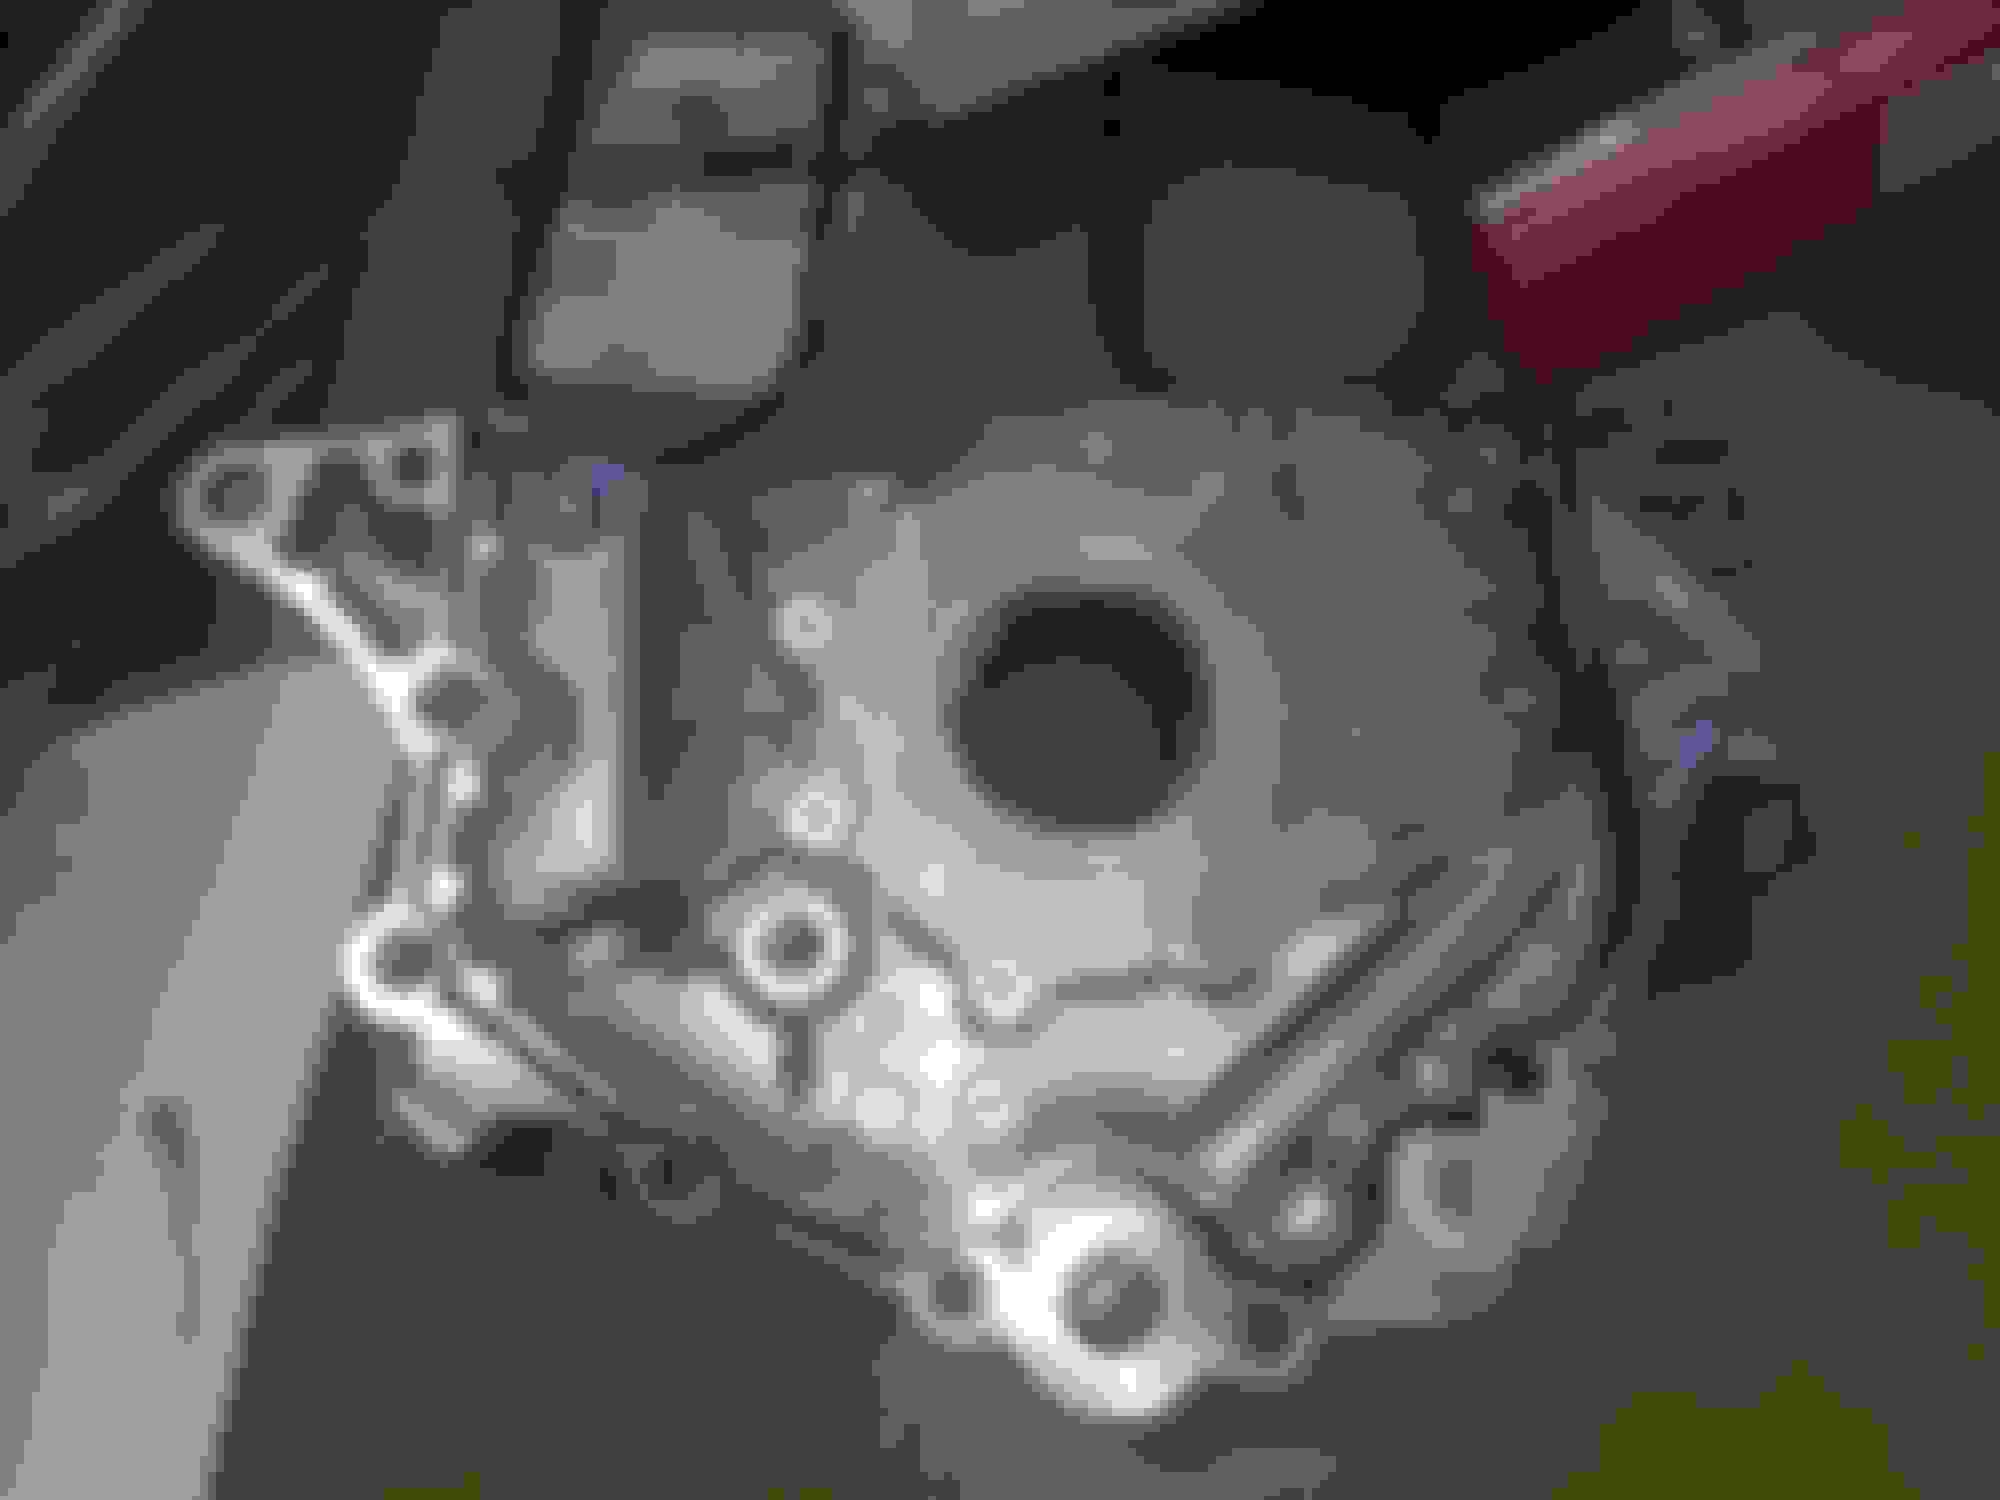
Here's the back of the oil pump
Here's some more factory sealant inside the engine
Here's the pressure relief valve
Relief valve, spring, and plug removed
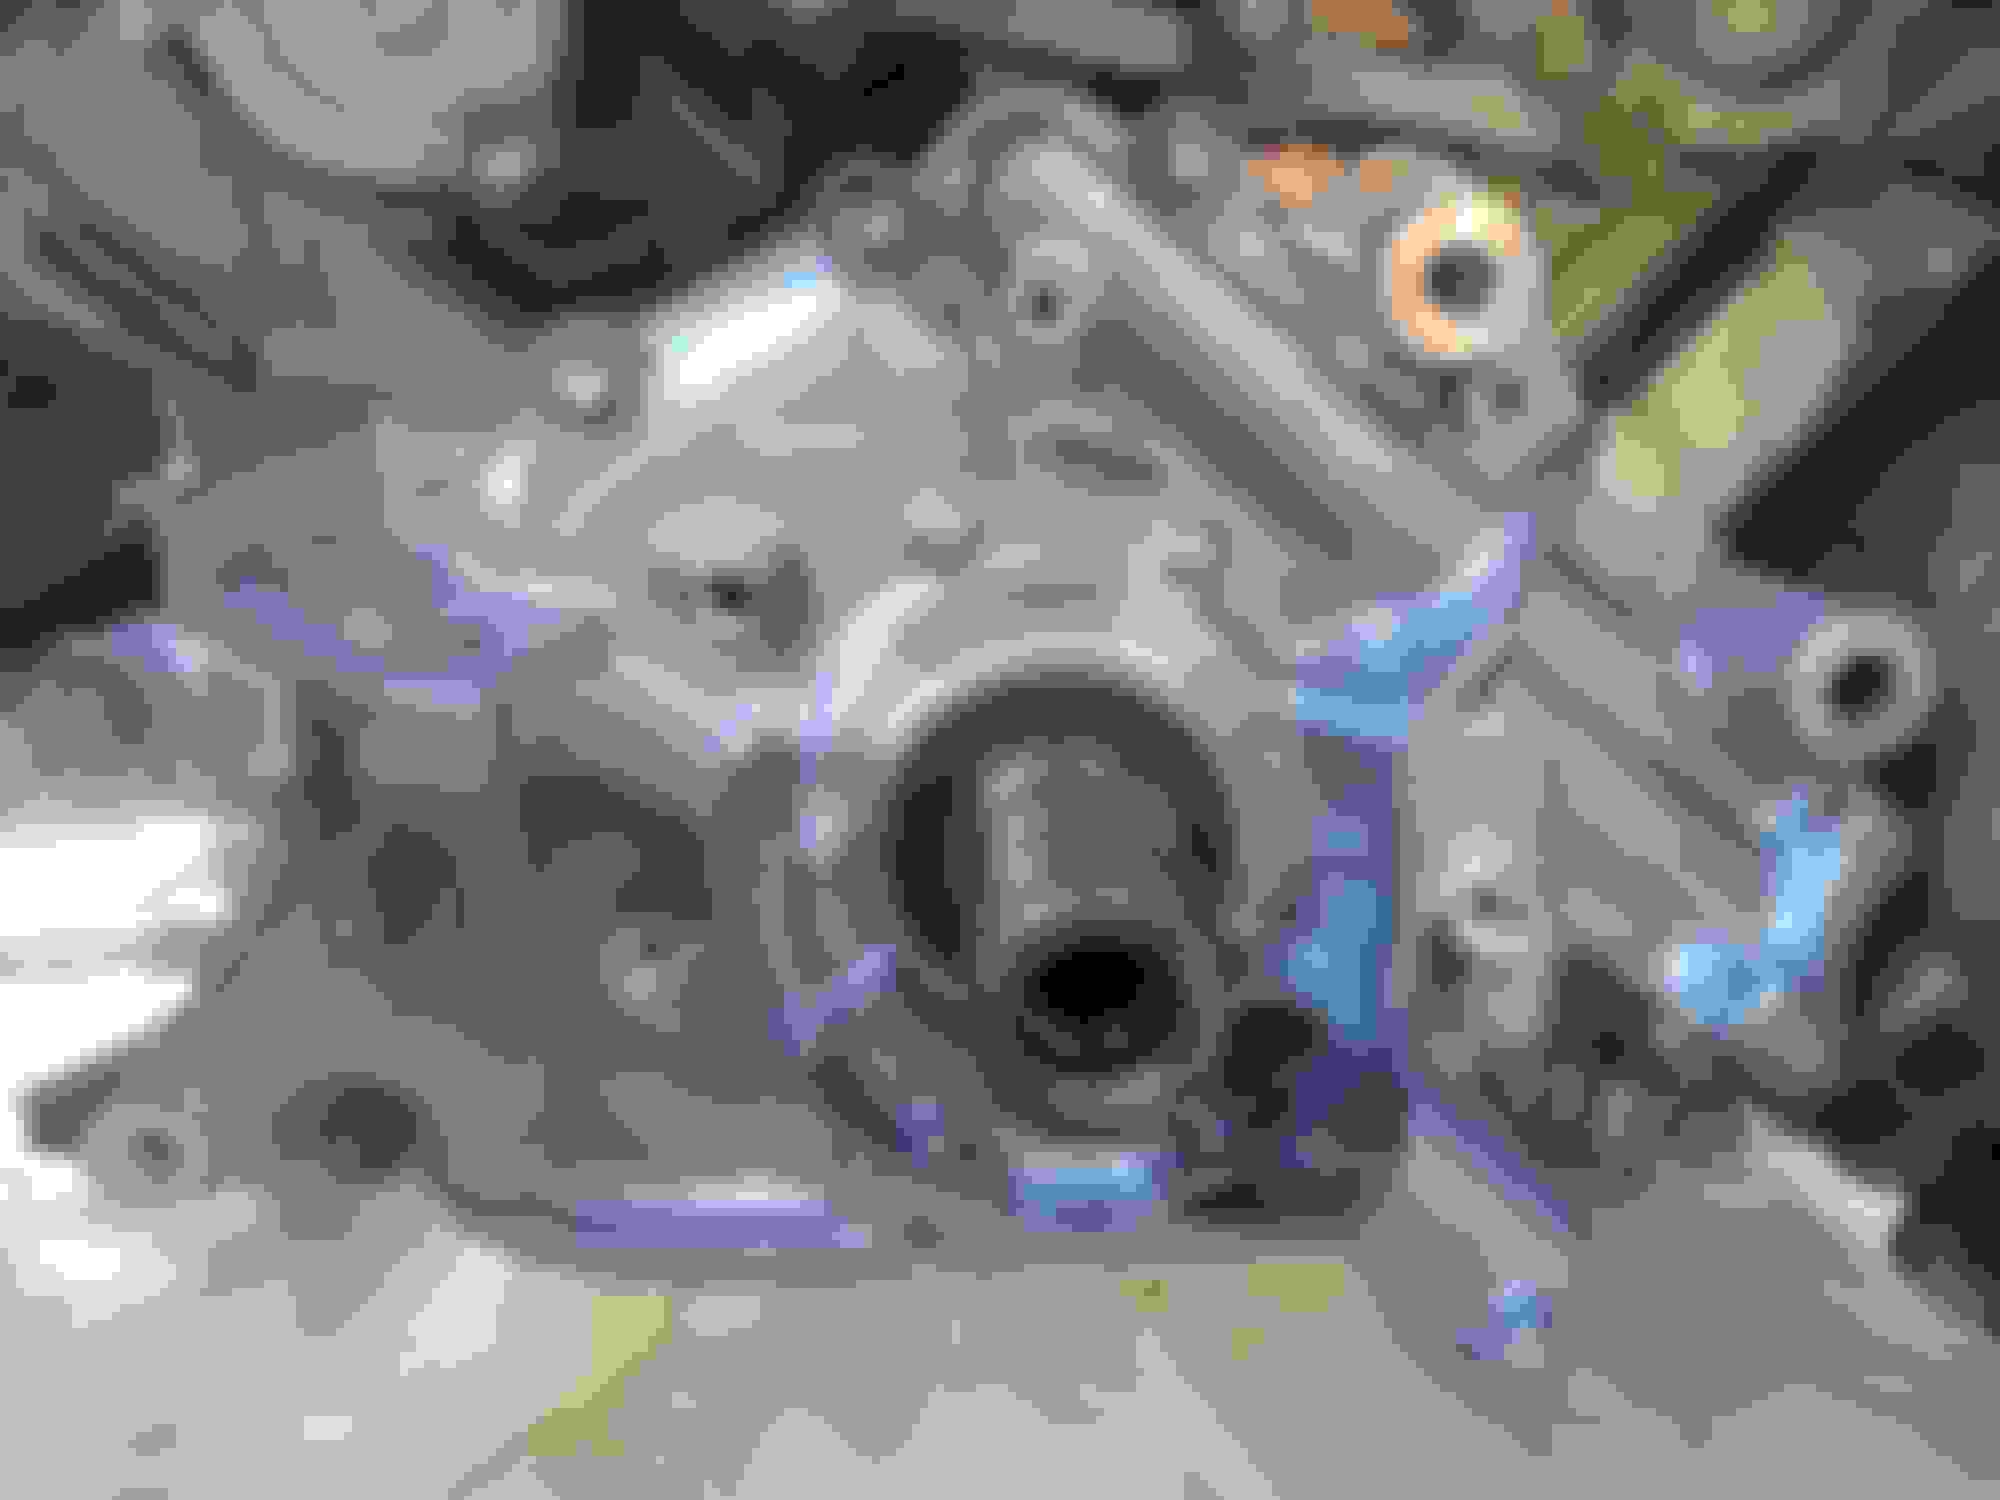
Here's the pump with the rear cover removed
Gears removed from the housing
Here's some very slight wear on the pump housing
Overall there is almost no visible wear on this pump. The oil strainer must have filtered out the debris from the oil pan. I could have reused this pump but I installed a new one since I already had it.
Just want to say that this is an awesome thread, thanks for taking the time to take such detailed pictures and document everything you did. Very helpful to those of us thinking about changing out the oil pump.
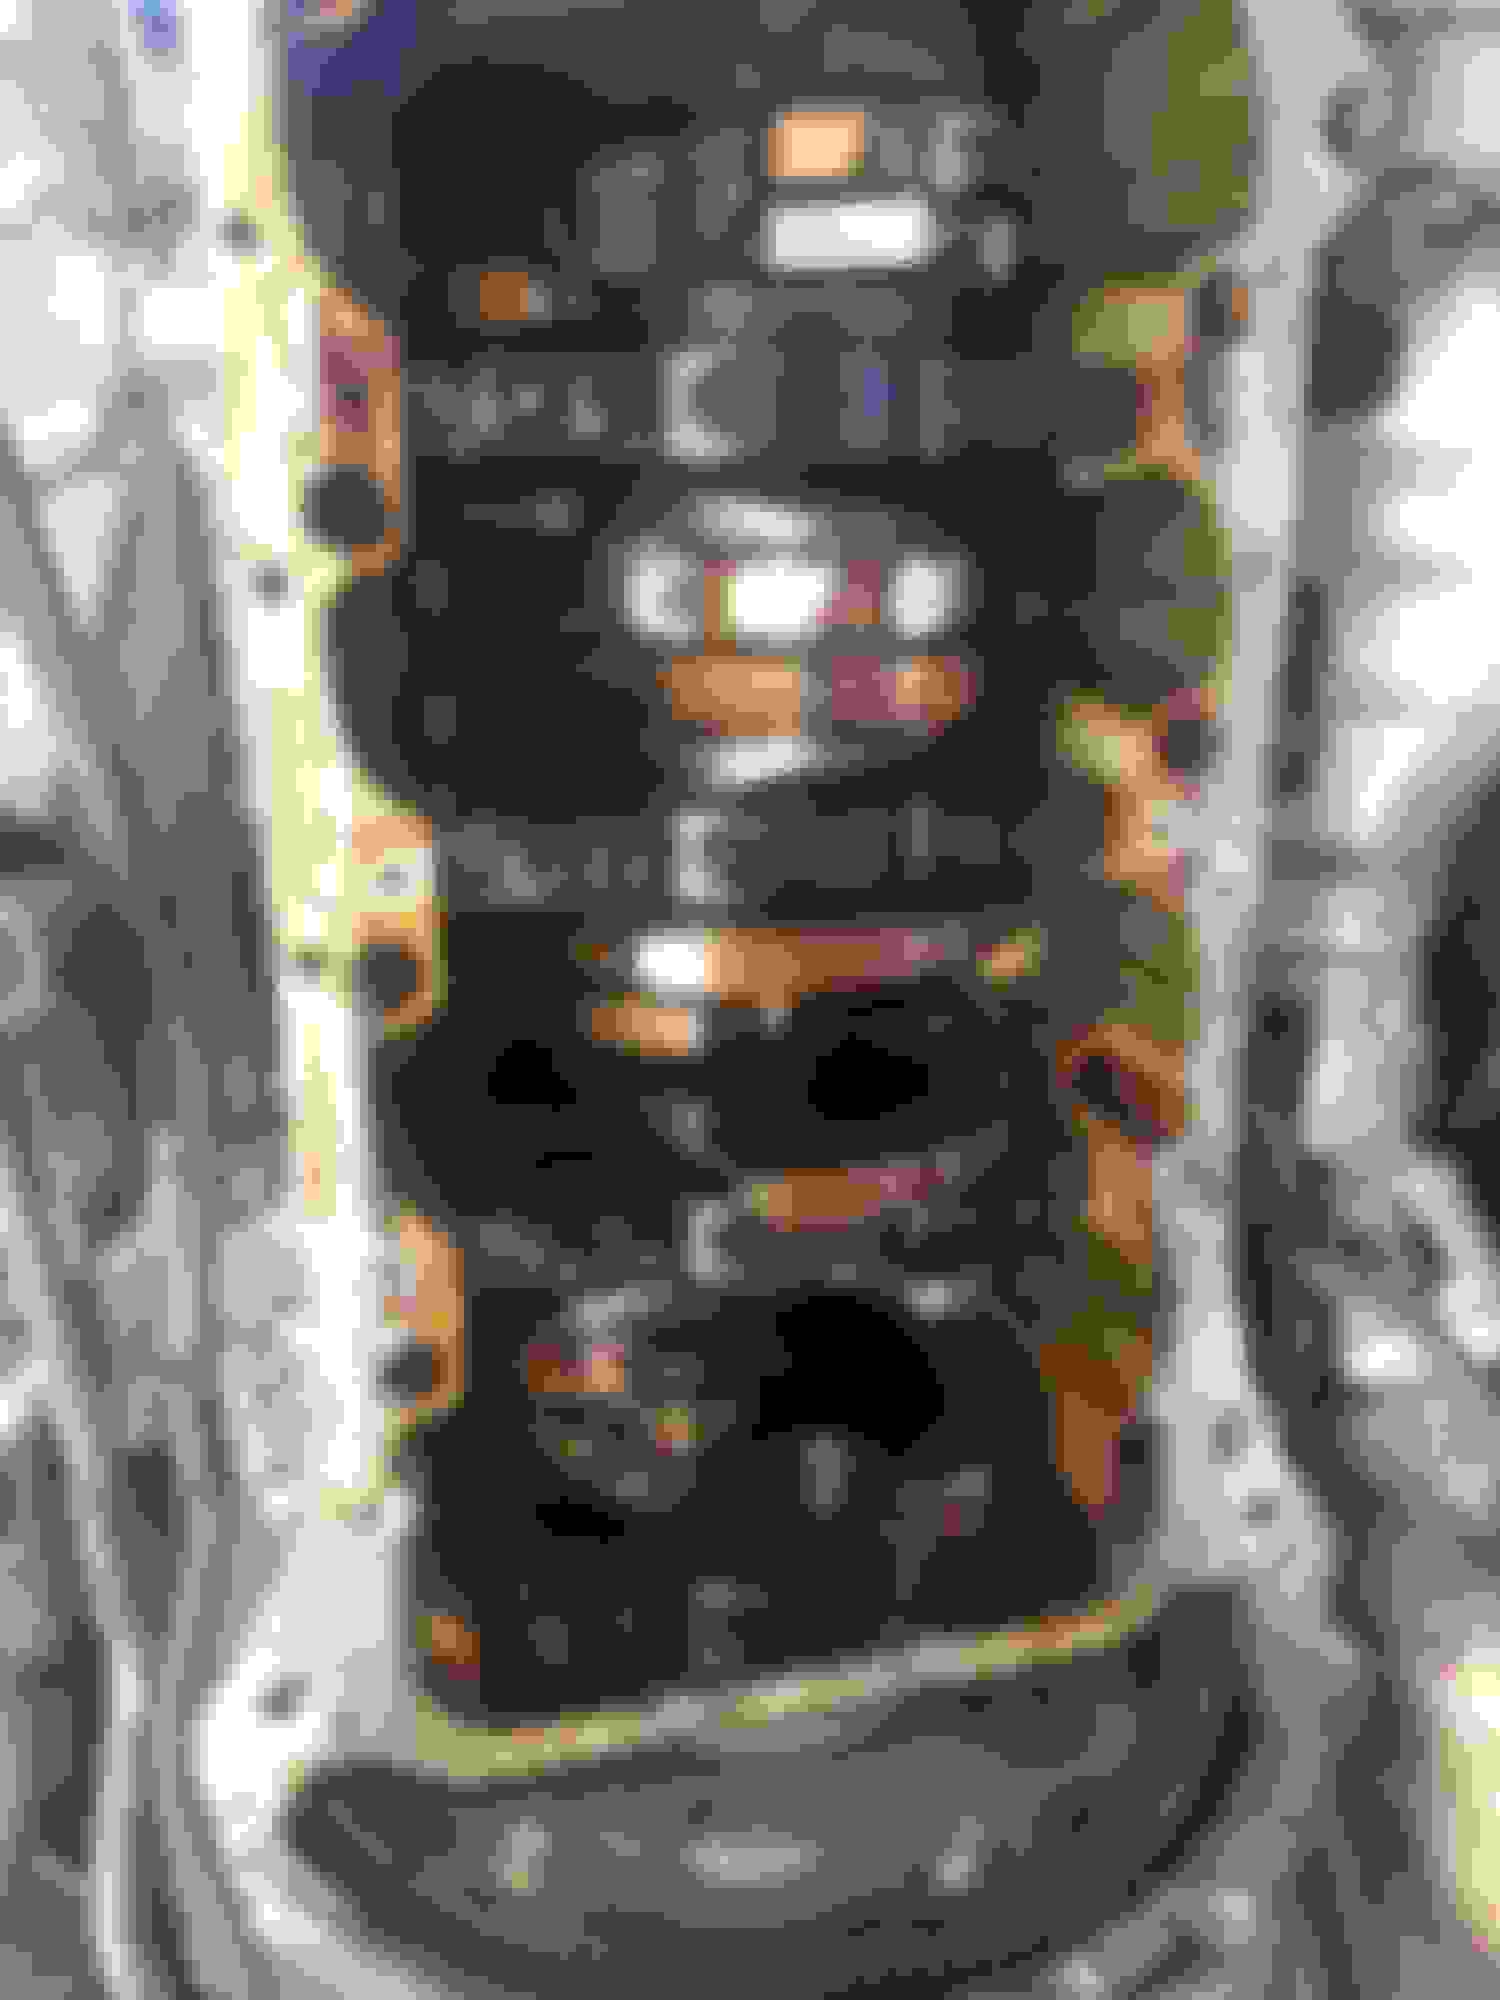
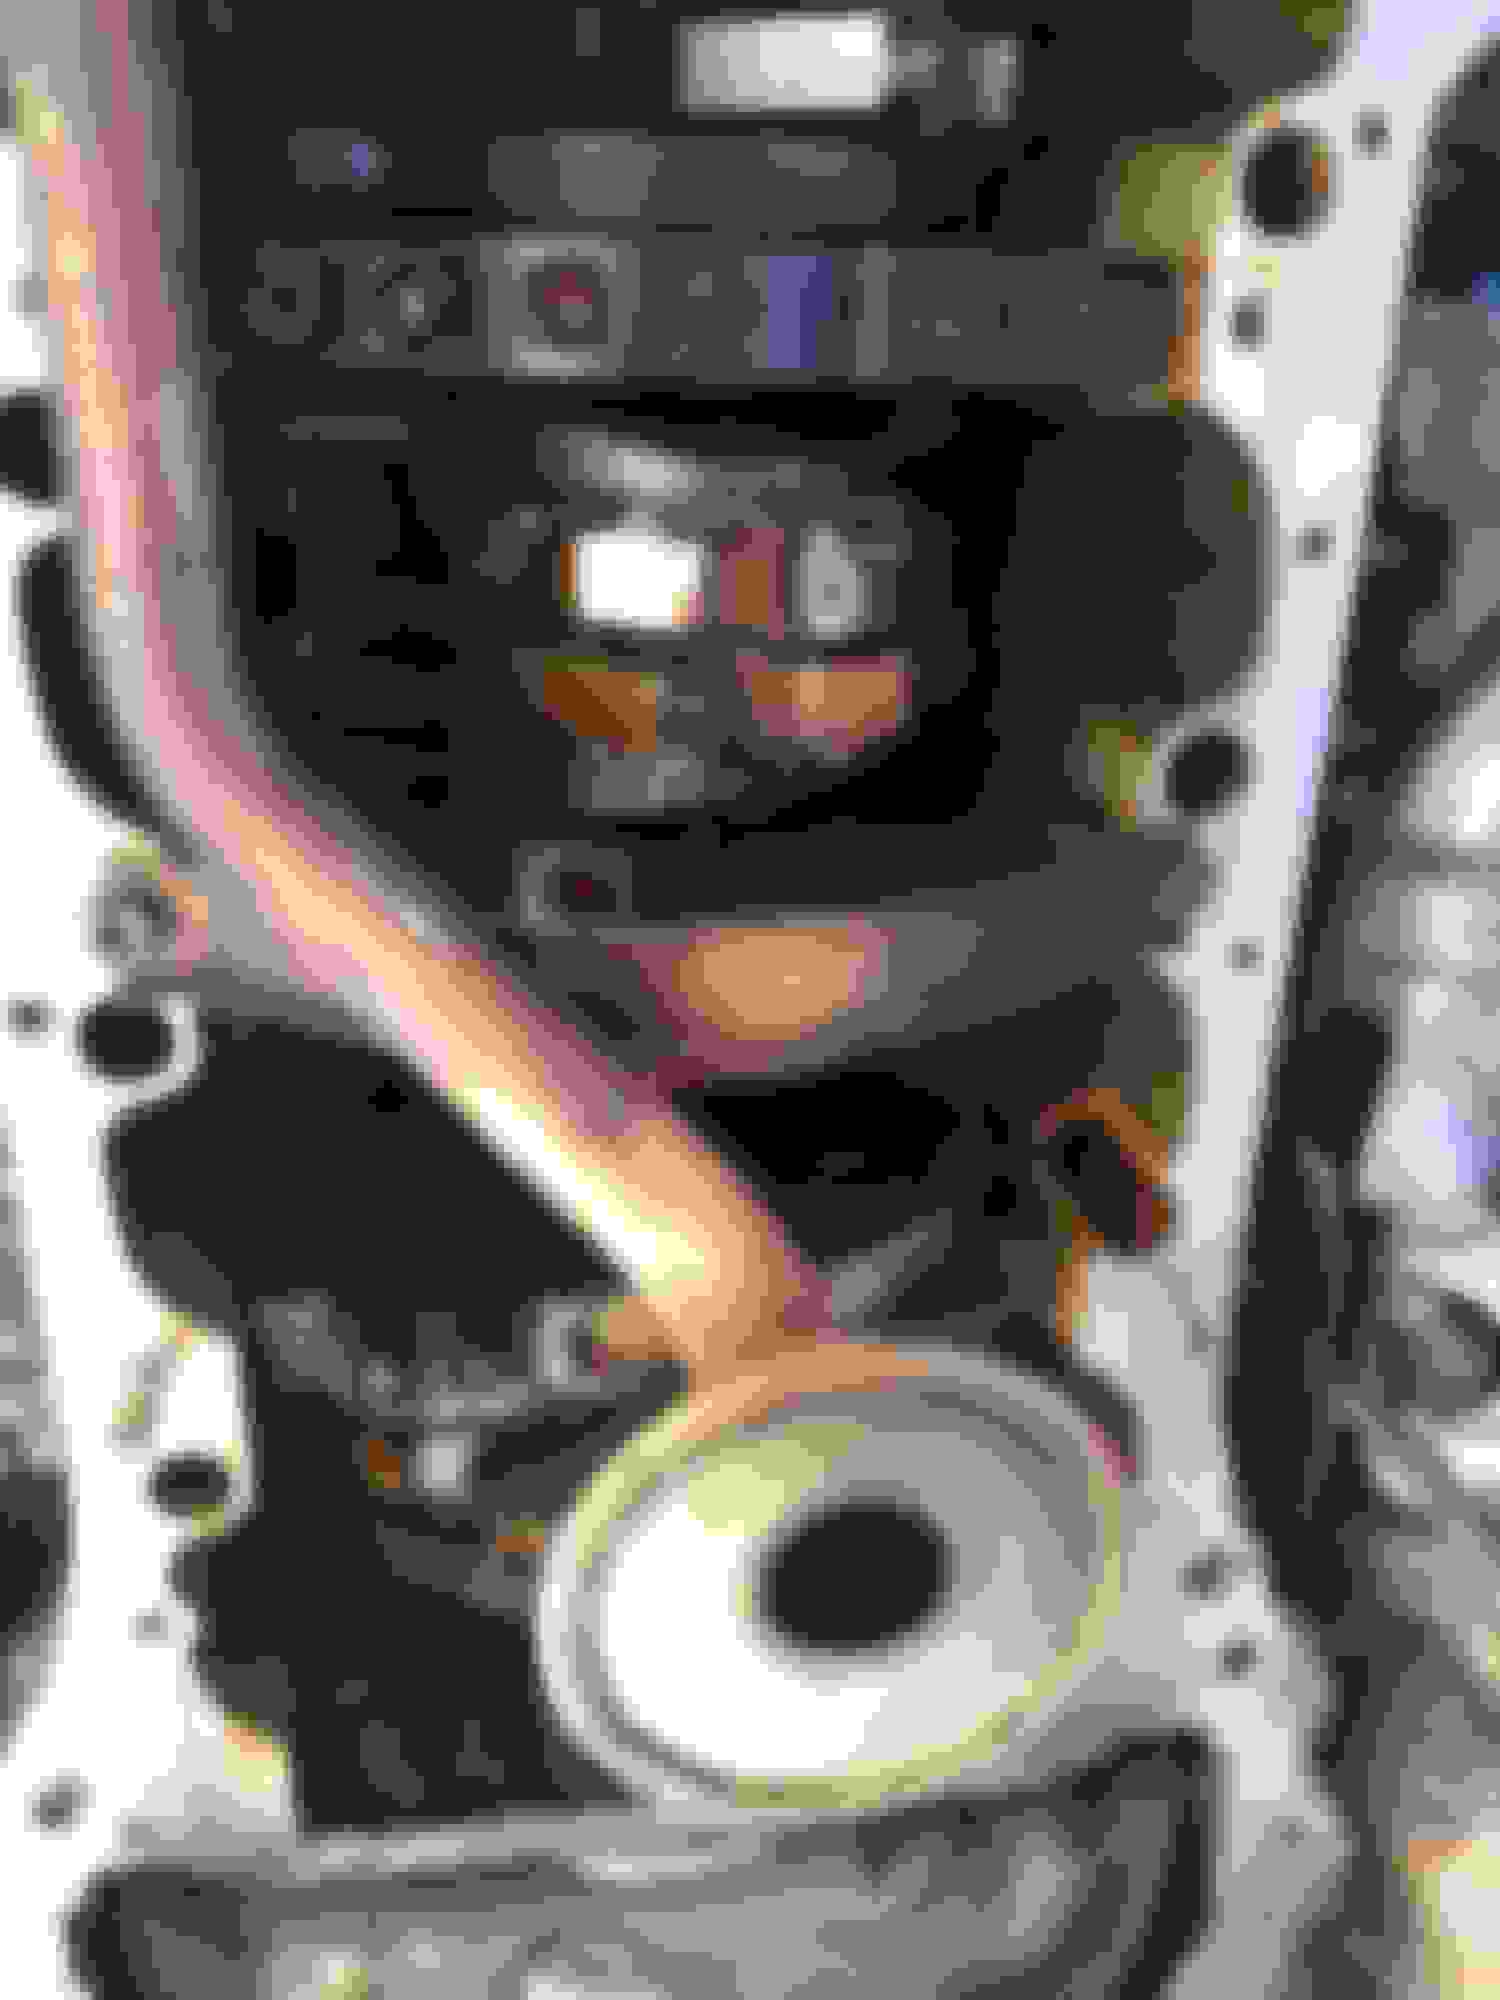
Worked on the car for a bit today. Here pics of the engine with the oil pump and pans removed.
Here you can see how sloppy the factory installed the fipg. The bead actually bridged the oil return holes and was barely touching the block.
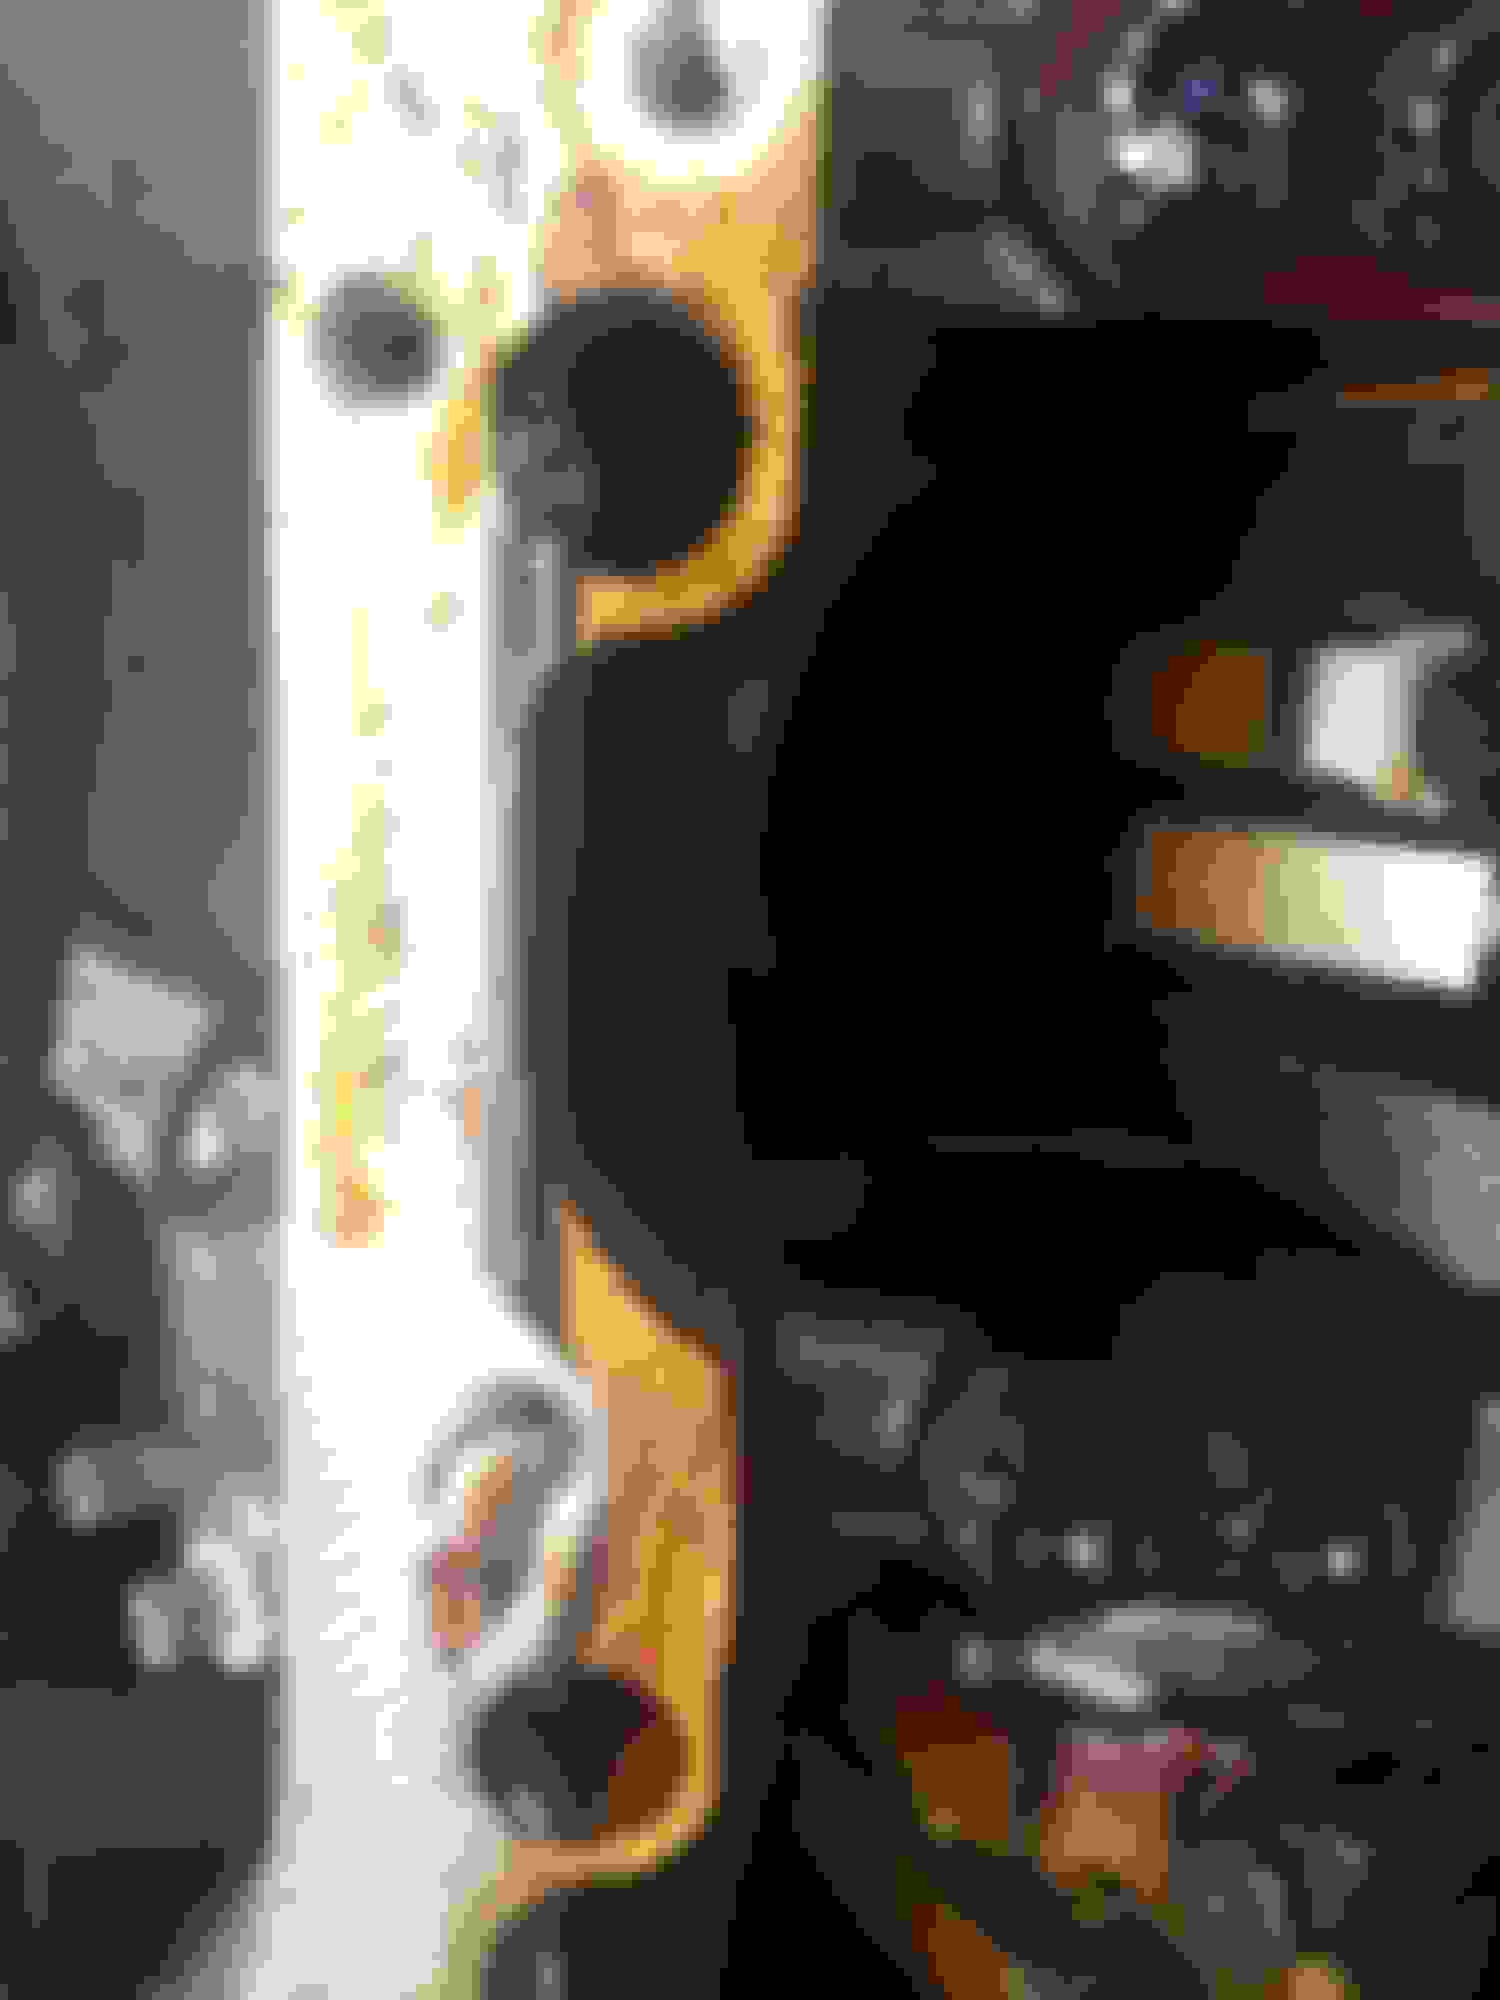
Here's a pic of the drains on the side of the block for changing coolant. There is one on each side.
Here's where the motor mount bolts to the block with 4 bolts. It is not necessary to remove them but my driver's side was in 2 pieces.
Here's the motor mount still installed on the passengers side.
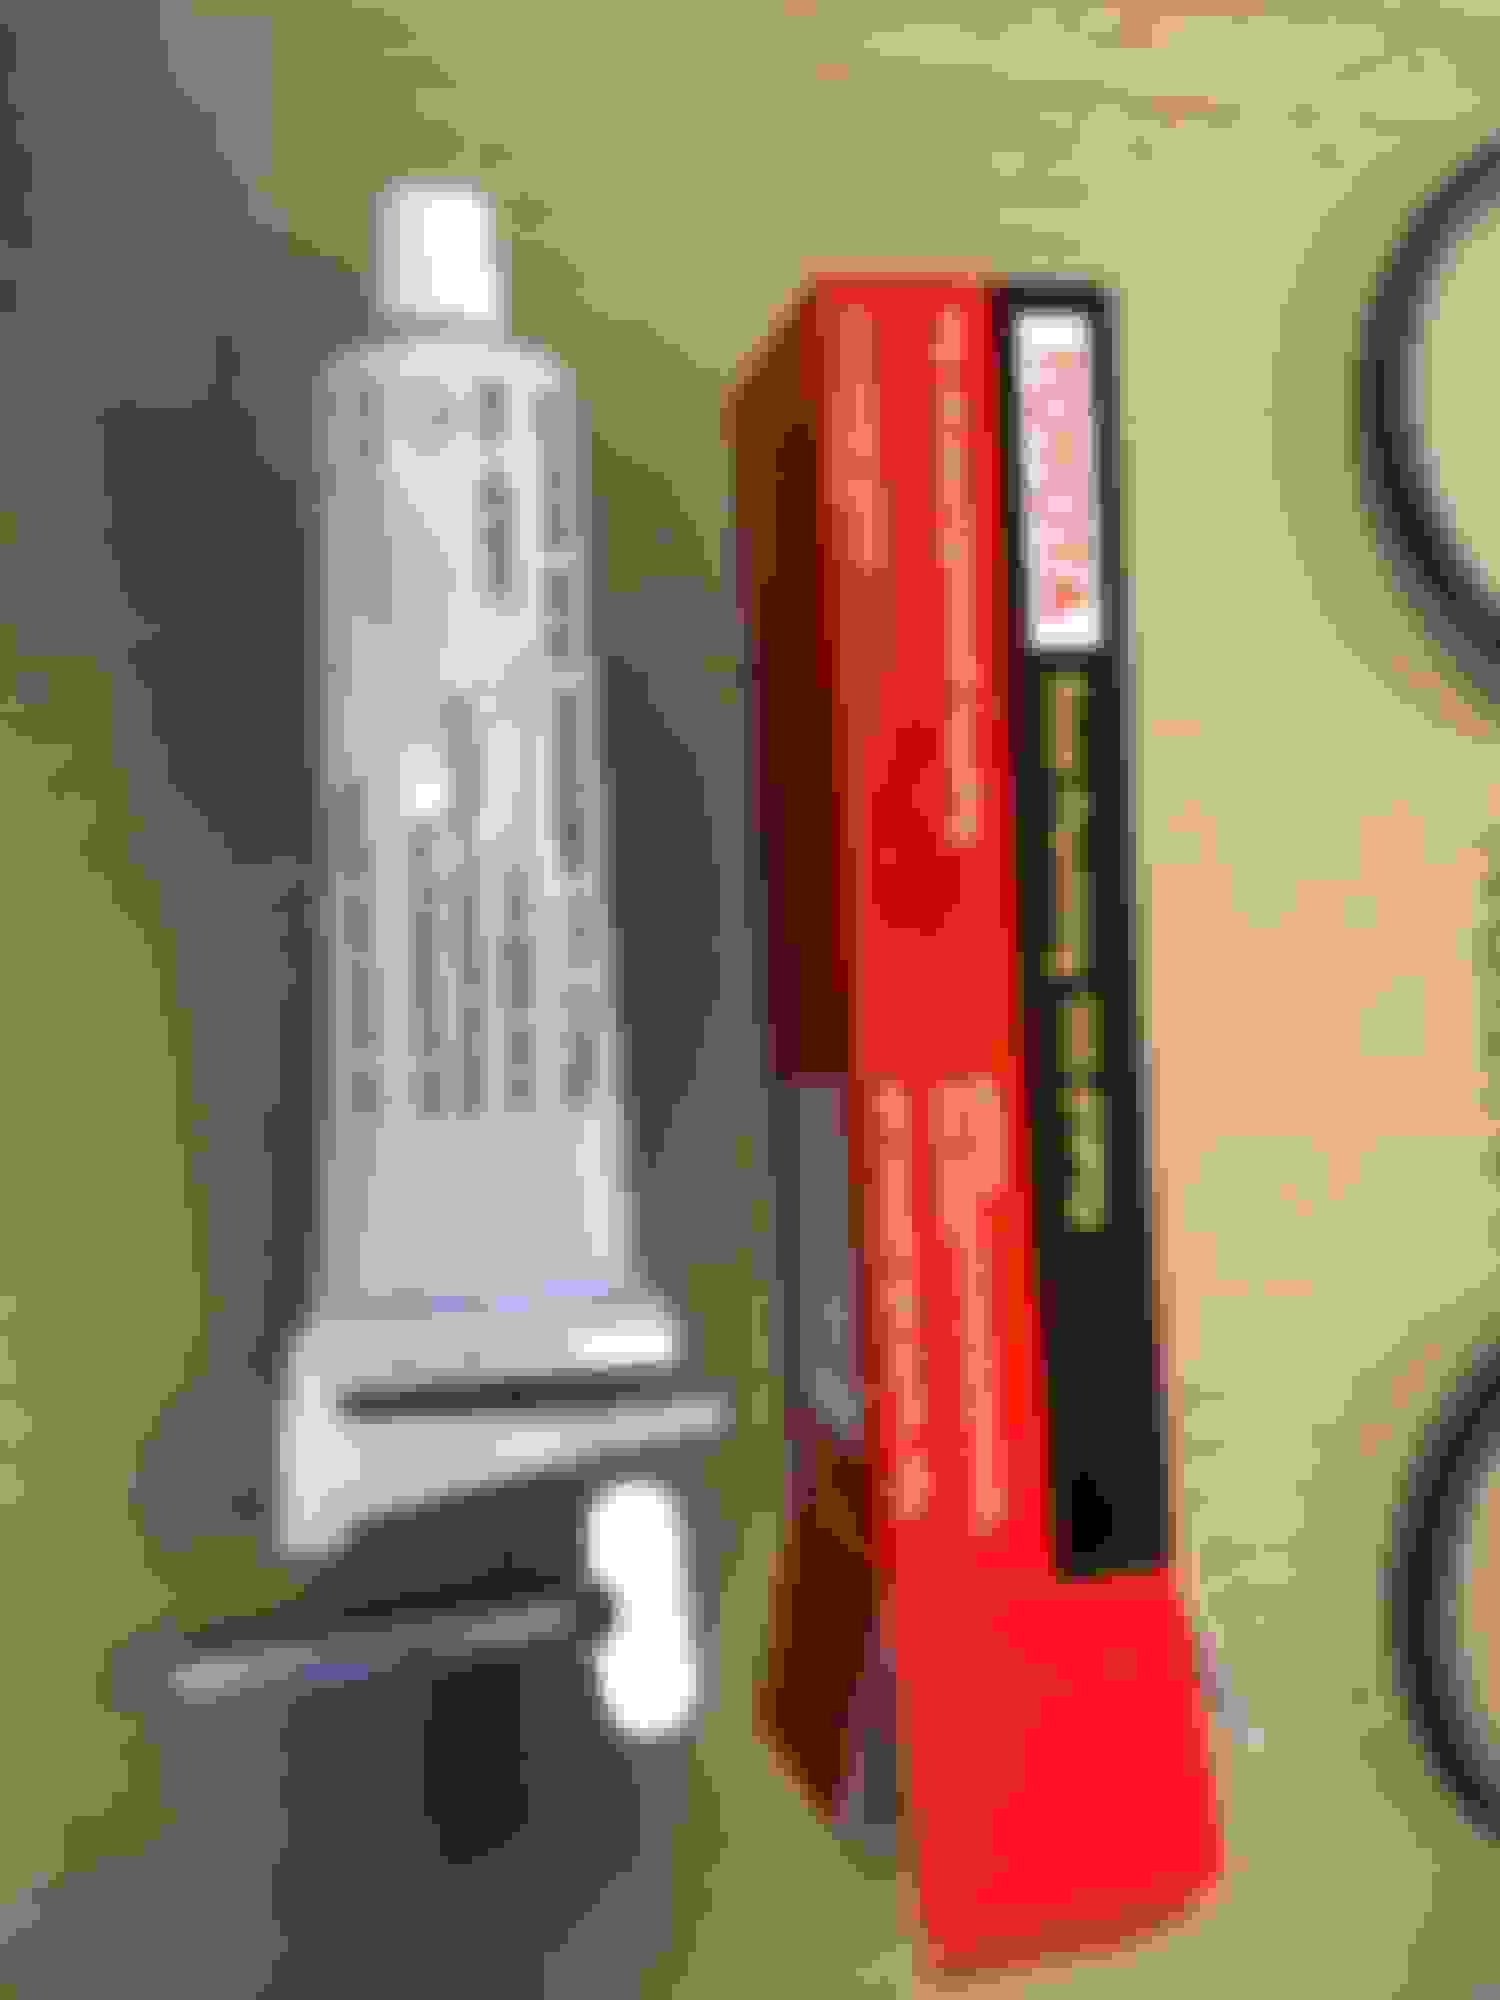
I cleaned all the gasket surfaces with razor blades and brake cleaner. I then began to install the oil pump by putting a new o-ring in the block. I installed a new crank seal and greased the lip. I then applied fipg as called for in the manual. I used the new black stuff that has a 15 minute working time instead of the 5 minute working time of the superceded gray stuff. The rolling key that comes with it is awesome and makes it really easy to apply evenly.
The 8 bolts holding the pump were installed and torqued.
I then cleaned and installed the oil pickup tube with a new gasket.
I cleaned and reinstalled the upper oil pan. There are 18 bolts (4 different sizes) and 2 nuts that hold it in place. I like that Toyota uses a few studs with nuts in an application like this as it makes lining up the pan easier and the nuts are easier to start. I then cleaned and installed the baffle plate with 4 bolts and 2 nuts.
Next I cleaned and installed the lower oil pan with the 13 bolts and 2 nuts. Both oil pans were sealed with the black fipg.
I then reinstalled the oil level sensor on the driver's side with and new gasket and 4 bolts. The dipstick tube was reinstalled as well.
I reinstalled the torque converter cover with 2 bolts. This cover hides the 2 rearmost upper oil pan bolts. I also reinstalled the 4 lower bell housing bolts that bolt to the upper oil pan from the rear. I then installed the driver's side motor mount.
I then reinstalled the transmission cooler line brackets. There are 3 on the passengers side.
Next was reinstalling the frame member and steering rack. I slid the rack onto the studs on the frame and just started the nuts. I then lifted the passengers side of the frame up and slid into on to the front lower control arm bushing. I had to get creative and used a rachet strap to pull the frame on to the arm enough to get the bolt in. I then used a jack to lift the driver's side of the frame up. I pulled the control arm out of the way as I lifted. Once that control arm bolt was started I slowly lifted the frame from the center and lined everything up. There are locating pins on the frame member and the motor mounts. Once everything was lined up I reinstalled the frame bolts and snugged them down. I torqued the front and rear bolts. I then lowered the engine on to the frame and reinstalled the motor mount nuts. Connect the power steering lines and reattach them to the oil pan with the 2 bolts. Reinstall the tie rod ends on to the spindles and reinstall the wheels. I then lifted the front of the car and put ramps under the front tires. Lower it down so the suspension is loaded and then torque the front lower control arm camber bolts. Fill the power steering reservoir. Fill the engine with oil and install the dipstick. Start the engine and look for leaks. I would let the fipg cure for at least a day before I added oil.
You did an amazing job 👌👌👌
How long did it take you lowering the lower oil pan?

 11-28-18, 07:21 AM