When you click on links to various merchants on this site and make a purchase, this can result in this site earning a commission. Affiliate programs and affiliations include, but are not limited to, the eBay Partner Network.
Just curious, is it still holding up? I just ordered the paint kit (with primer) and I want to do it right the first time so, should I primer first? Also, this question has been asked many times and not really answered, where do you start removal, front or rear? I have tried to take them off by hand and with a plastic pry tool but they aren’t coming off very easily and it seems like If I pry any harder, they will bend. Thanks for the reply.
I have the exact color car mine is a '09 & the trim is doing the same thing. I got my car in March & when sold to me the salesman stated they had an 07 that did the same thing & that they took it to a paint & body shop to get it fixed. I didn't get mine done from them because they wouldn't give me a deal on the cost of the car with my trade. But looking at it I saw that I could possibly just take the strip off & keep the chrome look that is underneath it.
I was driving the other day & heard a noise looked at passenger window & the dang strip was flapping in the wind! So we cut it off but the rest is needing to come up also.
Just curious, is it still holding up? I just ordered the paint kit (with primer) and I want to do it right the first time so, should I primer first? Also, this question has been asked many times and not really answered, where do you start removal, front or rear? I have tried to take them off by hand and with a plastic pry tool but they aren�t coming off very easily and it seems like If I pry any harder, they will bend. Thanks for the reply.
Still looks great! Smooth and shiny, no oxidation or discolouration.
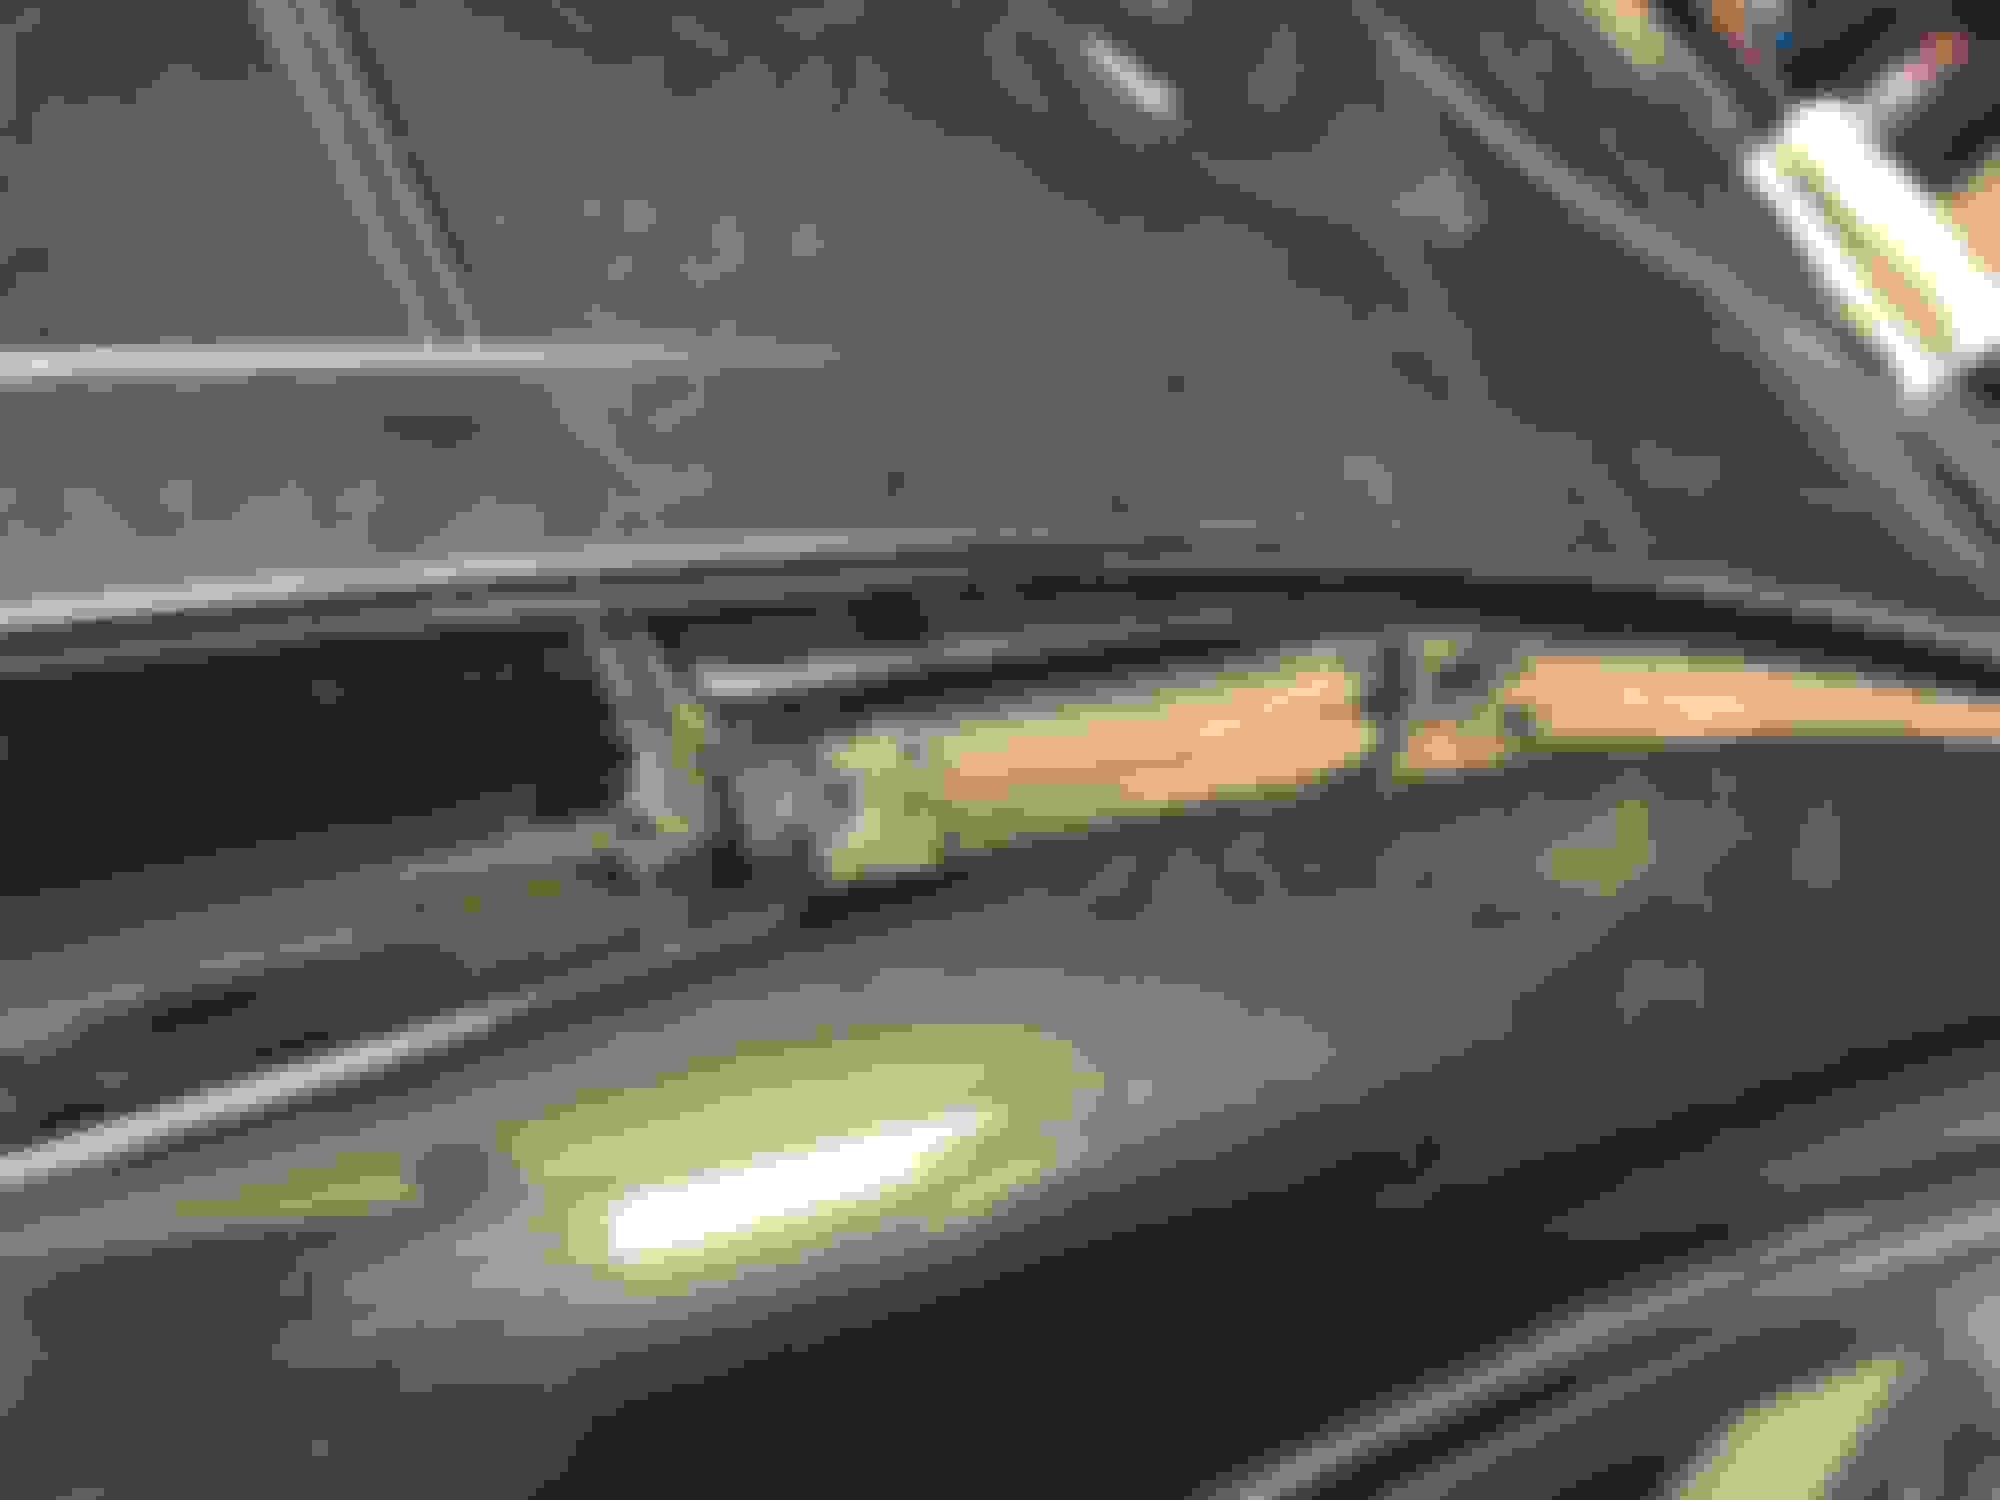
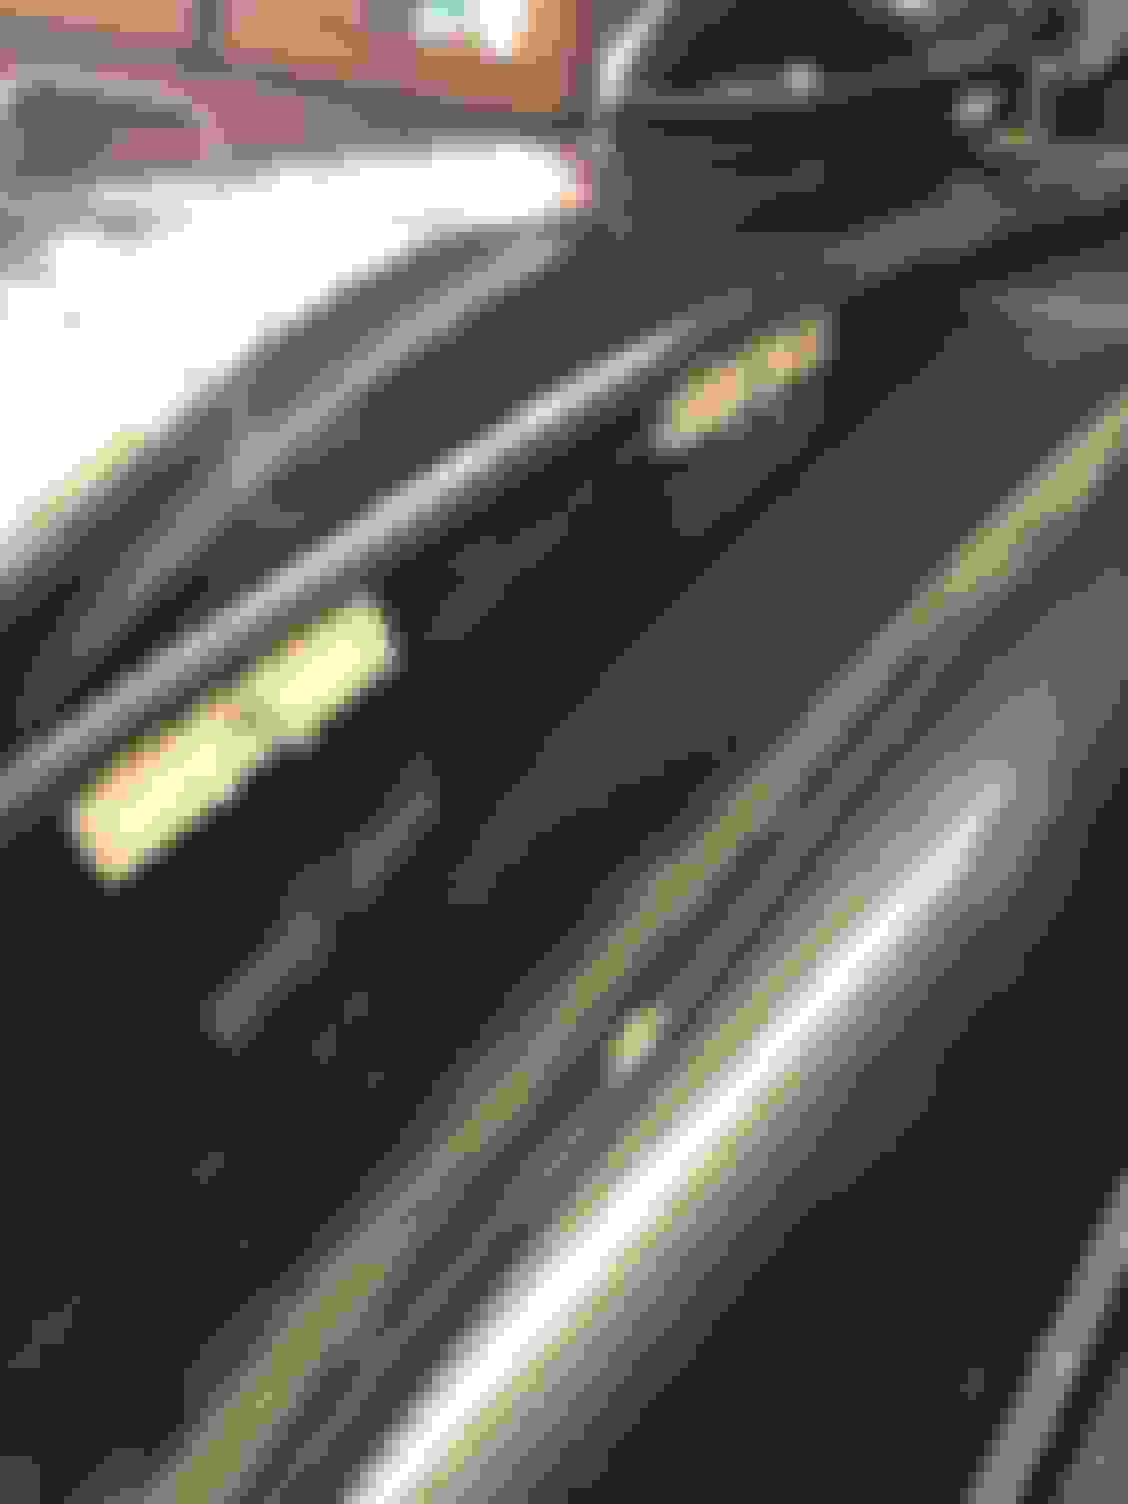
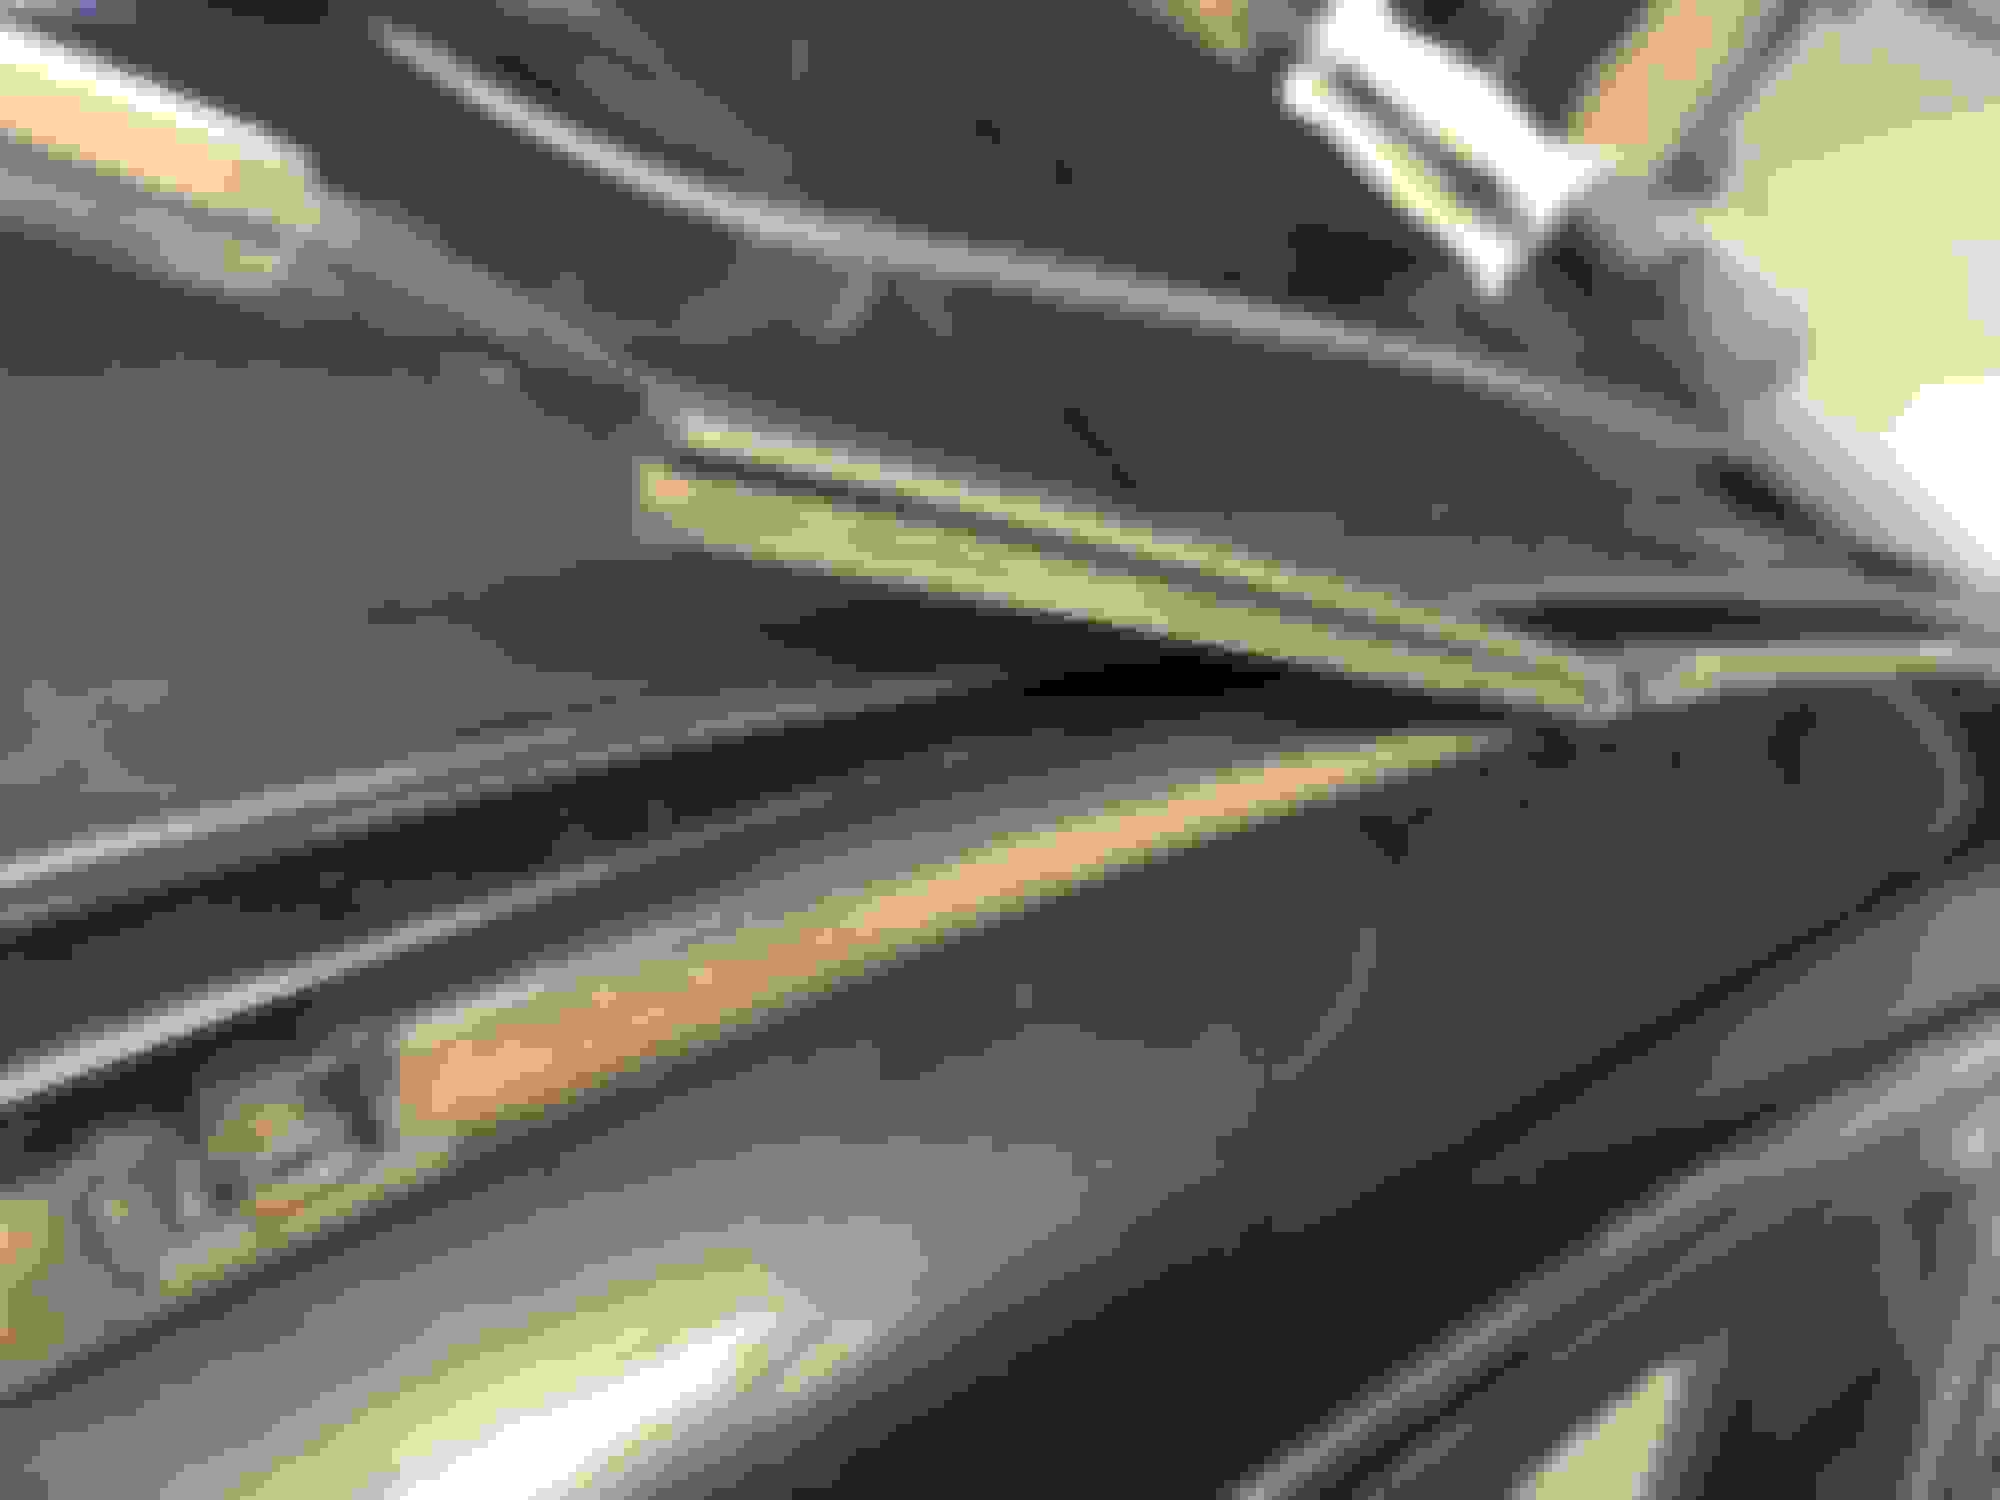
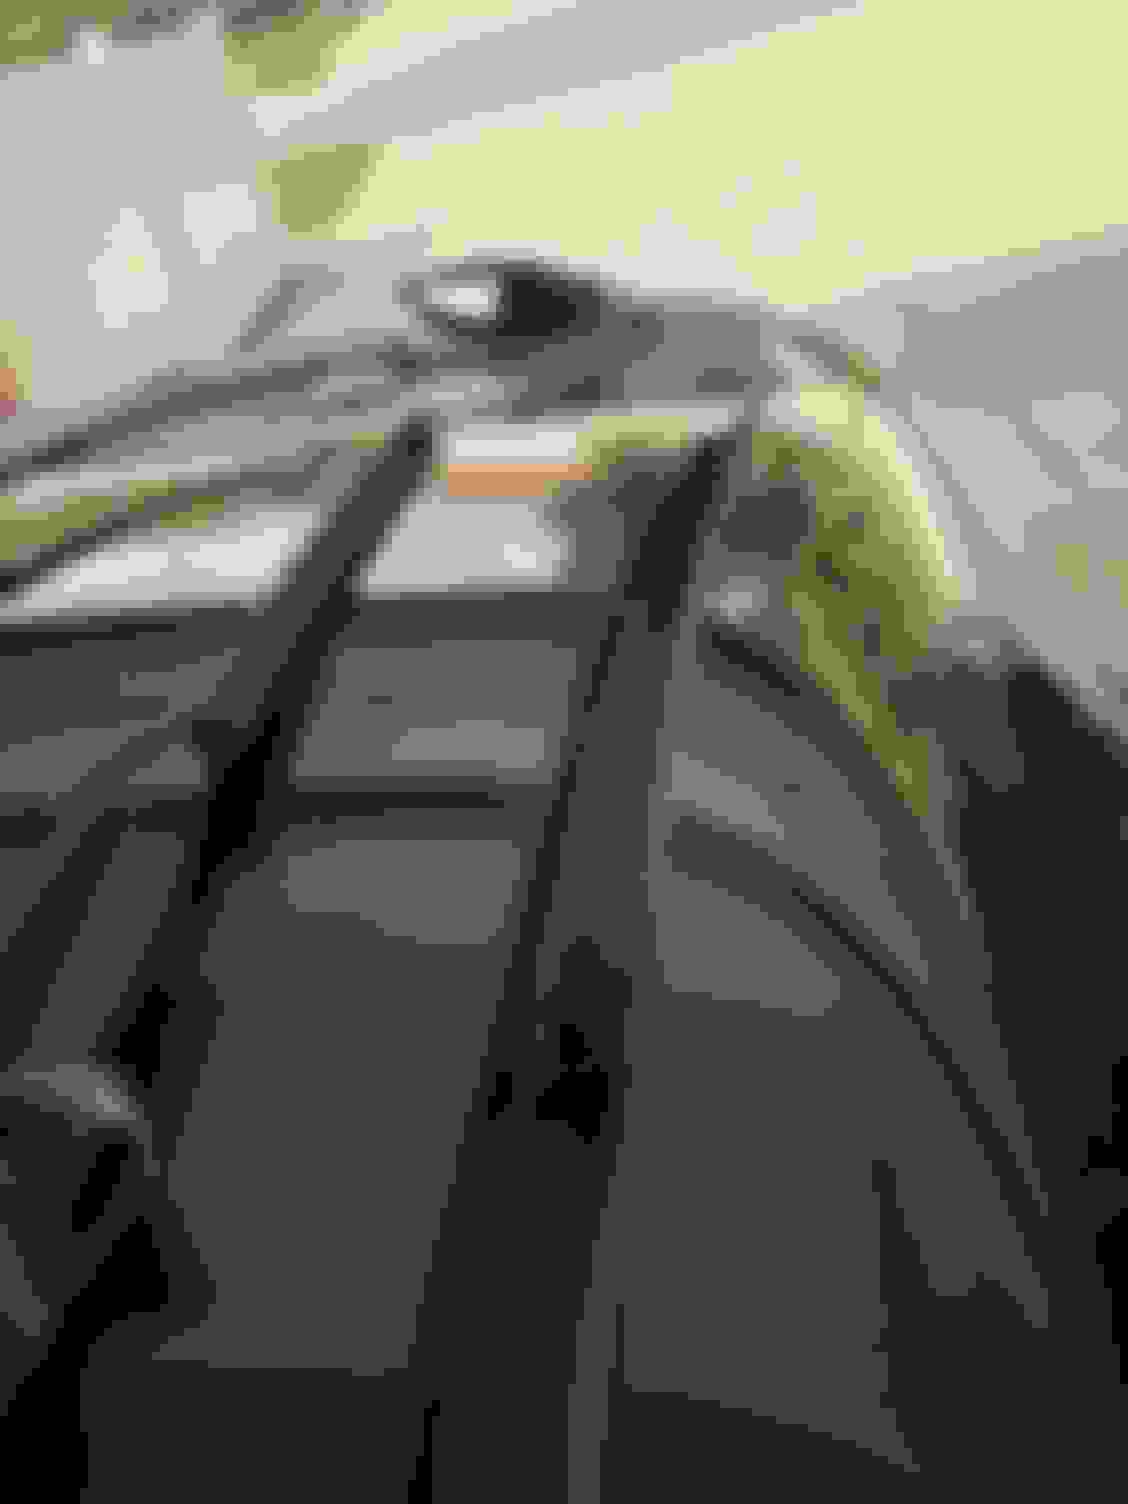
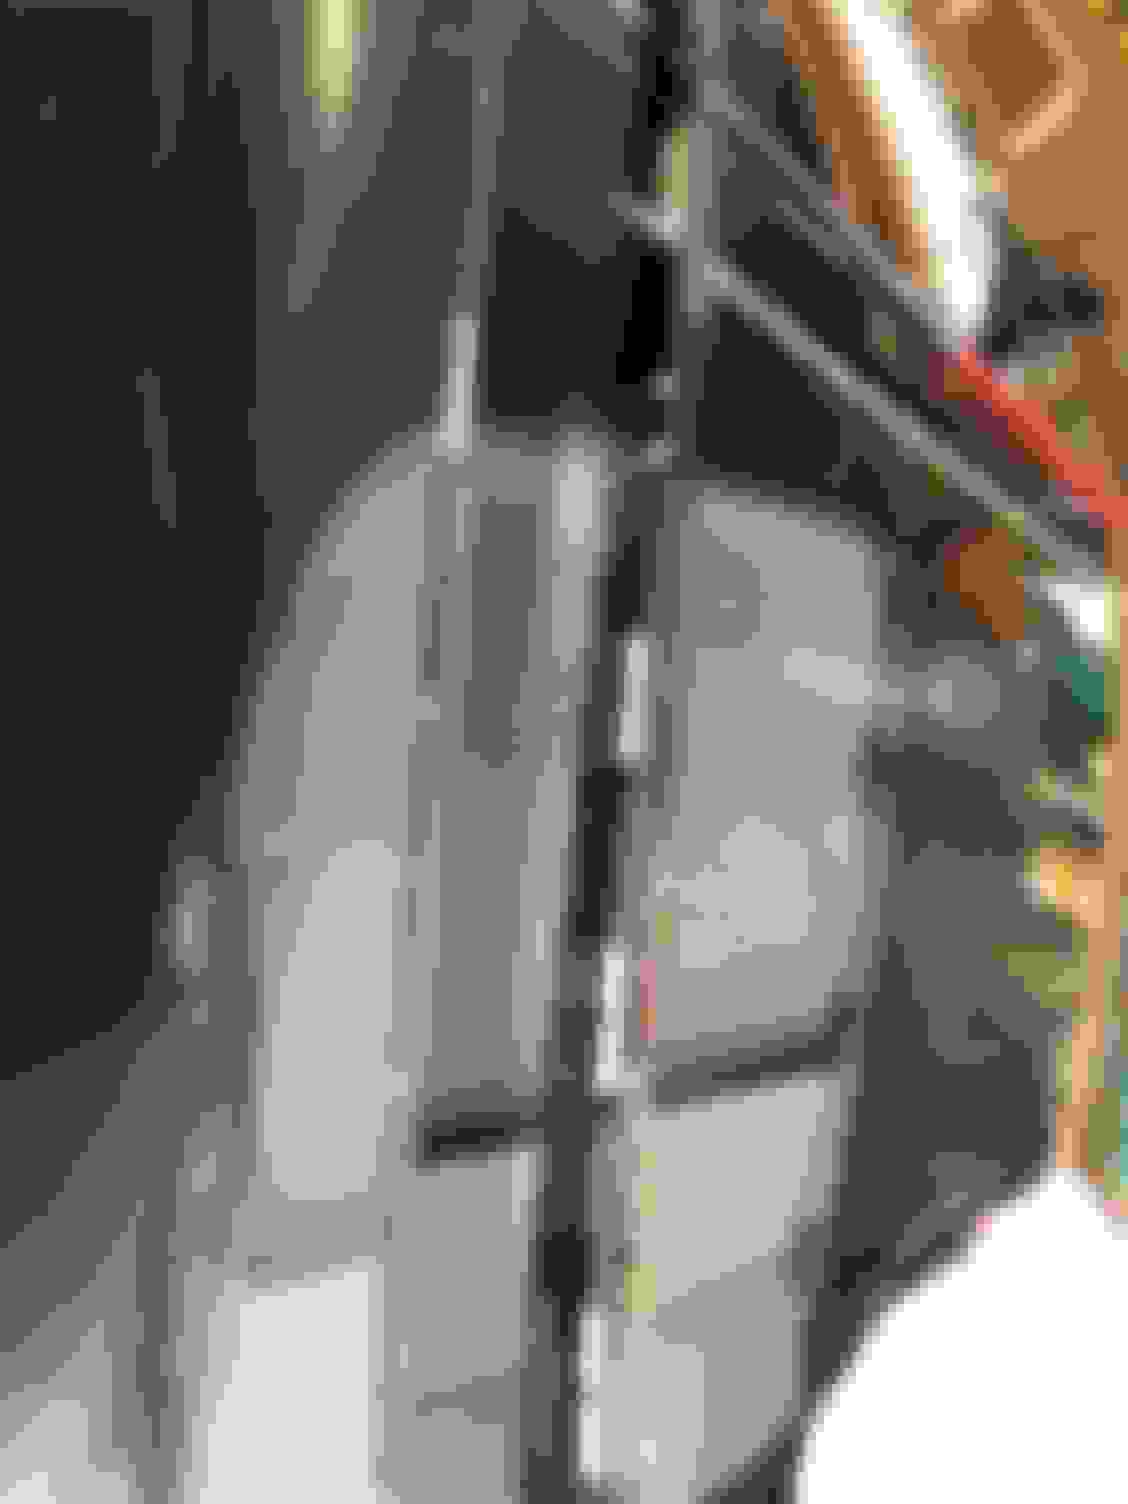
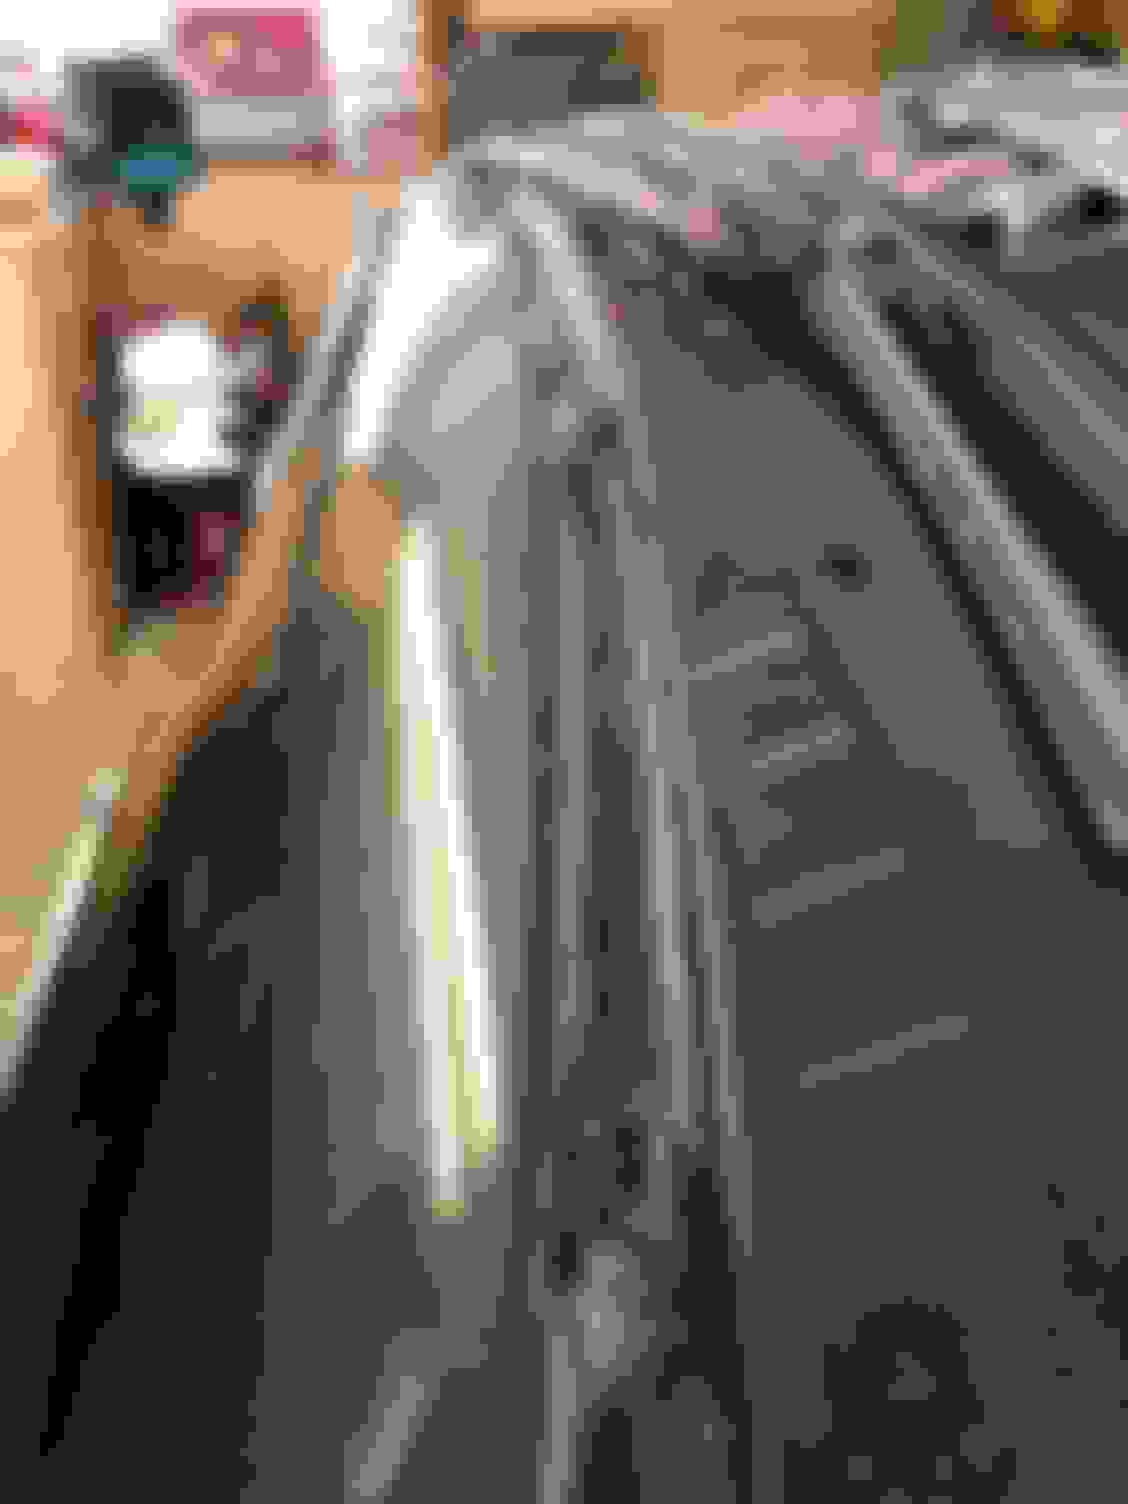
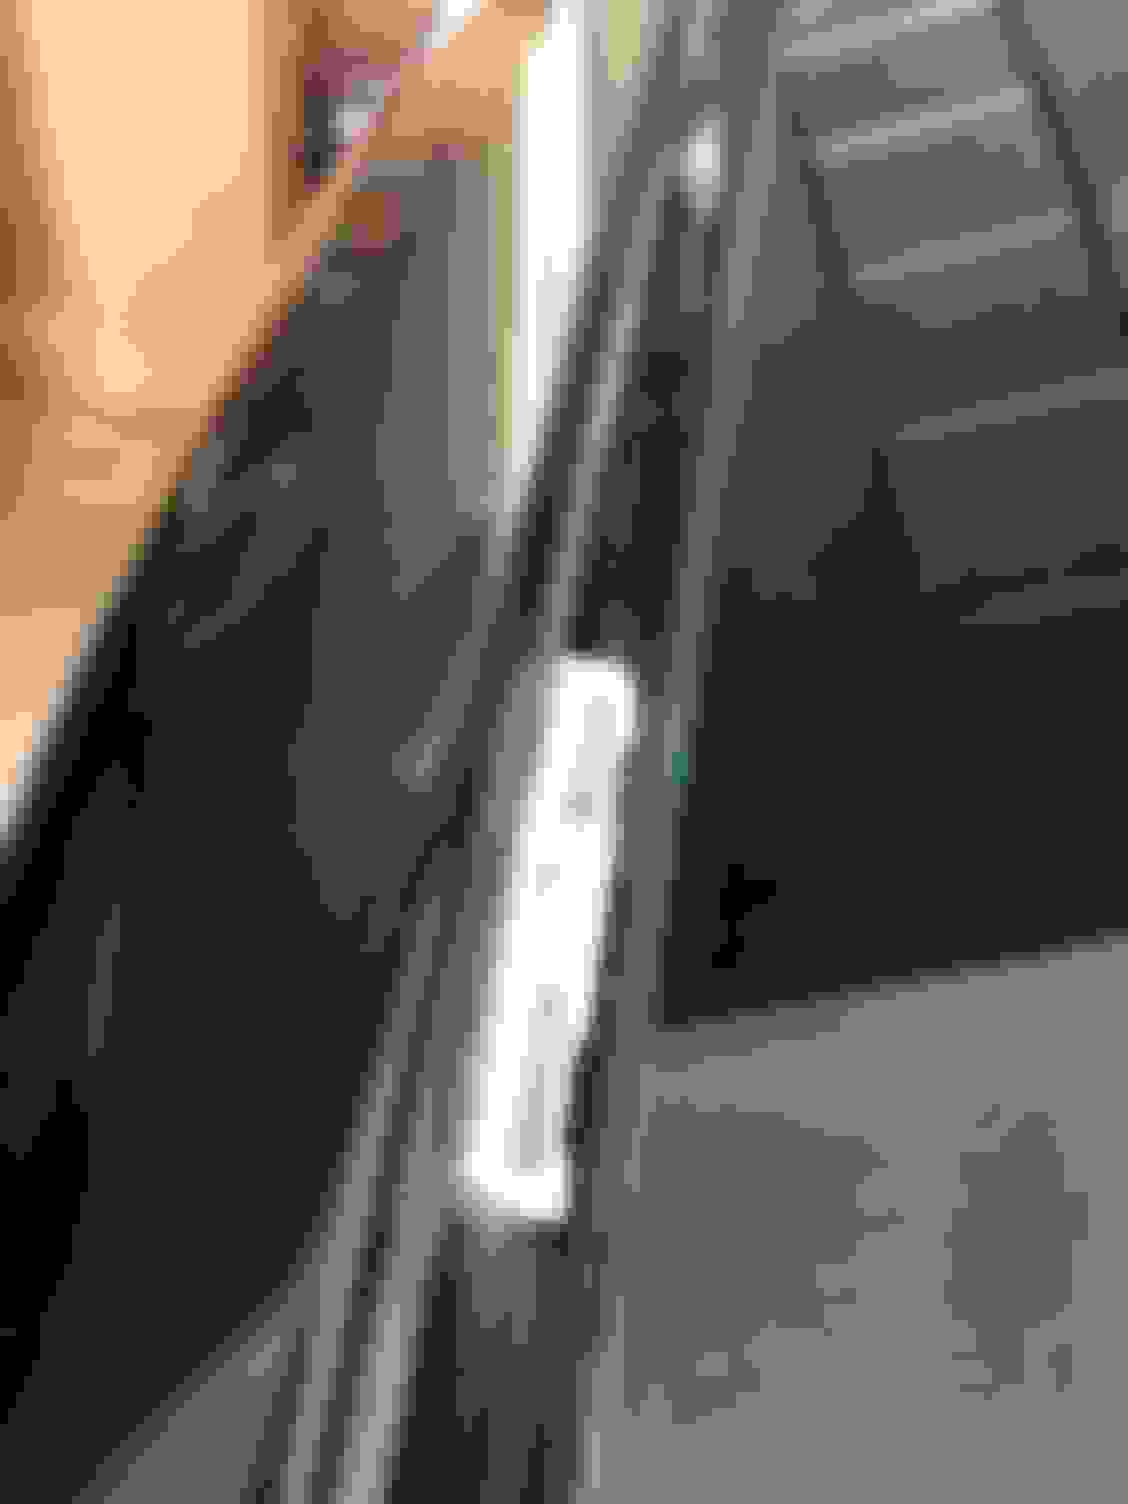
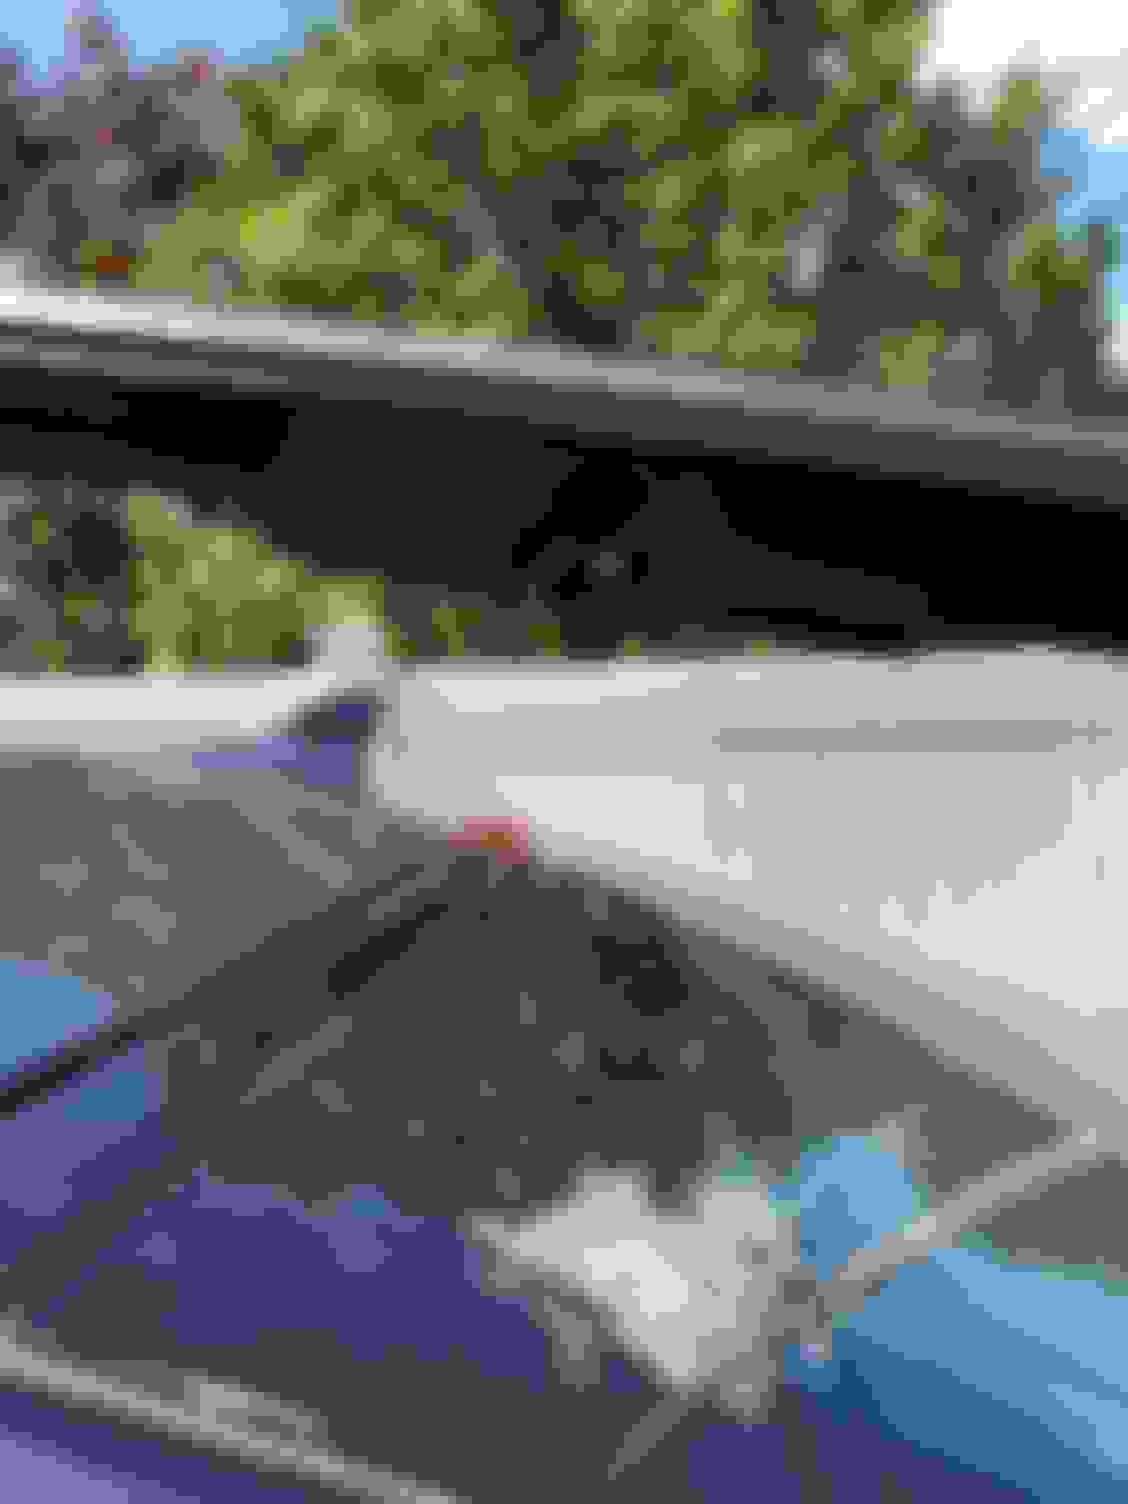
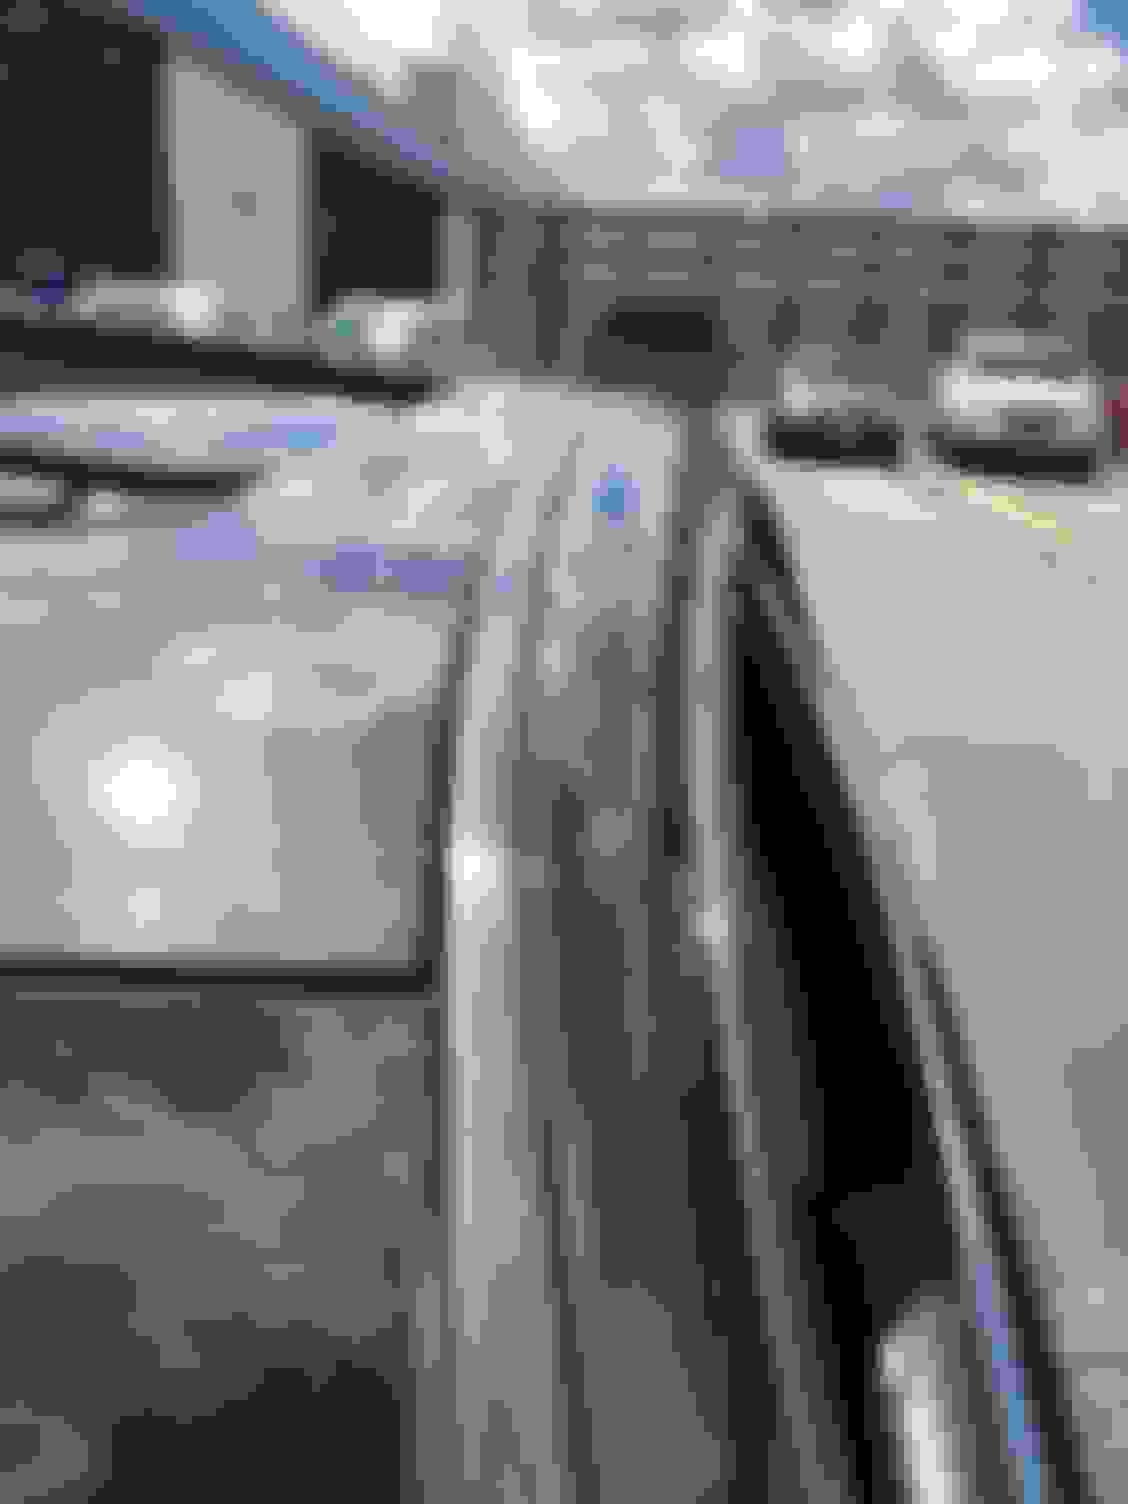
After a long highway drive in 90 plus temps. This is what i saw that night. Guess it was finally time for it to let go. Looking into have it painted to match soon. The other side i can see it wanting to peel up too. and the back end too.
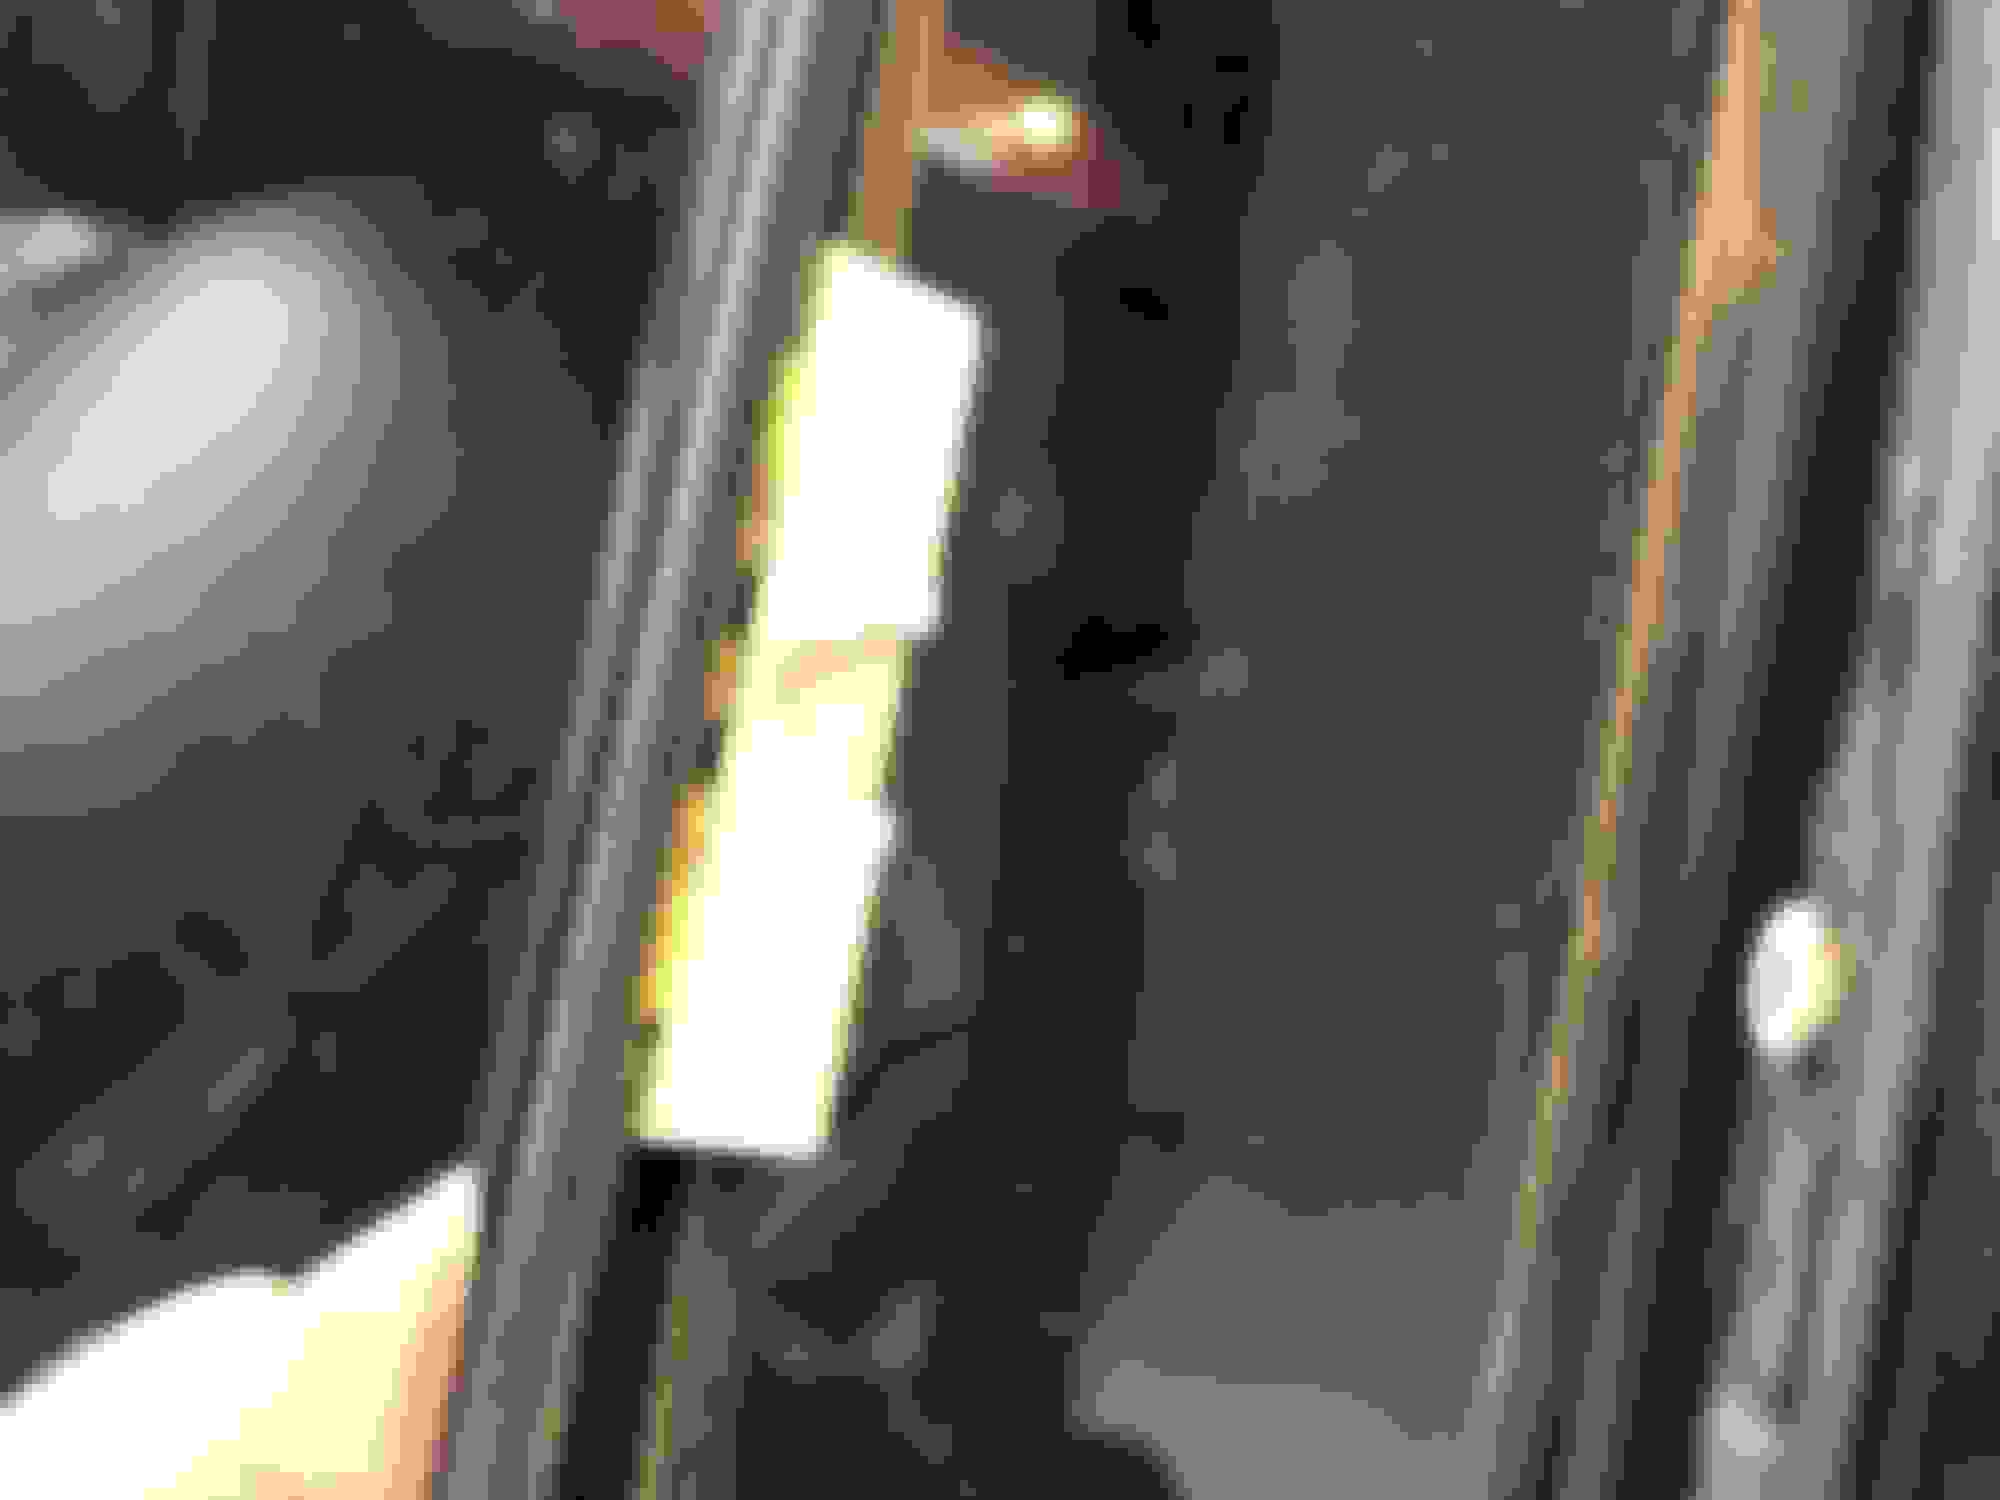
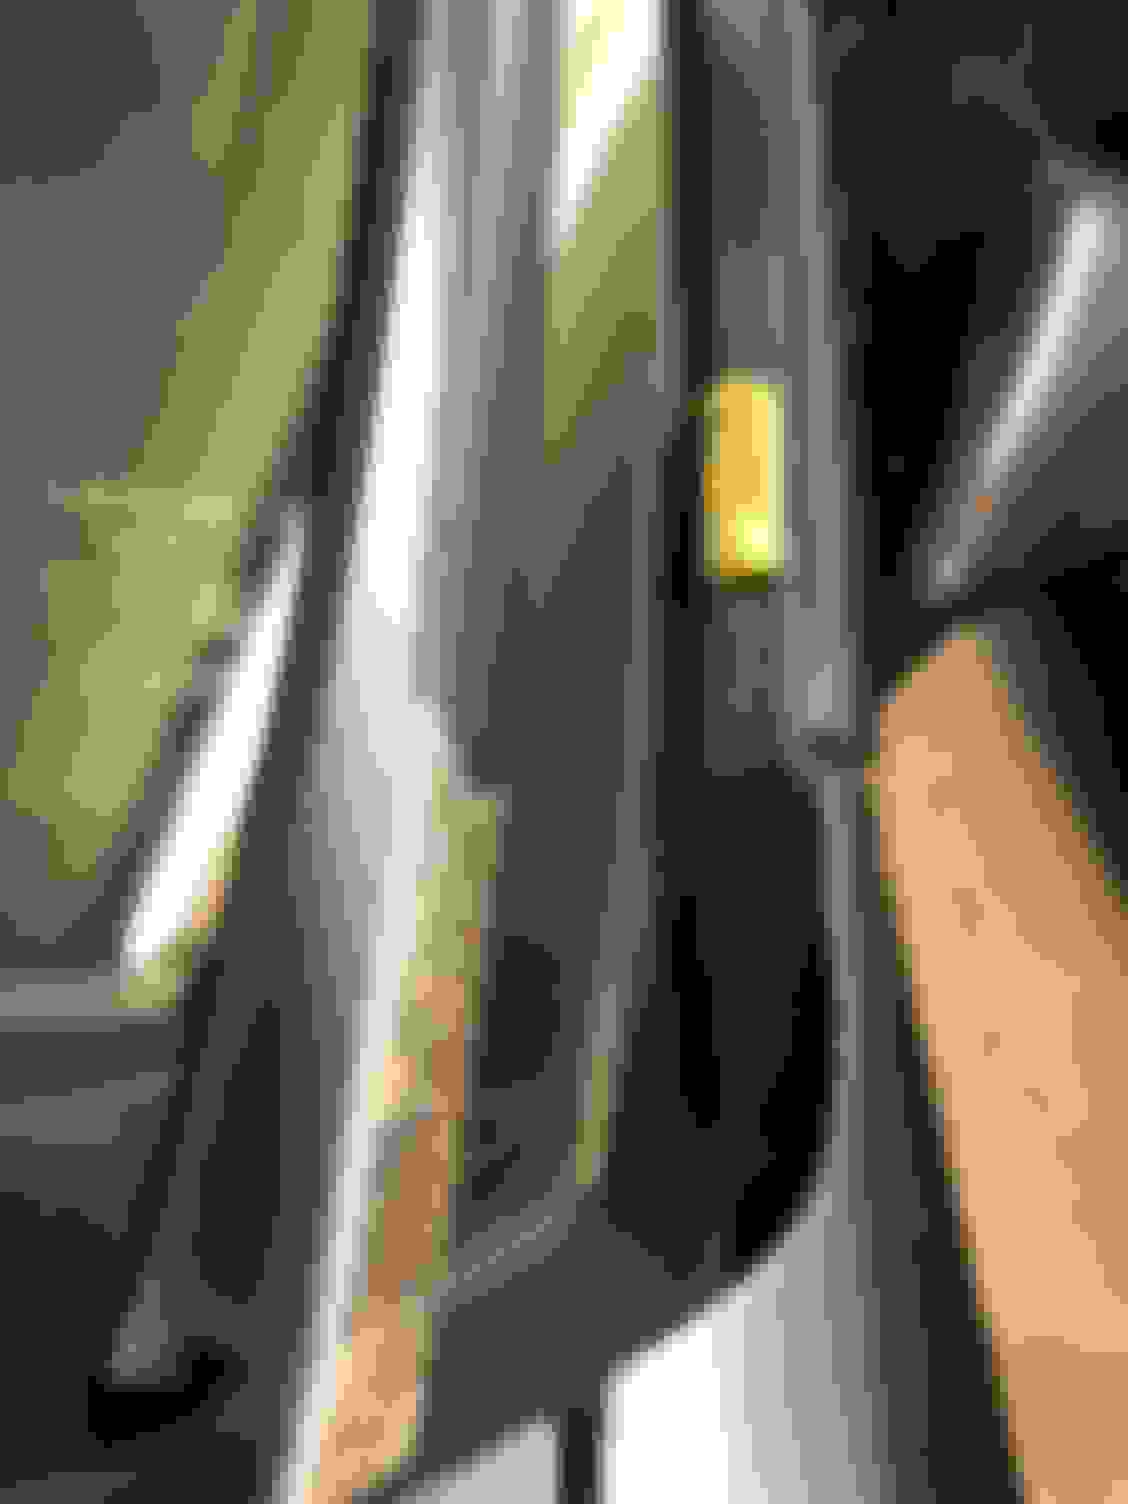
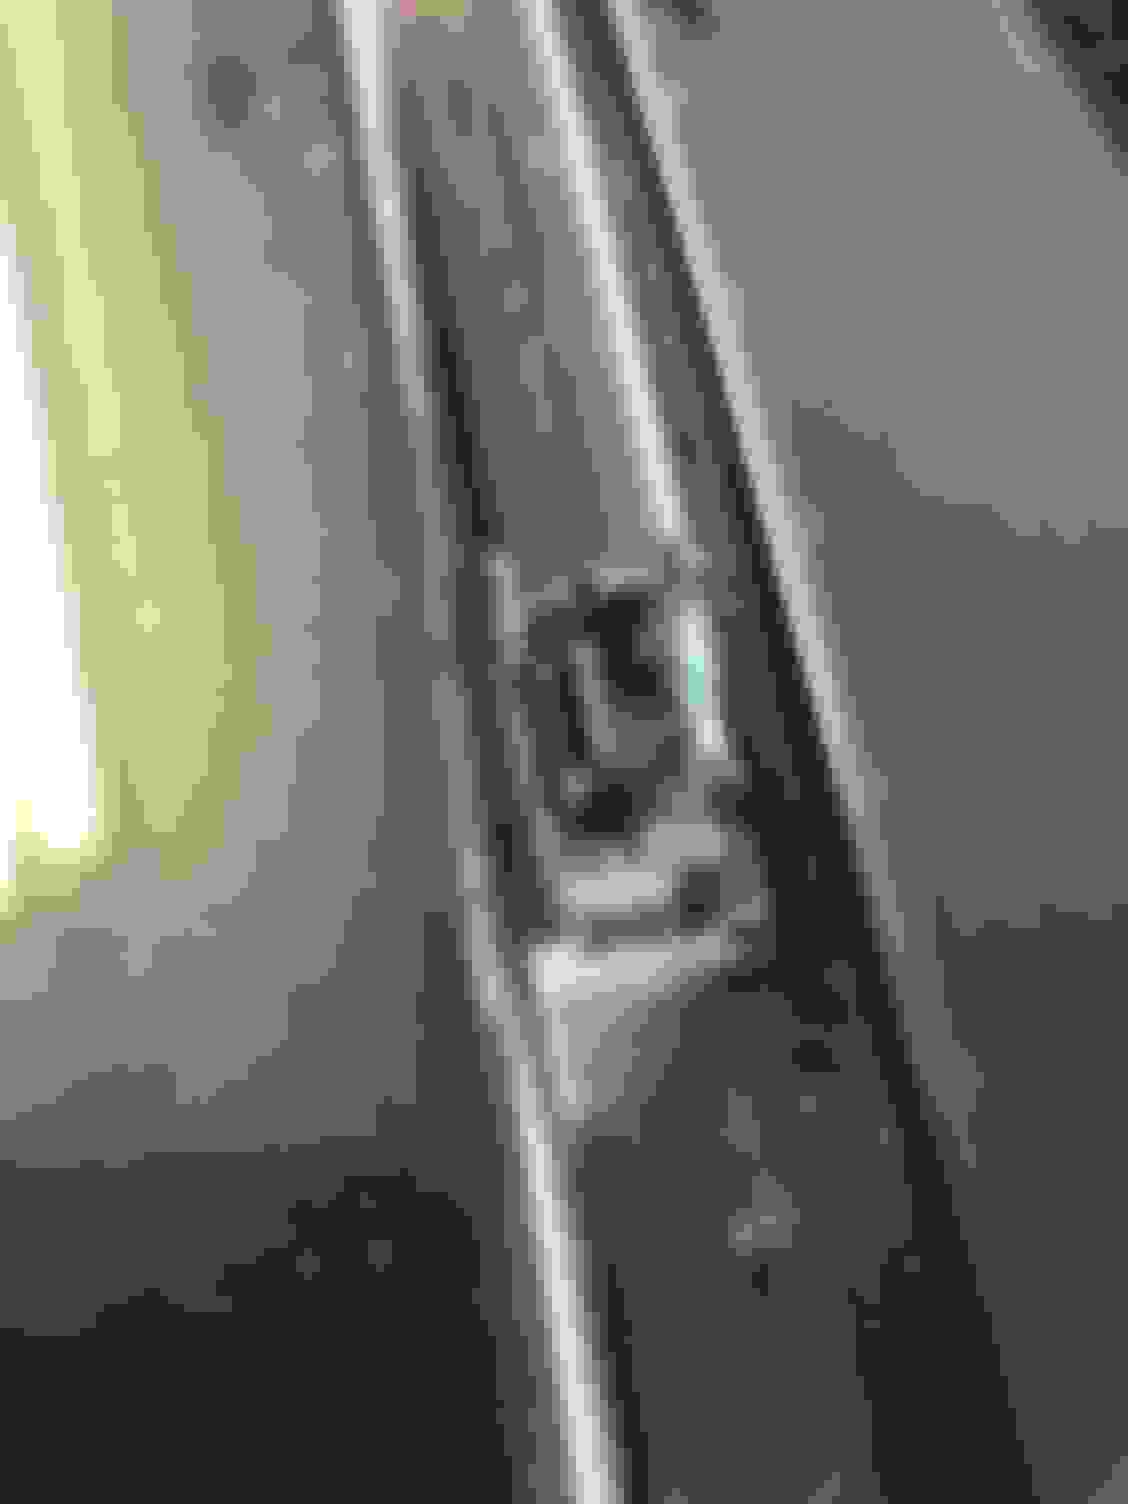
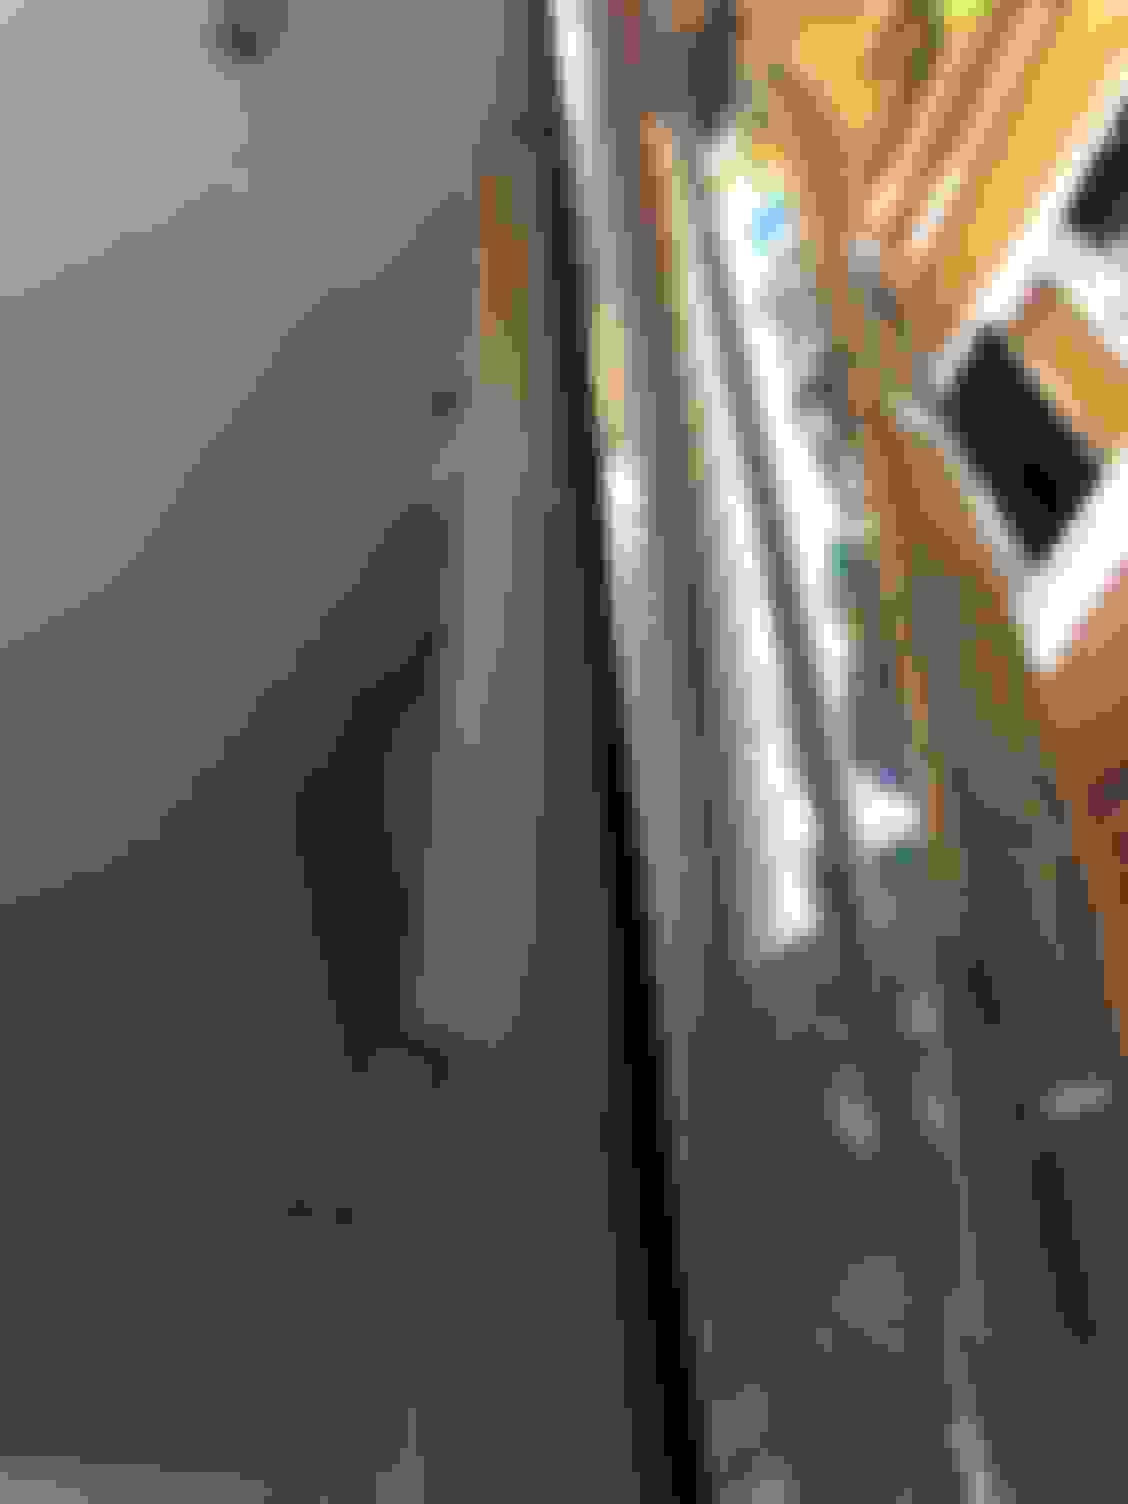
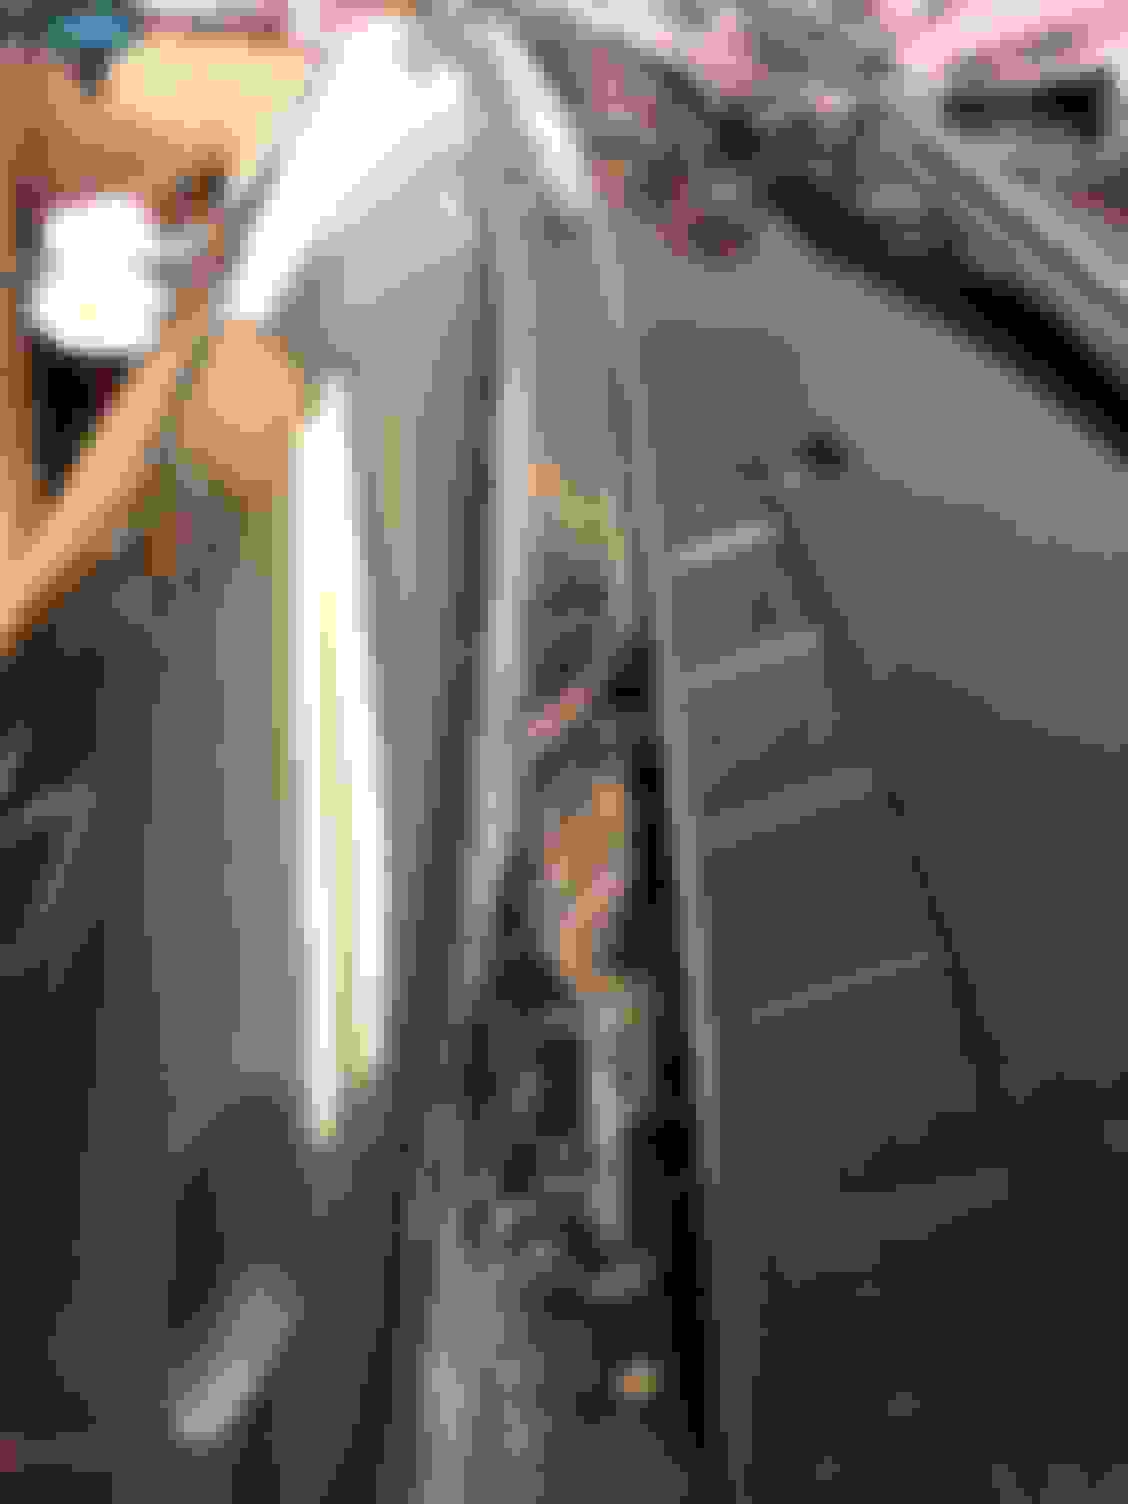
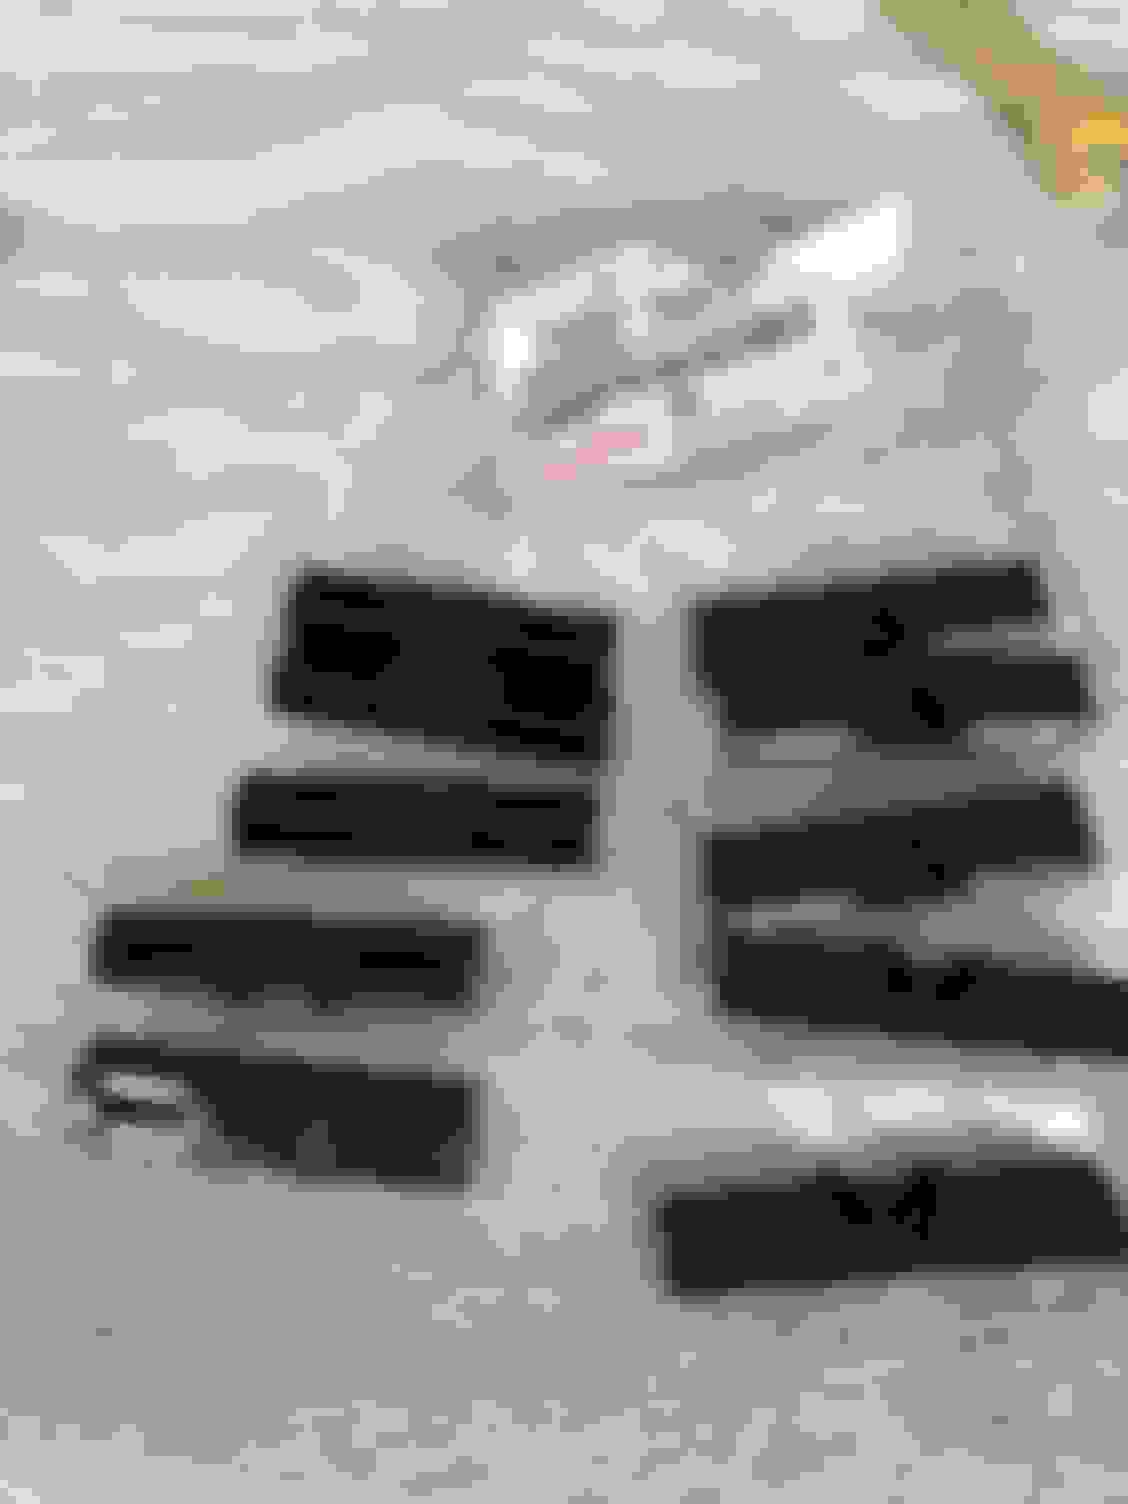
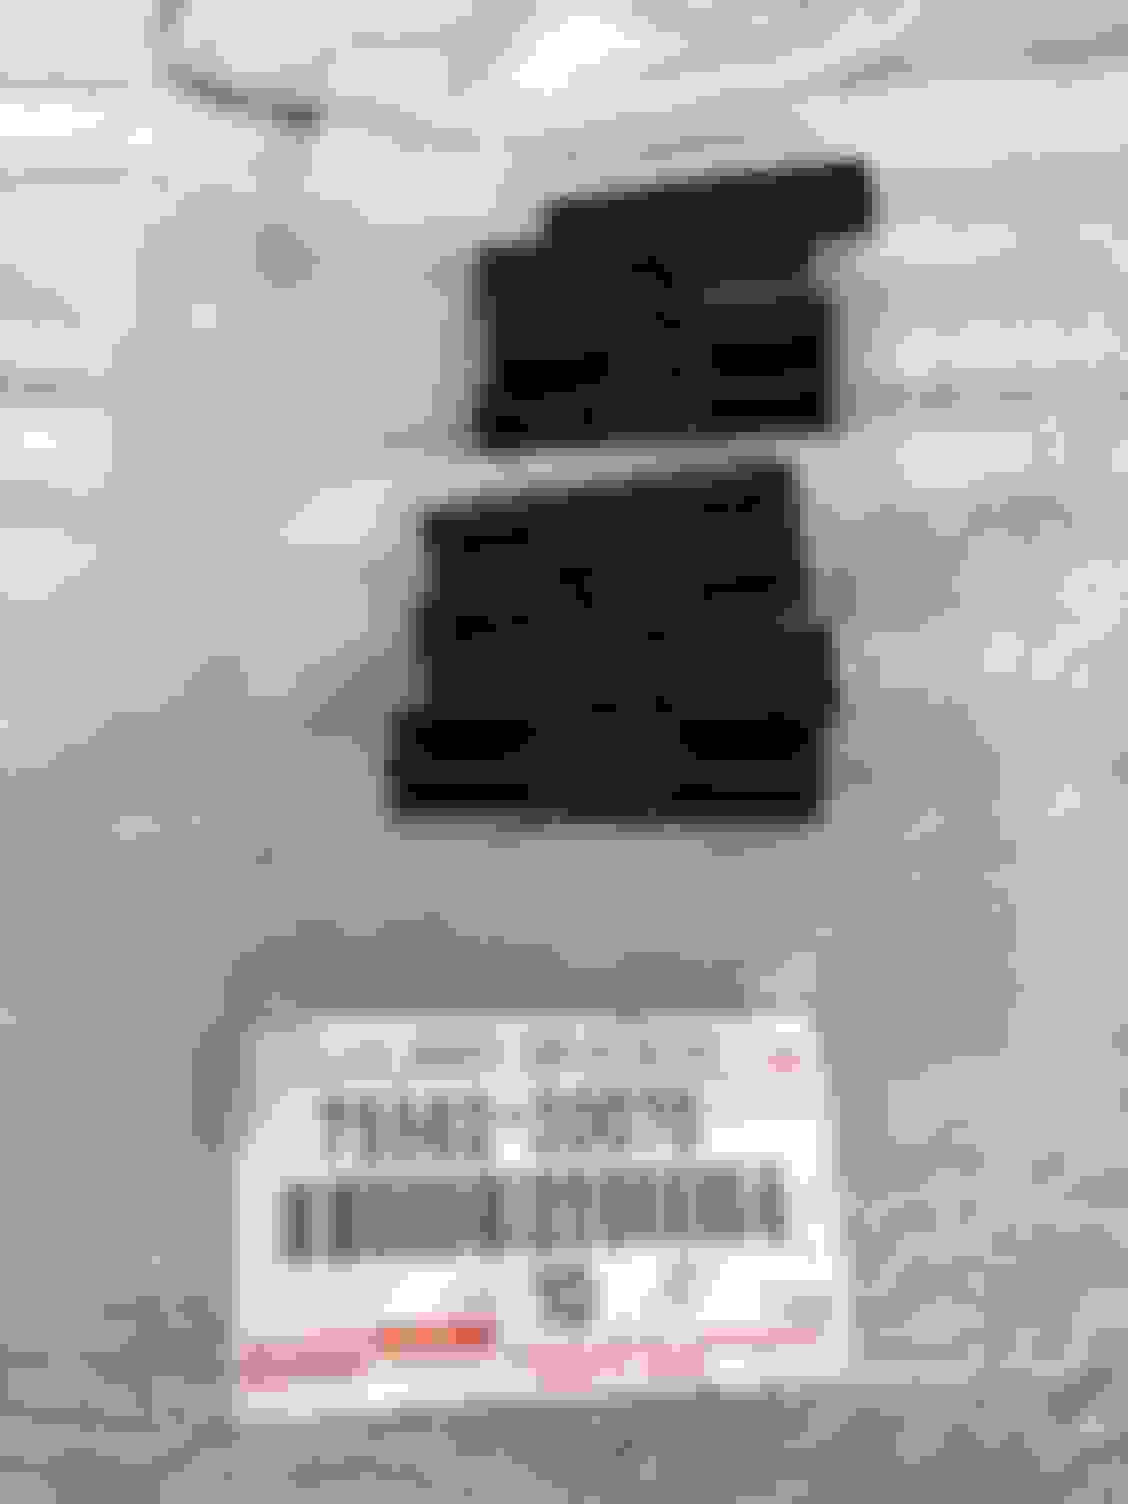
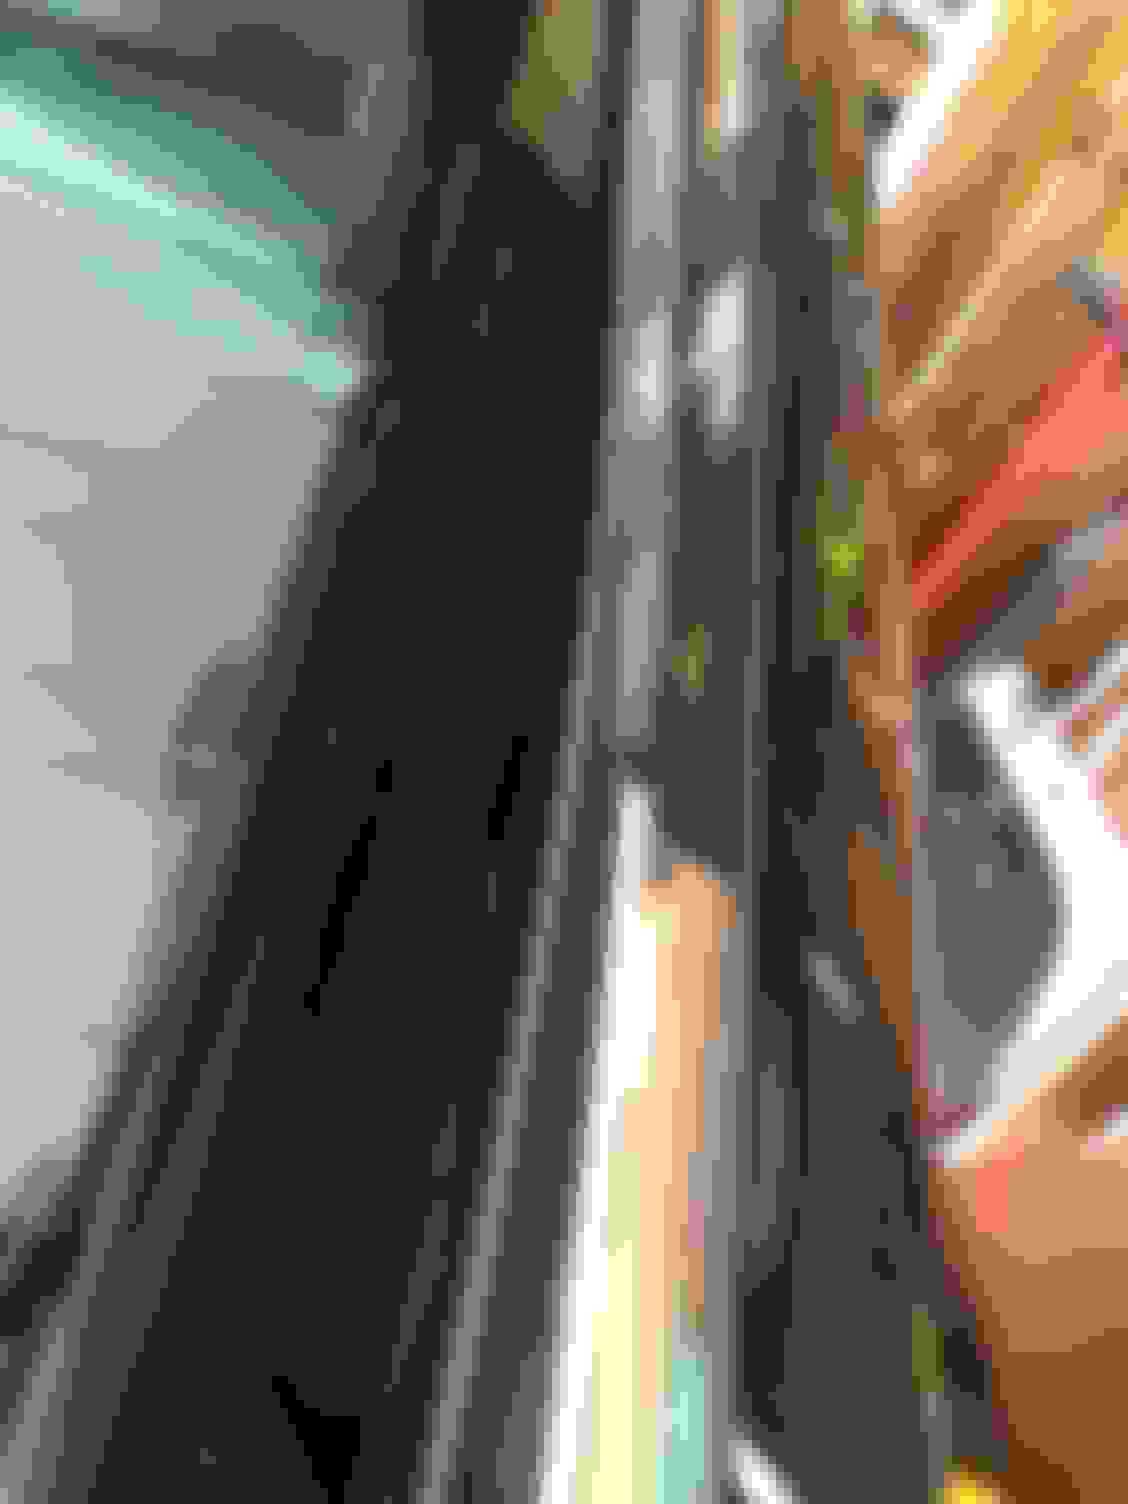
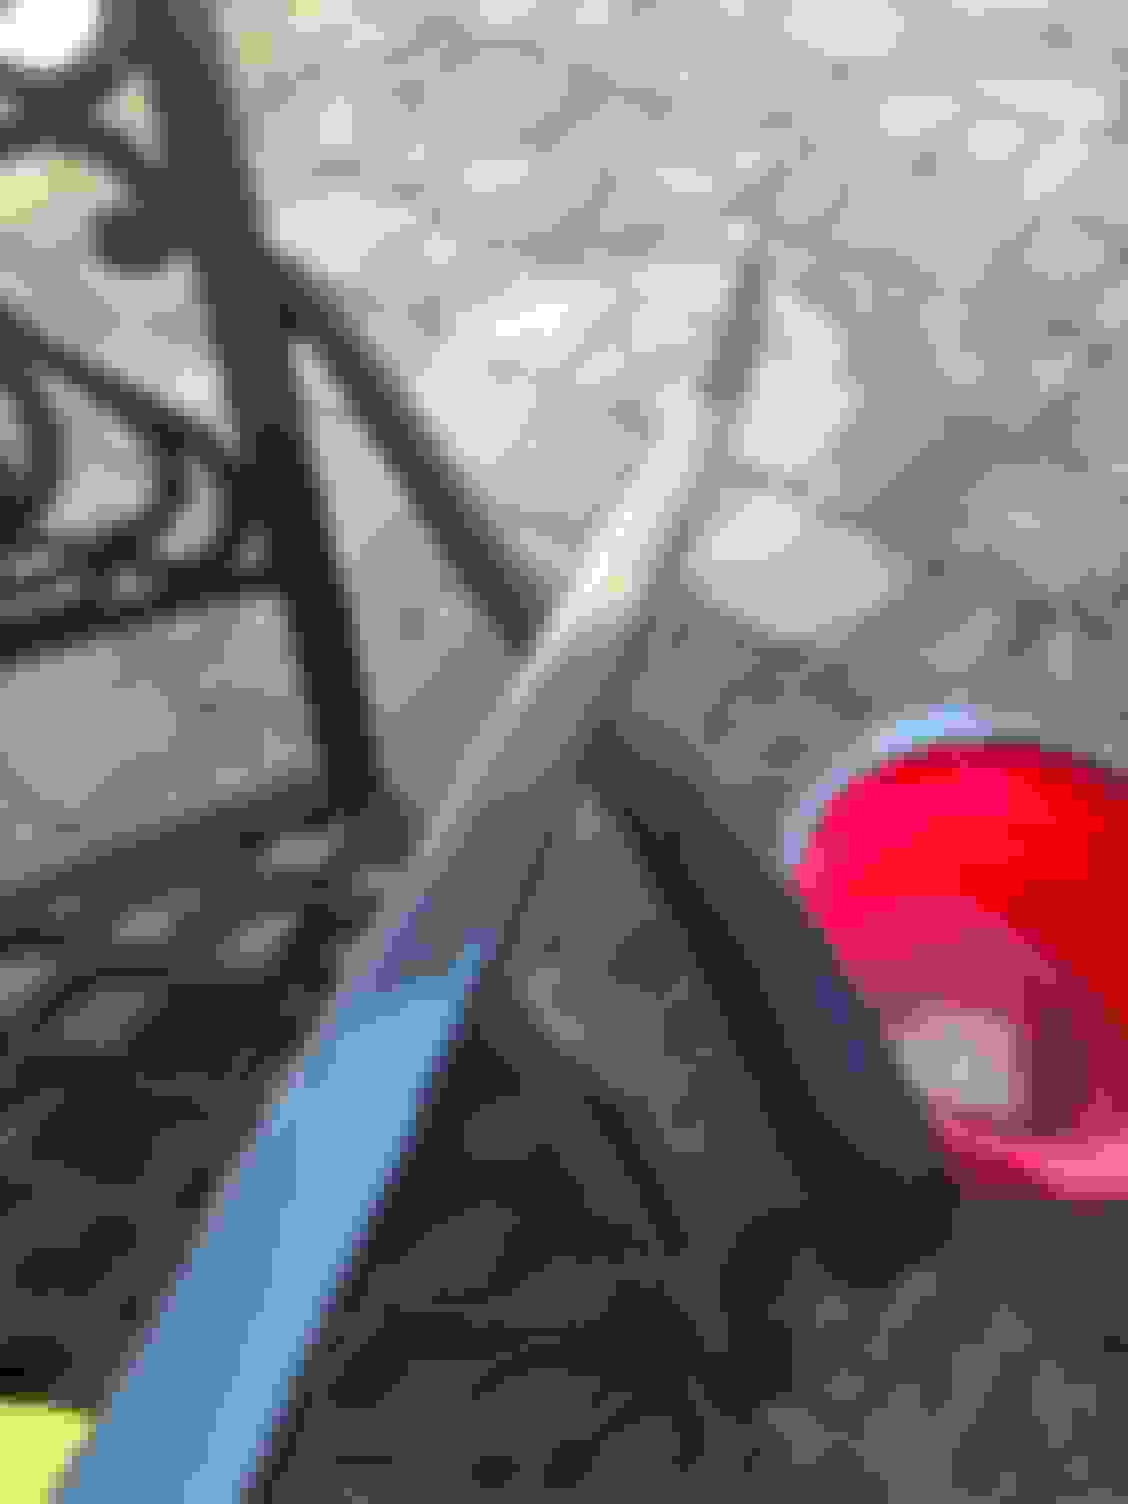
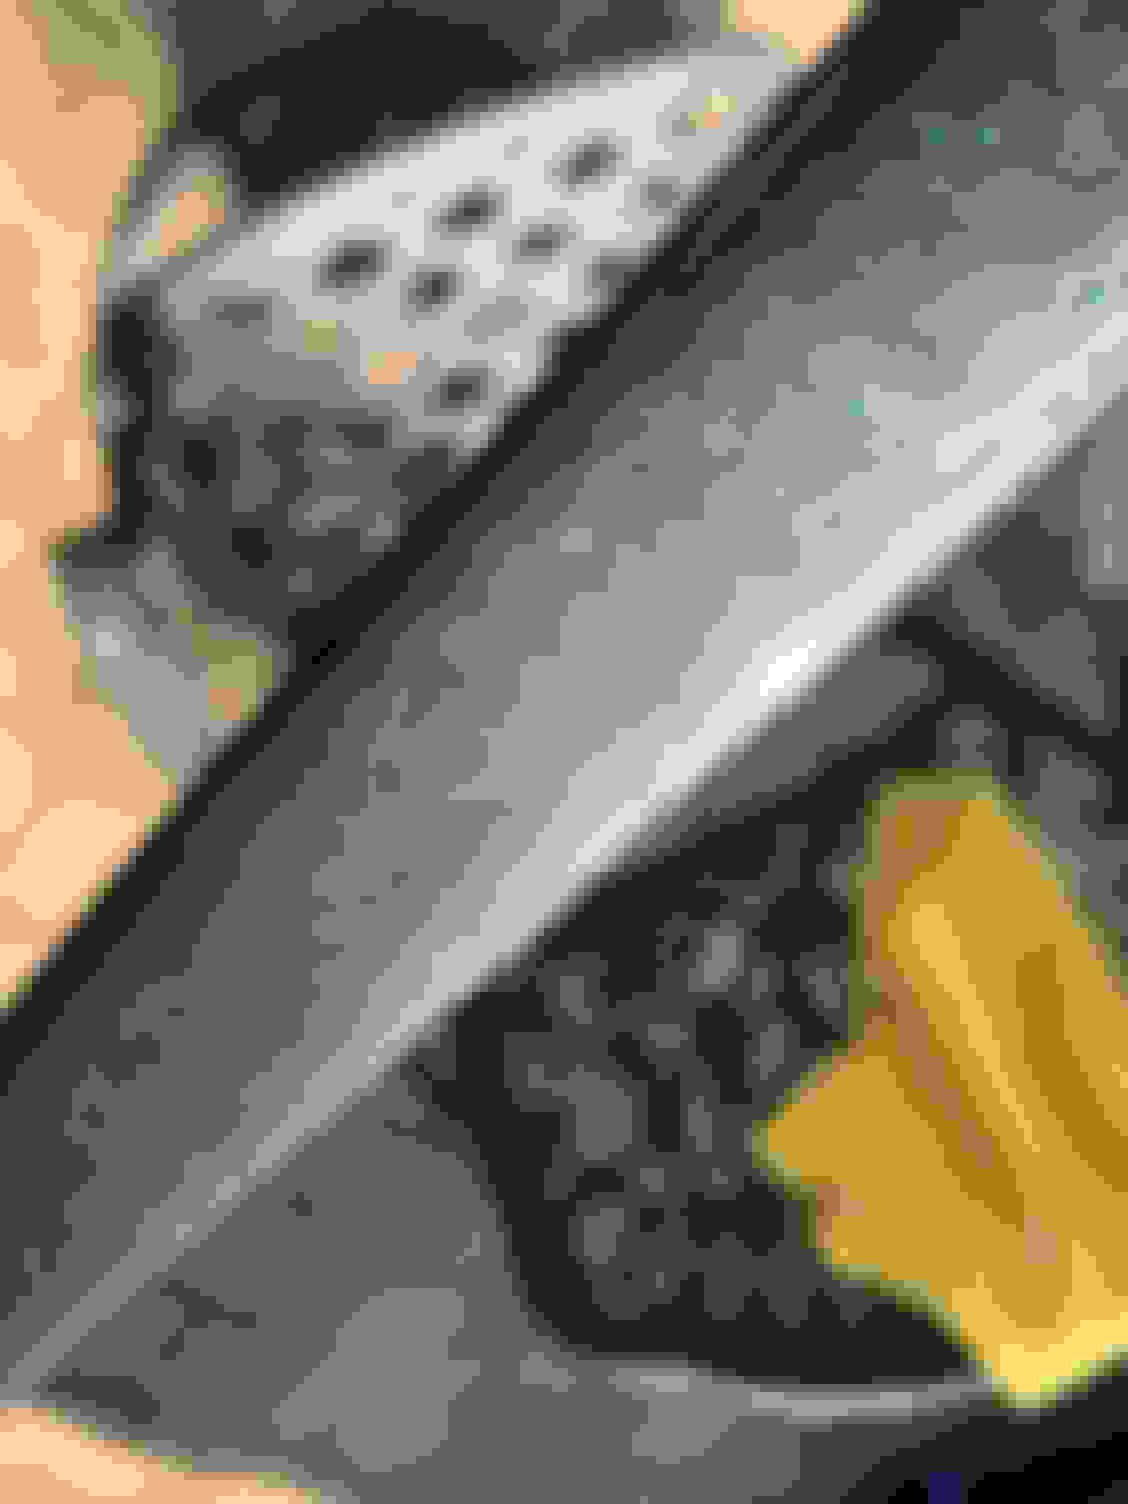
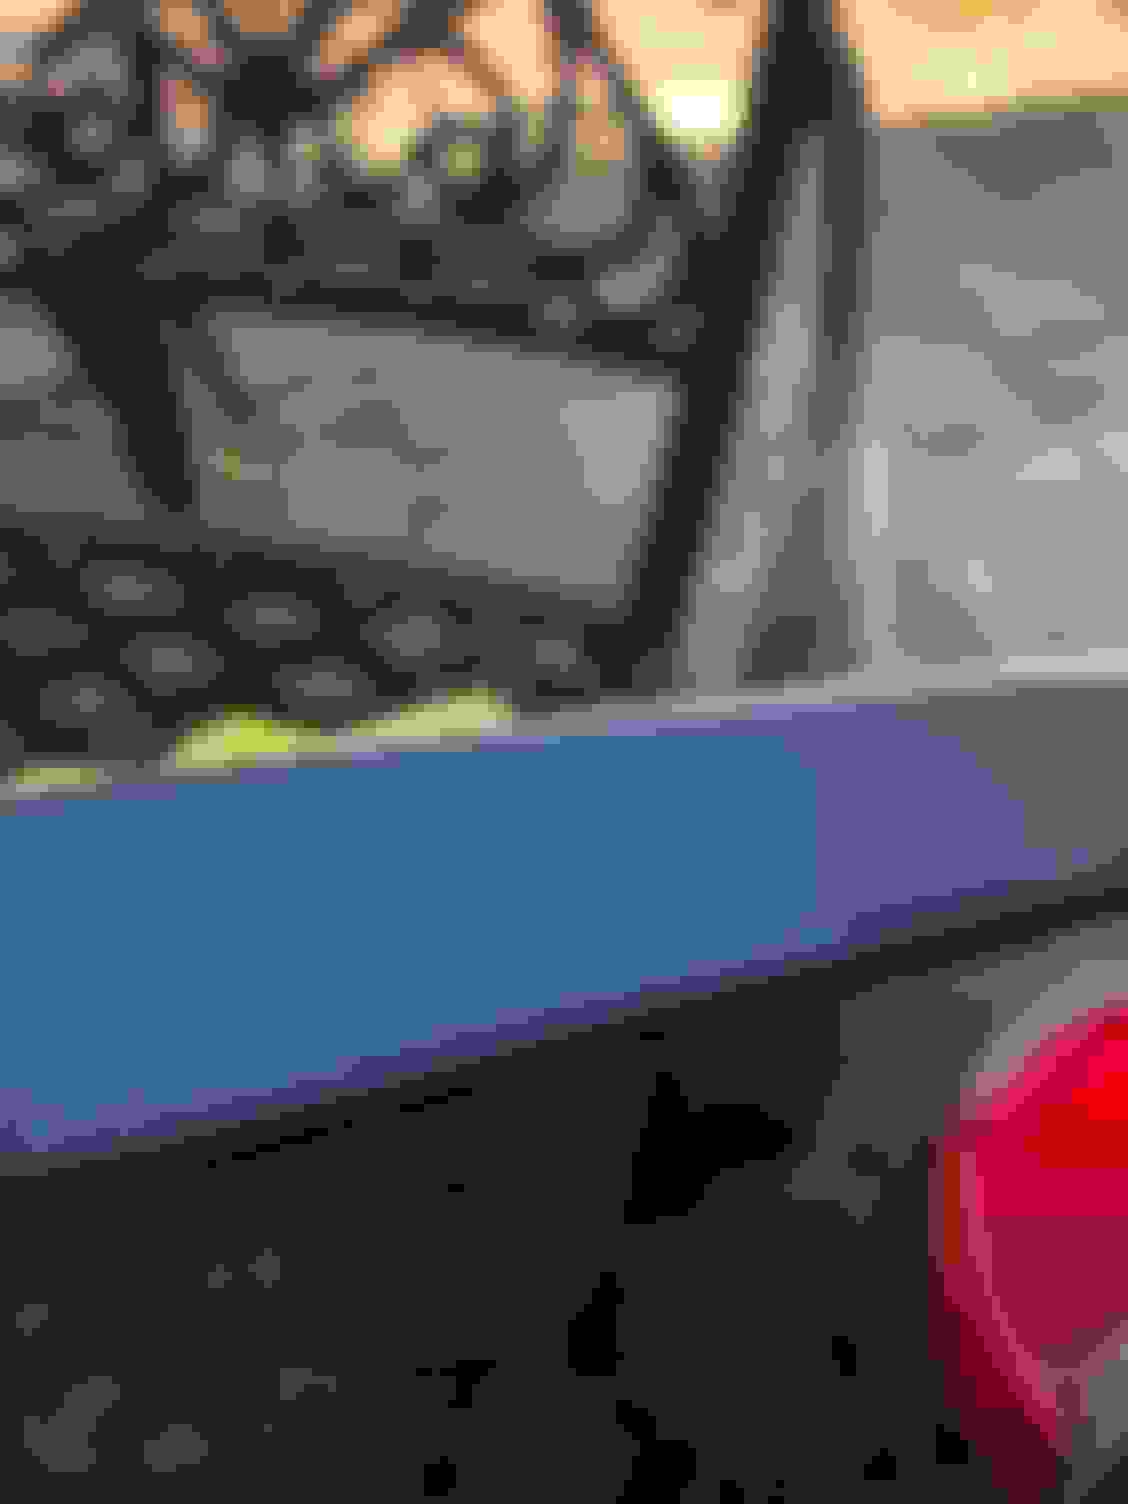
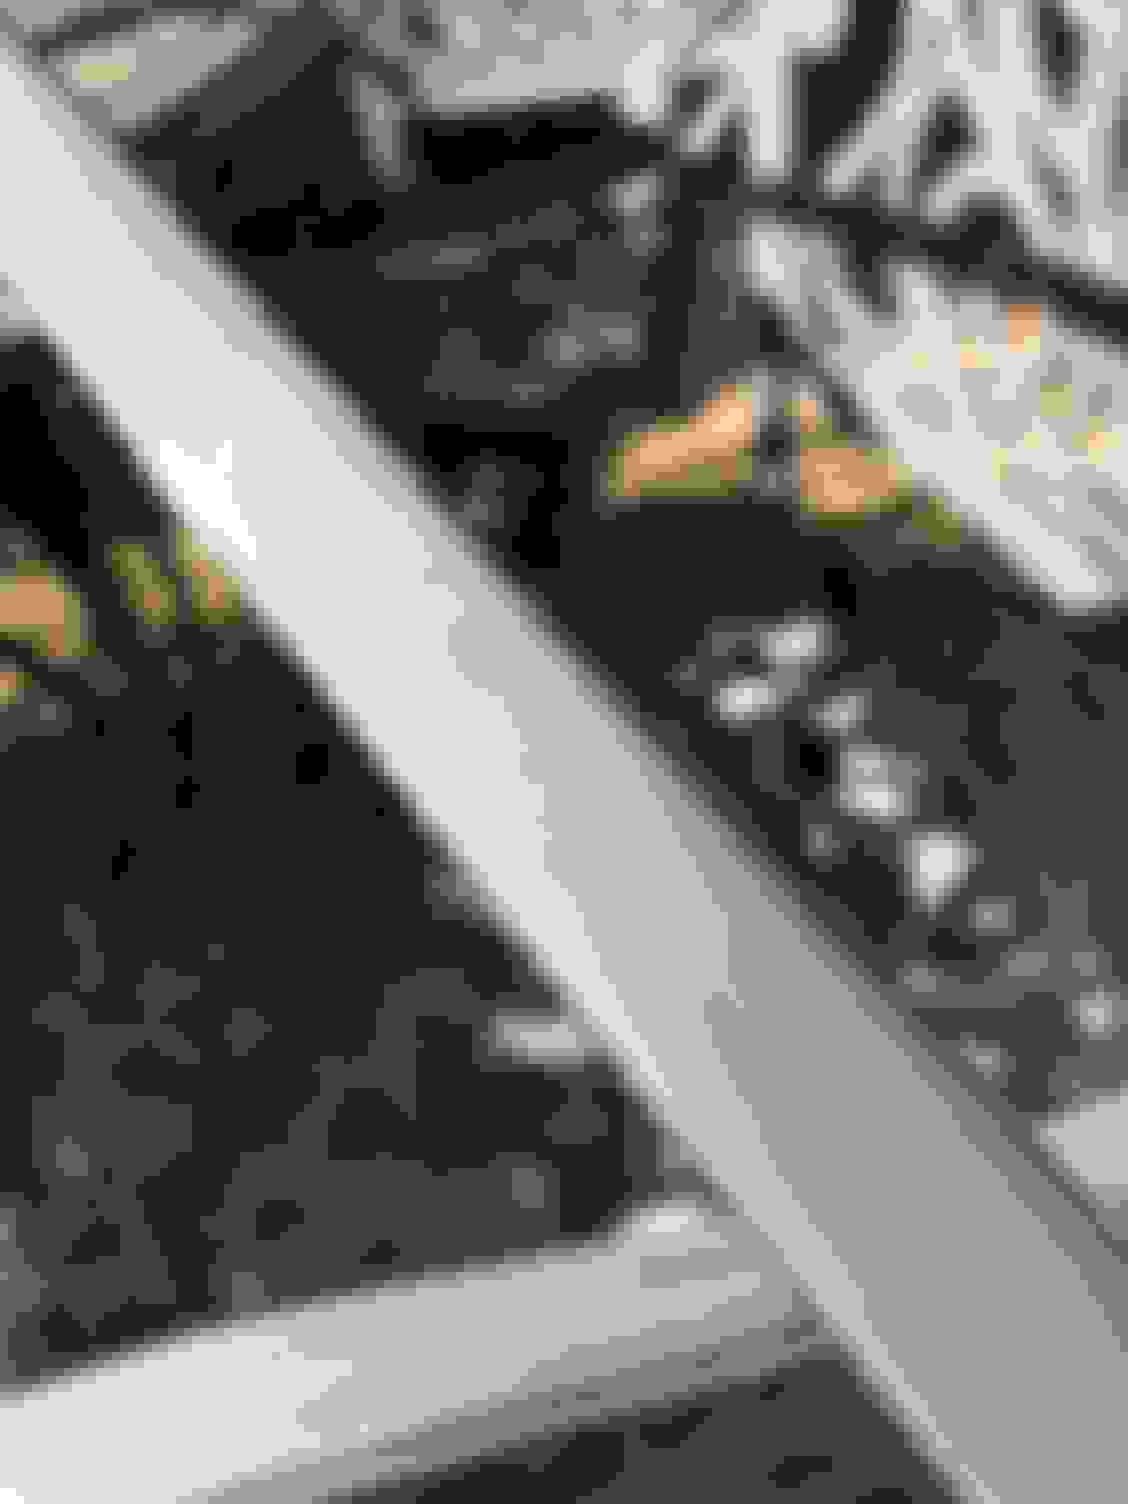
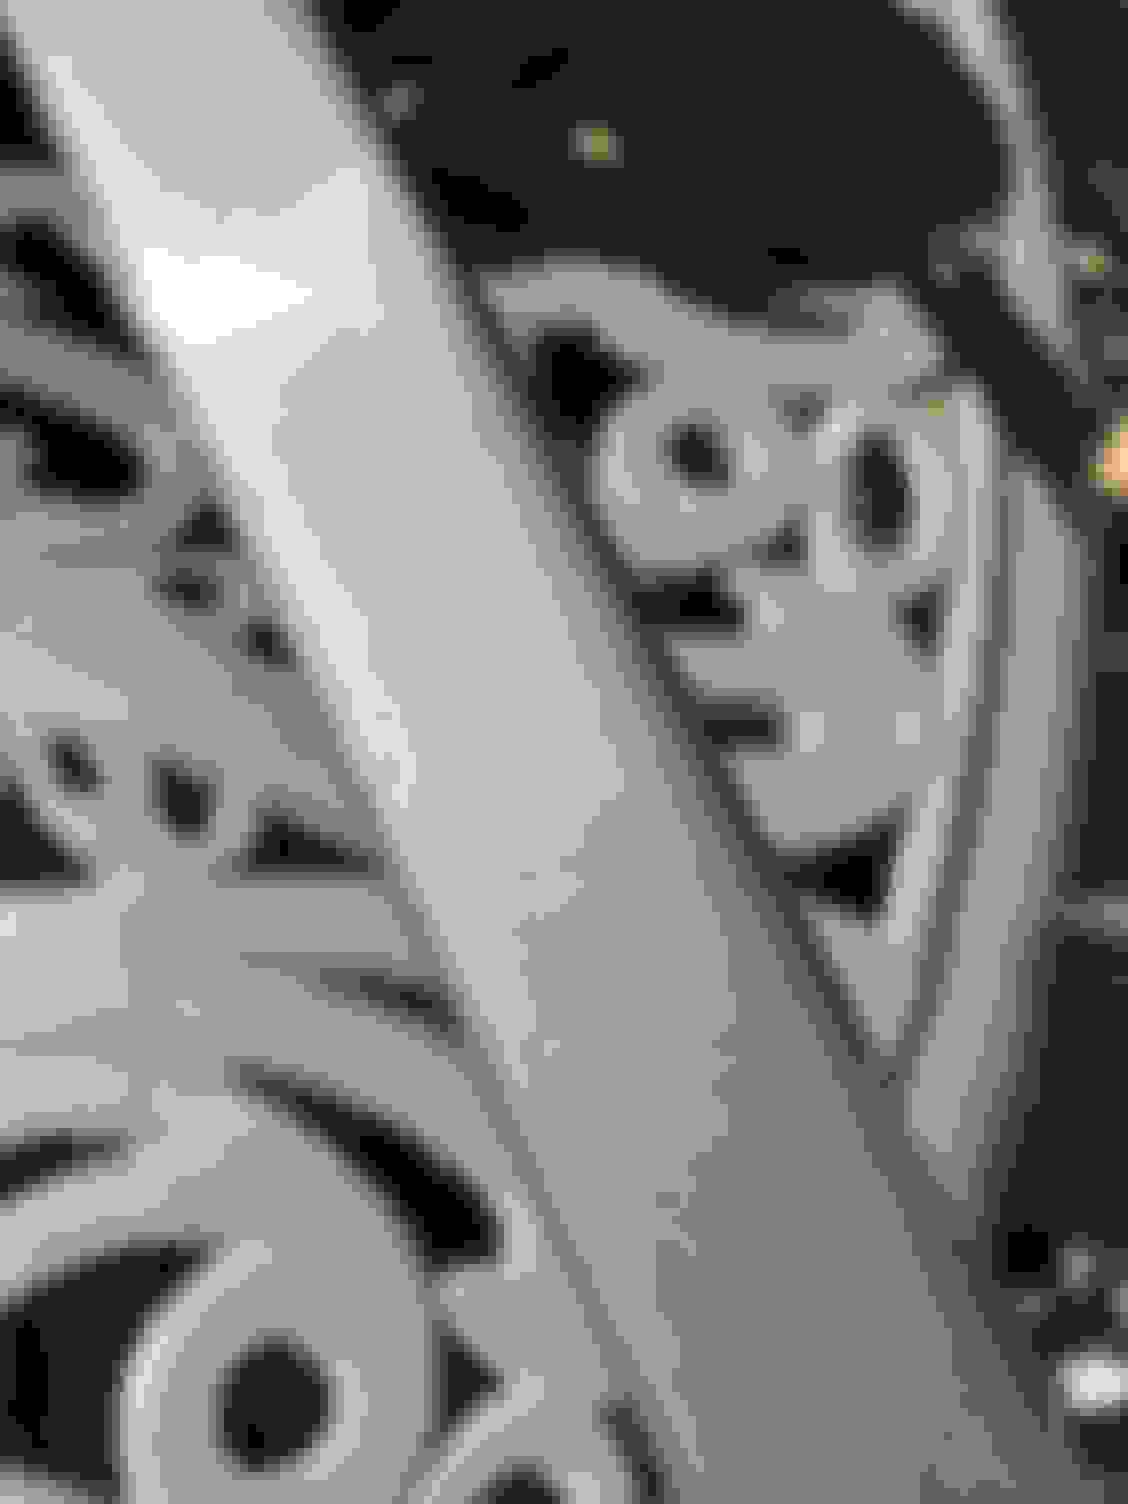
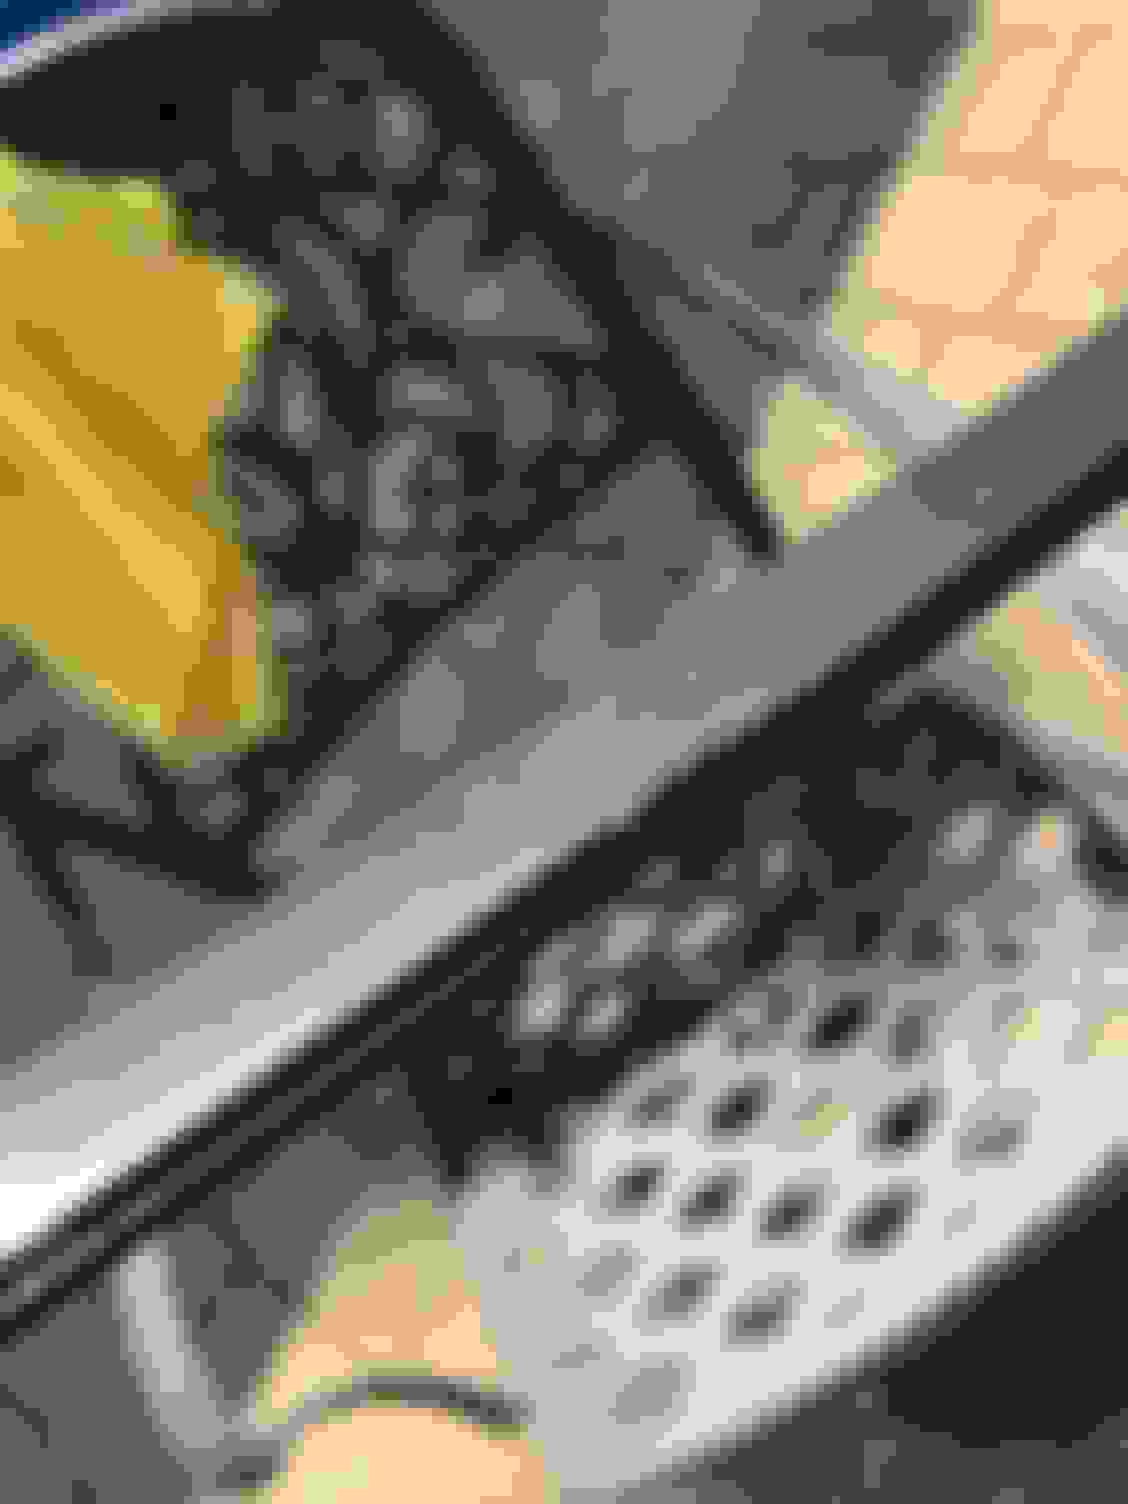
I finally removed the drip rails and started to paint them. Here�s my progress so far, I am between primer and base coat stages. So far, I have sanded them, masked the plastic parts off and have applied 3 coats of primer. I�m not sure how long I should wait between primer and base coats so I may finish today or will have to pick it back up sometimes later this week. As some have warned in this and other threads, ALL of these fasteners have broken while removing. Before removing film and glue. I needed a heat gun to soften the glue. Even so, it was a pain to get these ready for paint. I drove to the store and was going to buy acetone but the clerk suggested Goo gone. NOT good. I didn�t want to drive back so I used isopropyl alcohol. It worked really well and it�s easier on hands and everything else. I used a couple of shop rags and slowly rubbed the glue off. It starts to dissolve eventually, just have patience. That was the most time consuming part. This is why I decided to paint rather than leaving them with the chrome/shiny finish. These stay on the car, they secure the drip rails along the length of the roof. No need to remove, I doubt that they can be.. Film peeling. There is a rubber piece running length of the roof. It just lifts up. The clips will either stay on the rails or on the car when removing. I had to carefully remove them so I wouldn�t break the clips that remain attached to the drip rails. (Yellow part behind the white, broken clips). How�d all that get in there? There were 8 in one bag, 10 in the other. Removed the rubber parts and cleaned the drip rail channels There was quite a bit of dust and dirt in the channels. 12 years� worth. The clips that stayed on the car. Just popped them off with a plastic pry tool. After cleaning, ready for the painted rails. Not perfect but it doesn�t need to be. Pop them out from underneath on either side with the pry tool. New clips, ordered them from partsouq.com Another before pic. After first coat of primer.
Last edited by vinniesabo; 08-02-19 at 04:44 AM.
Reason: Spelling
The trim piece running from just behind the hood, over the doors and ending at the trunk is a metal piece. This piece is universal in that it is not painted the color of the car. The color comes from a roll of tape, that is the color of the car, and is pushed in a slot on each side of the piece. LEXUS relied on a crimping action to retain this plastic tape. Furthermore, the width of the tape is not wide enough. As a result, through heat expansion, and cold contraction, the tape works itself out of the channel on each side of the rain gutter. The Pursuit of Perfection was absent during the design and implementation of this trim.
This review is exactly right. I am scare to death to continue to drive this car due to problems.
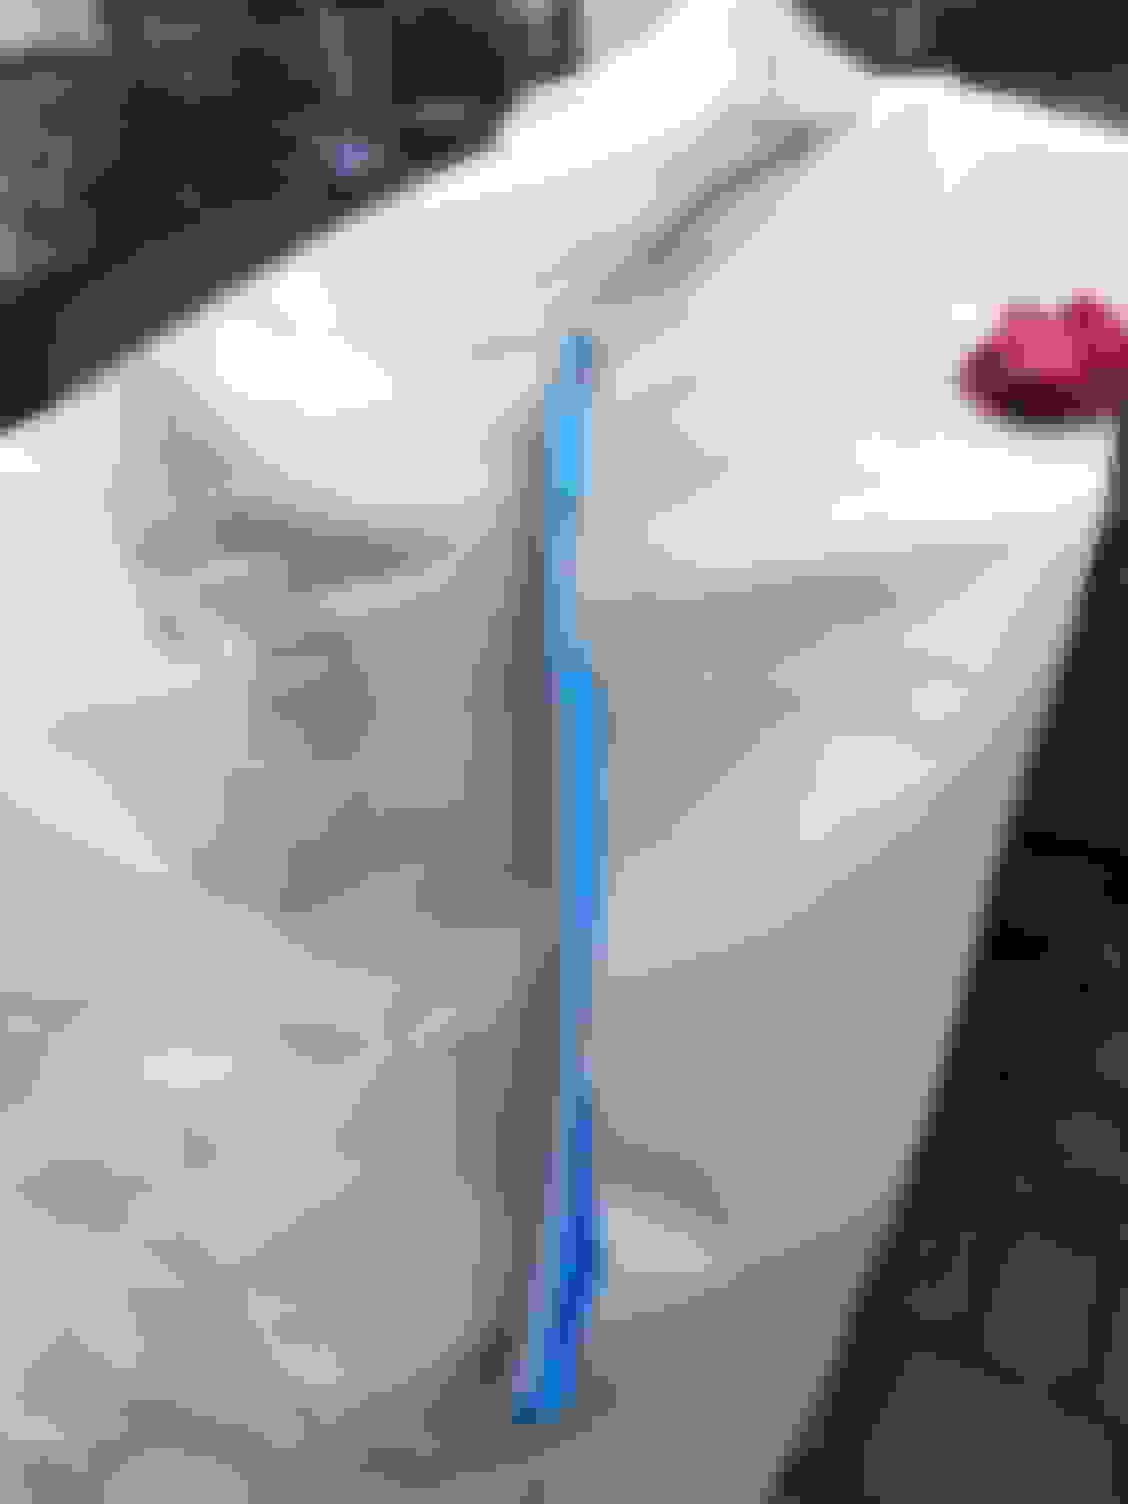
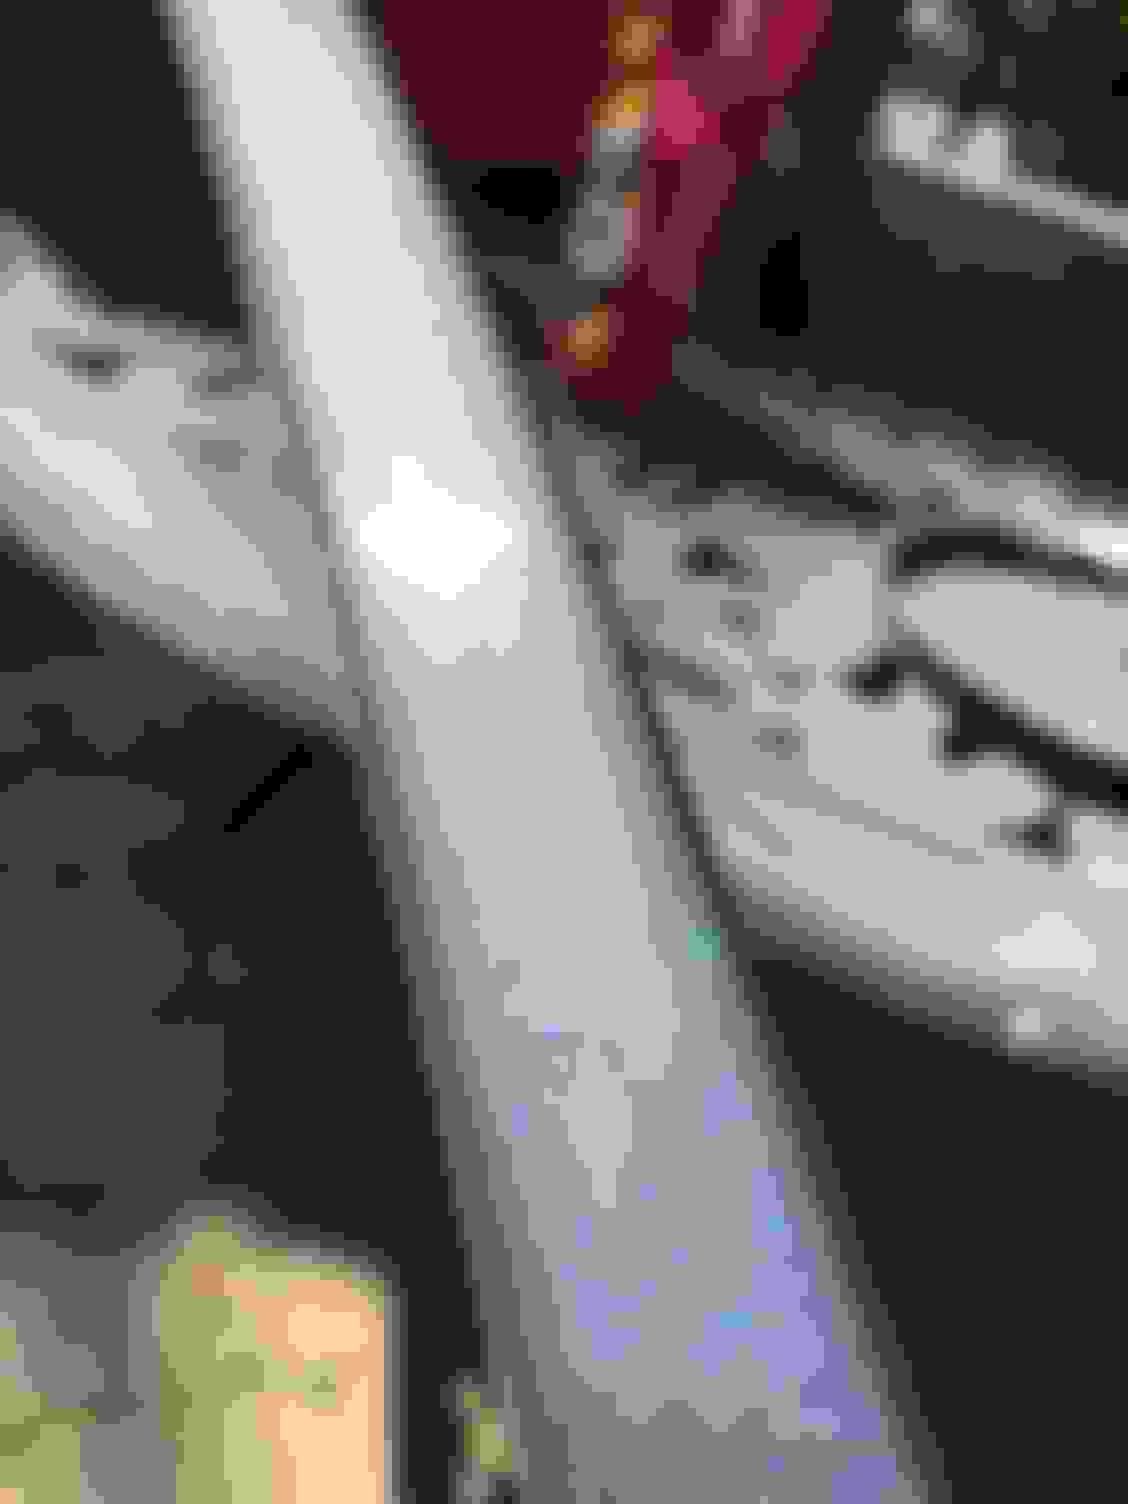
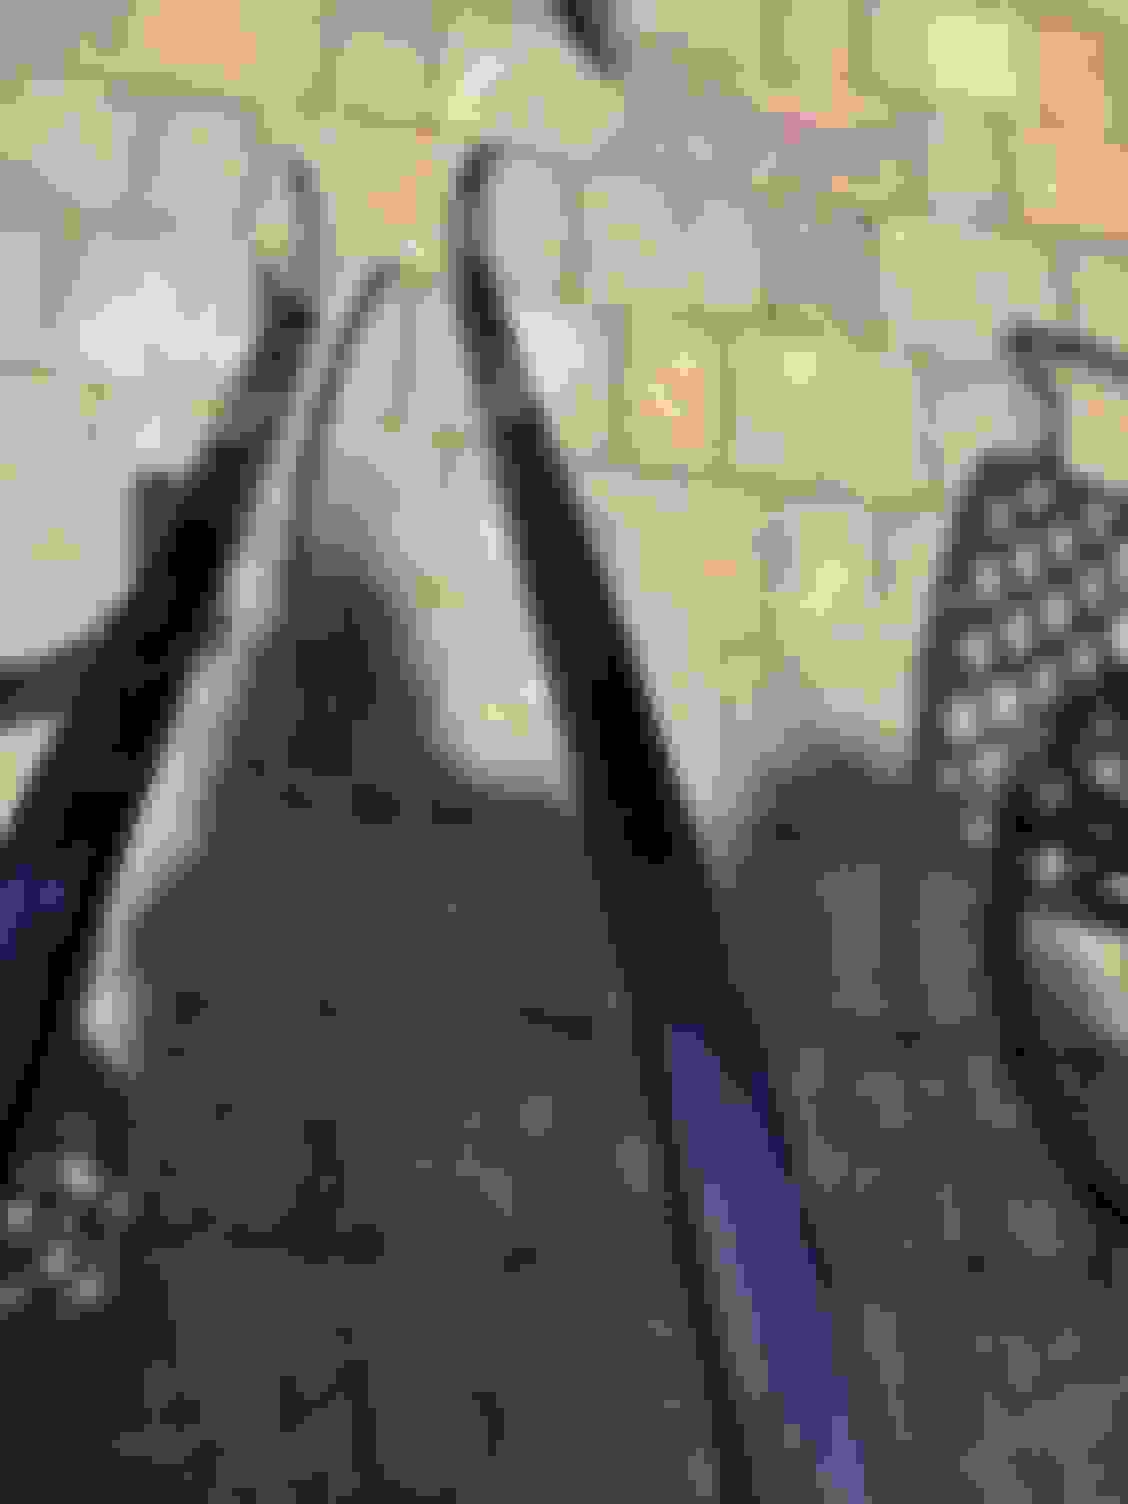
After removing trim from drip rails, I started over, Sanded, 3 coats primer-10 min between each coat, same for base coats, 5 coats clear, also 10 min between each coat. Used Auto Zone sand-able primer, SprayMax 1K base coat and 2K clear, all spray cans. They didn�t exactly match the paint but it�s not visible with the naked eye as it is in the following pictures. If I had to do it over, I�d drive the car to a professional paint supply shop and have them match the color. Wet sand with 1500 grit. Make sure there are no shiny spots, that�s orange peel. Surface should be smooth and even. Sand, clean, check and double check. I later switched to 1200 grit paper and was very careful but still got to the primer in a couple of places on the edges. 1500 is the way to go, patience is a virtue. Polishing. Had to touch up because I wasn�t careful and hit the rail on the outdoor furniture. Almost there.. I think that�s good enough. I will polish more later, after installing.
I�m pretty happy with the results.
Out of focus but place the clips on the car instead of on the rail.
Re-install the trim on the rails.
Make sure they are in there correctly, you only get one shot. If they have to removed, the clips will probably break.
Finally done. Not perfect but will polish and wax in a month.
Last edited by vinniesabo; 08-28-19 at 02:31 PM.
Reason: Adding pictures
I broke down and used a little more force. I managed to remove both sides of trim but broke about half of the trim attachments. I wound up buying two sets of them as replacements from Amazon. I already purchased a touch-up kit for my LS's paint a month ago when the delamination started. Thanks for the response. Once I get them remounted I'll update with pics.
NM my previous question it seems I missed the text between the pictures that described "not" to use goof-off and they used isopropyl alcohol. All I have is a scant few ounces of 70% isopropyl and it wasn't doing anything. I guess I'll have to keep looking for the stronger 90/99% stuff but it's about impossible to find these days.
Thanks,
Jeffrey
Last edited by Protholl; 08-30-20 at 05:45 PM.
Reason: I missed the answer that was in a previous post between pictures
The trim piece running from just behind the hood, over the doors and ending at the trunk is a metal piece. This piece is universal in that it is not painted the color of the car. The color comes from a roll of tape, that is the color of the car, and is pushed in a slot on each side of the piece. LEXUS relied on a crimping action to retain this plastic tape. Furthermore, the width of the tape is not wide enough. As a result, through heat expansion, and cold contraction, the tape works itself out of the channel on each side of the rain gutter. The Pursuit of Perfection was absent during the design and implementation of this trim.
can this color wrap or tape be bought . Lexus wants 800 for both side before labor . with its 1200

 04-13-19, 11:32 PM