When you click on links to various merchants on this site and make a purchase, this can result in this site earning a commission. Affiliate programs and affiliations include, but are not limited to, the eBay Partner Network.
So I brought my first Lexus a few months ago. It is a 2008 LS460L, with 110k miles. 1-owner and perfectly maintained. As every LS owner already knows that the bushings break down over time, causing suspension noises and steering instability.The biggest symptom in my car was a wobbly steering wheel at speeds over 40 mph. It seemed as if the bushings became much more flexible during hot summer days, making highway driving quite annoying. So I decided to tackle replacing the upper control arm bushings on a beautiful Saturday morning, and took some pictures along the way to share it with the rest of Lexus owner family.
When I looked up service manuals to replace the upper control arms, they all recommended removal of the air suspension. I thought this was a bit excessive and unnecessary. I was able to figure out a way to remove the control arms without messing with the air suspension whatsoever. The bushings I bought were PSB bushings from Amazon.com $125 (PSB 460). I also bought the upper busing removal kit, PSB 460T, for $80. I think the removal kit was worth the money. And I also rented a Powerbuilt 648604 Kit 25 Upper Control Arm Bushing Service Tool Set from the local Advance Auto Parts store.
So here's the step-by-step instruction to replace the upper control arm bushings. The pictures show the right side upper bushings being replaced.
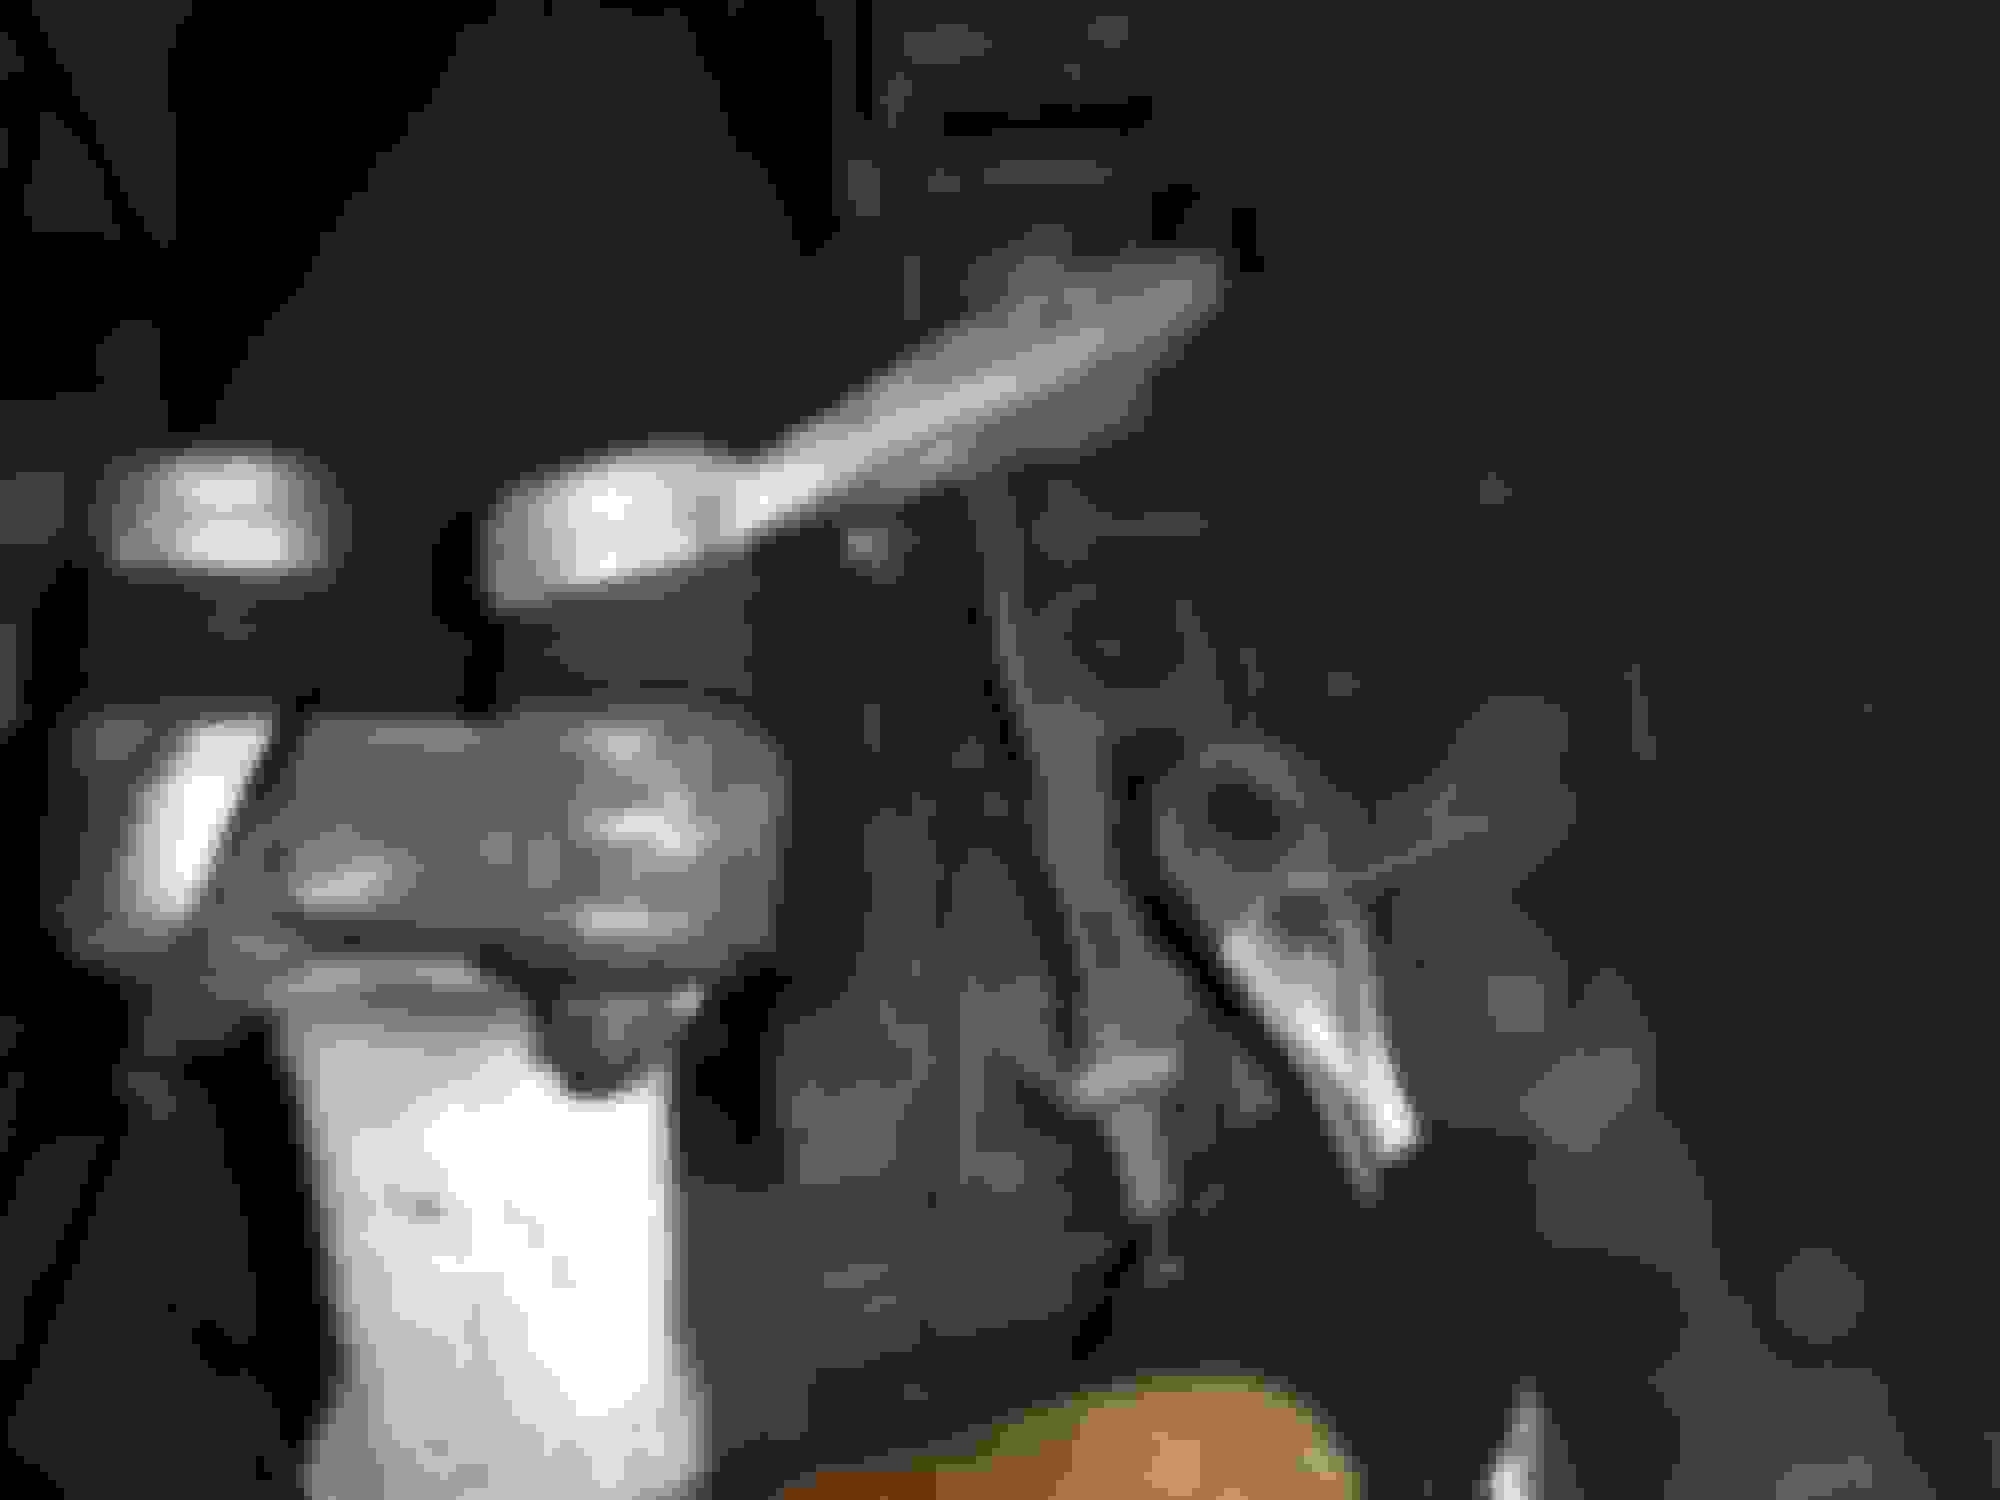
1. Place the front end on jack stands, and bring the wheels to a comfortable working height. Don't forget the wheel chocks in the rear to prevent inadvertent movements!
2. Remove the cotter pins from both the front and rear control arms. Please disregard the zip ties holding the brake caliper. Removing the break caliper is not necessary to service the upper control arms.
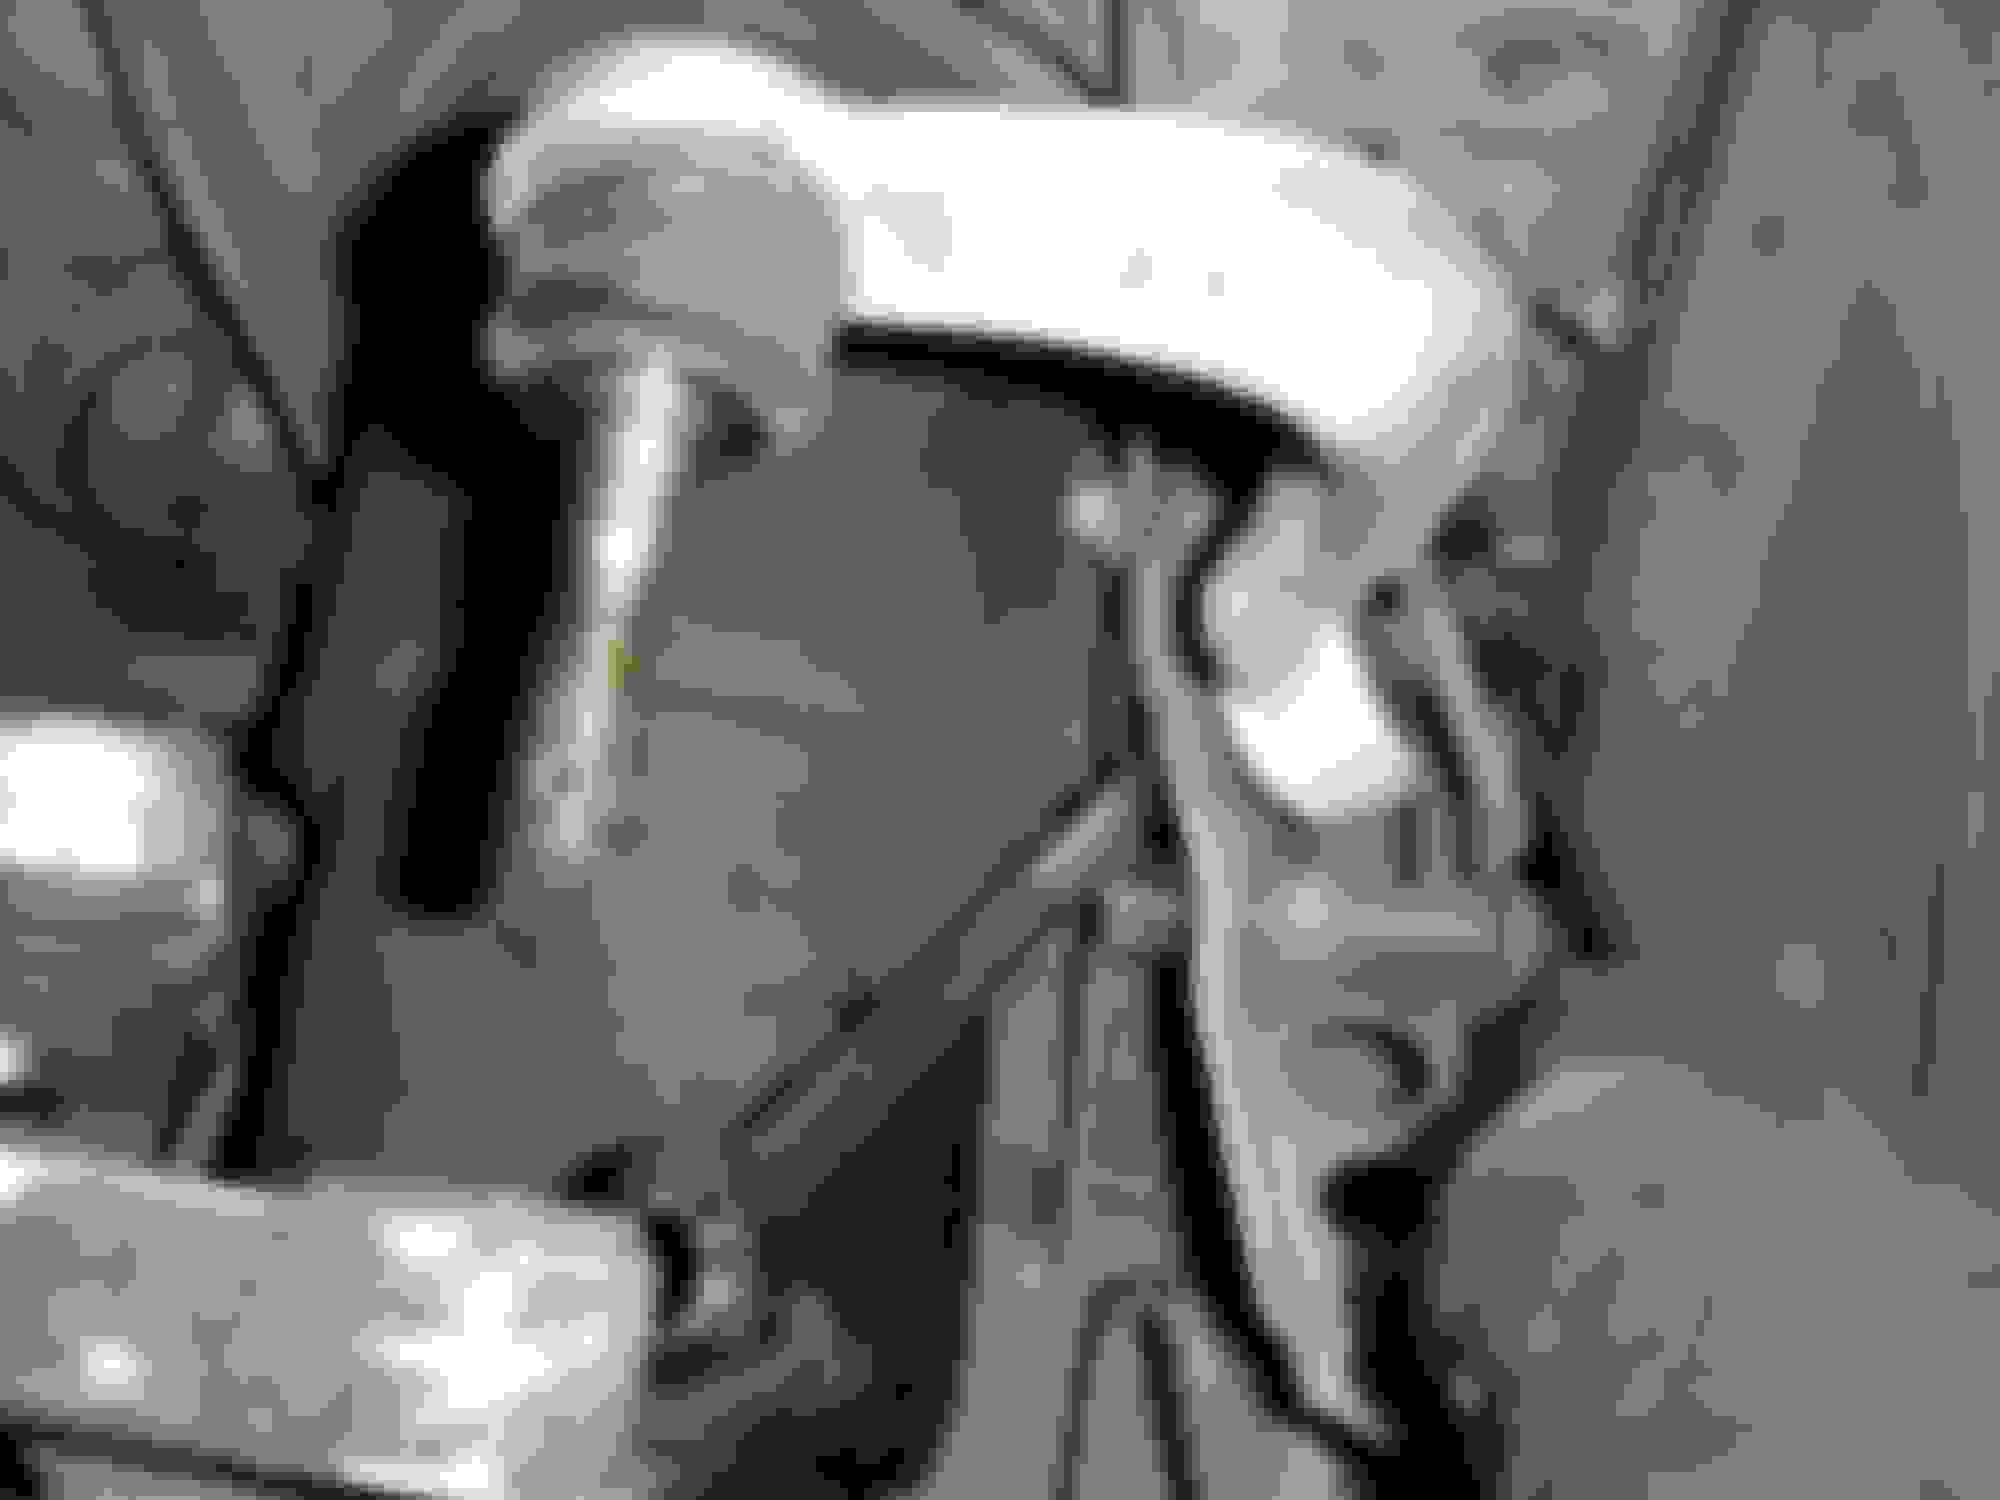
3. Remove the Castle nut from the front control arm
4. Spin the Castle nut back on the other way around so the flanged portion is facing down. The surface will allow you to hammer the control arm loose from the steering knuckle without damaging the threads.
5. Use a ratcheting wrench to remove the middle screw completely out of the bracket
6. Then use the same wrench to loosen the top screw from the bracket without completely removing it. This will allow the entire bracket to swing up, allowing you to fit a wrench to loosen the control arm
7. Now remove the bottom screw in the bracket, and now the bracket will easily swing out and up
8. Now a wrench will easily fit on the left side of the bracket. Use a 2nd wrench to loosen hold the net on the other side, giving you the ability to now remove the control arm from the bracket.
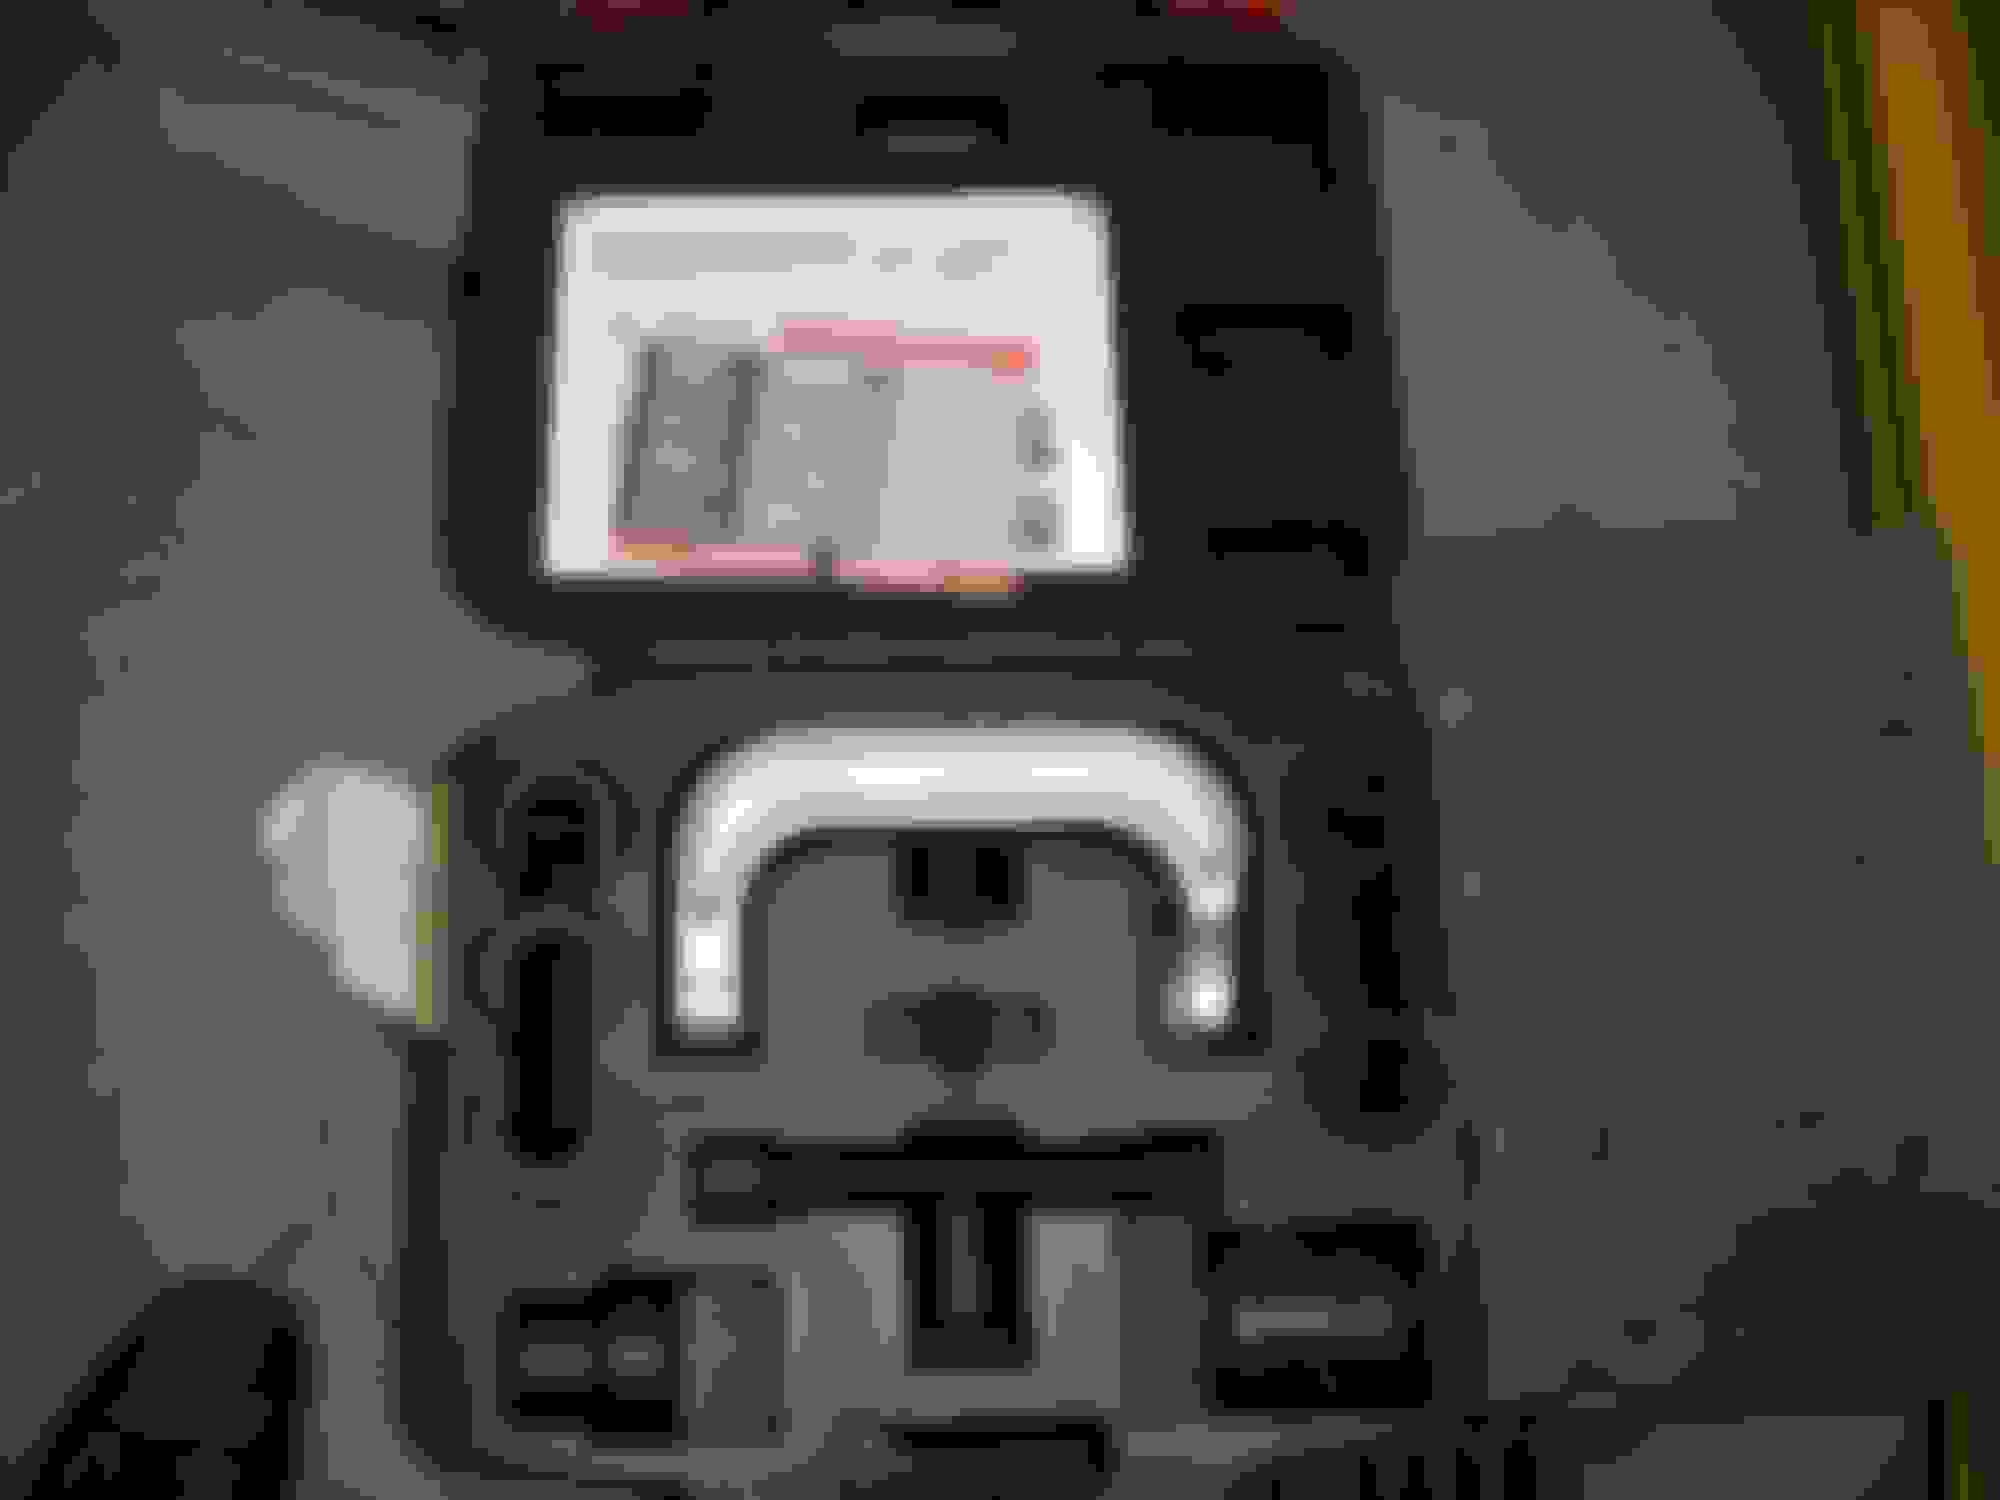
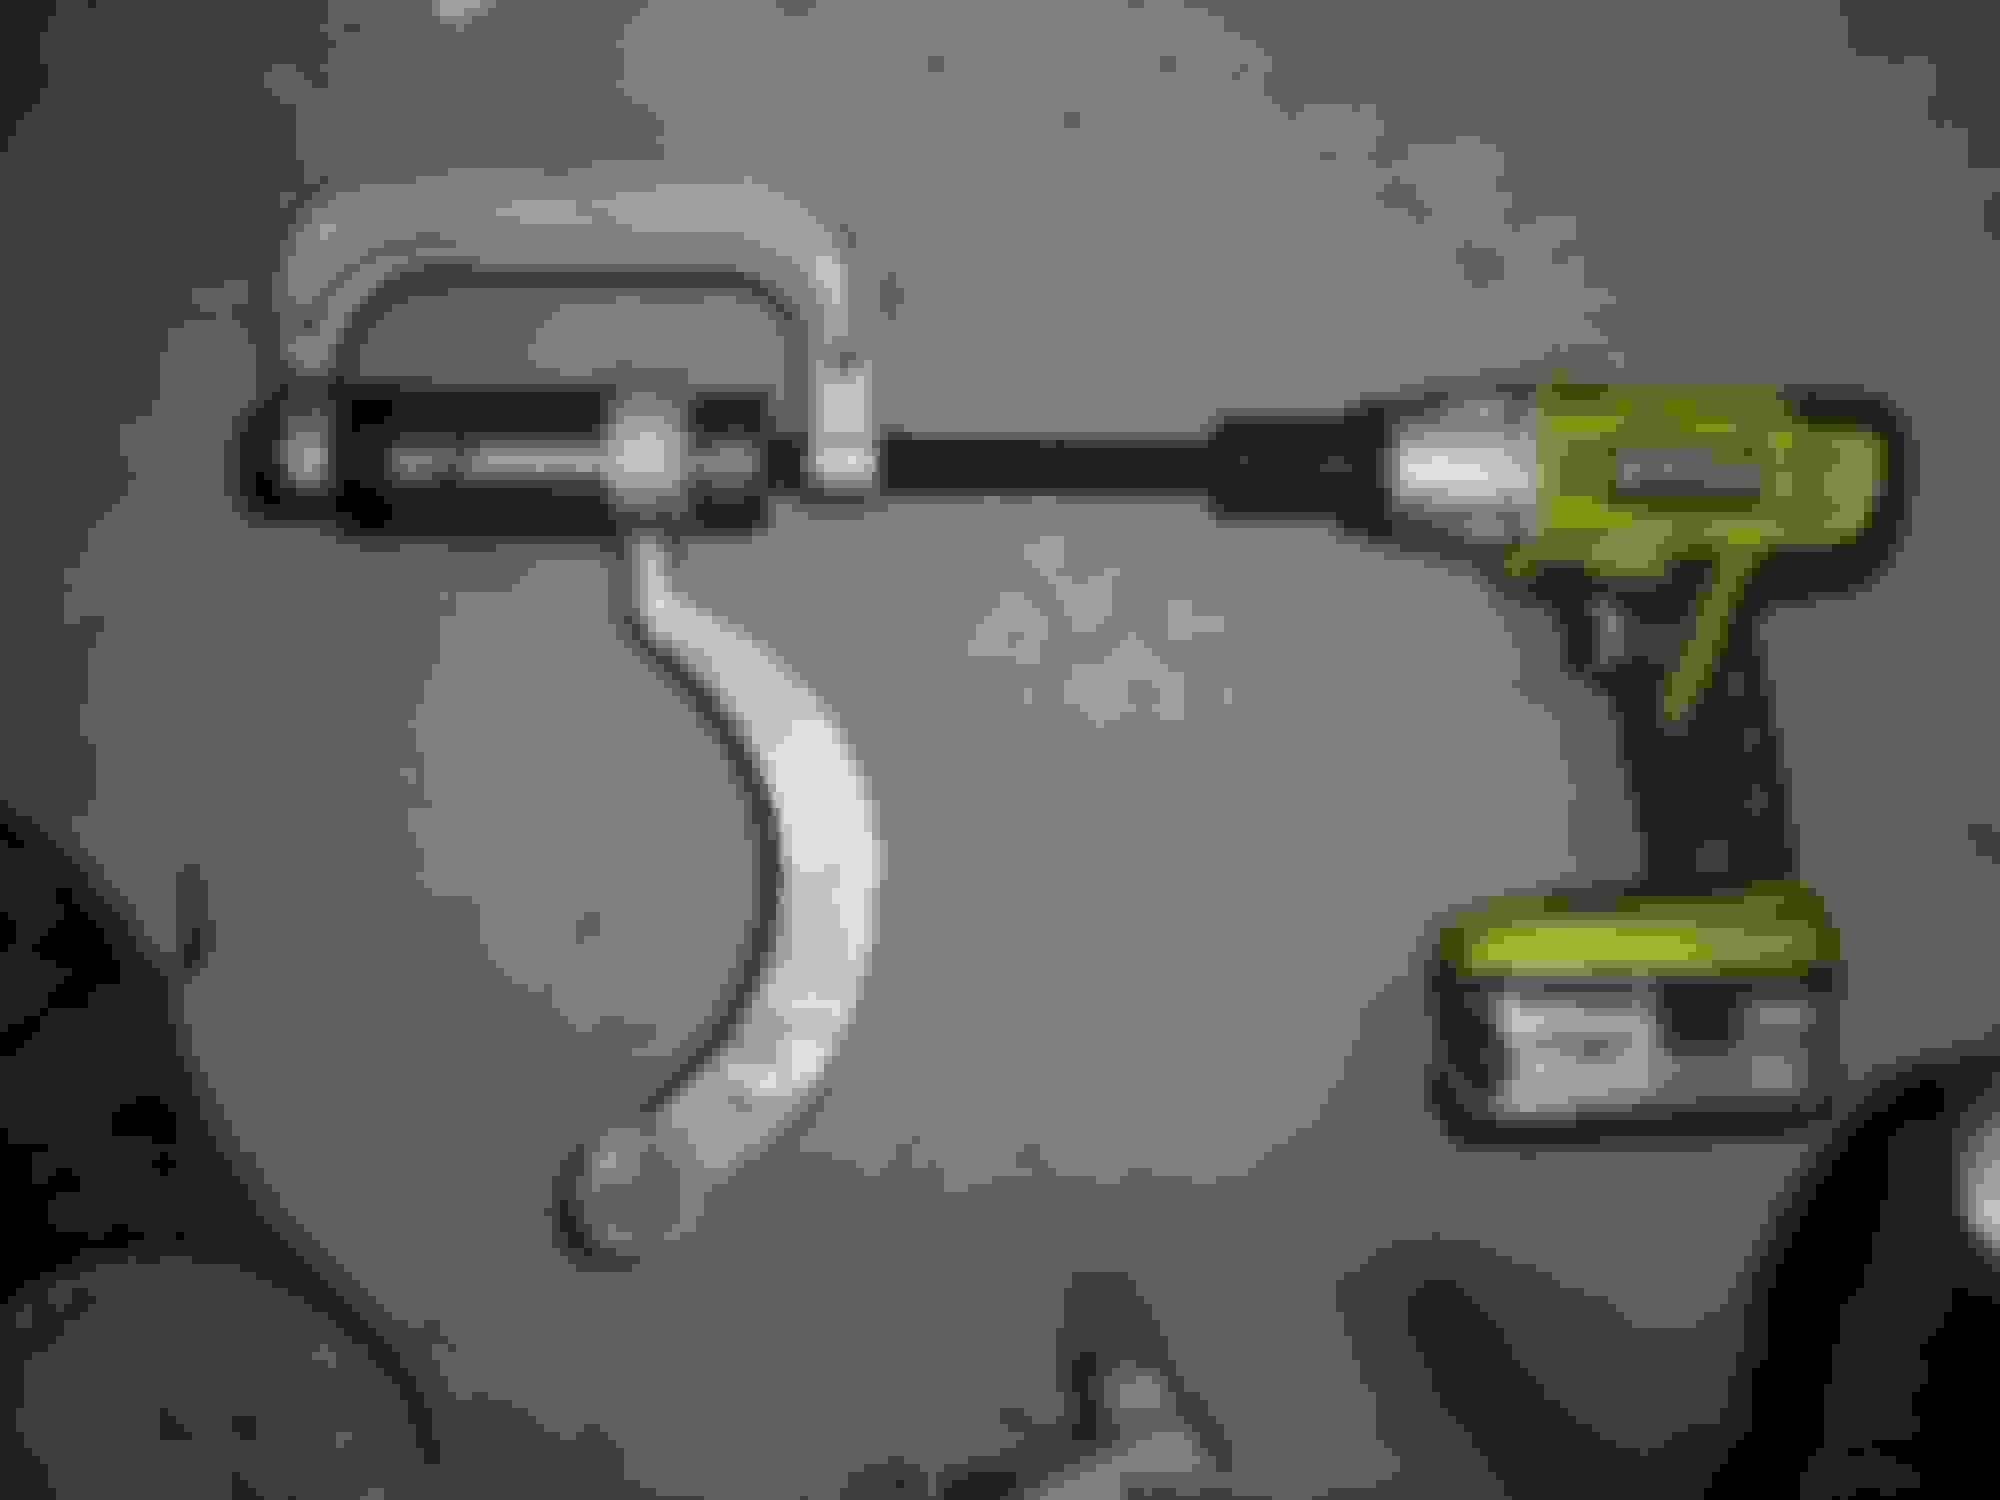
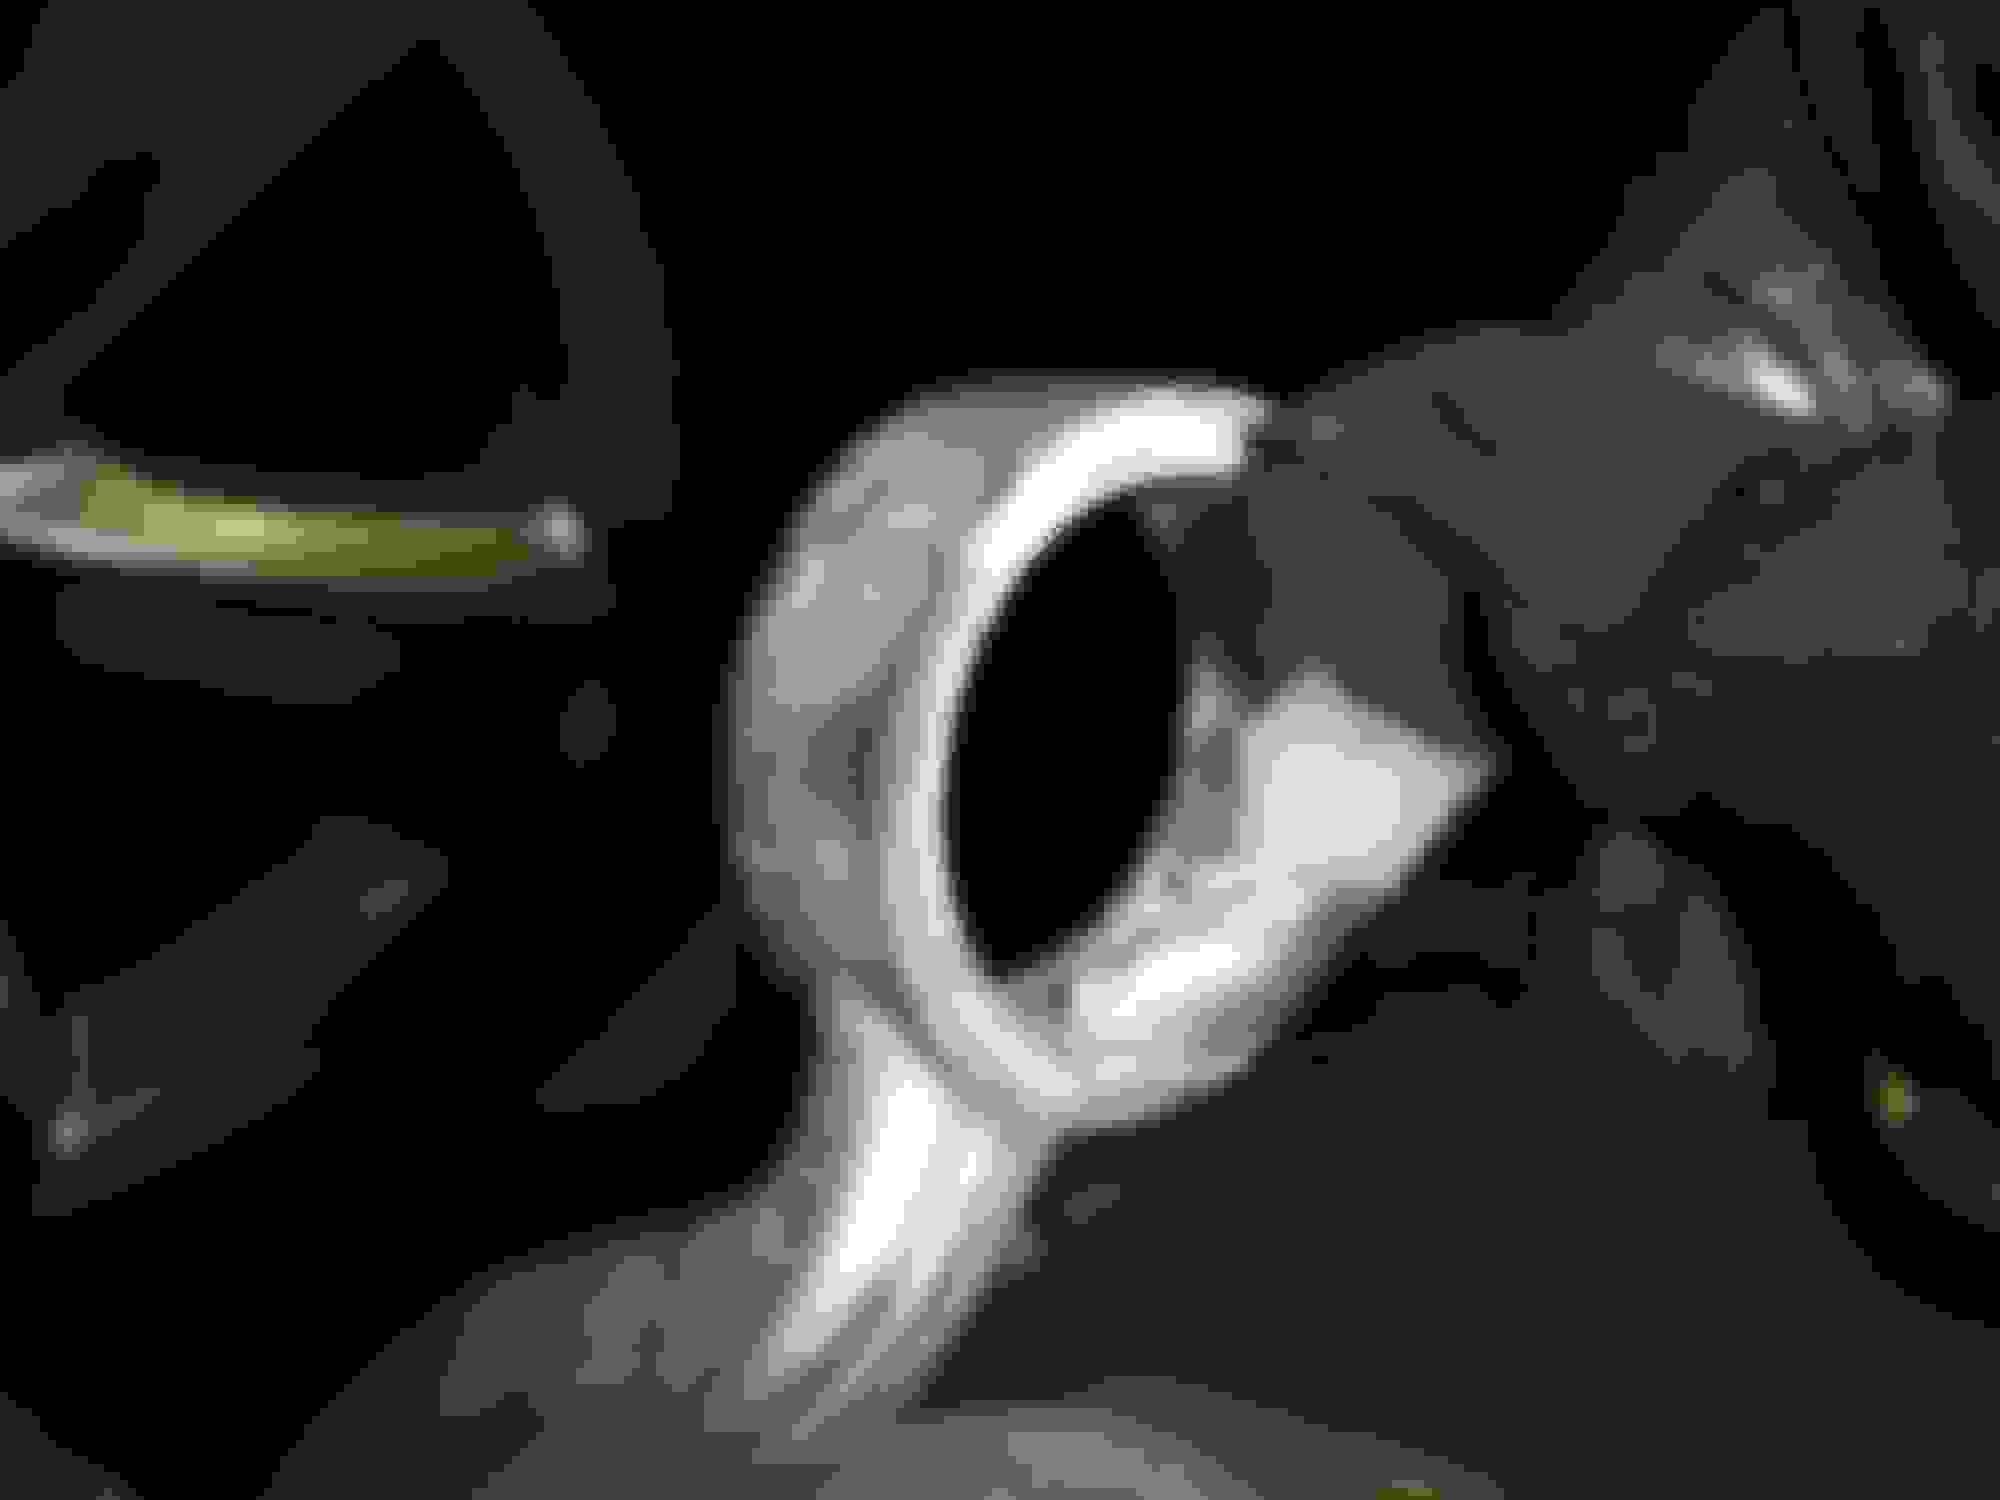
9. With the help of the upper bushing removal kit that I bought from Amazon, and a Powerbuilt 648604 Kit 25 Upper Control Arm Bushing Service Tool Set that I rented from advance auto parts, remove the old bushing. It doesn't matter if you use a socket wrench or an impact wrench to make this work. Personally, I recommend an impact wrench. My RYOBI pushed out the old bushing in under 3 seconds!
10. Use sandpaper clean the inside of the control arm
11. Grease the bushing generously supplied grease packets
12. Use of Bushing service tool to push the new bushing into the control arm. Procedure is similar to step 11.
13. Reinstallation is the exact reverse method of the removal that I just went through.
14. These steps can be used to remove the control arms from the right rear, left front and left rear upper control arms.
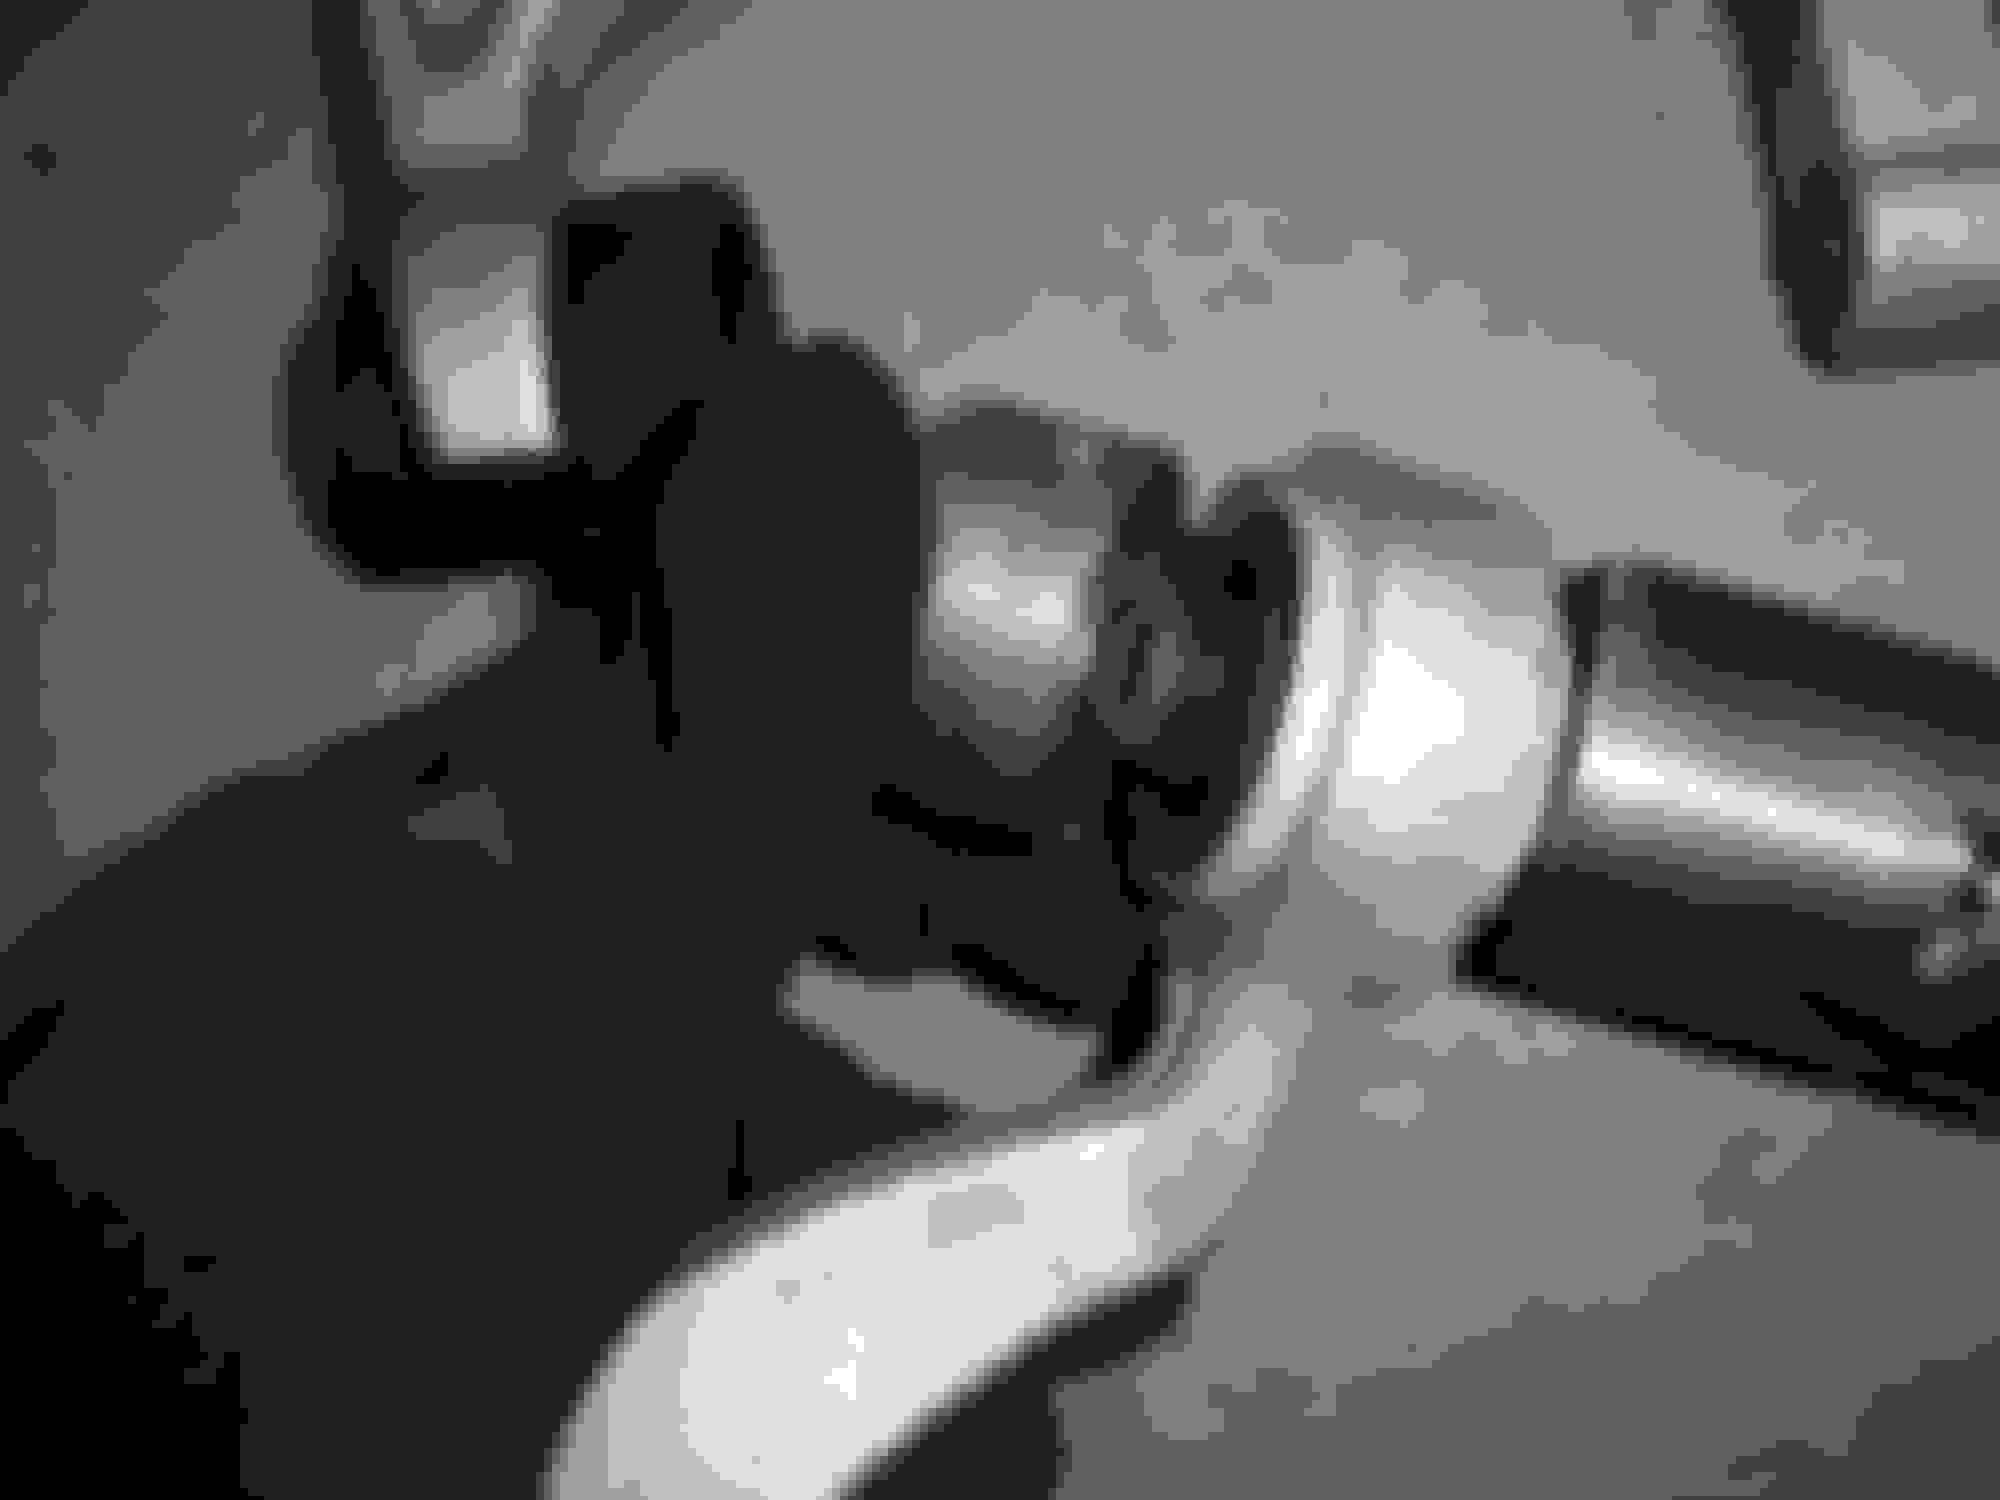
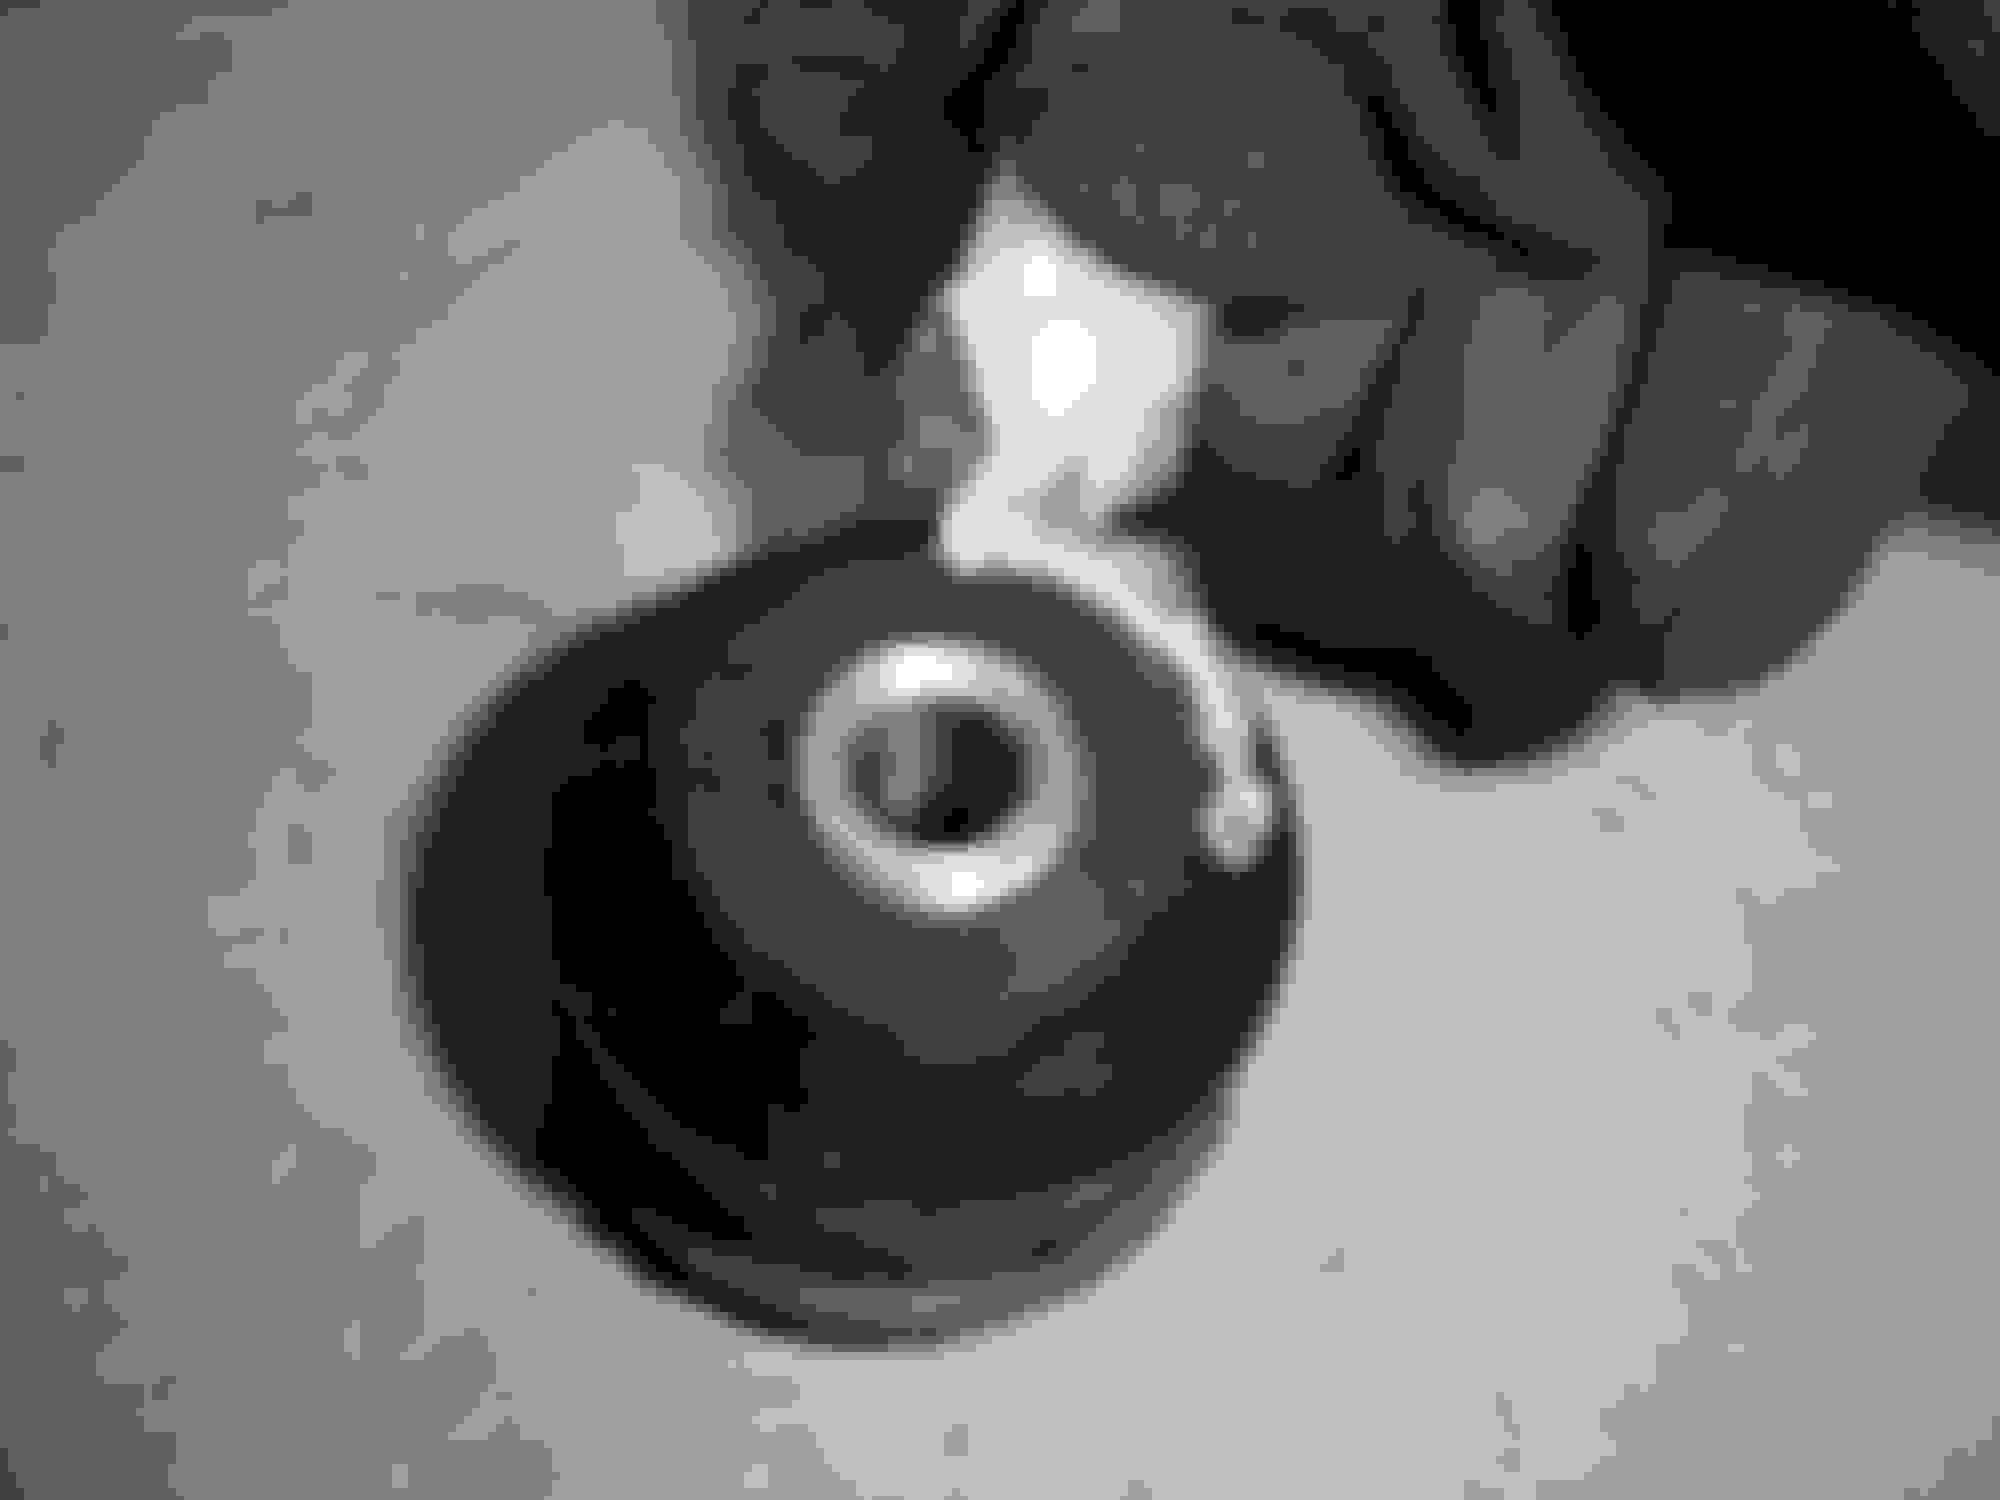
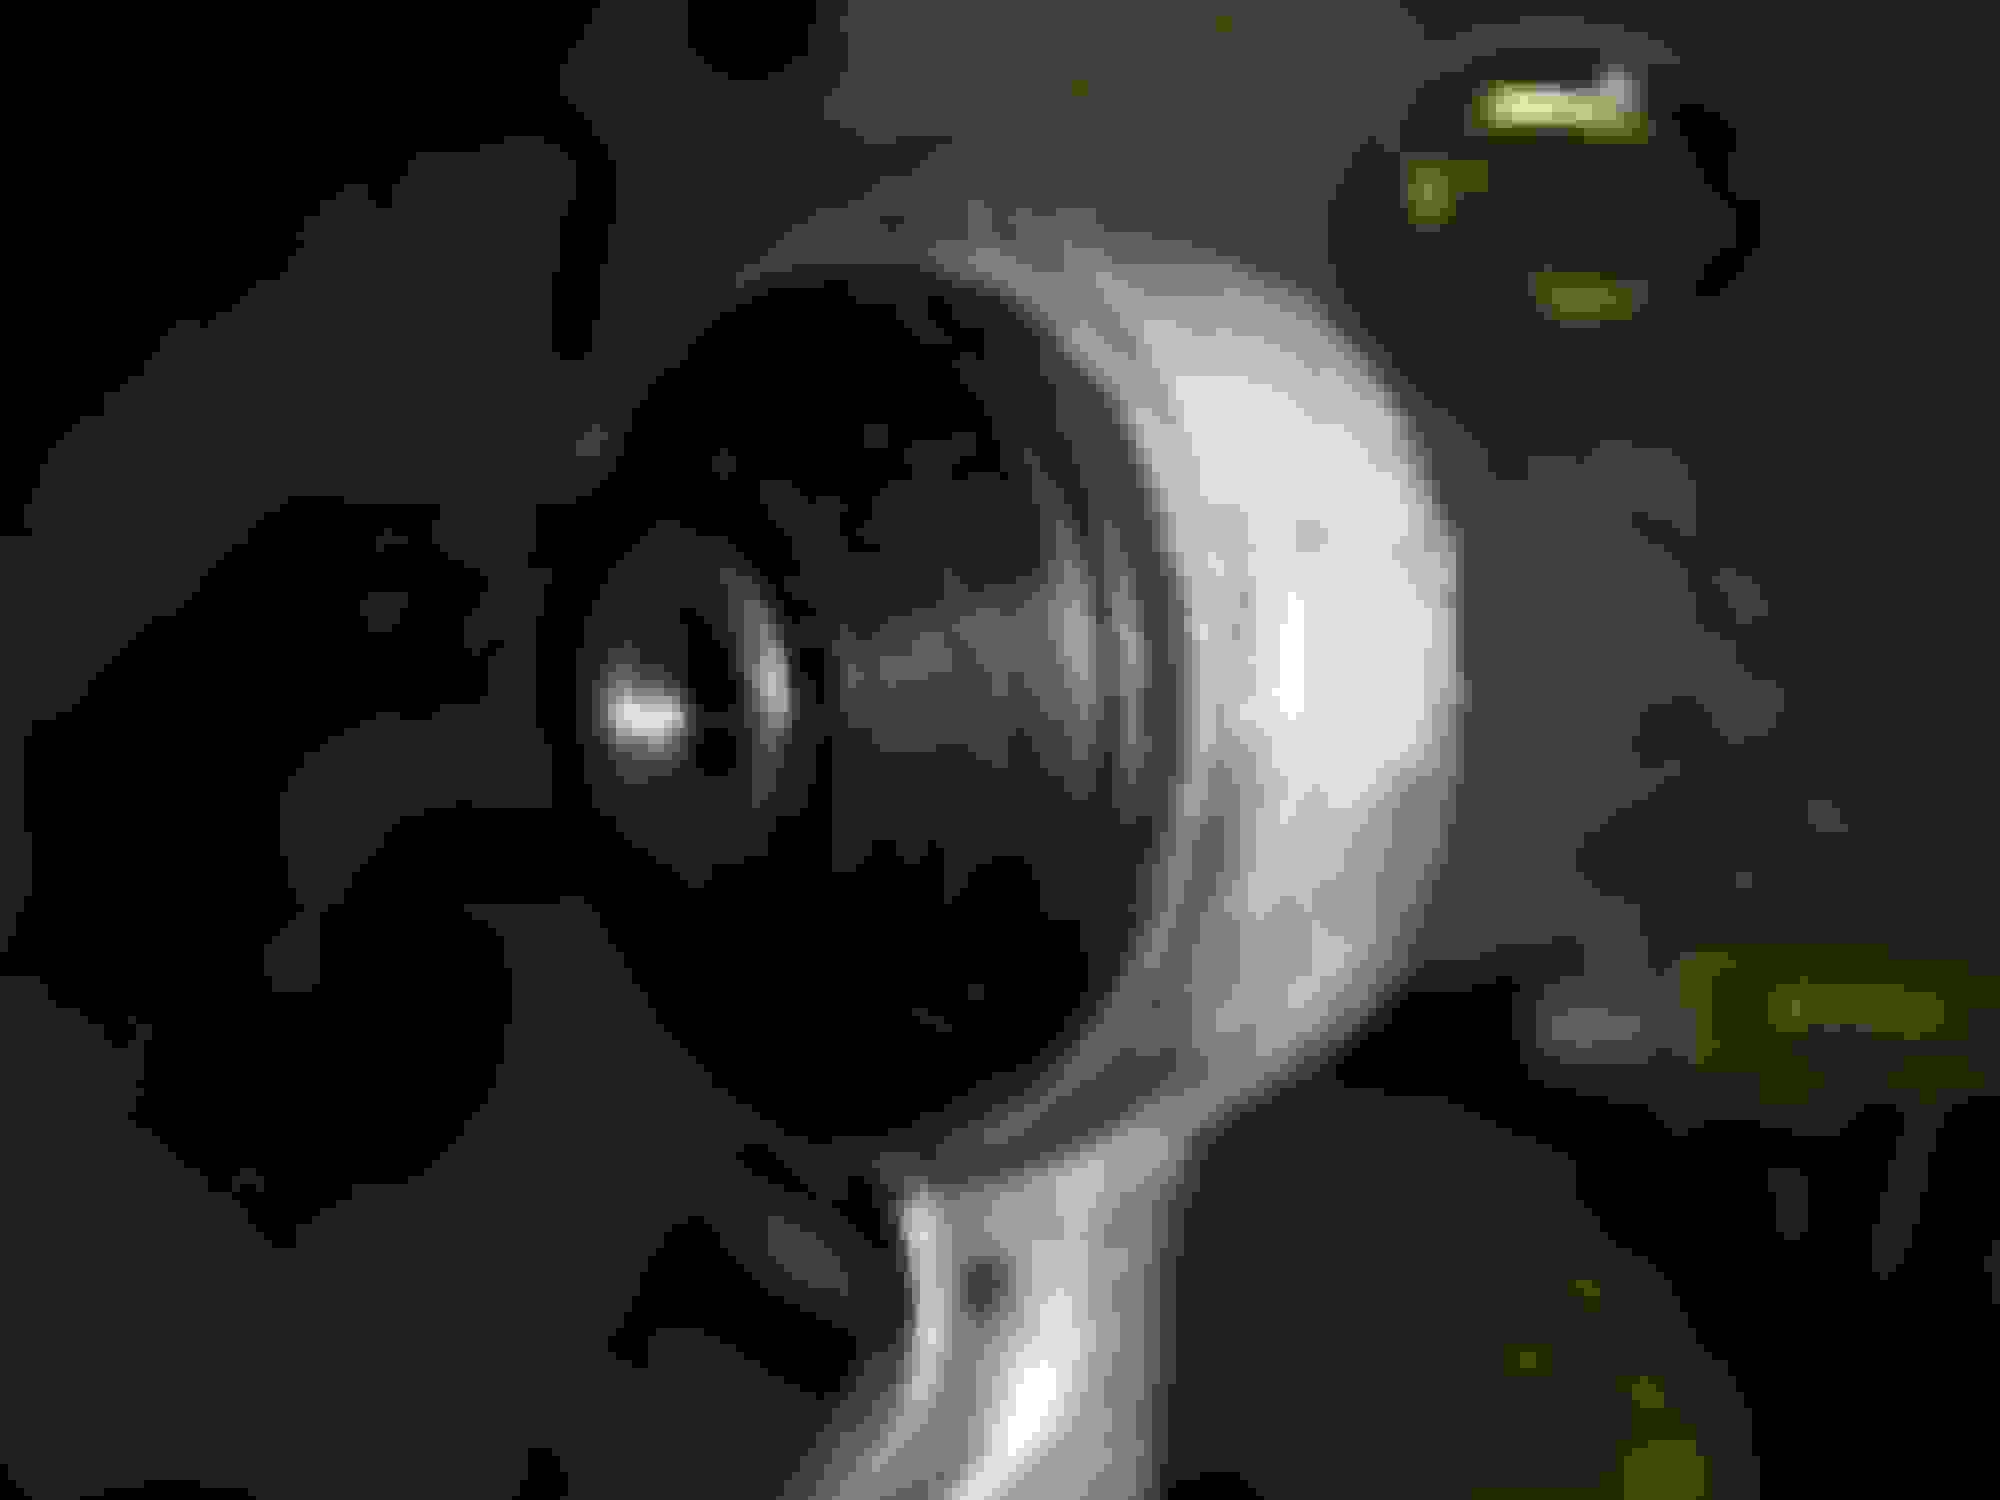
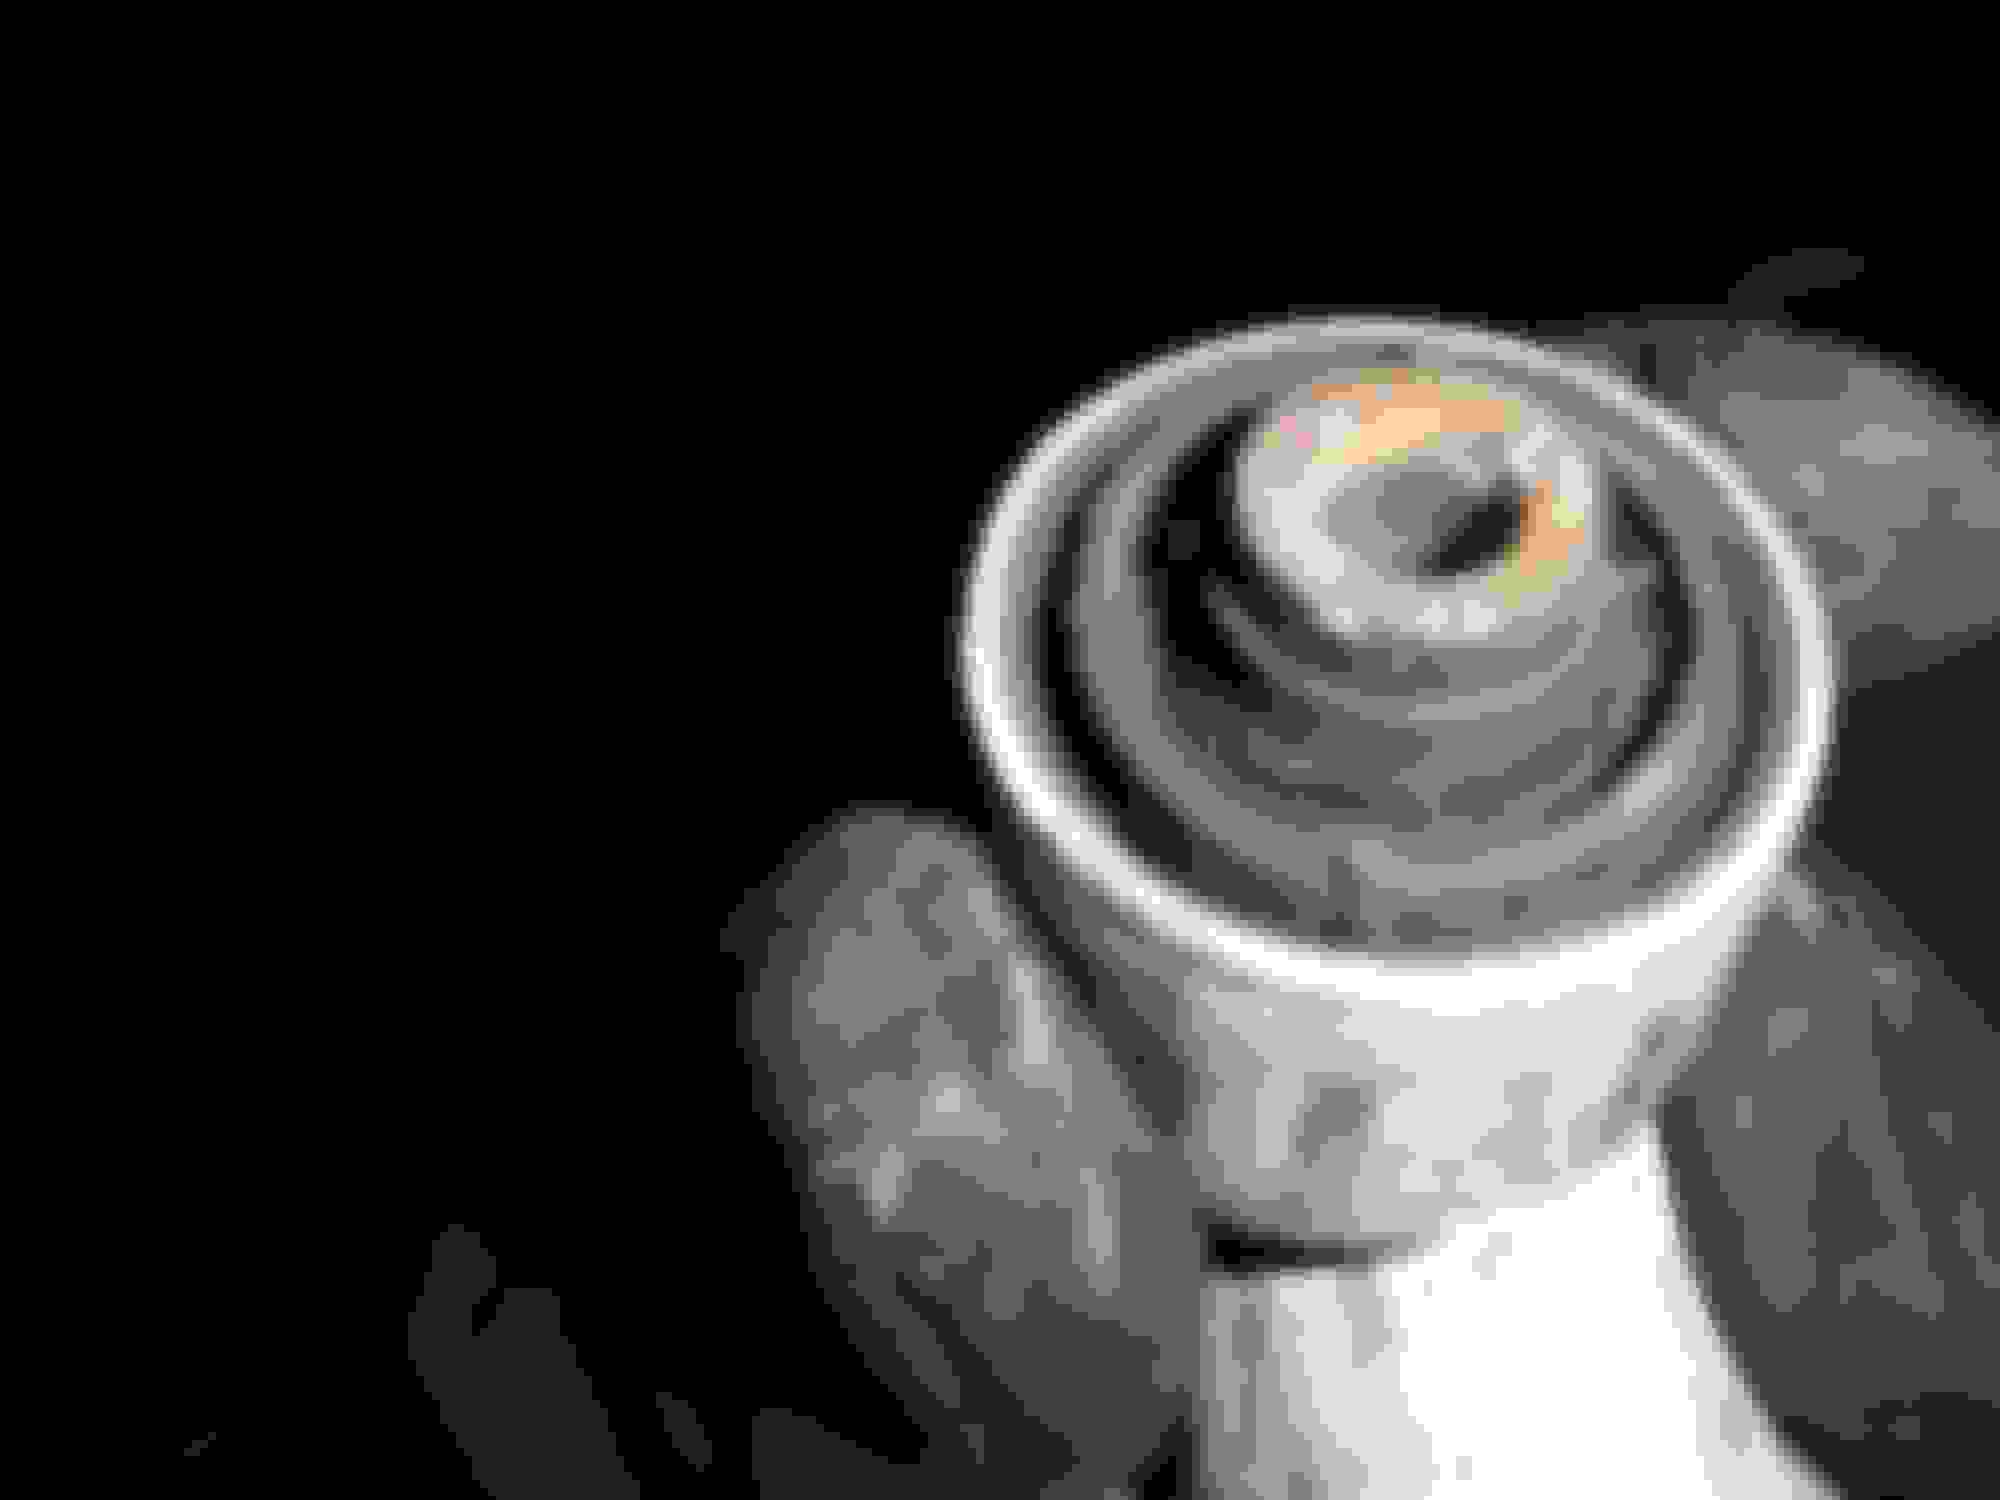
This is how bad my old bushings looked.
I will soon upload (on YouTube) a video of the bushings being removed and installed using the Powerbuilt service tool and my RYOBI impact wrench, just to show everyone how easy it was doing it at home. No commercial press needed or a trip to the shop.
My LS460 now drives amazing! Wow what a difference! Total cost for this project was $205 (bushings + removal kit). Some people on this forum have said they paid $2000 - $3500 for this same service
My next project will be to replace the lower control arm bushings and again share my experience with you guys.
 02-13-20, 10:18 PM


 Wow what a difference! Total cost for this project was $205 (bushings + removal kit). Some people on this forum have said they paid $2000 - $3500 for this same service


