
Changing footwell LED's to white
 12-23-17 | 12:21 AM
#1

Thread Starter
Pit Crew
Joined: Dec 2006
Posts: 117
Likes: 15
From: HI
Hi,
I have to be honest, i am a bit disappointed with this Ls460 forum, I can barely find any threads with items i need assistance with. Anyhow i came from a LS430 a few years back among some sports cars but am back to Lexus.
So all my 194 bulbs have been changed, just awaiting my Phillips 6k D4s (have also used Osram CBI's for many of my retrofits and its a good quality bulb, cheap nowadays too), 3k HID fogs. I am needing to change the footwell LED's to white and couldn't find any threads. I was pleasantly shocked to find how easy this was going to be, no board soldering which makes me smile!
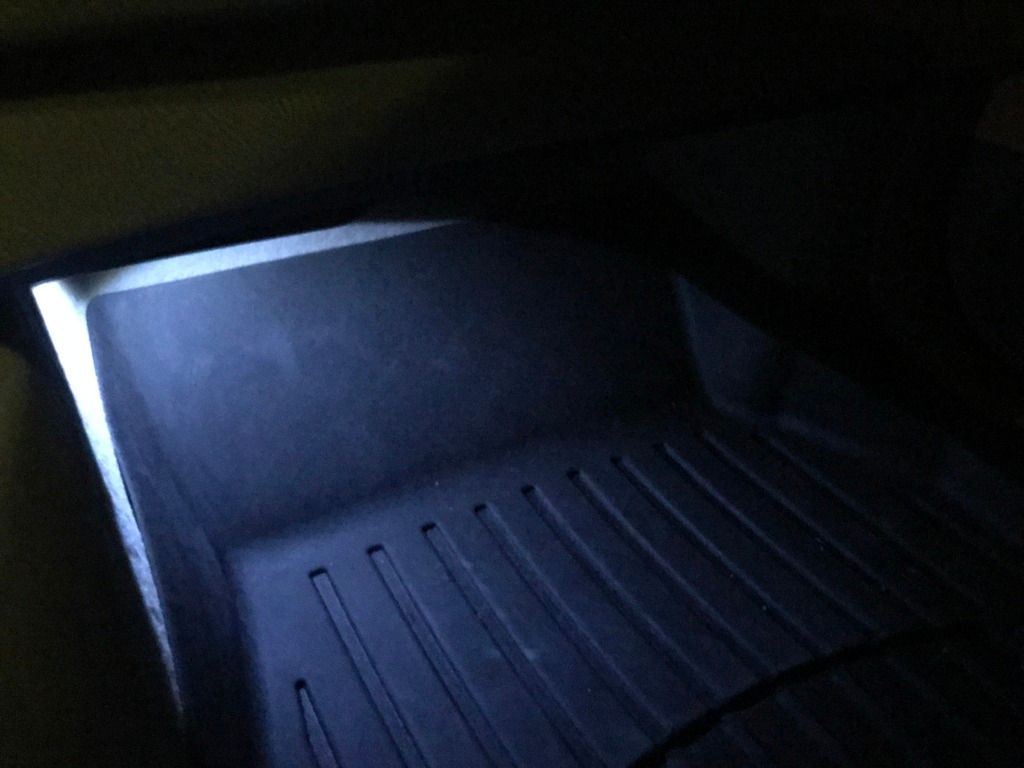
So each of the footwell LED's are actually already a white led but just have a orange cap on it thats making it amber. For the front passenger and front driver, all you have to do is go into the footwell with a thin flat head and pry off the orange cap. Done! I suggest taking off the passenger side cover (just clips) to get a better understanding of how the LED housing is held on because the rear is going to be a little harder and knowing how its designed will make life easier.
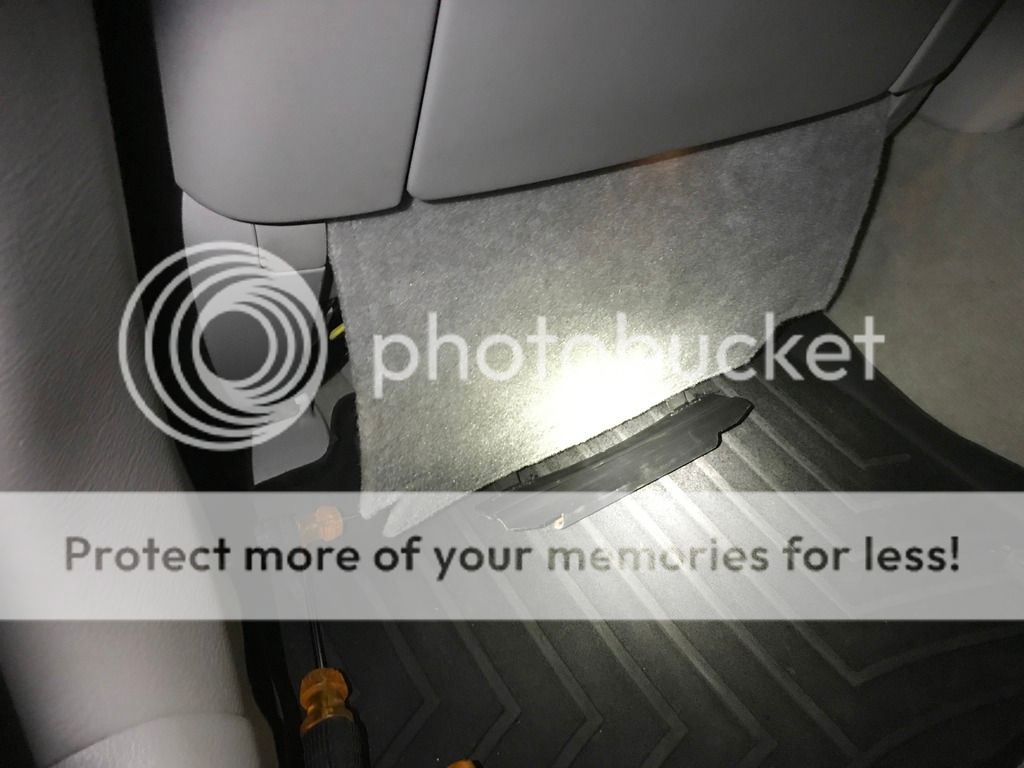
Rear is a little bit harder due to limited visibility.
1. pull the front seats all the way forward
2. look underneath the seat, you will see how the chair cloth is being held by a black long cylindrical plastic clip that loops around a metal bar under the seat, unhook that loop, it can be done by hand.
3. lie down in the back footwell and you will see two phillip screw, one of each side holding in this cloth. Sorry no pic, its 9pm and i cant take a pic with a flashlight and phone and tools. take out both of these phillips screws
4. You can now pull the cloth back enough to be able to work on prying the led housing out of the holder. Remember how the front ones looked? Its held the same way, get a flathead and pry it out.
5. once pried out, simply take off the orange cap and you are done!
hate photobucket, it keeps freezing. let me try get these pictures up with my phone.
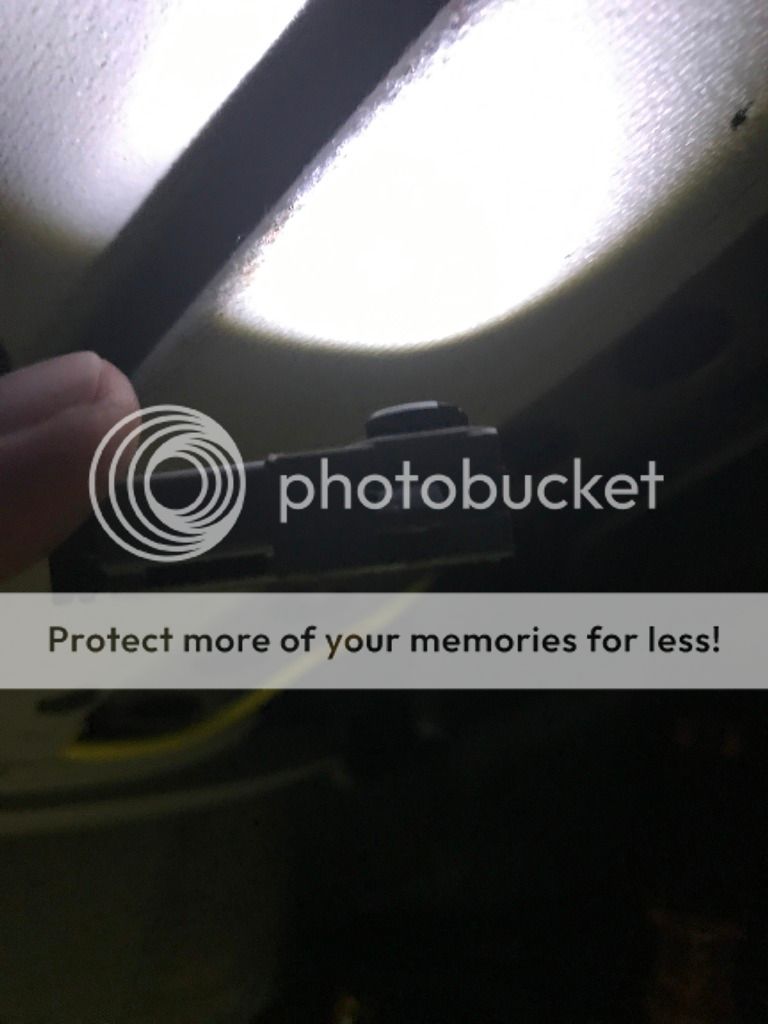
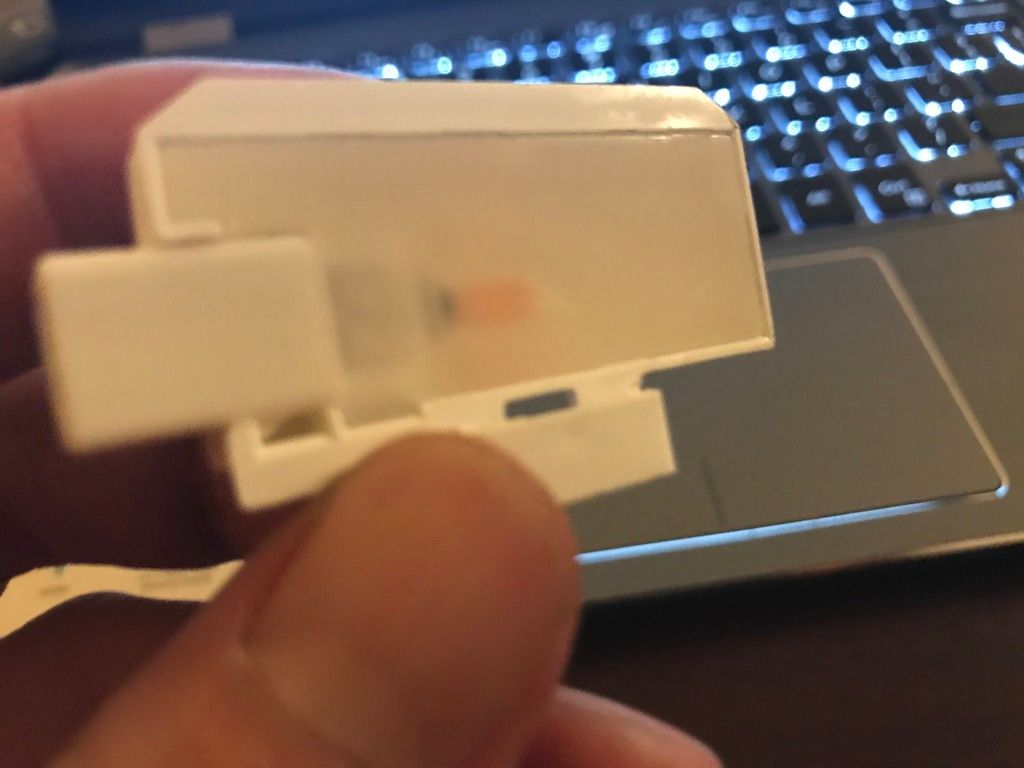
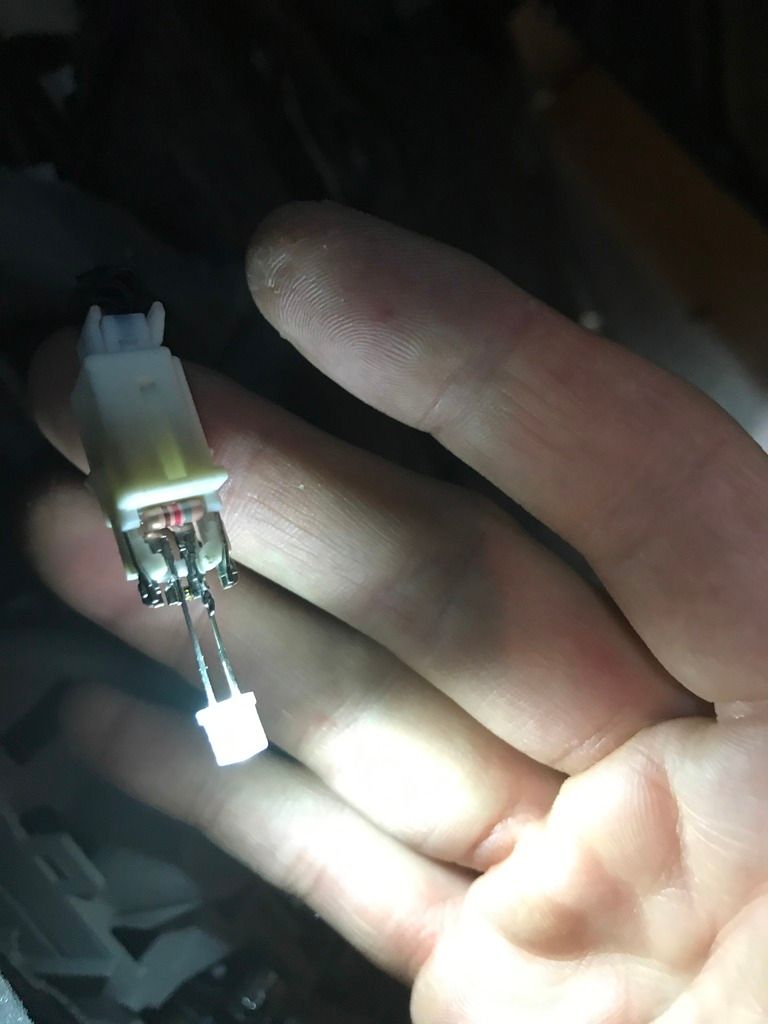
Here is how the LED looks, they are all the same on all four. this one if from the front passenger side. study it well.


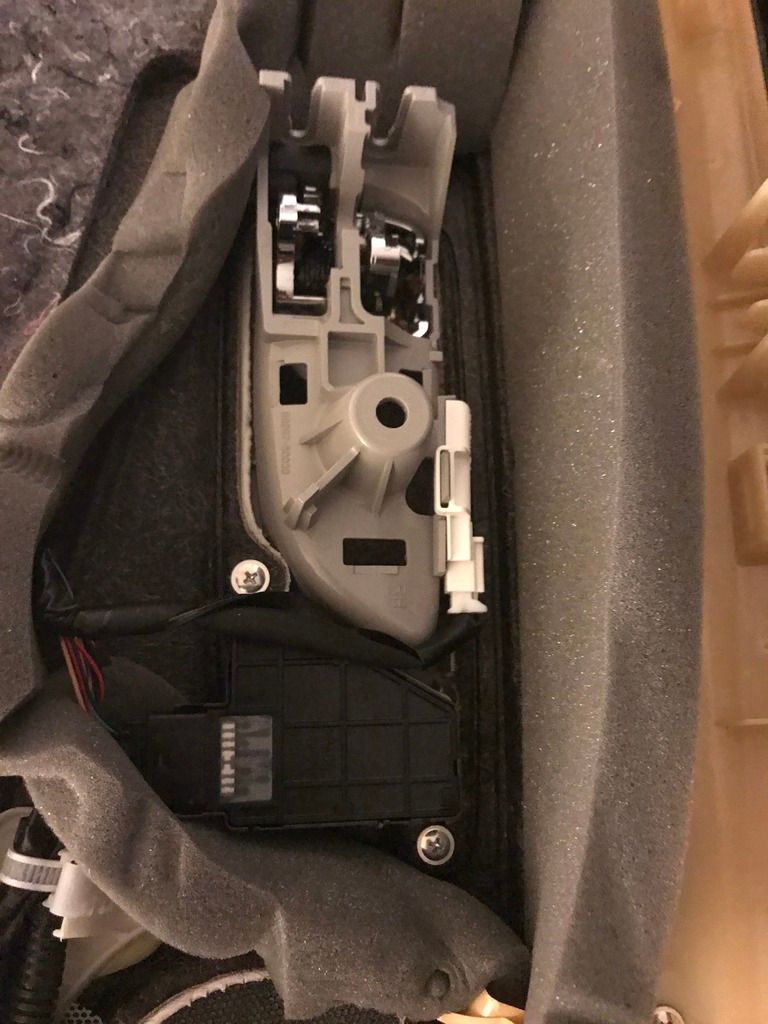
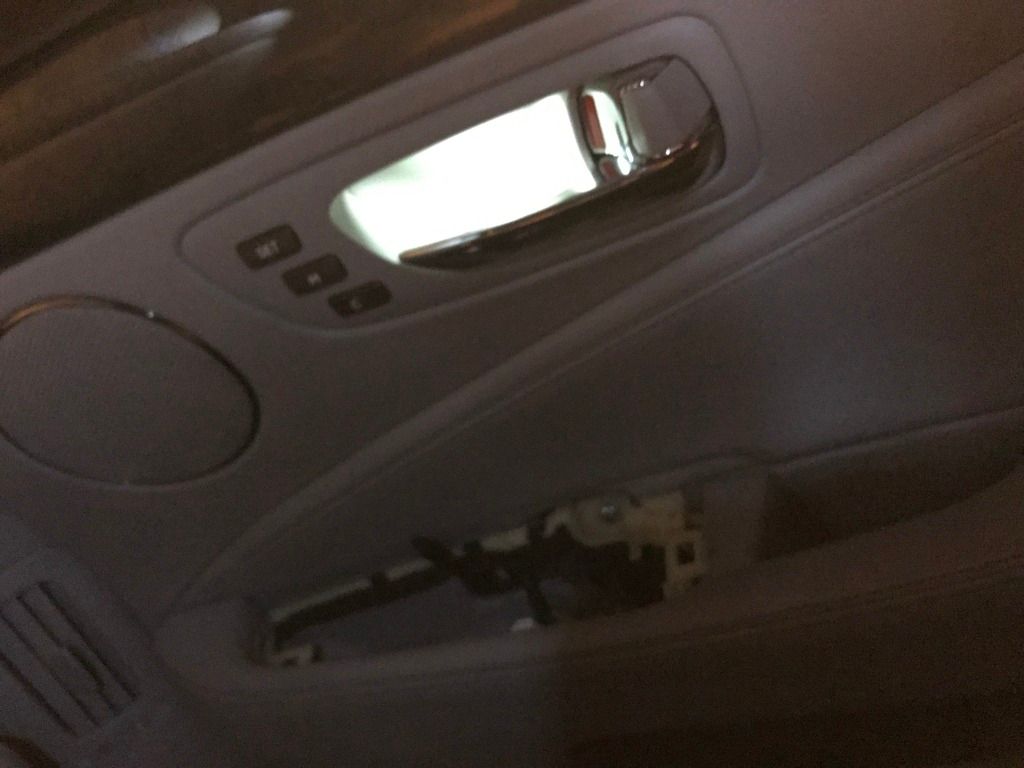
Here is the rear footwell area, this black clip is just looped under the seat.

This can all be done in less than an hour with a flash light and a small flat head and phillips screw driver. Ill be doing the door handle ones soon, i believe that one is one is on a board like my old ls430, we'll see. Theres many ways of doing things without desoldering.
Forgive all my typos and poor grammer.
I have to be honest, i am a bit disappointed with this Ls460 forum, I can barely find any threads with items i need assistance with. Anyhow i came from a LS430 a few years back among some sports cars but am back to Lexus.
So all my 194 bulbs have been changed, just awaiting my Phillips 6k D4s (have also used Osram CBI's for many of my retrofits and its a good quality bulb, cheap nowadays too), 3k HID fogs. I am needing to change the footwell LED's to white and couldn't find any threads. I was pleasantly shocked to find how easy this was going to be, no board soldering which makes me smile!
So each of the footwell LED's are actually already a white led but just have a orange cap on it thats making it amber. For the front passenger and front driver, all you have to do is go into the footwell with a thin flat head and pry off the orange cap. Done! I suggest taking off the passenger side cover (just clips) to get a better understanding of how the LED housing is held on because the rear is going to be a little harder and knowing how its designed will make life easier.
Rear is a little bit harder due to limited visibility.
1. pull the front seats all the way forward
2. look underneath the seat, you will see how the chair cloth is being held by a black long cylindrical plastic clip that loops around a metal bar under the seat, unhook that loop, it can be done by hand.
3. lie down in the back footwell and you will see two phillip screw, one of each side holding in this cloth. Sorry no pic, its 9pm and i cant take a pic with a flashlight and phone and tools. take out both of these phillips screws
4. You can now pull the cloth back enough to be able to work on prying the led housing out of the holder. Remember how the front ones looked? Its held the same way, get a flathead and pry it out.
5. once pried out, simply take off the orange cap and you are done!
hate photobucket, it keeps freezing. let me try get these pictures up with my phone.
Here is how the LED looks, they are all the same on all four. this one if from the front passenger side. study it well.


Here is the rear footwell area, this black clip is just looped under the seat.


This can all be done in less than an hour with a flash light and a small flat head and phillips screw driver. Ill be doing the door handle ones soon, i believe that one is one is on a board like my old ls430, we'll see. Theres many ways of doing things without desoldering.
Forgive all my typos and poor grammer.
Last edited by daniel1235; 12-23-17 at 02:54 AM.
12-23-17 | 03:07 AM
#3
Thread Starter
Pit Crew
Joined: Dec 2006
Posts: 117
Likes: 15
From: HI
My wifi is still crappy, sorry. Anyhow i was bored at 12am after doing the above and i still have all my single LED's from over the years so i decided to take the rear door panel off since i only have a flashlight on my head and no garage.
1. Take the door panel off
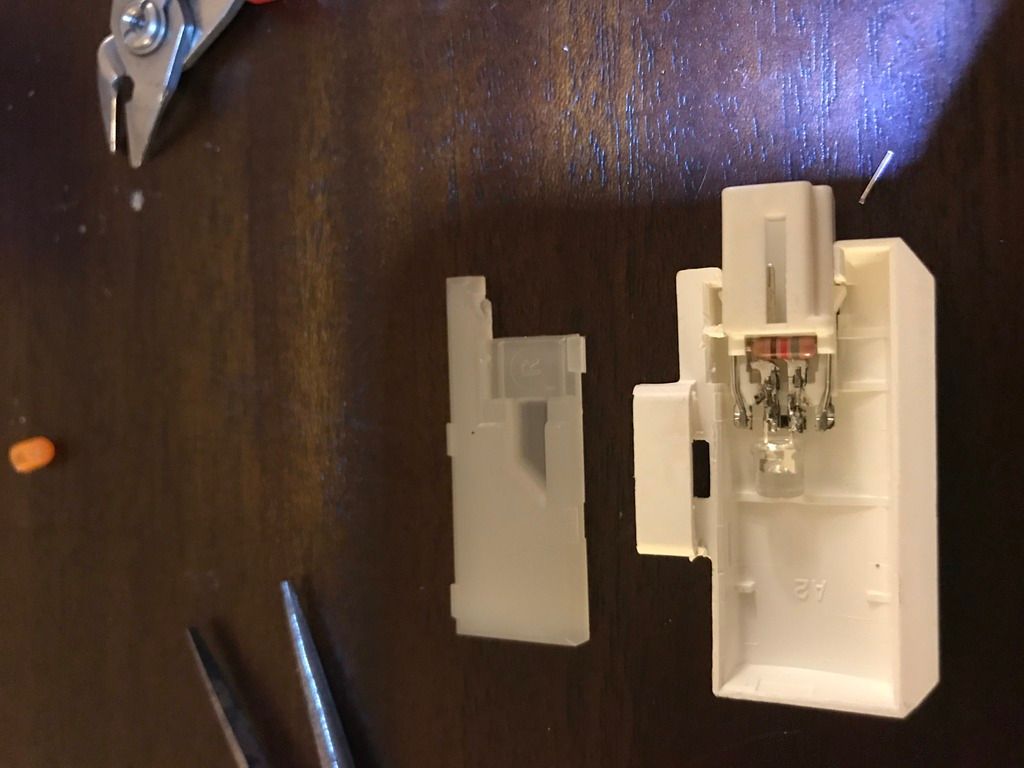
2. Take the LED door light piece off, its just held on the door by a harness and a clip. Its that white piece.
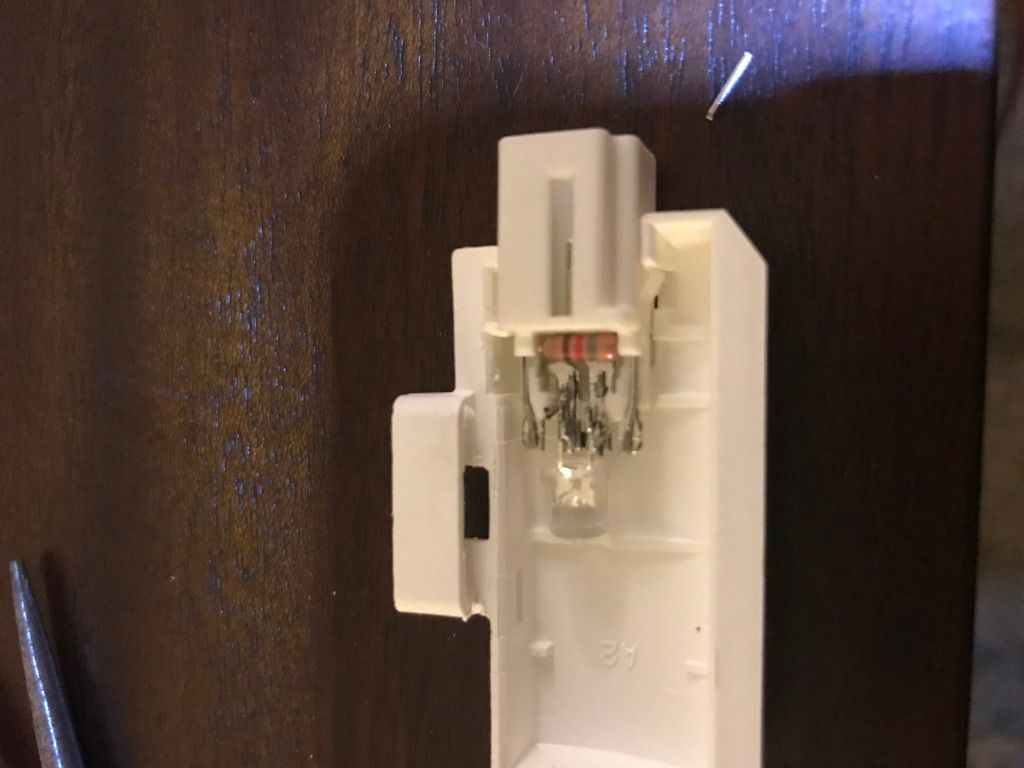
3. sorry my other pics arent loading but here is what the LED looks like, its just a resisitor and a single LED. So i forgot how to read resisitors so what i did was to test the voltage going to the LED under load. its 3v. Someone can definately chime in and read the color codes on the resisitor.
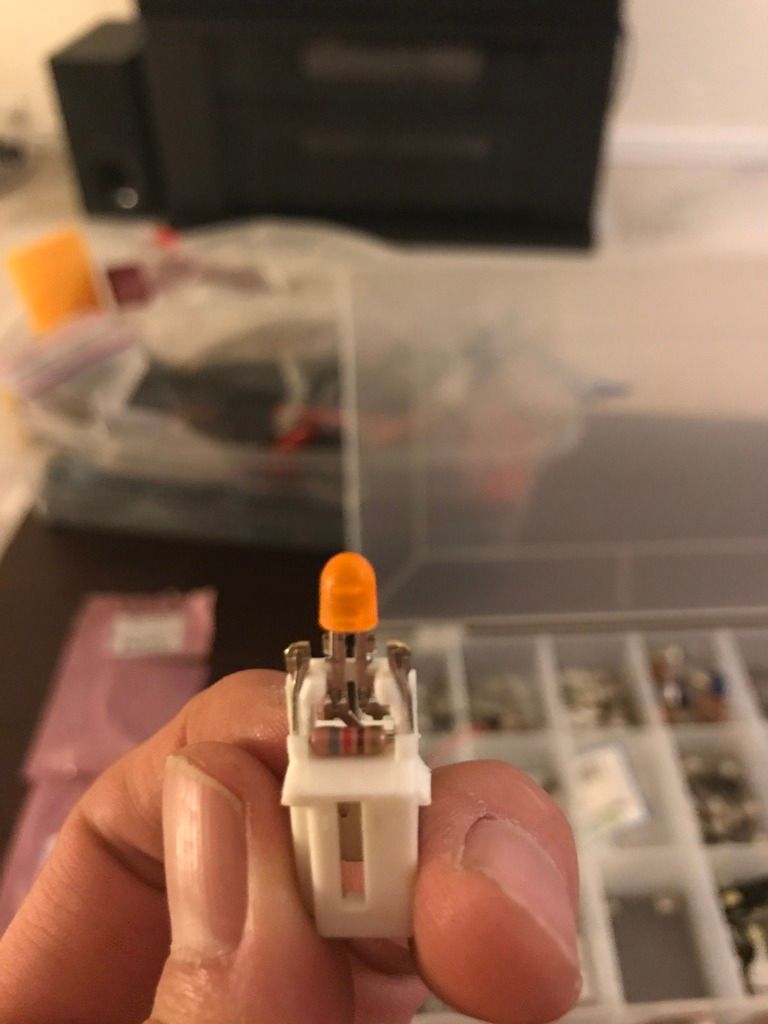
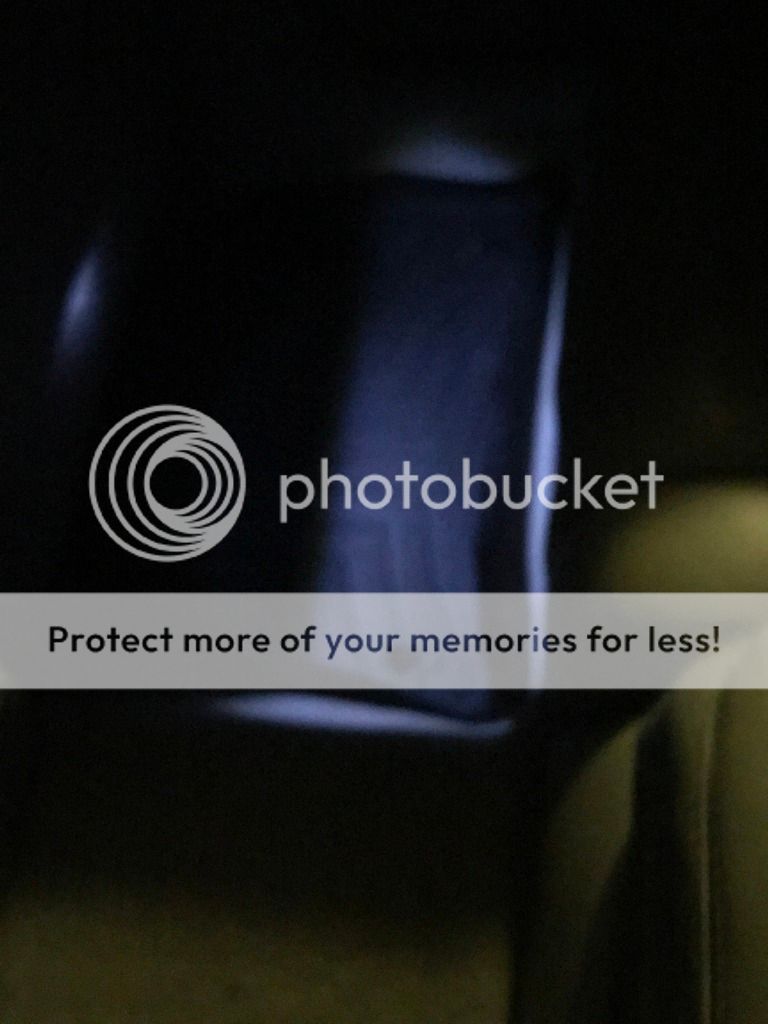
4. Solder on the new LED. This is a white LED with 3.8V max so it works fine with the already existing resisitor. Be careful though, i had to resolder because you have to put the LED super close like how the OEM one was or otherwise you cant fit the cover back on because of the groove. P.S. Dont laugh at my soldering, i moved not too long ago and dont have all my tools easily accessible okay. Just making do with what i have at the moment. Thanks!
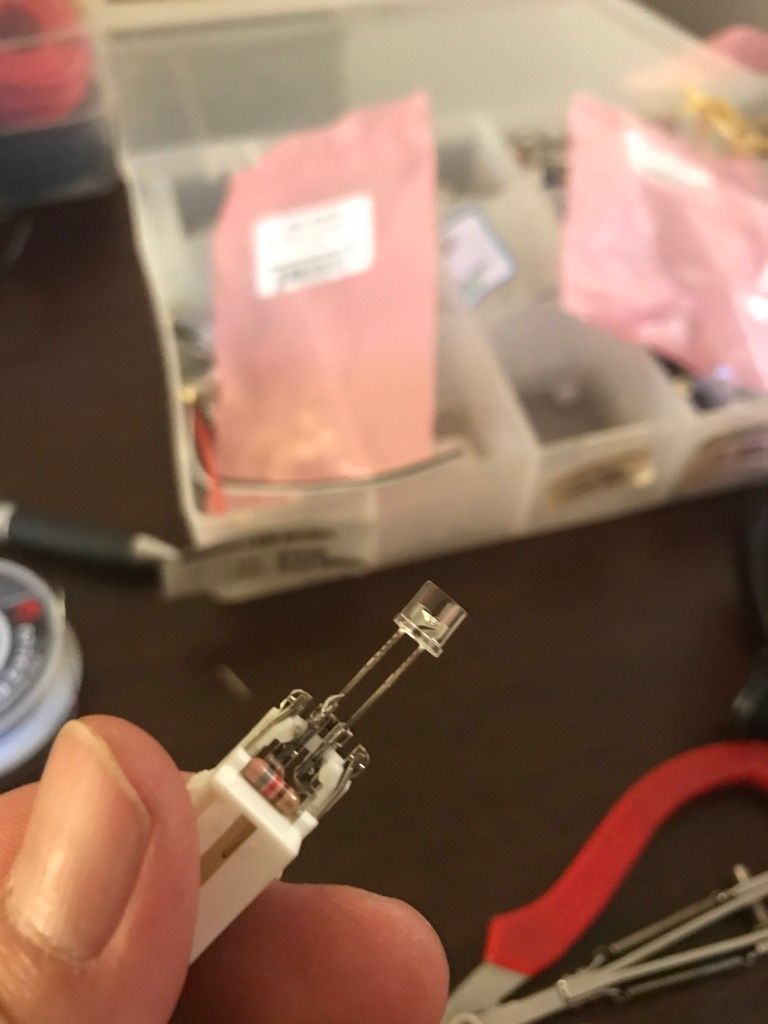
I had to fix it like this:
Its not this crazy bright.
Well thats about it, im going to sleep. Here is my contribution and i hope this helps others! Bam! Shoots den!
1. Take the door panel off
2. Take the LED door light piece off, its just held on the door by a harness and a clip. Its that white piece.


3. sorry my other pics arent loading but here is what the LED looks like, its just a resisitor and a single LED. So i forgot how to read resisitors so what i did was to test the voltage going to the LED under load. its 3v. Someone can definately chime in and read the color codes on the resisitor.

4. Solder on the new LED. This is a white LED with 3.8V max so it works fine with the already existing resisitor. Be careful though, i had to resolder because you have to put the LED super close like how the OEM one was or otherwise you cant fit the cover back on because of the groove. P.S. Dont laugh at my soldering, i moved not too long ago and dont have all my tools easily accessible okay. Just making do with what i have at the moment. Thanks!


I had to fix it like this:

Its not this crazy bright.

Well thats about it, im going to sleep. Here is my contribution and i hope this helps others! Bam! Shoots den!

Last edited by daniel1235; 12-23-17 at 03:10 AM.


Trending Topics
12-23-17 | 10:19 AM
#8
Thread Starter
Pit Crew
Joined: Dec 2006
Posts: 117
Likes: 15
From: HI
Didn't know you can just directly upload these days. Nice because that saved so much time.
 12-23-17 | 07:38 PM
#10
Lexus Fanatic
Joined: Jan 2014
Posts: 5,371
Likes: 510
From: BC Canada
This is a mod many of us have done. It's been covered in other threads, so I'm surprised you didn't find anything. It's one of the first mods I did, along with dome lights, etc thanks to the info found here at CL.

 12-24-17 | 05:19 AM
#12
Lexus Test Driver
Joined: Mar 2014
Posts: 1,365
Likes: 29
From: Massachusetts
Nice post, but Roadfrog is right. It�s been covered in the DIY STICKY at the top of the page for years. https://www.clublexus.com/forums/ls-...iy-thread.html


Thread
Thread Starter
Forum
Replies
Last Post
xbigboix83
IS - 3rd Gen (2014-present)
5
10-09-13 01:43 PM