When you click on links to various merchants on this site and make a purchase, this can result in this site earning a commission. Affiliate programs and affiliations include, but are not limited to, the eBay Partner Network.
Couldn't you just take that trim off the car and paint it ? (of course with the right tools so you don't damage it). I would think this would be the better way instead of spay painting in the car.
I didn't want to go through the process of removing the wood trim pieces at the base of the shifter, ashtray, and the navigation screen (lots of things to move, unplug, unscrew = lots of things that could break). But do whatever you think will work for you. I'm just sharing what I did.
From what I remember seeing in posts here is the trim panel removal is rather involved. Like "remove the navi and stereo" after removing everything else in the way.
From what I remember seeing in posts here is the trim panel removal is rather involved. Like "remove the navi and stereo" after removing everything else in the way.
That's my understanding as well. Not worth it IMO.
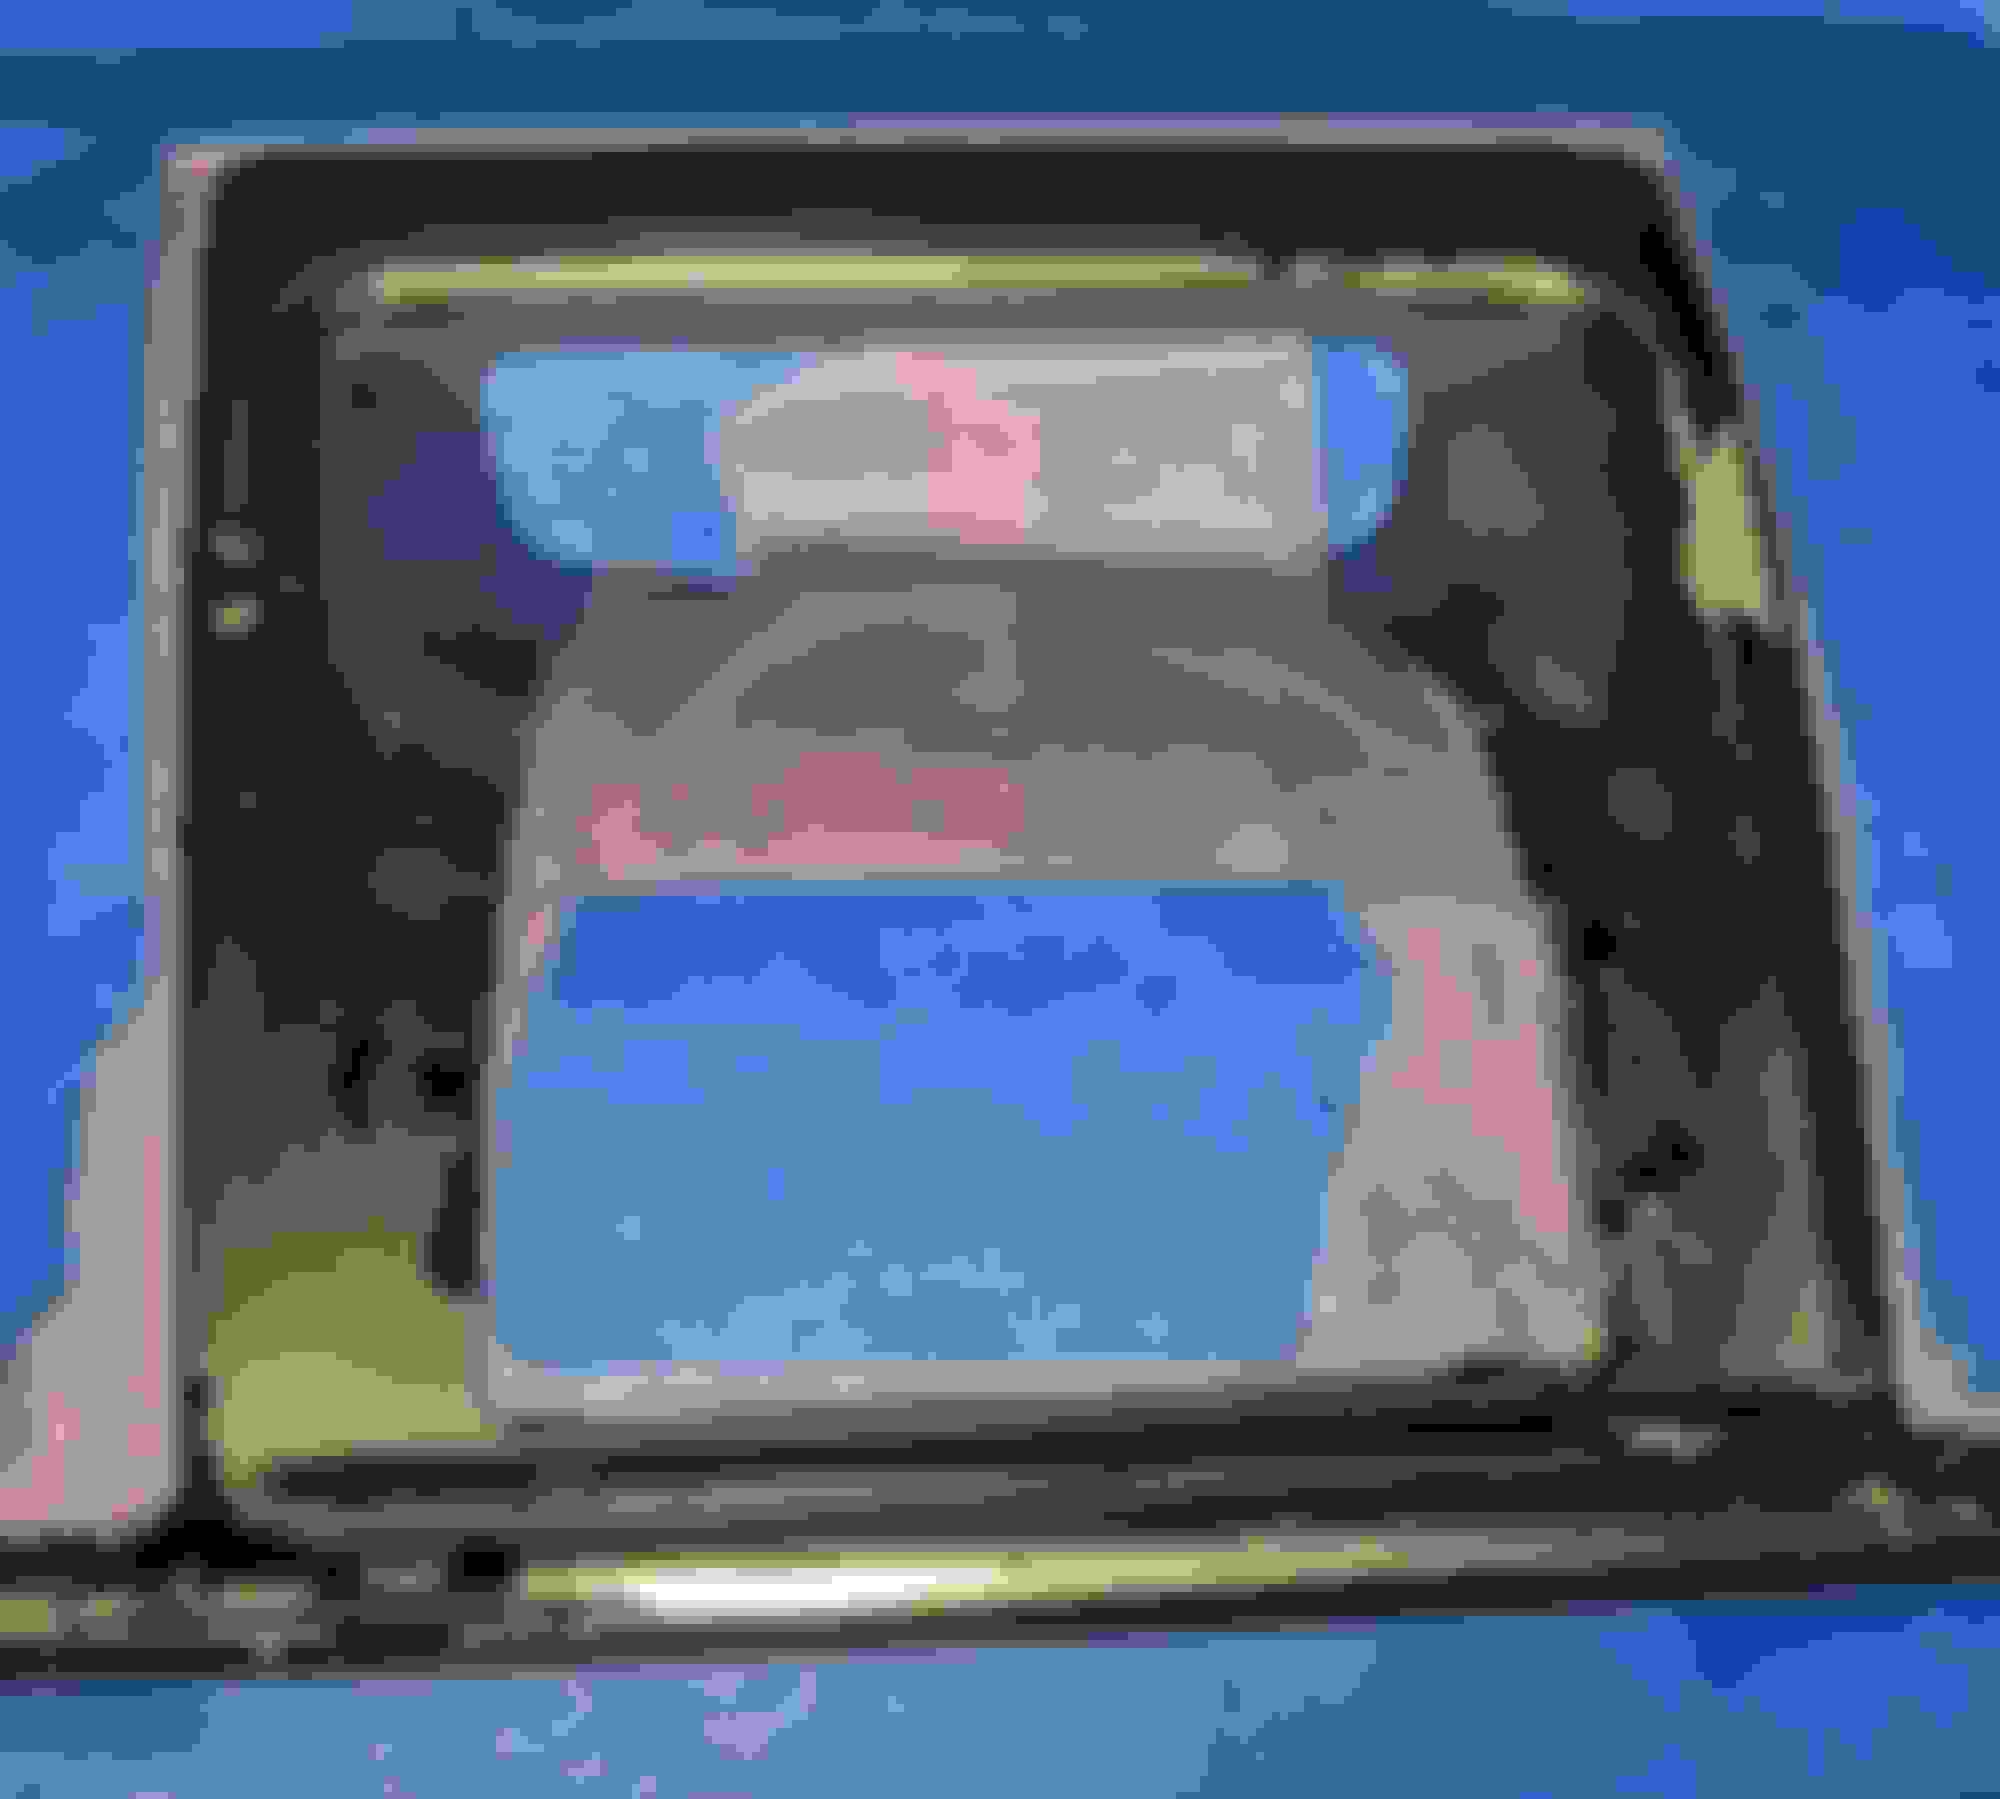
Thank you so much for taking the time to share this with us! I purchased my 2011 LS460 AWD about 3 months ago now and on my list of needed maintenance and things I want to refresh is exactly this. Following your steps I have everything ready to the point of applying the paint but have a concern....unfortunately my trim was apparently in far worse shape than your's with a few more visible areas of flaking before starting to mask it all but once I began masking everything off just about anywhere my fingers touched the coating just flaked off without so much as even any pressure. This has left me with what looks to be three distinctly different layers consisting of the plastic underneath, a shiny thin chrome-like material in the middle, and obviously the original paint finish on top. I lightly sanded w/1000grit in an attempt to even out the surface but given the extent of the damage and the variations created by the many different patches left I am concerned the finsh after painting won't end up smooth. Do you think at this point I need to sand down completely to the base plastic? I've attached some photos that hopefully will show you what I am referring too without too much difficulty!
If you were to paint it as is, you will definitely have ridges, high spots, low spots, whatever you want to call it. It won't look good! As you mentioned, the paint is coming off just by you touching it. Maybe try gently scraping it down to the base layer with your finger nail or a small flat head screwdriver with a really dull head to prevent scratches.
Ok, it seemed pretty common sense but given the importance and a lack of experience I wanted to be sure. I was able to remove most of the remaining coating by scraping with my fingernails as you suggested and I think a 600 grit will get the rest. May even use my Dremel as some of the smaller attachments would be the perfect size for this application. I left the masking I'd already applied so that I don't accidentally damage any of the surrounding surfaces and then I will just re-mask everything after that since there will likely be a couple spots where the tape is compromised. Probably won't be able to finish up until next weekend now but I will post my results for sure. Thanks again for the help!
Originally Posted by RussLS460
If you were to paint it as is, you will definitely have ridges, high spots, low spots, whatever you want to call it. It won't look good! As you mentioned, the paint is coming off just by you touching it. Maybe try gently scraping it down to the base layer with your finger nail or a small flat head screwdriver with a really dull head to prevent scratches.
Ok, it seemed pretty common sense but given the importance and a lack of experience I wanted to be sure. I was able to remove most of the remaining coating by scraping with my fingernails as you suggested and I think a 600 grit will get the rest. May even use my Dremel as some of the smaller attachments would be the perfect size for this application. I left the masking I'd already applied so that I don't accidentally damage any of the surrounding surfaces and then I will just re-mask everything after that since there will likely be a couple spots where the tape is compromised. Probably won't be able to finish up until next weekend now but I will post my results for sure. Thanks again for the help!
Looking forward to seeing the results. Just be sure to really clean up once your are all done scraping. You don't want the spray paint blowing that around a freshly painted surface.
 05-21-20, 01:06 PM