When you click on links to various merchants on this site and make a purchase, this can result in this site earning a commission. Affiliate programs and affiliations include, but are not limited to, the eBay Partner Network.
Did the job today, was successful. The tool works, although not perfectly.
Conclusion is that, with the ball joint service set (23pc) from advanced autoparts, and the bushing service set from amazon mentioned in previous post, it is possible to replace upper CA bushings with PSB460. To remove old OEM bushing, use a 43mm and 44mm stacked together to push the metal ring of the old bushing. It fits perfectly, however you need a long breaker bar or a power tool and a reliable way to hold the C-clamp in place. I used my foot and the ground, and a 18inch breaker bar. It was very difficult, but doable. With better equipment it should be much easier. The key point is to align the 44mm disc perfectly with the metal ring.
After removal of the old bushing, clean the CA, grease the new bushing and the CA, and try to press the new bushing in. This might seem more difficult, because the new bushing will deform during the process. I backed off multiple times, trying to push the bushing into position in one clean push without deforming. It will NOT happen. It will deform, even in the official installation guide of PSB. Don't be afraid, just keep pushing, the thing is pretty tough, then you'll get it, aligned quite perfectly, sometimes with minor imperfections, but I don't think that will affect performance. We'll see.
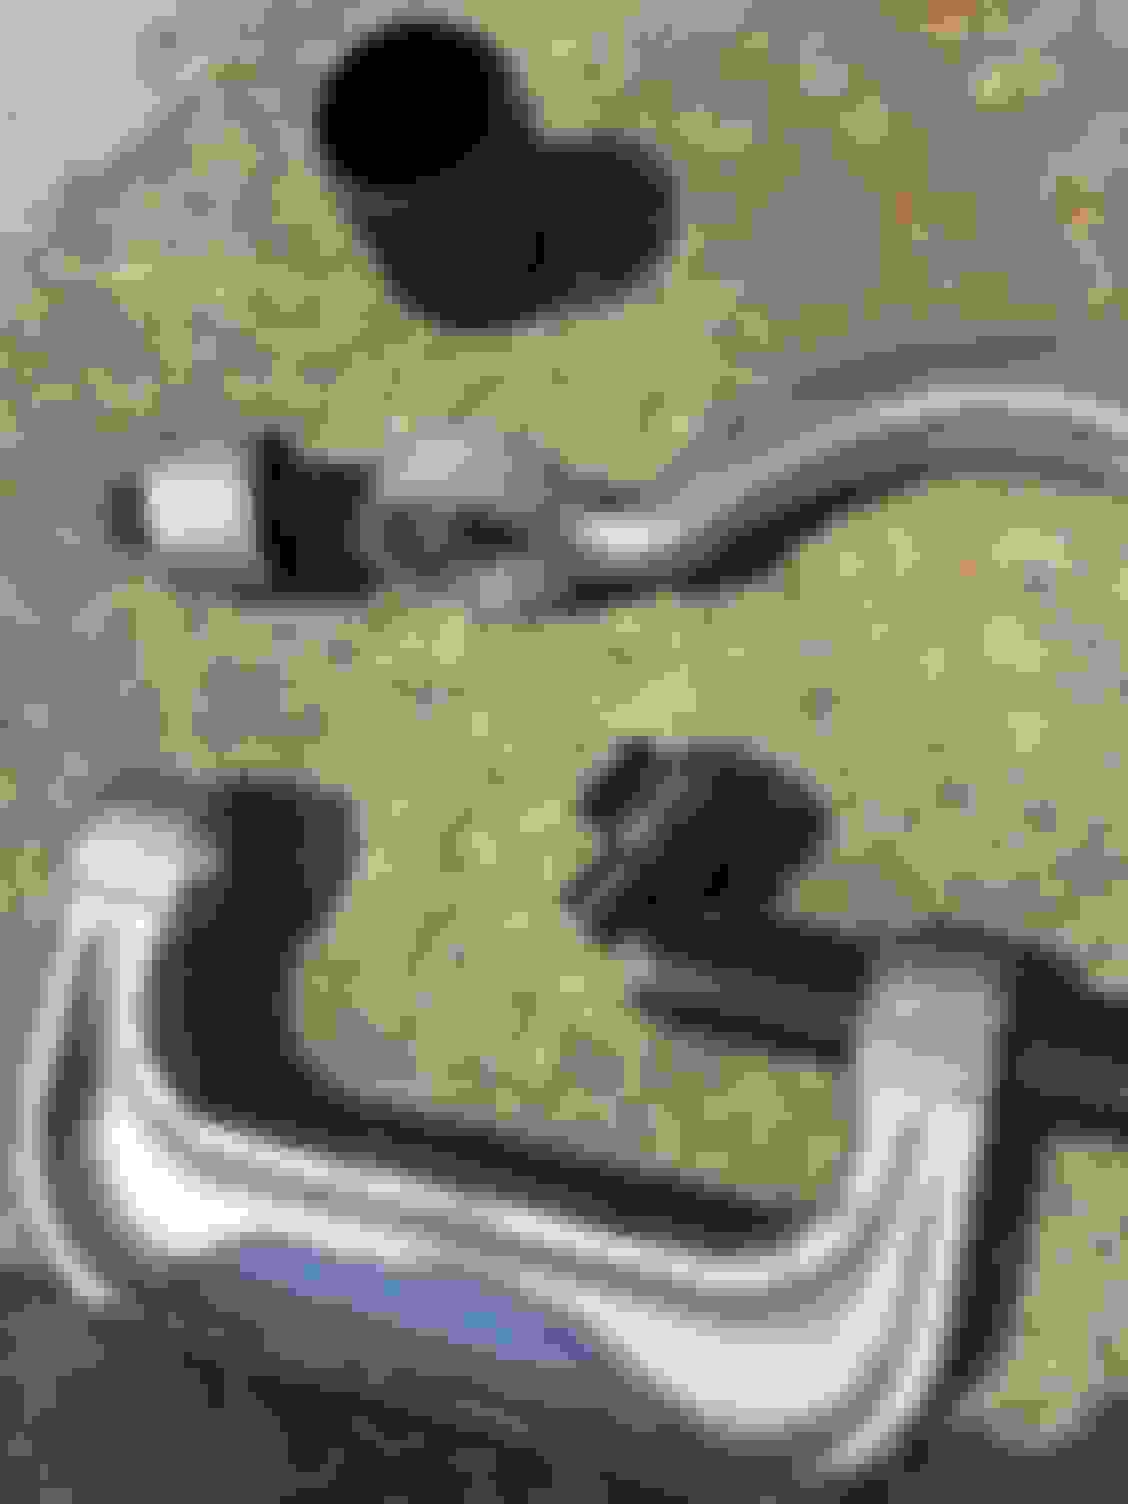
Below are some pictures.
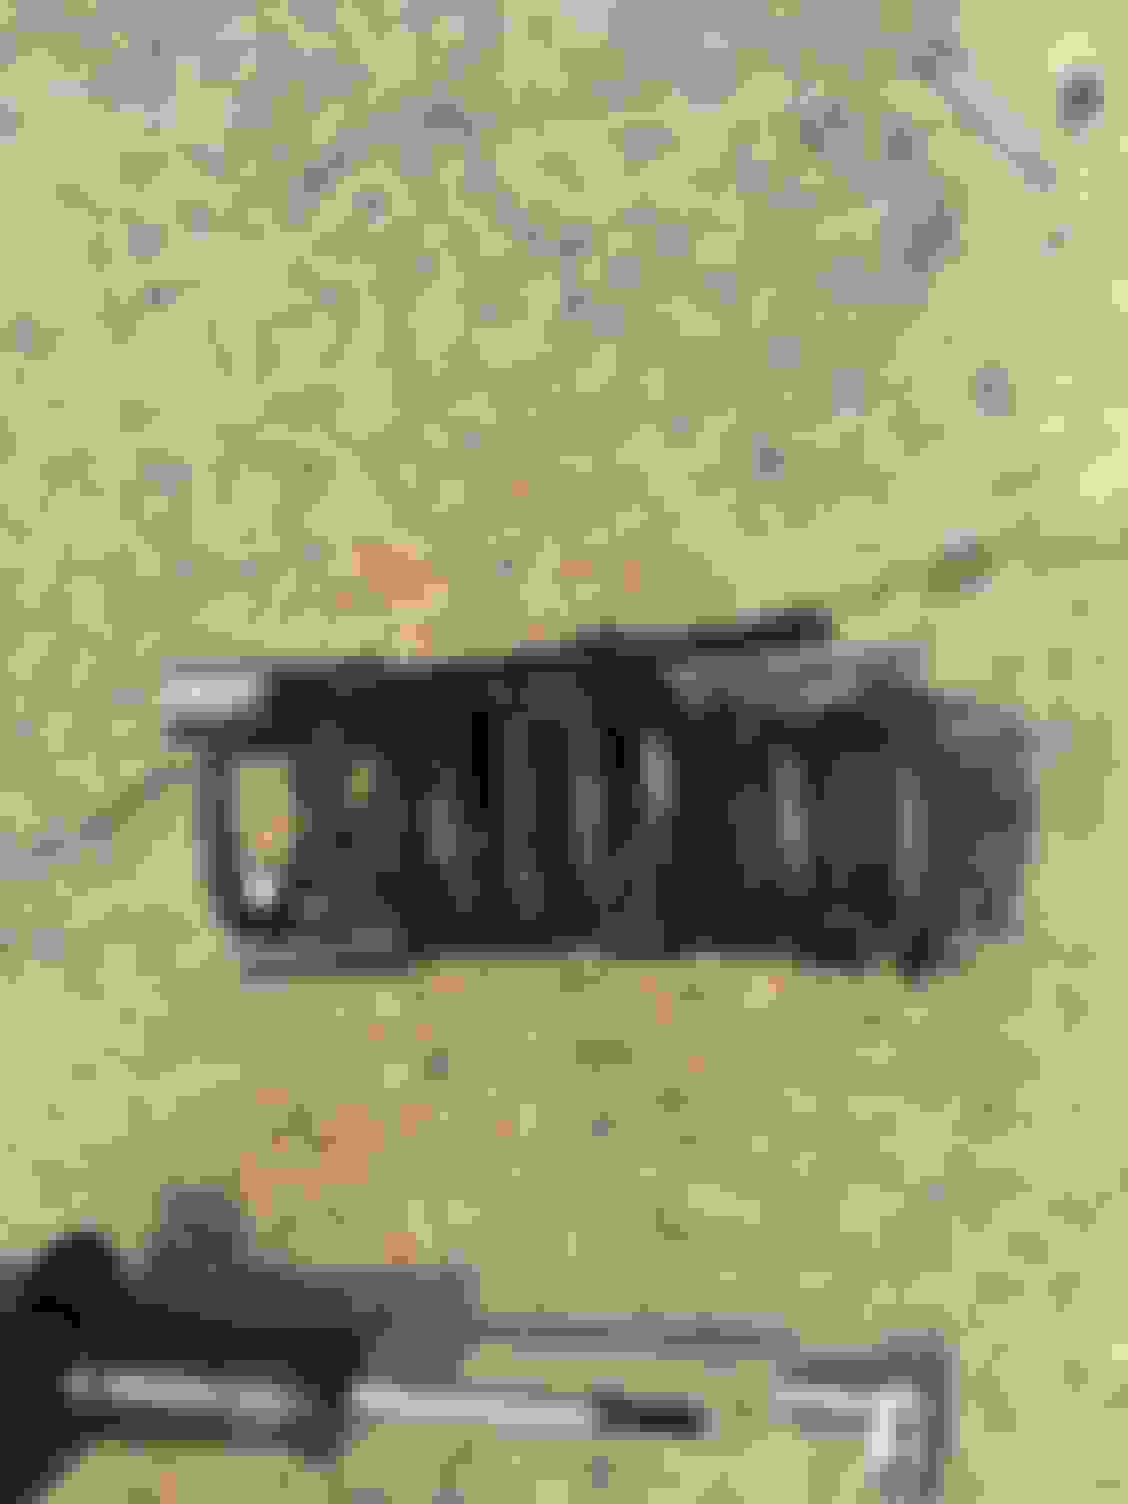
use 44mm and 43mm, with the 44mm contacting the old bushing.
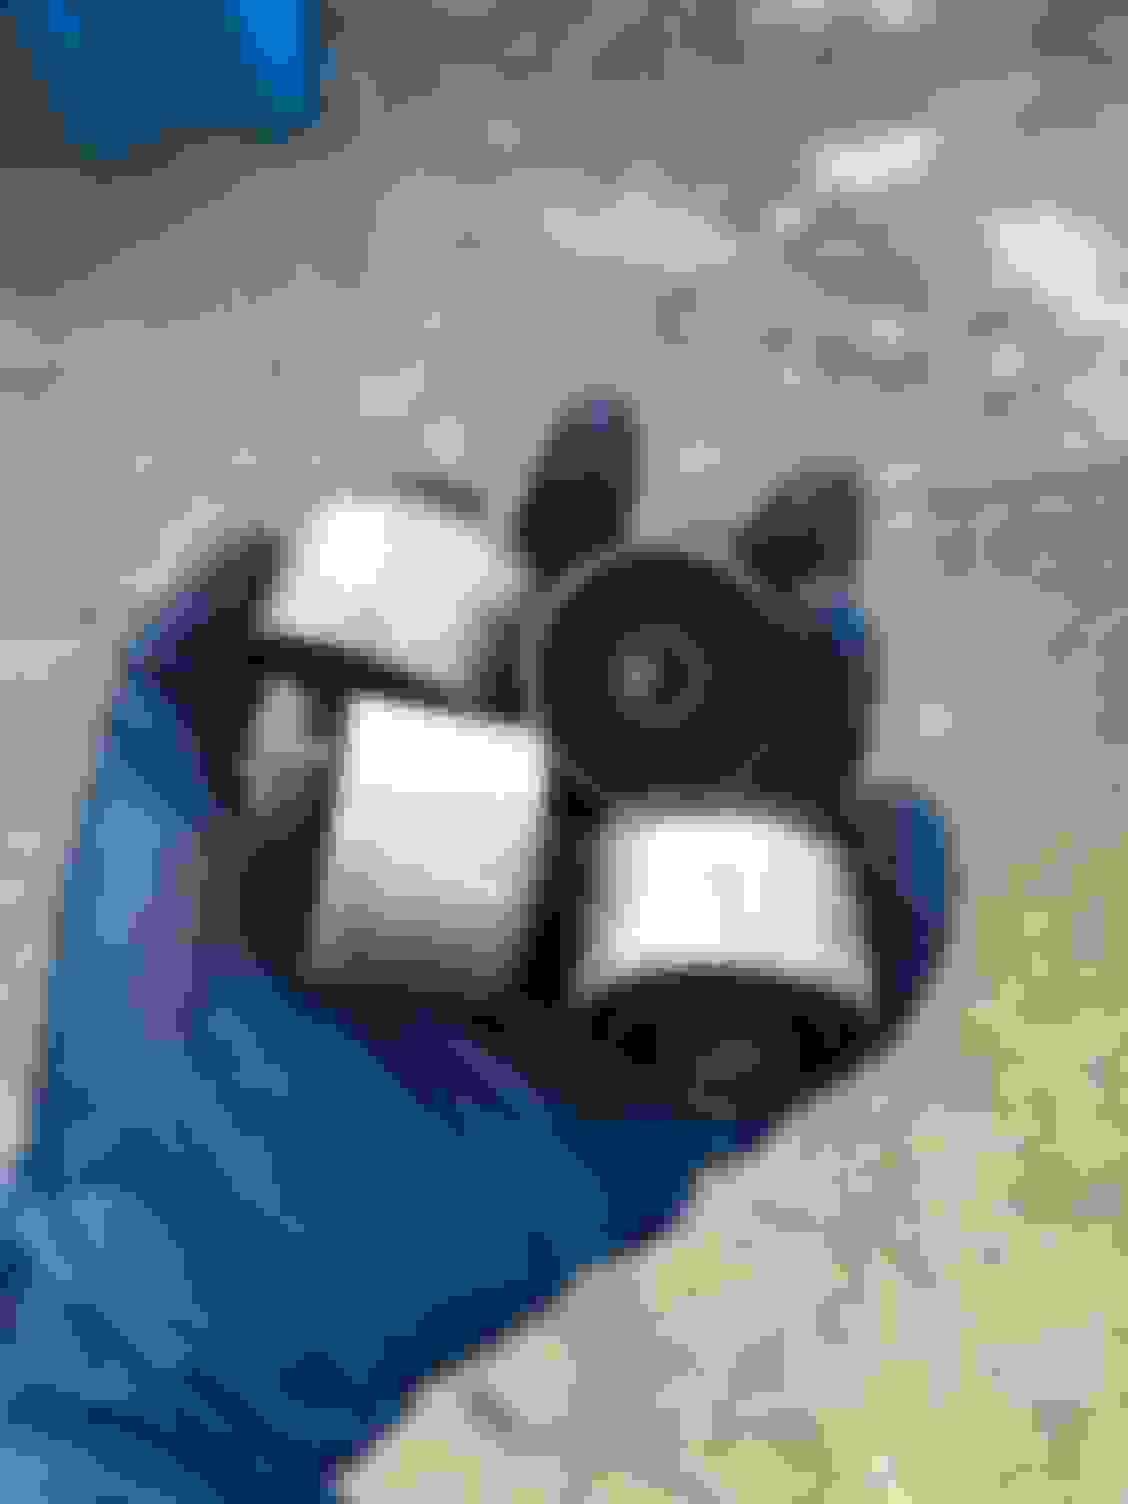
all 4 removed. YAY!
successfully removed one!
I'll also describe my way to remove upper CA, because current methods on the forum seems a little bit redundant. I think there is no need to touch any part of the brake system.
1. Without jacking up the car, go under the front. take off some 10mm nuts and some plastic fastener to take off the plastic cover.
2. (optional) I don't know if it's safe to jack up the car with that metal plate on. It might dent it. It might not. I took it off. Just some more 10mm nuts.
3. Loosen the lug-nuts of the wheel, then jack up the car, remember to put some jack stand beneath it.
4. Take off the wheel. Left side: take off two nuts that is on the lower control arm preventing the lower CA to move freely. Right side: one less nut on lower CA to handle. This thing is asymmetric.
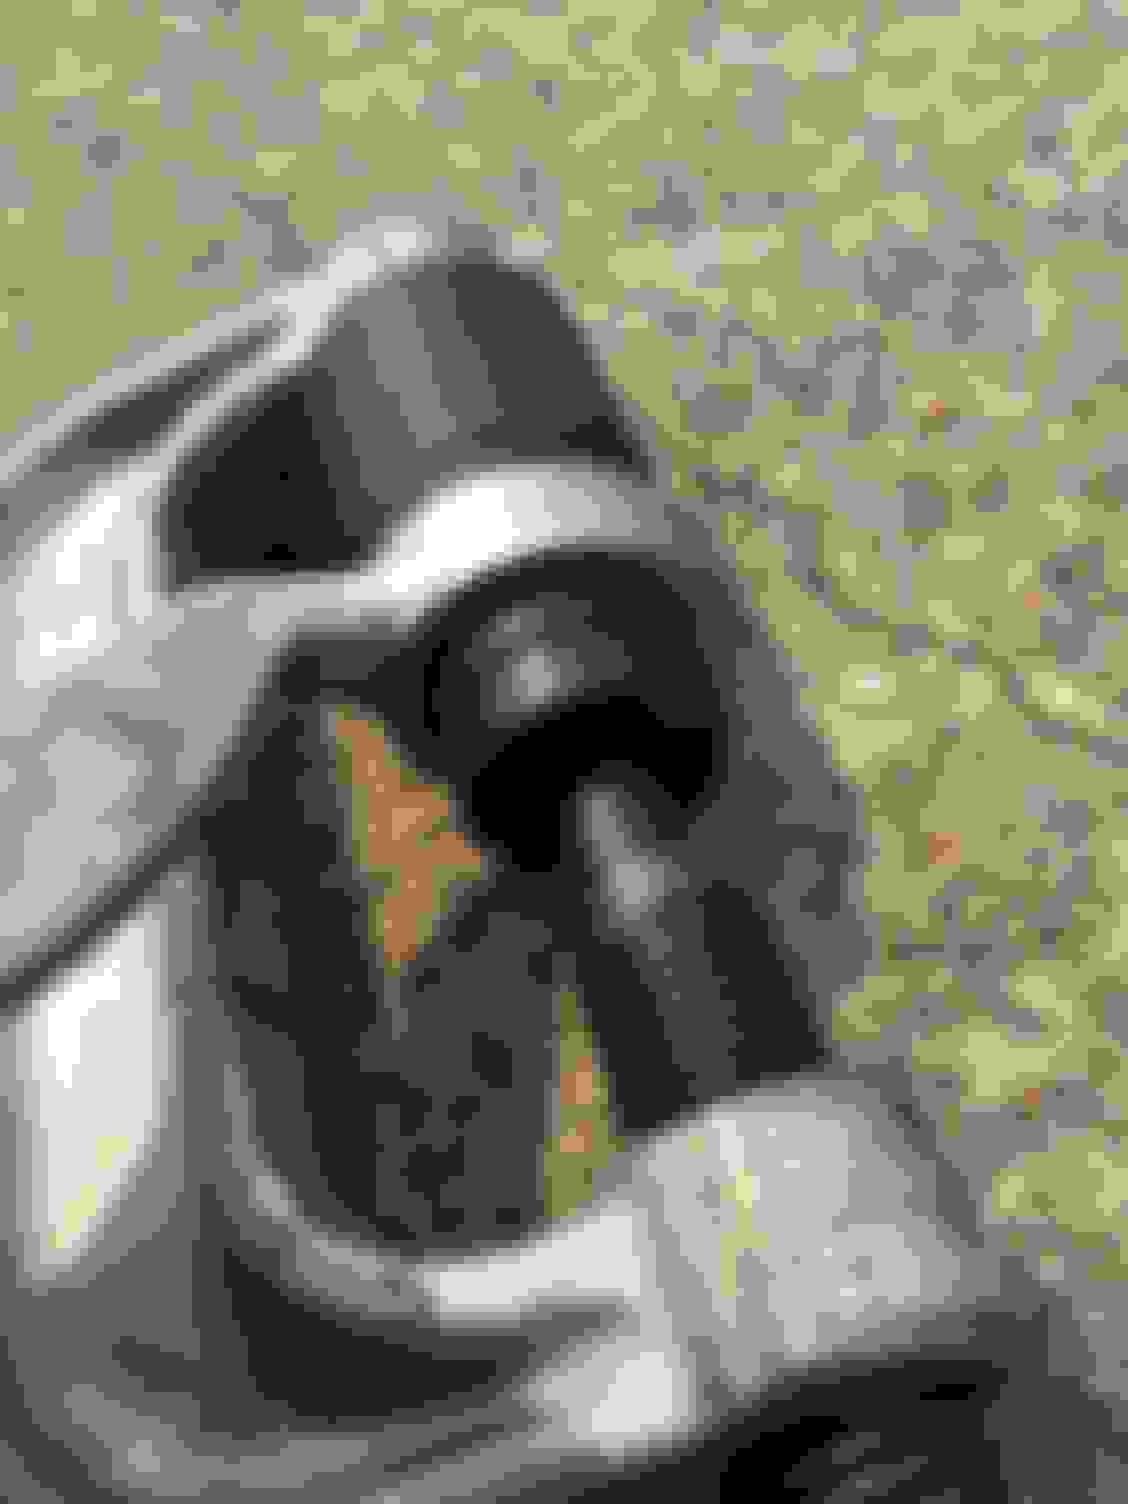
5. Take off two nuts that connect the upper CA ball joint.
6. Open the hood, take off the 3 nuts holding the strut. Then go to lower CA, take off the large nut holding the bottom part of the strut.
7. Use a ball joint separator, or just a hammer (with potential thread damage! I used a hammer though), to separate both the upper CA ball joint. Now the lower CA can move freely. Don't let it do so, you will find the lower CA dangling on the brake line alone, which creates too much pressure for the brake line. Hold it with one hand, juggle the strut with the other hand to remove the strut.
8. Slide one upper CA ball joint back into place, hand fasten the bolt, to prevent the lower CA from moving freely. Remove the other upper CA, and work on it. After done with it, repeat for the other upper CA.
9. With both upper CA installed back, disconnect both ball joint to install the strut. Don't fasten the top 3 nuts too tight, allow some space for the lower part to align. The rest is just putting things back in reverse order.
Conclusion: DON'T BUY IT. You get what you pay for. very bad quality. Very difficult and/or dangerous to use, at least on our LS460. I ended up taking the strut to a nearby shop which is a 20 minutes walking and have them replace the shock. $25 per strut. Not too bad. All 4 spring compressors have been tossed into the garbage can. I don't even want to resell it, knowing it might be dangerous to use. 40 dollars to learn a lesson.
very difficult to use! and possibly unsafe. Just take it to a shop.
That's it. took me almost 6 hours, including lots of walking, and battling the press.
So....after all your persistence and hard work (and ~12 days of drive-time since completion), are you happy with the results??? Did this fix any observed driving problems or vibrations for you?
Nice work getting this done - DIY can be a daunting experience when jumping in solo.
Those are the type spring compressors I’ve used for 40 years and dozens of strut jobs. As long as they have double claws on both ends instead of a single claw on one end they are what you use.

 08-07-18, 09:36 PM