When you click on links to various merchants on this site and make a purchase, this can result in this site earning a commission. Affiliate programs and affiliations include, but are not limited to, the eBay Partner Network.
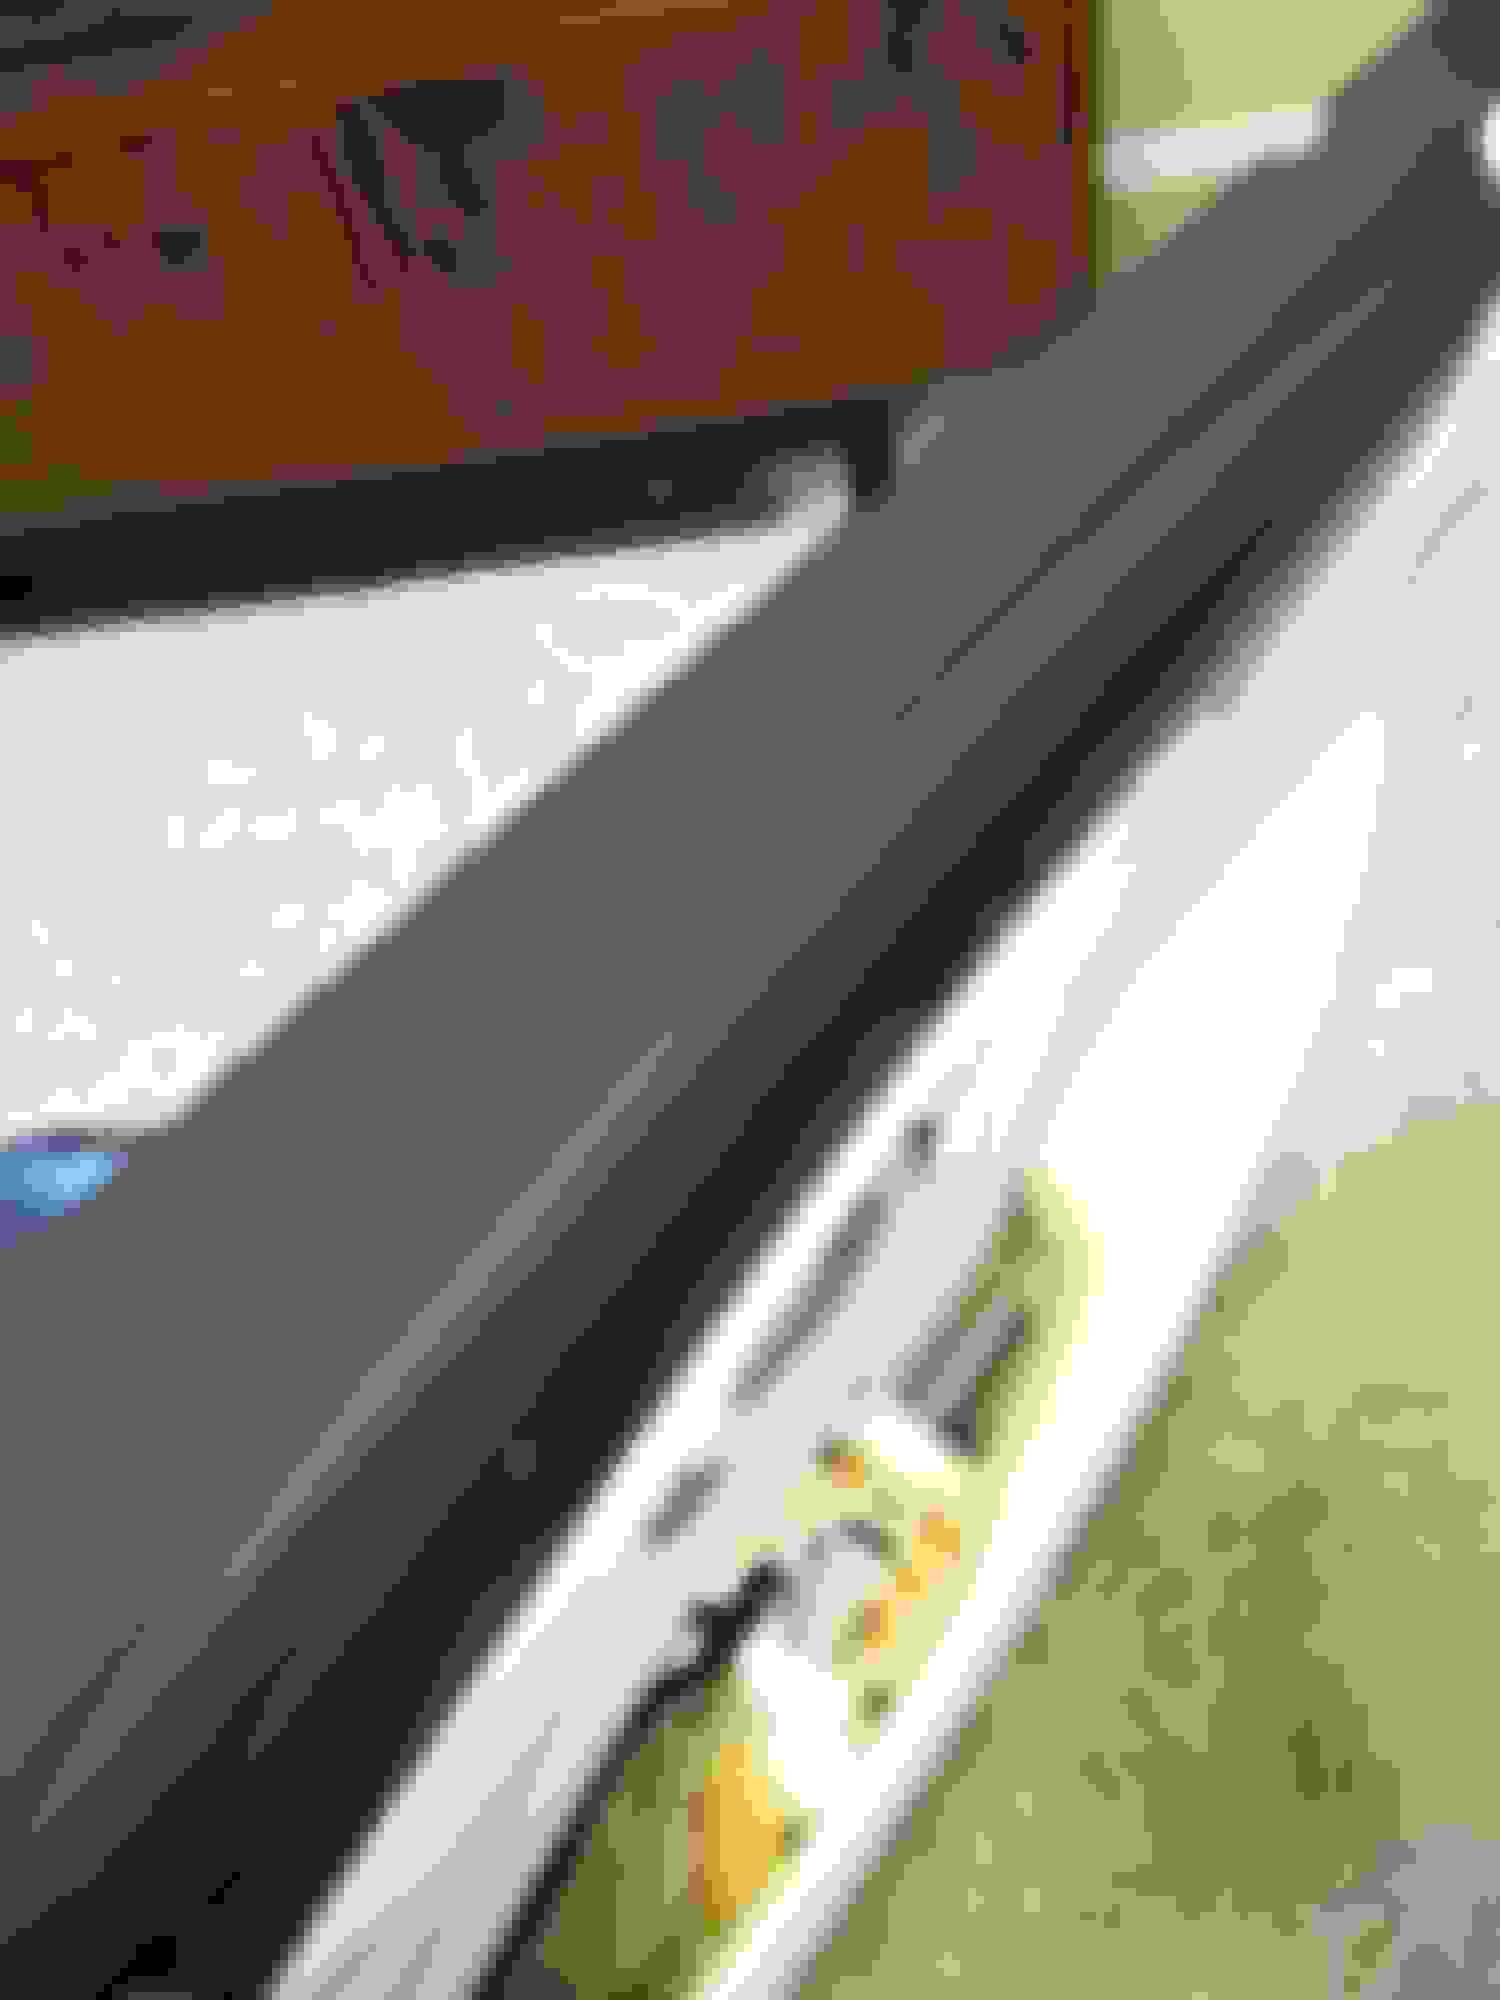
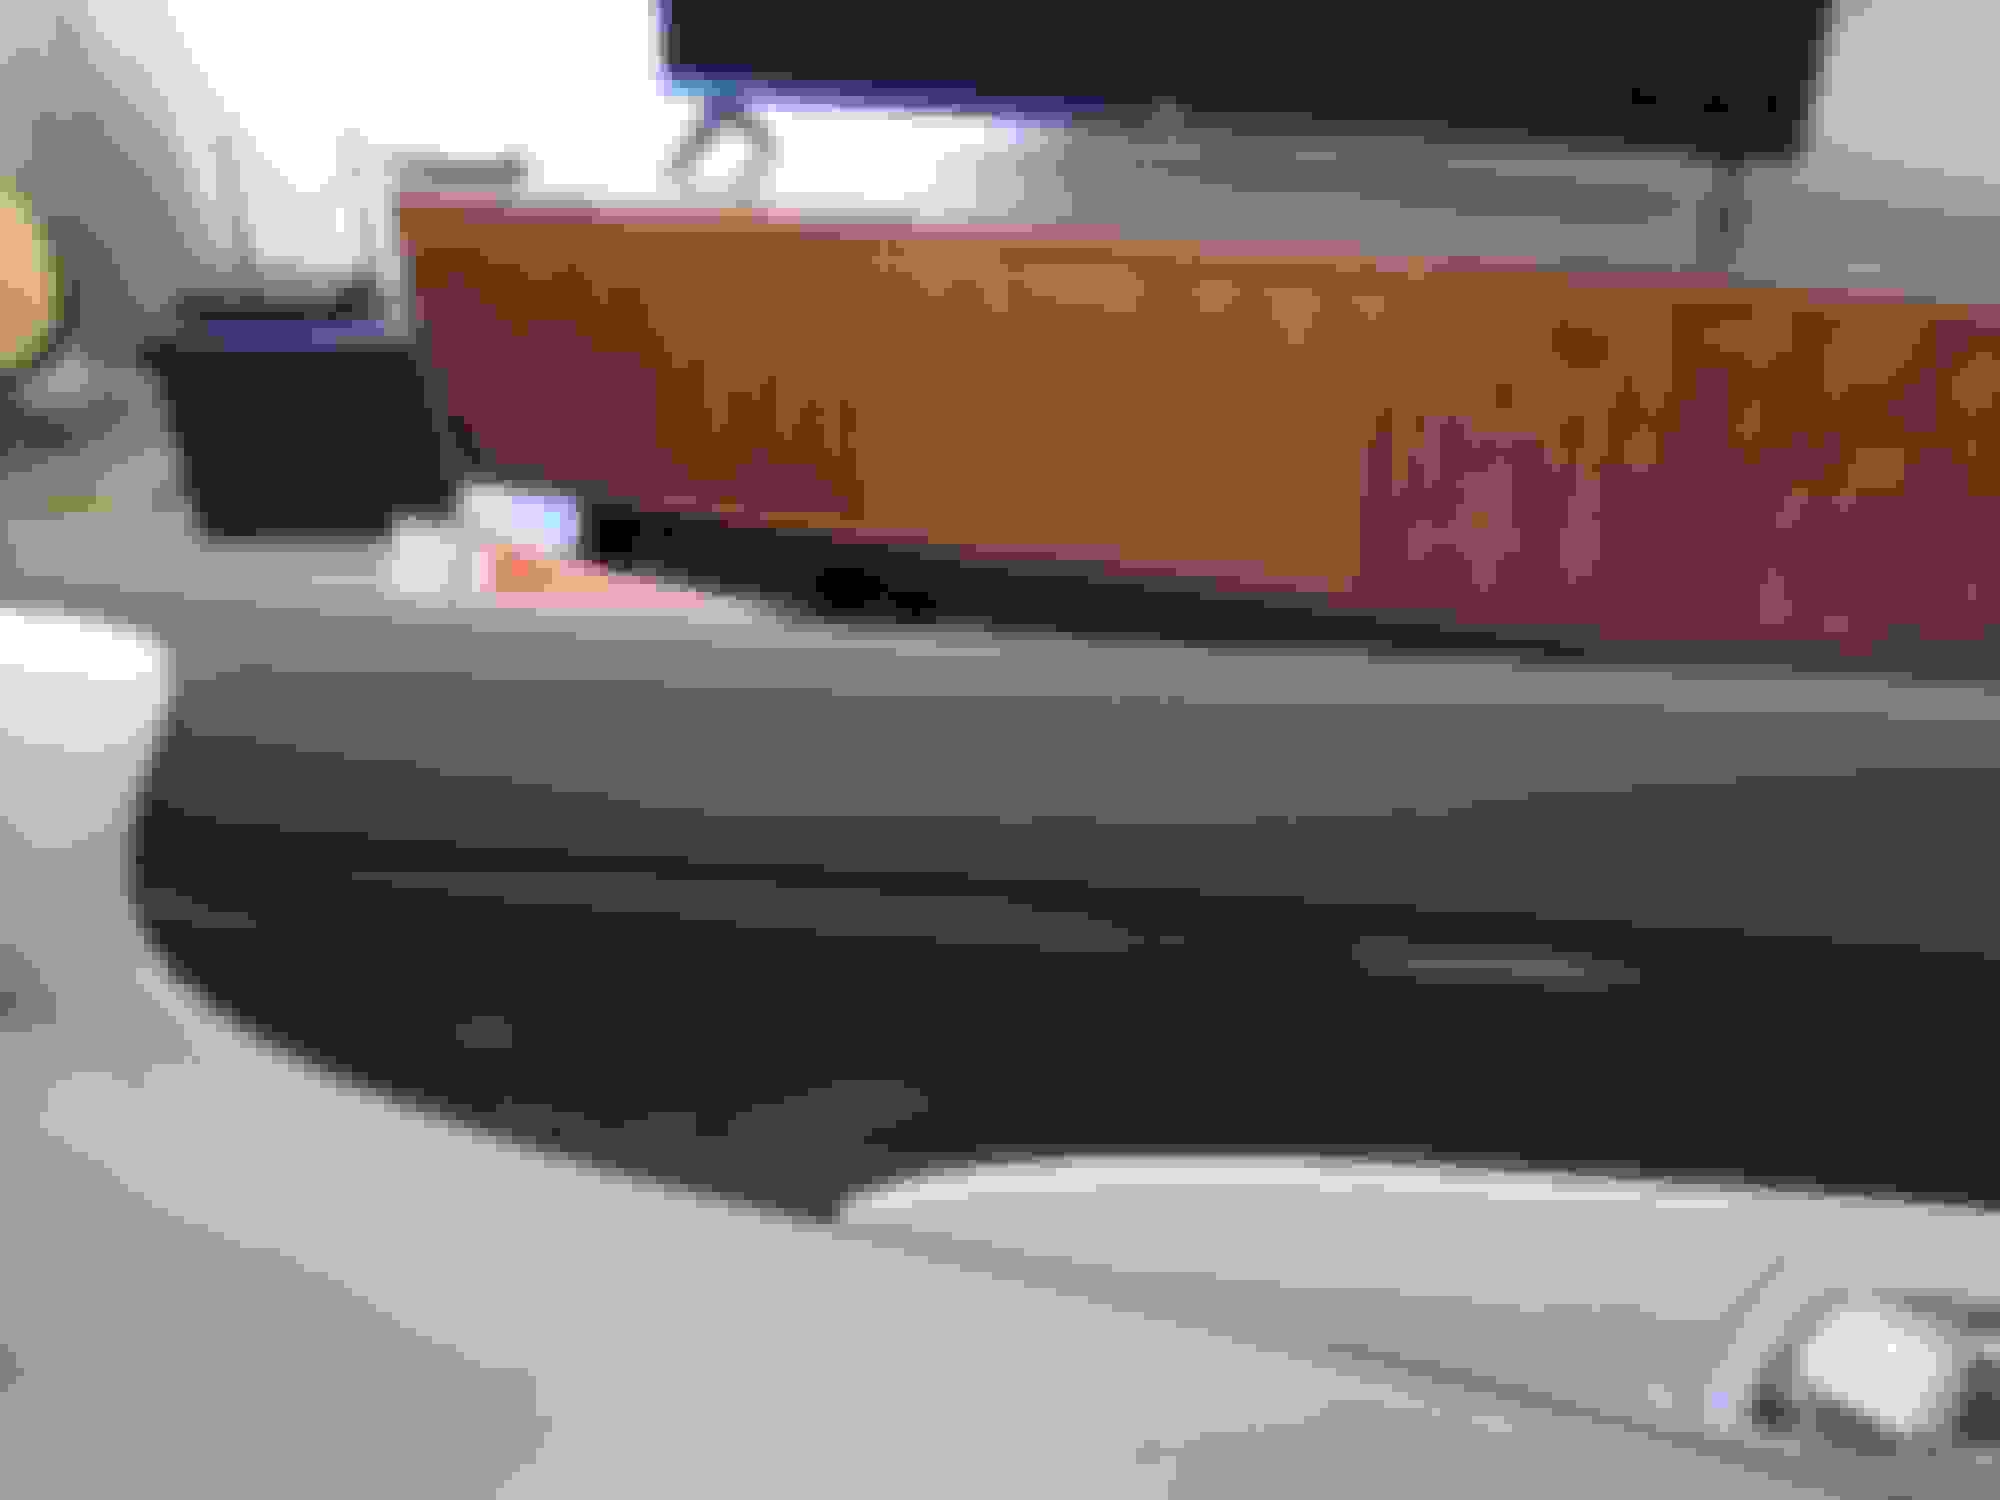
Recognizing the warm weather coming and the issue of melting pieces, I simply decided to address it myself by reupholstering sections myself, as I enjoy the DIY projects and I like to work through these initially daunting DIY tasks. The divets in the door panel are from my kid deciding to QC the soft gooey trim with his fingernails... hence my move to fix.
Items Used:
- Faux leather dark brown material from Joann's fabrics
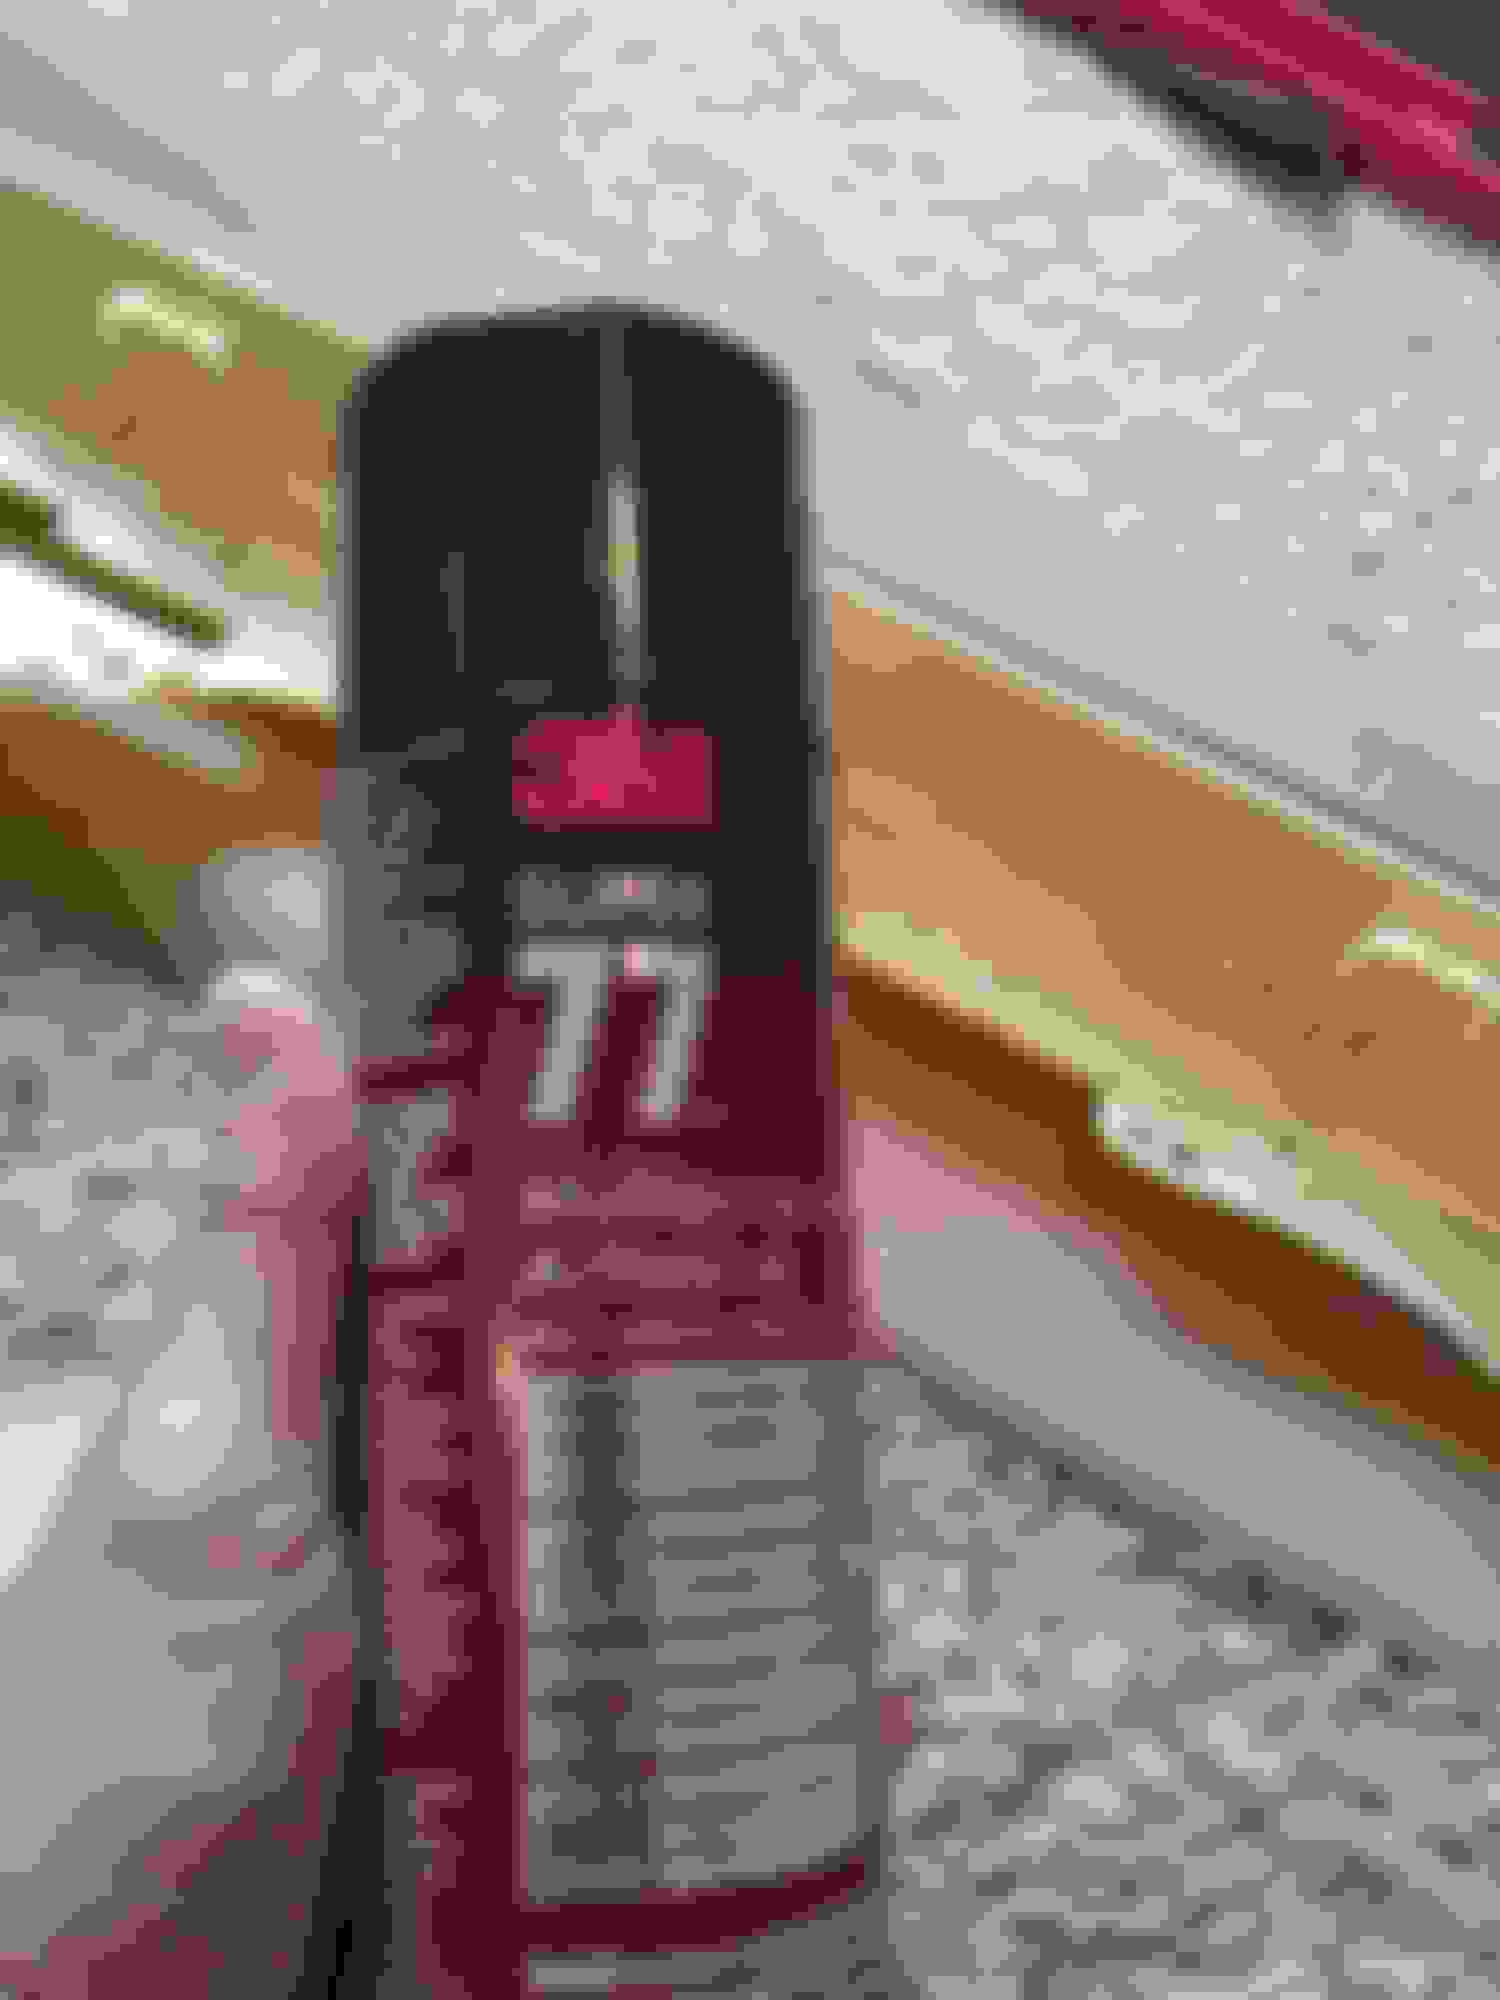
- 3M #77 multipurpose spray adhesive
- Phillips screwdriver or electric drill with proper bit
- Heavy Duty Scissors to cut material
- Patience and a few hours....I took my time
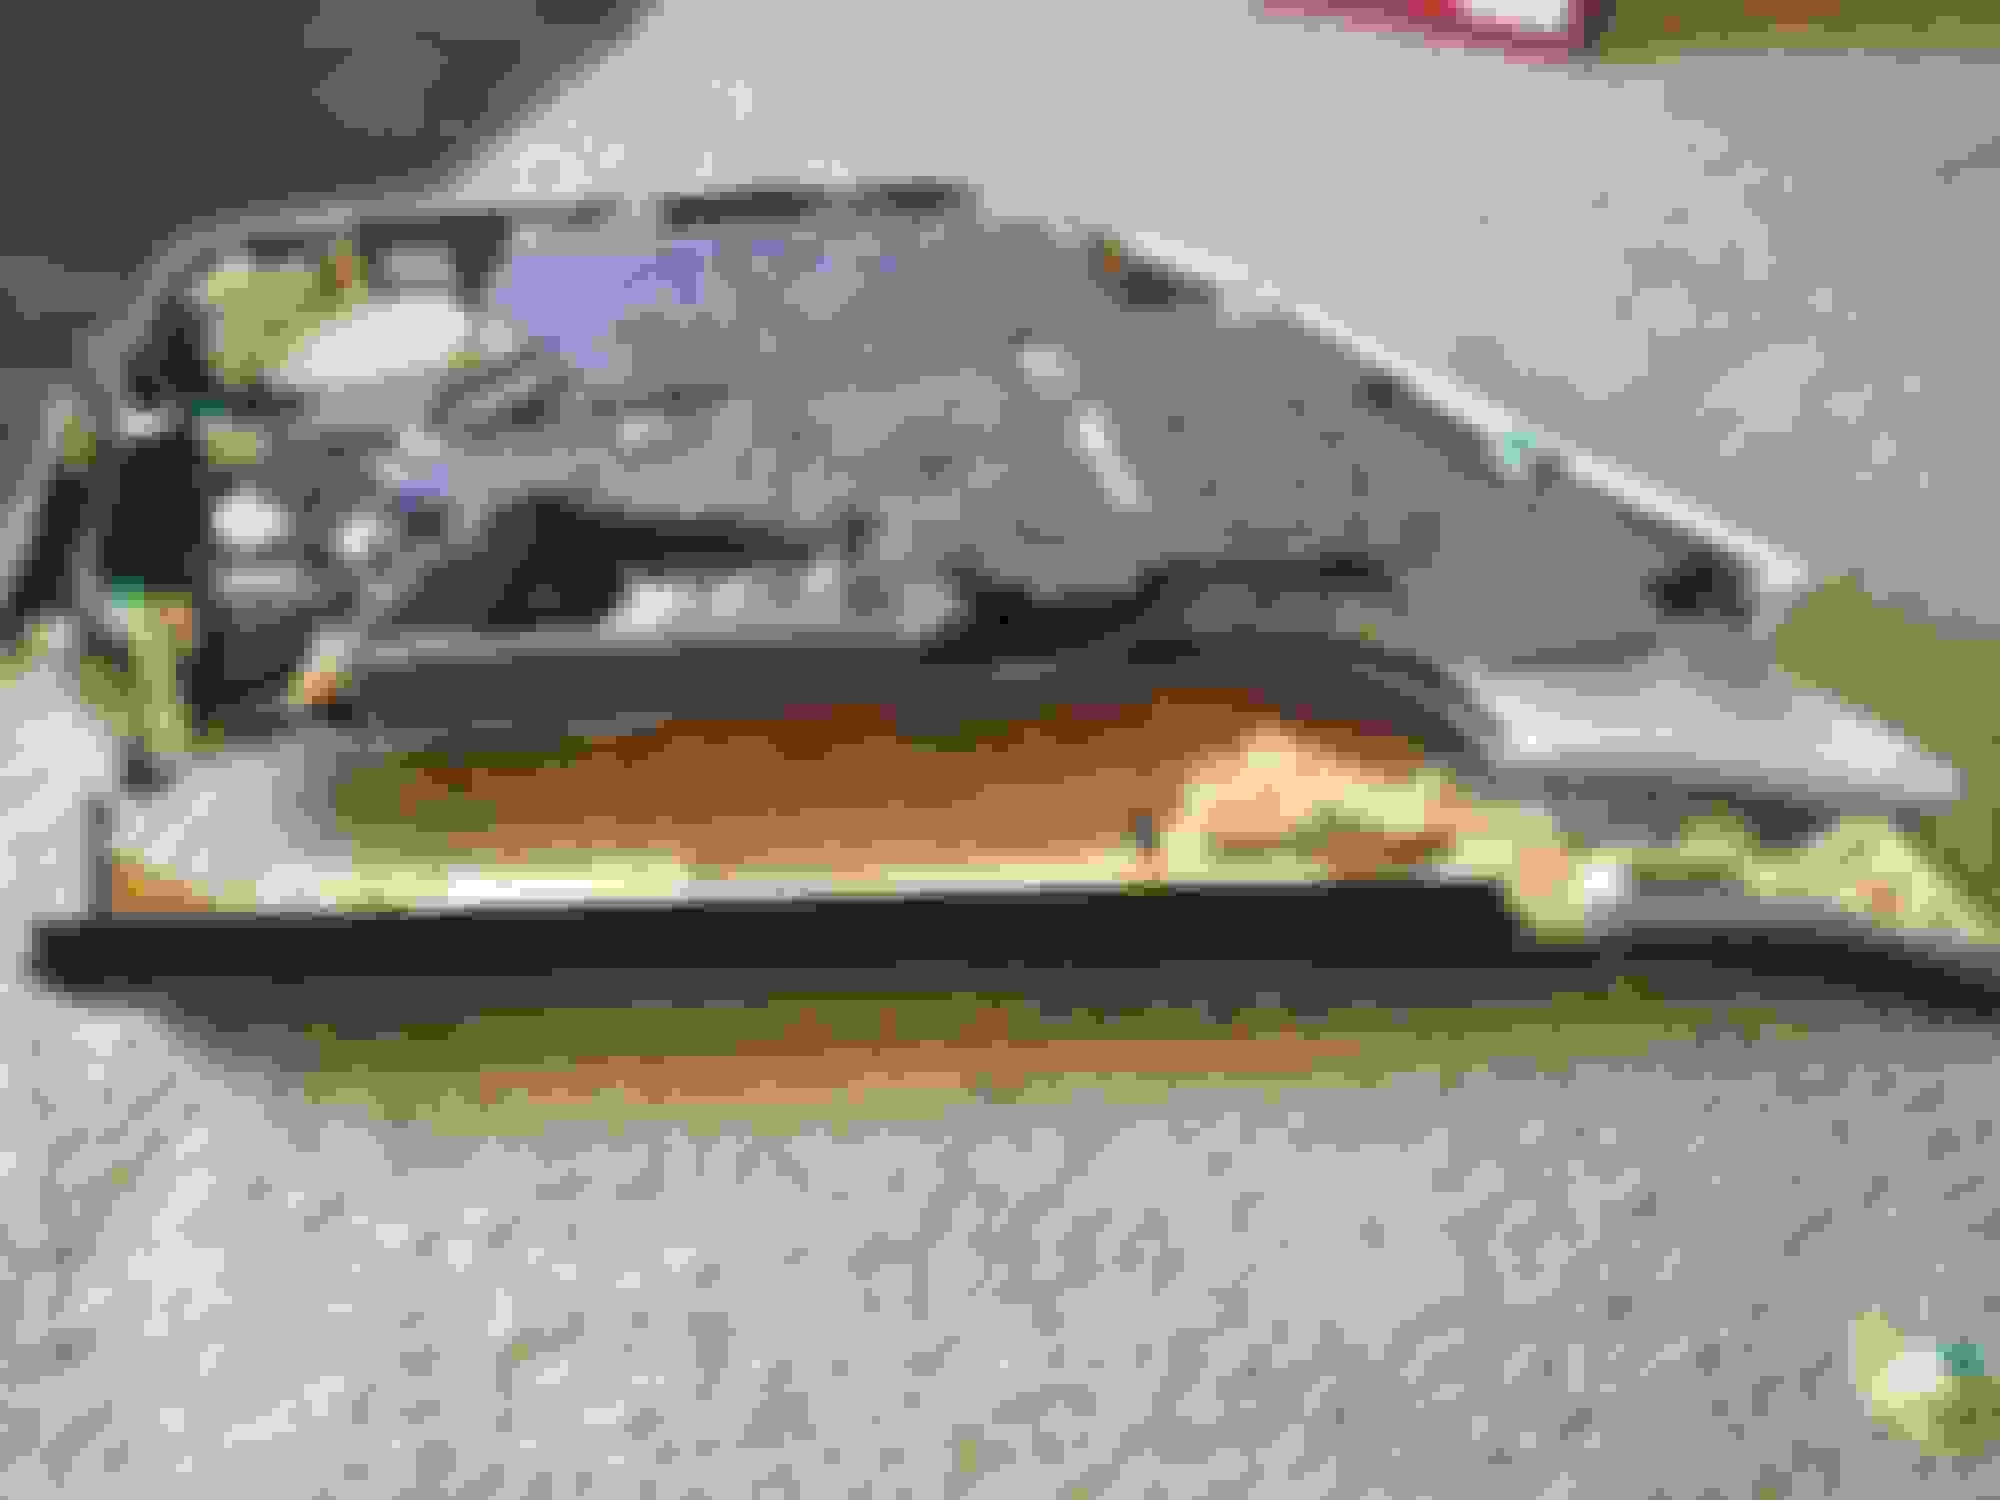
Assume you've removed the rear door panel. You can find a YouTube video, key words "LS460 door panel removal".
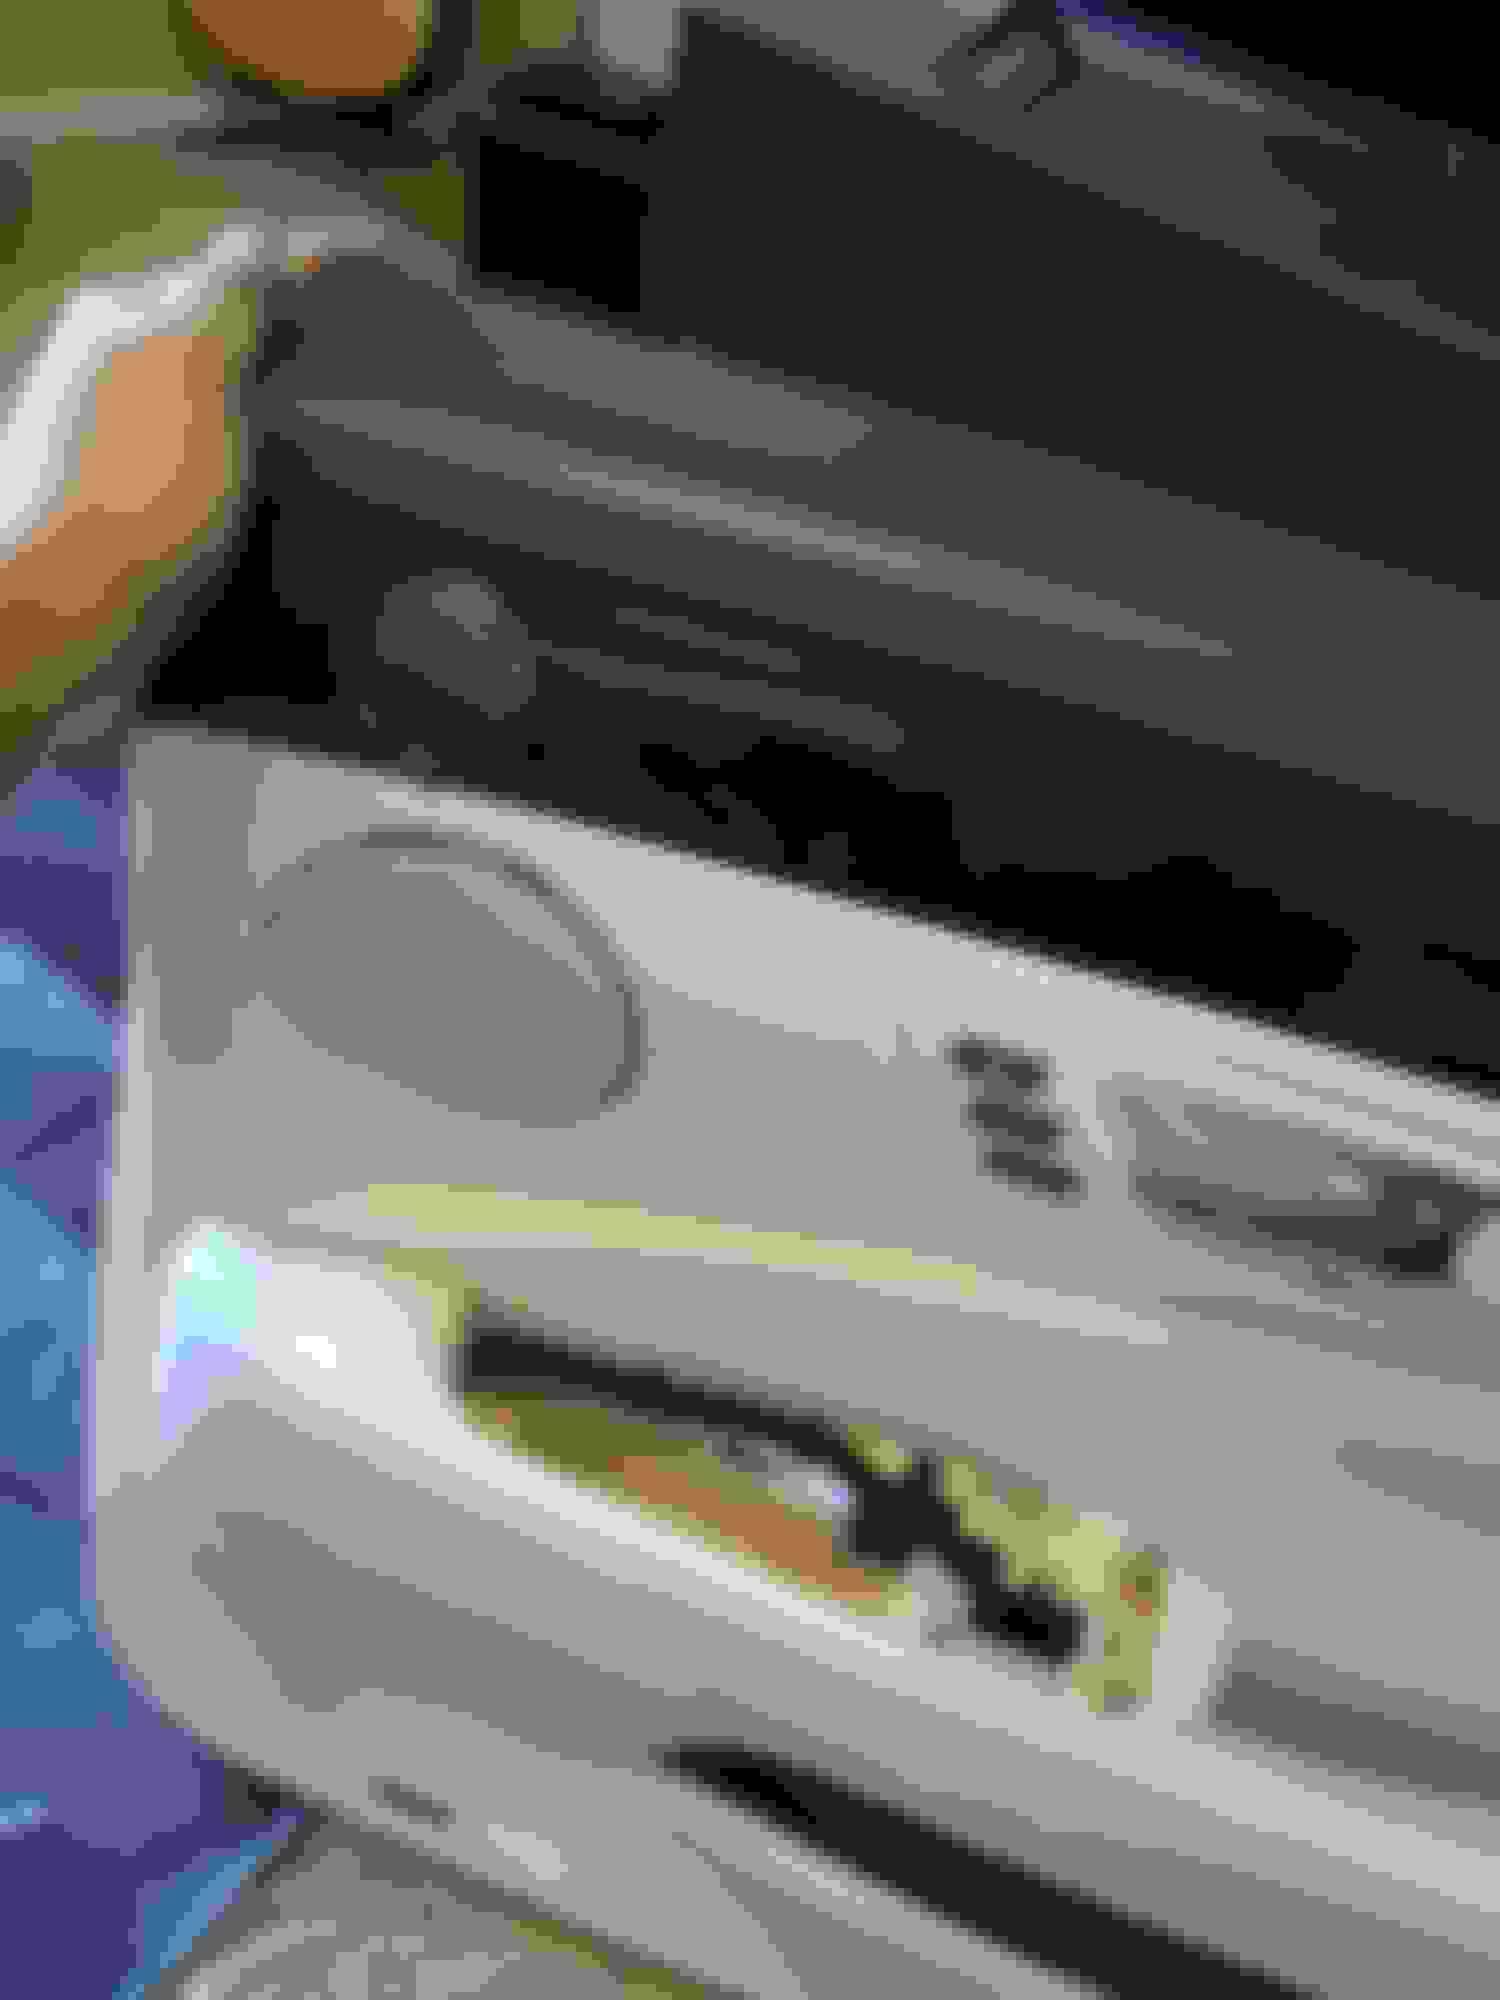
Thereare a lot of screws. I'd recommend you take a pic of the upper panel so you can reinstall them properly upon reassembly.
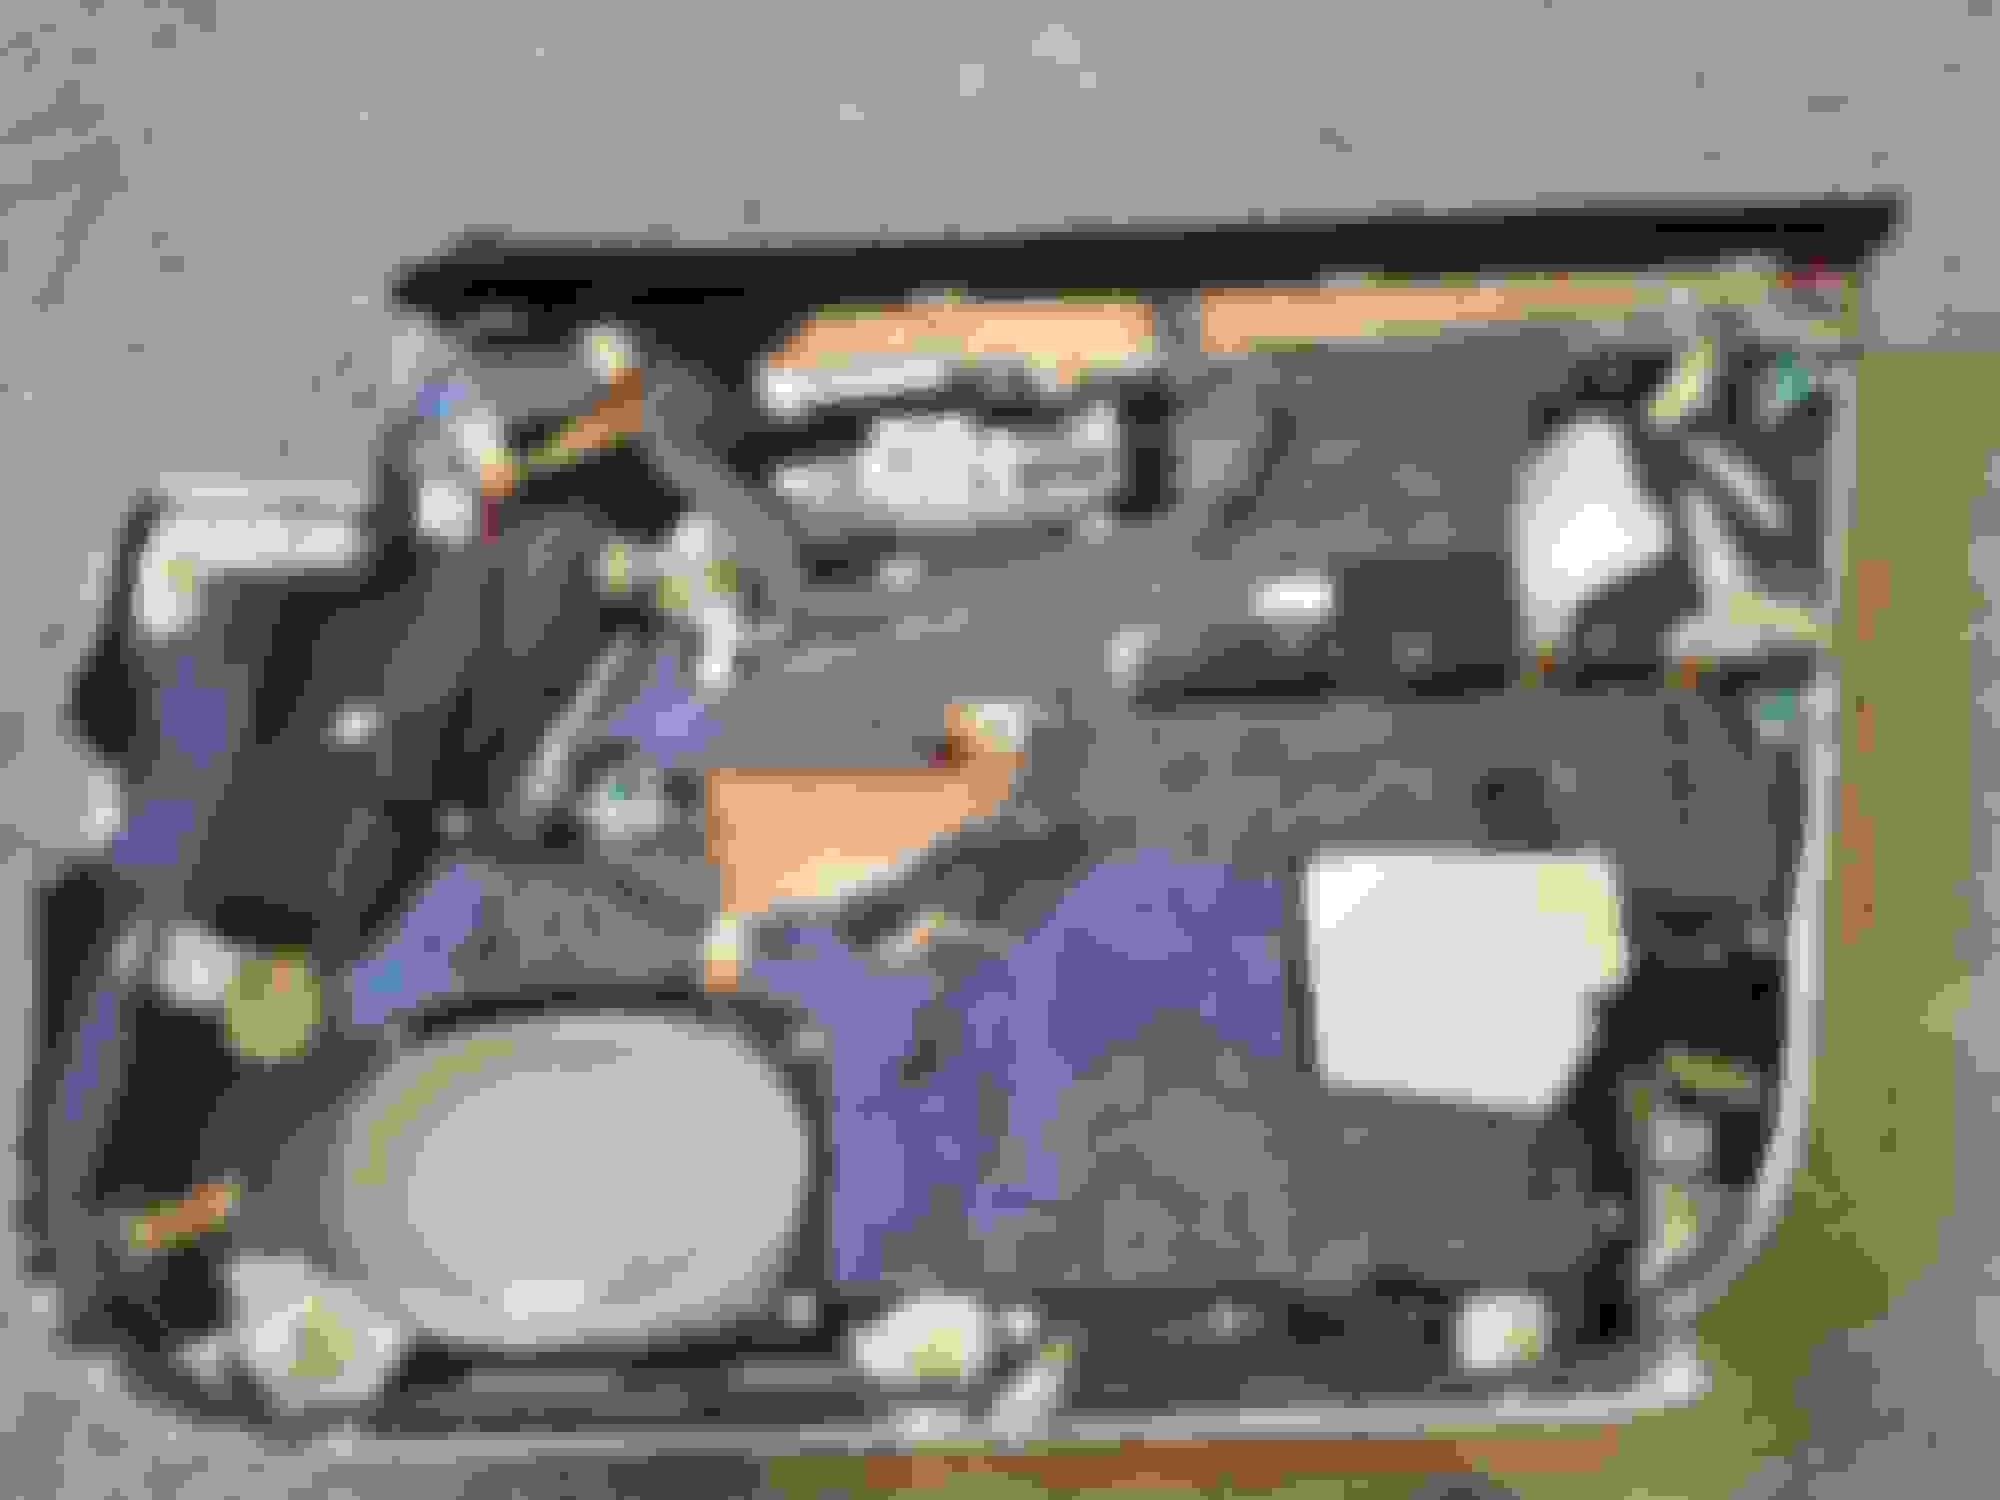
Most of the screws you'll need to remove are in the upper half of the door panel, most all visible, some hidden under foam or under the sound dampening material.
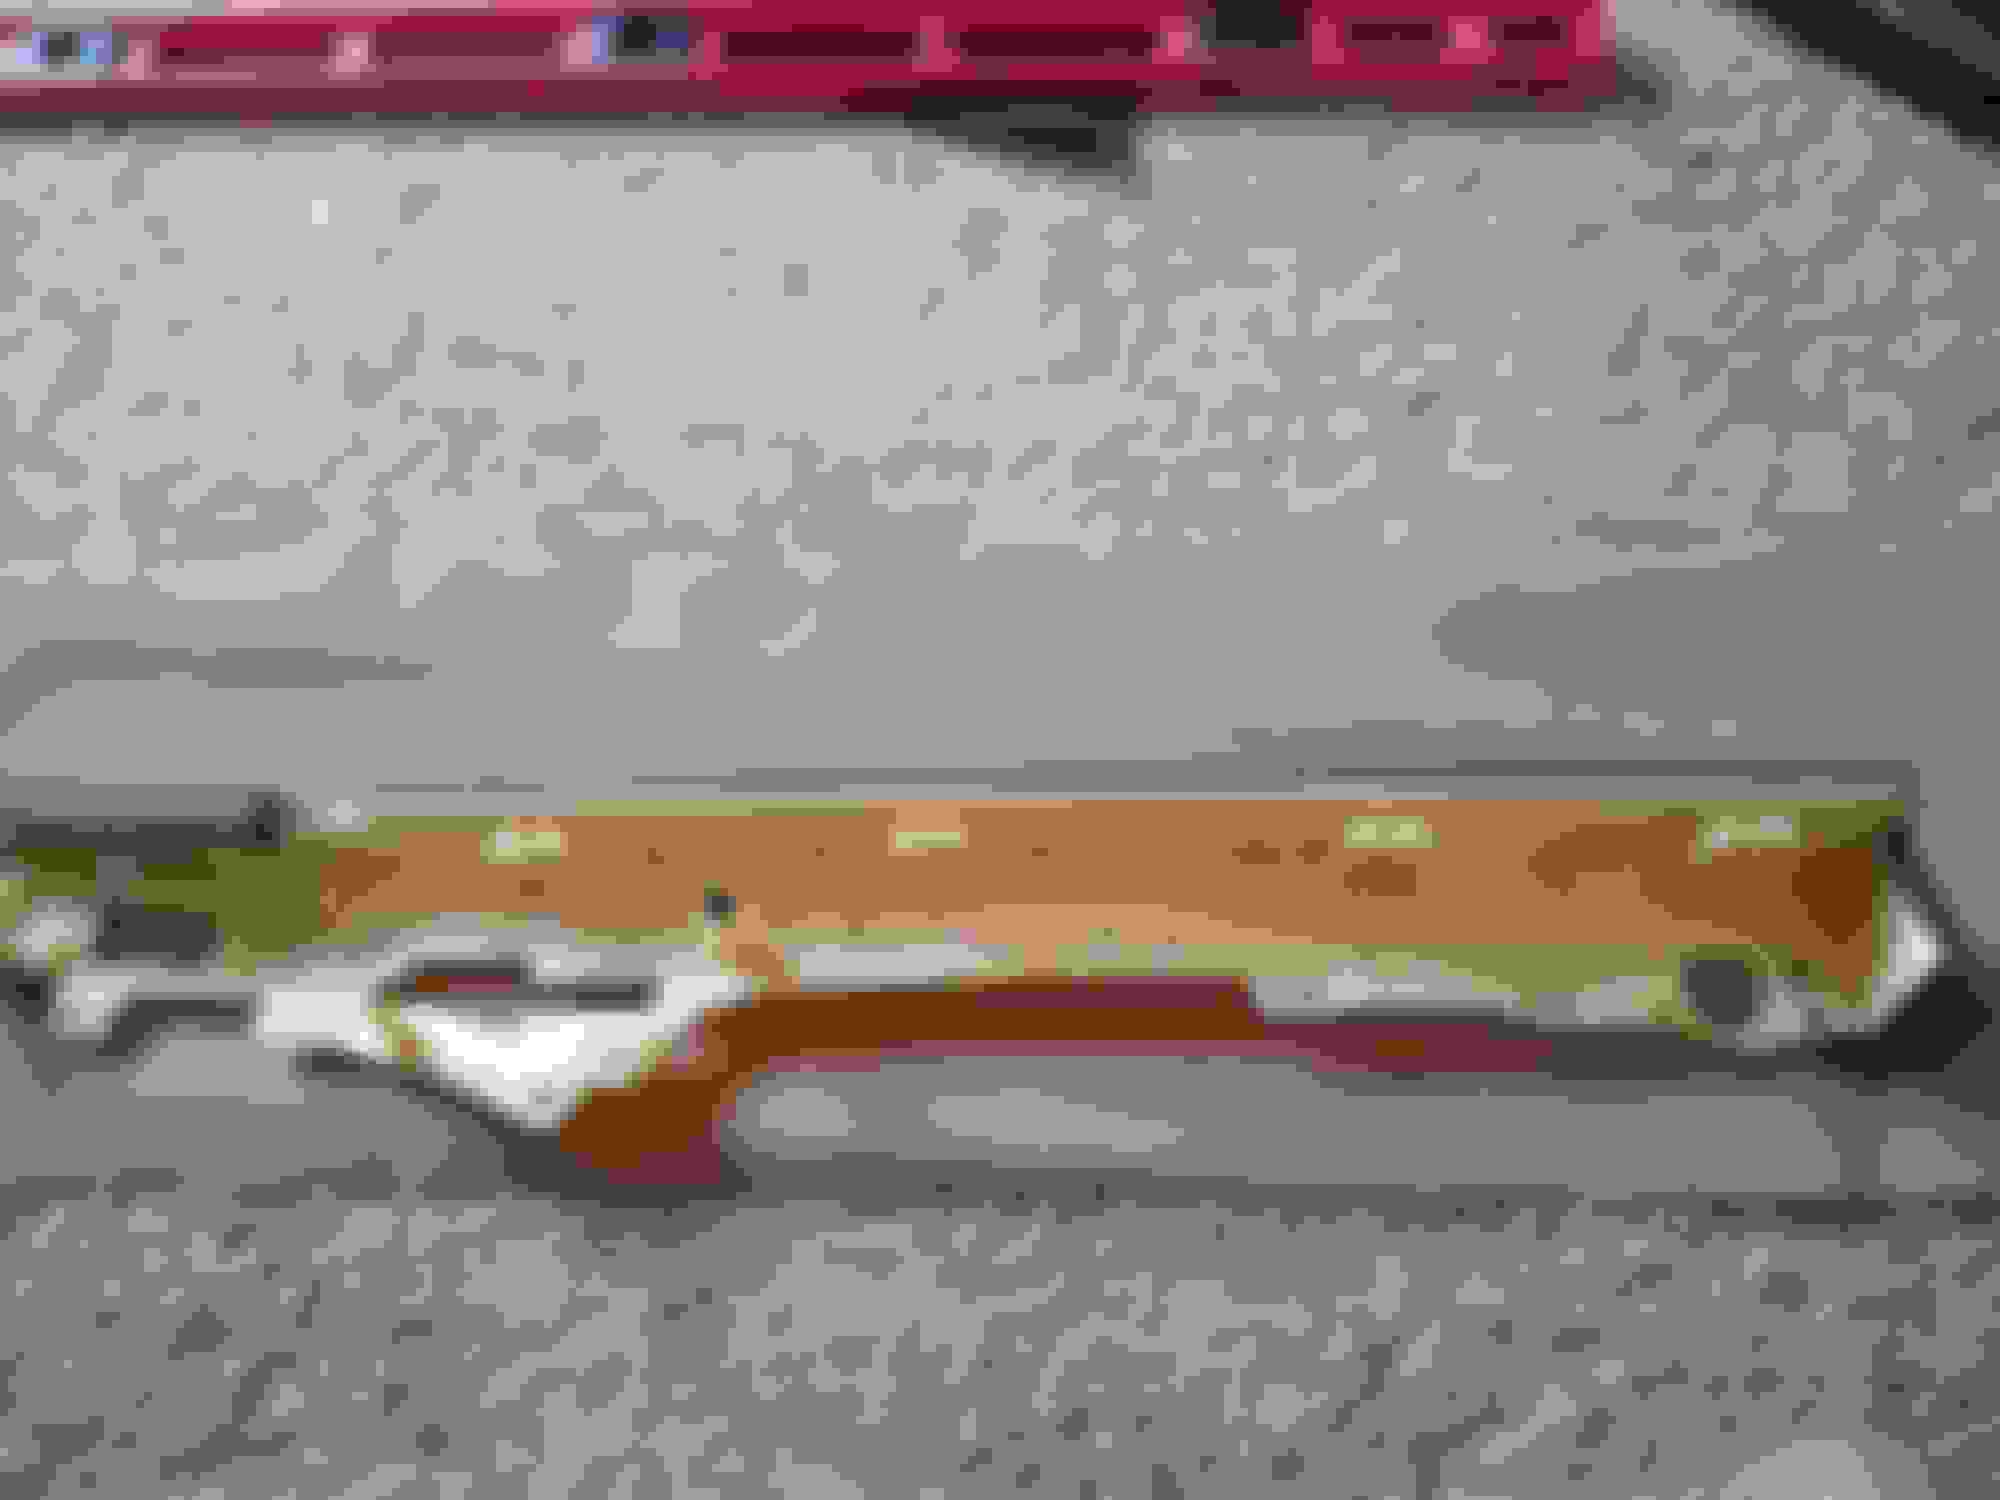
Good news- the upper section of the door panel trim to be upholstered can be removed independently, so it's just screws. Way easier than I anticipated.
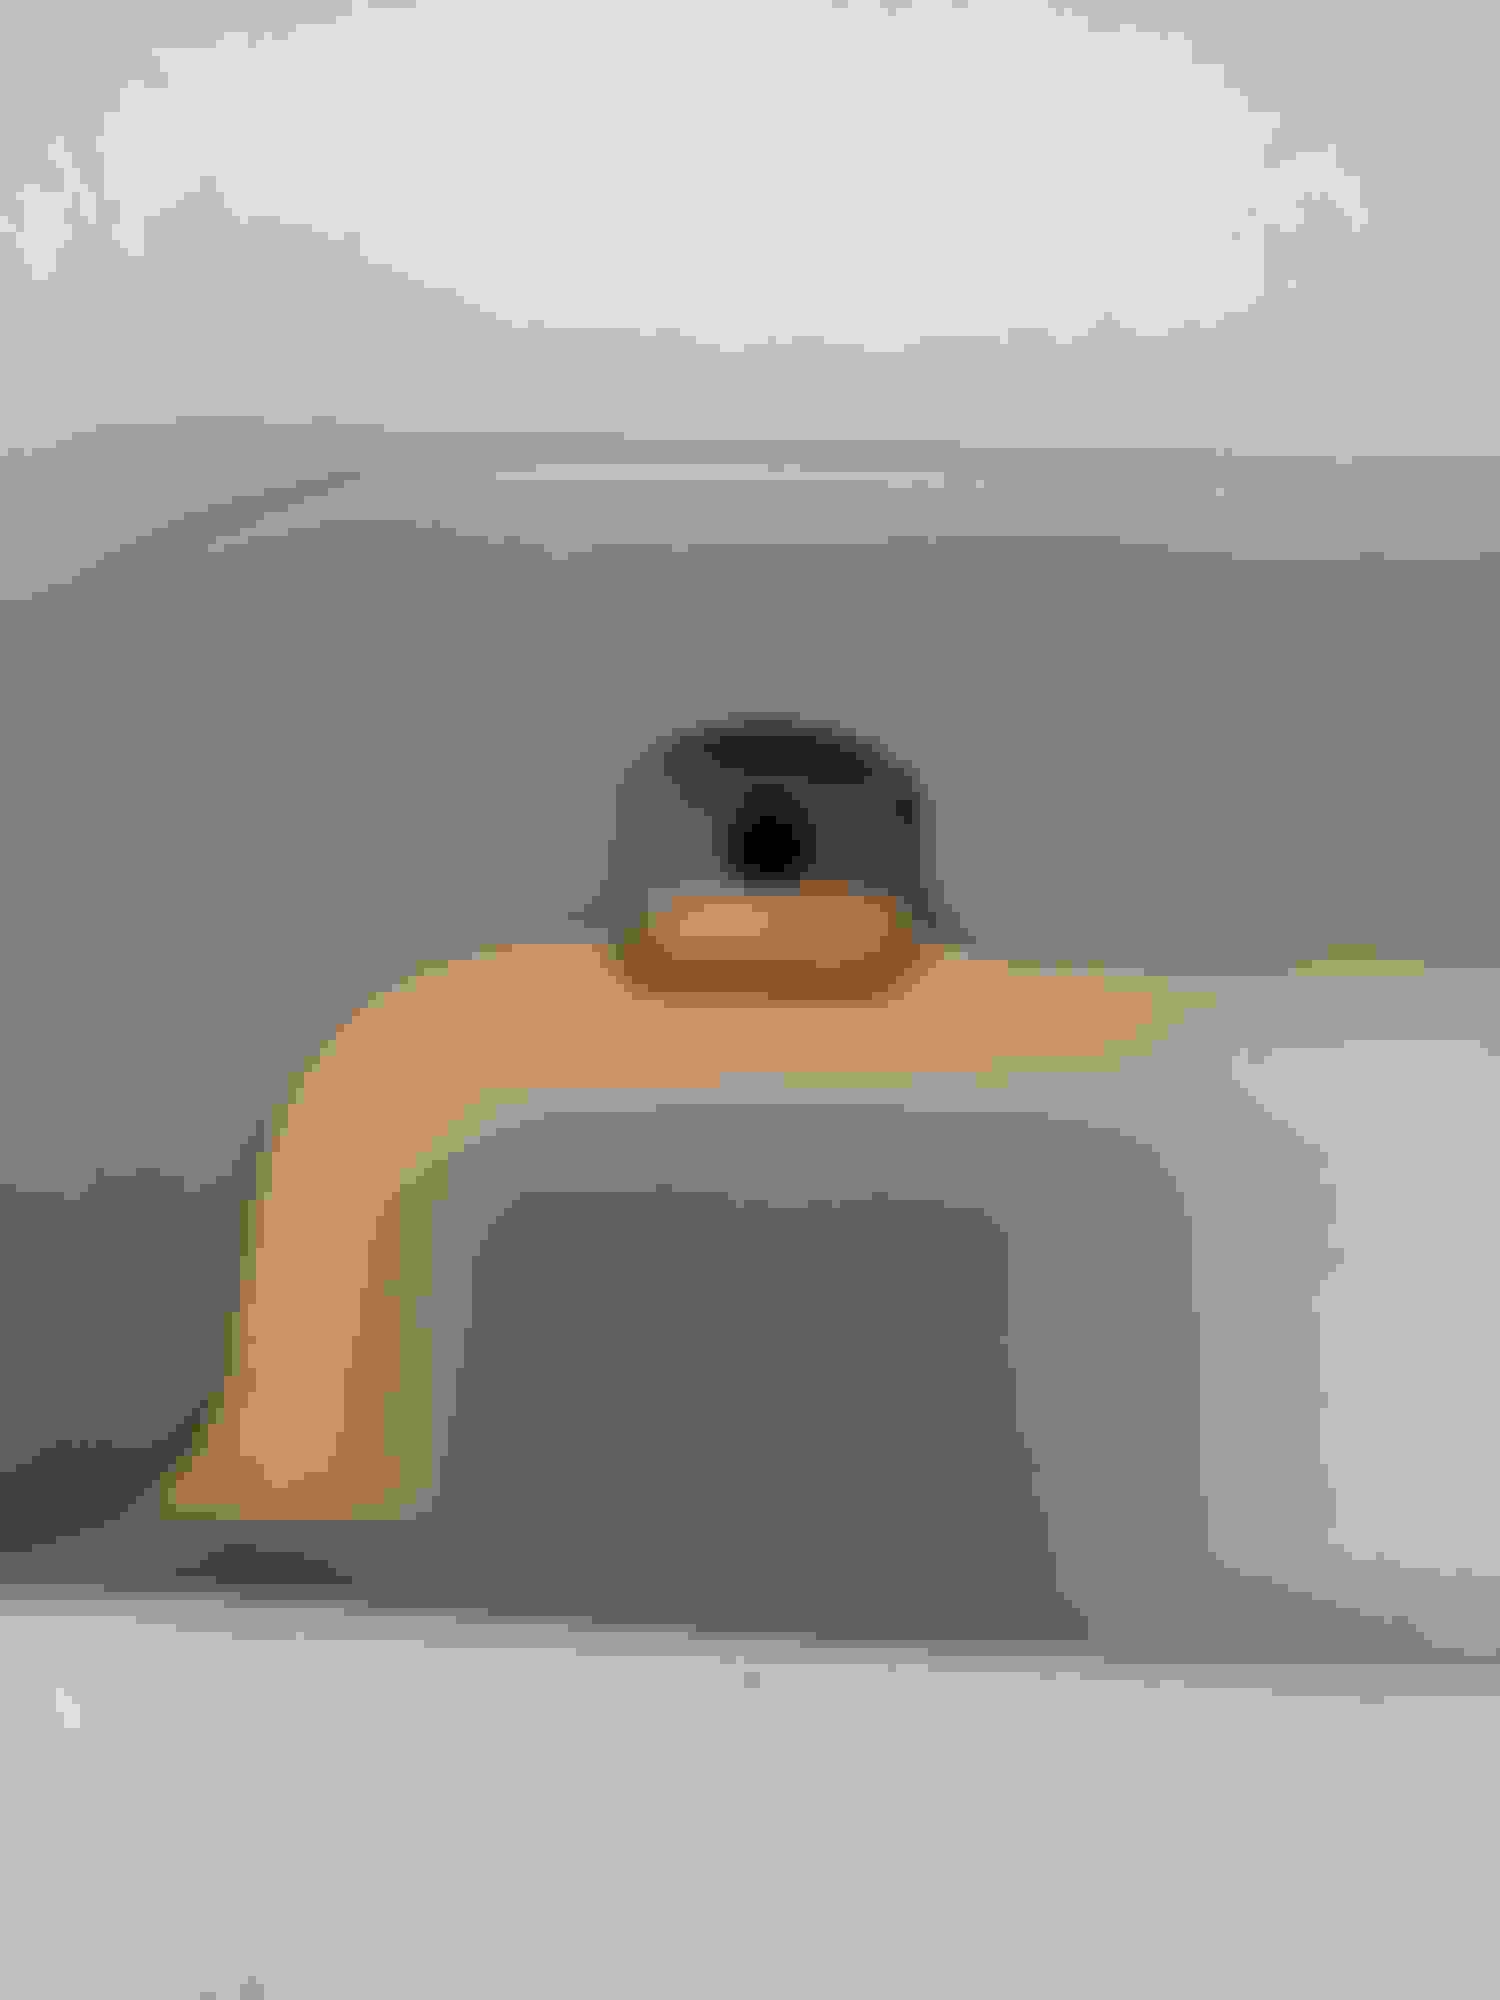
You will need to remove the felt window covered guide from the upper trim section.
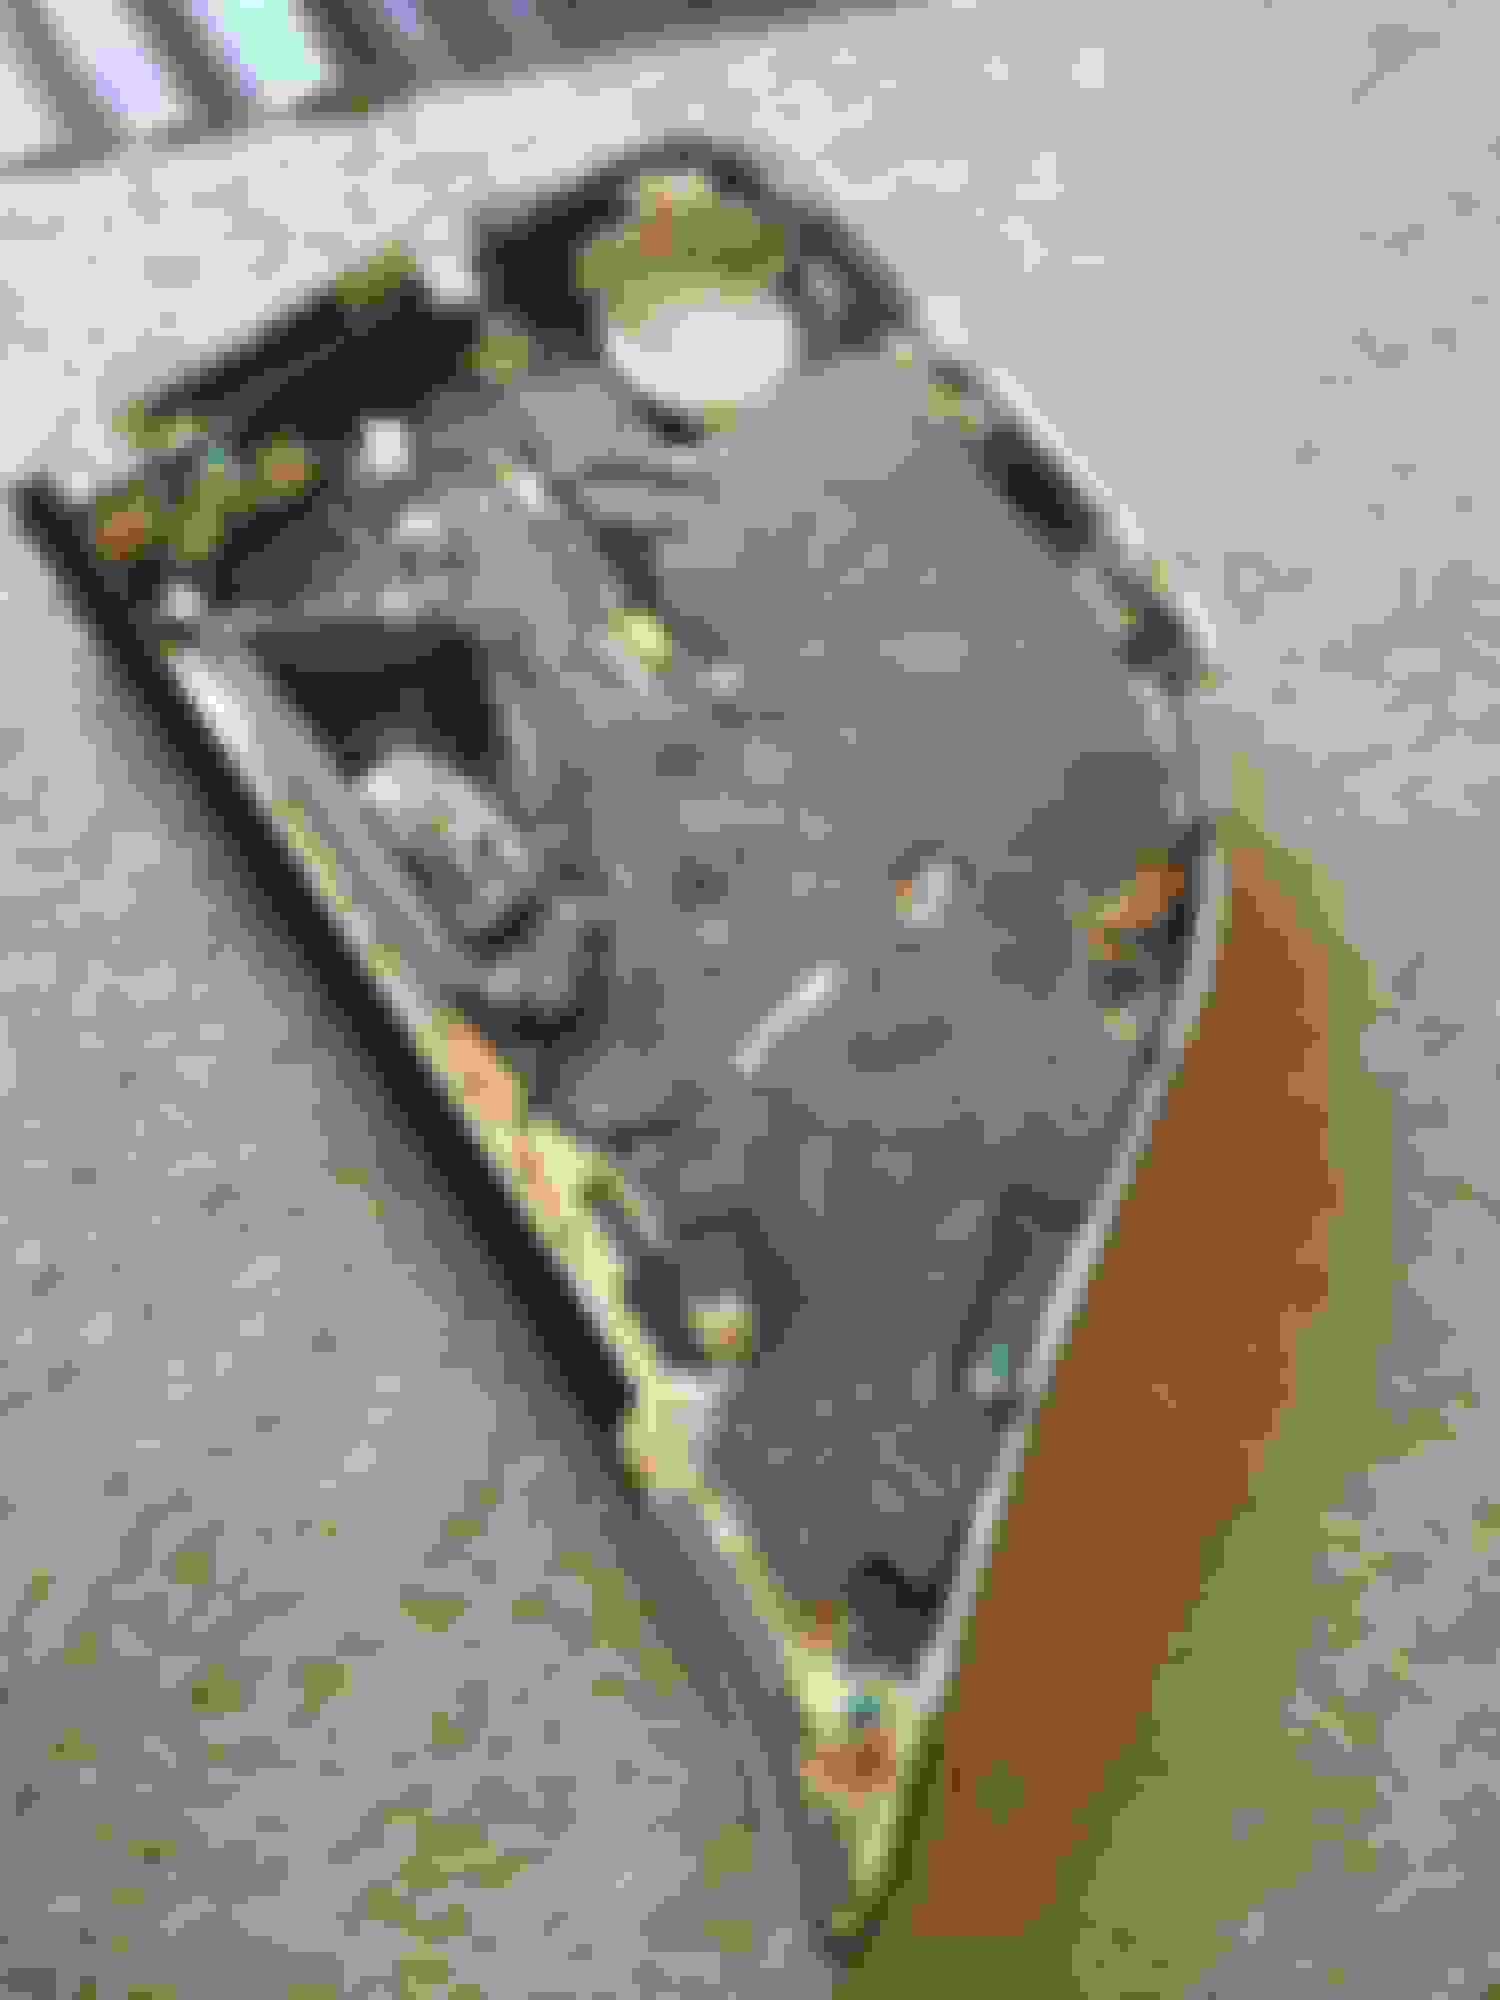
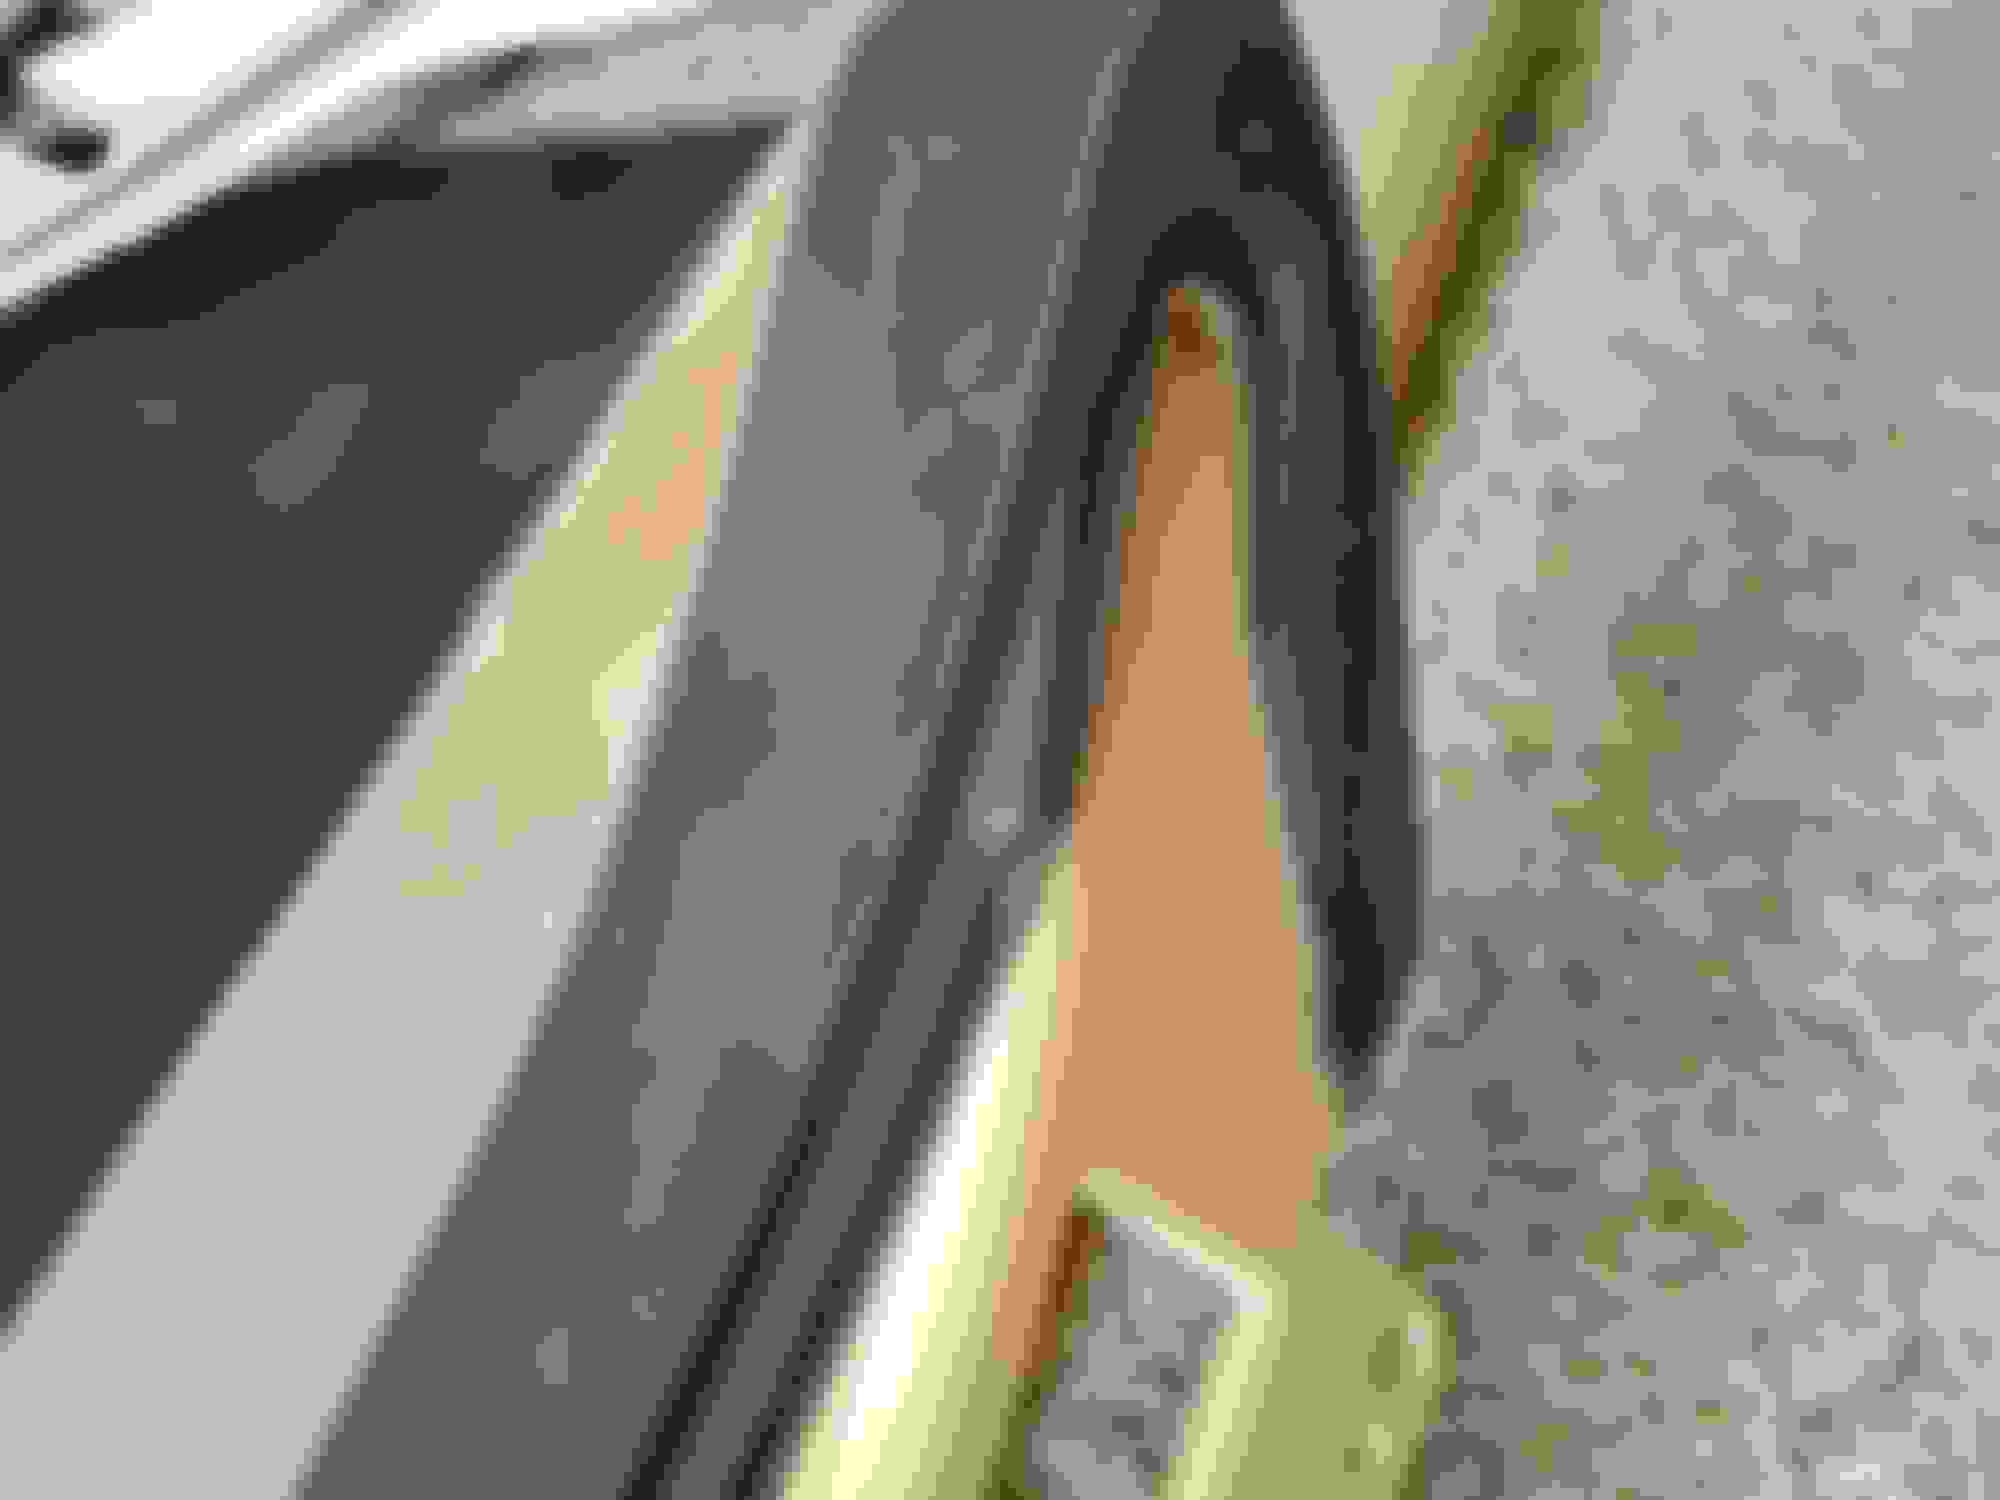
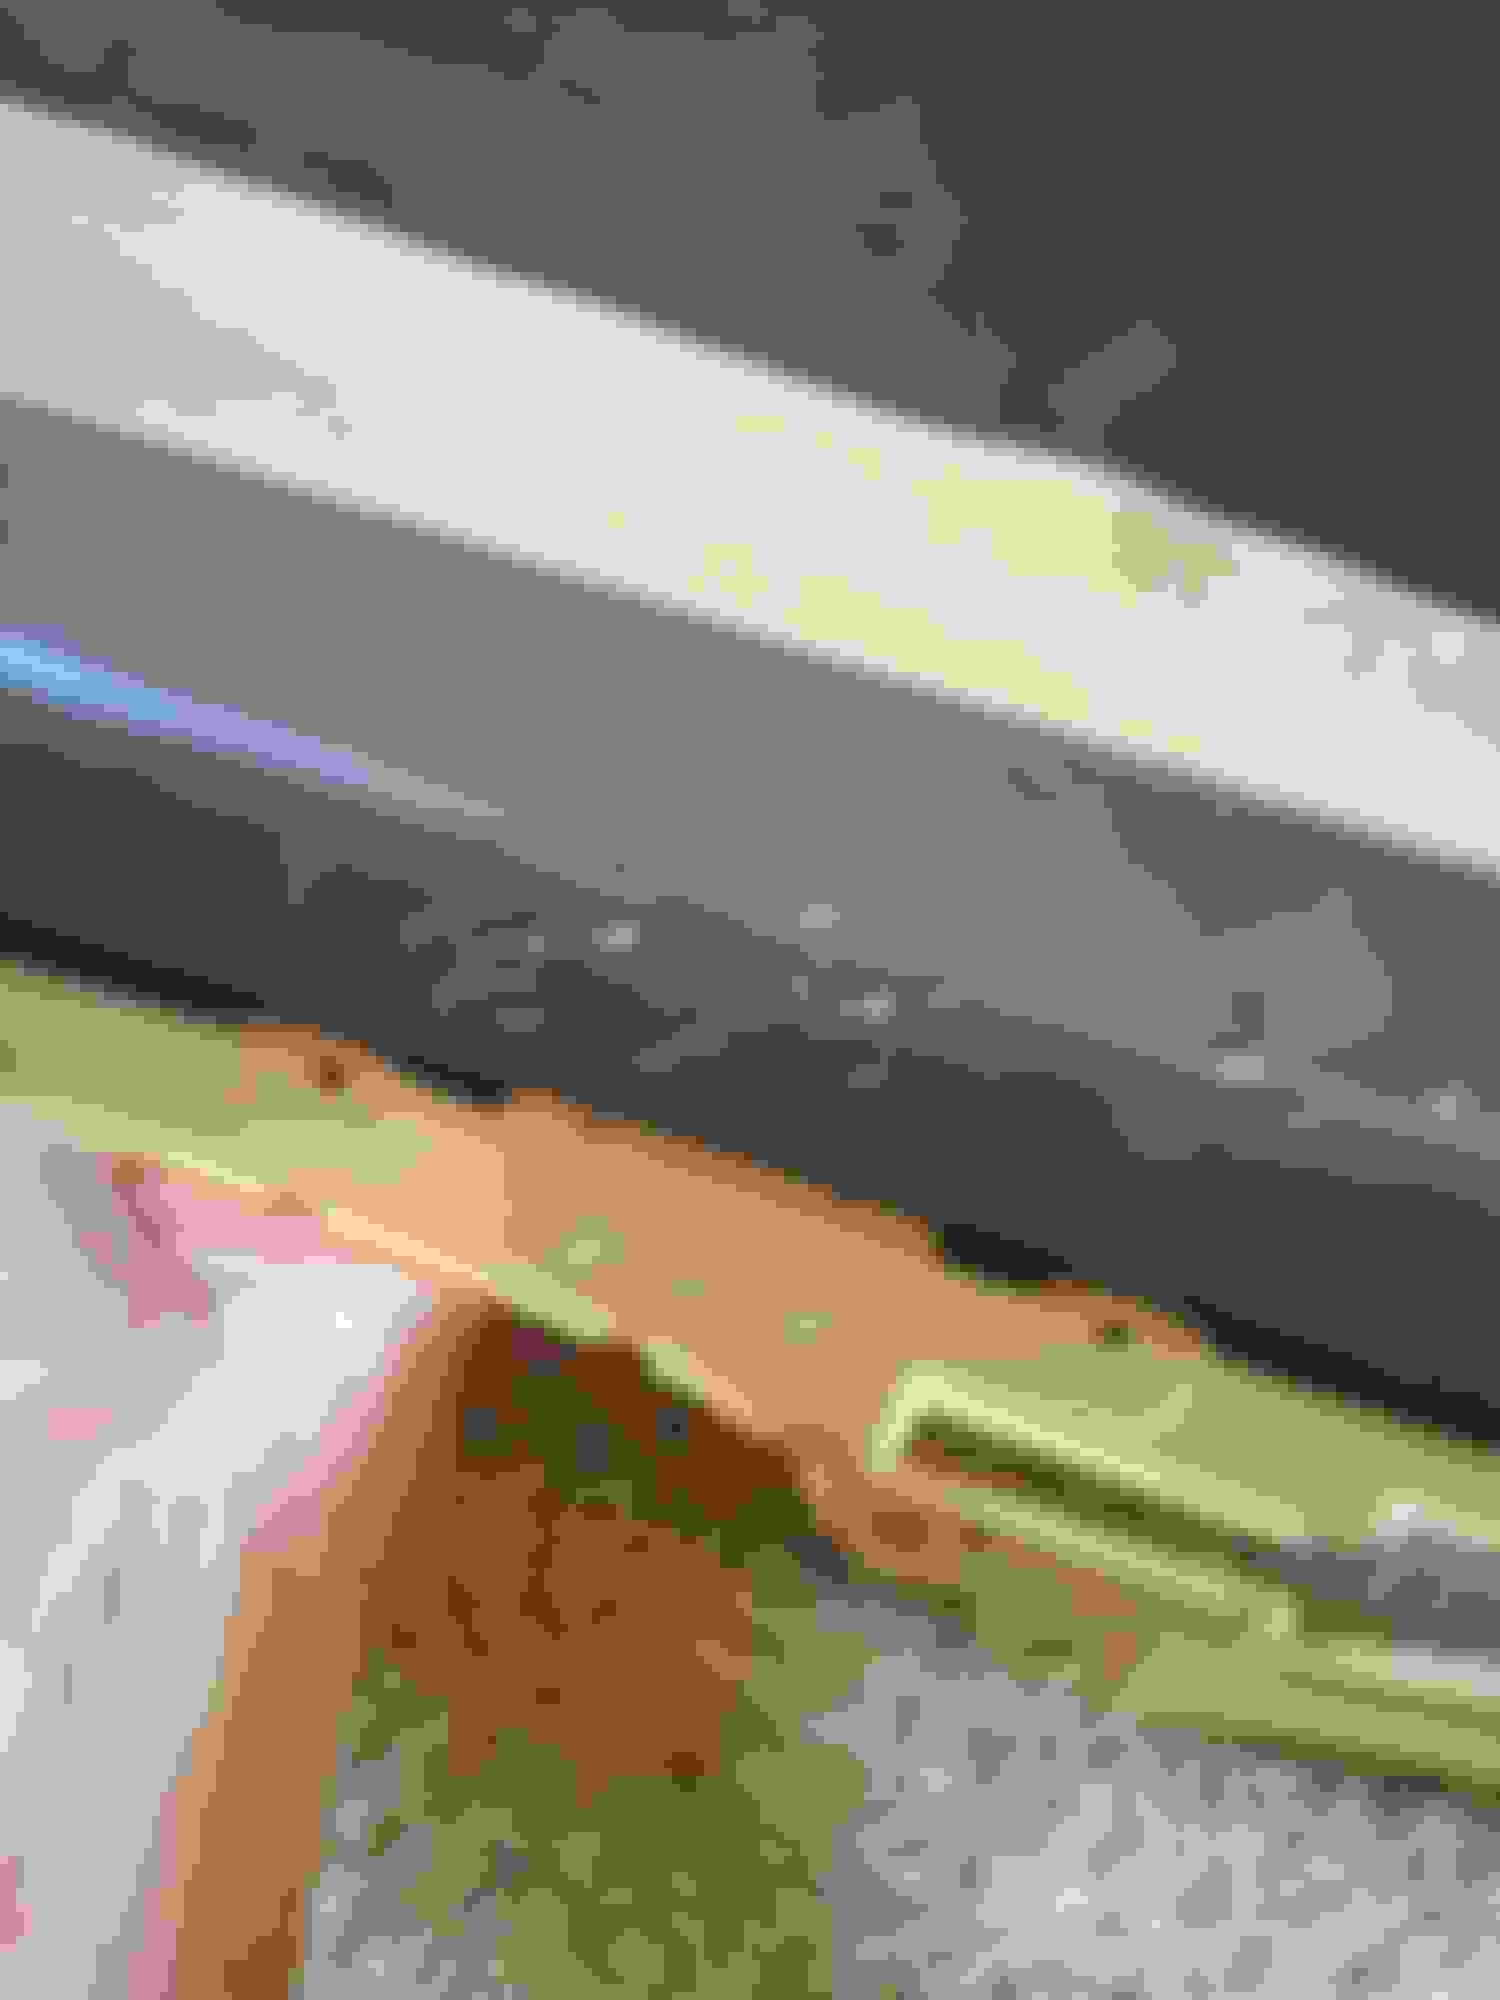
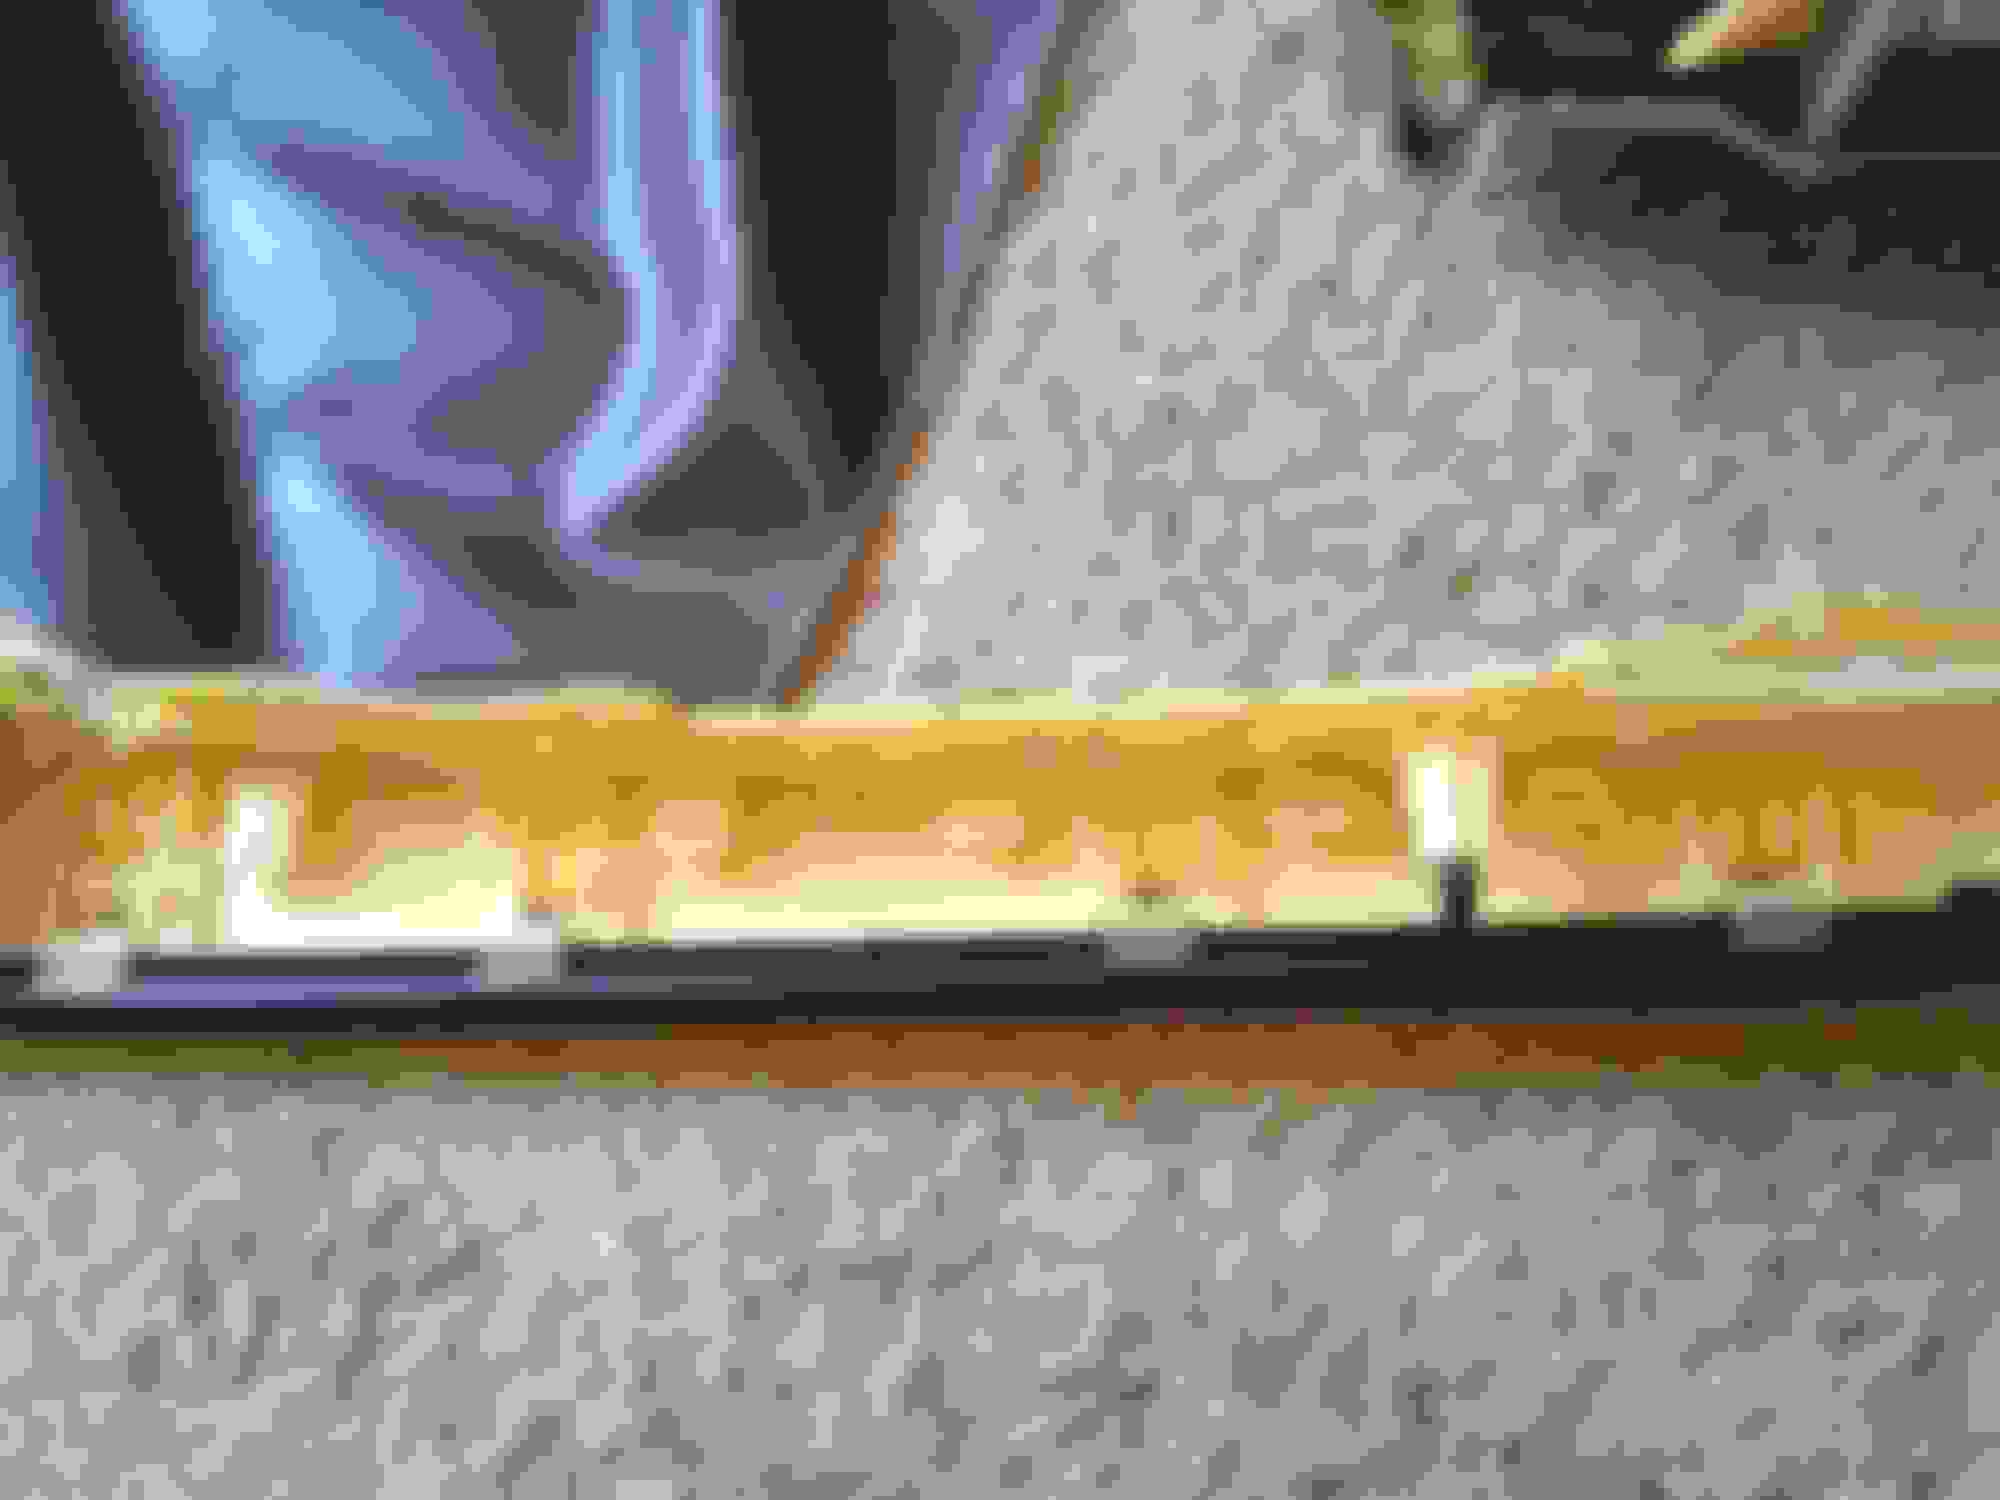
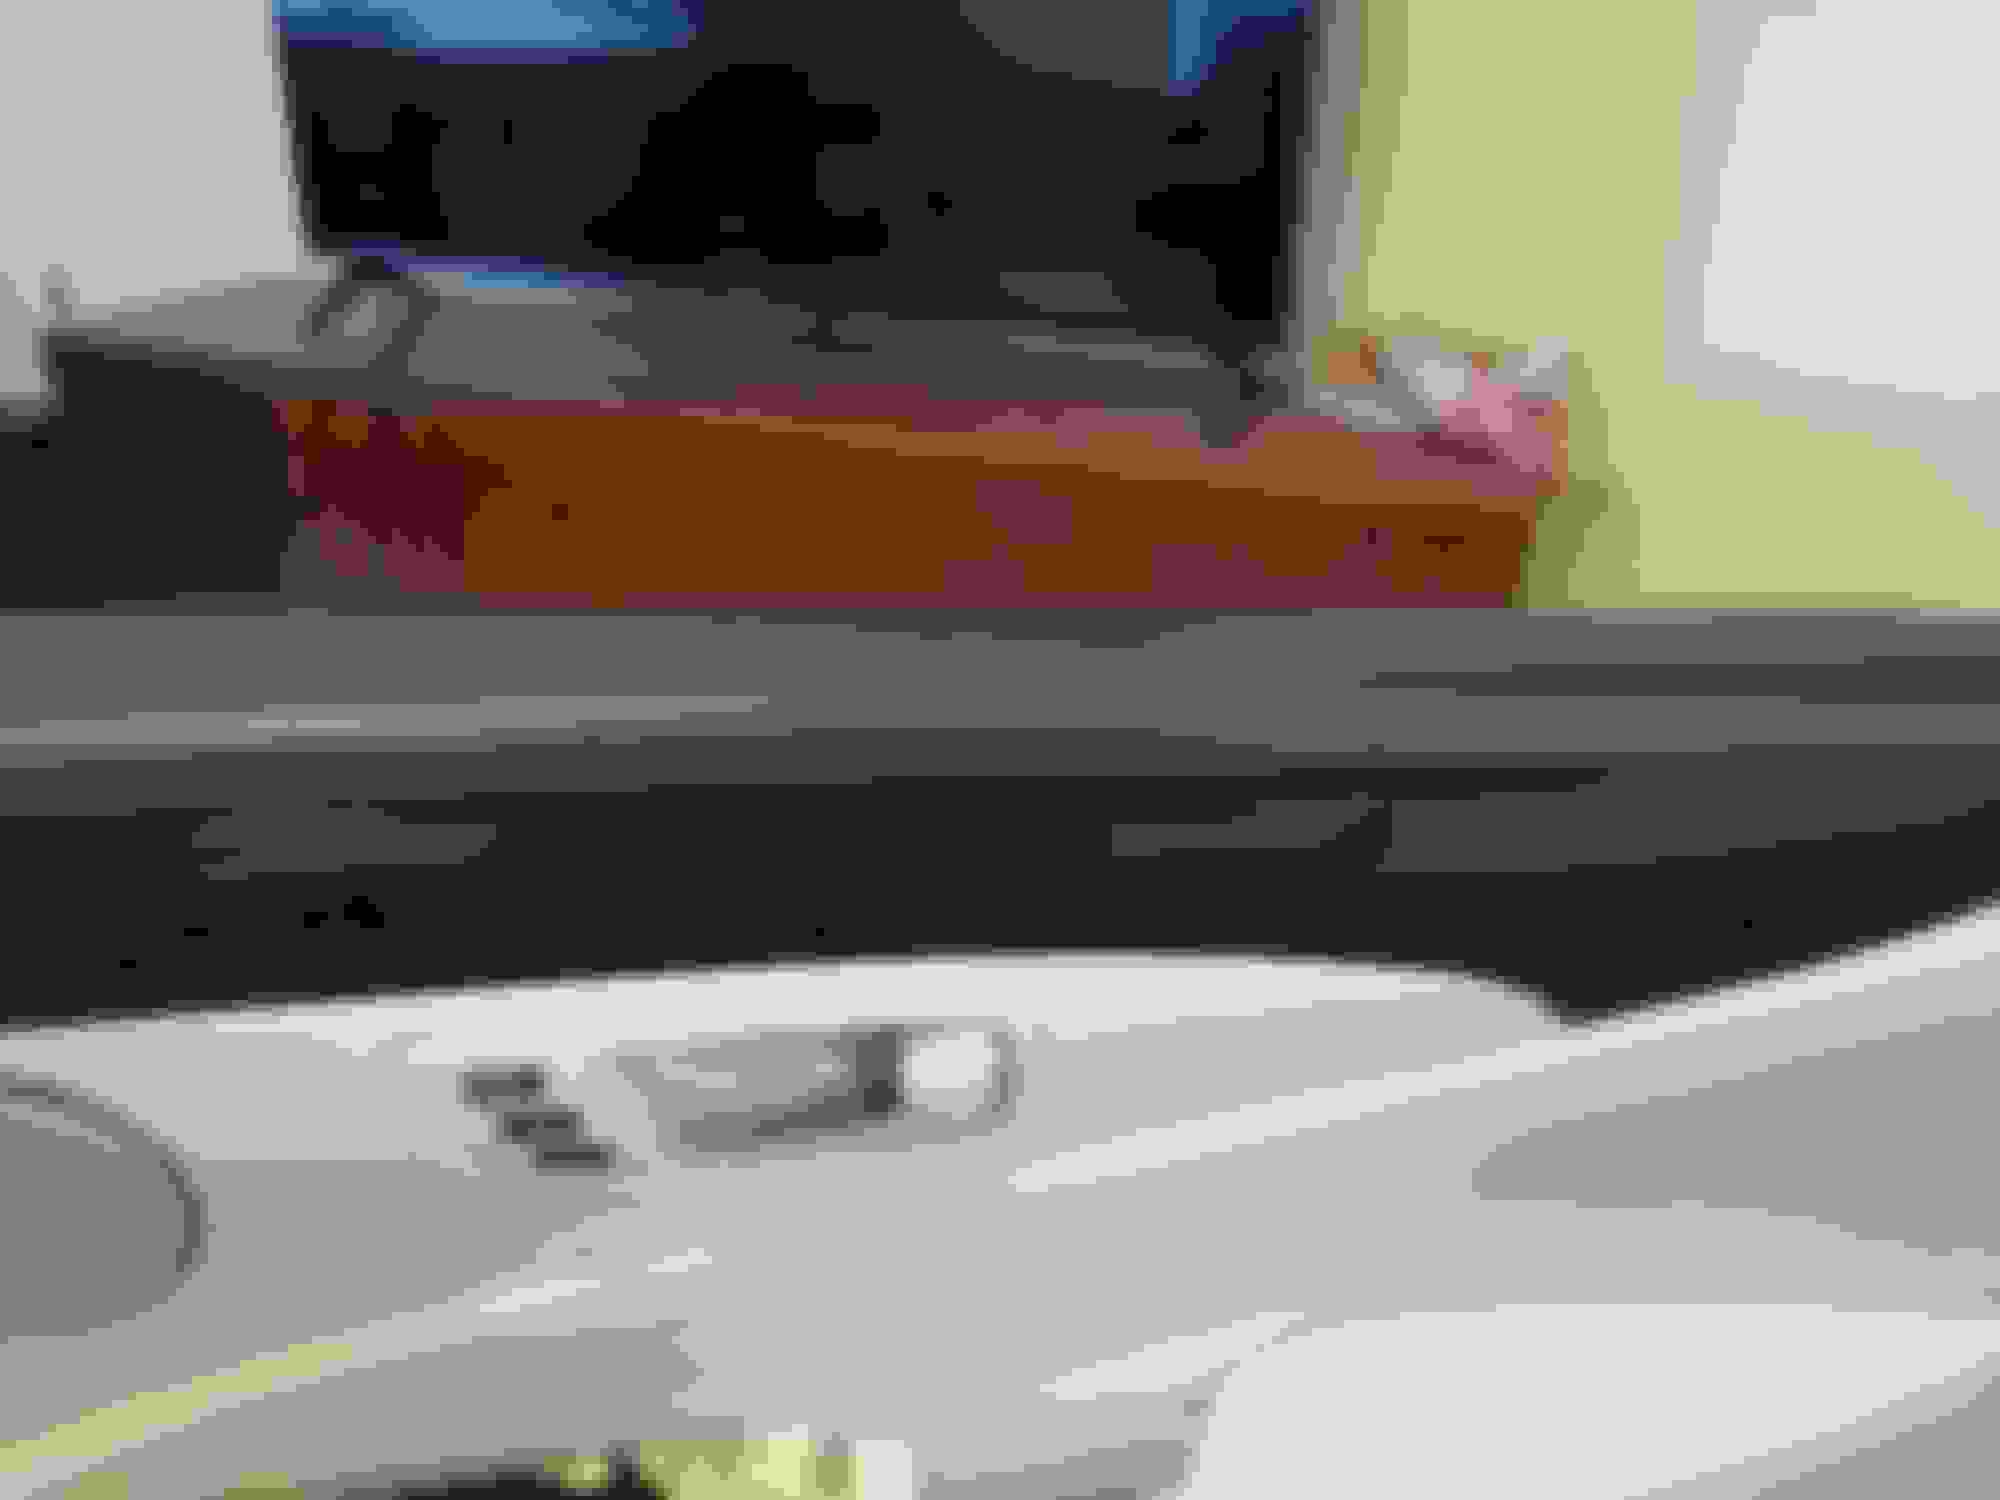
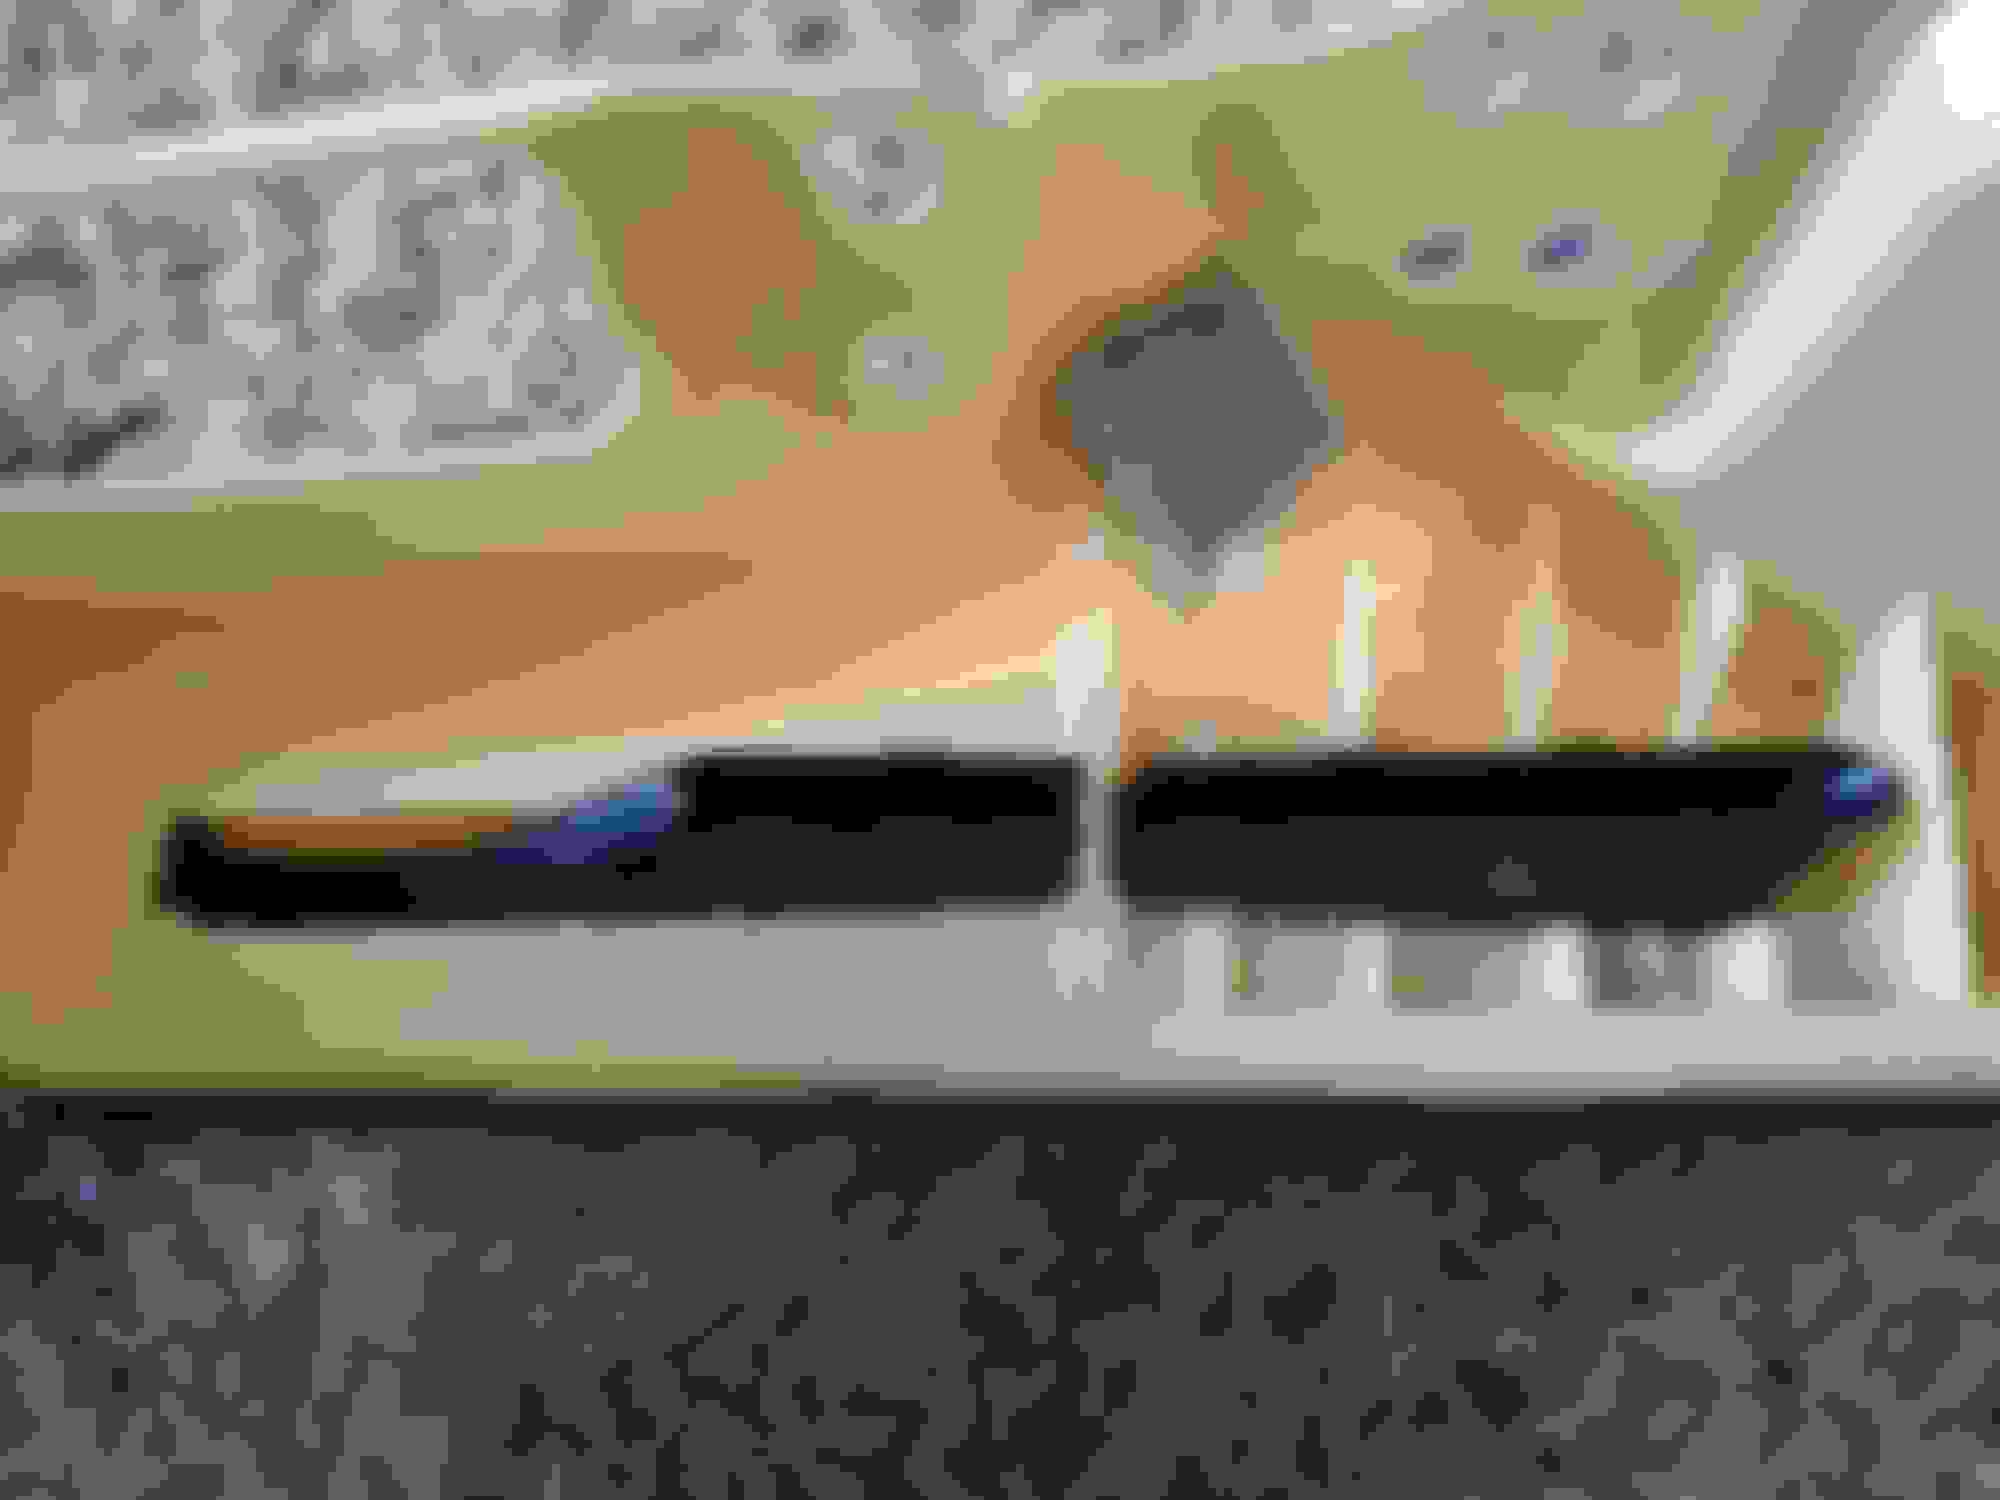
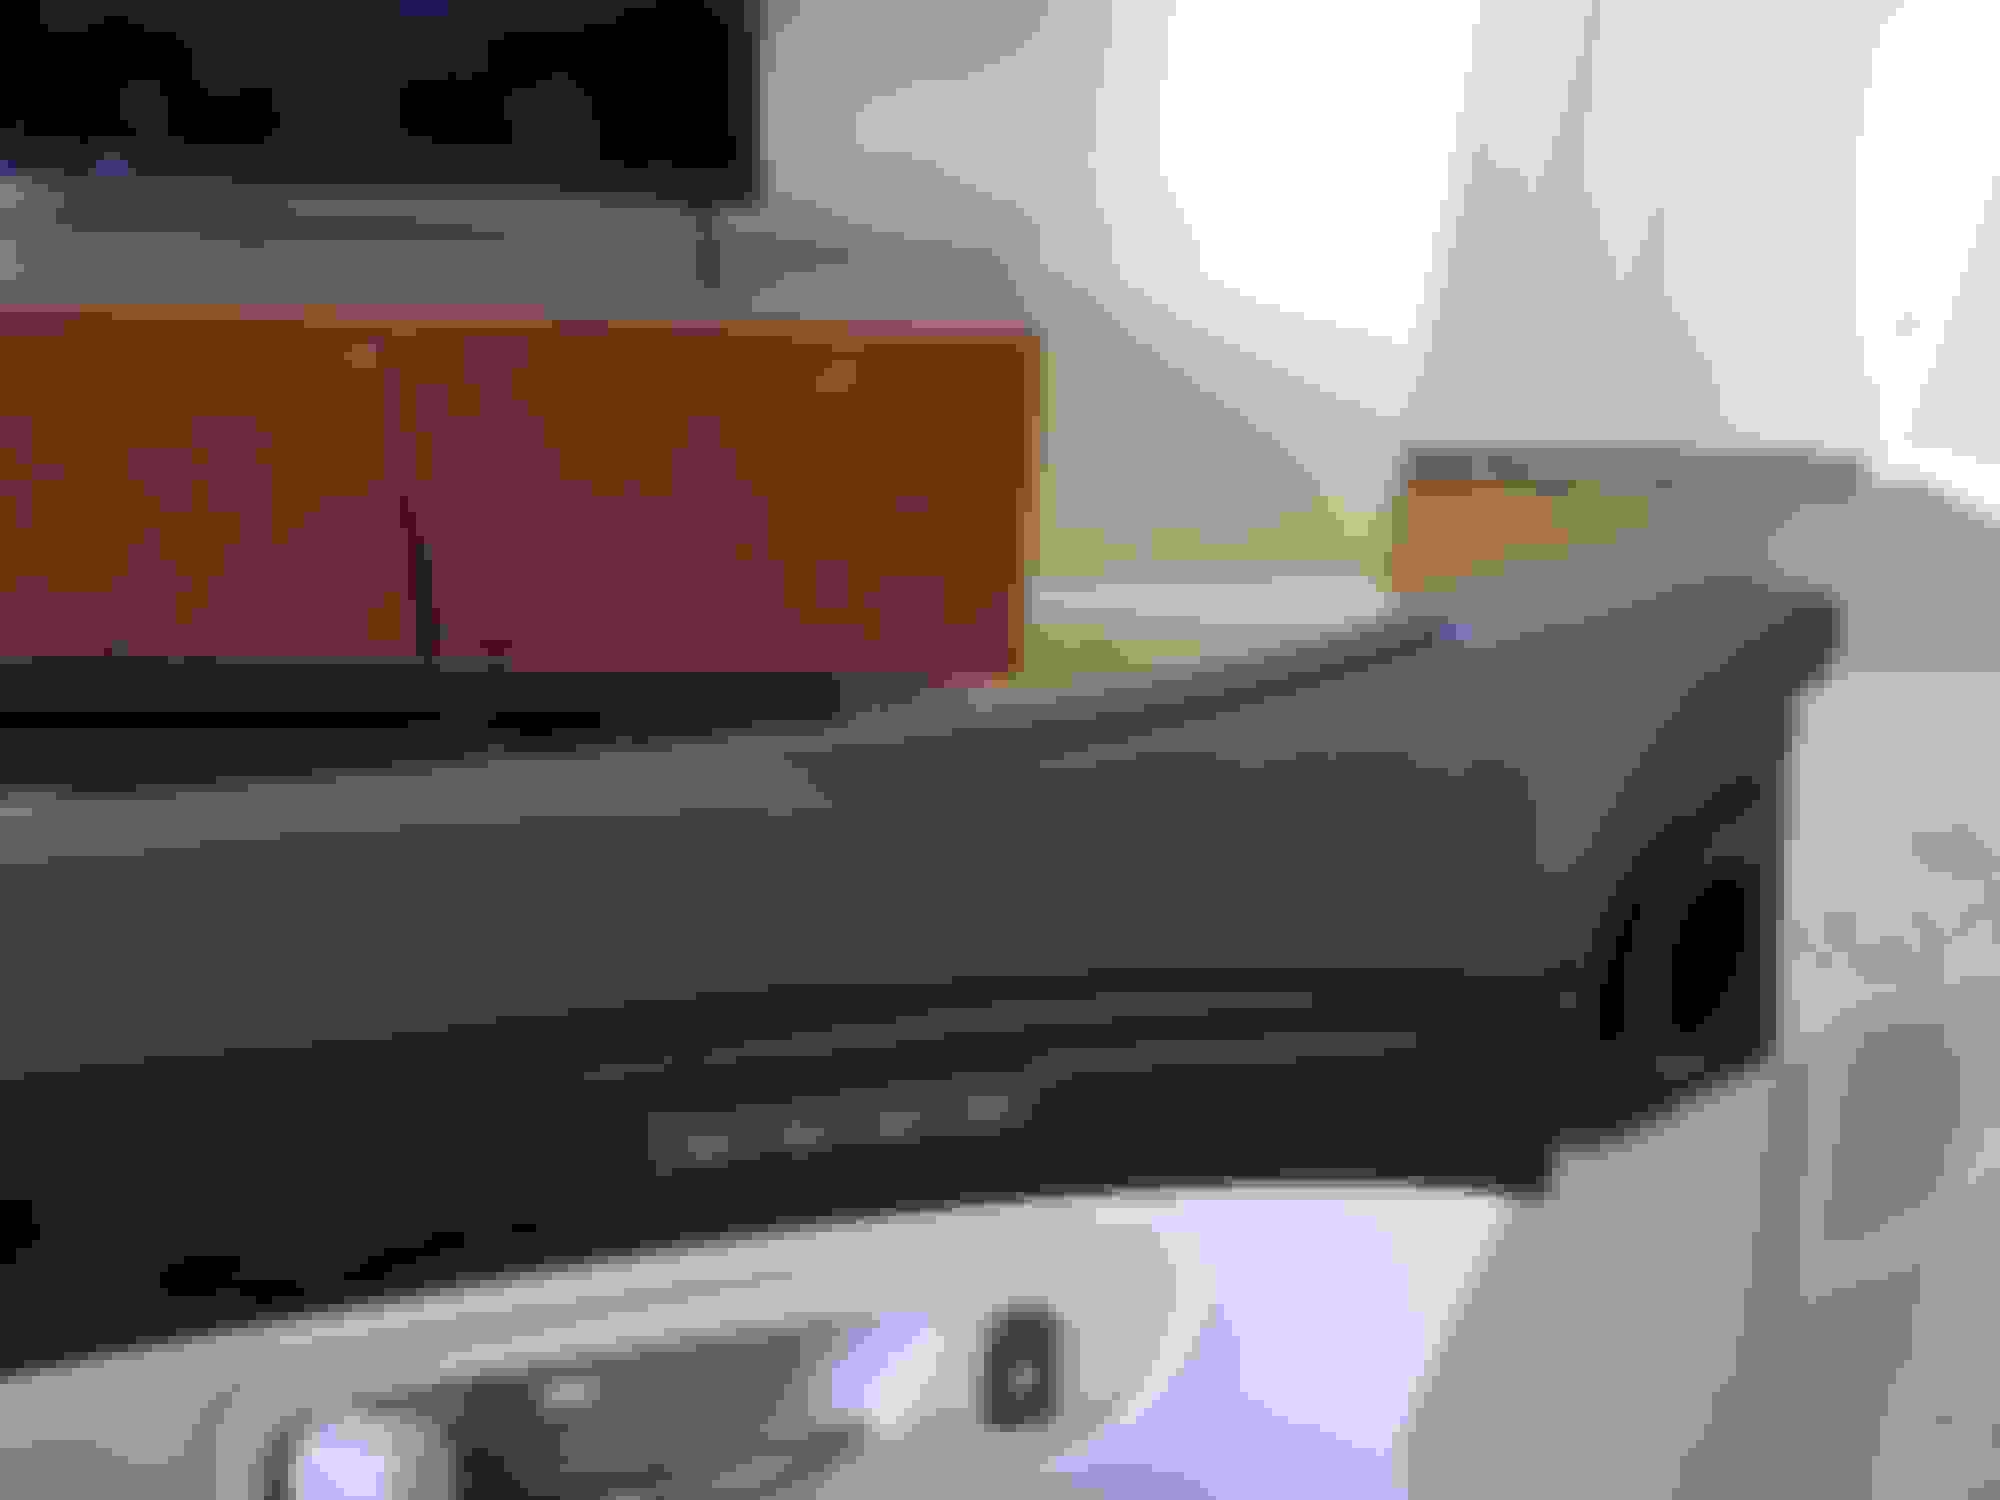
Once you have that panel off, it's a matter of trimming material to size, spraying with the adhesive, giving it a minute to get tacky, and then pressing it into place.
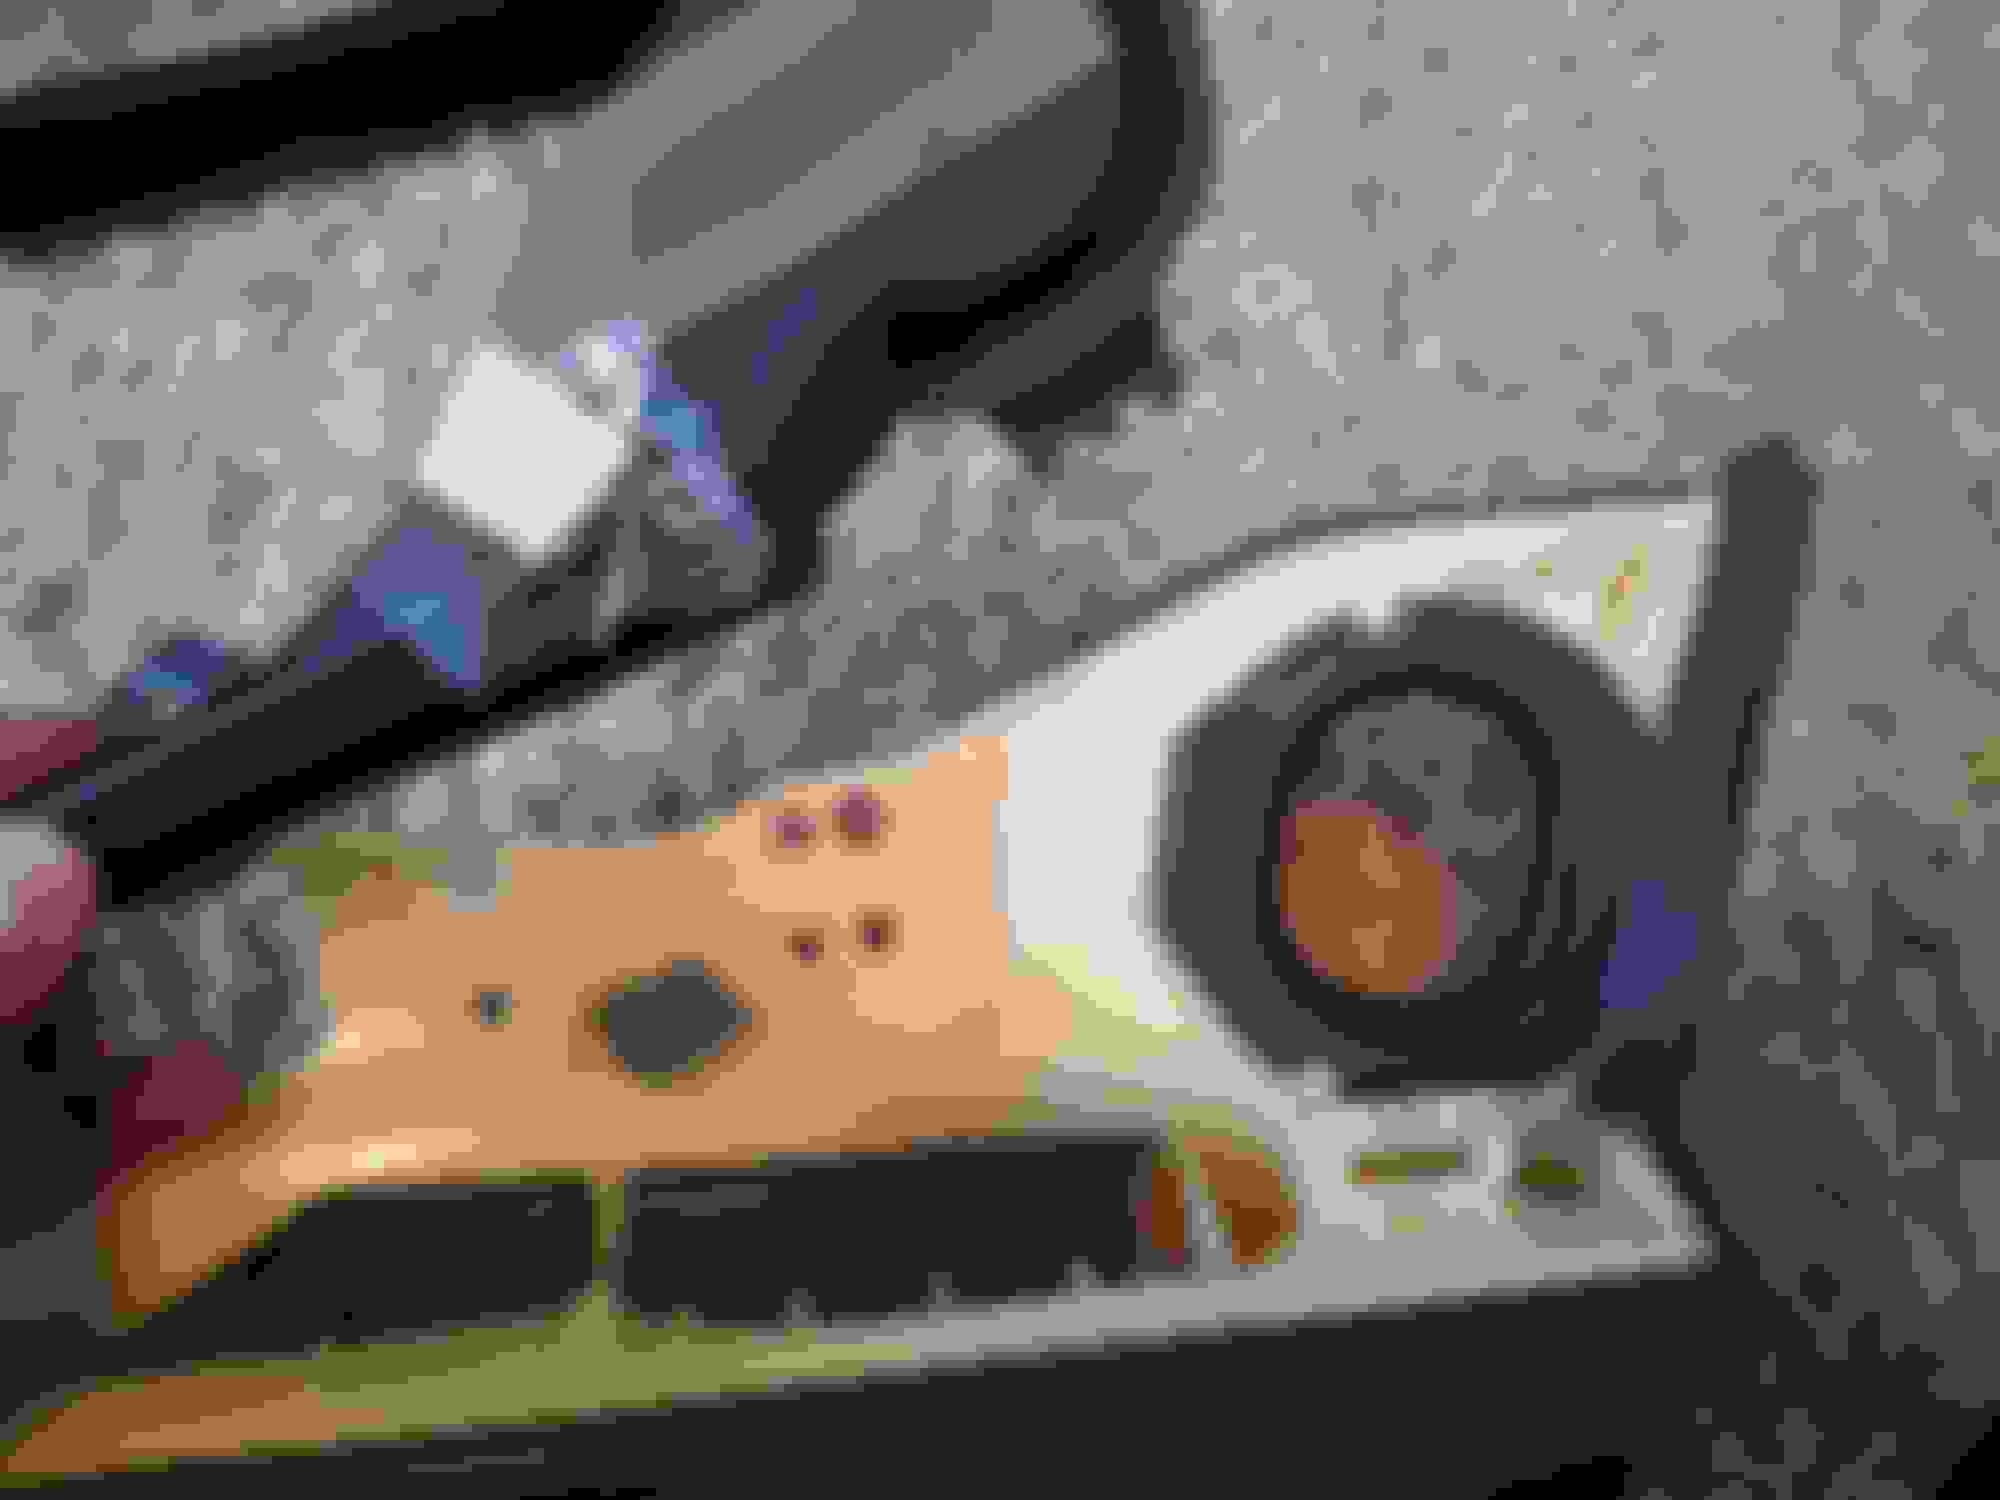
The end section of the trim has weird angles and it's a challenge to figure out how to press it down. I was up for the challenge, but I'm not a professional upholstery guy.
Anyhow once done, reassemble. Pay attention to screw placement as their are two distinct screws.
Anyhow, rears done, I still have the fronts to go....then mull options on the dash. Ugh..
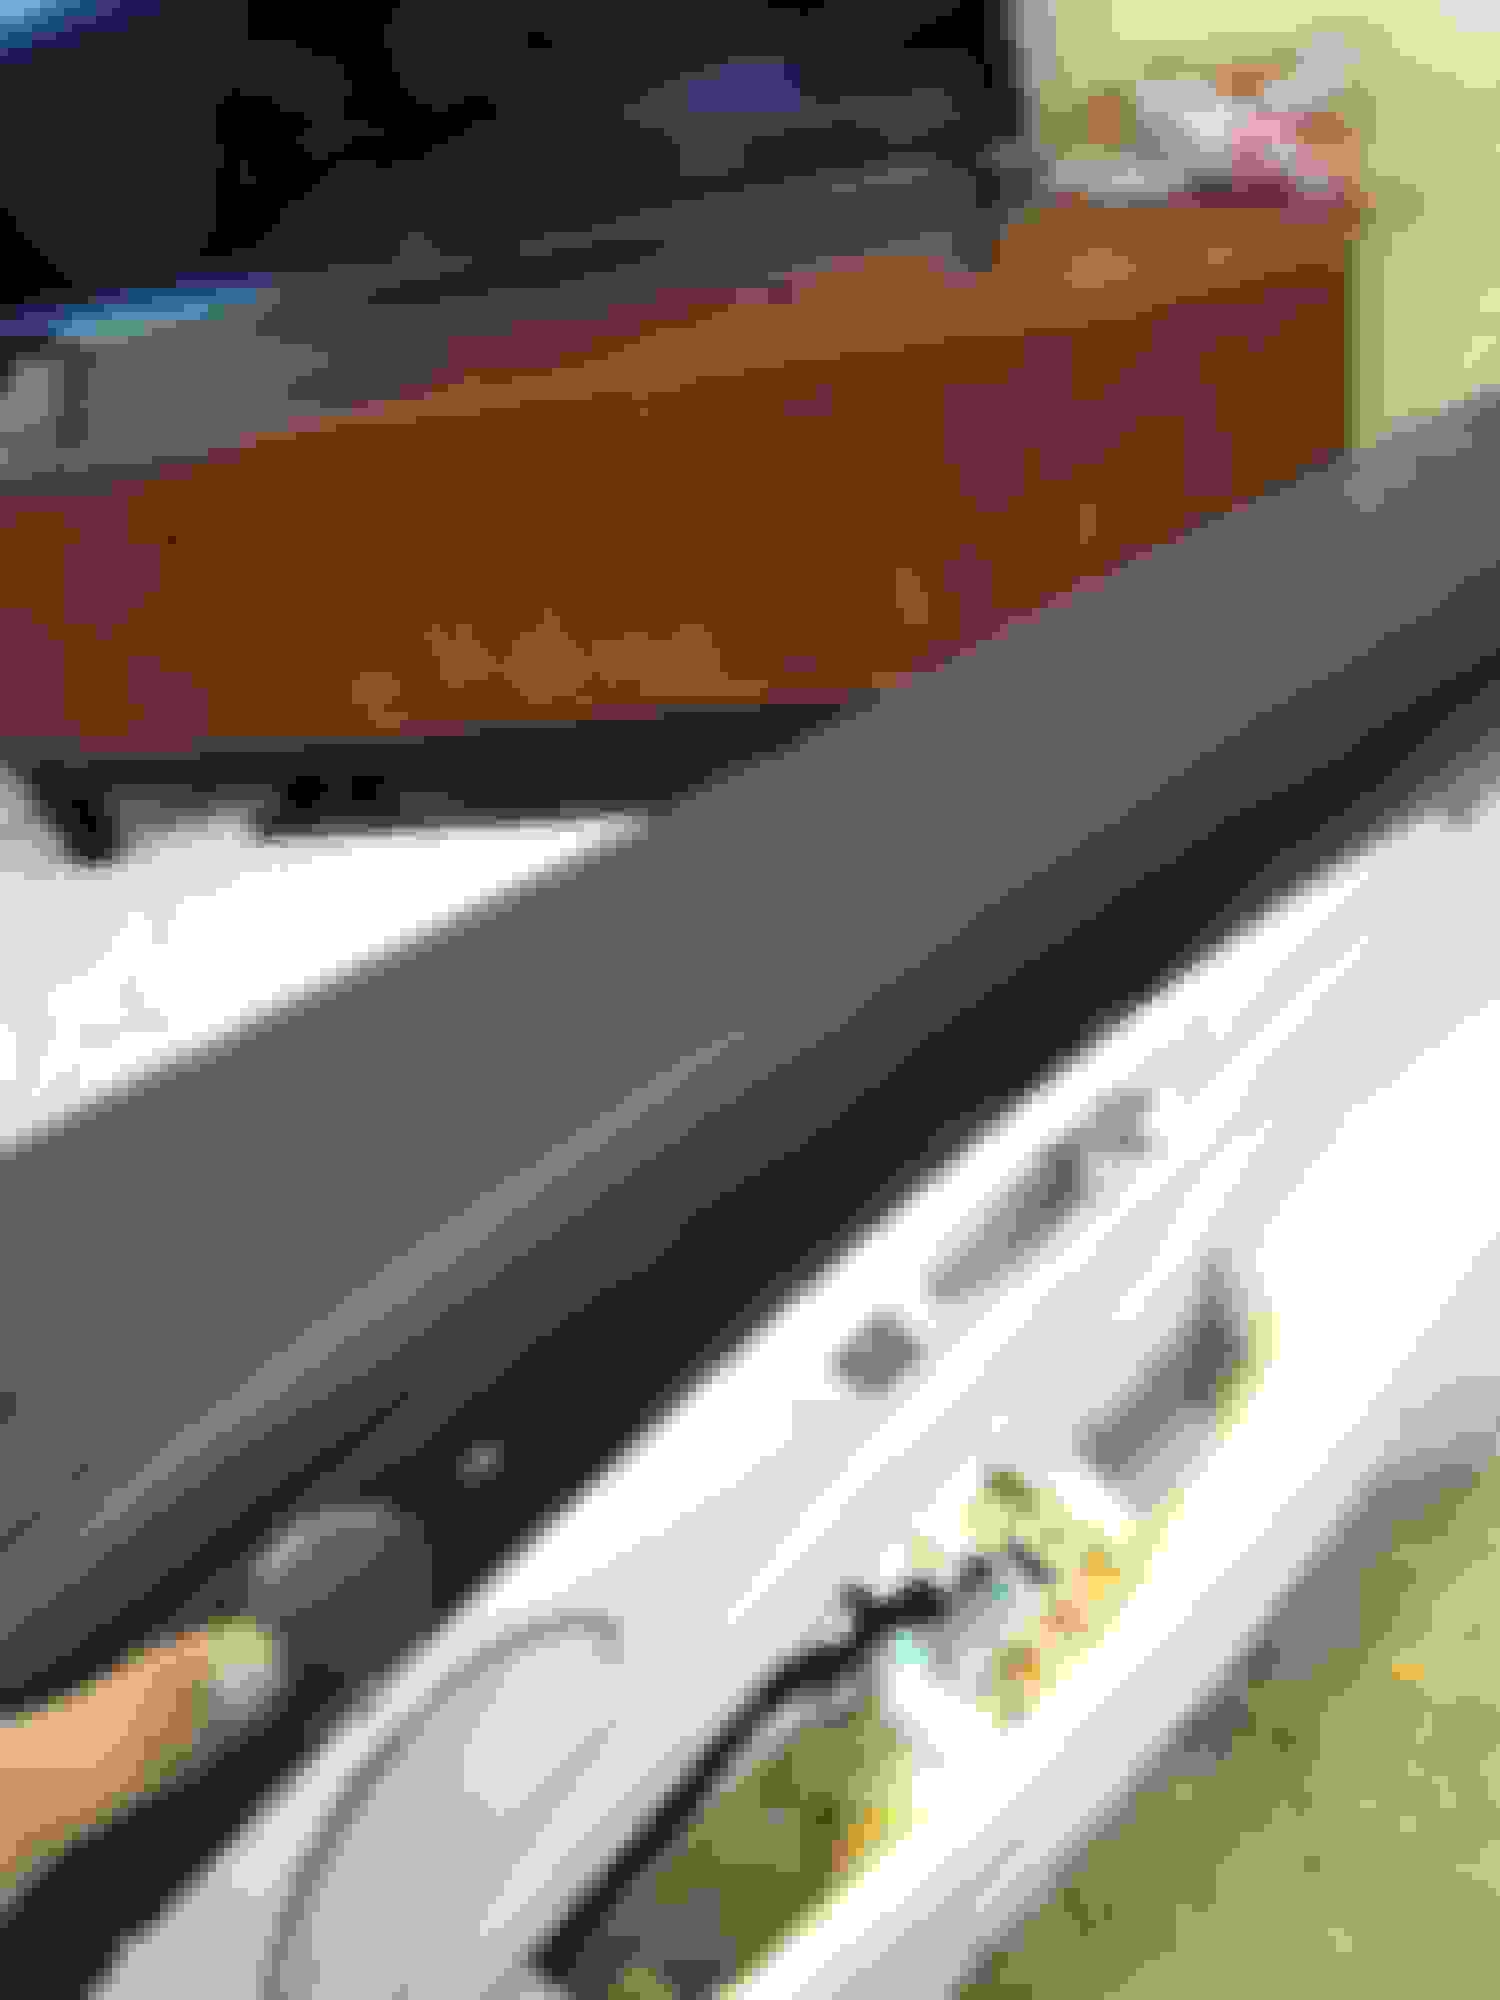
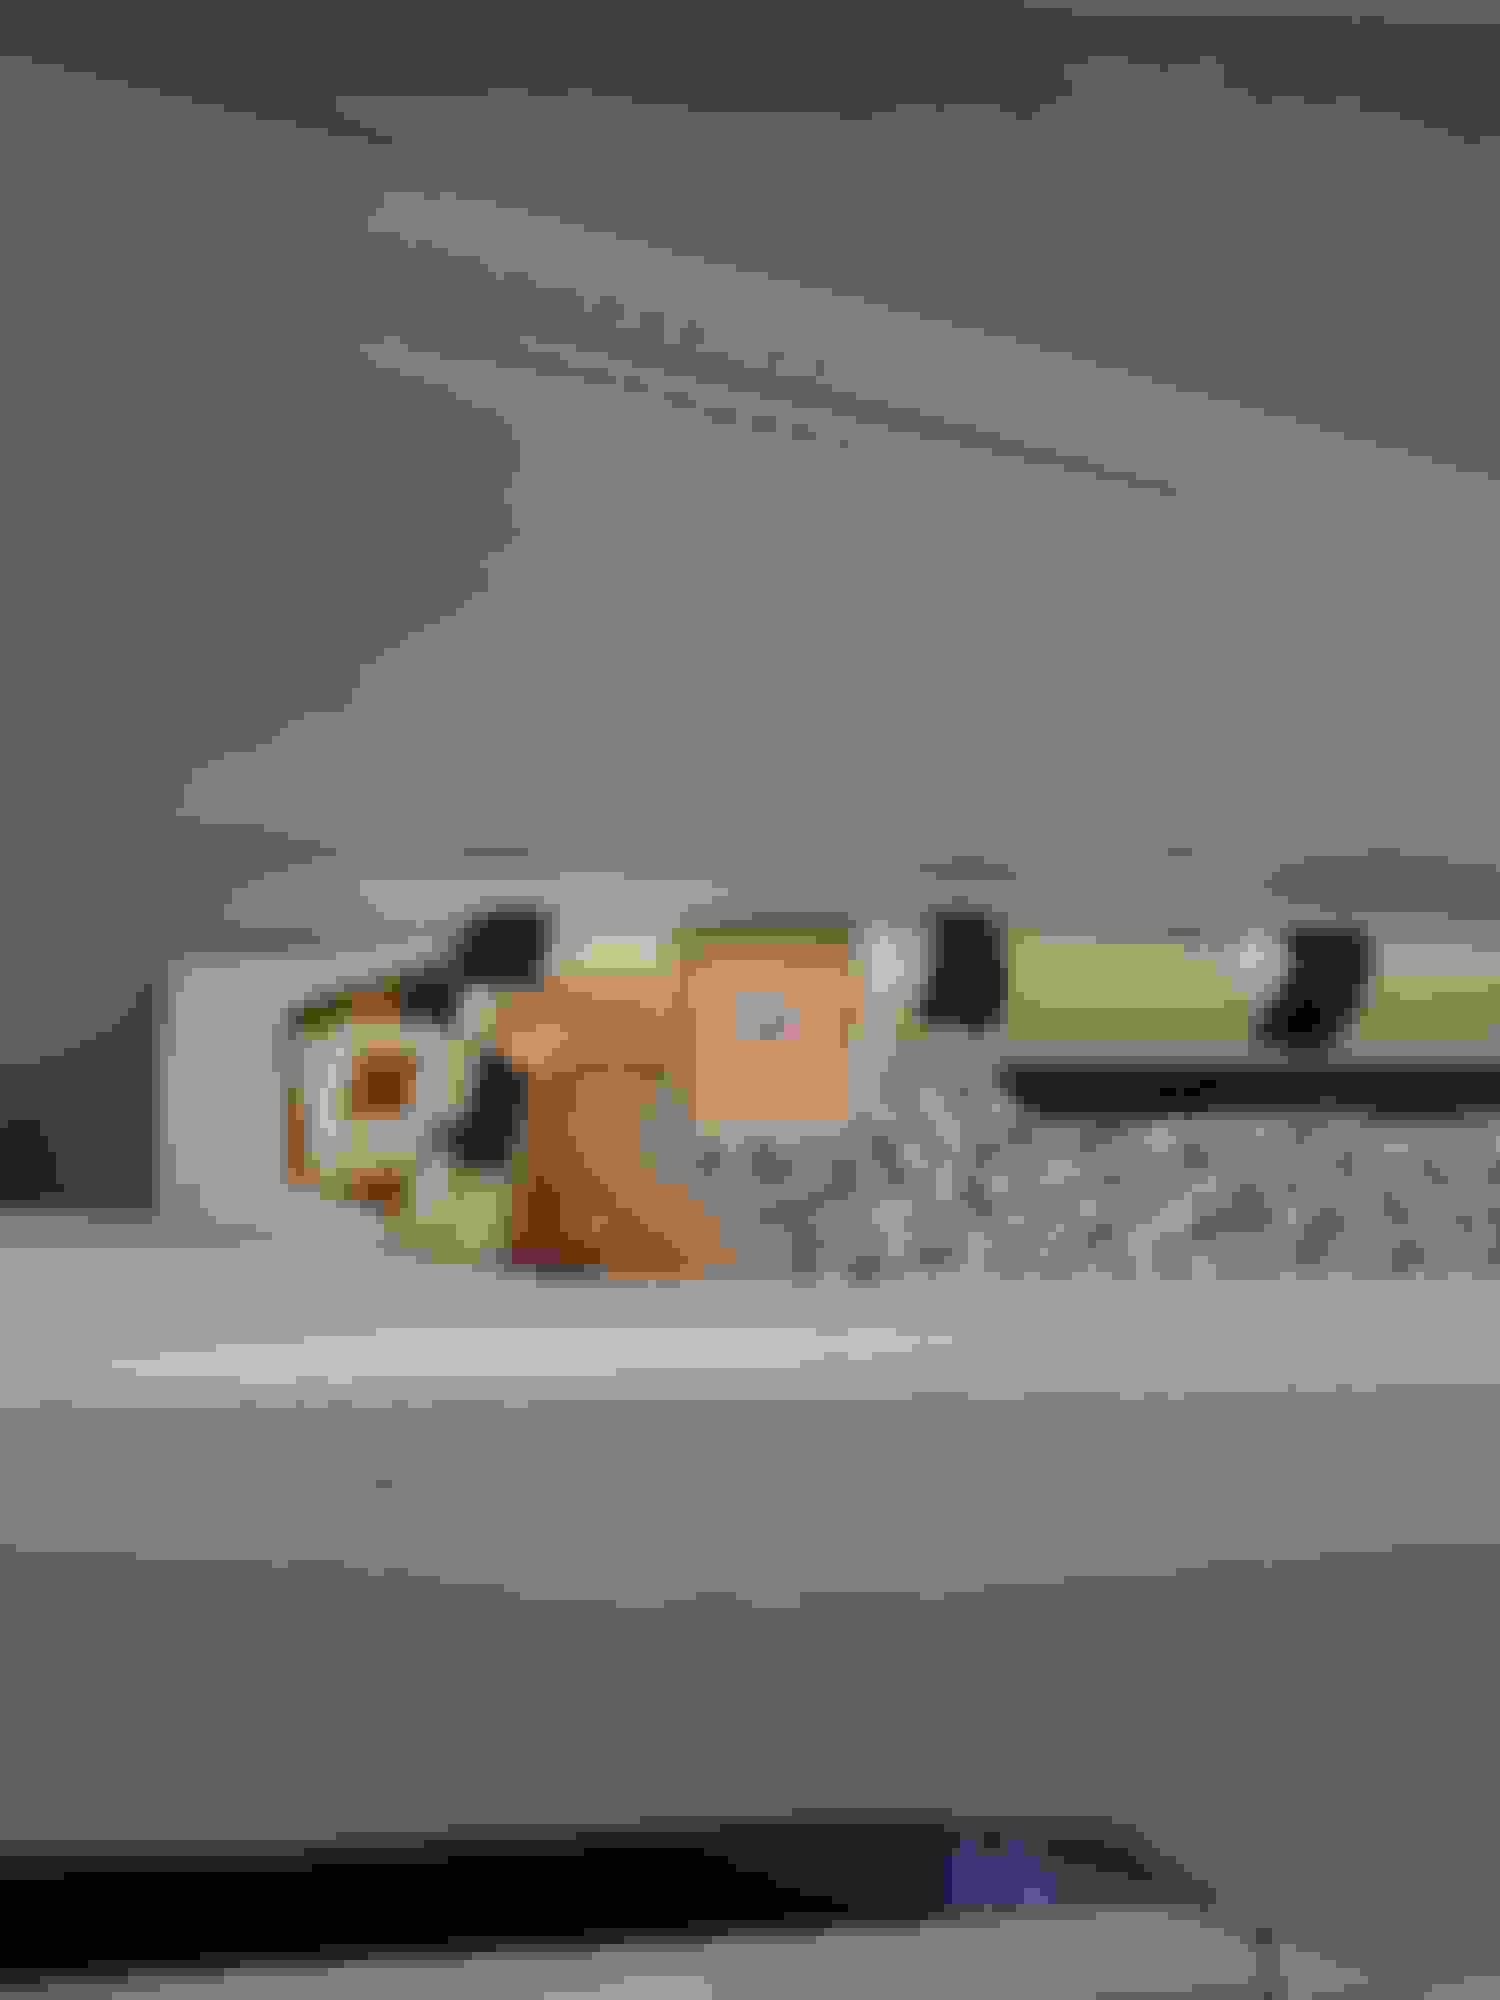
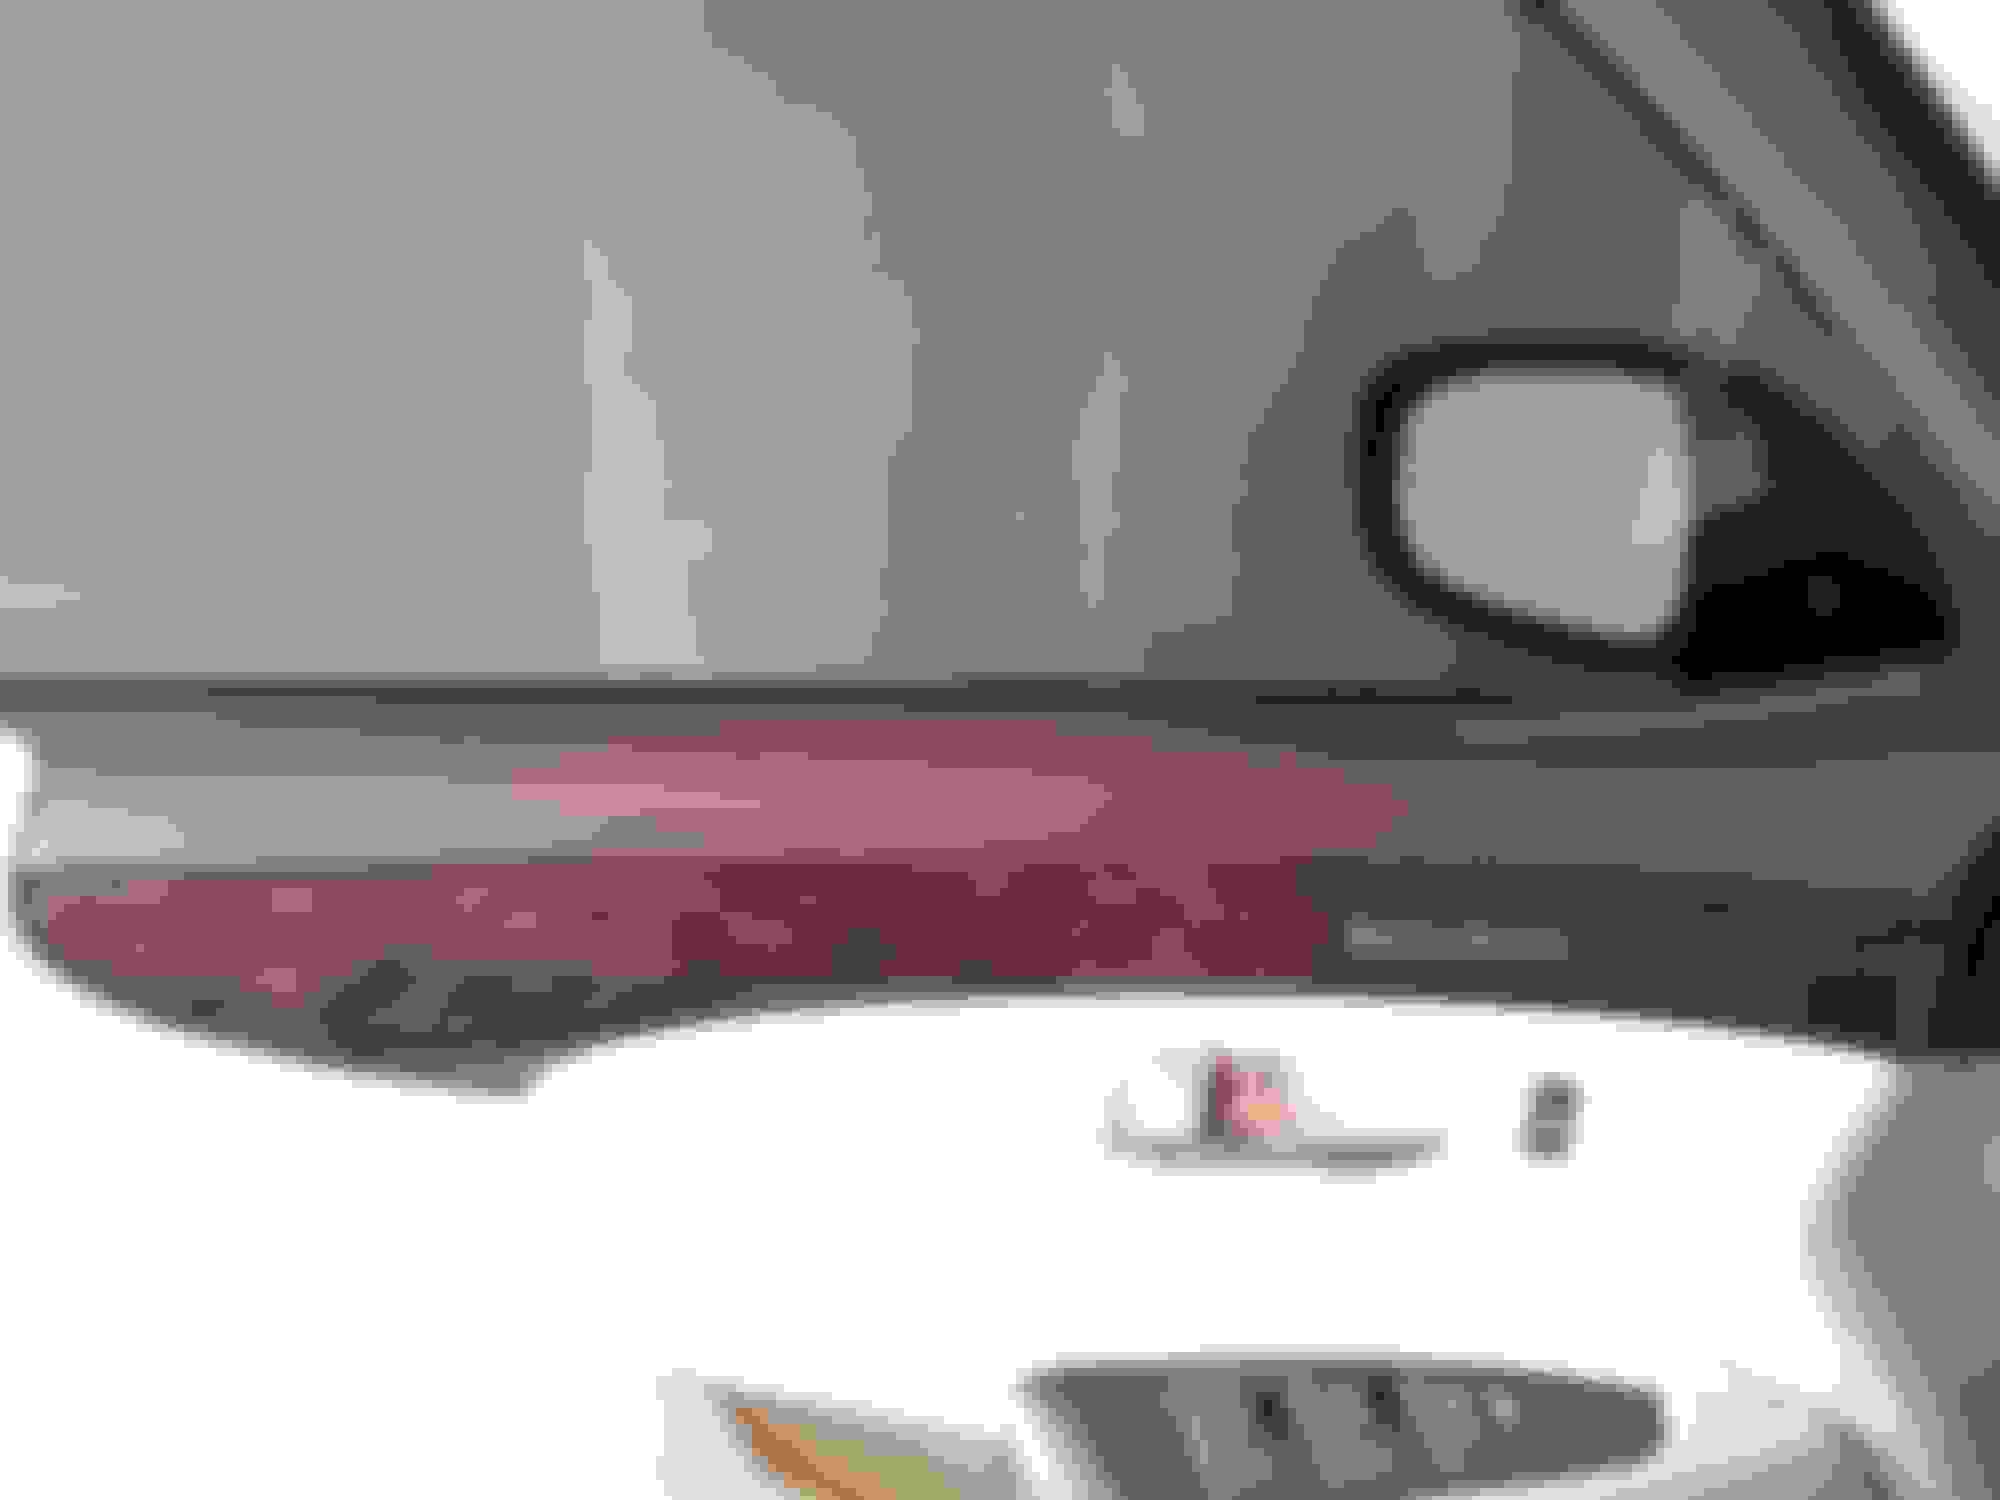
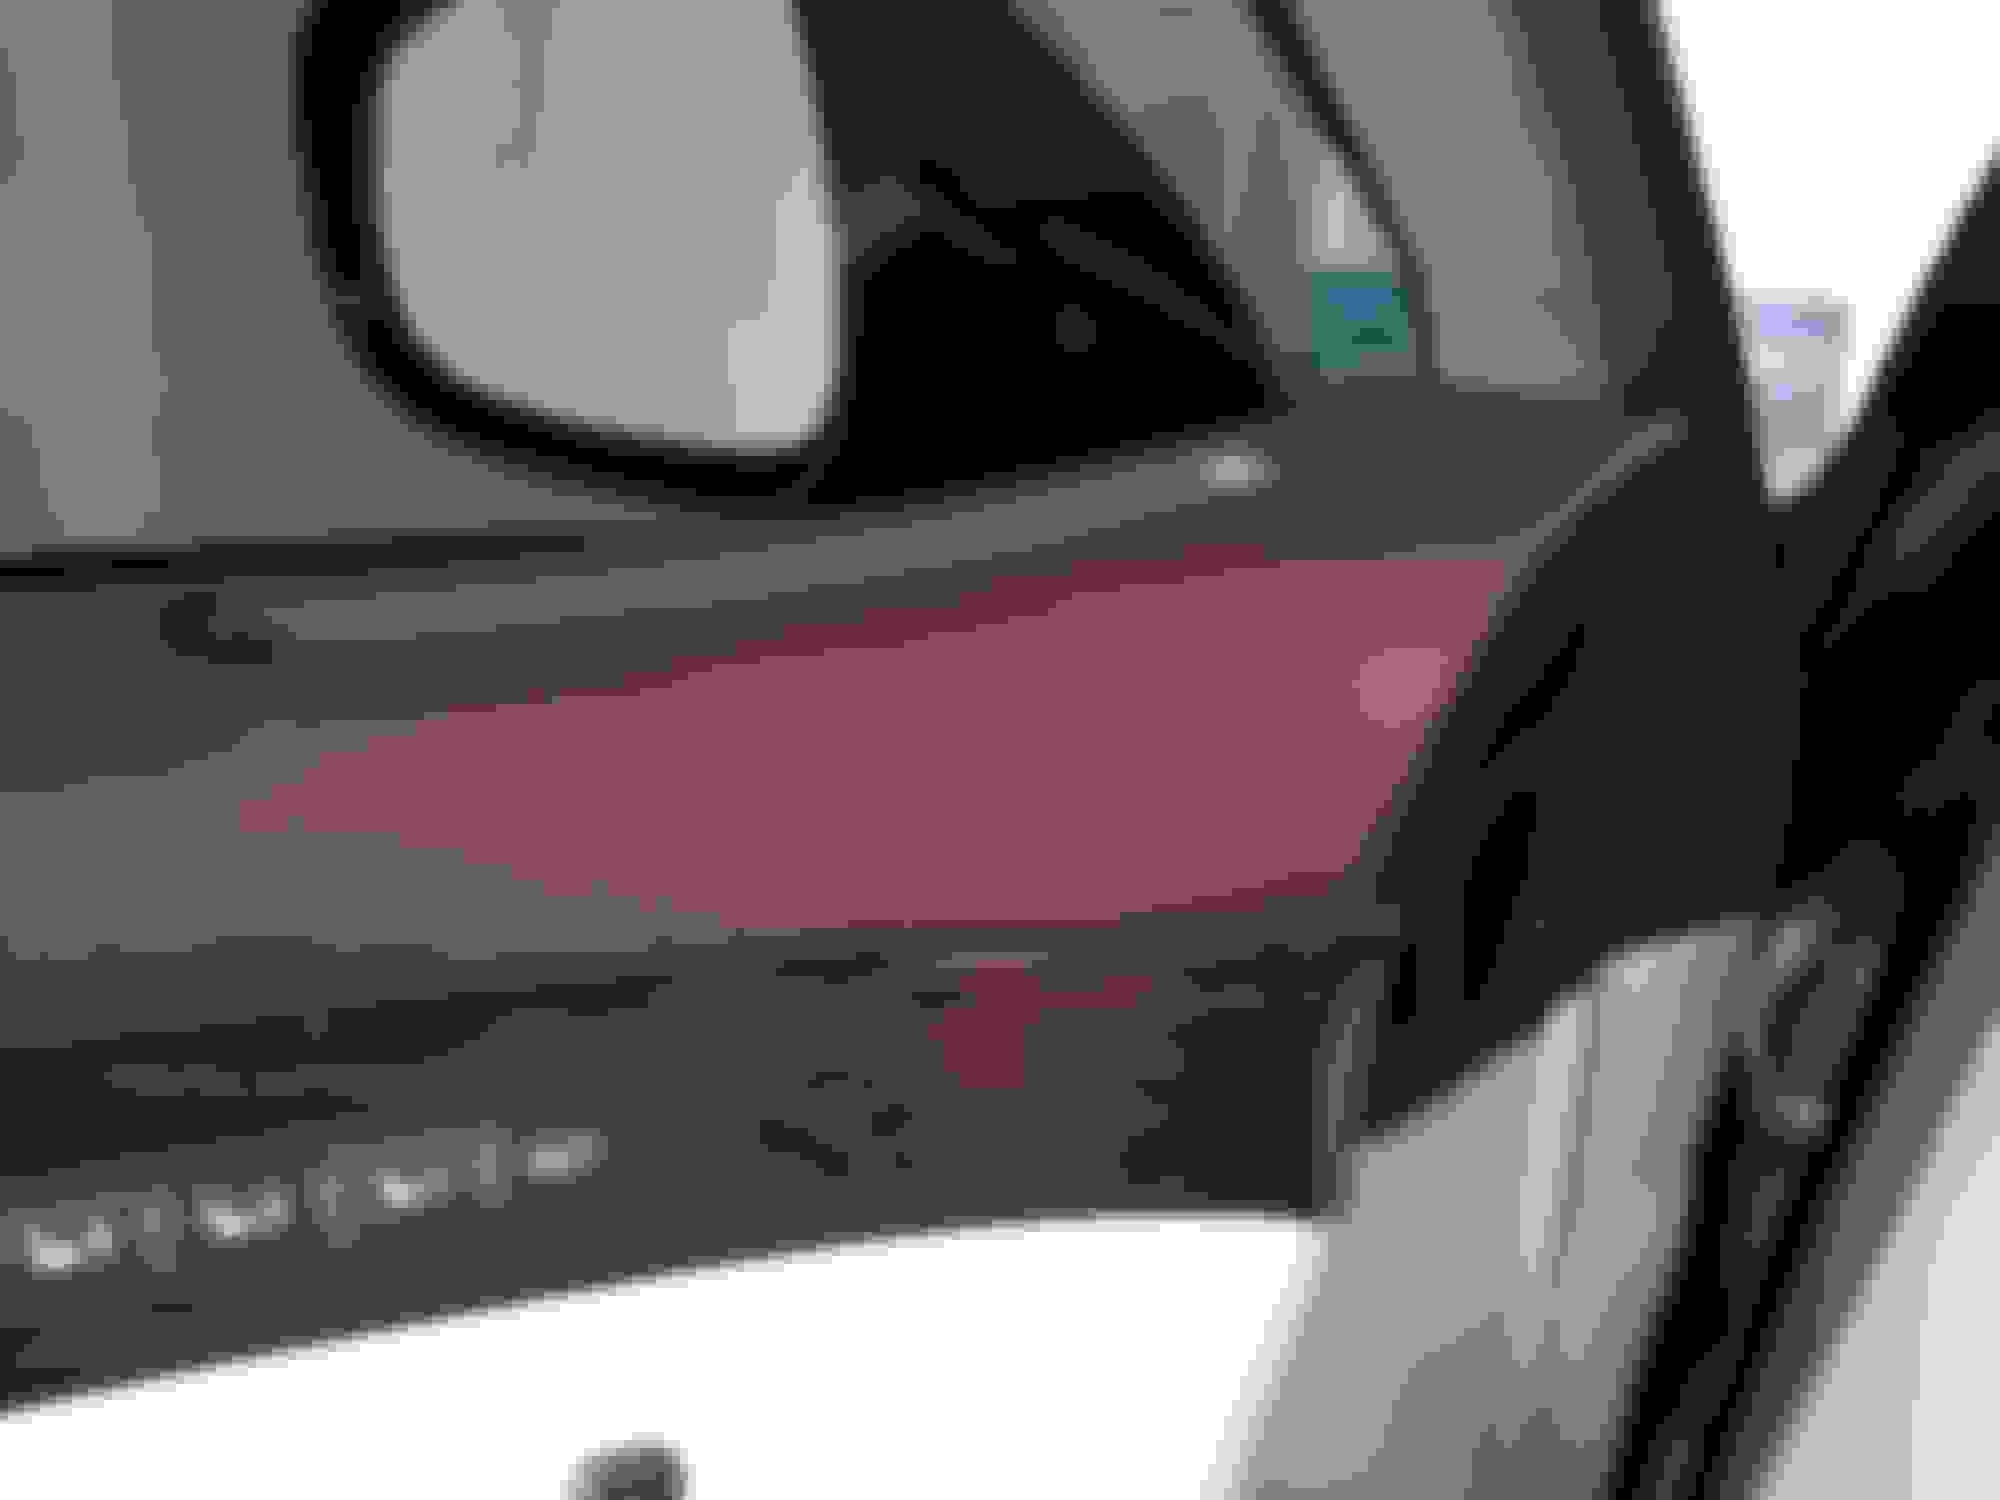
FRONT DOOR PANEL REMOVAL: Screw #1 of 3 Gently pry the rear part the plastic piece that hides this screw. You have to pry up and out the window/door lock control unit to get to screw #2 of 3. Screw #3 of 3 sits under the armrest in the door map pocket area. FINAL STEP REMOVAL, pry from the bottom to pop out the panel, and then disconnect the two cables for the door latch and the door locks. Unplug the wiring power harness to the windows switches, etc.. This is the stock sticky material and it's imperfections, which includes collecting finger prints. This is the front driver side door panel removed. Look closely at all the screws. The front (and rear) door panels are made up of multiple pieces with overlapping sections that are screwed together to make up the panel. To remove the vent piece that sits at the top.of the door panel close to your side view mirror, you will need to remove the air duct routing piece by removing a screw. You'll have to remove these vents to properly re-upholster the top section of the sticky door panel. There are multiple tabs to press to then push the vents out from the backside. Didn't take pics of the cutting of material, it's a chore. But here is the end product for the front door panel. 3 panels down, 1 to go!!!
Last edited by Ado460L; 05-17-20 at 07:38 PM.
Reason: Info Updated w/ Front
I need that done to my fronts. Took it to a shop last year and they refused to do it. Good work.
Interesting they wouldn't do it. Btw, this was just the rear doors, and the fronts are next up. I'll let you know how it goes with he fronts, but. It's a smaller piece (I have the LWB so rear doors are long), so hopefully it's a little easier.
Those looks excellent. Just out of curiosity did Lexus deny you the warranty replacement?
Thx man, it was a cool little DIY. YES, Lexus did deny me, as the car was out the window of the recall (I bought the car used). So I had to make a choice; do nothing, or move forward and take the initiative to handle the most problematic section myself. Since my young son was picking at it, I also didn't want him to be putting that nasty material in his mouth.
Nice job! Thanks for the instructions as I know it will help others take a leap of faith on their own abilities. Sometimes, it just take that ol America ingenuity and get it done ourselves.
Can’t wait to see all of the doors done and pics of your “new” car.
Ado460L,
Great work! Did you remove the old sticky material?
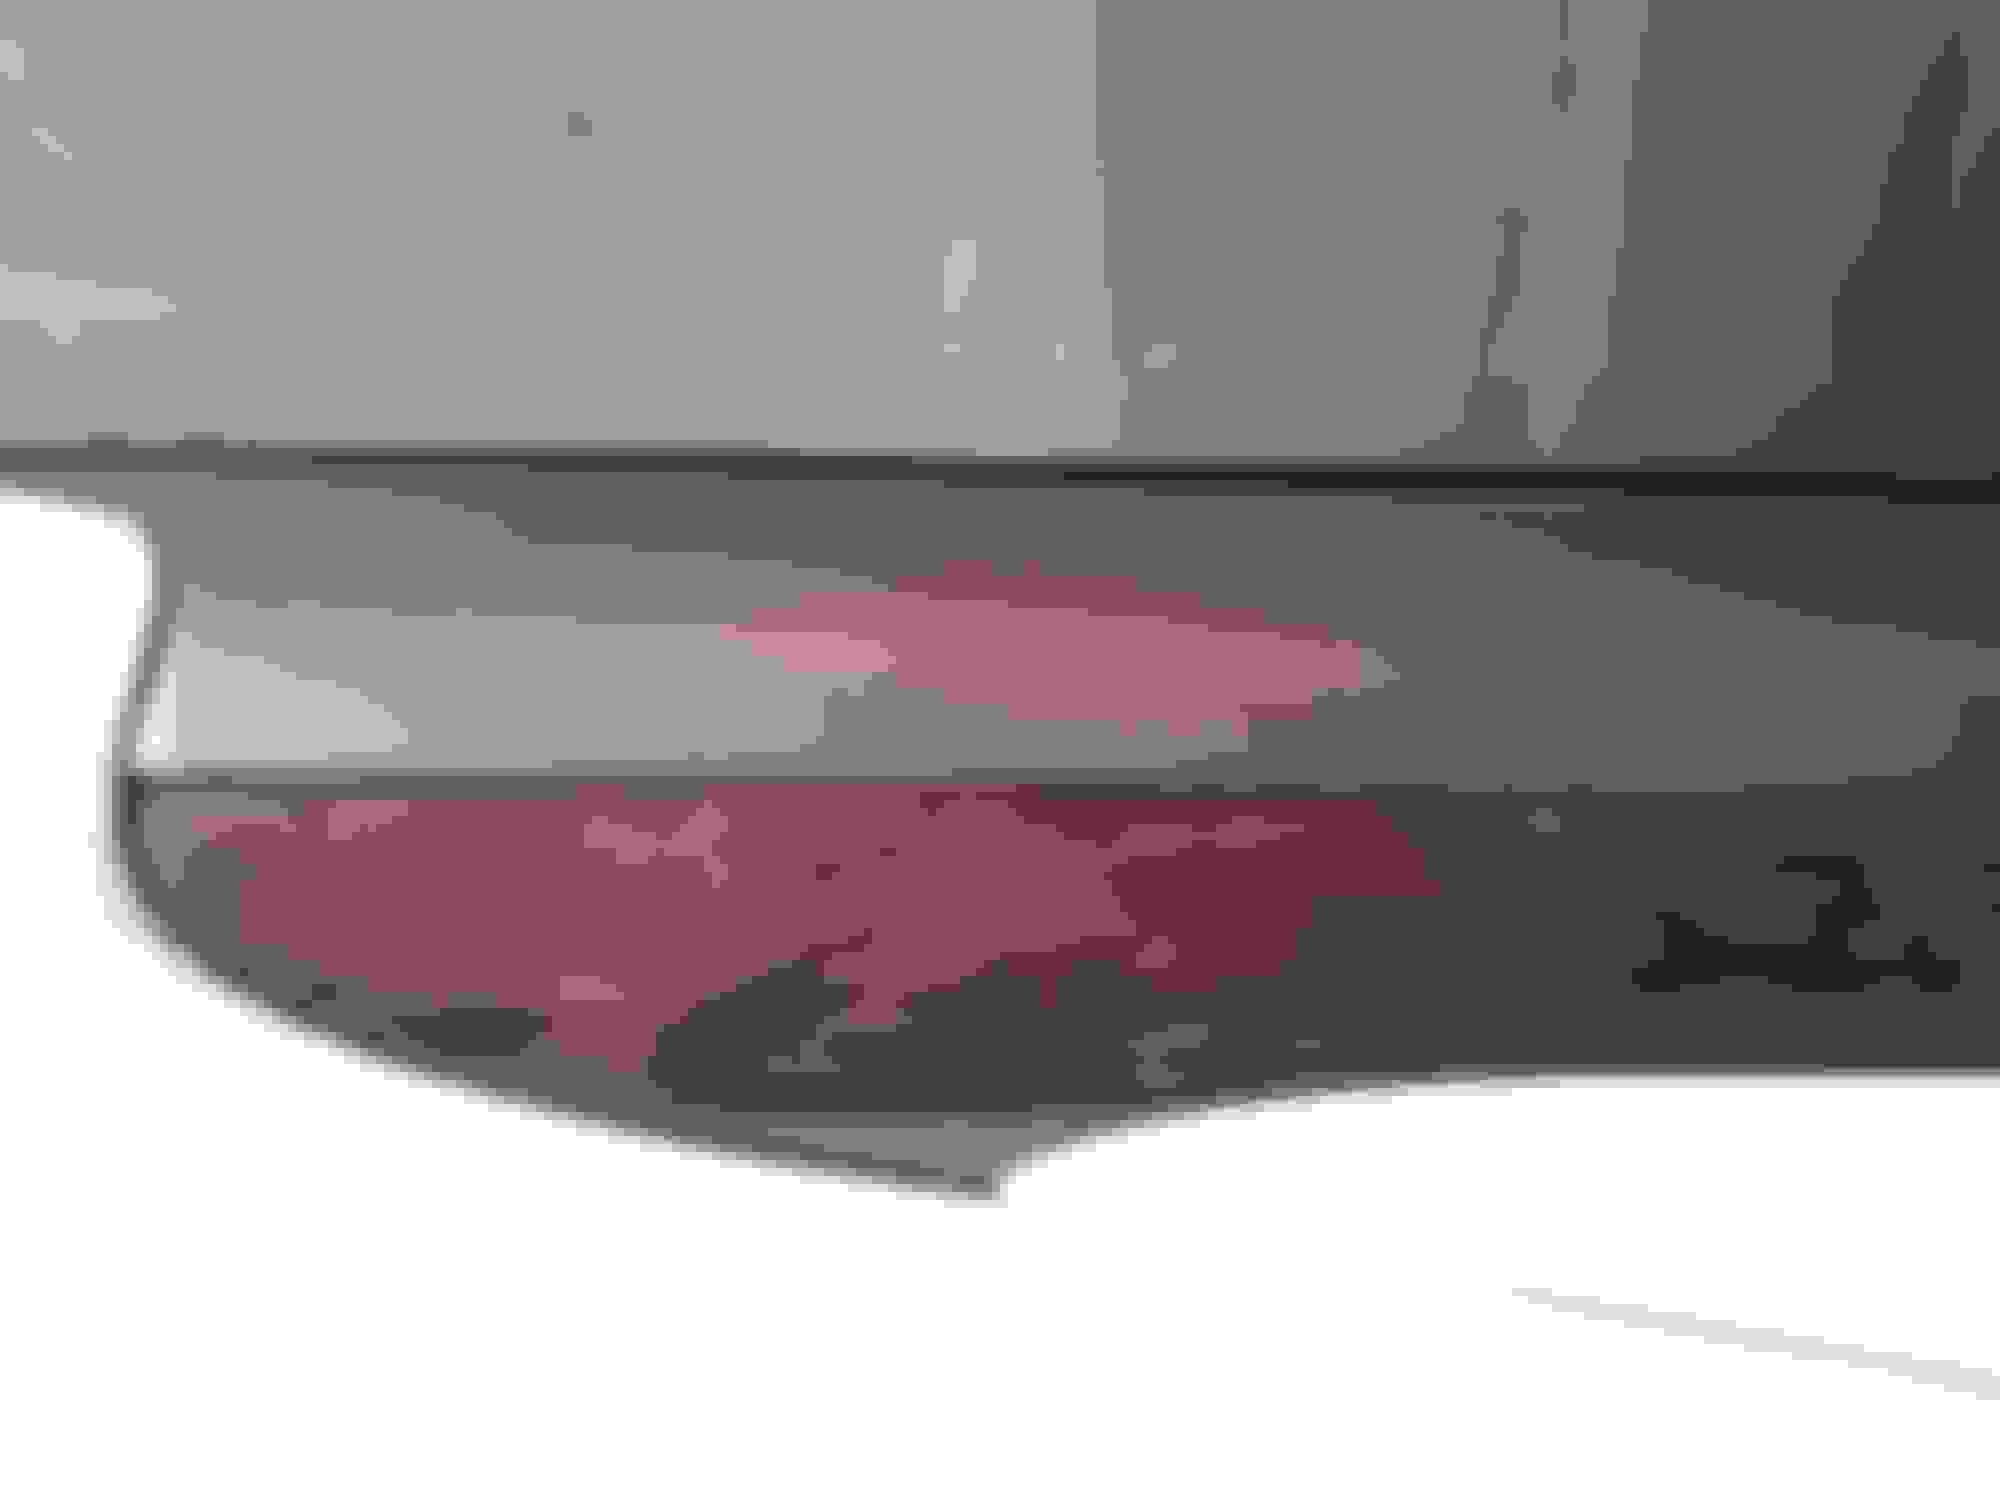
Thx bud. I did not remove the sticky material. I simply wiped it down clean. I also left it there since it provided the "from/shape". I used super glue to fill the divets my son made, but should have used something else like wood glue or even wall spackle to better fill the divets. Anyhow, there seems to be no issue with tolerances with the material on top of it. Everything still got reassembled with no tolerance issues.
That looks great! Gives me courage to try re-covering my A pillars.
Thank you. Yeah, I know we'd all love to see it. Asour our Gen is getting older, it just makes sense for me to try dome DIY things now, cause between the Air Suspension struts (already replaced one myself), the front control arms (replaced both side uppers), and the melting panels/dash, this is like a money pit if you have to out of pocket for OEM stuff or pay the dealer to do it. I'm just at a point where I'm willing to give it a shot. Thanks for the encouragement all. I'll post pics with the panels back in the car. It's one of my two personal cars, so sometimes it sits in the garage for a while.
 05-03-20, 12:33 PM