When you click on links to various merchants on this site and make a purchase, this can result in this site earning a commission. Affiliate programs and affiliations include, but are not limited to, the eBay Partner Network.
The diff fluid is not supposed to be under pressure even when it reaches the operating temperature. Make sure that the breather is working properly. If you do not fix the issue, the pressure will eventually push out oil seals.
Sha4000 Nice work replacing the pins. On mine the wires are exposed a few inches, they look ok. It's still very possible one has a break in it. I should get out there and ohm them out lol. I do plan on returning the ecu if it's not the problem. Is it pretty easy to access once the glovebox is out? It sounds like your wire issue was causing all of the actuators not to function like mine, is that true?
I hit the ride height button while watching techstream. All of my airbags seem to be holding too. The 4 corners all increased an inch or so and came back down when selected.
Once the glove box is off the ECU is in plain sight. You remove 2 connectors and that's it. I'm still waiting on the replacement terminals. All my shocks are holding air so no problem there. I changed it the front 2 shocks today and will take it for a test drive tomorrow to see if they improve my road feel over bumps. This old shocks looks good and there were no leaks in the air bag or the shock. I must have disturbed my temp fix on the actuator because my C1731 was back after reinstalling everything. I also changed my rear brakes as well as installed the OEM shim kit and anti rattle springs since I had some power stop pads thati got in closeout from rockAuto on 2019. I want to see if that solves my brake click at slow speeds. I was looking at my rear shocks in anticipation of changing them out when the weather gets warm if I see a noticeable improvement with the new fronts.
The diff fluid is not supposed to be under pressure even when it reaches the operating temperature. Make sure that the breather is working properly. If you do not fix the issue, the pressure will eventually push out oil seals.
I think the real problem was I pulled the drain plug before the fill. It seemed like it had a psi or two behind it but who knows. The rear diff definitely made a hiss when I pulled the fill plug, maybe that system is sealed?
Once the glove box is off the ECU is in plain sight. You remove 2 connectors and that's it. I'm still waiting on the replacement terminals. All my shocks are holding air so no problem there. I changed it the front 2 shocks today and will take it for a test drive tomorrow to see if they improve my road feel over bumps. This old shocks looks good and there were no leaks in the air bag or the shock. I must have disturbed my temp fix on the actuator because my C1731 was back after reinstalling everything. I also changed my rear brakes as well as installed the OEM shim kit and anti rattle springs since I had some power stop pads thati got in closeout from rockAuto on 2019. I want to see if that solves my brake click at slow speeds. I was looking at my rear shocks in anticipation of changing them out when the weather gets warm if I see a noticeable improvement with the new fronts.
Thanks that info will come in handy in a day or two. I ordered a set of those amazon pin extractors incase I need them. Sounds like you have a bit more wrenching to do too. The standard shocks on our 460 were not too hard to replace. Hopefully the air struts are just as easy for you.. The amount of stuff in the way on the 600 makes it look more difficult. Hopefully I don't need to mess with those anytime soon.
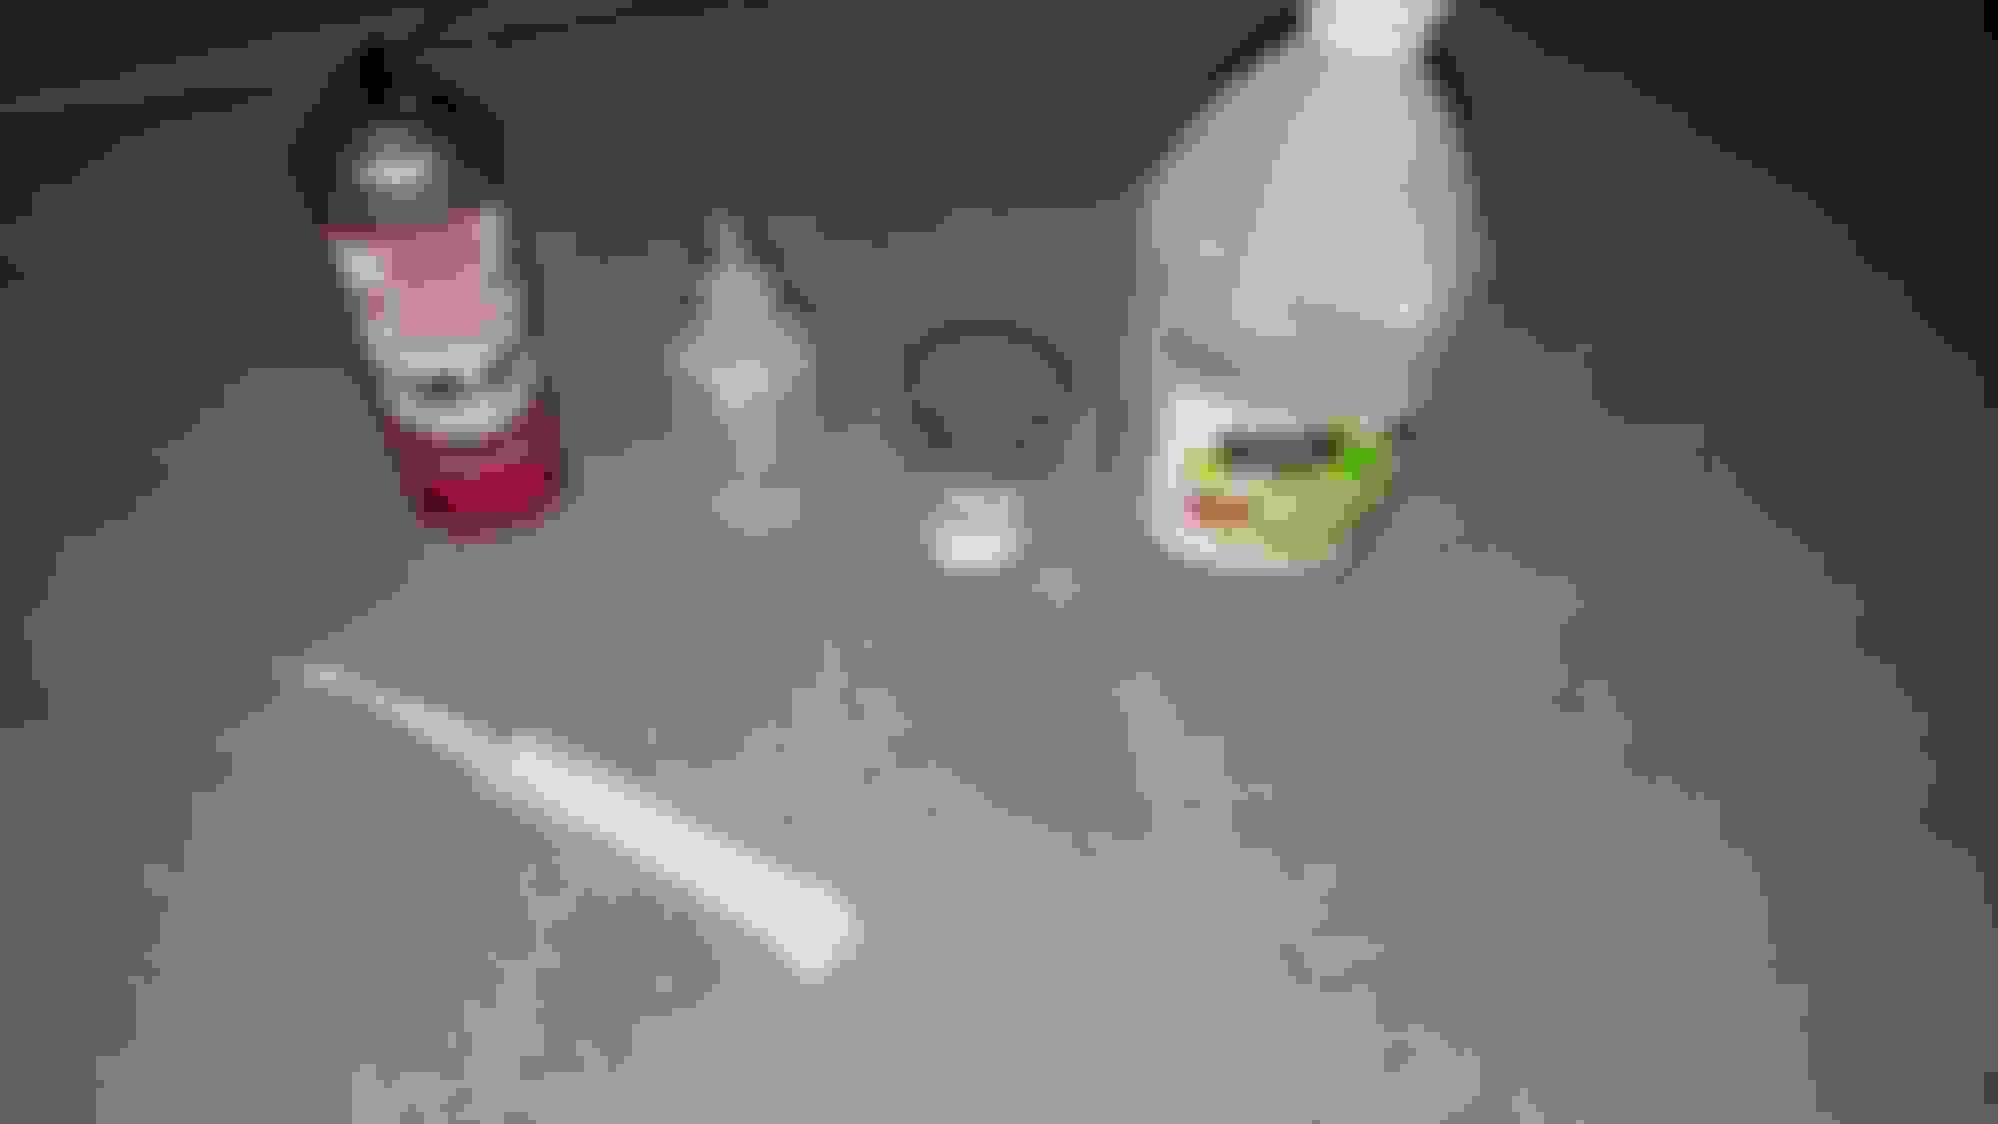
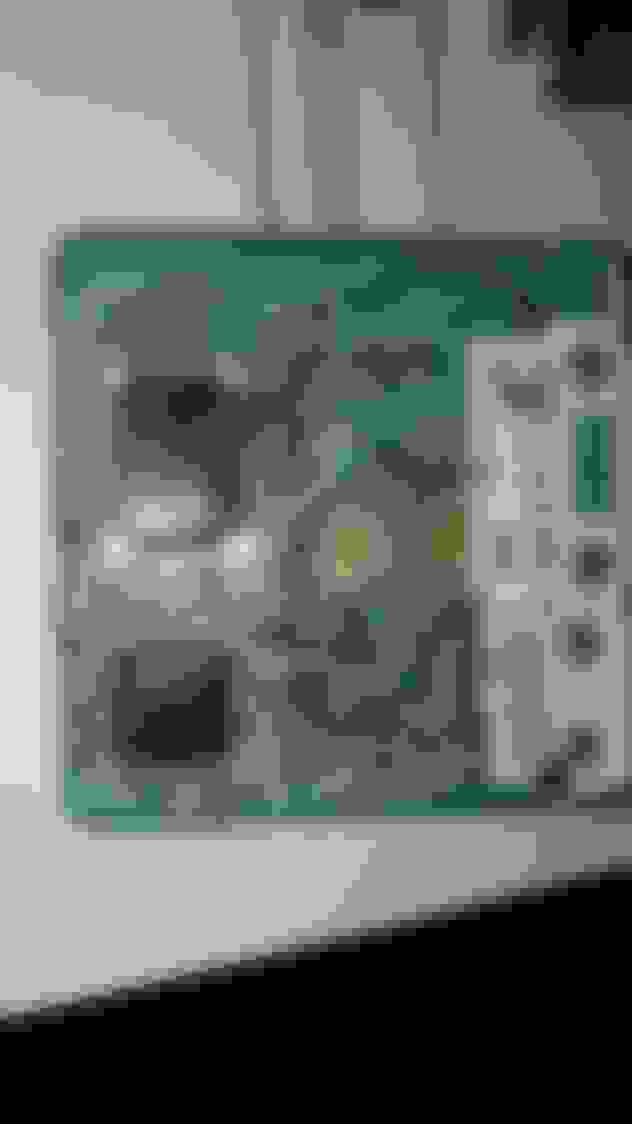
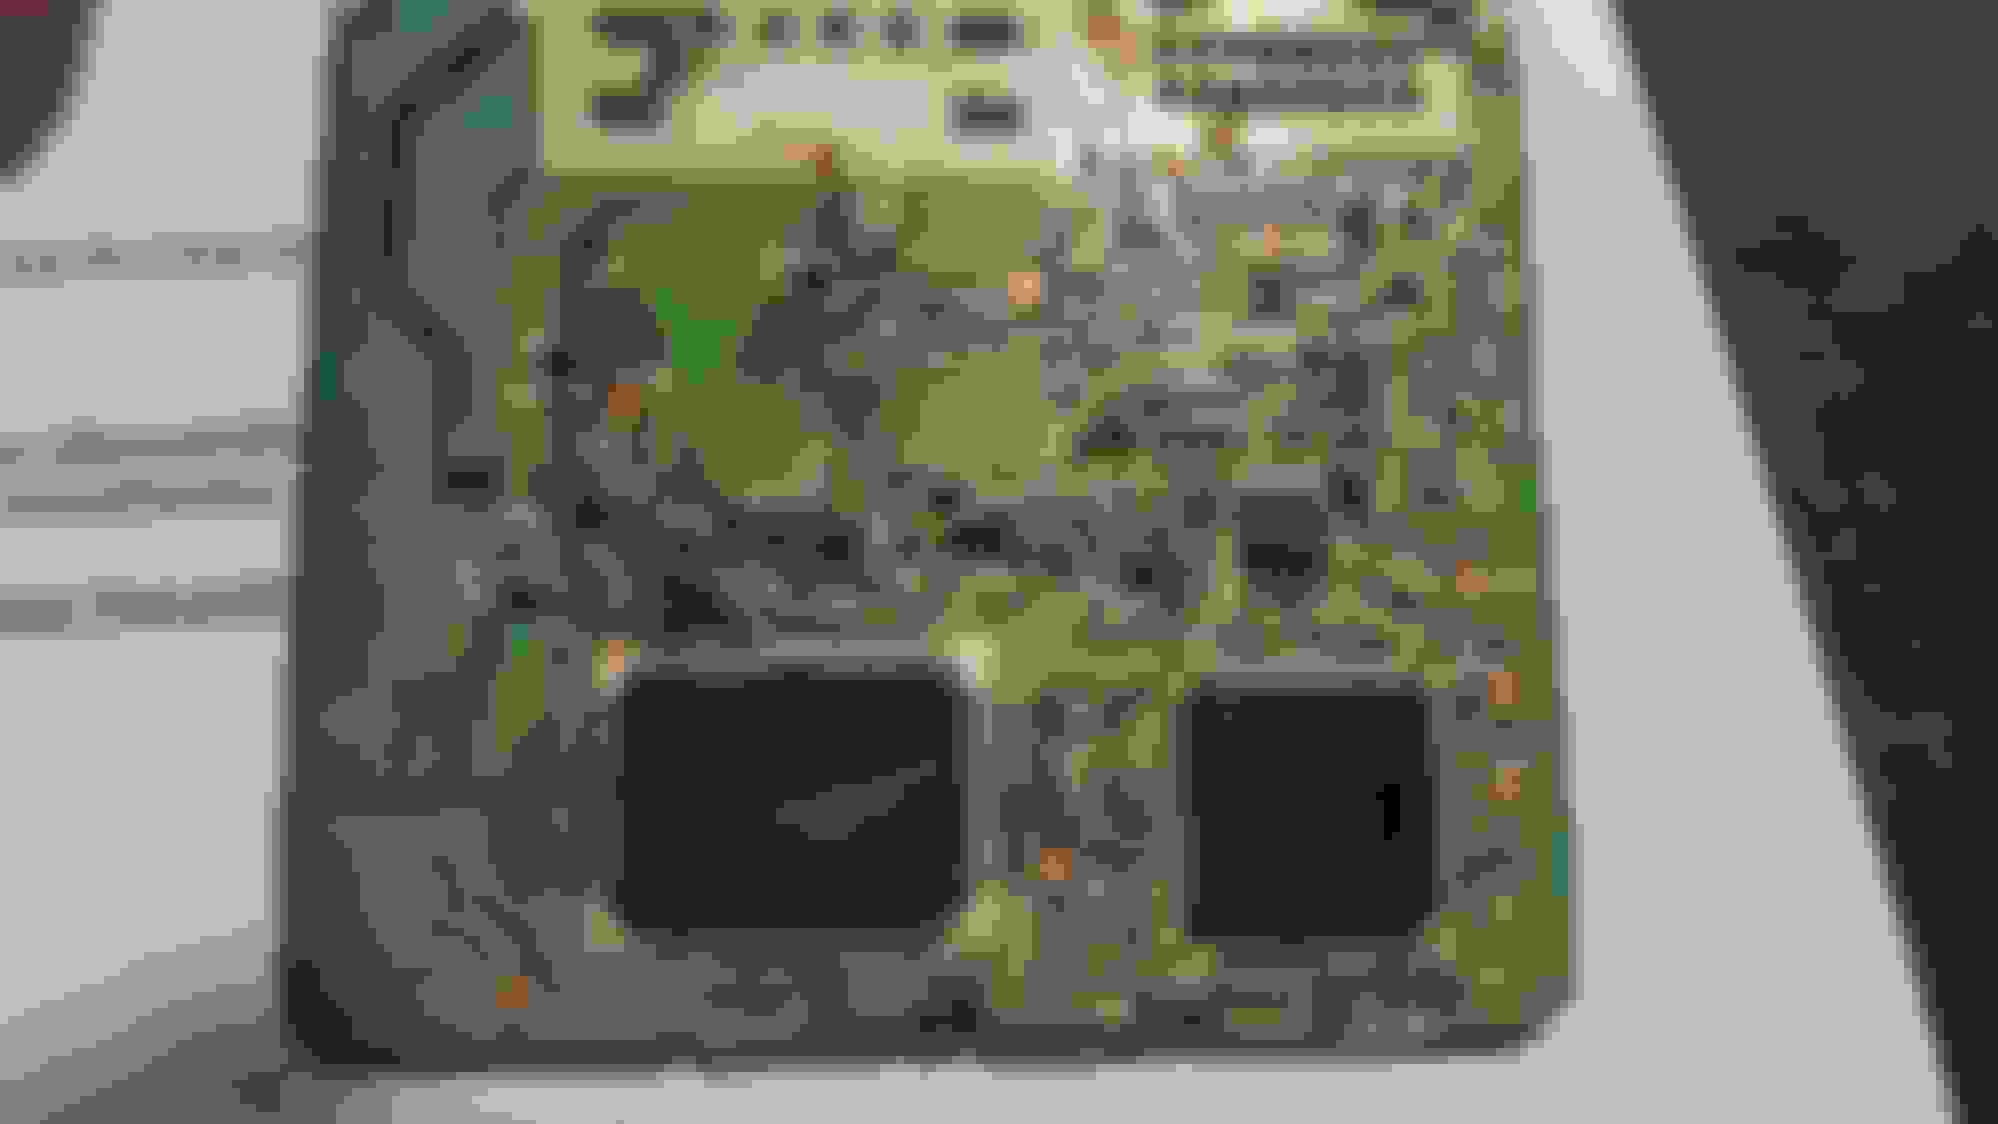
I've never been so happy to see corrosion. The parking brake module is definitely toast. I ordered the pin extractors a few posts up. They haven't arrived yet so I did the best with what I had available. Vinegar, baking soda, and contact cleaner to blast it clean.
The two smaller pins have really small wires. I may need to depin them and check if the wires are intact. The corrosion in the connector wasn't nearly as bad as the module. I'm hoping for the best atm. When I reassemble everything I plan on covering both modules to reduce the chance of water intrusion.
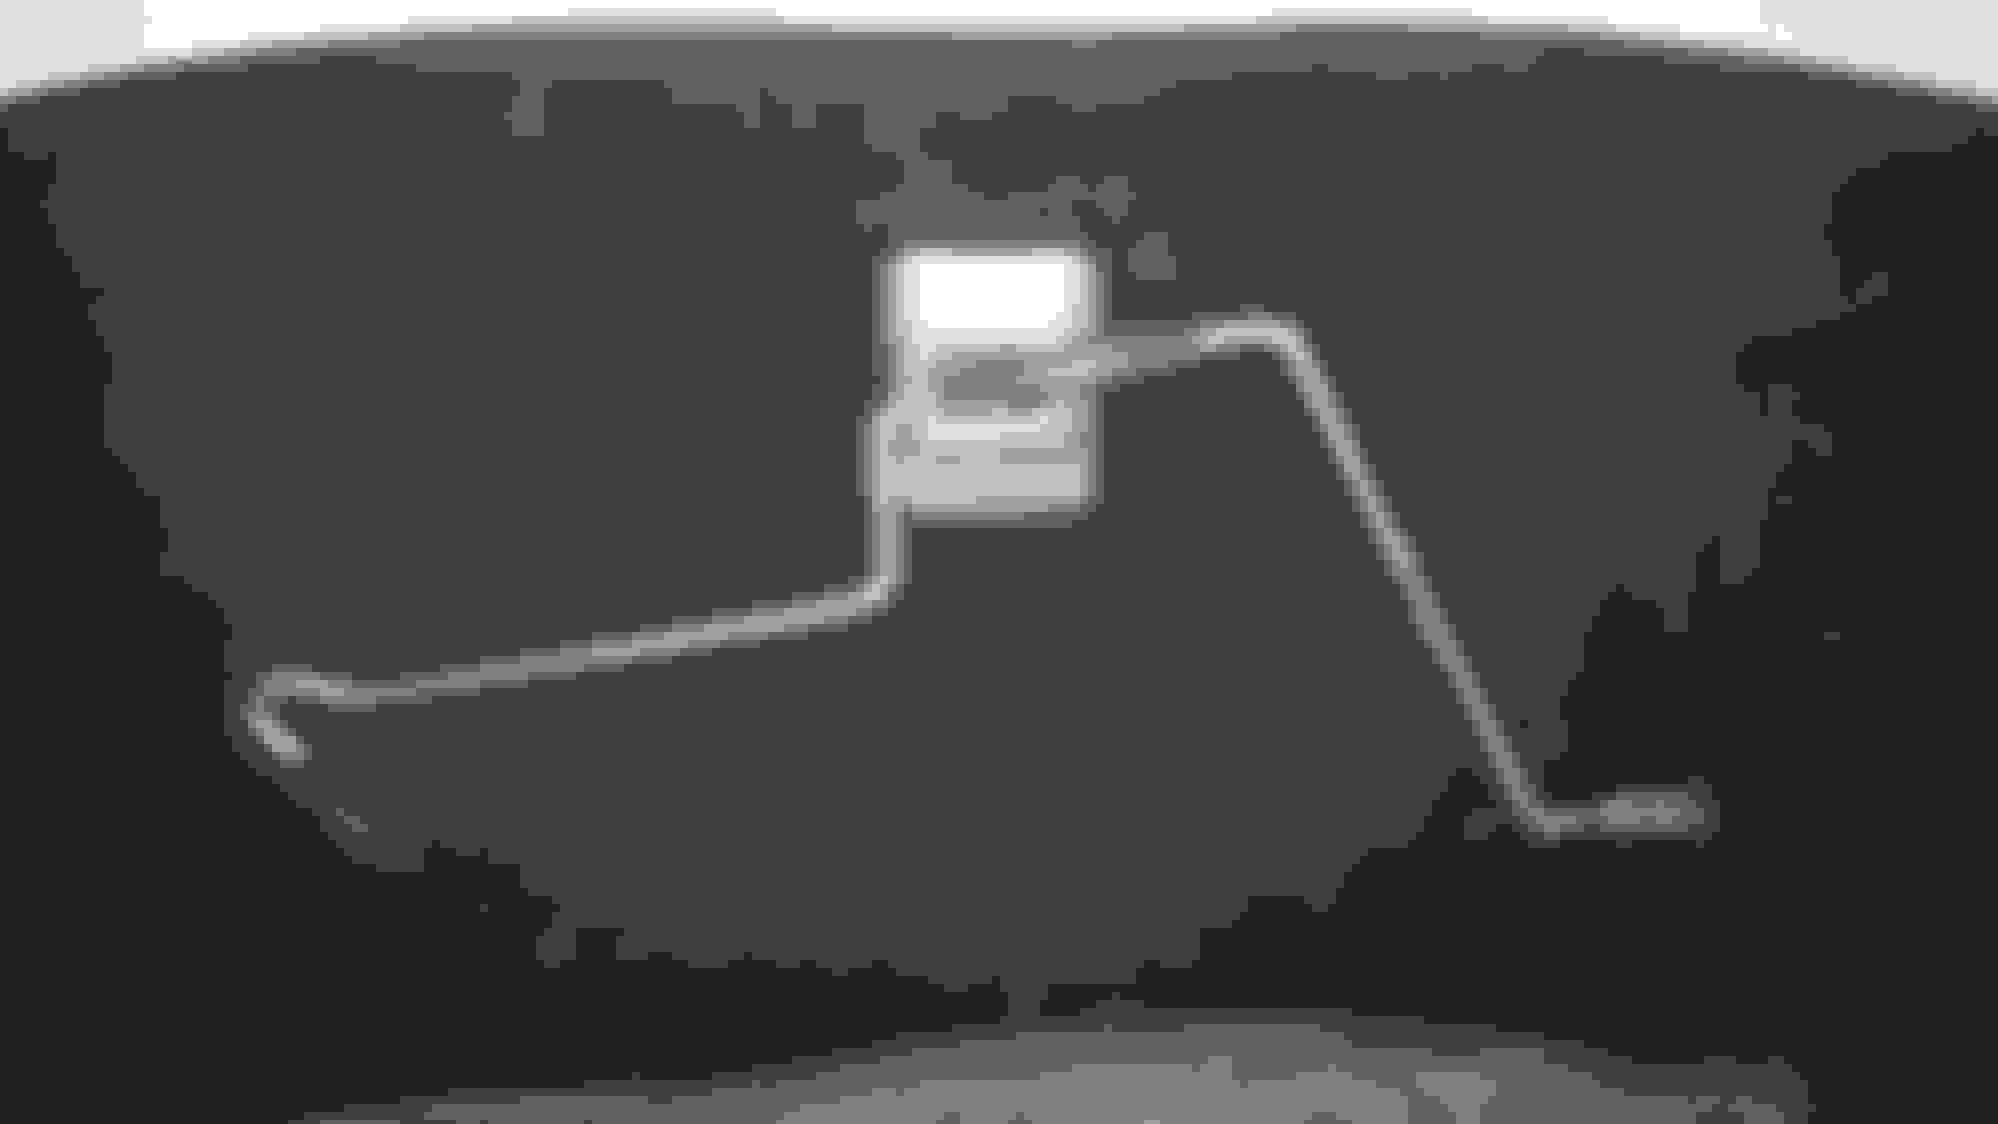
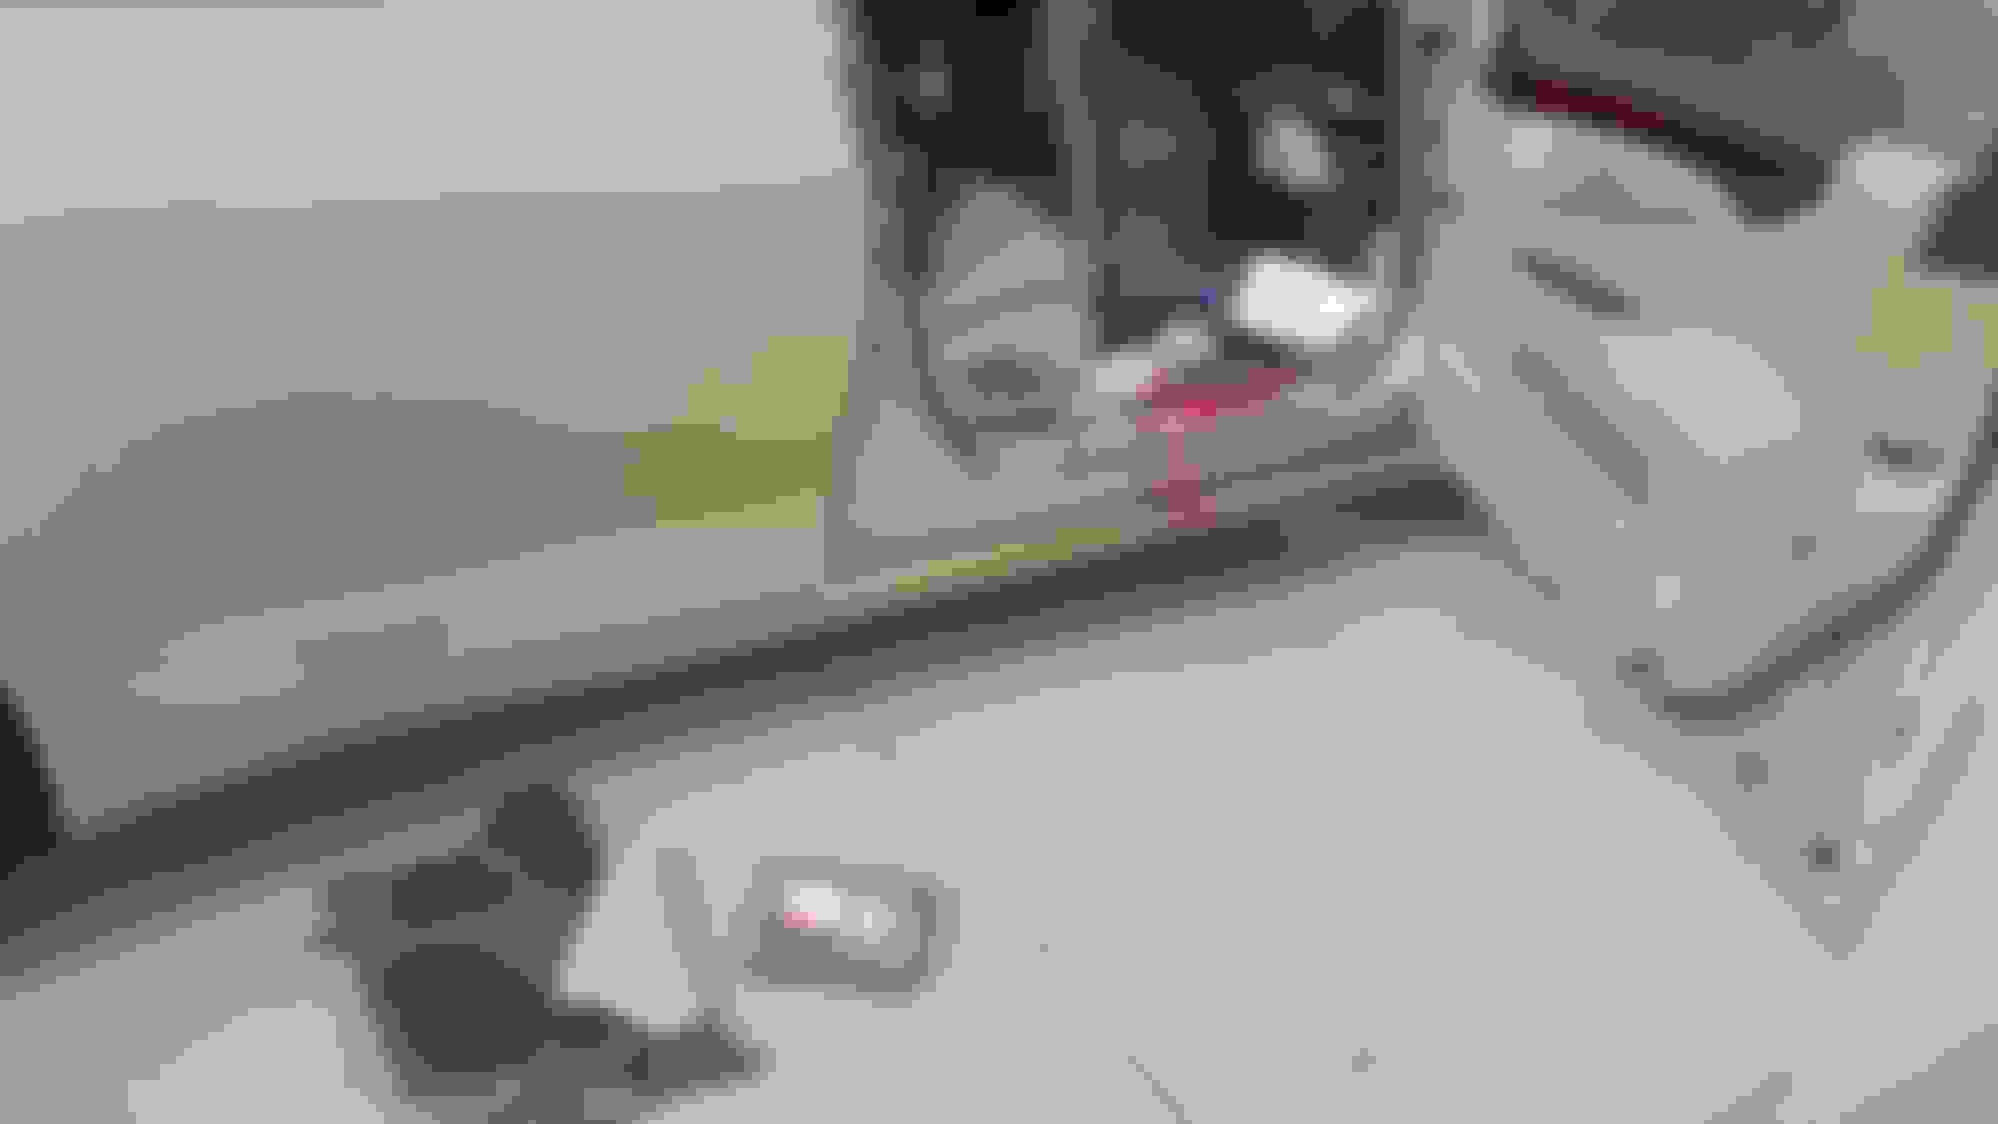
Oh, if it isn't clear from the pictures. The module is very easy to access. I'm not sure why the manual has 20 steps to remove it. The parking brake module is directly under the seat belt module.
Stuffed with baking soda. Then used an electric toothbrush with vinegar to scrub the pins clean. I used a few screw drivers and a tiny file too. I'm still trying to figure out where this thing mounts / sits. Maybe it's bent out of shape?
I think the real problem was I pulled the drain plug before the fill. It seemed like it had a psi or two behind it but who knows. The rear diff definitely made a hiss when I pulled the fill plug, maybe that system is sealed?
No, both diffs have breathers. It is up to you to clean it. I found a thread for rear diff breather cleaning (see below).
I've never been so happy to see corrosion. The parking brake module is definitely toast. I ordered the pin extractors a few posts up. They haven't arrived yet so I did the best with what I had available. Vinegar, baking soda, and contact cleaner to blast it clean.
The two smaller pins have really small wires. I may need to depin them and check if the wires are intact. The corrosion in the connector wasn't nearly as bad as the module. I'm hoping for the best atm. When I reassemble everything I plan on covering both modules to reduce the chance of water intrusion.
Oh, if it isn't clear from the pictures. The module is very easy to access. I'm not sure why the manual has 20 steps to remove it. The parking brake module is directly under the seat belt module.
Stuffed with baking soda. Then used an electric toothbrush with vinegar to scrub the pins clean. I used a few screw drivers and a tiny file too. I'm still trying to figure out where this thing mounts / sits. Maybe it's bent out of shape?
That's a lot of corrosion on the pins I would definitely de-pin the terminals and clean then up as I'm sure that it goes all the way back to where the crimp is on the connector. You MUST address where the water is coming from as I'm sure you will. It's either the trunk seal, sunroof drain or the flap that's behind the rear bumper which you can access under the the floor panel where the ML amp sits.
Thanks for the breather info. The way it is designed it does seem normal for it to retain a slight vacuum or a little pressure. It sure looks easy to access with the differentials removed lol.
Parking brake module...
I just noticed water marks on the mounting bracket. At least I have some direction now. The center of the drip channel where the rear window meets the trunk seems loose. My 460 is only loose on the edges the center is adhered reasonably well. I suspect that is where the water is entering. It looks like it can be pulled off and resealed. Either way I do plan on redirecting the flow away from the opening of the module to prevent it from happening again.
Shout out to sha4000! You were right the wires were damaged at the damper control on top of the strut. I ohmed them out. Every single wire was showing an open circuit. I also ohmed the wires out on the front right to verify the schematics were correct. Front right was spot on.
What I found interesting is all of the wires visually looked fine. I confirmed a few opens were located near the plug and decided to chop it off. It seems the wire gauge is a bit too small for this application. Or perhaps the sharp bends the wires make inside the strut cap are to blame.
Removing the pins was a bit tricky. I drilled a few 1/16" holes in the connector which helped me see the latch holding one of the pins. Once I understood how to remove the pins I was able to make a pin extractor. The rest of the pins were easy to remove. Luckily the plug and pins were all intact after my semi hack job. (my pin extractors from amazon arrived a few hours after everything was reassembled, go figure)
Soldering the pins onto the existing harness in the car probably would have been a cleaner fix. However trying to get a decent solder joint for each pin without dropping something into the engine bay wasn't a task I wanted to try. I reassembled the plug with some spare trailer wire I had laying around. Slightly overkill but It gets the job done. On top of the white heat shrink insulation I also wrapped each joint in electrical tape. I highly doubt there will be any wire issues at the connector anymore
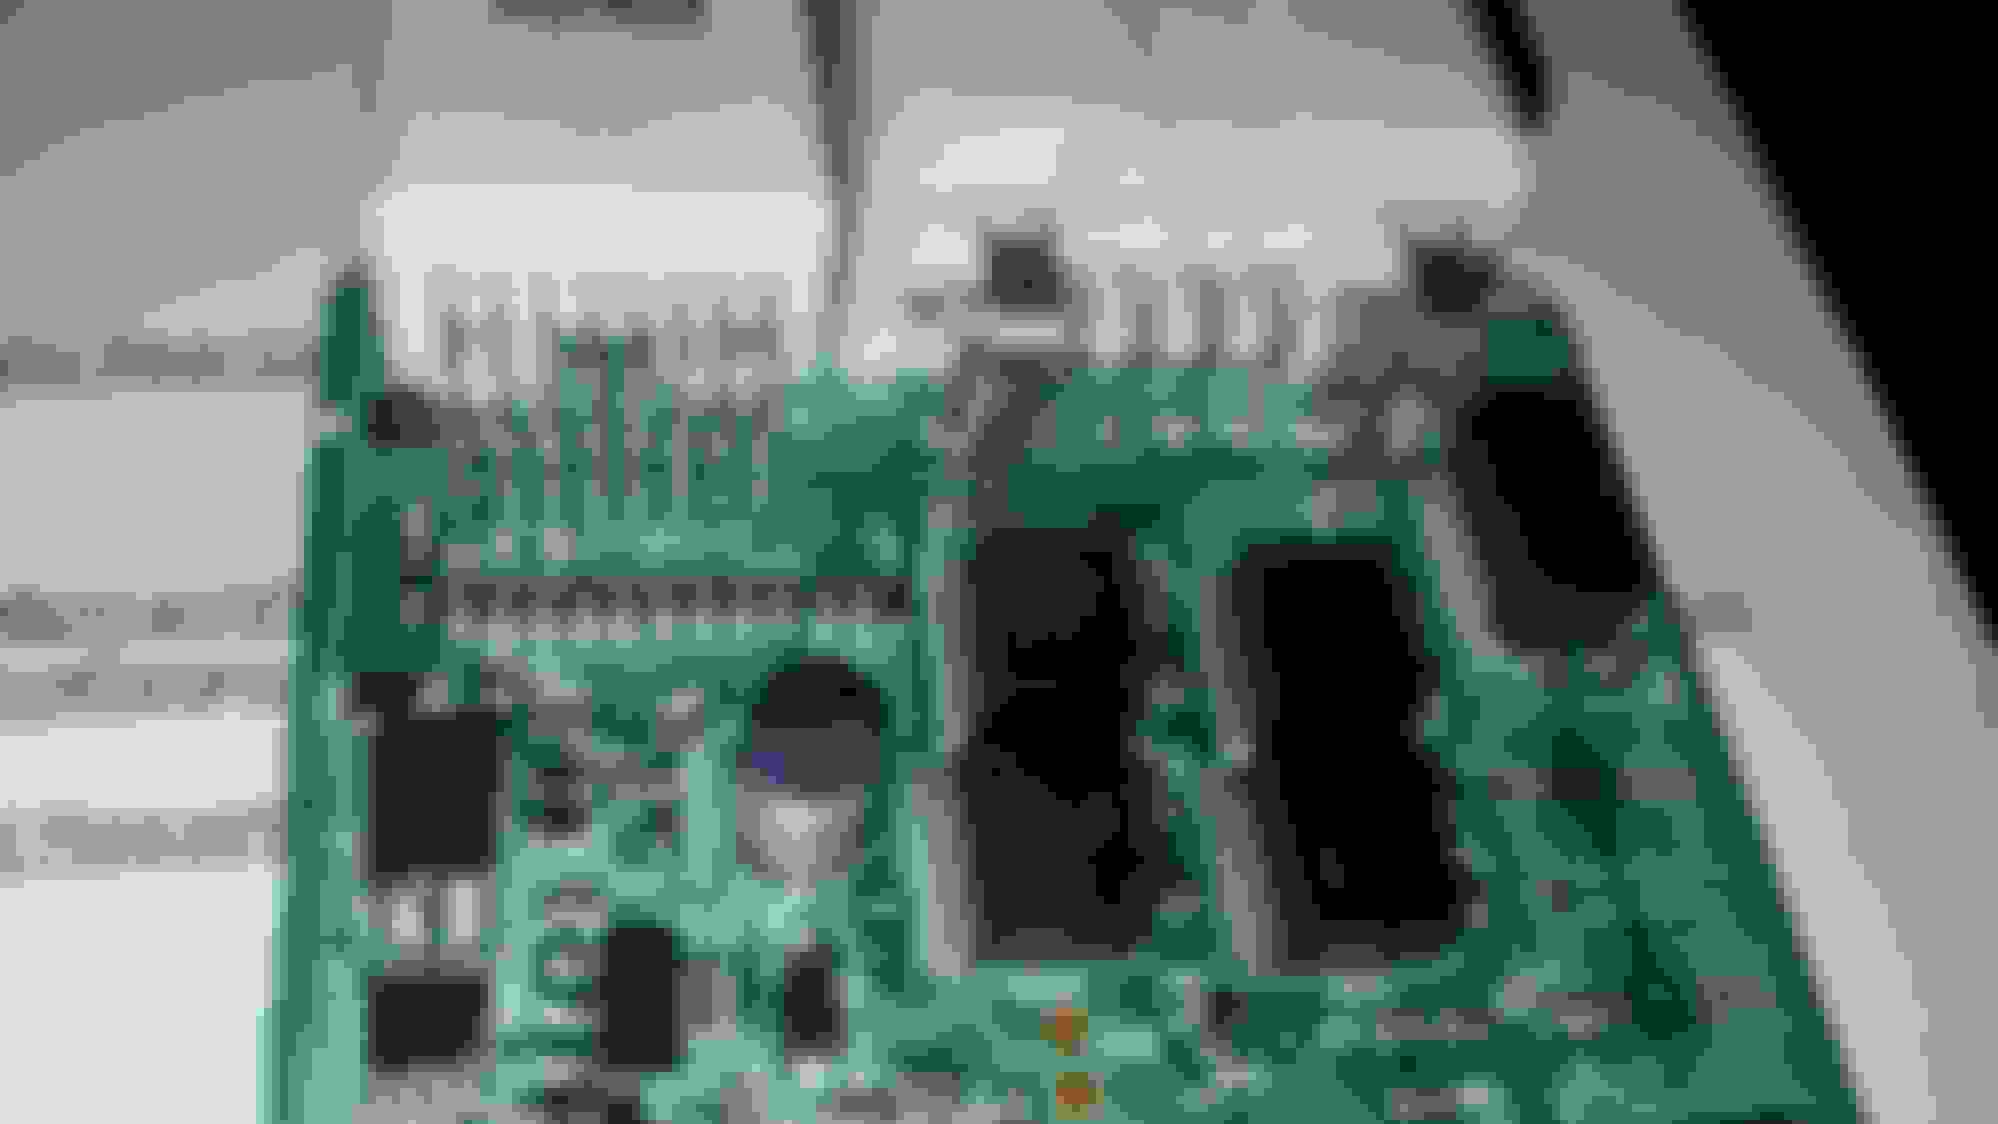
The suspension ecu is the one on the right with the top plug disconnected. The nuts that hold it in are tucked in there pretty tight. I'm really glad I didn't remove it. I did slave in a replacement ecu before ohming out the wires. There is enough slack in the wires to plug in a new ecu without removing the original. The ecu obviously didn't fix the issue.
I'm still messing with the drivers mirror :/
I wonder what else I can take apart
I chopped the plug off to work on inside.
Trying to avoid more work.
The copper wire is broken internally.
Not all were broken at the bottom of the pin. I cut it to this length.
solder time
Not to shabby.
Most like this one fit into the plug. Solder was just right.
This one I had to dremel a tad to fit into the plug.
IMO this heat shrink wasn't really required. Doesn't hurt though.
No fingers were burned in the process.
I even remembered to install the rubber grommet before soldering, haha.
I wrapped each joint individually with electrical tape.
Then all the wires got wrapped in electrical tape to create one bundle.
The original rubber shield is on it plus a few layers of electrical tape
The C1732 suspension issue is fixed! I was clearing codes when I realized this was not a current code. Happy dance.
All are 17
I tested both left and right front dampers. They both adjust using techstream now. It's interesting that when one circuit fails all are disabled by the ecu.
The C1732 suspension issue is fixed! I was clearing codes when I realized this was not a current code. Happy dance.
All are 17
I tested both left and right front dampers. They both adjust using techstream now. It's interesting that when one circuit fails all are disabled by the ecu.
But why was it throwing the code in the first place is what I would like to know. Hopefully it doesn't come back. Mine was doing the same thing though one day it was there and gone the next. Rinse and repeat, maybe you just had a loose connection.
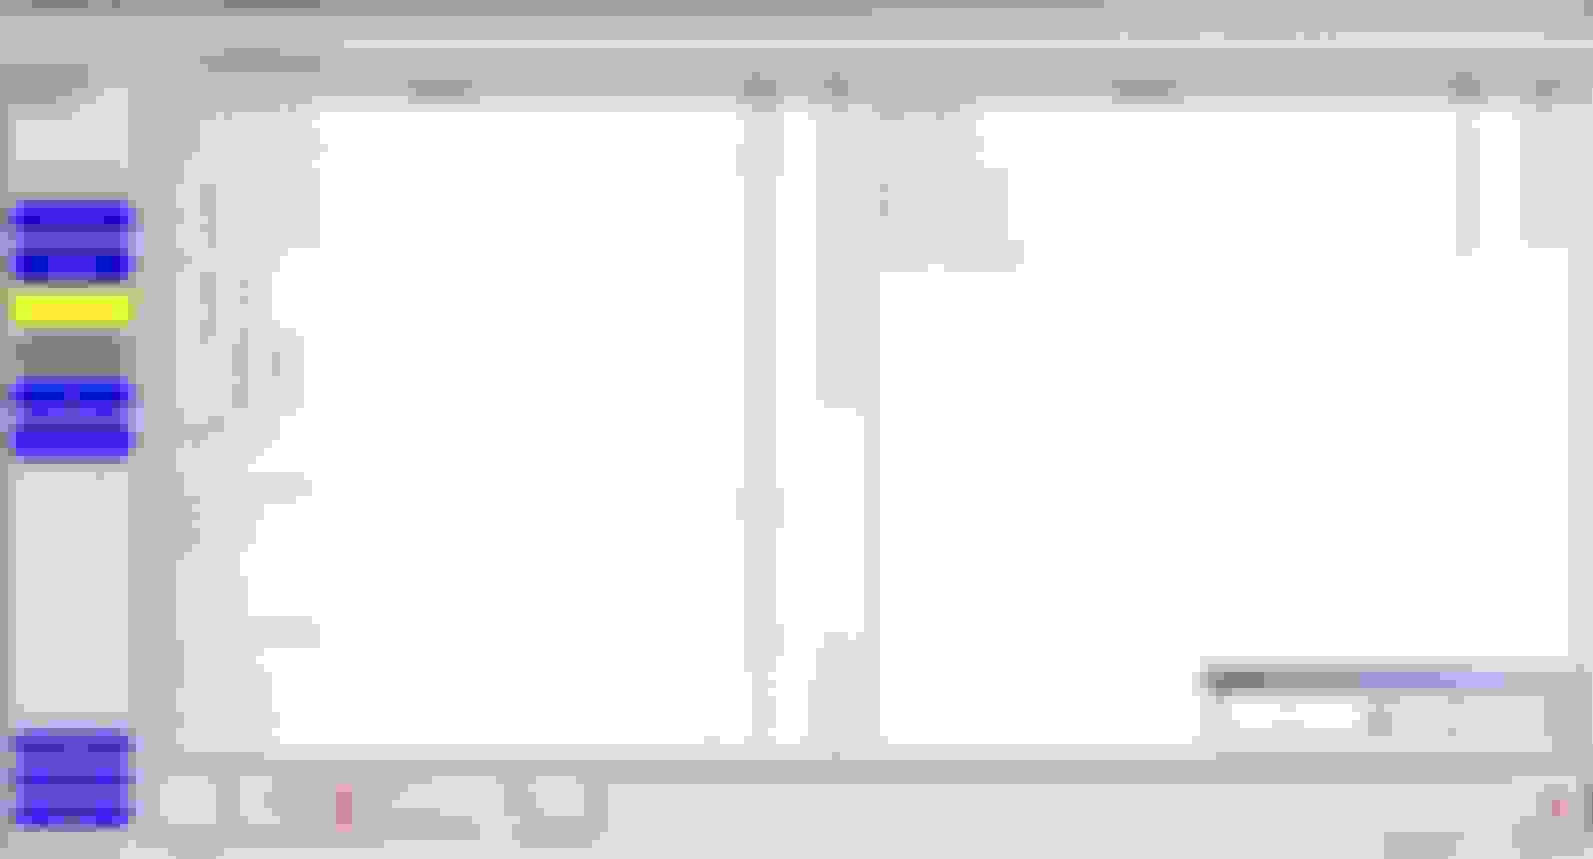
I don't know why I did not see that post. I'm glad you got that taken care of though. After years those wires are kind of brittle, I believe i broke my wires when I installed the actuator the wrong way and stretched the harness to the engine side of the shock. I received the wire terminals that I ordered but I'm not in a rush to fix it properly. The 2 new front shocks have solved my issue of feeling those small bumps for the most part but I still have to get my ride height adjusted properly. The front is too high but all my corners are out of spec. Was your car on level ground when you took that screen shot of the air suspension data list? I'm looking at your sensors as well as the height adjust and after height adjust. That's what I need mine to look like to get the ride height worked out.

 02-10-21, 03:17 PM