When you click on links to various merchants on this site and make a purchase, this can result in this site earning a commission. Affiliate programs and affiliations include, but are not limited to, the eBay Partner Network.
Here is a little update on the left mirror. The used mirror I ordered on ebay was also no good. After doing a little more searching I found these motor drive units. I'm almost positive they are both identical, just charging more for lexus. I paid for expedited shipping. Hopefully they paddle a little faster so I can start driving this thing again.
Once the links expire they can be found with these search terms: Rearview Mirror Folding Motor for ES350 IS250 CT200 RX270 LX570 LS460 or Car Rearview Mirror Folding Motor for Vellfire Land Cruiser Prado Century Venza
$41 https://www.ebay.com/itm/Rearview-Mi...MAAOSw86pfxHZW
To replace it...
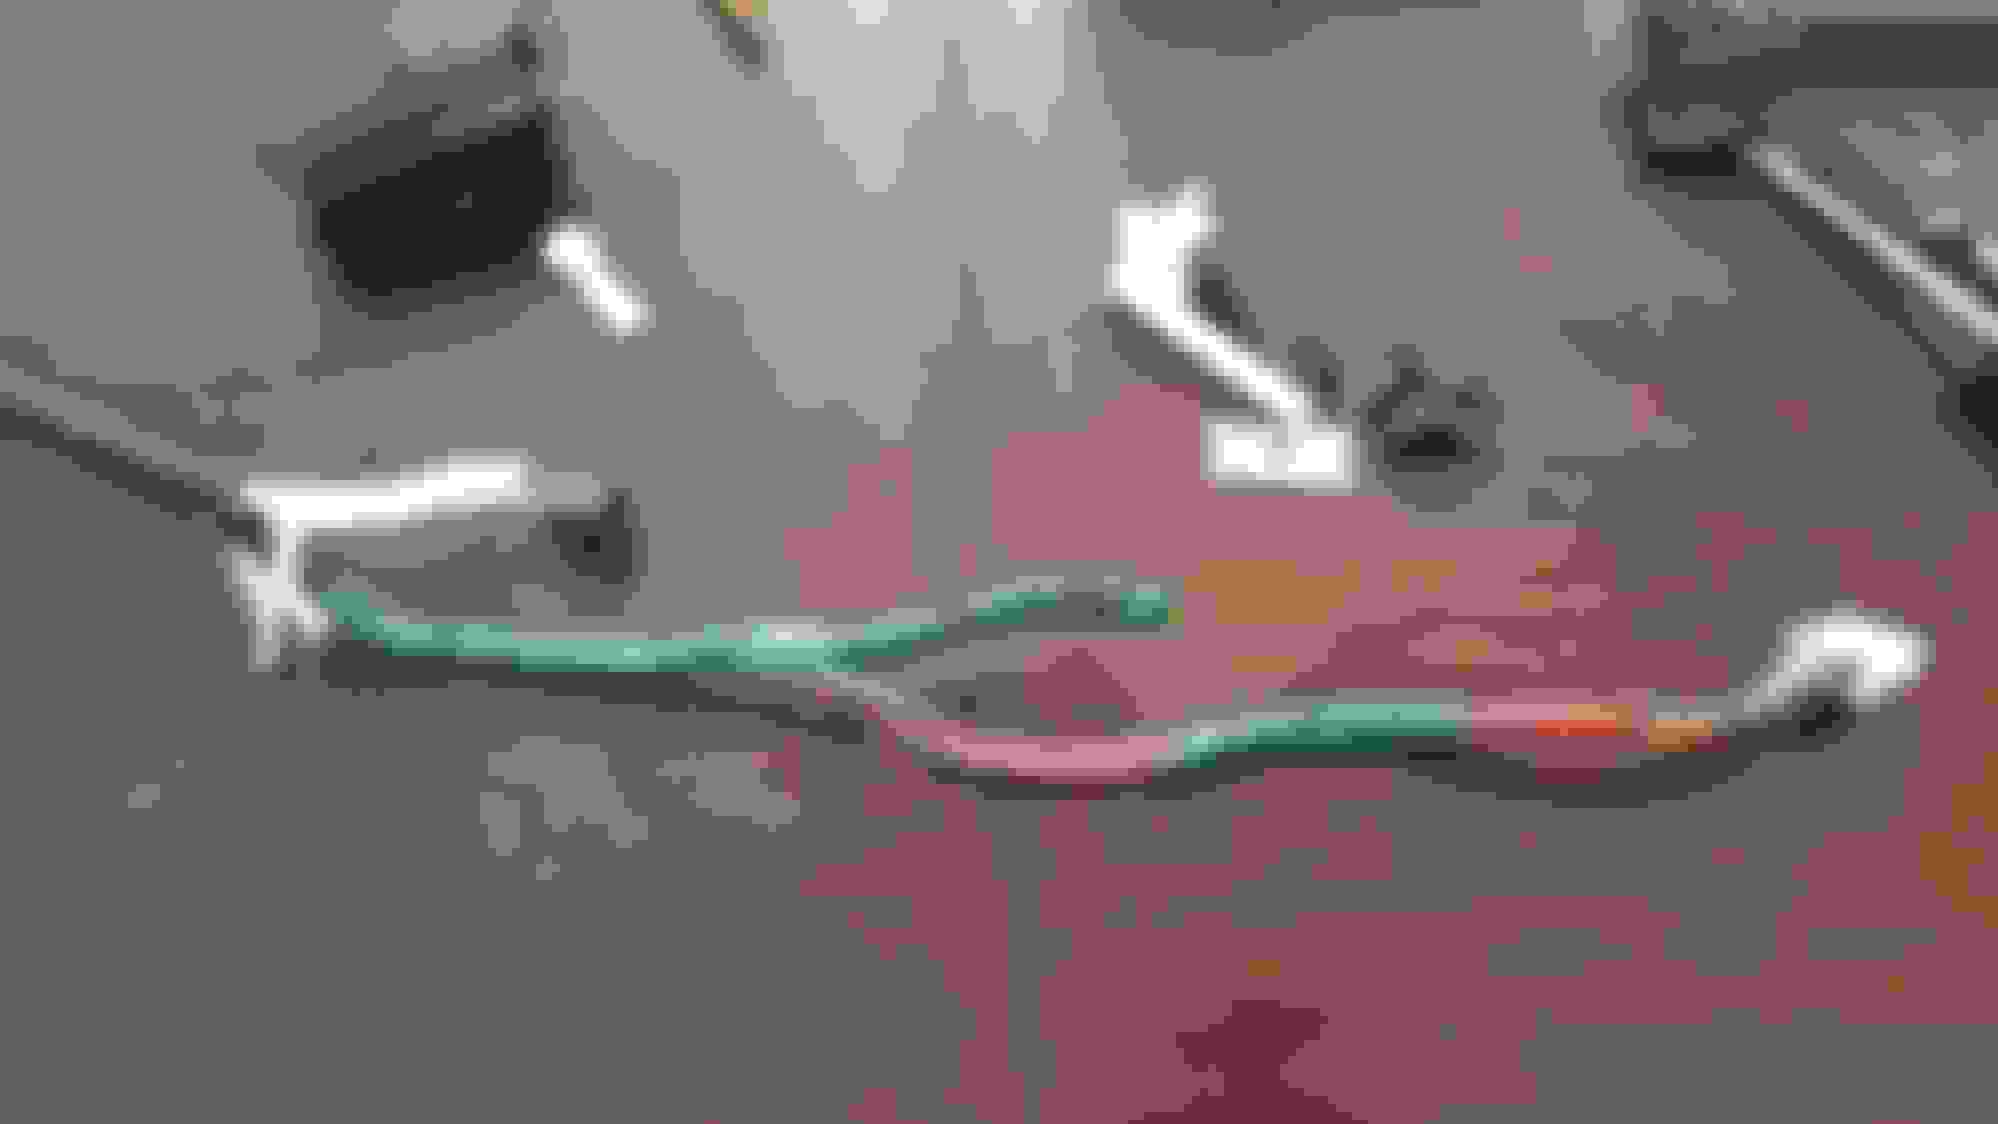
Unfortunately the entire wire harness runs through the drive unit. In order to replace the drive unit either the main connector needs to be depinned or all of the wires need to be cut and spliced together.
I did a little testing before I found the $30 drive unit. I had considered making my own circuit this is what I figured out...
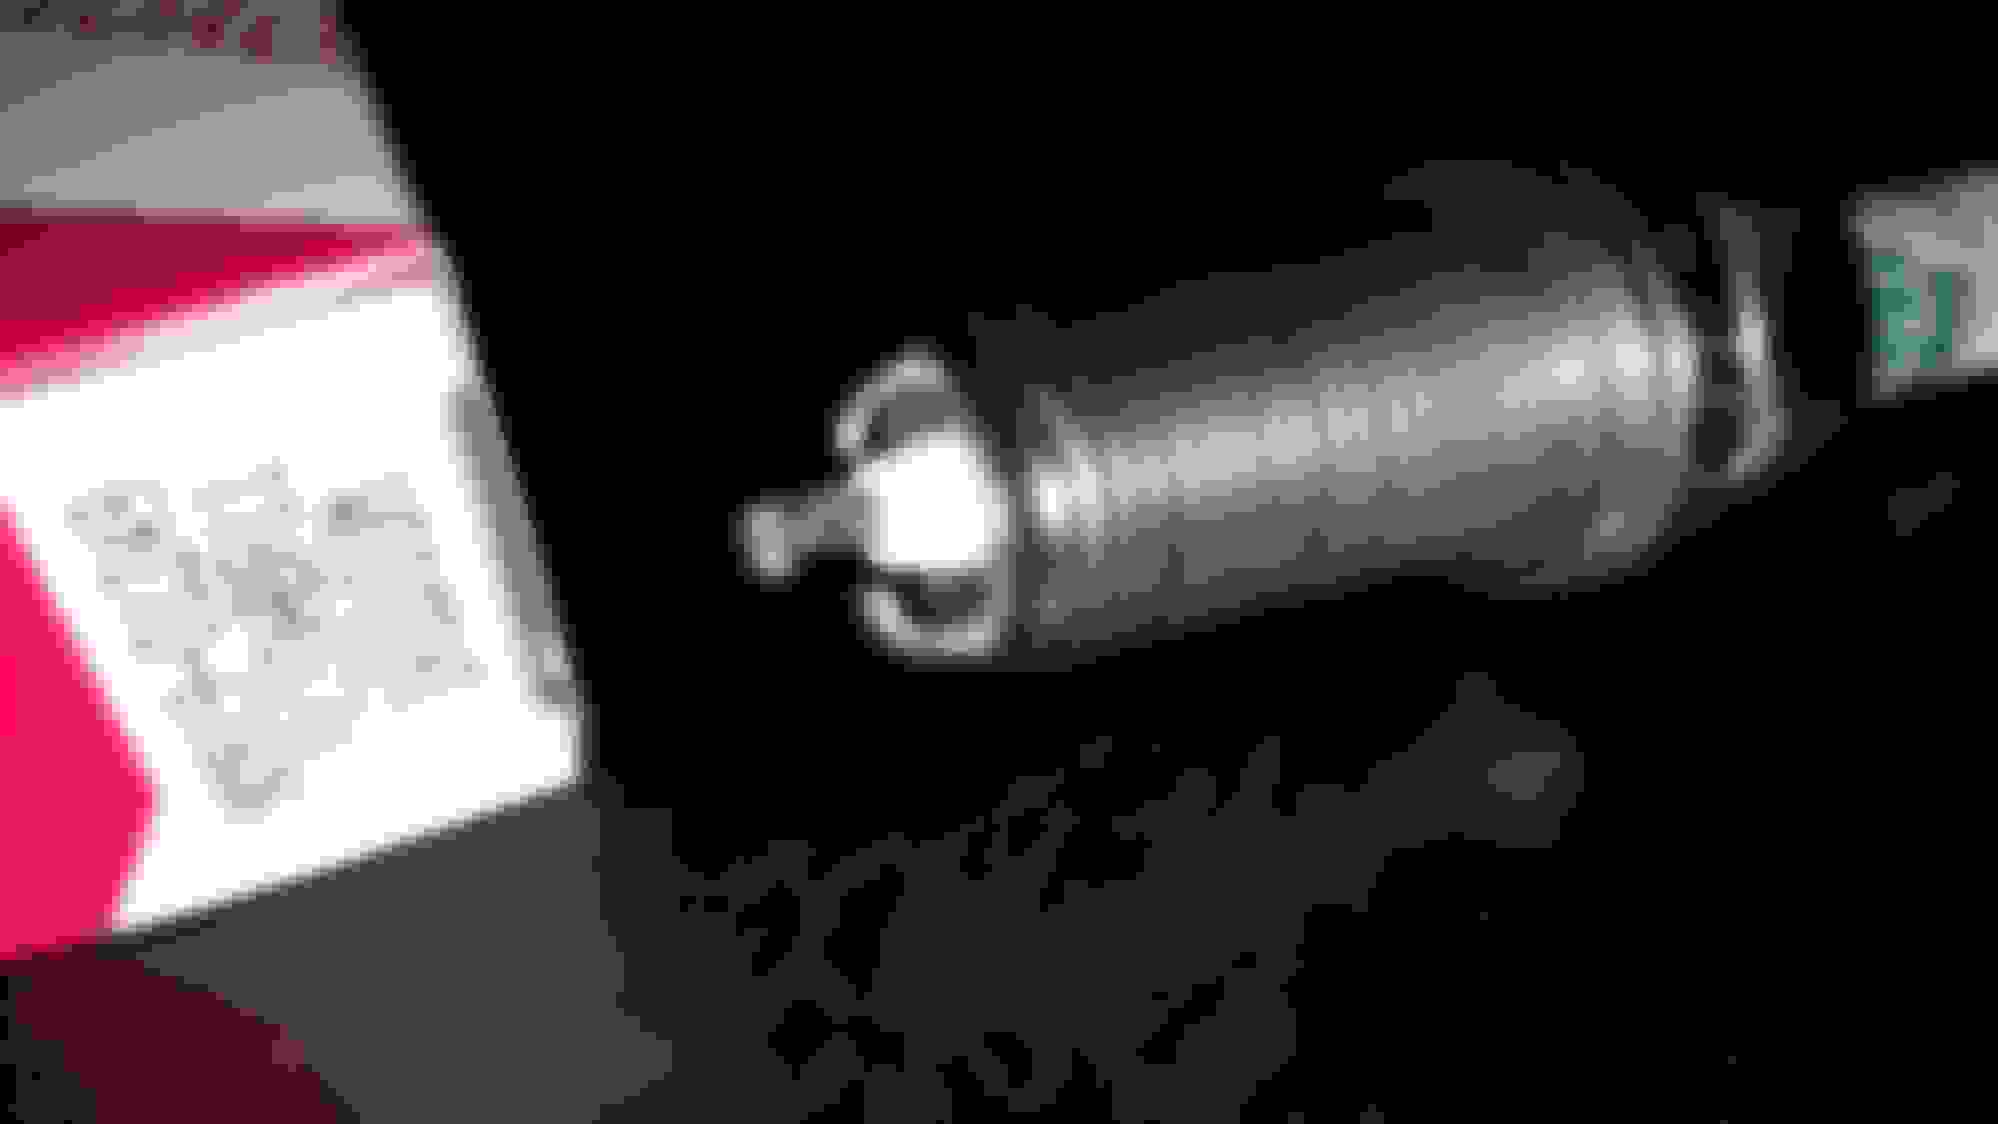
For those interested the drive unit is powered by two wires it gets its power from the multiplex controller in the door. The multiplex controller is what reverses the polarity from +12 to -12 to open or close the mirror. The wires going into the motor drive unit appear to be always hot, either positive 12v or -12v depending if the mirror was just opened or closed. The round circuit that has the hole through it within the drive unit is what stops and starts the mirror travel. The circuit gets triggered to turn the motor on by the reversal in polarity. I think it operates by detecting a higher amp draw when the mirror reaches the end of its travel, then stops power to the motor. The unit draws around .25 amps at 12v. At end of travel it spikes to over 1.5 amps.
I think the play in the worm gear in my earlier picture is by design. Putting my extra washers in to firm it up was a mistake. Just a guess but I think it is designed to flex near the end of travel to hold the mirror tight without stripping gears. Now that I found a replacement part for $30 who really cares how it works.
It's also worthy to note the $99 aftermarket mirror assemblies do not offer all of the oem features such as auto dimming. If they did I'd likely purchase one instead of trying to resuscitate mine.
These are the type of tutorials that I could NEVER find when I first start browsing this forum for information on a how-to replace ANYTHING. I have to give you a big thumbs up for being so detailed. So are you saying that the mirror is loose back and forth by design in your opinion?
Thanks. No the mirror assembly should be tight with no play. If it is wiggles back and fourth a little the 3 torx screws are probably loose. If it wiggles 1/4" or more or sometimes doesn't fold in or out the motor drive unit might need to be replaced.
Make sure to get the new P/N for the 3 Torx screws .. They come with blue lock tite pre-applied when bought new.
Thanks, I did look up that tsb. Adding lock tight to the torx screws is a good idea. In my opinion, simply tightening the original screws to a nice german torque should be sufficient for the next 10 years. After taking mine apart I realized the torx screws get screwed into a metal housing. They can really be wrenched down tight.
I got lucky again. The used ebay parking brake ecu cleared up 4 or 5 codes. The parking brake issue is fixed, it works normally now. I'm relieved, taking the rear axle and rear subframe out to change the parking brake actuator was not sounding fun.
These are the codes that remain. I suspect the new code B1206 is due to the drivers side multiplex controller being disconnected. It shouldn't be an issue once the drivers mirror is fixed.
The ac codes for me are not really issues either. They have to do with solar sensors ( left, right, and rear) sensing the sun in auto air conditioning mode. I always use manual mode. I may dig into them someday but for now I'm going to focus my attention in some other areas.
The next steps I plan...
The engine sounds louder than our 460, not by much but enough to try a few things. I'm thinking new spark plugs, tensioner, belt, clean maf, general tune up. The engine mounts likely need to be replaced too. Subtle engine vibrations can be felt in the cabin. I think the added noise could simply be due to the mounts, but an exhaust leak is another possibility.
Currently the dash is clean, no lights or messages.
The solar sensor codes aren't actually issues. They just tell you the solar sensors don't detect light, it's night time, or indoors. If you put a flash light over the sensors the codes will disappear.
I can clear the B1400 code. It will stay cleared until I restart the car. I read the sensor is supposed to detect rain on the windshield. Maybe it's too dirty. The outside of the car is filthy.
Edit: I meant to post the sensor value, brain fart. Good news is I went back out to get the sensor value. Now it doesn't show as a current fault.
I changed the spark plugs last night and today. The 2 on the passenger side near the firewall were a royal pain. The other 6 were fairly easy. For the 1 or 2 people that attempt this I'll give some pointers.
Drivers side
The front 3 coil packs on the left side all need the tube seals removed to slide out.
For the left side coil packs the front 2 have no challenges. Simply remove the spark plug tube seals and they slide right out. The 2 coil packs on the left closest to the driver require a bit more work... First the 4 nuts holding the steel acoustic cover. Once the cover is removed there is enough access to remove the coil packs. The coil pack closest to the driver I was able to force out without removing the spark plug tube seal. The high pressure fuel pump makes the removal of the spark plug tube seal a little difficult. Being able to slide the 4th coil pack out without messing with the seal saved some frustration.
Passenger side
The front 3 coil packs on the right side all need the tube seals removed to slide out.
For the right side the front 2 coil packs are pretty easy. 1st coil pack comes right out. For the second coil pack I did take off the 2 nuts on the inverter coolant reservoir. There is no need to disconnect any of the lines. Simply lift the reservoir up 1/4". This gives enough access to remove / install plug number 2. Leave the inverter coolant take unmounted for now.
Now the fun begins.
Disconnect both batteries. Pull the disconnect for the hybrid (traction battery). Disconnect the negative terminal on the 12v battery. Let the car sit awhile.
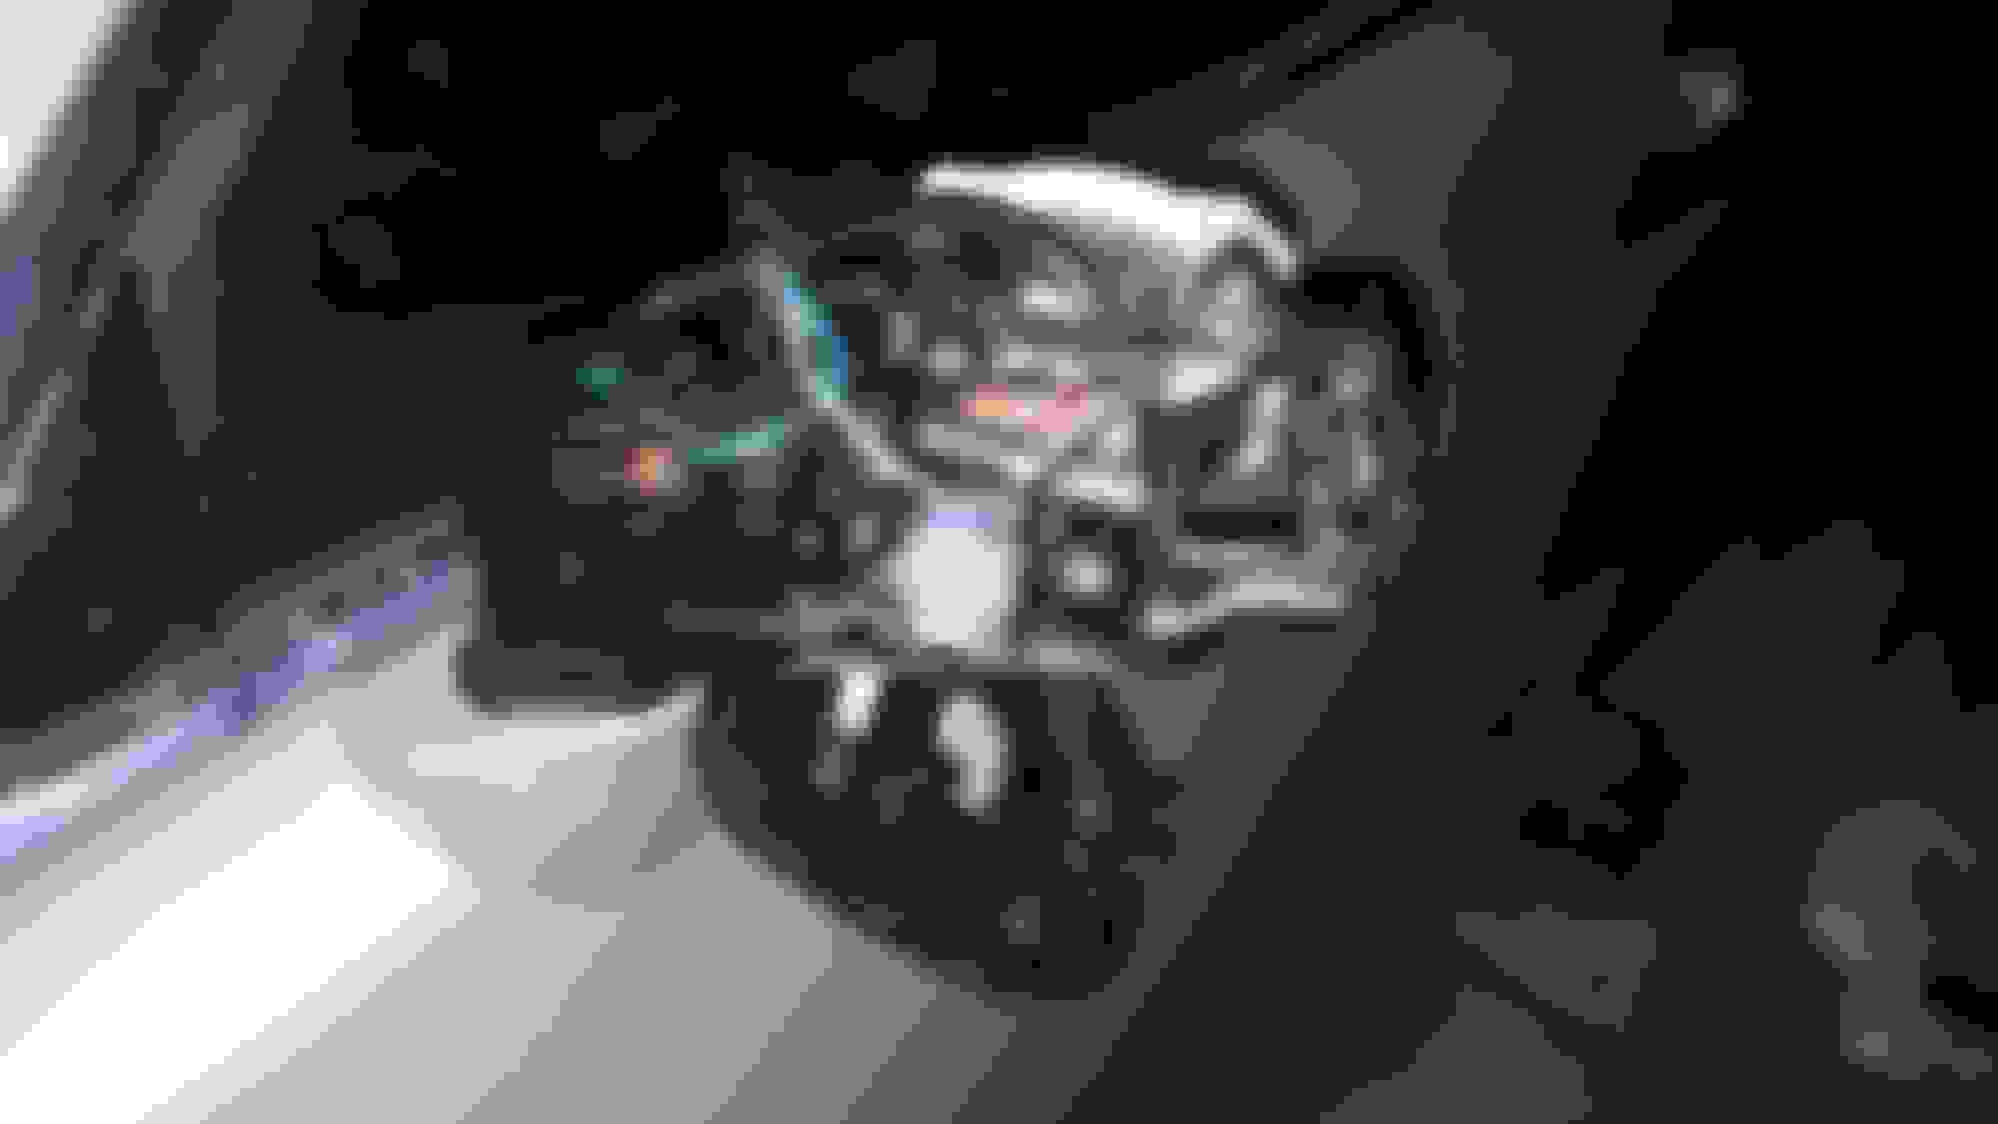
Remove the motor drive and generator drive wires, pull them out of the inverter. Once all the bolts are out they do require a bit of force to remove. I wrapped the business end of the wires in a rag to prevent any surprises. Then set them on top of the engine, out of the way.
Now you'll need to remove the 4 nuts holding the right acoustic cover in place. Someone did me a favor and I only had to deal with 3 nuts. Getting this cover out is a struggle. The oil dipstick is barely in the way. I attempted to remove the acoustic cover for quite a while, the dipstick was alway barely in the way! Removing the dipstick mount bolt looked like a 2 hour job to me. I'm sure it is possible. I opted to bend the dipstick slightly to make it not a factor. Hopefully I didn't mess up the dipstick seal. Anyway, once the dipstick is out of the way the accoustic cover will come out. It might take 30 minutes and a few choice words but It will come out. There are a handful of wires and lines that need to be squished just right to slide the acoustic cover off.
Once the acoustic cover is off the 3rd coil pack can be replaced. The 4th spark plug tube seal ( closest the passenger seat) does not need to be removed. The coil pack will slide out 3 different ways. One way is easy. The other way requires some force. 3rd way is to cut it in half lol. I forced mine out. When installing it I had no problem, it slid right in.
I'm having issues uploading pics. Here are a few.
Someone spilled some oil over the years.
Torque it down.
I think these have 190k miles on them.
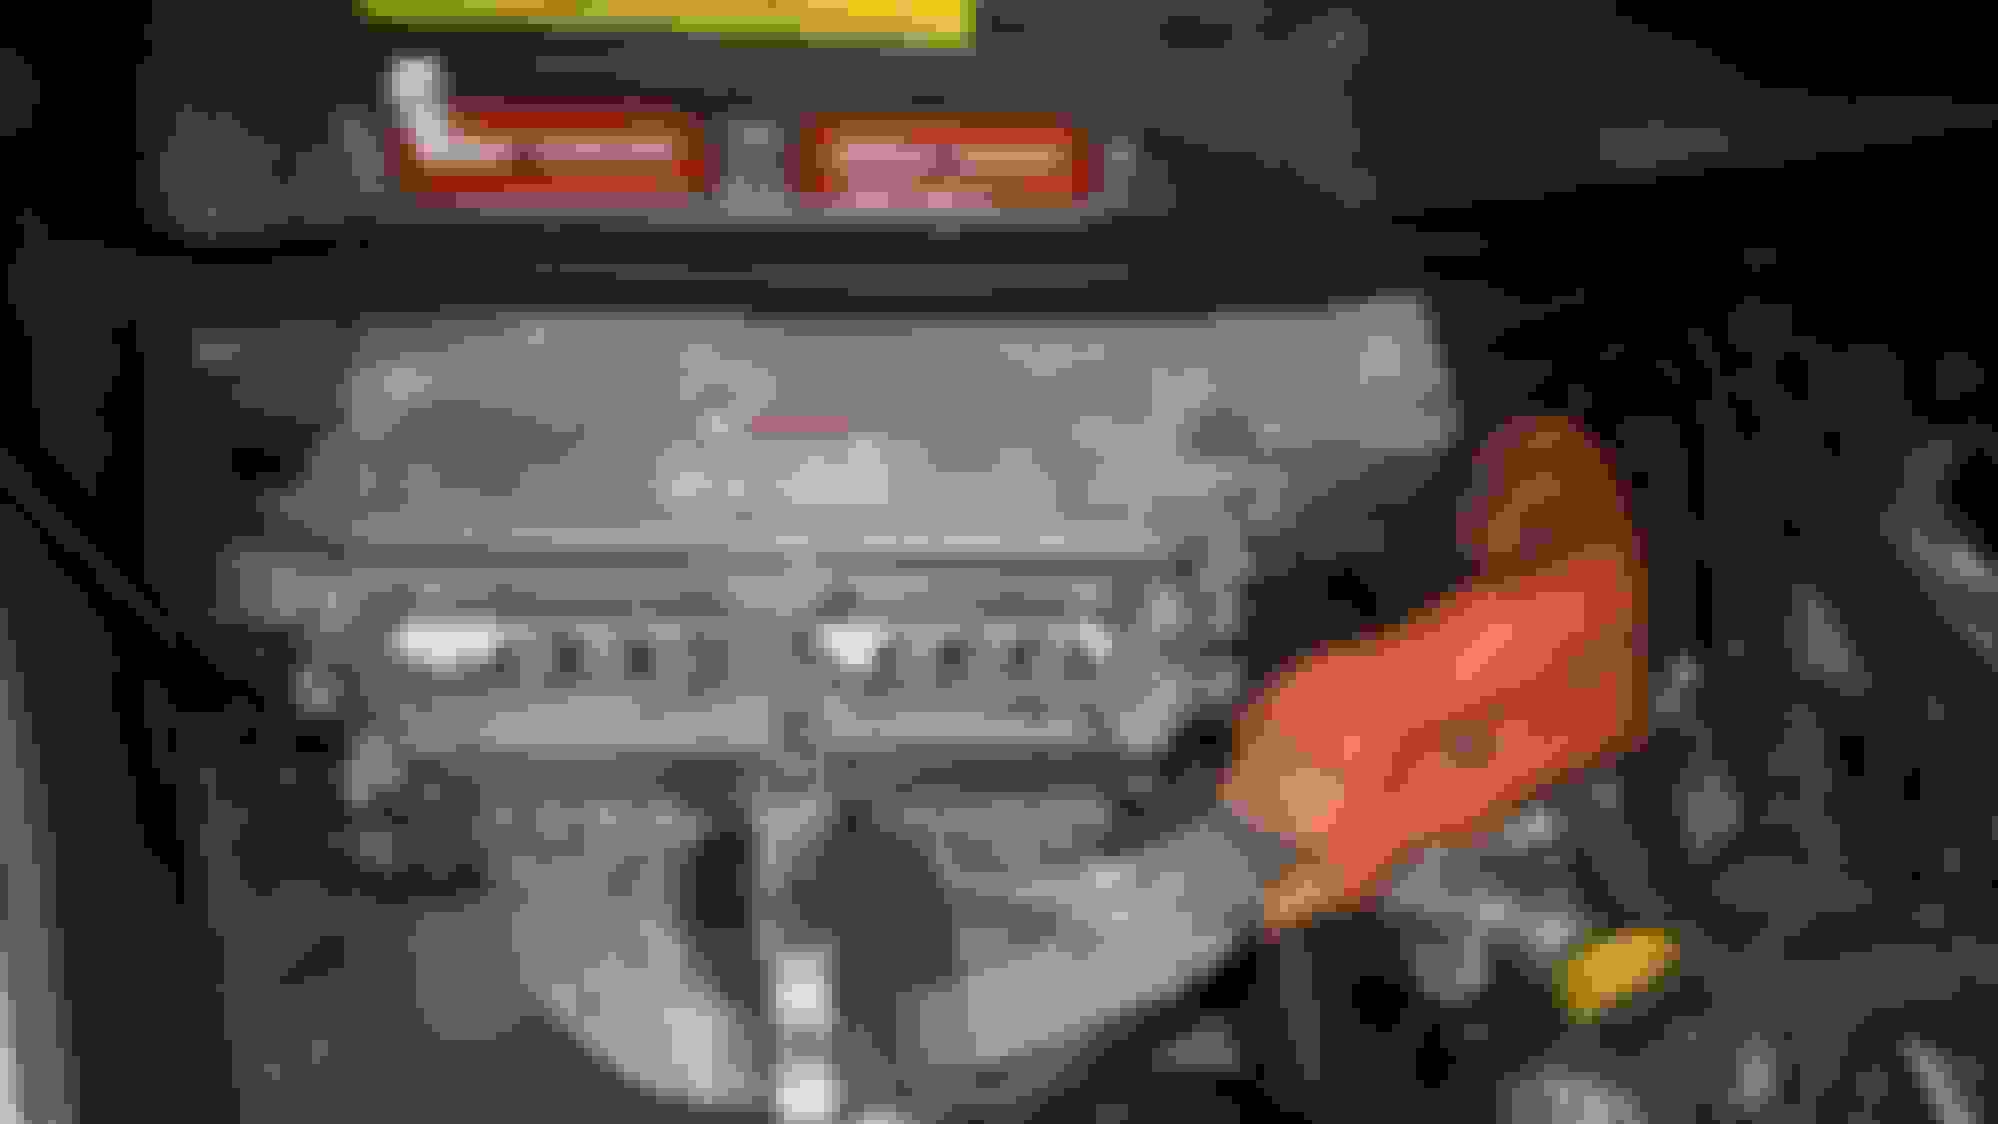
Steel acoustic plate is unbolted.
Steel plate removed
The hard to reach nut can be left on a thread or two to aid in installation.
Unbolt the inverter tank.
Setting it on the studs is enough to get it out of the way.
Motor and gen cables
Shelf came in handy for the 30 bolts. The clamp for the orange wires also needs to be unbolted. All the bolts are the same size.
Wrapped up and out of the way.
Steel plate is removed. It's still a tight fit to remove the far coil pack.
This post might be helpful for anyone with a very loose mirror or one that doesn't move. The drive unit only cost $40 or so, link is a few posts up. Much cheaper than a new oem mirror, plus no painting is required. I opted to cut the wire bundle in half. I cut the wire bundle about 1ft away from the connector that plugs into the multiplex box in the door. I then fed the wire through the drive unit. Once it was all reassembled the spliced part of my wire bundle was inside the door. Inside the door there are a number of clips to secure the bundle so It doesn't move around. I highly recommend taking pictures of the routing before you disconnect it. I removed mine a few weeks ago. It took me some time to figure out the original way the wire harness was secured to the door.
These are 2 possible alternatives to cutting the wire harness...
1. It might be possible to depin the connector and fit the pins through the drive unit. The hole through the drive unit is about 5/16" in diameter. The wire bundle is about 1/4" diameter when tightly packed. The pins may or may not fit through.
2. I thought another alternative could be feeding the wires from the top of the mirror assembly. The white plug that hooks up to the back of the mirror assembly will fit through the drive unit but the remaining wires, even after depinning the puddle light connector, didn't look like they would fit.
The new drive unit came with a plug and wires. I didn't use them.
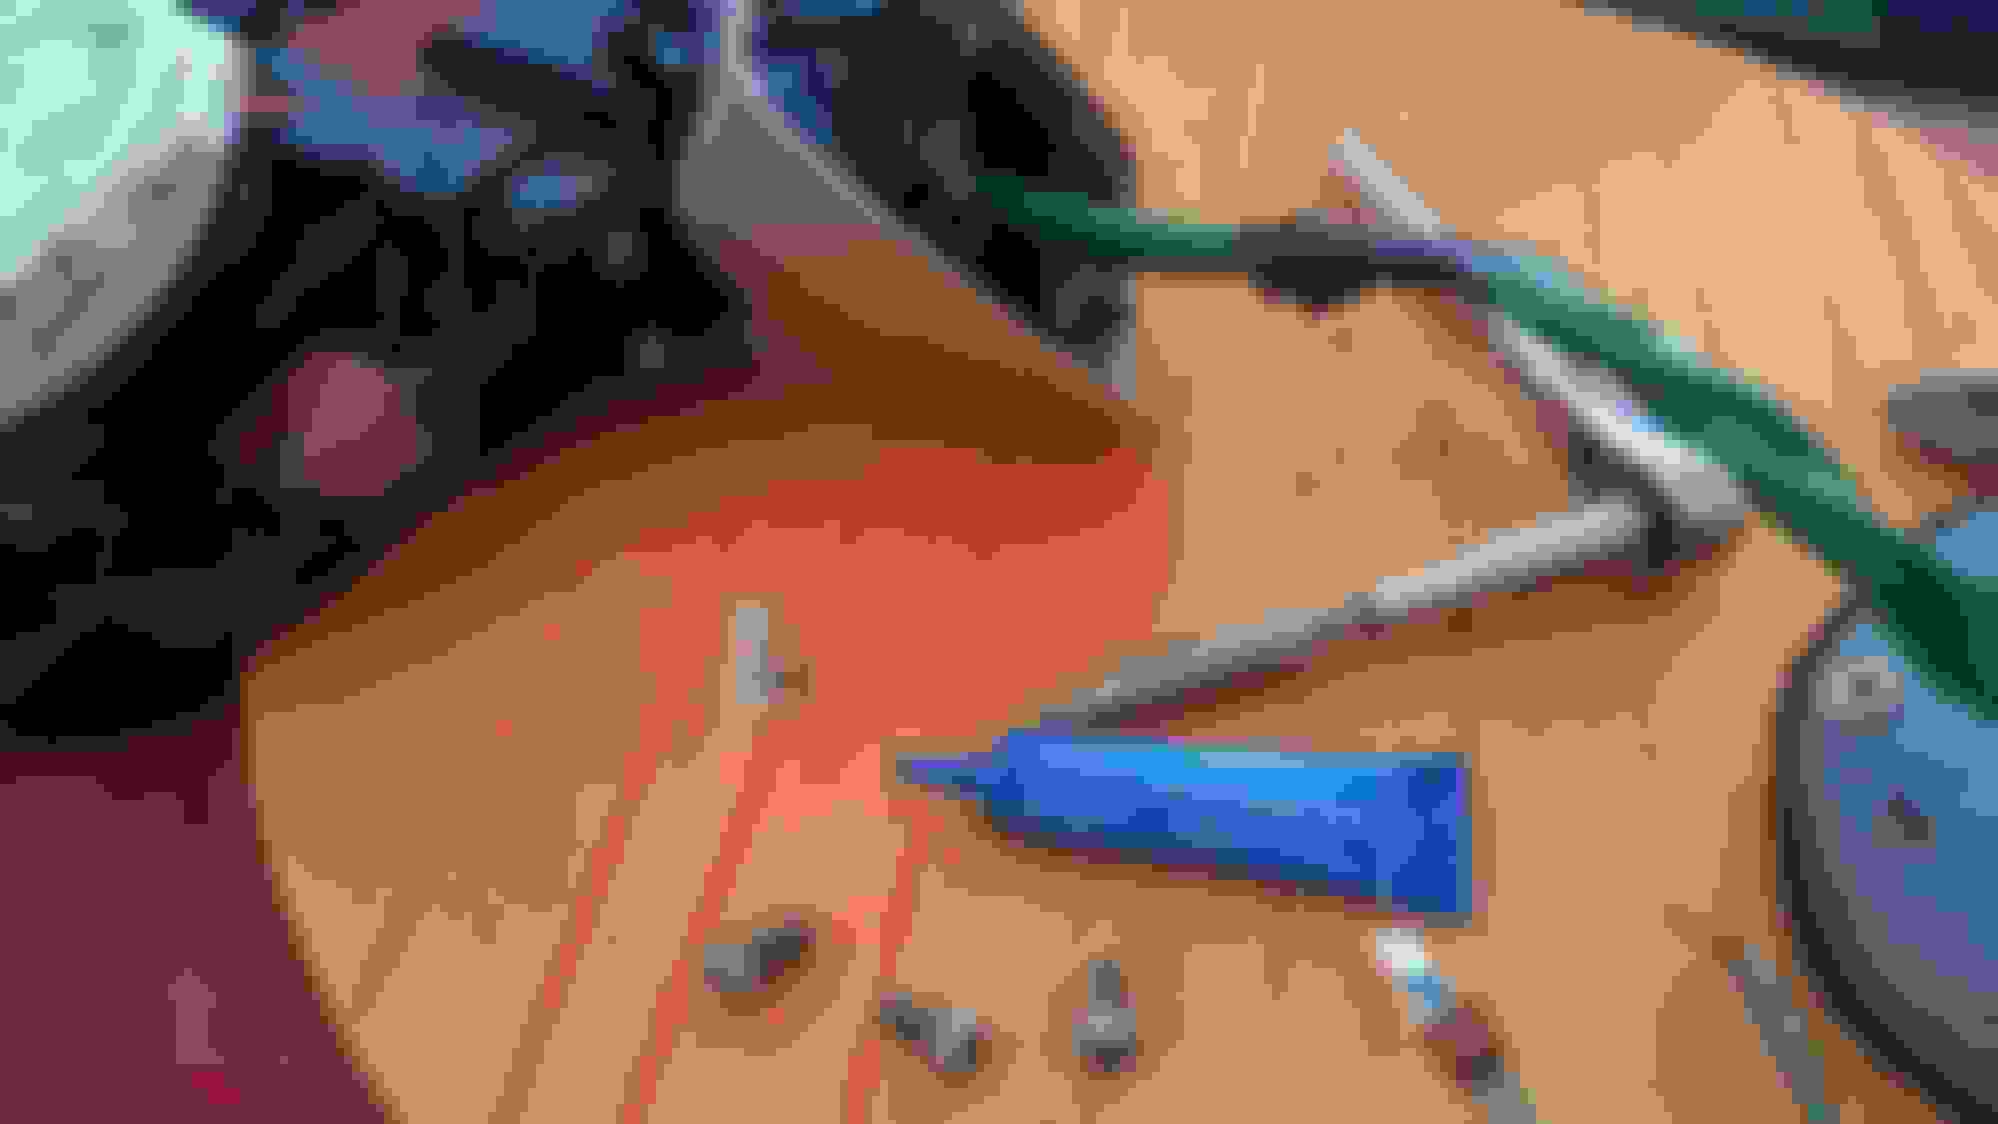
I stripped the green insulation off.
No going back now, the wires are cut.
All of the wires have a unique color or line.
16 wires
This was fun to watch shrink.
I like to double insulate.
I added a bit of thread lock to the screws that tend to loosen up over time. Thanks for the idea ALK.
I had it completely assembled with the covers. Then I realized I forgot to swap out the puddle light to led.
 02-14-21, 04:19 PM