When you click on links to various merchants on this site and make a purchase, this can result in this site earning a commission. Affiliate programs and affiliations include, but are not limited to, the eBay Partner Network.
I like the big washer fix for the heatshield. I may do that if I don't drop the subframe to replace the engine mounts. My goal is to replace the mounts.
The "how to" was for 460 rwd engine mounts. This awd setup while similar has different challenges.
Can�t help much but I�m watching with interest since I have a 460 AWD and haven�t seen a write up or tips for doing the motor mounts. Great thread man.
I can't help much either, but it does look like you may be able to modify a wrench and get up there and would maybe worry about being able to get it tight enough after install of the new mount. Having said that I am sure you will figure out a way mike as you have with so many other challenges. Just go slow and and steady and it will come to you.
This post might be helpful for anyone with a very loose mirror or one that doesn't move. The drive unit only cost $40 or so, link is a few posts up. Much cheaper than a new oem mirror, plus no painting is required. I opted to cut the wire bundle in half. I cut the wire bundle about 1ft away from the connector that plugs into the multiplex box in the door. I then fed the wire through the drive unit. Once it was all reassembled the spliced part of my wire bundle was inside the door. Inside the door there are a number of clips to secure the bundle so It doesn't move around. I highly recommend taking pictures of the routing before you disconnect it. I removed mine a few weeks ago. It took me some time to figure out the original way the wire harness was secured to the door.
These are 2 possible alternatives to cutting the wire harness...
1. It might be possible to depin the connector and fit the pins through the drive unit. The hole through the drive unit is about 5/16" in diameter. The wire bundle is about 1/4" diameter when tightly packed. The pins may or may not fit through.
2. I thought another alternative could be feeding the wires from the top of the mirror assembly. The white plug that hooks up to the back of the mirror assembly will fit through the drive unit but the remaining wires, even after depinning the puddle light connector, didn't look like they would fit.
The new drive unit came with a plug and wires. I didn't use them.
I stripped the green insulation off.
No going back now, the wires are cut.
All of the wires have a unique color or line.
16 wires
This was fun to watch shrink.
I like to double insulate.
I added a bit of thread lock to the screws that tend to loosen up over time. Thanks for the idea ALK.
I had it completely assembled with the covers. Then I realized I forgot to swap out the puddle light to led.
Done
It moves too!
Hey Mike, although I haven't commented before this, I have been following your work and really appreciate your documentation and photos. Both of my mirrors move/adjust in all directions, however, there is a significant amount of play and neither will fold inward. I'm hoping to address these issues after I complete the front control arms replacement. Keep up the great work brother!
Thank you, lwphat66. When you tackle the mirrors the 3 or so dark colored wires are hard to distinguish. There is a faint red line that identifies one of them, I could barely see it. A magnifying glass might be helpful. I hope your control arms go smoothly.
sha4000 here is the ac screen shot. Hopefully this is what you were looking for. I couldn't figure out how to attach it to the PM.
Thanks, that is it. This shot is with the system off right.
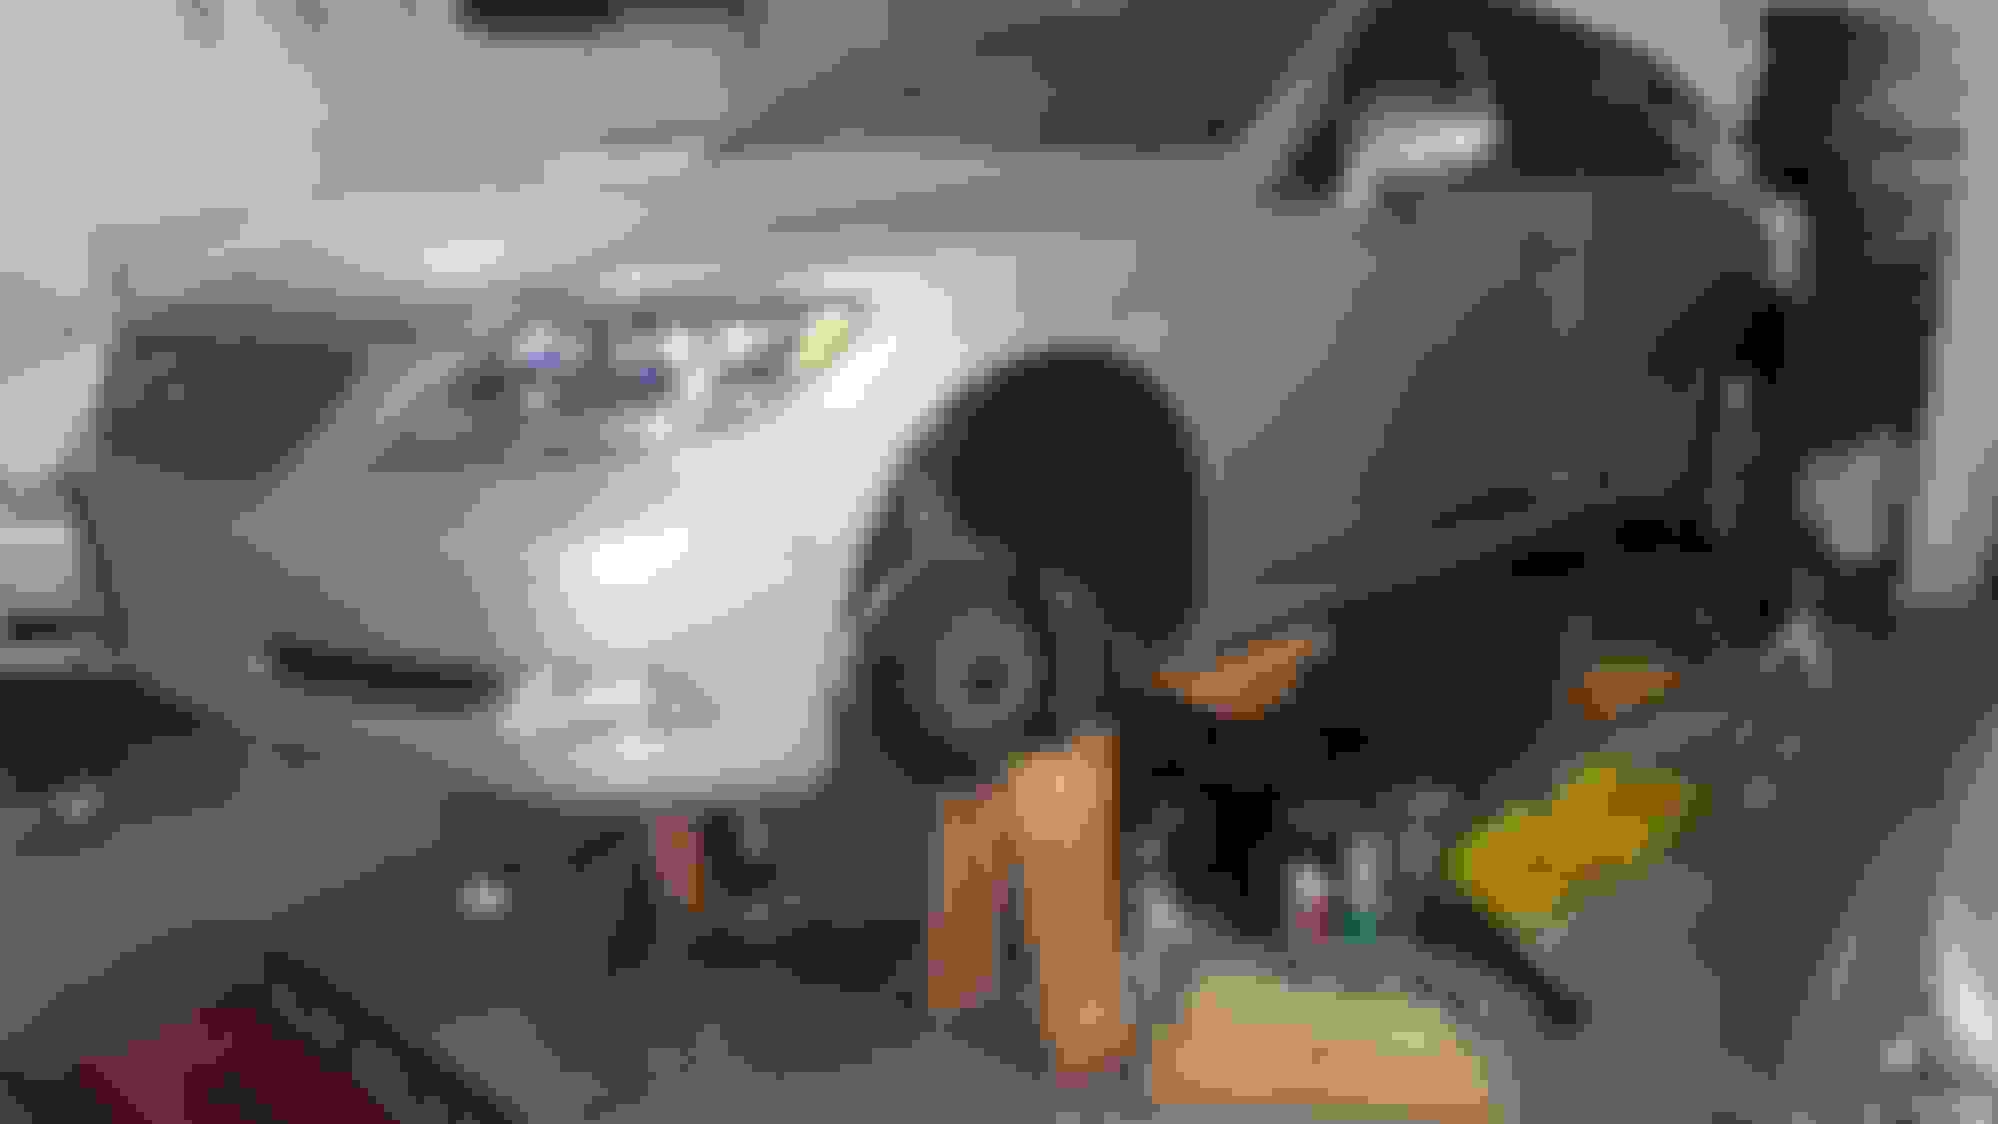
I appreciate the encouragement from everyone. I finally made some progress today. It's starting to look like the awd mounts can be replaced by dropping the subframe.
So far I have removed the steering rack, sway bar, and a few control arms. All without busting anything, yippie! My plan is to leave the lower rear control arms mounted to the subframe. They are disconnected from the steering knuckle (height sensor arm disconnected too).
Steering rack removal tip...
With the rack installed a few connectors have no or limited access. One of them is the connector that gets in the way when changing the front differential fluid, Anfanger knows this one . Don't worry about removing these connectors. There are 2 plugs toward the front of the subframe. This is where they get disconnected. In my picture with the rack removed you can see a few short wire harnesses still hooked up.
Subframe tip...
I recommend leaving the subframe installed while removing the top mount nuts. I have a feeling once the subframe is on the floor it is going to make access more difficult. It can't be moved out of the way if you support the engine from the oil pan area. Alternatively, supporting the engine from behind the subframe, but in front of the tranny, will leave too much engine weight up front imo. I prefer to play it safe. An engine hoist might work but having the engine sway while reinstalling the subframe sounds like a challenge.
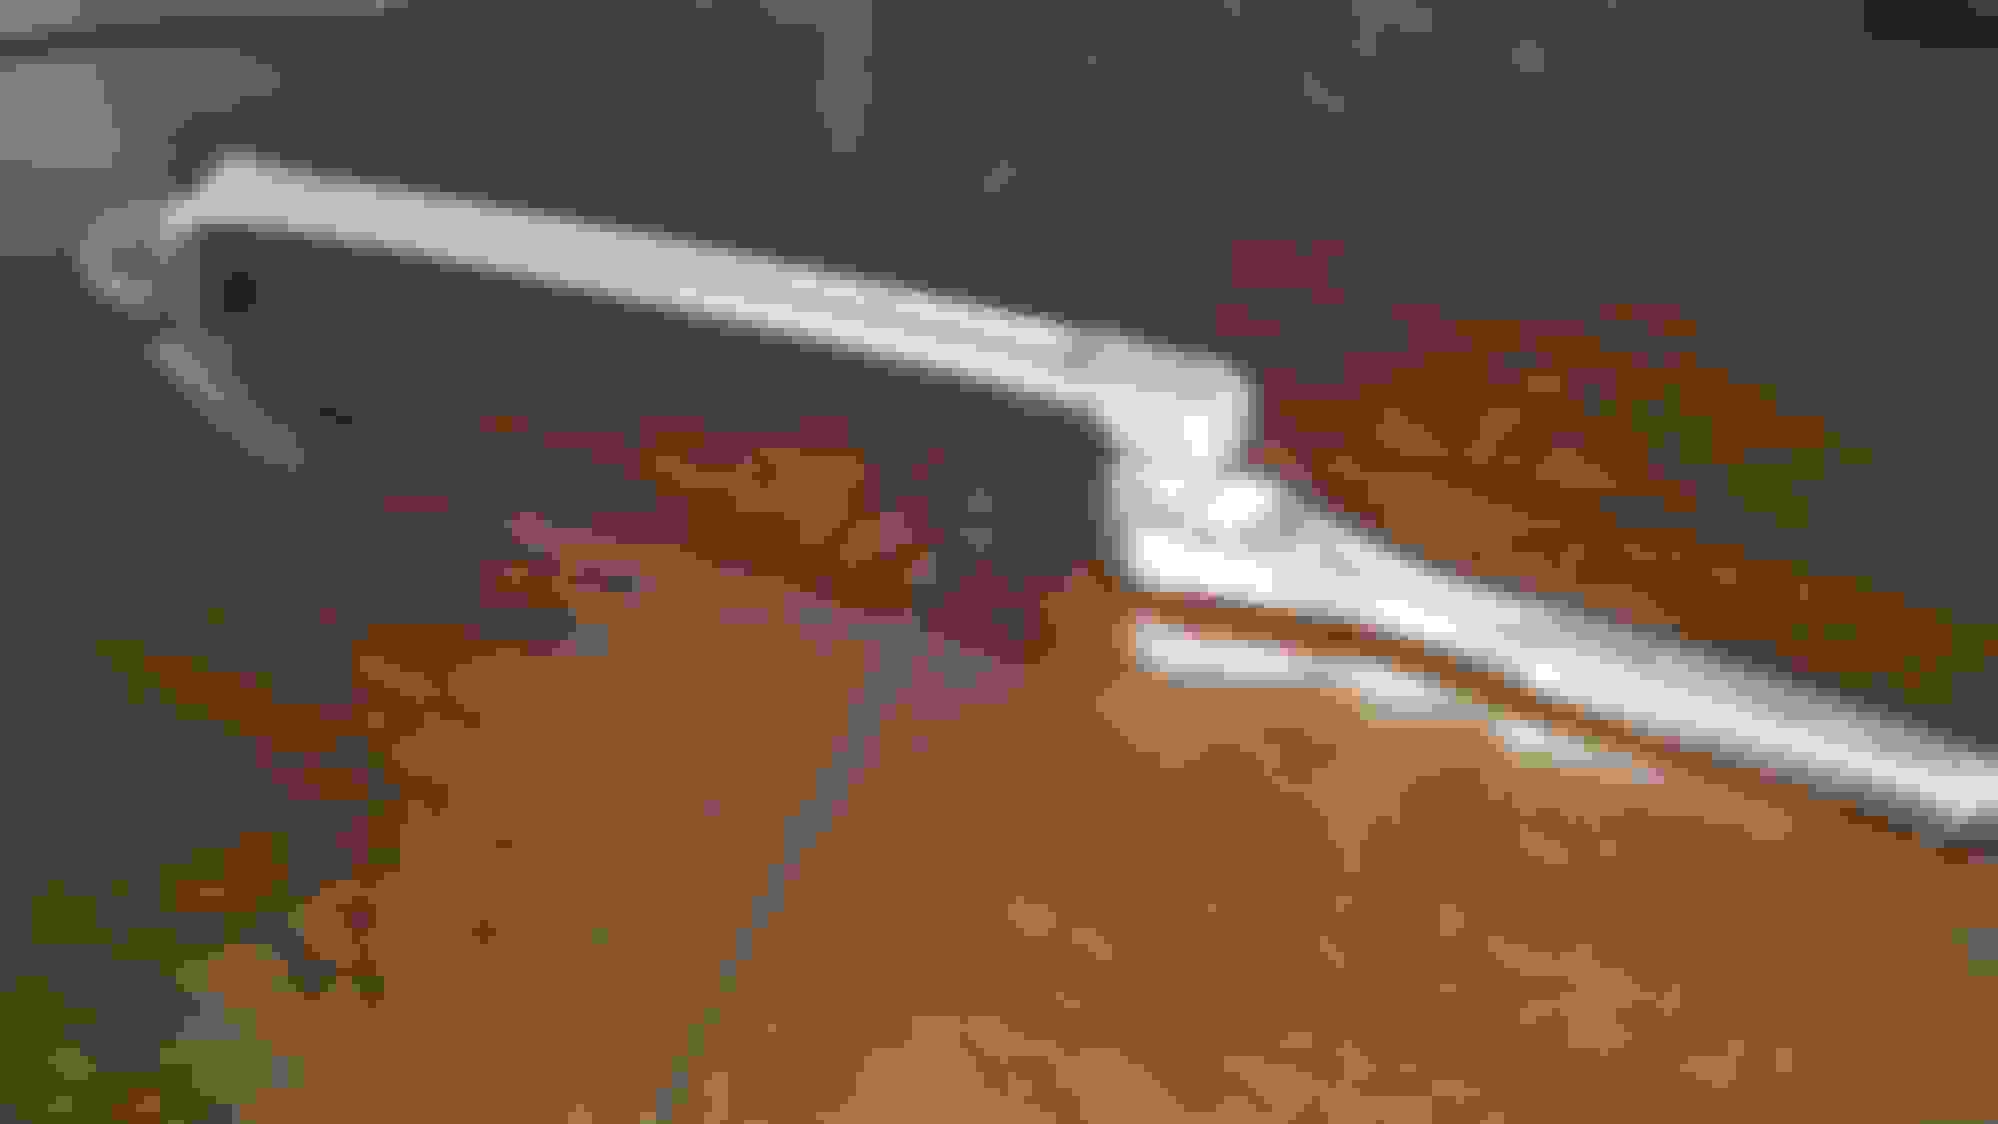
Engine mount nut removal...
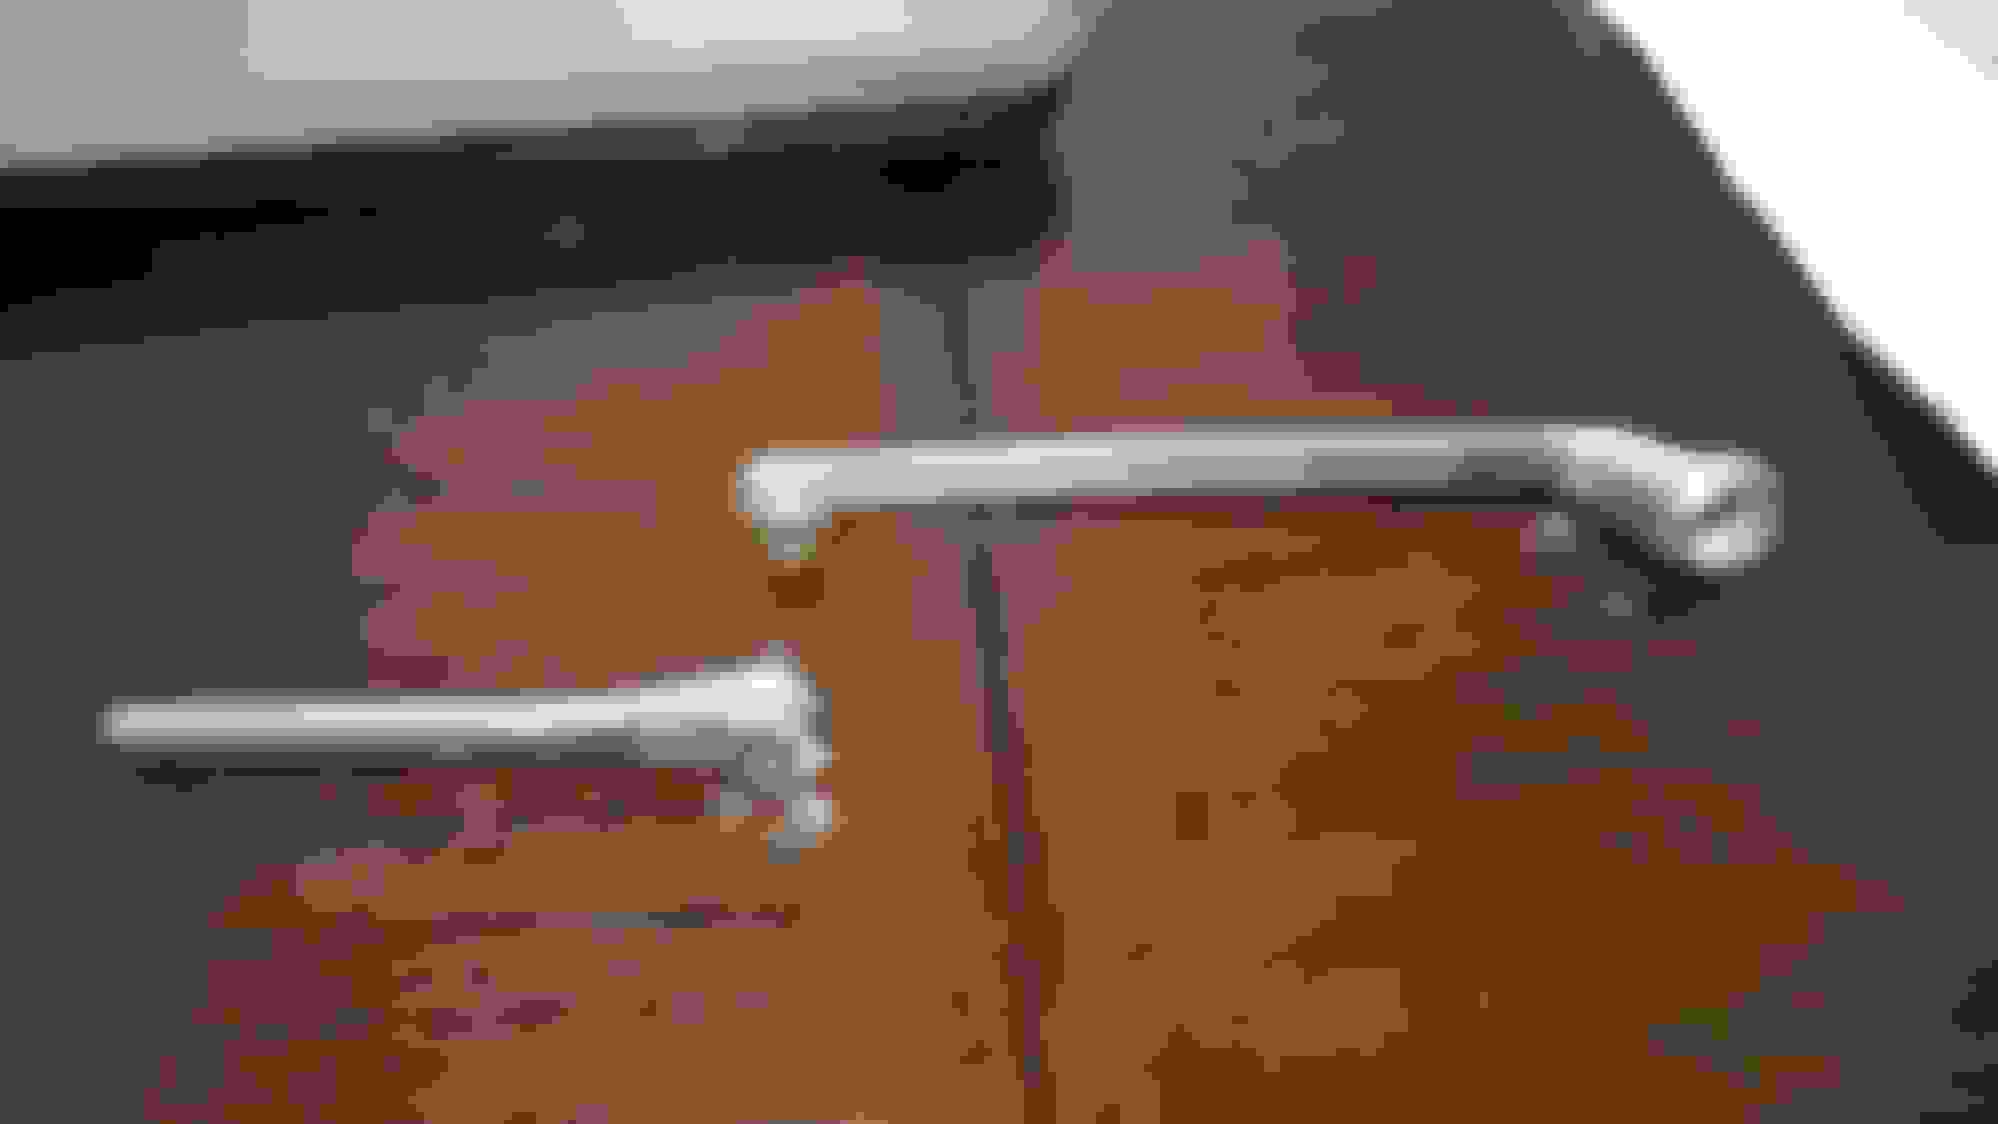
To remove the right mount top nut I modified a 17mm offset wrench. I used a makeshift extension with the wrench to apply more force. Worked great.
I'm still working on the left mount top nut. The modified 17mm wrench fits snuggly on the nut but I don't have enough leverage to break it free yet. My makeshift extension isn't at the correct angle for the left side. I'm not too concerned, I should be able to fabricate something that fits.
To remove subframe on 600hl the inverter coolant pump bracket must be unbolted from the subframe.
It is secured with a 10mm bolt ( easy to access) and a 12 mm(harder access). The 12 mm has 4 wire harnesses above it which add some fun. It took me about 15 minutes to figure out it was 12mm and not 10mm. It came right off after that discovery!
So far removal of items has gone smoothly. I'm thankful I haven't had any seized or heavily rusted bolts. Maybe having everything soaked in oil is a blessing in disguise, albeit a dirty disguise. This thing is filthy! By the time I'm finished half of it will be washed down the sink.
That 10, I mean, 12mm bolt under the wire harness is a tricky sucker.
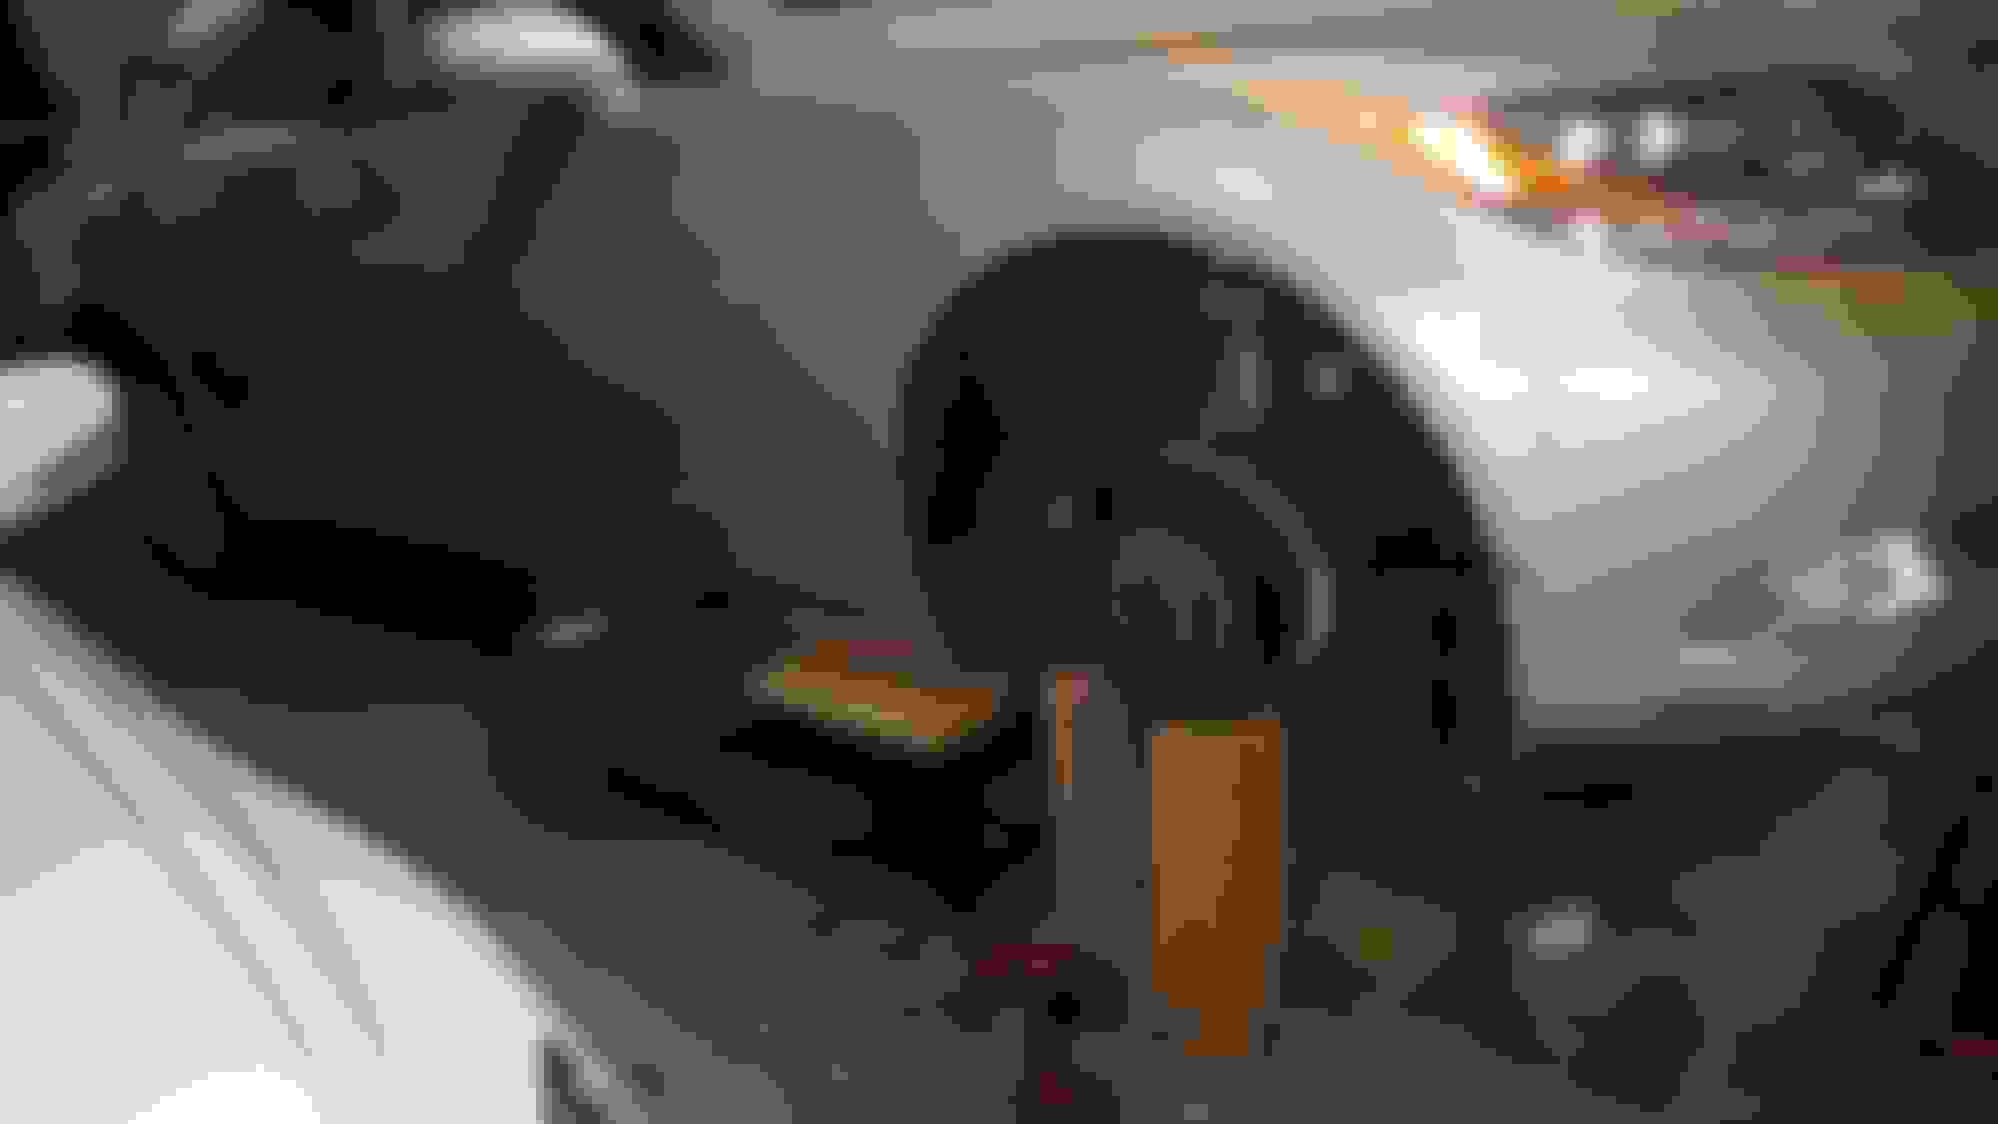
Trying to be safe... 2 Jack stands, 2 ramp jacks ( the pinch weld seams were already pancakes), plus the wheels.
Steering shaft bolt is very easy to access.
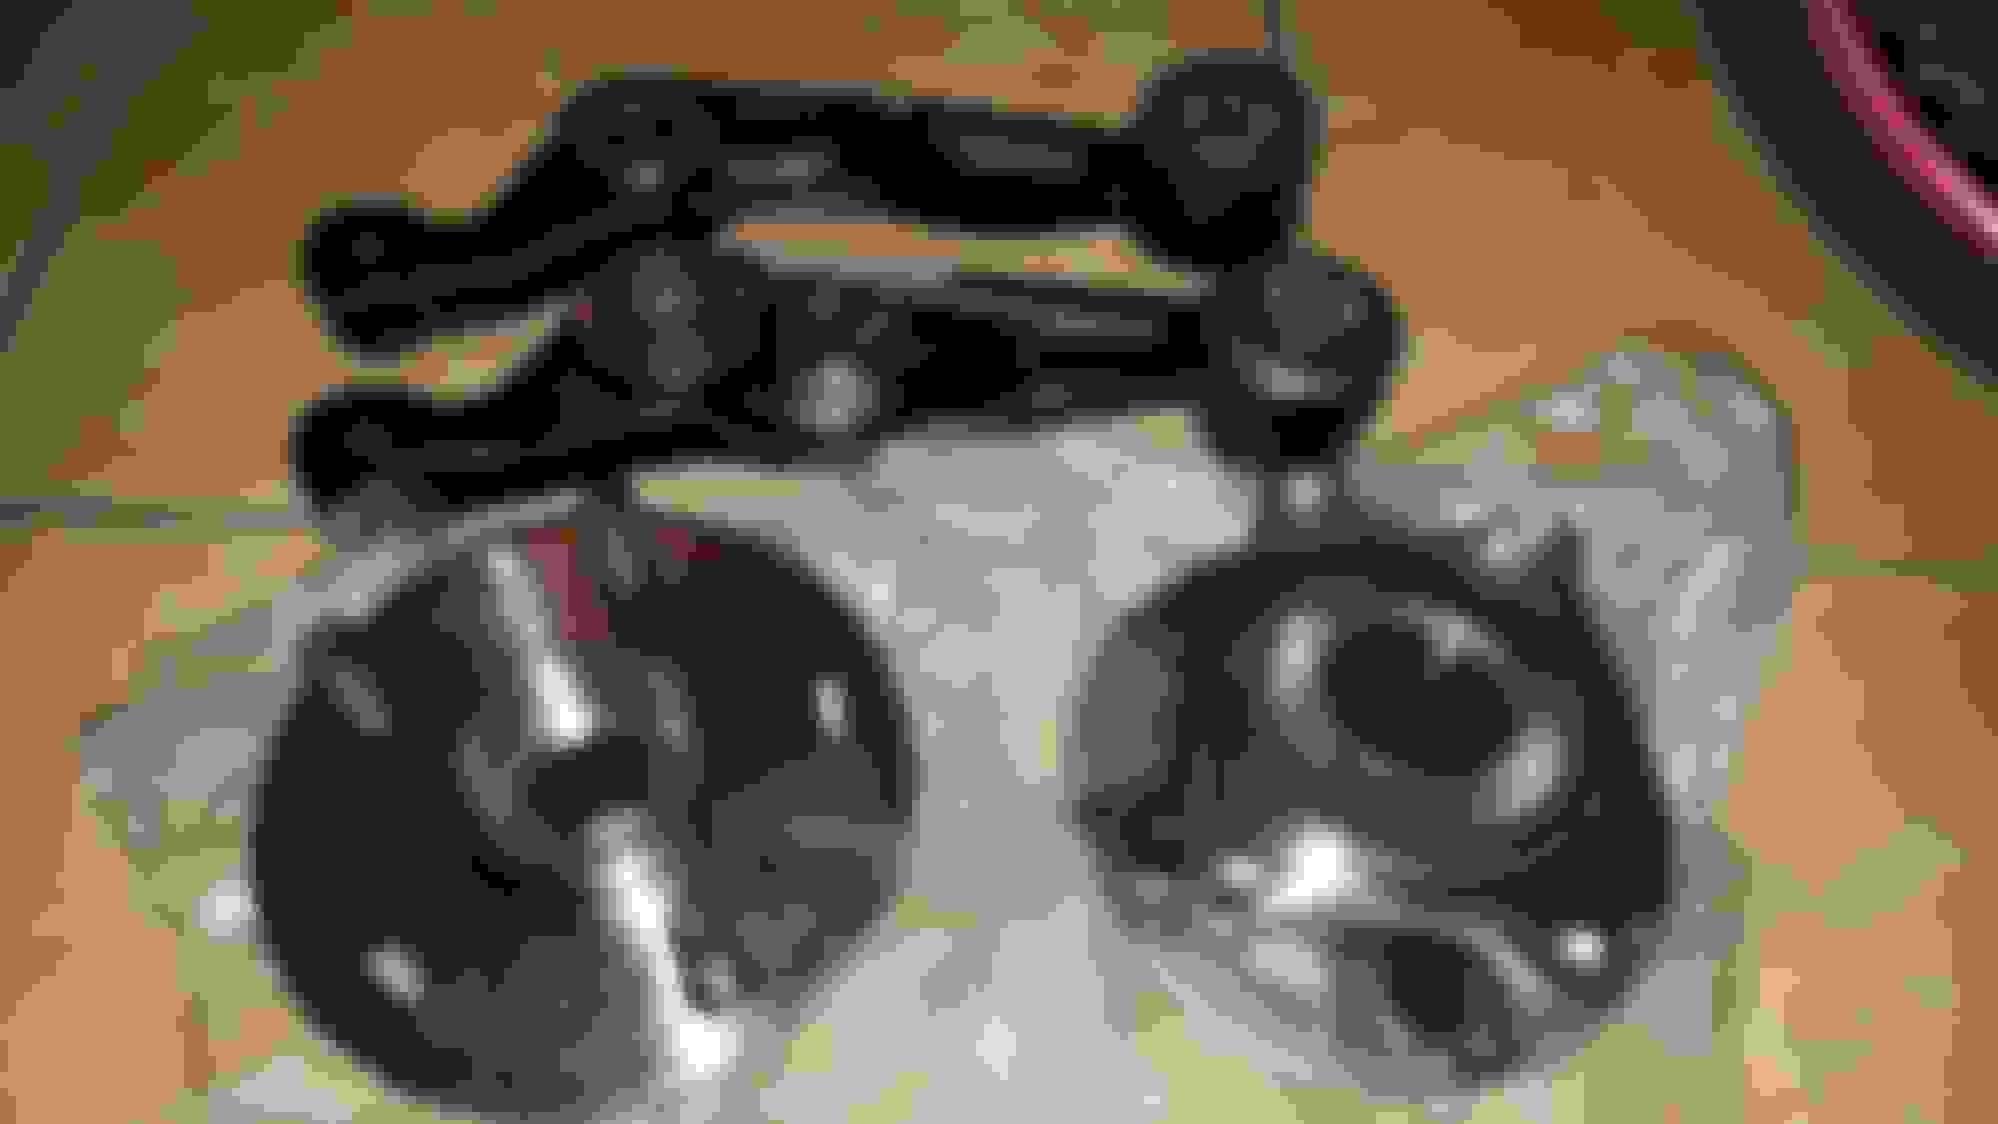
I have new oem front lower control arms to install. With new ball joints.
I wish the rwd ball joints unbolted like this, piece of cake to change. I didn't bother to disconnect the control arm since it's toast.
Sway bar...
The sway bar end links both had these inside nuts being used as spacers. They are oversized and do not thread on. I assume this is not stock. I haven't looked them up yet. I have 2 new end links on order. I'm curious to see the difference.
That is a nice control arm design with the bolt on connection. That would have been nice on the RWD as well. Good luck getting the other top nut off on the engine mount. Are you having vibration symptoms related to the mounts, or just changing them out due to mileage etc.?
Anfanger, the oil in the video seems to be coming from the fill cap. If I had to guess someone was careless when filling it with oil. Once I start driving it I should verify the cap isn't leaking.
There is also a seperate oil slick toward the back on each side. Those are the hp fuel pumps leaking. My plan is to replace the hp fuel pump seals but leave the valve cover gaskets alone, at least for now.
You're right, if you have a starter it would probably be a good time to replace it.
When you replaced your wheel bearing how stuck was your drive axle in the hub? I'm trying to get an idea how much of a chore those are going to be. Are there any bits and pieces in the cv shaft that can fall out of place by just moving it around? The wheel bearing itself looks easier to remove than the front ones I replaced on our rwd 460. There is much less surface area contacting the knuckle on these wheel bearings.
In my case, the axles came out with some moderate knocking with a center punch.
Make sure to support the axle when it gets free. Otherwise, there is a risk to tear the boot. Due to the nature of the axle, try not to extend it.
If you do not have a tool to press out the hub, remove the whole knuckle. Support it while in the same time allowing the bearing to stay free. Knock the bearing from opposite direction with a punch. Avoid any damage to the knuckle.
I would spray some penetrating oil 10-20 minutes before the work. The surface area contact between the bearing hub and the knuckle is less than in RWD.
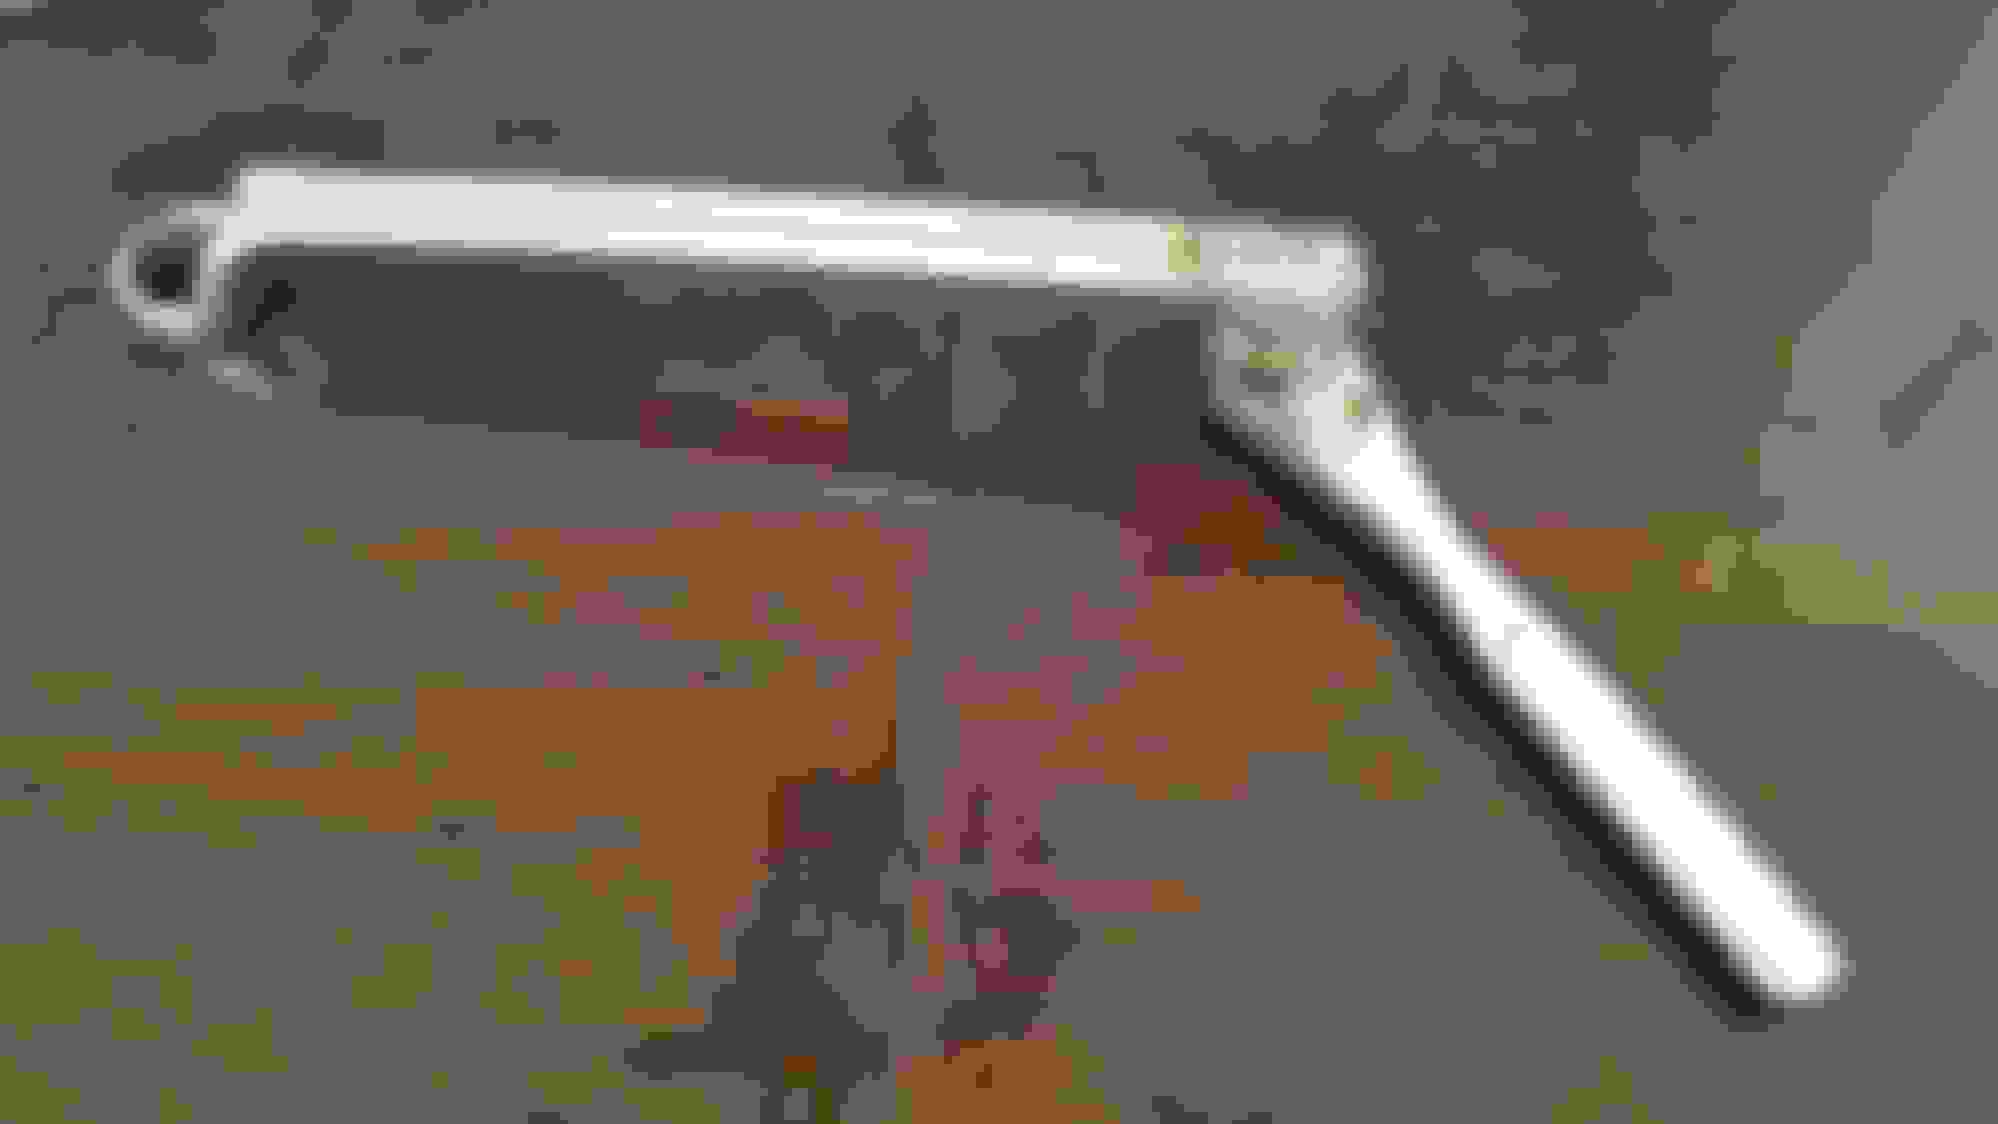
The last struggle is complete...
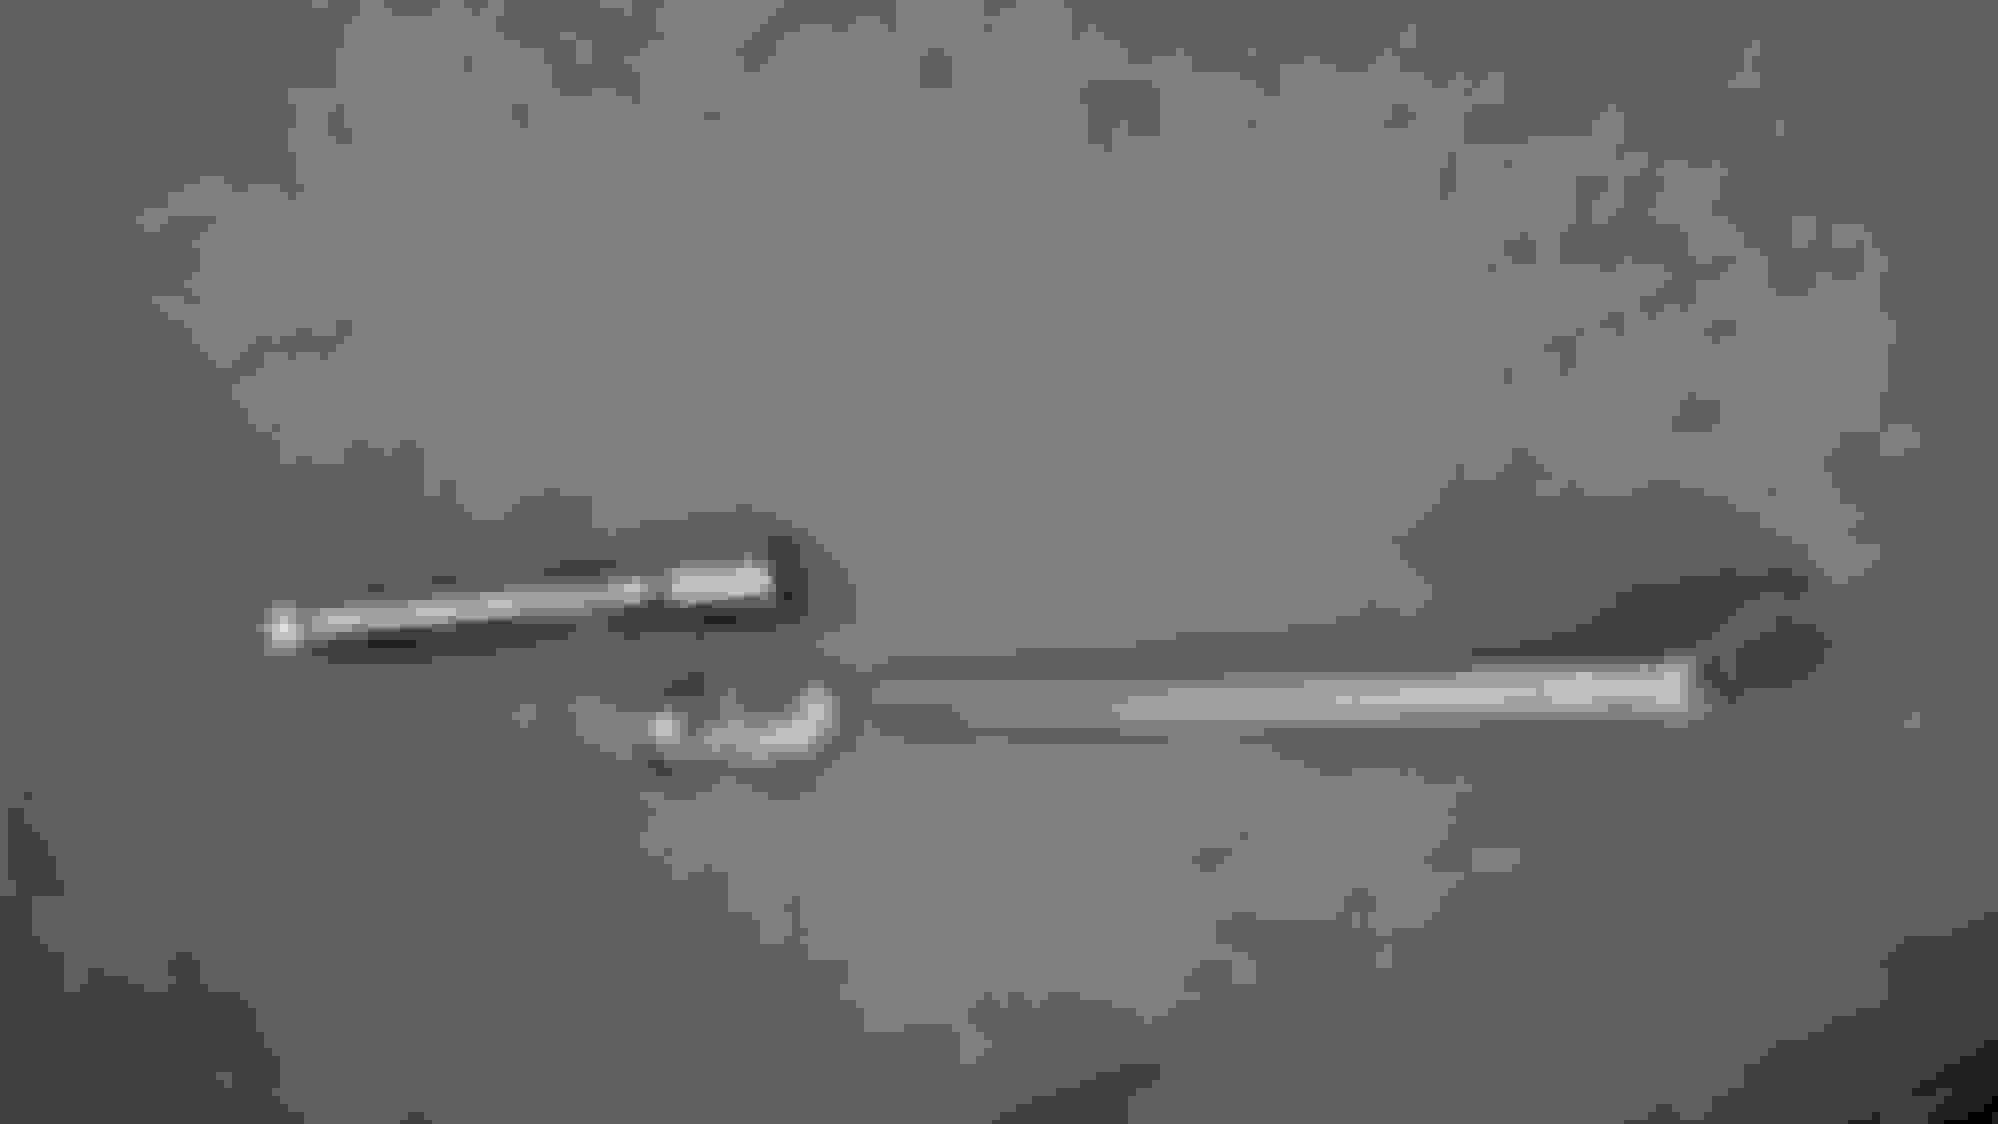
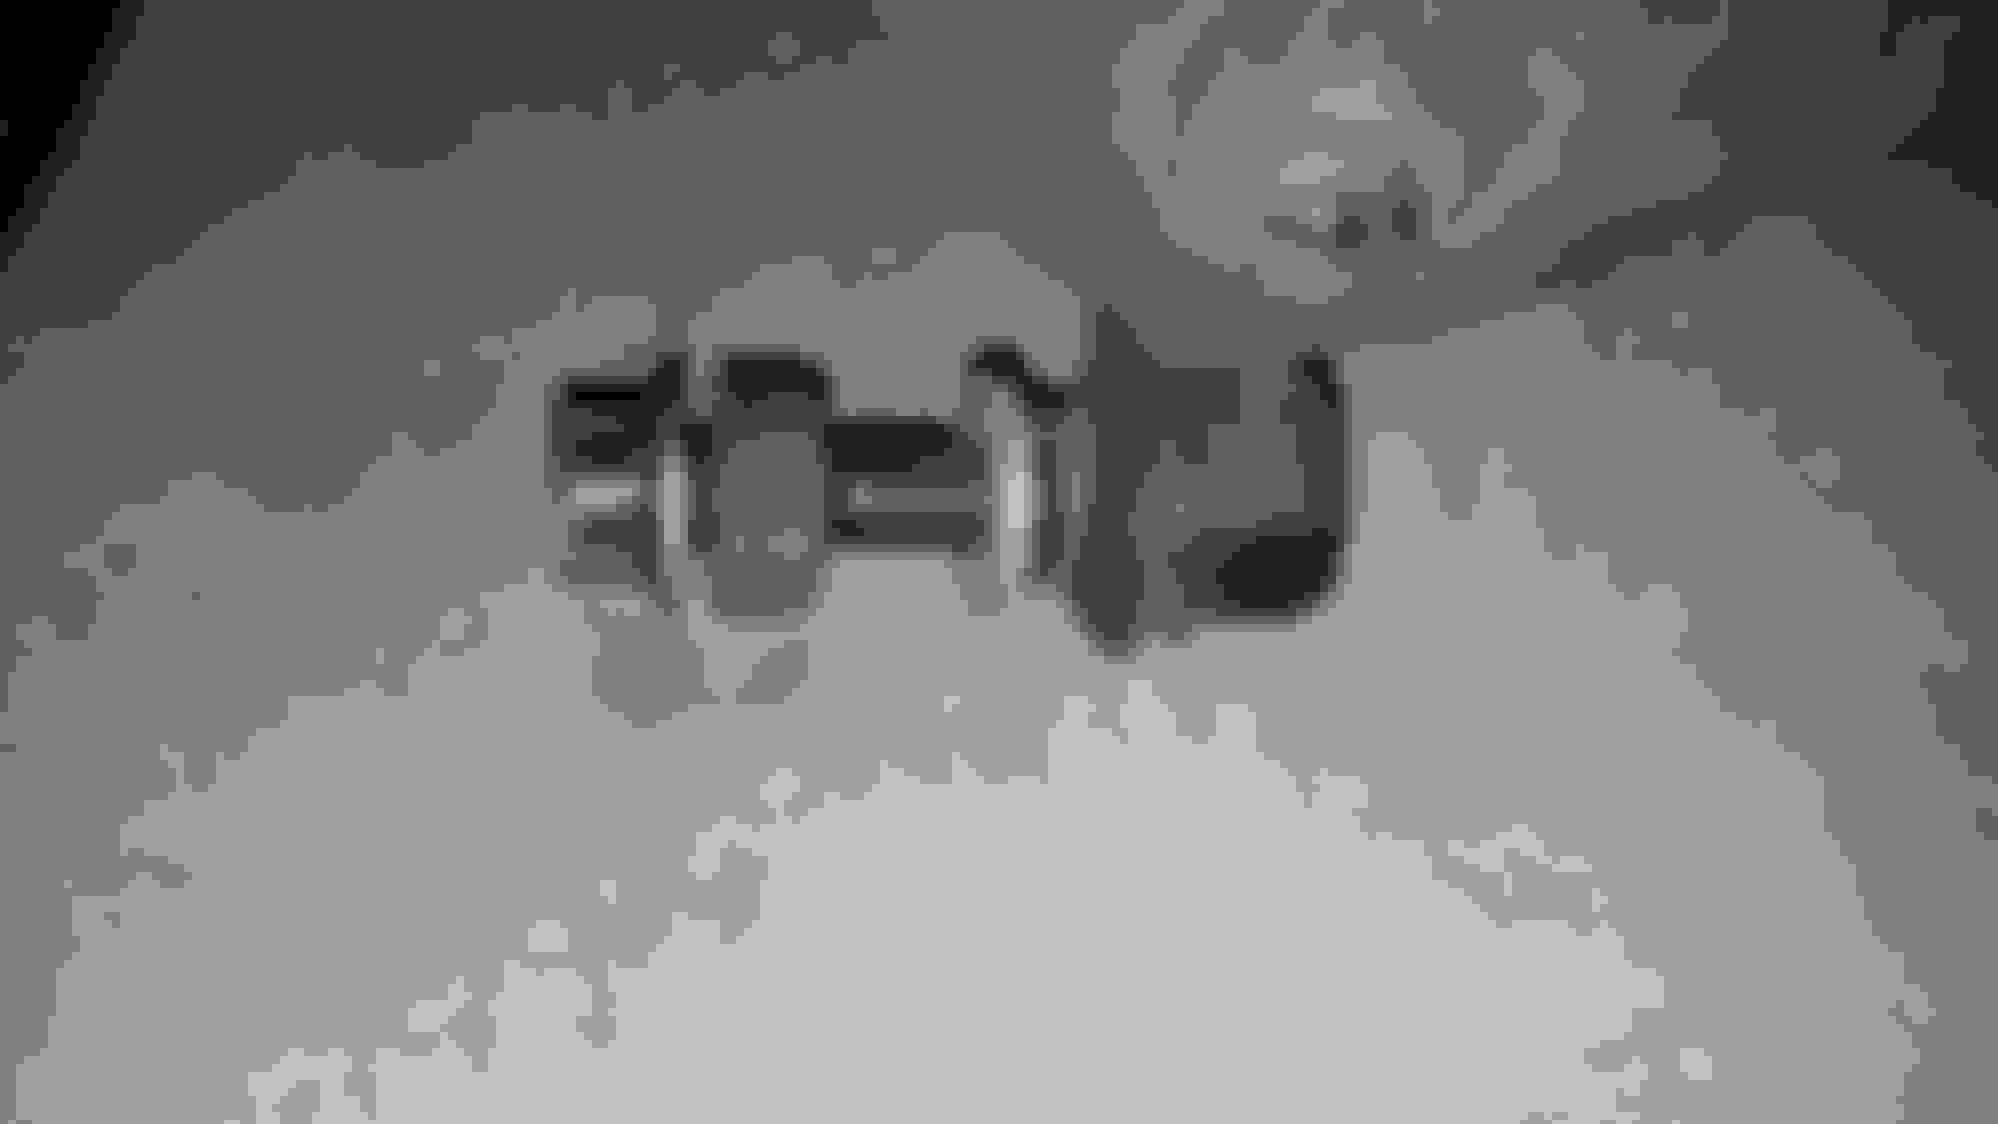
I was able to remove the left top mount nut today. This is what I used. With the steering rack removed the steering shaft wasn't a factor. It lays in such a way the offset wrench fits on top of the steering shaft in perfect contact with the nut.
I shaved down the 1/4" to 3/8" adaptor so the ratchet would be more inline with the nut.
It was a little too long when straight. Since the ratchet angle can rotate I didn't need to shorten it. Shaving 1/4" off the end of the ratchet would make it just right.
That is a nice control arm design with the bolt on connection. That would have been nice on the RWD as well. Good luck getting the other top nut off on the engine mount. Are you having vibration symptoms related to the mounts, or just changing them out due to mileage etc.?
The main reason I'm replacing the mounts is the engine is loud. It's a completely different noise than our 460 made when its mounts were bad. I'm not convinced the new mounts will resolve the issue, just one more item to check off the list. Inside the car there is a slight vibration that can be felt. I do believe the vibration is due to aged mounts.
While replacing the tensioner pulley I spun the water pump by hand. The water pump pulley had no discernible play but the bearings made a little noise. There is some dried coolant near the pump too. My current guess is the water pump is contributing more to the noise than the mounts. Water pump replacement is next on my list.
I did this leak check on the exhaust about a week ago. I didn't find any leaks. My buddy let me borrow his diy smoke "machine". Helpful tip to anyone to builds one of these. Don't use lavender scented babyoil. It leaves a stink that lasts days.
 03-01-21, 08:24 PM


 . Don't worry about removing these connectors. There are 2 plugs toward the front of the subframe. This is where they get disconnected. In my picture with the rack removed you can see a few short wire harnesses still hooked up.