When you click on links to various merchants on this site and make a purchase, this can result in this site earning a commission. Affiliate programs and affiliations include, but are not limited to, the eBay Partner Network.
One of the old mounts was damaged. The other mount was showing its age but still intact.
The video has a fairly good description of what I did. The flip flops and 2x6 boards were to support the front of the subframe if it slipped while I was swapping the mounts out. My neighbor was also supporting the front. If the subframe were to fall out I think it is heavy enough to pin someone to the floor.
I was able to thread the top nuts on the mounts by hand. Once they were finger tight I struggled to get them any tighter with my welded 17mm wrench. If it was tightening them it was very slow going. Working on my back stretching to reach the nut and wrench got old fast. I realized a shorter 17mm would help a lot. I picked 2 more sets up at harbor freight. Once I made a shorty 17mm I was able to snug them down easily. After snugging them down my long modified wrench was able to tighten them further. Then I added the 1/4" ratchet on the end and torqued them down. I'm almost certain they are tighter now than when I removed them.
The right side has the oil dipstick tube. I added a very short 1/4" extension onto the ratchet to do the final torque on that side.
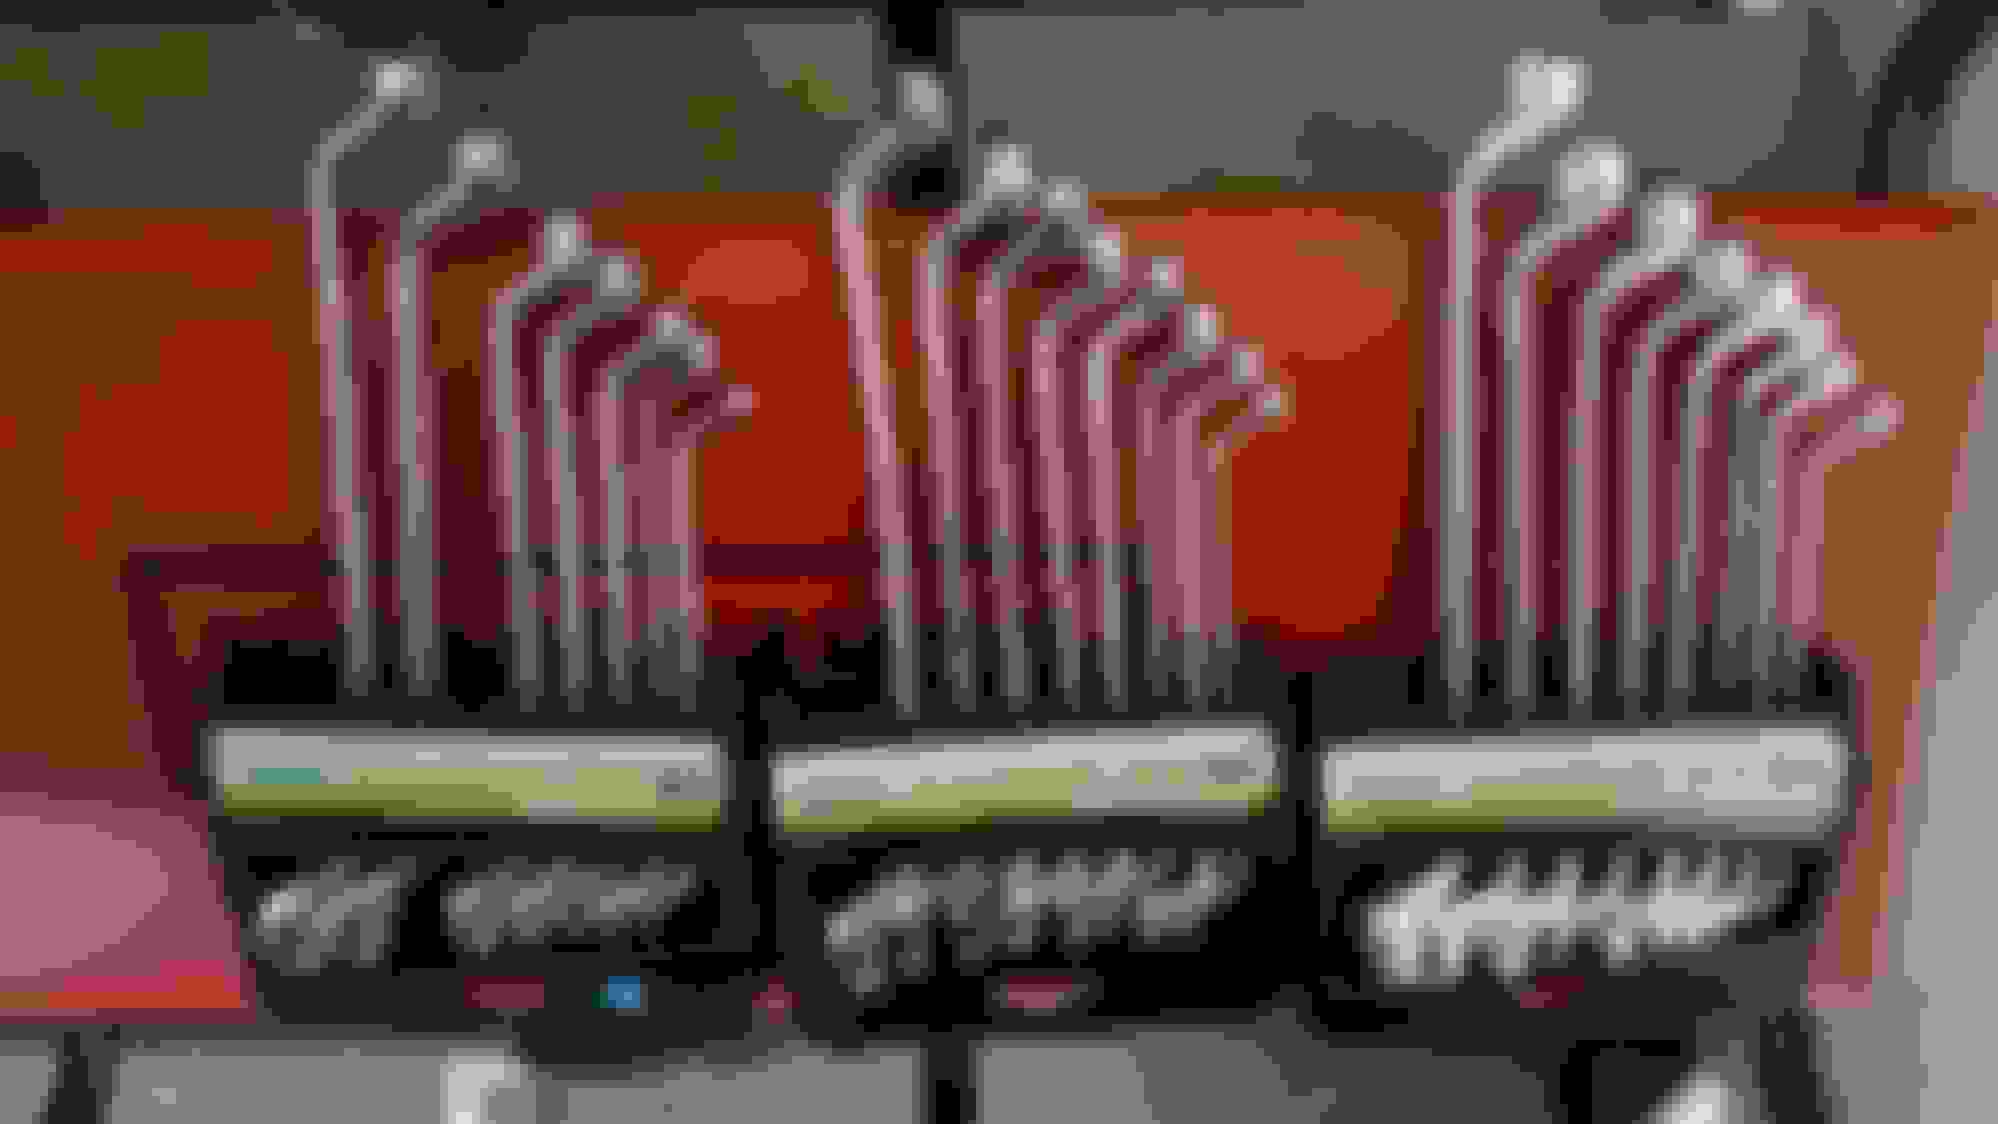
Wrench sets for sale, no 17mm
I only used the 1/4" extension on the right side.
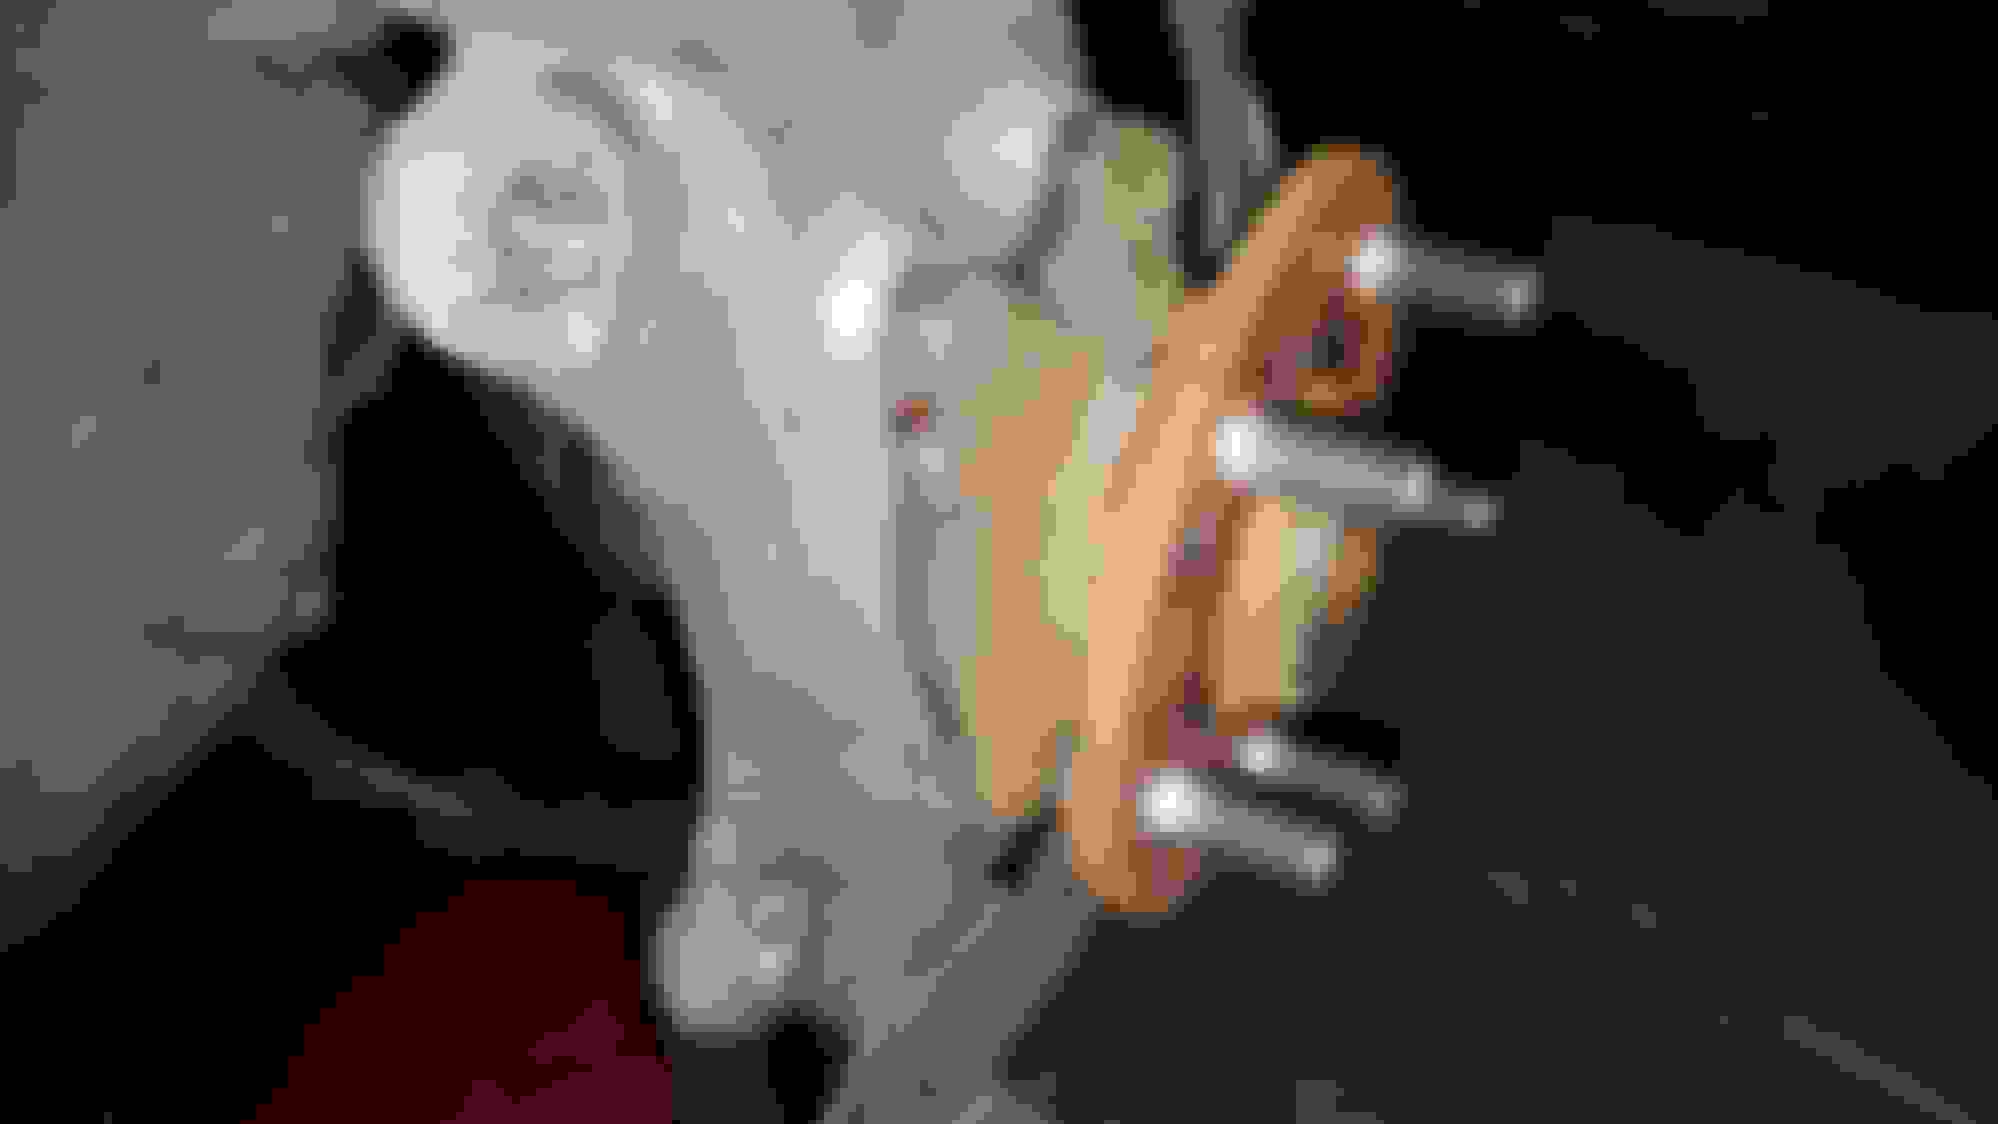
Right side with ratchet and 1/4" extension to clear dipstick tube.
Right side with ratchet and 1/4" extension to clear dipstick tube.
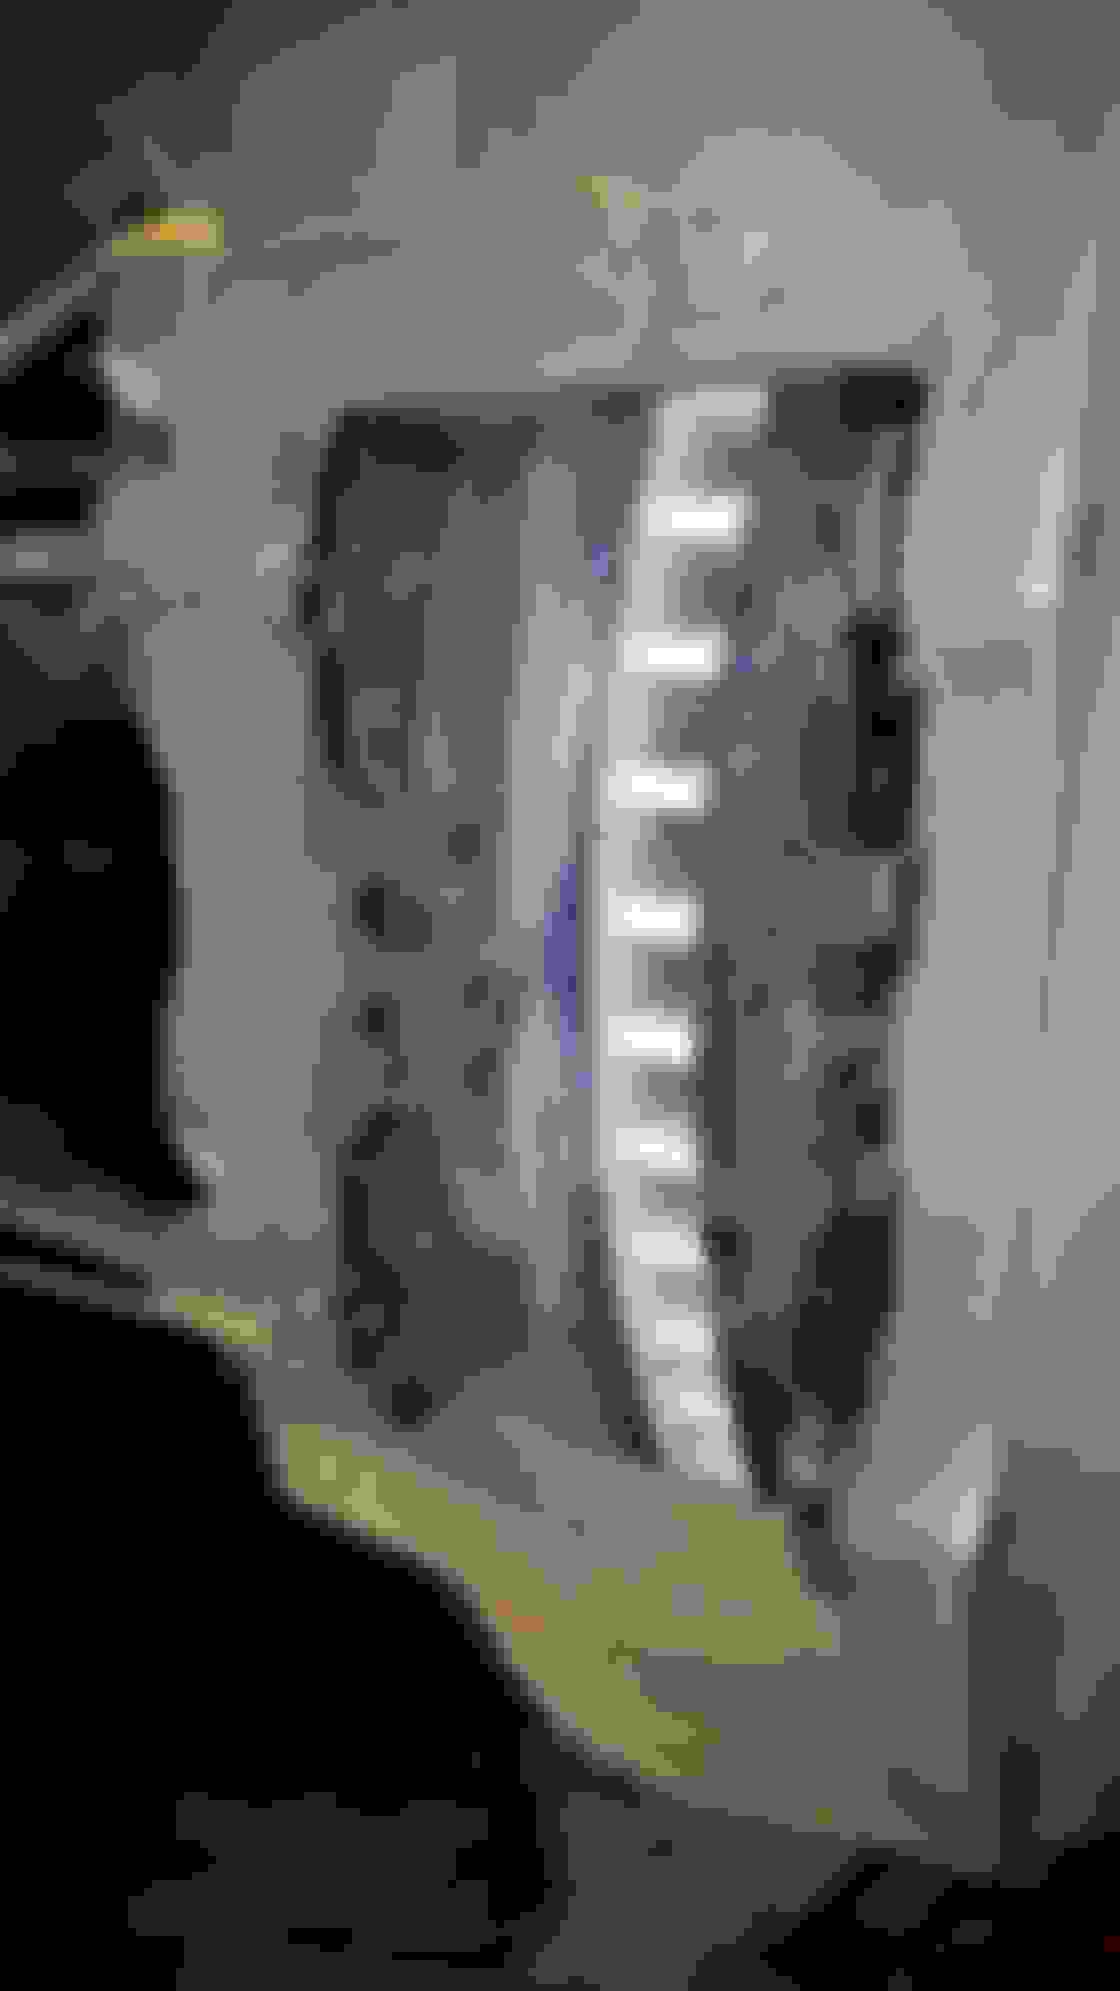
Left side
Left side
Left side, has more access then the right.
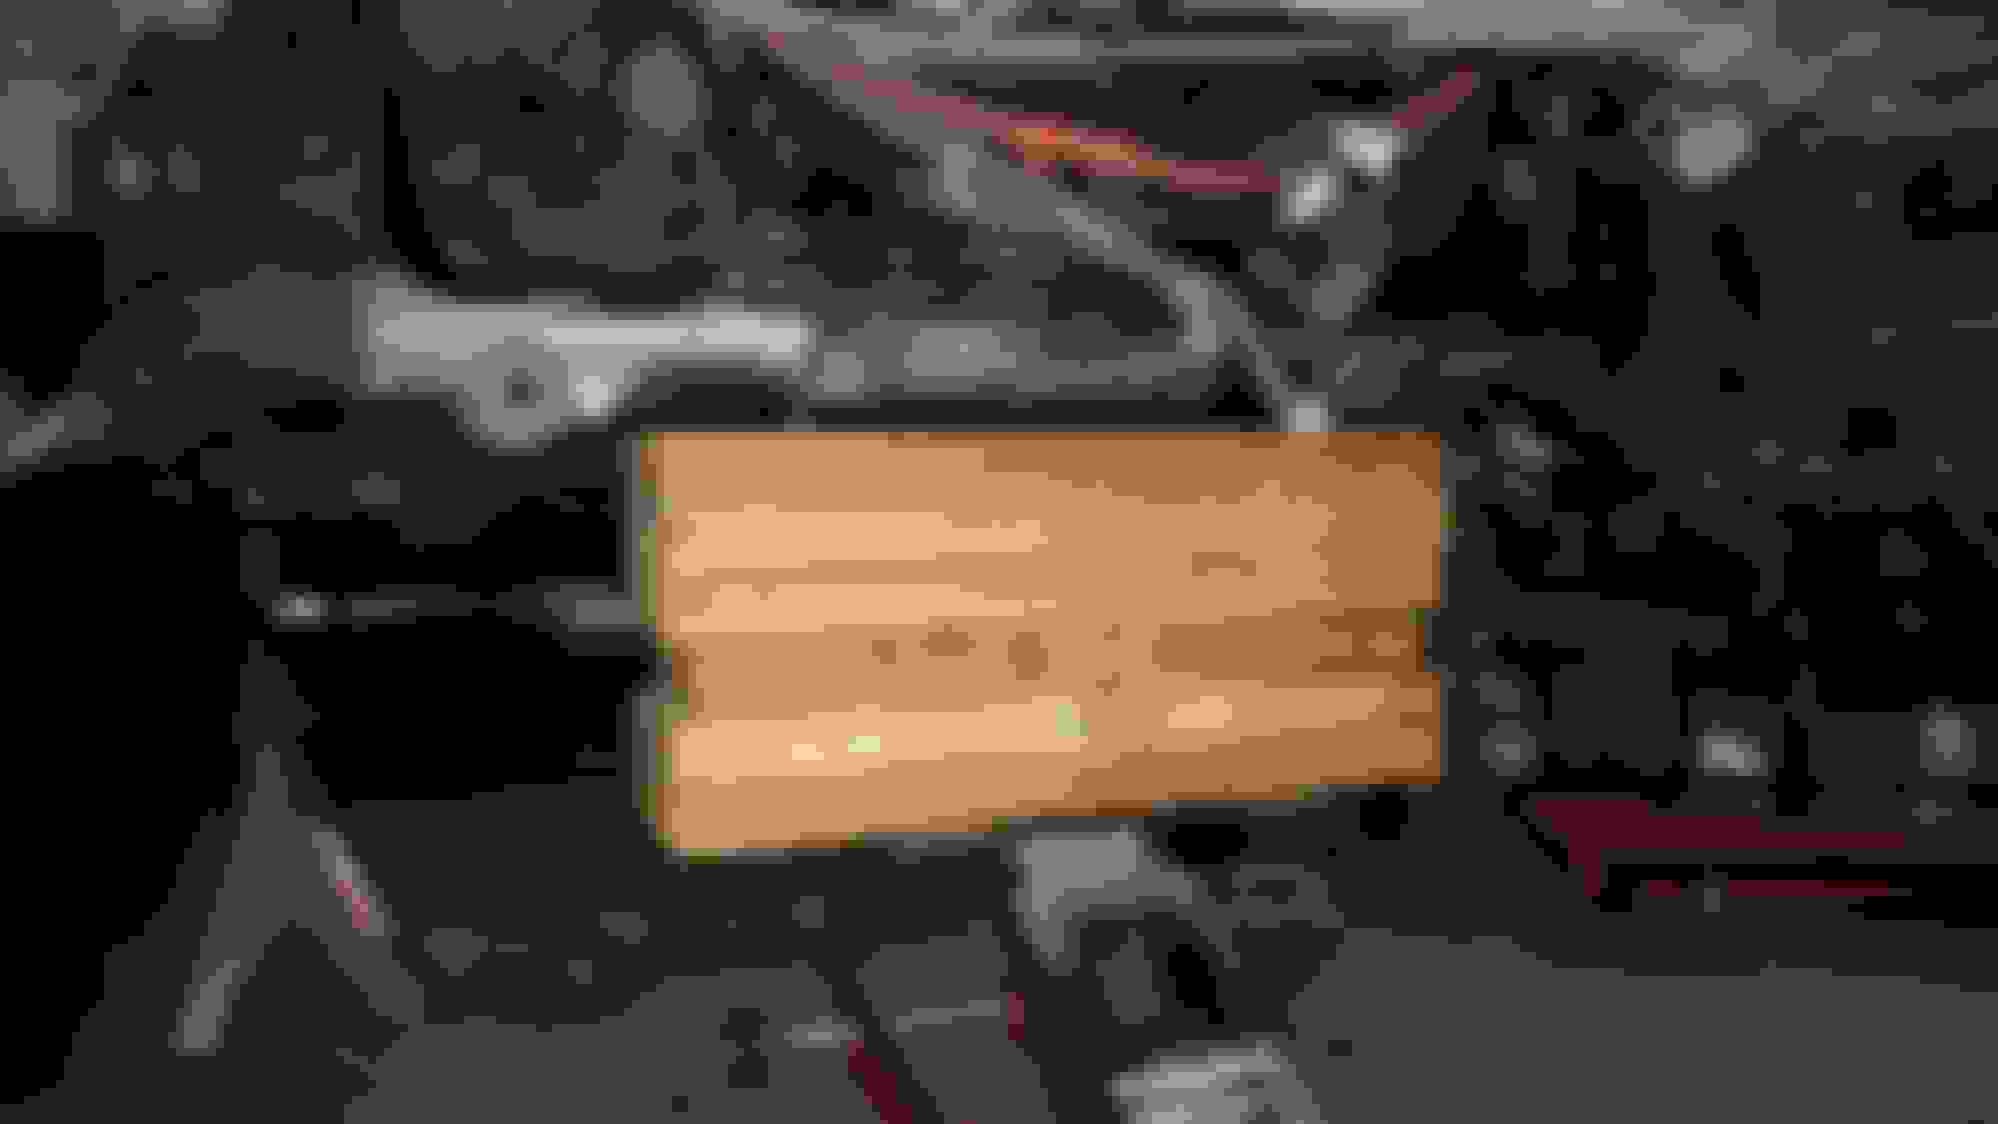
I also cut down an adaptor to make a 1/4" ratchet fit a 17mm socket. The small square used to look identical to the 1/4 to 3/8 adaptor.
The square on the ratchet used to look like the adaptor in this picture.
I shaved down this 17mm socket to shorten the setup further. This setup never did turn the nut. It did fit on the top nut, but just barely. Ultimately, it got jammed in place by the exhaust manifold. I spent 30 minutes trying to get it back off! I never used it again. I don't recommend trying this method.
Do you need to remove some of control arms to replace the mounts?
There are probably a few options.
I completely removed the front lower control arms so they wouldn't be a factor. The rear lower control arms I left mounted to the subframe. I did remove the rear lowers from the knuckle.
Another possible option...
I suppose if you unbolted the strut from the lower control arm the assembly with the steering knuckle might drop far enough. But it also needs to rotate back a bit. I'm not sure if the knuckle geometry would allow that?
Or
If it is stuck bolts your worried about I'm sure you could detach the lower control arms from the steering knuckle and do it that way. That way you don't need to mess with the control arms where they mount to the subframe.
It is back together. The annoying engine noise is gone. Last night during my test drive I caught myself checking the screen to see if the engine was on or off. While standing outside the car I do feel like the engine is still slightly noisier than our 460. Maybe changing the water pump will do the trick. Endless pursuit of perfection.... Next up I plan on addressing the oil leaks.
Here are some more pictures of the reassembly.
I replaced both front wheel bearings. These like the ball joints are sooooooo much easier on the awd model. They can be replaced by simply removing the brake caliper,disc, and axle nut. The axle shaft on one side came loose with a few taps of a hammer. The other side I had to whack a lot harder, it eventually came loose.
All of the knuckle / control arms can remain assembled. To remove the 4 bolts I used the same 17mm offset wrench (my 17mm socket didn't fit). There is an opening in the brake heat shield. I inserted a punch in the opening and tapped the back of the old wheel bearing. The other side of the wheel bearing can be directly tapped from behind with a hammer. After about a minute the wheel bearing was completely free. No air tools needed.
I made one error. The brake set I ordered is for rwd. They fit on but were 1" shorter in diameter. Luckily I noticed the brake pads were 1/2" too long
I used a jack to position the steering rack. This worked really well. It's much easier to line everything up than trying to wrestle it by hand. If I need to remove it again I plan on using the same jack.
I didn't realize those sensors are expensive. If I had to hit the bearings with any force I may have done the same. I probably could have removed both of mine by simply pulling on a lug nut, neither were very stuck. Good to know for next time. I'll definitely be mindful of the sensors.
These are the bearings I used. They were $40 each shipped. So cheap it's almost scary to use them. In my 460 I used similar cheap bearings. I think they were $35 each. I've had no problems with them. Like my 460 I coated the bearing contact surfaces with anti seize in anticipation of them having a short life. When I do the brakes I plan on replacing the rear bearings too.
Control arms...
The lower forward aftermarket control arms were all out of stock
I purchased these arms from this place. They are local to me and offer discounts in person.
I got a bunch of stuff from that seller too. Though, recently I started suspecting that the sellers resells so called "grey market" parts due to some missing markings.

 03-09-21, 06:07 PM