When you click on links to various merchants on this site and make a purchase, this can result in this site earning a commission. Affiliate programs and affiliations include, but are not limited to, the eBay Partner Network.
Restoring faded and scratched wood trim panels in a 2007 Lexus LS460
Writing this for posterity so that anyone attempting this can benefit from my mistakes. It's my first time attempting anything like this and the results are far from perfect but it's a big improvement.
What I used:
- Porter Cable 7424 dual-action polisher
- Meguiar's Ultimate Compound, Ultimate Polish, and Wax Paste
- 3000, 5000, 7000-grit sandpaper (as a test on a few rear trim pieces)
Thoughts:
- Almost every wood trim panel was horrifically scratched, almost looks like the previous owner used brillo pads instead of microfiber to clean the car.
- The first few images are the rear seat ashtray covers and panels, I wanted to test what results I could get from only wet-sanding and hand-compounding. These results were pretty abysmal.
- All other images were using a DA polisher for a few minutes on each trim panel.
- DA compounding then DA polishing yielded great results. I was using a medium cut 3" pad at speeds 5-6 for compounding, 3-4 for polishing (speeds range from 1-6).
My recommendations if you're considering doing this:
- This is not worth doing if you refuse to use a DA polisher (the much-loved Harbor Freight DA polisher is like $60 so get that if on a budget).
- If your scratches look like mine, wet-sanding is probably a waste of time. Just use a DA polisher with a compound.
- Removing trim panels is very easy (buy a plastic spudger tool for this and watch youtube videos), even if you've never done it before.
- I suspect using a more abrasive compound like Meguiar's M105 and a harder cutting pad would've yielded better results than what I got.
- If you have a deep chip or gauge like I did (center console trim, at the front of the cupholders), I used a cheap mahogany-wood marker to touch up the color, then a Dupli-Color clear coat touch up pen to fill in the chip - not perfect but significantly better.
- If your trim is as scratched as mine, don't be afraid to crank up the speed and apply a bit of pressure. I was so worried about burning through the clear coat that I kept checking after every few minutes of DA compounding. Finally got impatient and cranked the speed to 5-6 with a little pressure, going very slowly, and this cut through most of the scratches.
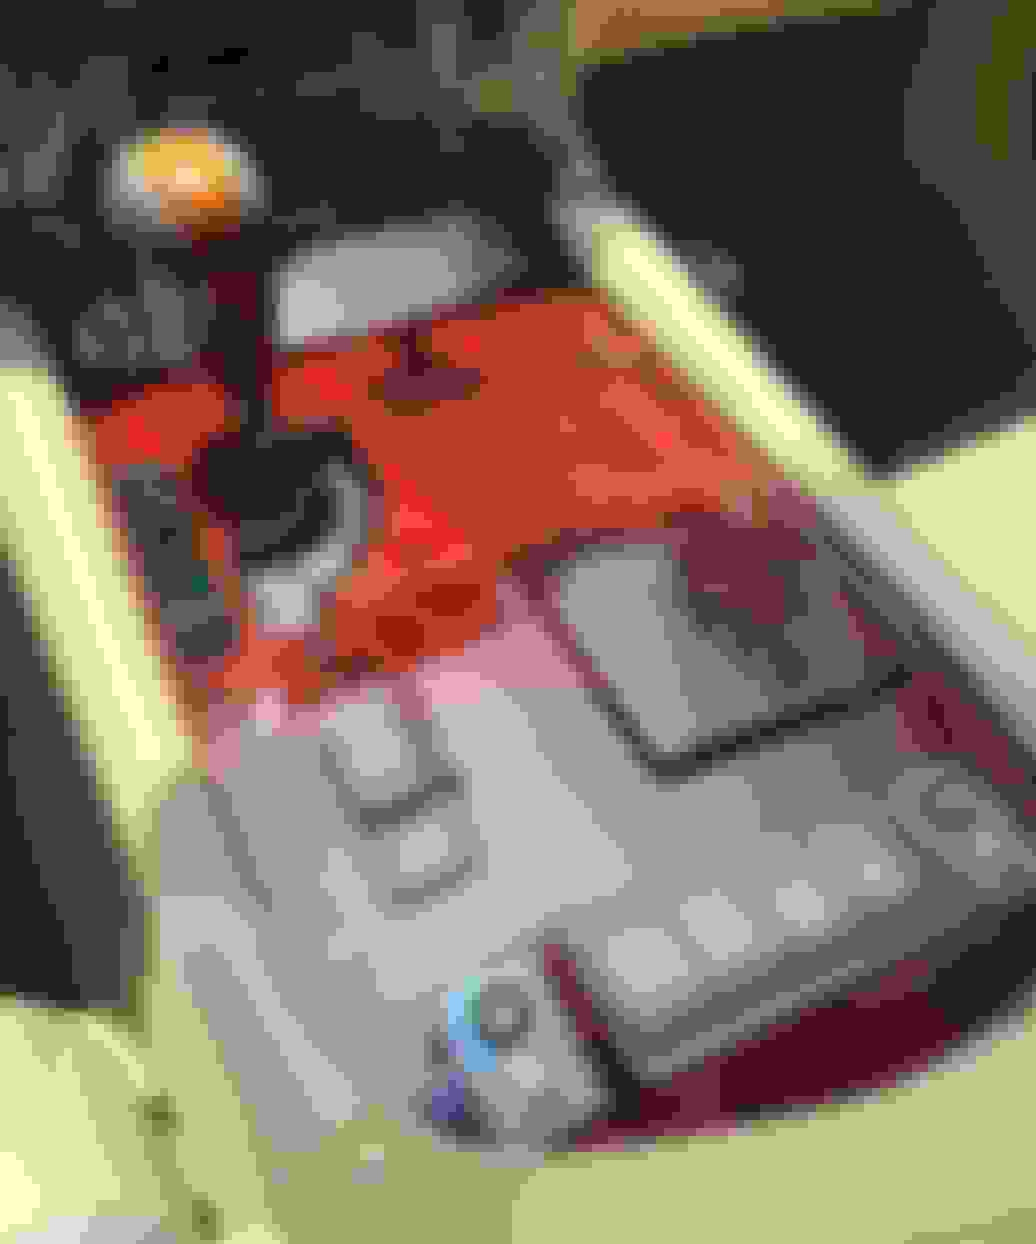
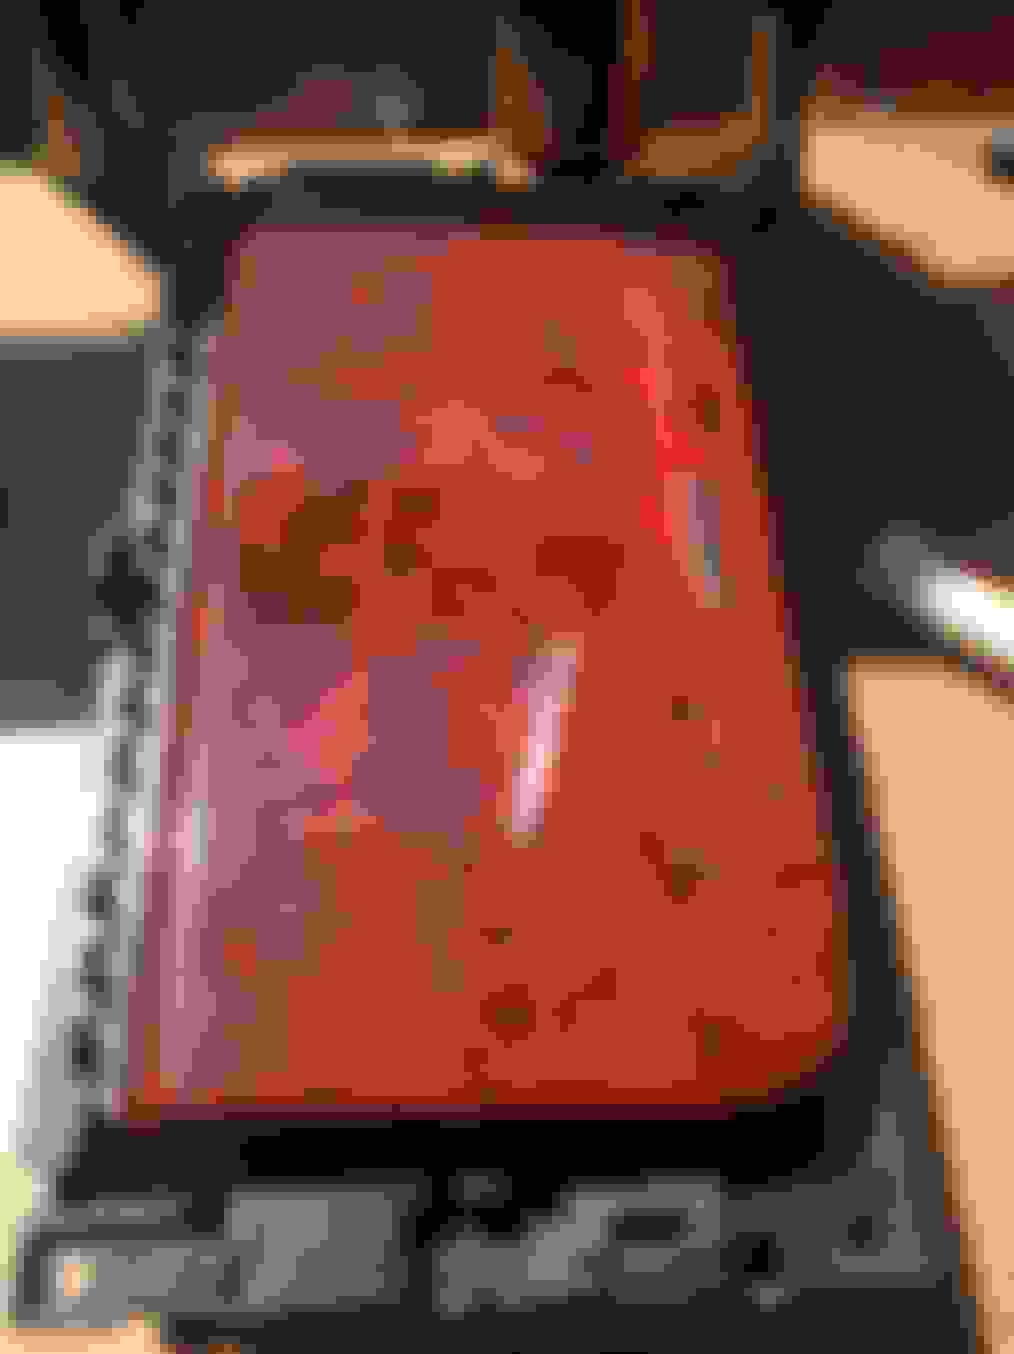
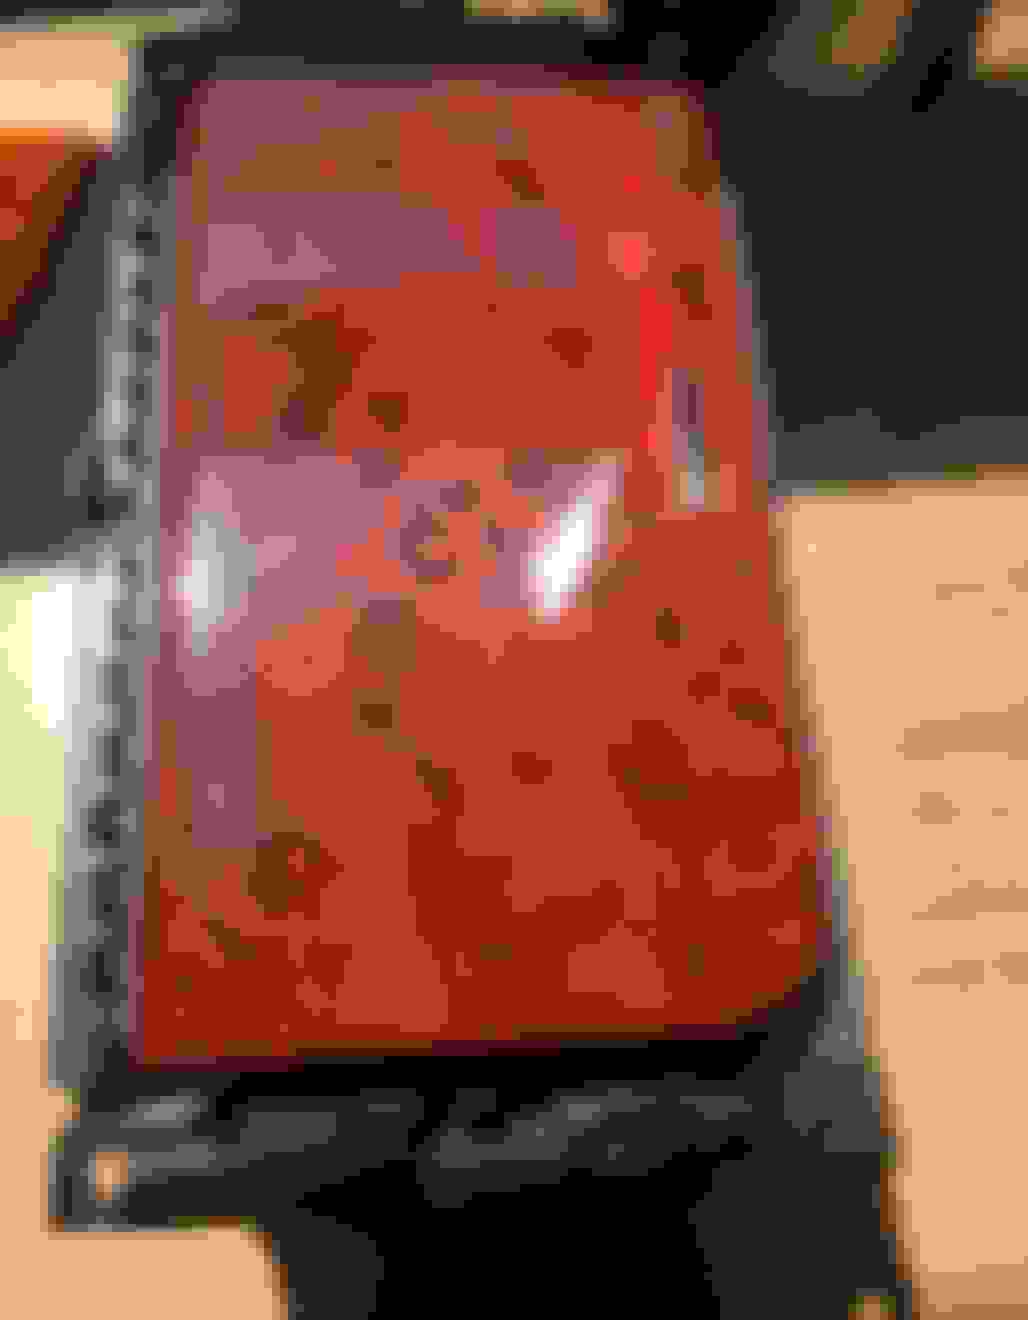
Before Wet-sanding with 3000, 5000, 7000 lightly After hand-compounding and hand-polishing Before After wet-sanding with 3000, 5000, 7000 lightly, then hand-compounding and hand-polishing Before After DA compounding, polishing, and hand-waxing Before After DA compounding, polishing, and hand-waxing Before After DA compounding, polishing, and hand-waxing Before After DA compounding, polishing, and hand-waxing Used these for compounding Used these for polishing
I was changing out wood trim, the front doors are easy enough to do, but I didnt know how to remove the door switch which made things difficult, I removed the screws but things were but budging and. did not want to force things.
If you are doing the window switch panels.. take note... front doors, the edge closest to the front for the car has a big long deep clip you want to be very ver careful removing that it wont just pop.. u need to pop it and slowly edge it out. that corner is very thin and you willl likely break the plastic and clip is not careful and worse still the veneer.
the back doors also same problem the edge closest to the front of car, after you remove the ash tray are deep set into the leather, i dont see any good way to push any sort of pry tool into that corner and of course once you have it off you can see the place the clip and thinnest part of the plastic..
Great point, I probably was lucky not to break anything because this part was tricky. I pushed in on the leather piece just above the ashtray which was very flexible and gave me room to pull the trim piece up and pop out the front clip.
I was changing out wood trim, the front doors are easy enough to do, but I didnt know how to remove the door switch which made things difficult, I removed the screws but things were but budging and. did not want to force things.
If you are doing the window switch panels.. take note... front doors, the edge closest to the front for the car has a big long deep clip you want to be very ver careful removing that it wont just pop.. u need to pop it and slowly edge it out. that corner is very thin and you willl likely break the plastic and clip is not careful and worse still the veneer.
the back doors also same problem the edge closest to the front of car, after you remove the ash tray are deep set into the leather, i dont see any good way to push any sort of pry tool into that corner and of course once you have it off you can see the place the clip and thinnest part of the plastic..
Add me to the list of victims, broke that clip too popping out the window switch
Great point, I probably was lucky not to break anything because this part was tricky. I pushed in on the leather piece just above the ashtray which was very flexible and gave me room to pull the trim piece up and pop out the front clip.
awesome good to know I need to have it off again soon thanks !
When you guys are working on the long door trim (the piece above the door switch controls) did you remove the whole panel to work on it or did you remove just the trim? I've tried removing the whole panel and it looks like you can just remove the trim, but it was pretty firm and I didn't want to break the trim in half
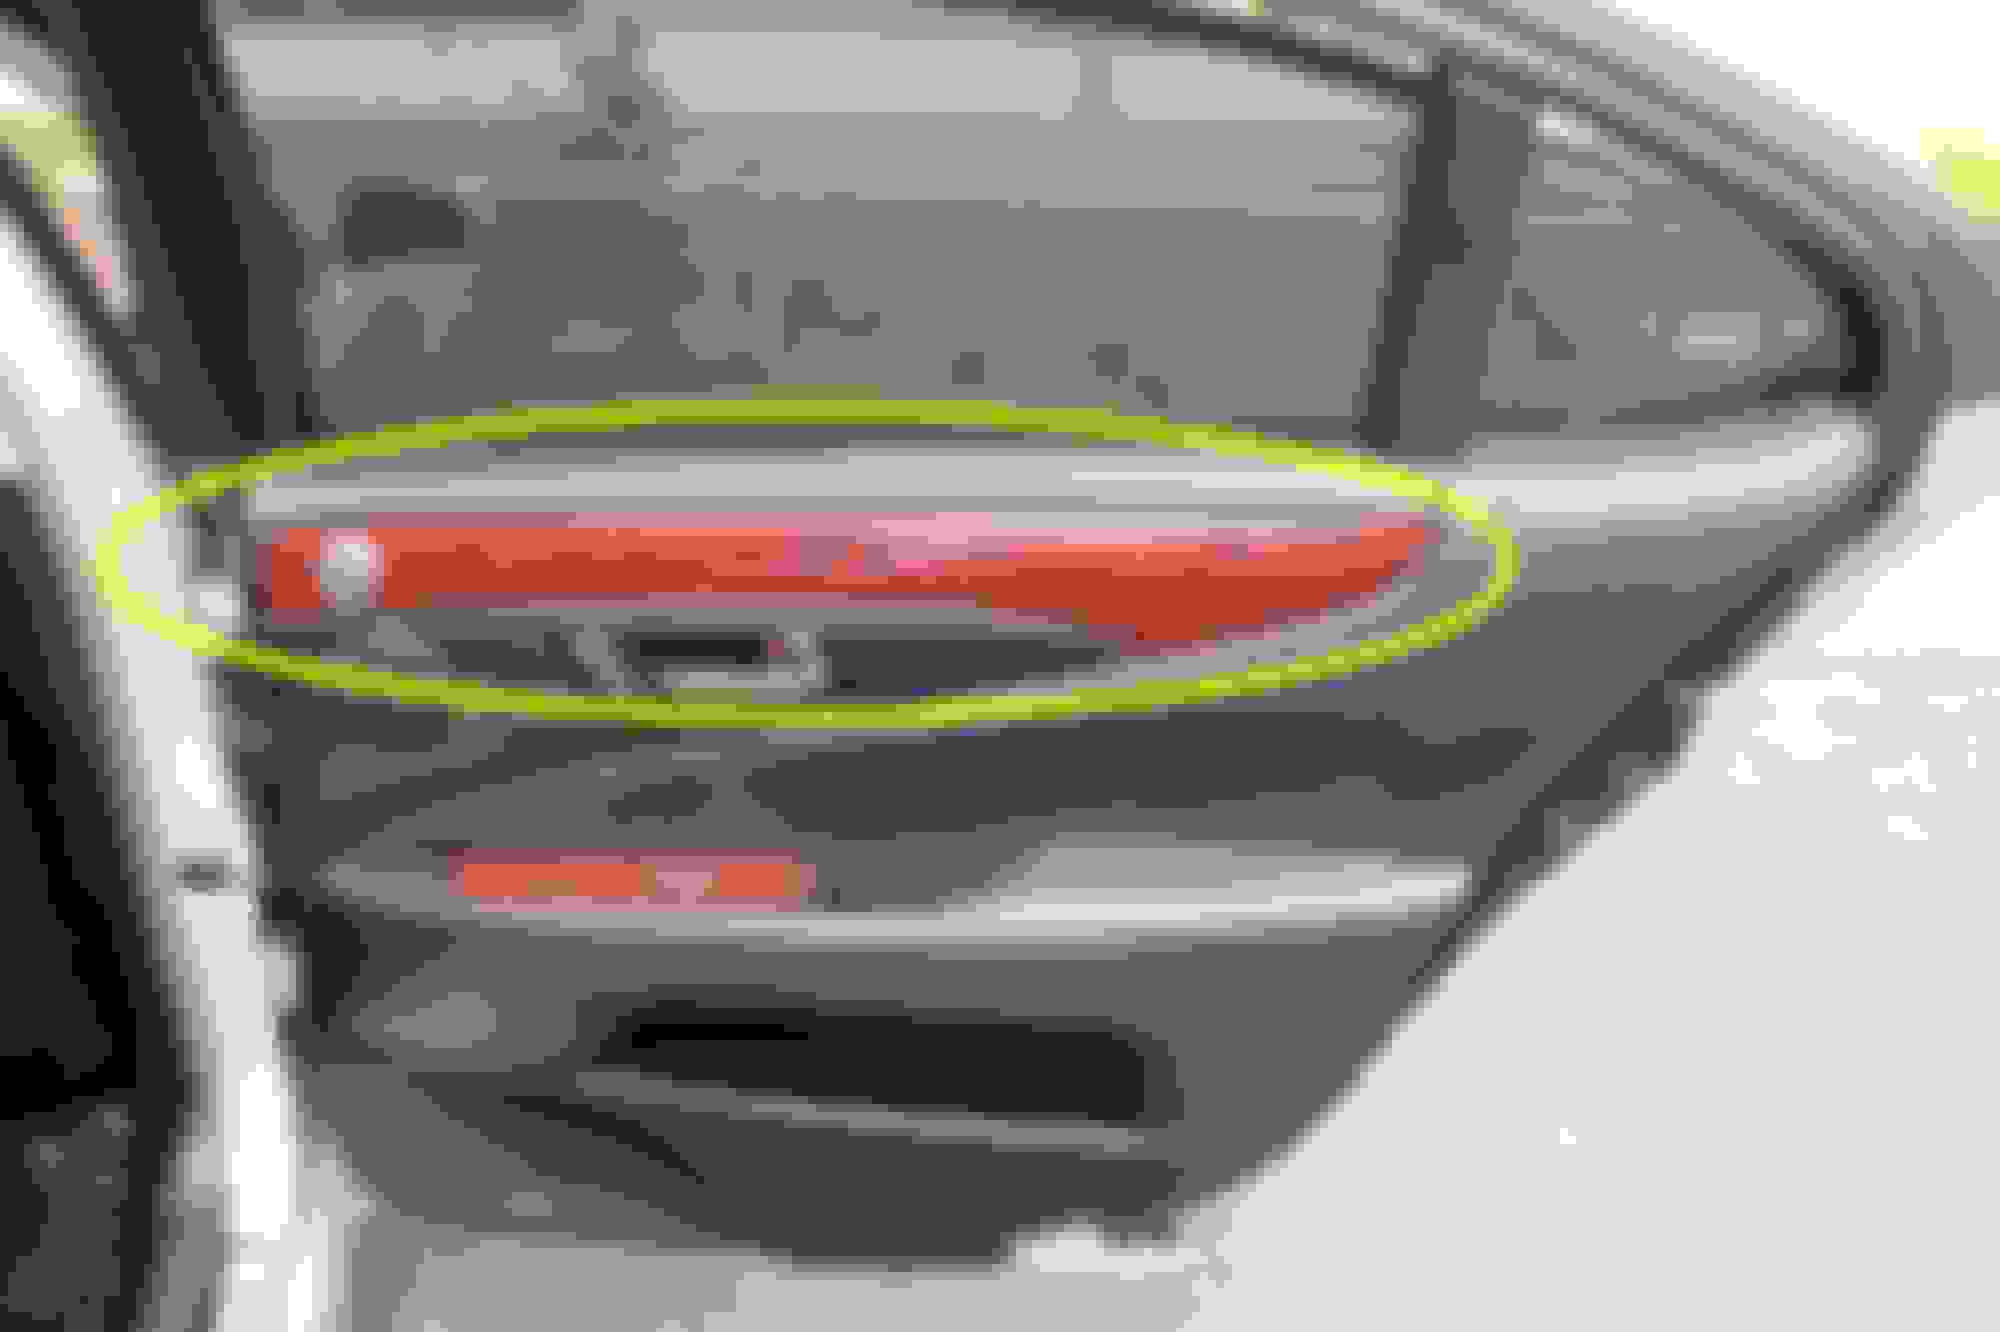
From what I can tell, the long wood door trim (circled in yellow below) can only be removed after popping off the whole door panel (correct me if I'm wrong).
I haven't polished these trim panels yet but if I were to, I'd tape off the edges with blue painter's tape and DA compound then polish it - I've seen several youtube vids following this process rather than removing the trim panel.
I bought a cheap no name 2 inch polishing pad and drill attachment , i can get some good improvements but not as good as yours
I wish I knew how to take apart the interior, I just know 100% I would break something so not even gonna try
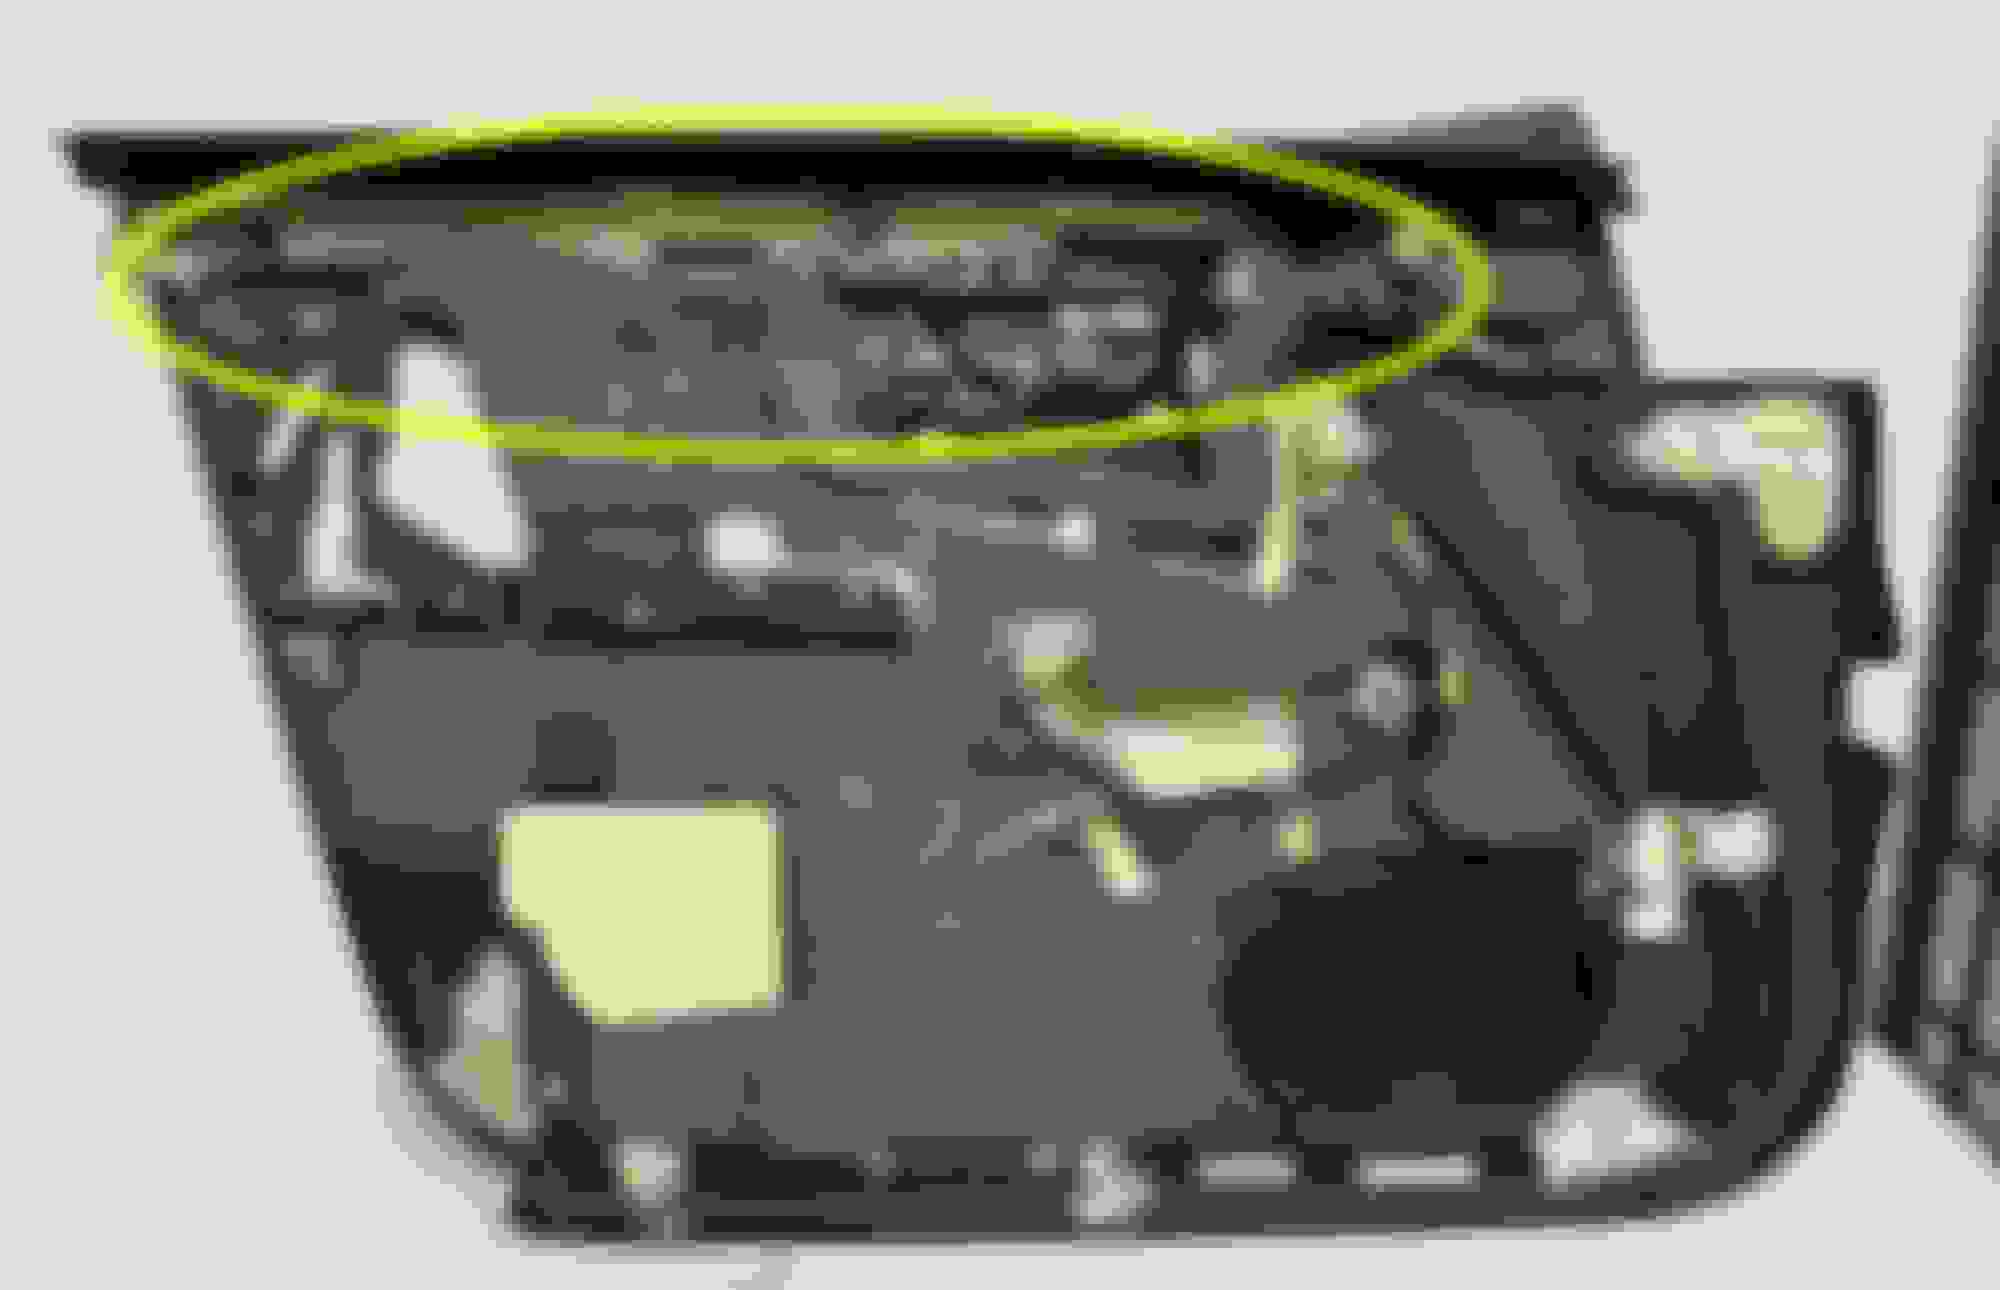
Perhaps of value to you or anyone attempting this - I removed all these parts in warm (+20C, +70F) weather, and the only clips that were tough to get out were the ones circled in yellow below. Everything else popped out easily, even without a pry tool.
 06-11-21, 01:30 PM


 Great stuff and thanks for the write up!