When you click on links to various merchants on this site and make a purchase, this can result in this site earning a commission. Affiliate programs and affiliations include, but are not limited to, the eBay Partner Network.
So it was snowing and I was stuck in the house, so I decided to install the control arms I ordered last week. Overall it is a very easy job - I did mine today WITHOUT a lift, air tools, a breaker bar, or torches. Now heading into this job without all of that I was a little worried, but honestly none of it was needed.
The control arms I purchased were a mixture of Beck Arnley and Mevotech, personally I thought the Beck Arnley stuff was a little higher in quality (the ball studs were stiff and the castle nuts looked like the originals that came with the car - whereas the Mevotech ball studs were looser and the castle nuts looked cheap). It should be noted that I only changed 6 of the 8 control arms, the four uppers and the two lower/forward facing ones. In all honesty I wish I had replaced all 8, because the job actually would have been easier, and the ones I didn't replace actually look like they need it, so I'll probably be replacing them sometime in the near future.
First I had to crawl under and around the tire (while the wheels are ON the ground and index the control arm position).
After removing the tire, I began working on the uppers first. All you have to do is remove the cotter pins in the castle nuts with a pick, or your finger. It's easy - probably the easiest and best cotter pins I've ever worked with.
You can remove it just as easily with your finger.
The magnet tray is excellent for keeping all these little things organized. Without it most of my parts would probably land in North Korea.
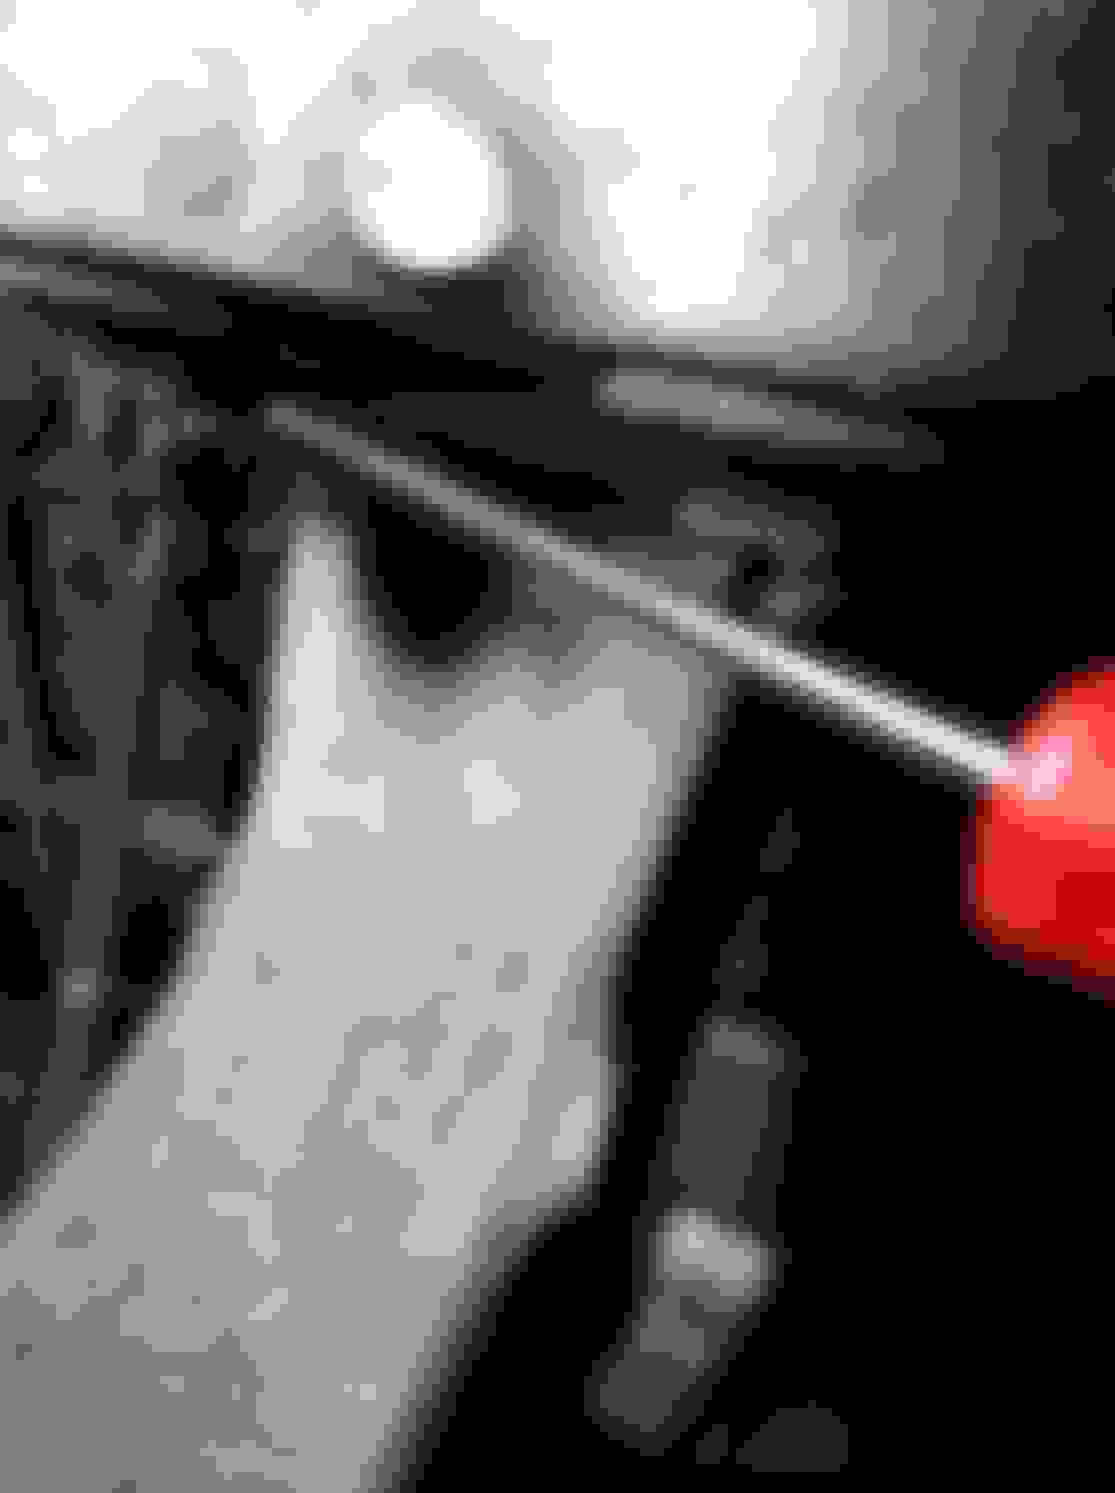
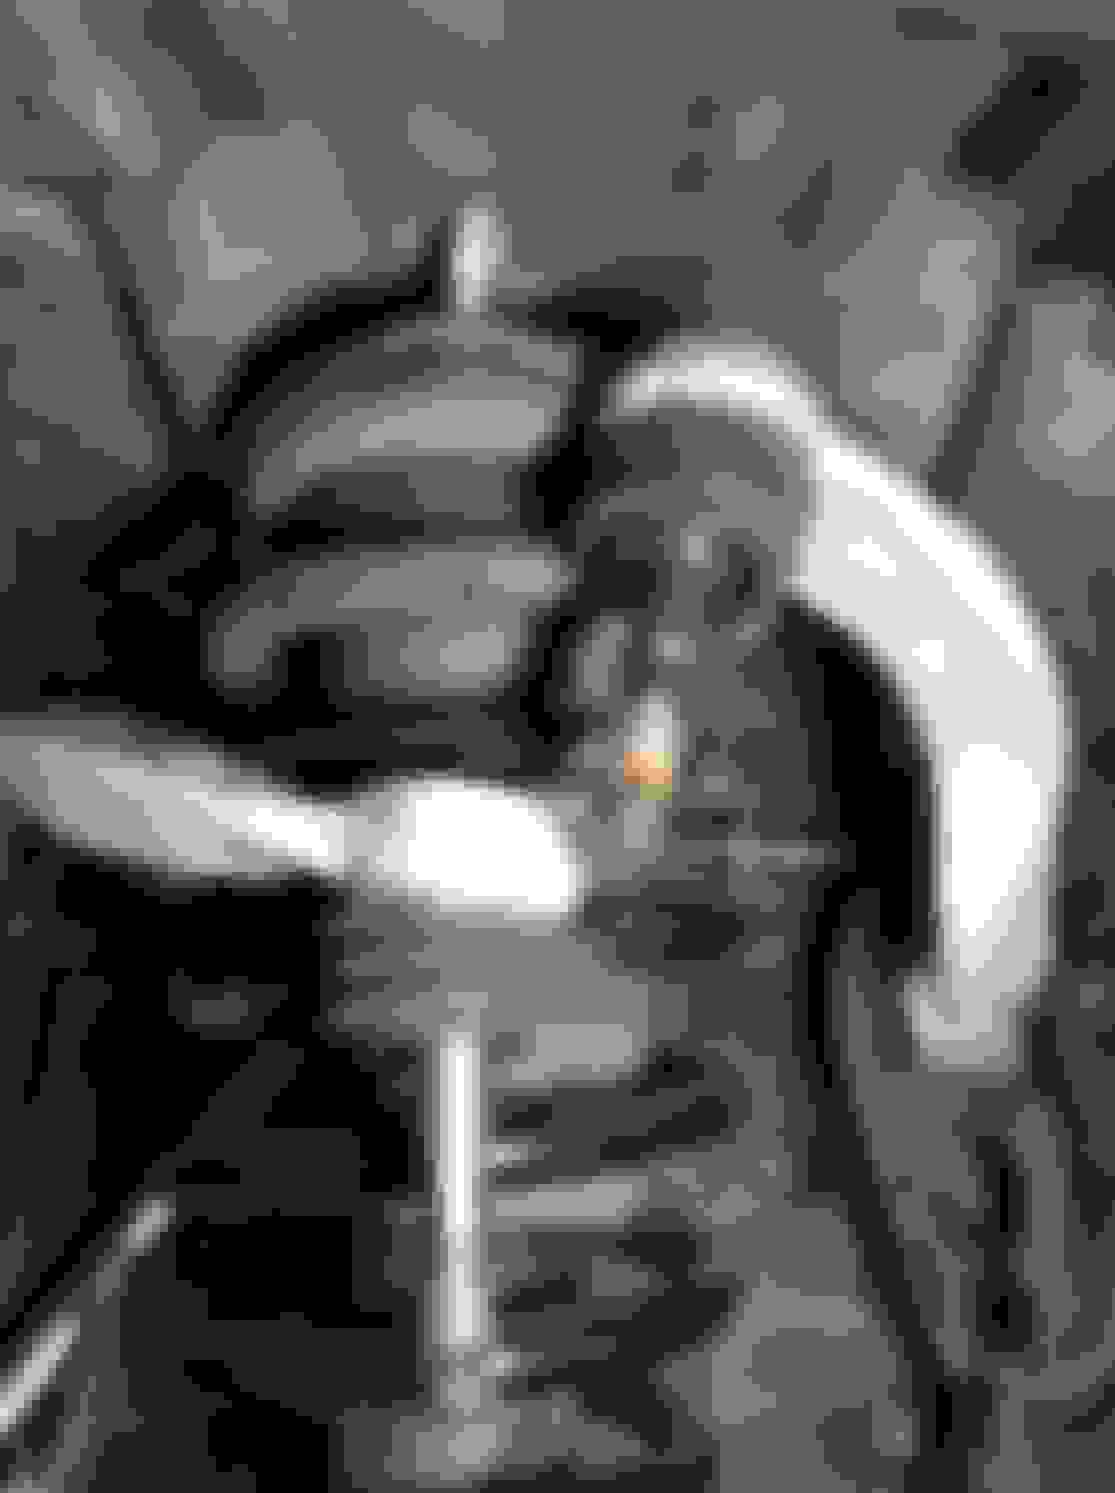
To remove the arms from the steering knuckle you can hit the steering knuckle with a hammer - it will distort the arm quickly and push the studs out. I drew some smiley faces on where to hit.
Happy before.
A little smudged.
And out - took about five seconds - no pullers necessary.
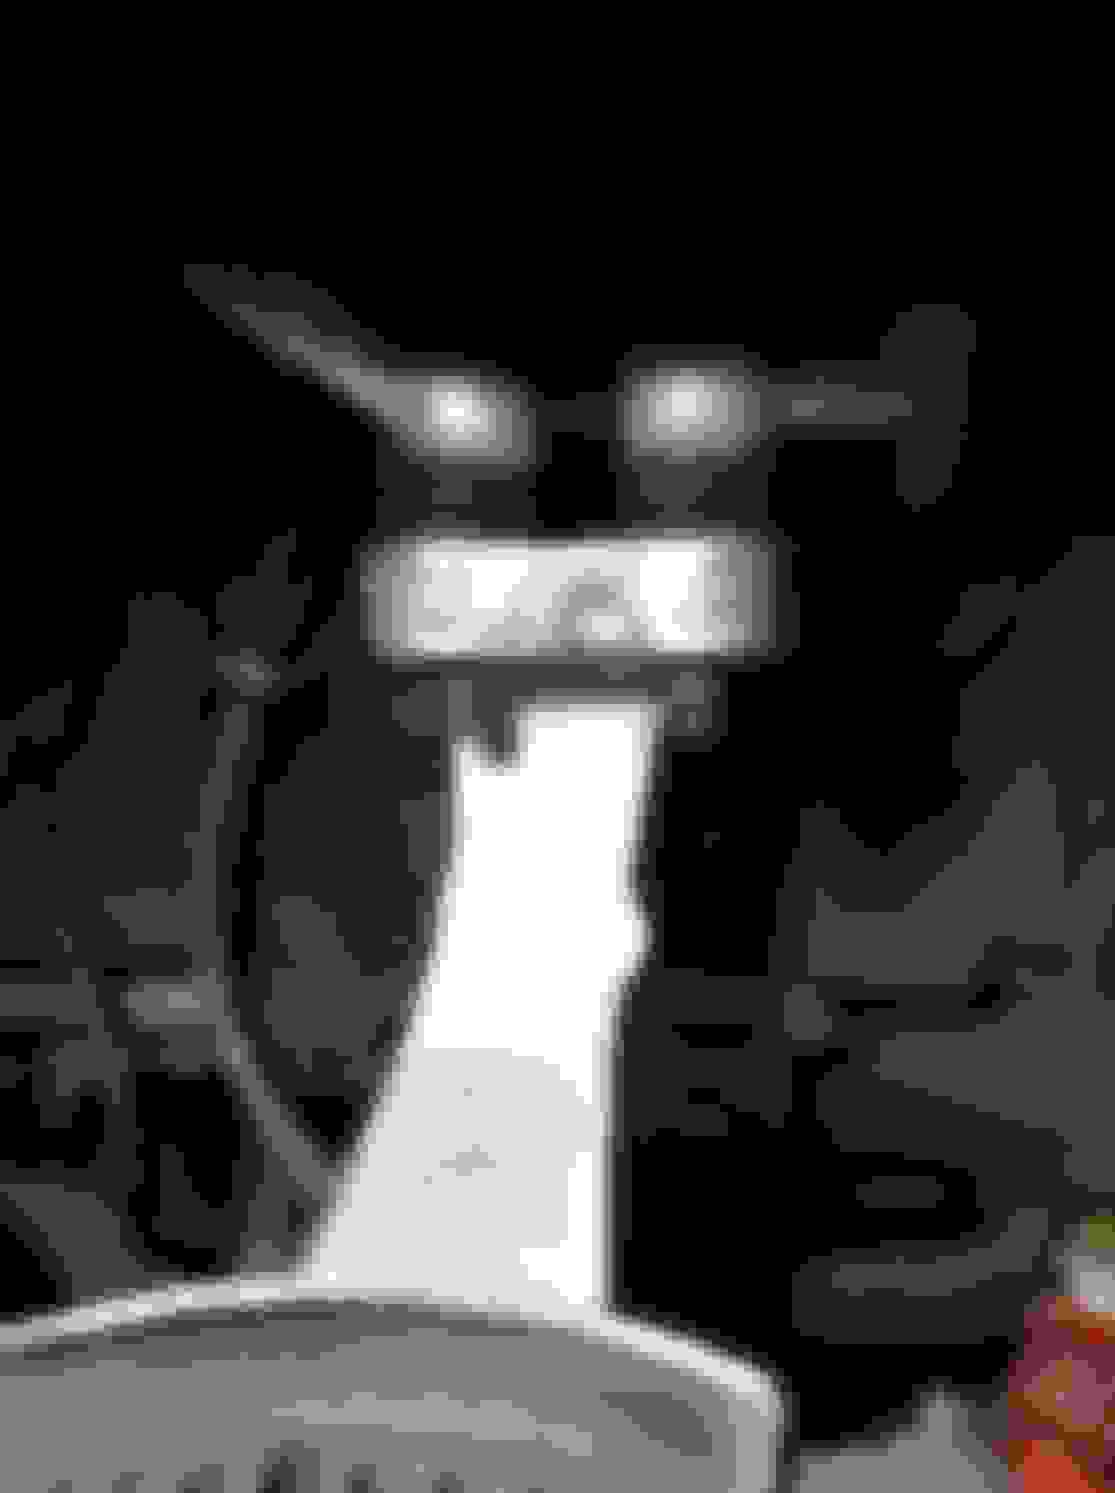
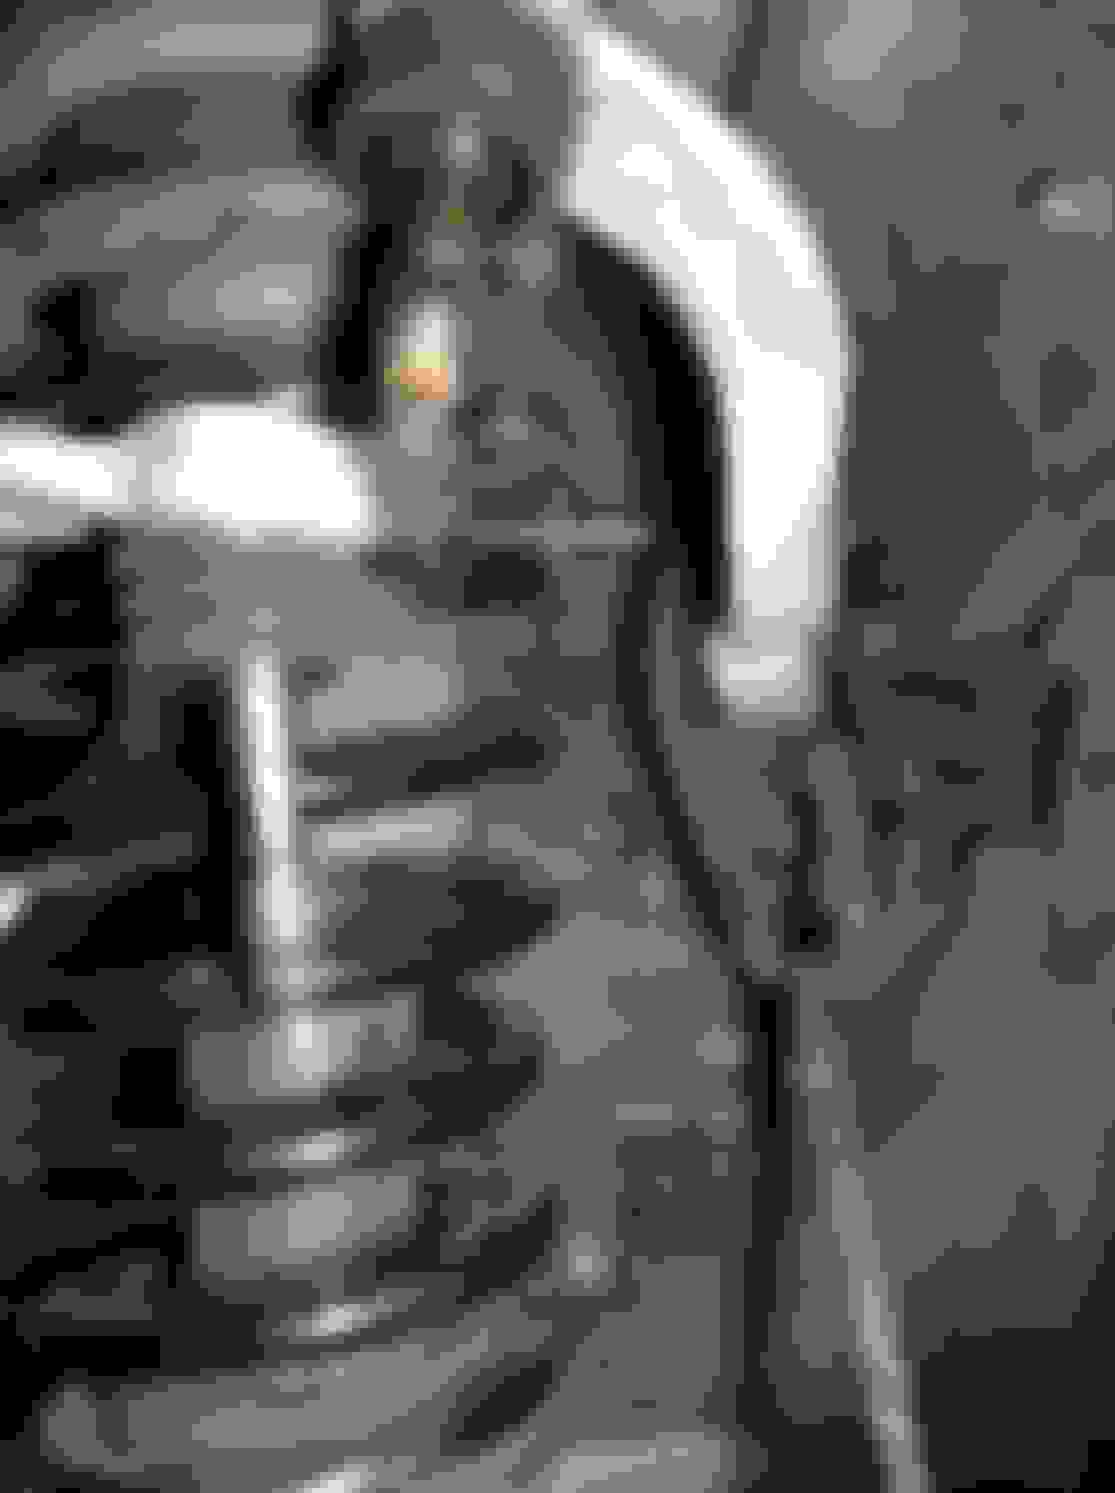
I ended up moving the strut away (not completely out) to gain access to the upper control arm mounting brackets. Once you gain access to the bolts they easily come out, and there is no need to hold the other end of the bolt with a wrench, they screw right out.
19mm strut bottom nut.
14mm top three nuts. Do not undo that center nut!!
Pull the strut down and forward...HARD!!!
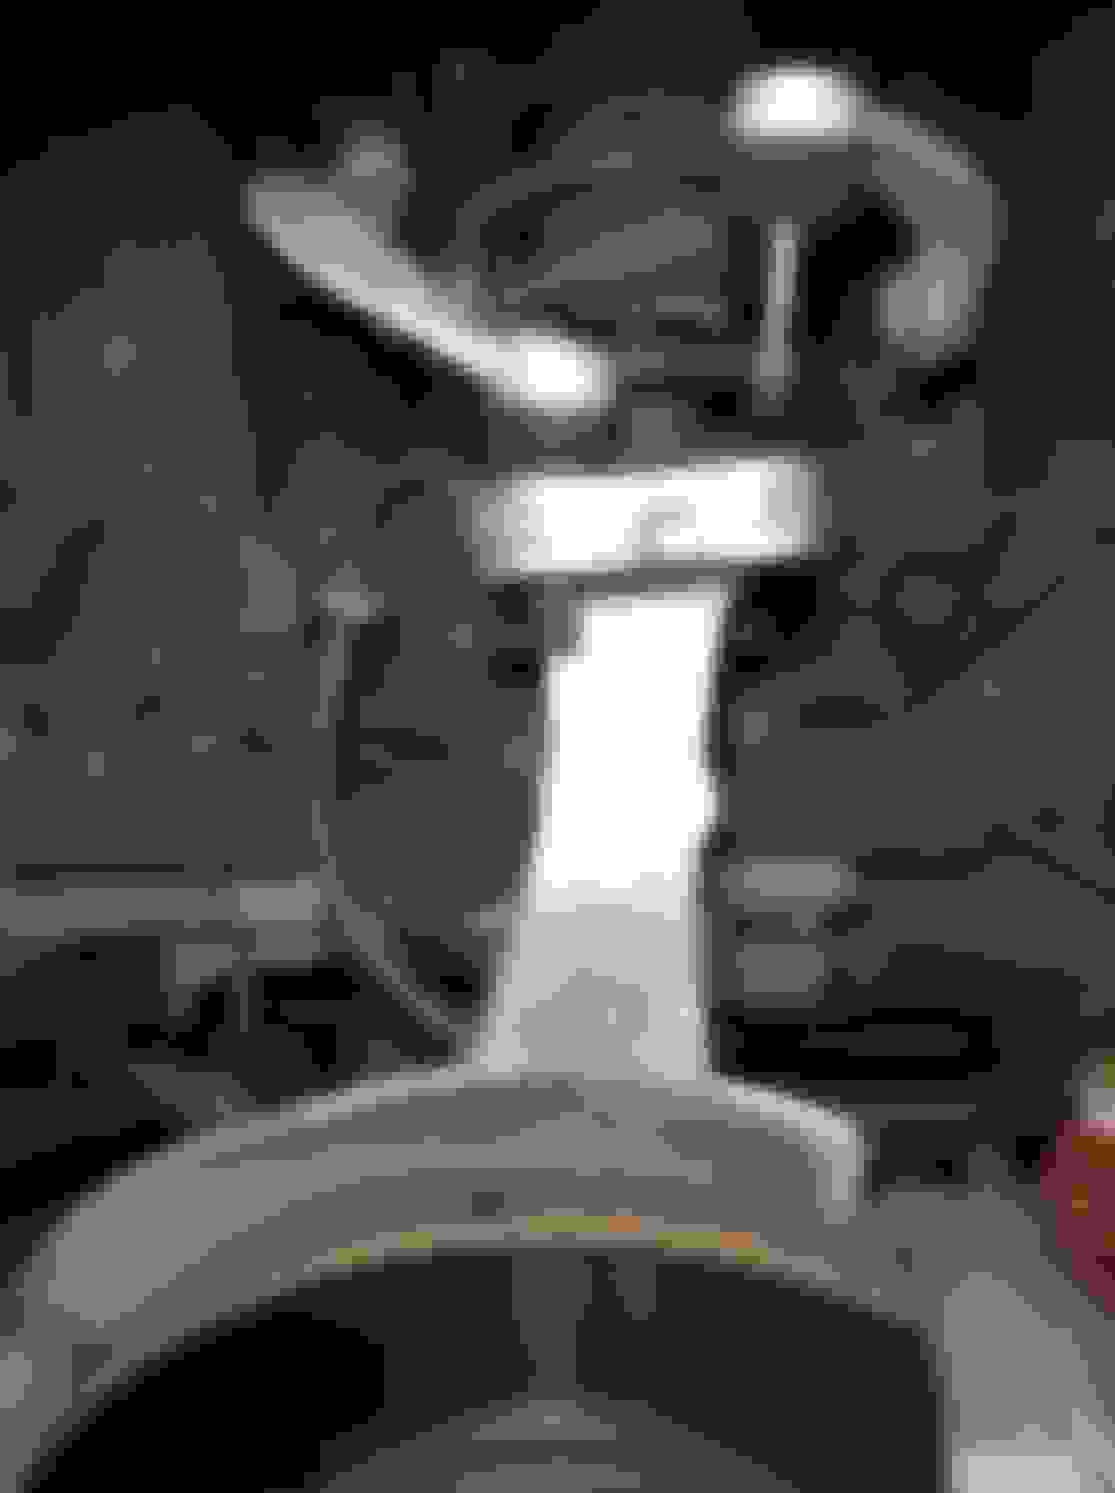
You'll now have plenty of room to remove the morning brackets. 14mm. Use a swivel and an extension. They are easy to remove.
14mm. Again these things are not all that tight. Once again, I did not have access to air, and I didn't come close to needing it.
The uppers are out!!
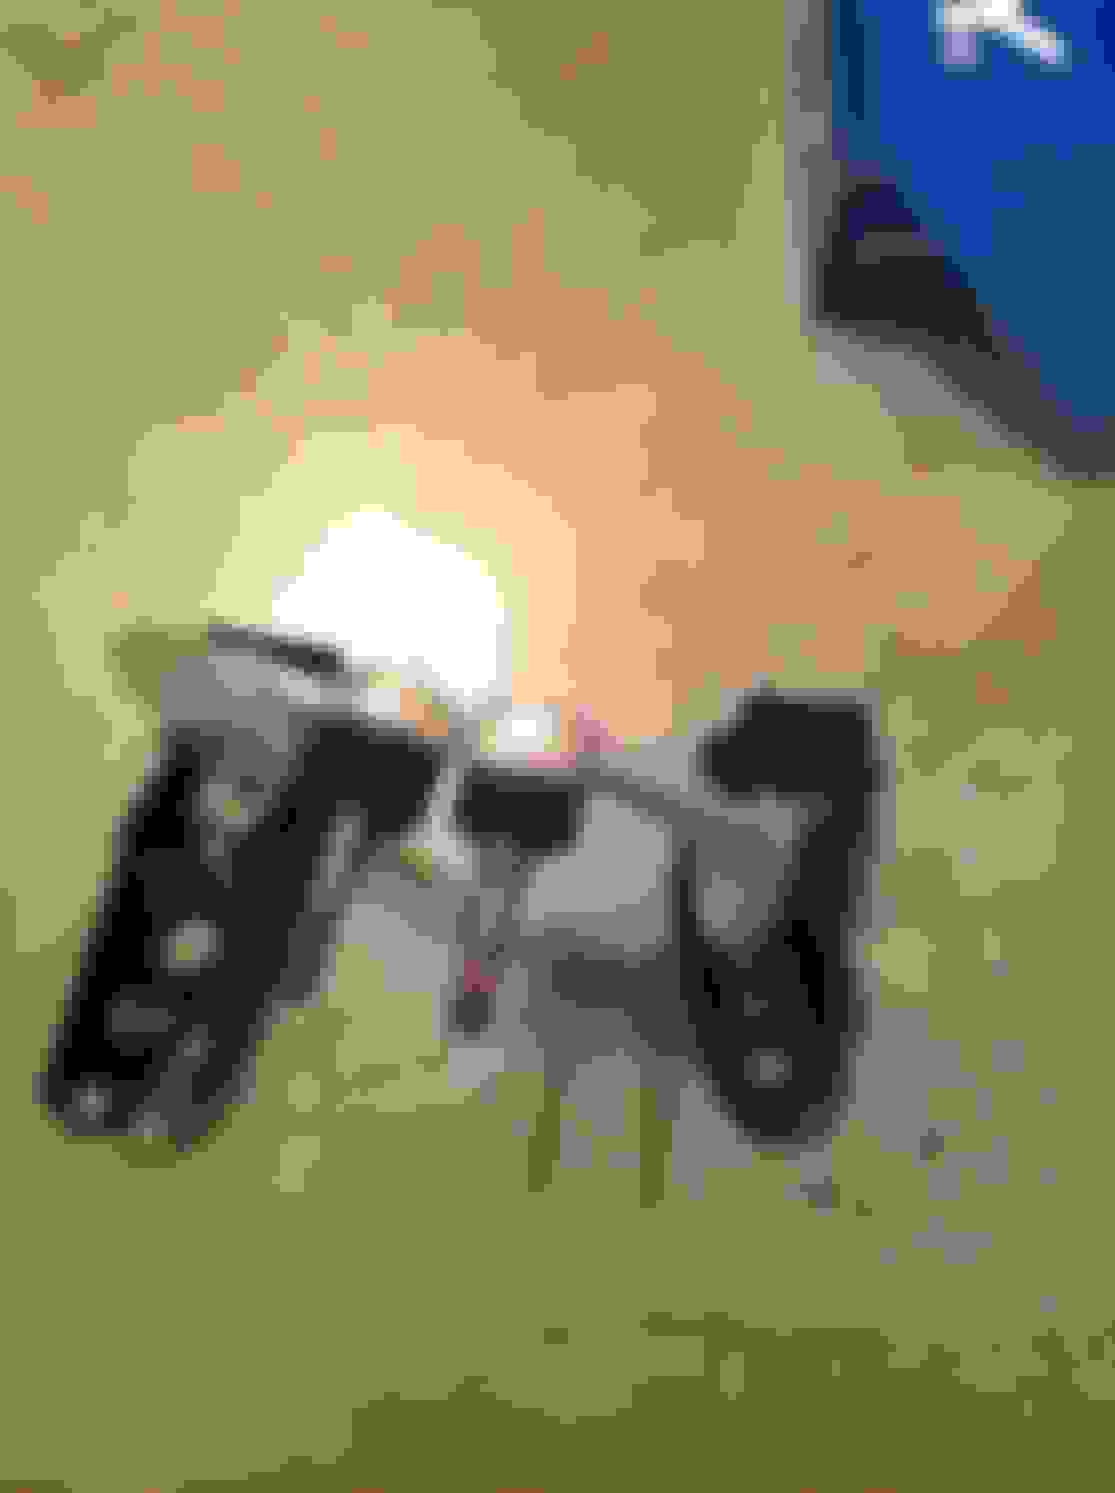
These are the old ones.
This one is pretty torn.
This one too.
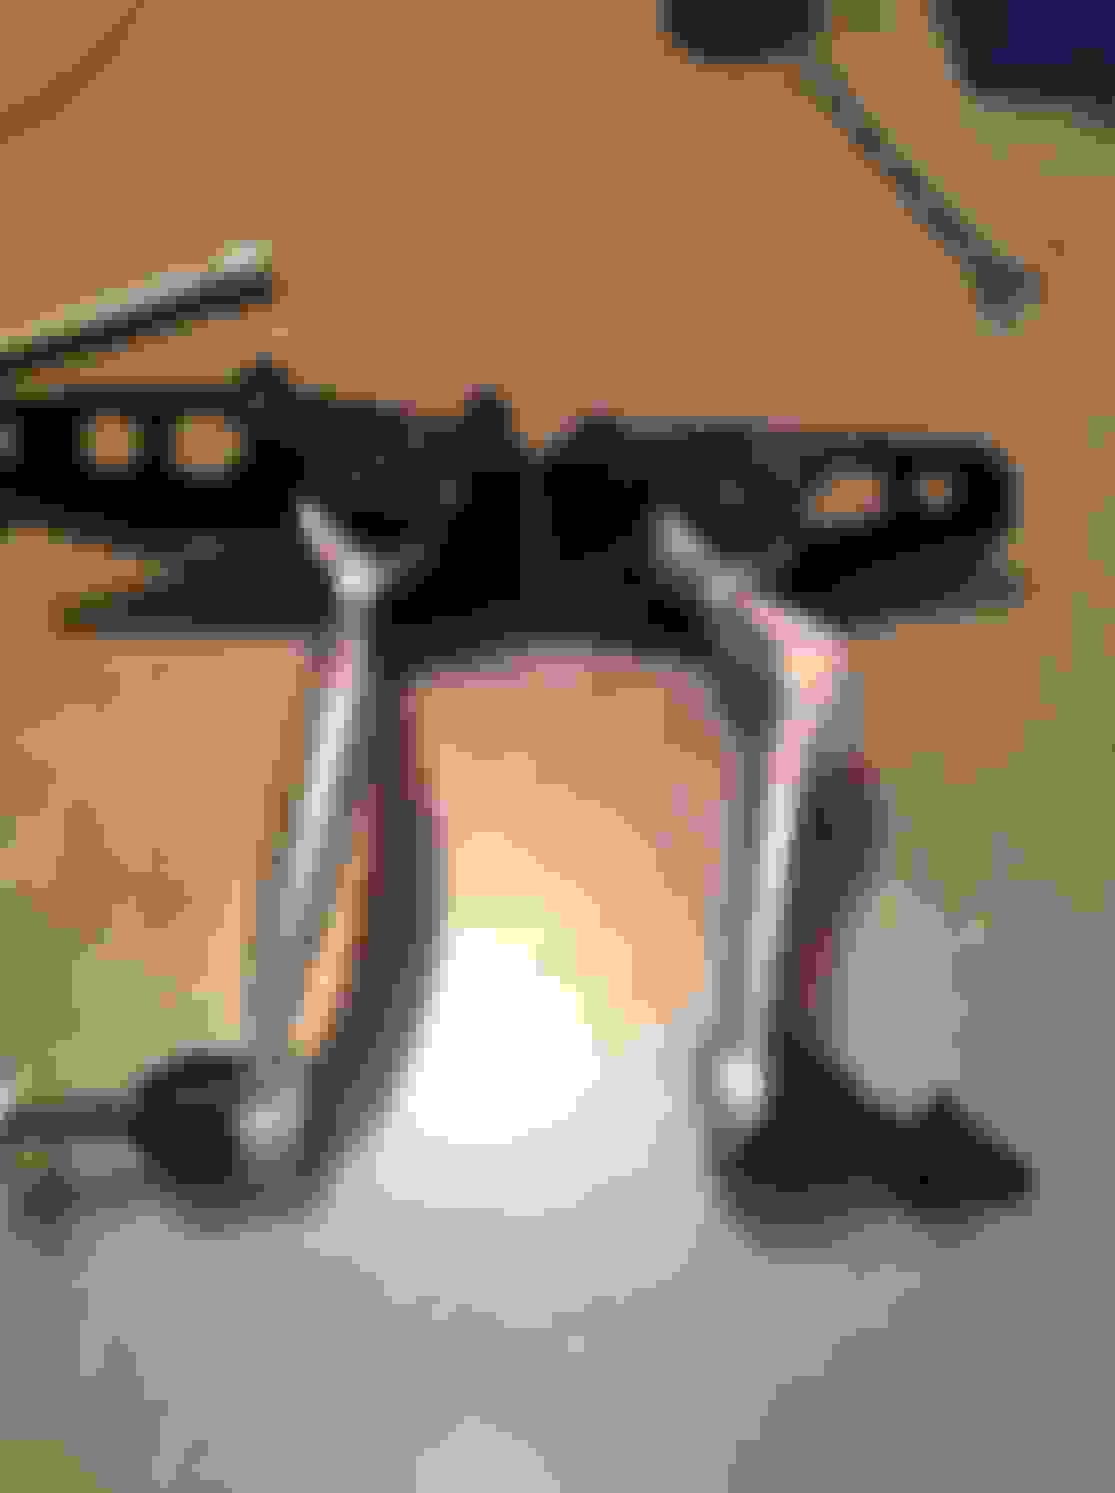
All indexed and ready to go back in.
The bottom is removed next before installing the uppers.
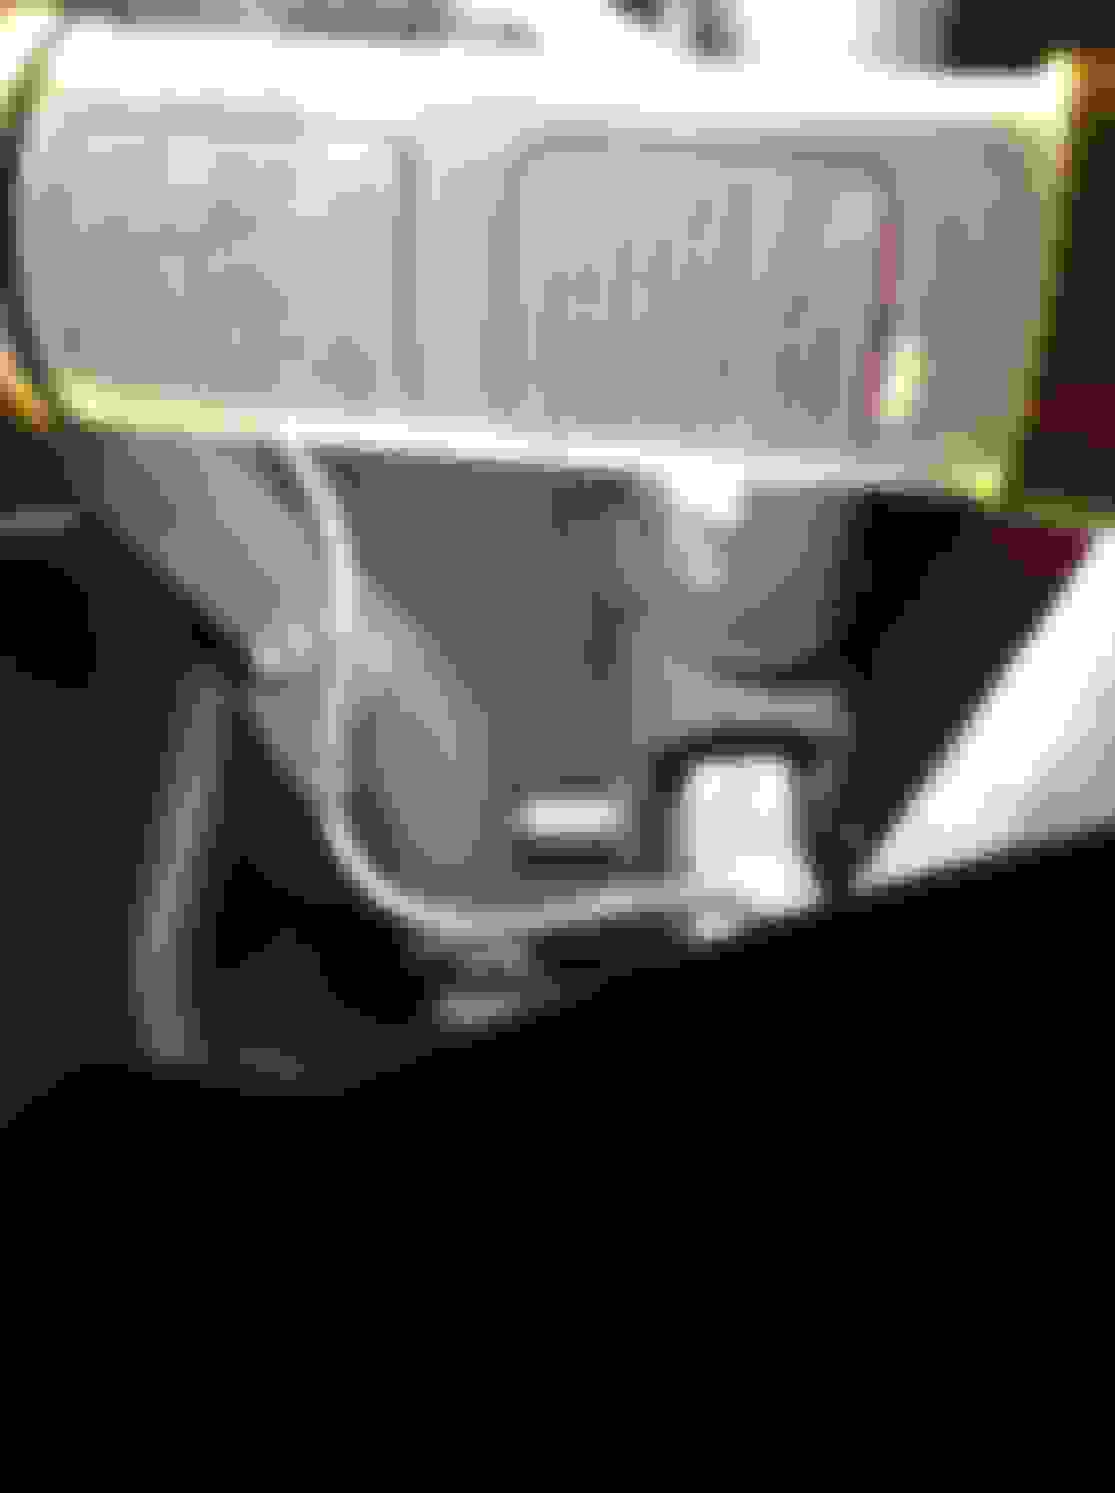
Removed two plastic clips and pulled down the shield. It's a 19mm. Again, all I had was a 1/2 inch drive ratchet, and it came loose.
Remove the ABS wire from the arm. 10mm bolts
Hit Mr. smiley face with a good sized hammer. Steady. This one took multiple blows and it was a bit more of a task than the uppers. Still it came out easily.
I can move it with my finger.
The old ones were cracked, but not as bad as I thought they'd be.
Now it was on to installation. The lowers go into the car's cradle first...just put them under and lift them into position. Then attach the other end to the steering knuckle. I didn't tighten them right away - instead I placed a floor Jack under the rear facing control arm when All the arms were in, lifted a little to my index marks and then tightened.
Once the bottom arm was in I installed the mounting brackets (arms were already indexed) and I forcefully pushed the strut back into position.
Once the strut and mounting brackets were in I tightened the castle nuts and installed the cotter pins.
Tire back on and done. The whole side took me around 2.5 hours, only because it was my first time and I was working on the ground. Plus I was taking pictures. I figure a solid Lexus tech - using air and a lift - can complete this entire job in less than two hours. Easy. And I bet there are some that can do it quicker. Also, I'd feel comfortable having a local guy do this job - if they are charging you more than three hours...they are milking you.
Great write up complete with pix!...... Hopefully this will inspire others to do this job.
It really isn't hard, just based off what I've seen some guys do around here, this is easy. I personally found it harder to change my spark plugs on this particular car.
The only really challenging part is pulling the strut down and moving it forward enough so you can gain access to the control arm mounting bolts. And maybe being accurate with a ball peen hammer.
Excellent job. I wish I had the willpower, patient and talent to do a job like that.
Thanks, I honestly think that if someone brought their own parts in to someone that does side work and offered them $300 bucks, it would be a good deal for both parties.
I see that you are indexing the new control arms but how are the new control arms indexed when the marks are on the old control arms? Can you explain this in a little more detail?
It really isn't hard, just based off what I've seen some guys do around here, this is easy. I personally found it harder to change my spark plugs on this particular car.
The only really challenging part is pulling the strut down and moving it forward enough so you can gain access to the control arm mounting bolts. And maybe being accurate with a ball peen hammer.
I have a question ? Do you really need to remove those brackets and shock to complete this I've been eyeing my control arms and will need to do it soon also.
I see that you are indexing the new control arms but how are the new control arms indexed when the marks are on the old control arms? Can you explain this in a little more detail?
What I did was I lined the old control arms with the marks, to the new control arms. Then I marked them in the same spots...then aligned them to the marks I put on the brackets.
I have a question ? Do you really need to remove those brackets and shock to complete this I've been eyeing my control arms and will need to do it soon also.
Yeah there's no way to get them out without removing the brackets, I was however able to remove the brackets on the passenger side without unbolting the strut, but I'm not sure if that was any easier.
Nice job and great write up. I wonder now if you are going to keep the car now? I've been seeing you looking around elsewhere and thinking of moving on as I have too. I think mine is just boredom.

 12-29-15, 12:01 PM