When you click on links to various merchants on this site and make a purchase, this can result in this site earning a commission. Affiliate programs and affiliations include, but are not limited to, the eBay Partner Network.
From: Driving a UX Hybrid F-Sport! (in So California)
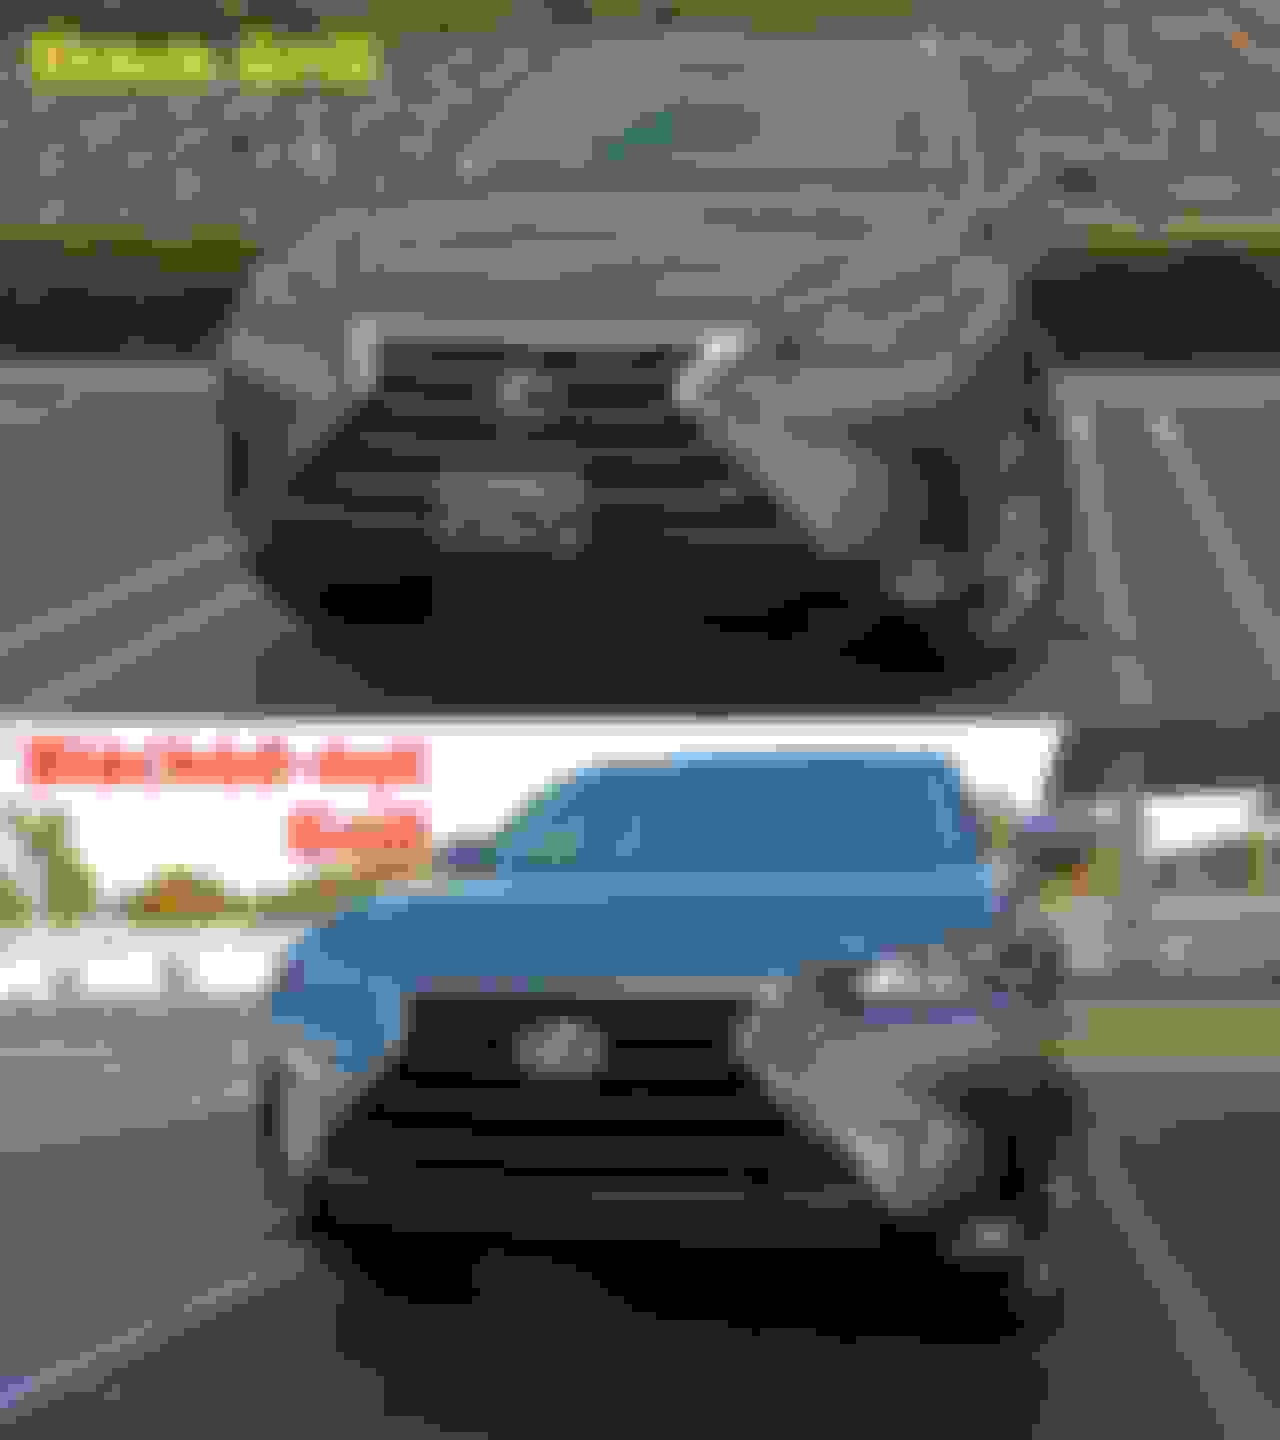
🎨 DIY: Black-Out Your (non-F) Grill 🚘
I blacked-out my NX 200t (non-F) grill today.
Here's a before-and-after pic (a step-by-step tutorial follows)
Step 0: (Prerequisite) Please read and watch video from this post of mine. This helps with the basic use of Plasti-Dip, which I won't go into in this particular thread.
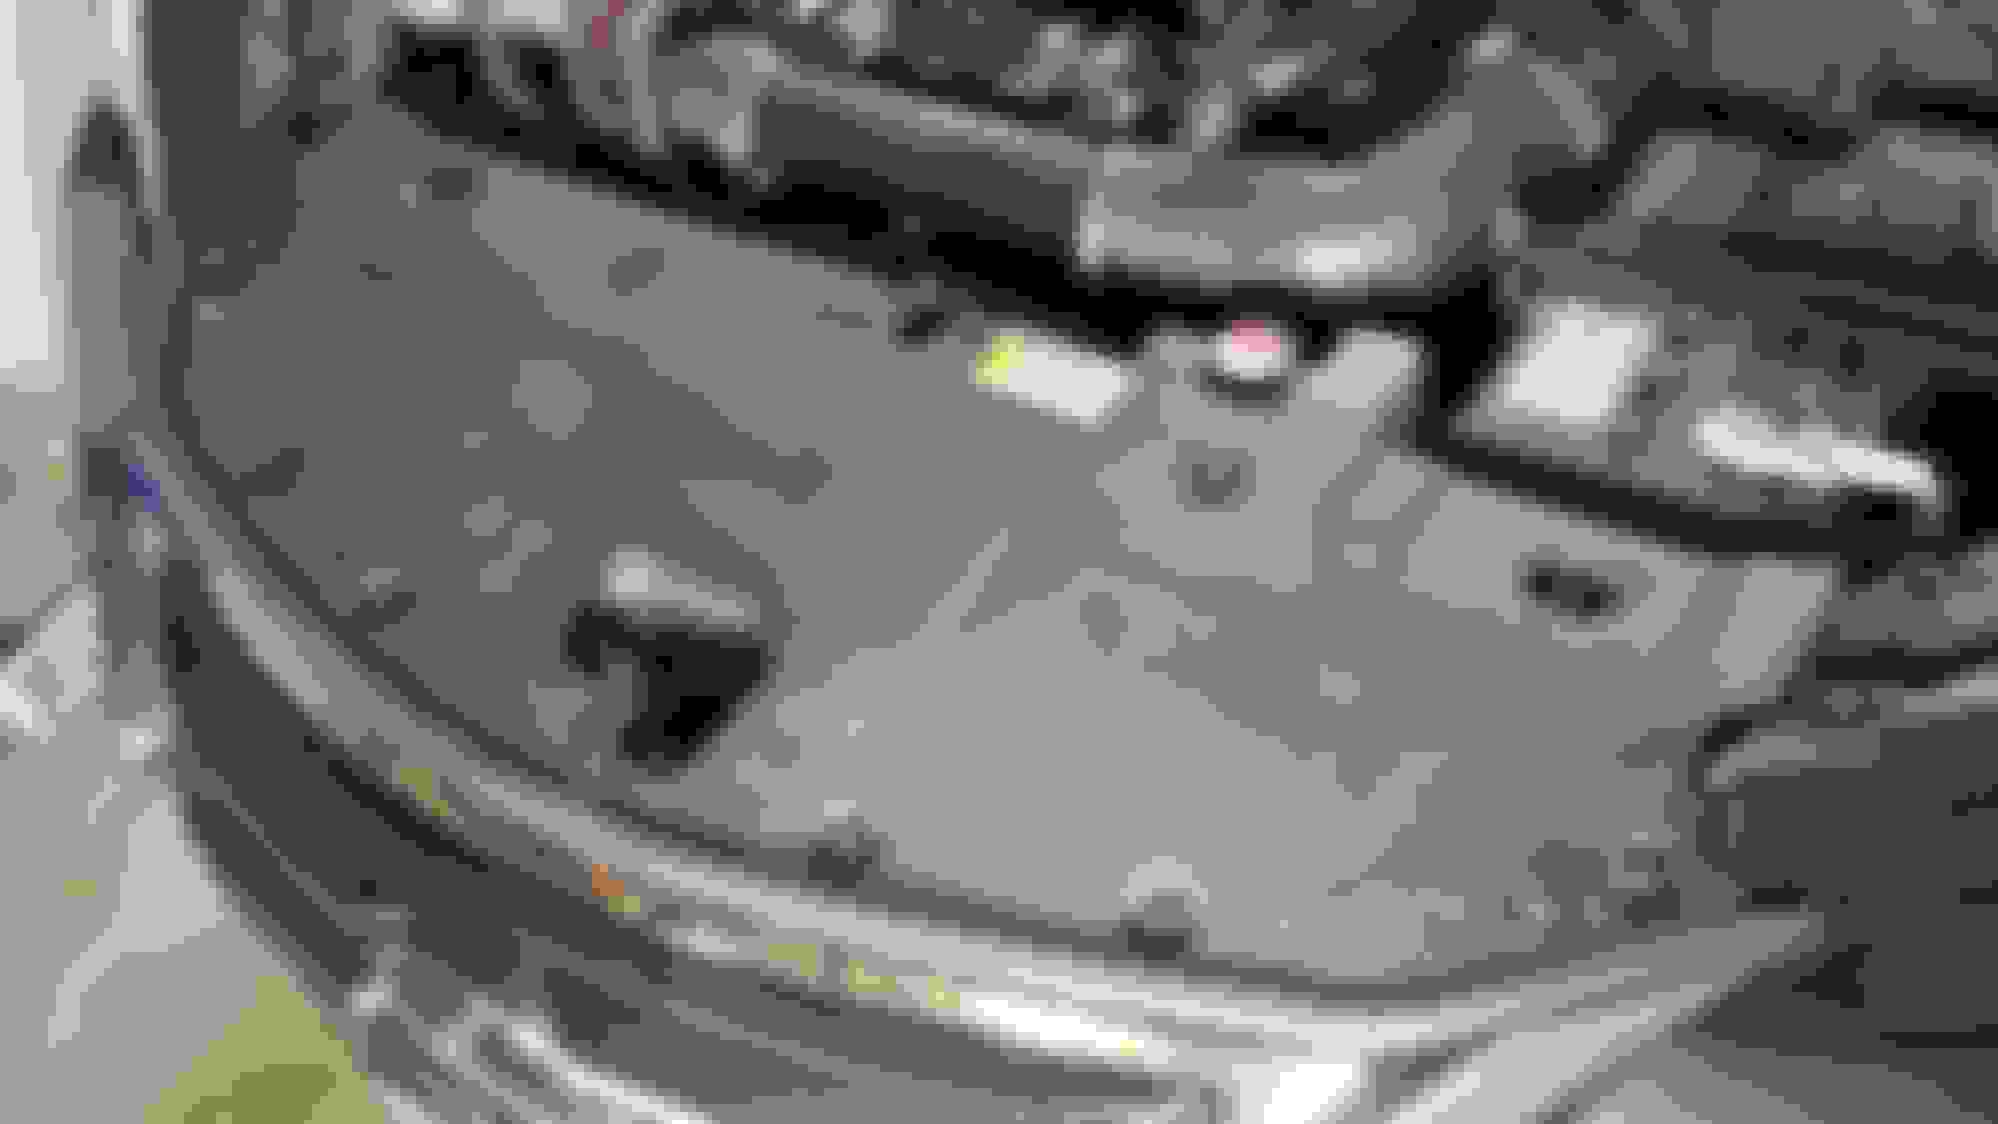
Step 1: Open the hood to access the panel/cover above the radiator/grill area
Step 2: Locate the plastic reusable rivets on the panel/cover (10 rivets)
I used one of my trim tools, but a regular screwdriver suffices. Simply lift the head of the rivet (not the outer ring). If my memory serves me correctly, there are ten of these to be removed.
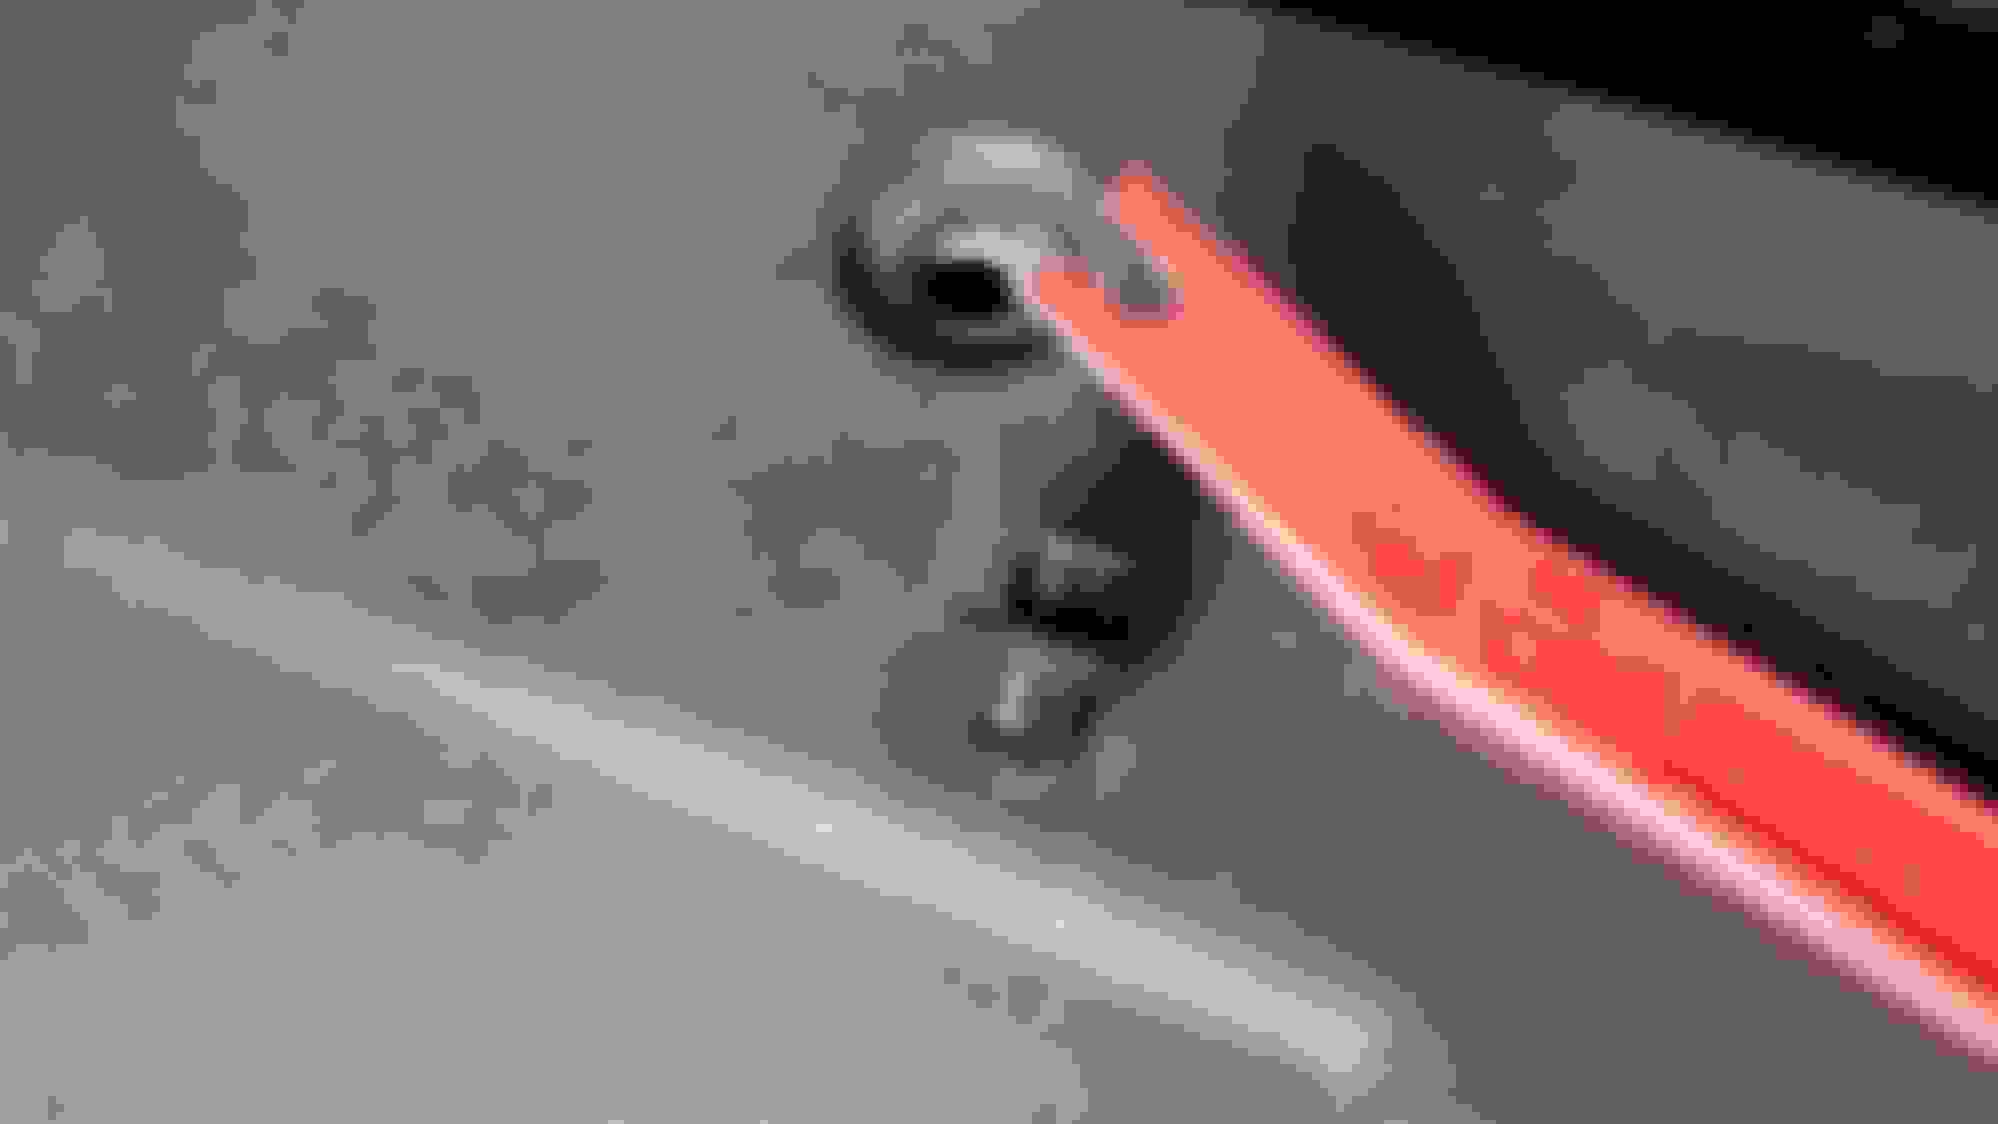
Step 3: Remove the plastic rivets
Once the rivet head is lifted, use your fingers and pull the whole rivet out, ring and all.
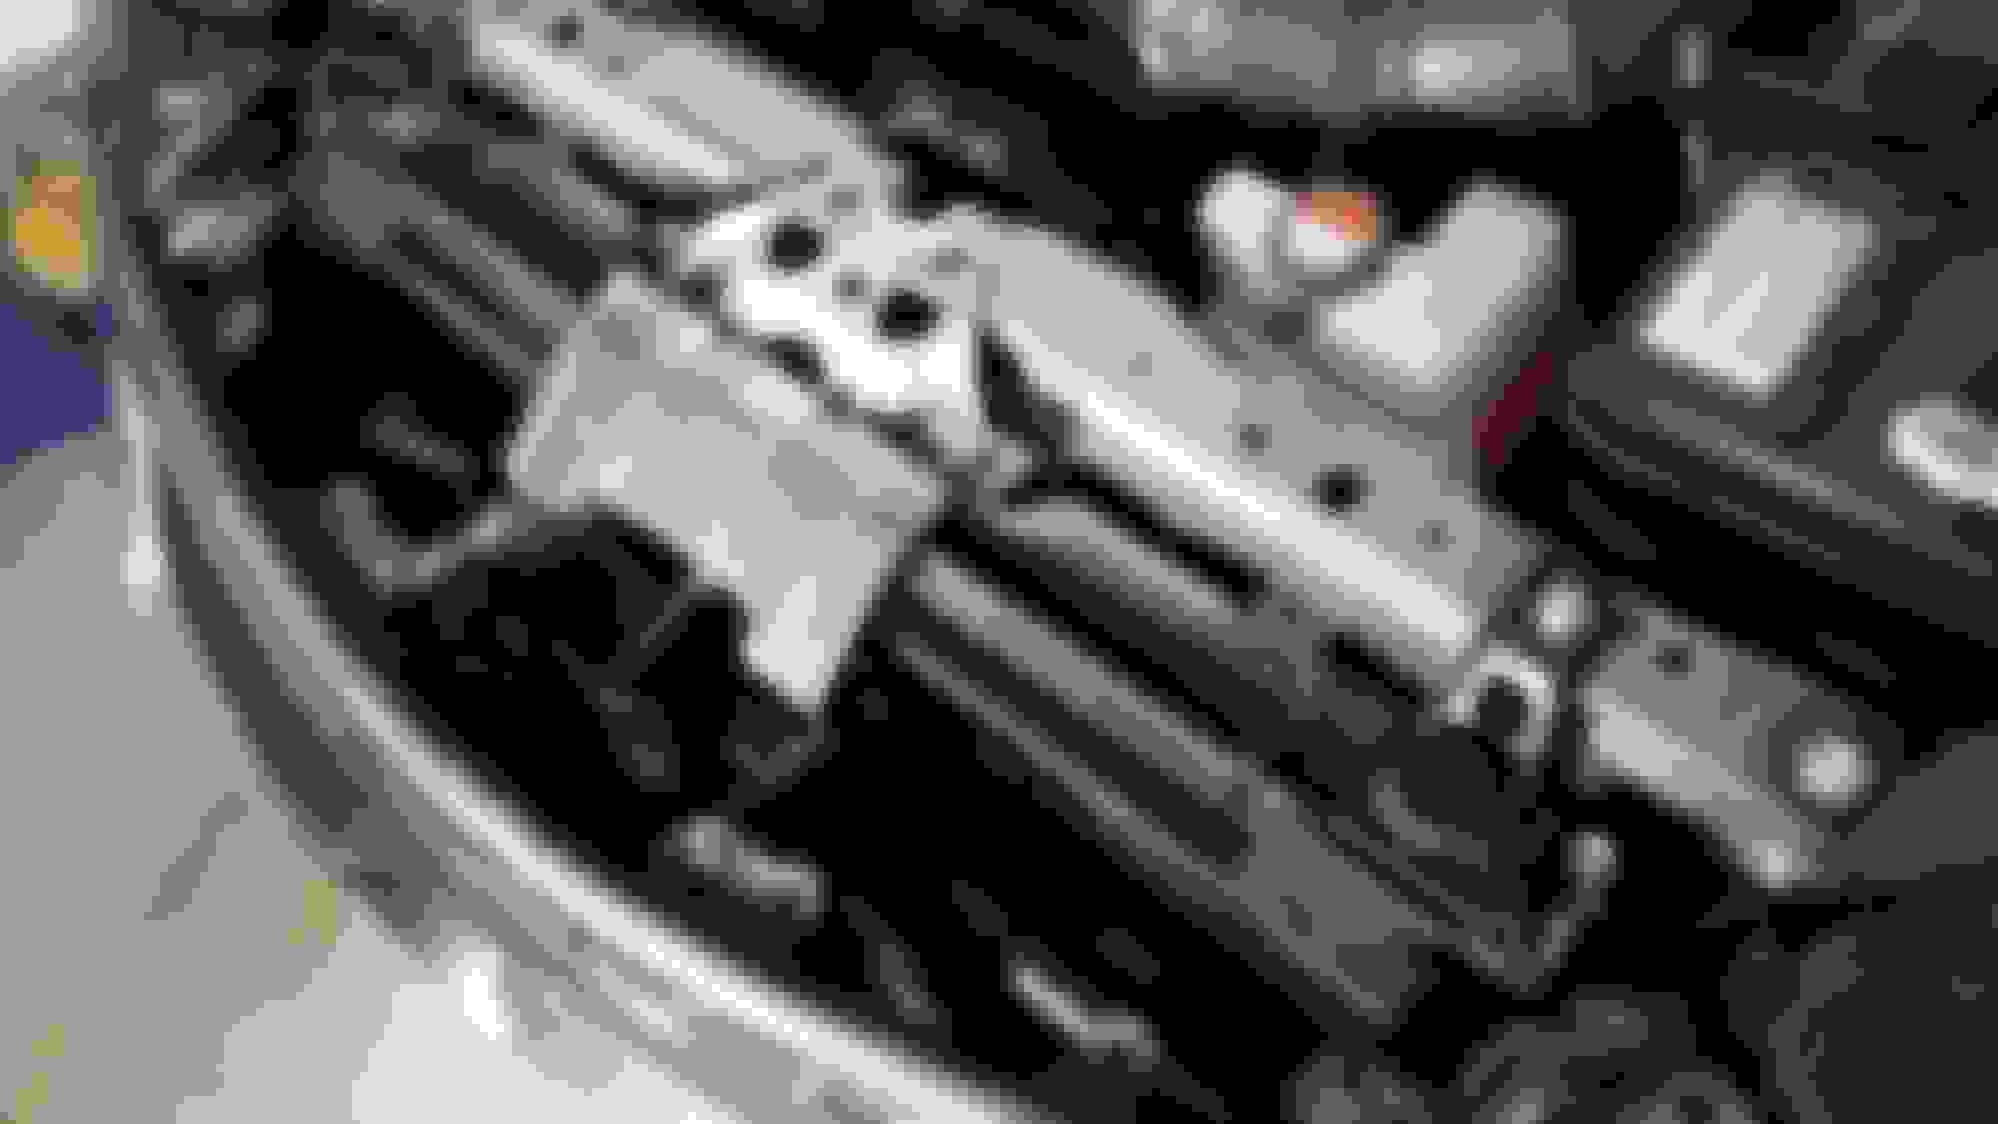
Step 4: Remove the panel and set it and the rivets aside
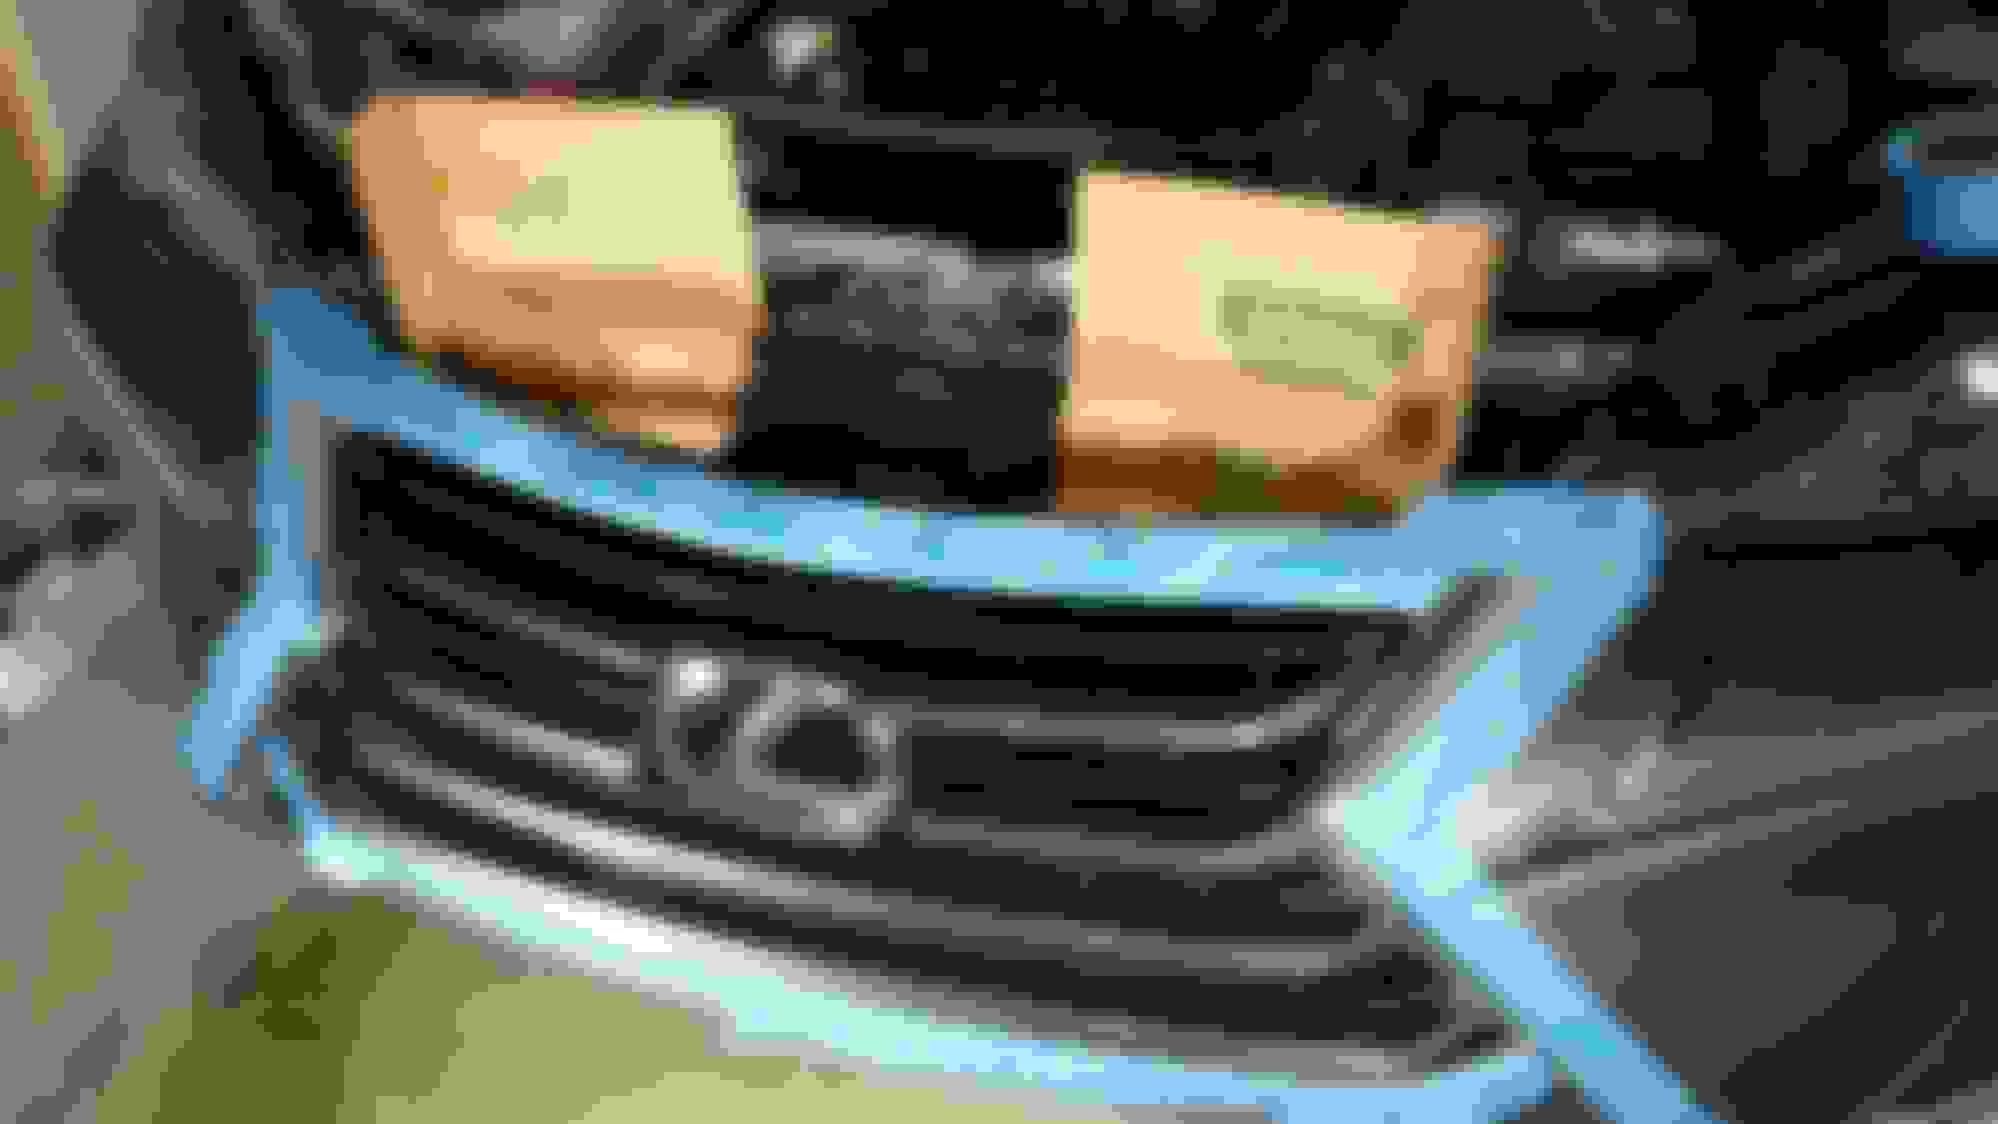
Step 5: Carefully insert cardboard/paper to cover the radiator from overspray. Do not puncture or scrape the radiator fins.
Step 6: Also insert cardboard/paper in front of the dual horns and other components that are directly behind the grill.
Step 7: Mask-off the grill and logo with masking tape and paper. Other than the logo, you do not have to run the tape all the way to the edges of what you want (or don't want to paint). In fact, you want to leave a little border (3/4" - 1") around the edges. A better explanation of why to do this is in a video in another post of mine. I also put more cardboard on the top of everything to help block errant paint.
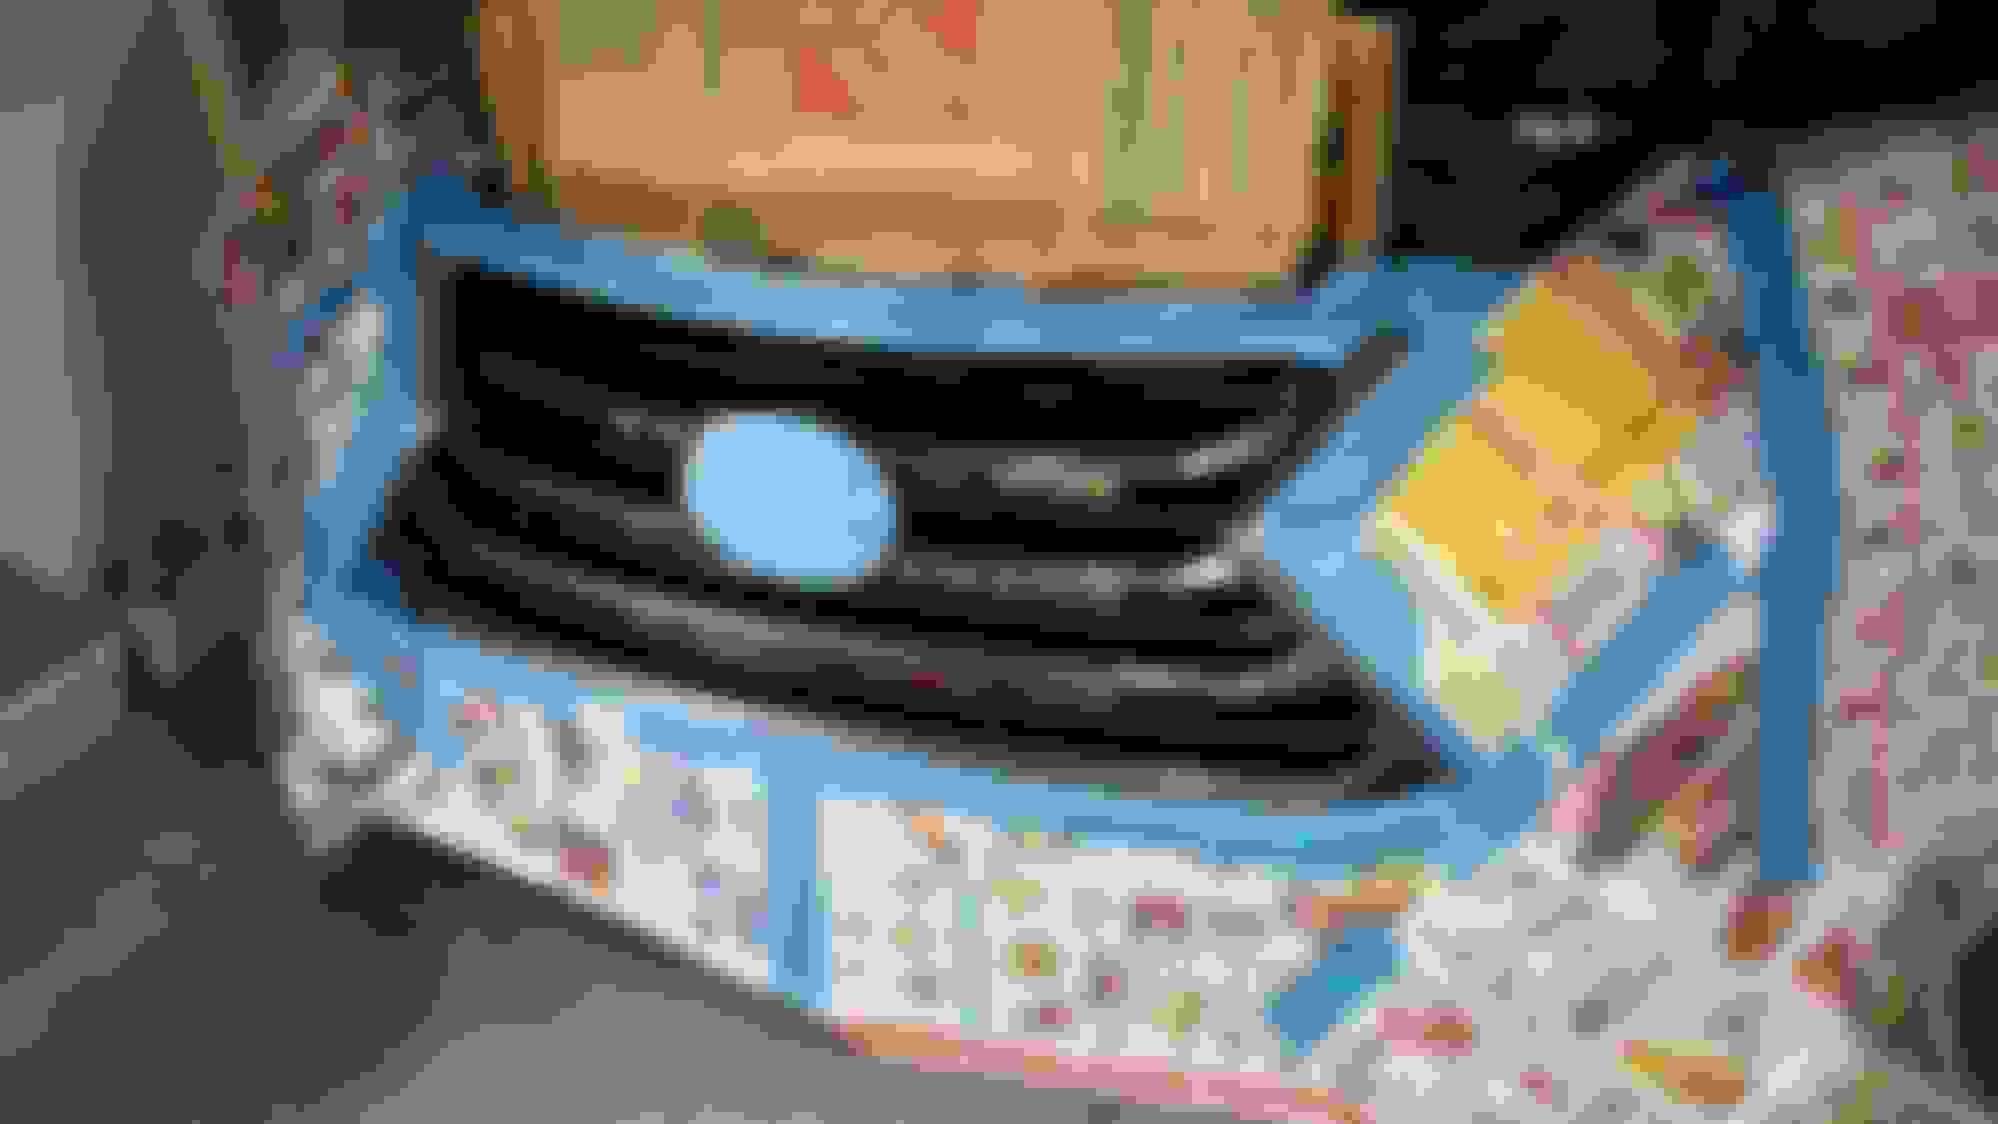
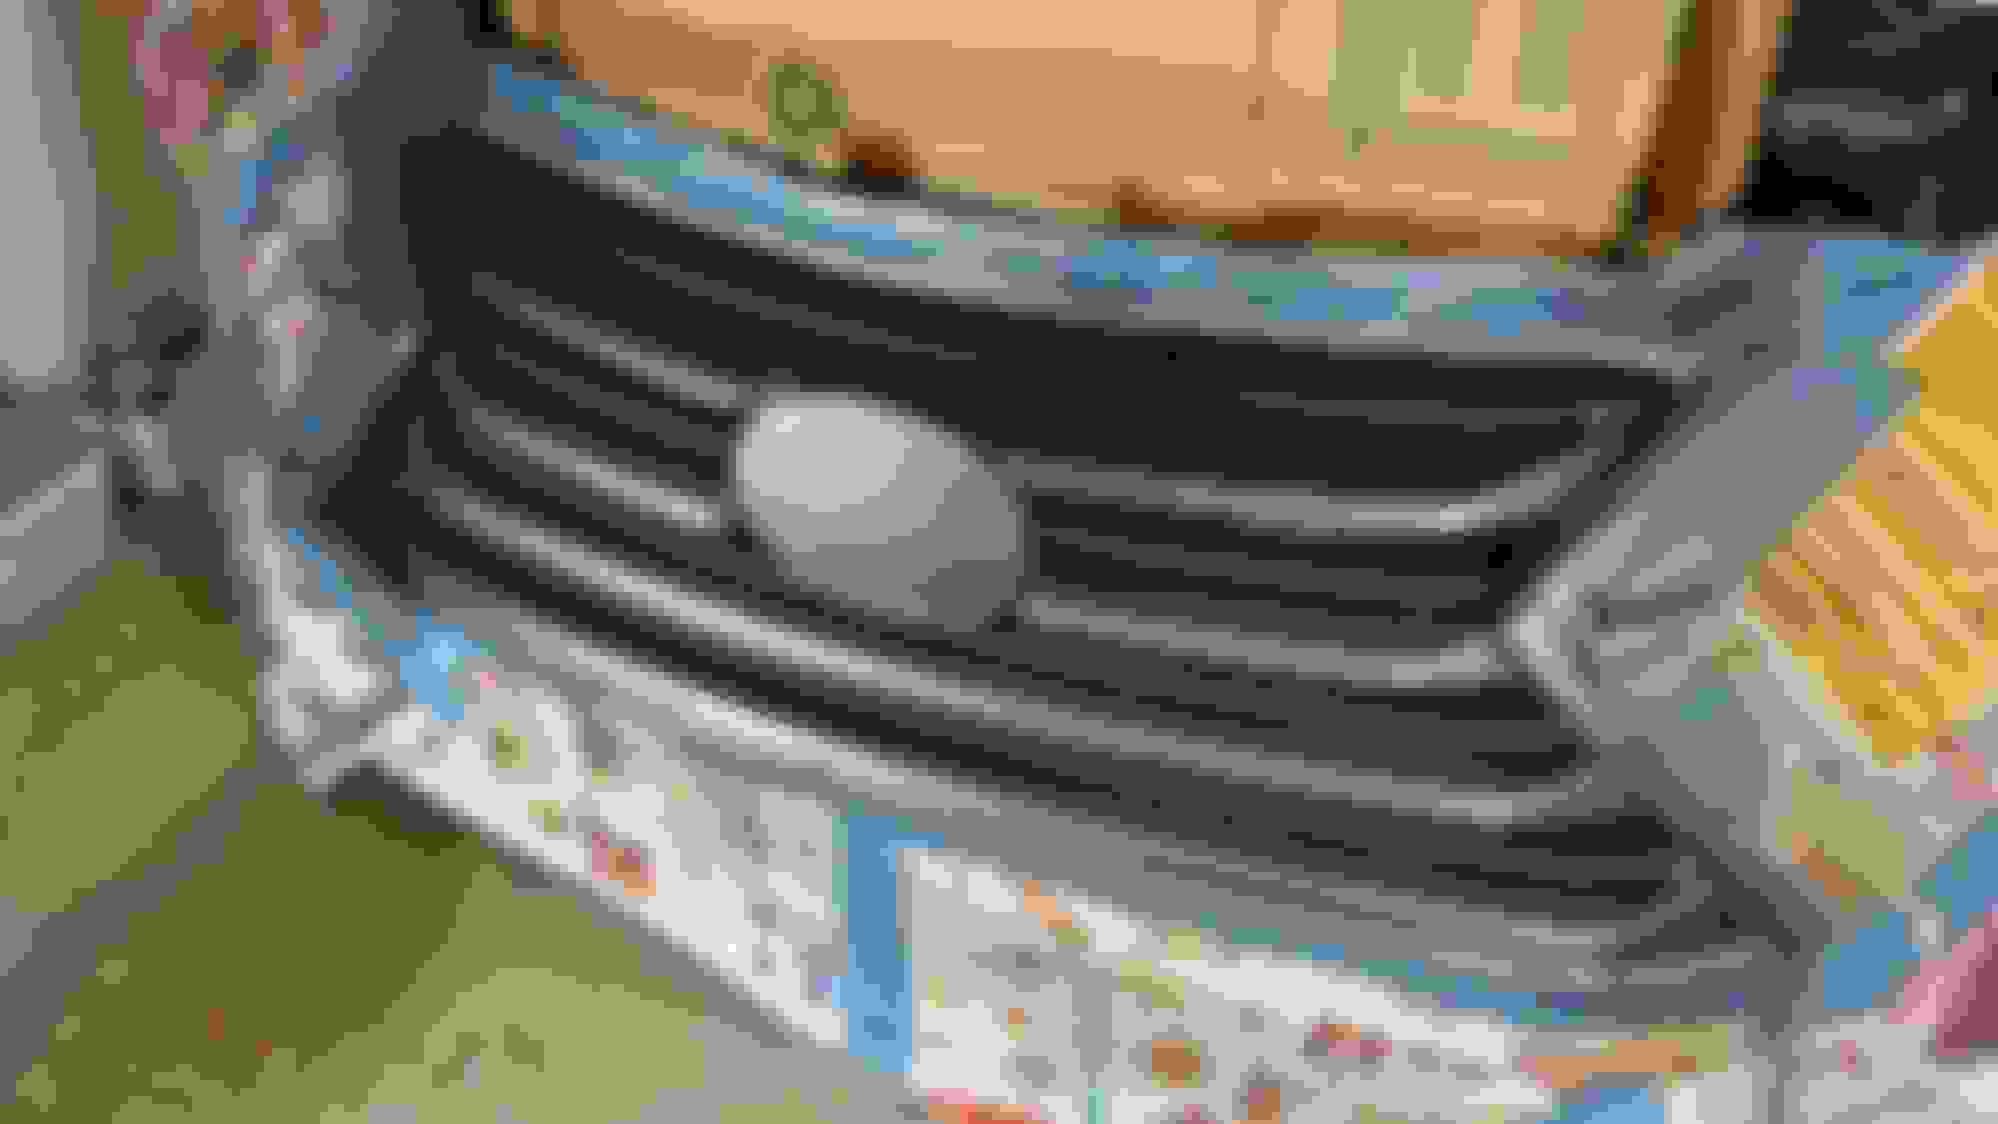
Step 8: Apply many, many very, very thin coats of Plasti-Dip. The more and the thinner the coats, the longer it will last. Patience is the key here. On rear and side emblems, I used 6 coats, but for the front grill�which will take a beating from wind, rain, bugs, etc�I used 8 coats. Did I mention to use very thin and many coats?
In the photo below, that is just the first of my thin coats.
From: Driving a UX Hybrid F-Sport! (in So California)
Originally Posted by d8168055
hows it hold up to little rocks and road debris?
If applied properly (many thin coats), it cures to a somewhat debris-absorbent protective surface.
That's why I applied eight coats (instead of six like I did on the rear emblems). Once my grill cures, I'll do my drill-less front-license plate frame installation once again.
From: Driving a UX Hybrid F-Sport! (in So California)
Originally Posted by dacommitte
Very nice! Dip is one of the easiest and cheapest ways to get some very nice customizations done.
It sure is.
However, I've seen a couple of things that ruin it for some folks... 1) They go overboard and plasti-dip everything (even whole cars), and 2) They are impatient and put only one (or two) coats on and they put it on thick!

 06-25-16 | 07:16 PM