When you click on links to various merchants on this site and make a purchase, this can result in this site earning a commission. Affiliate programs and affiliations include, but are not limited to, the eBay Partner Network.
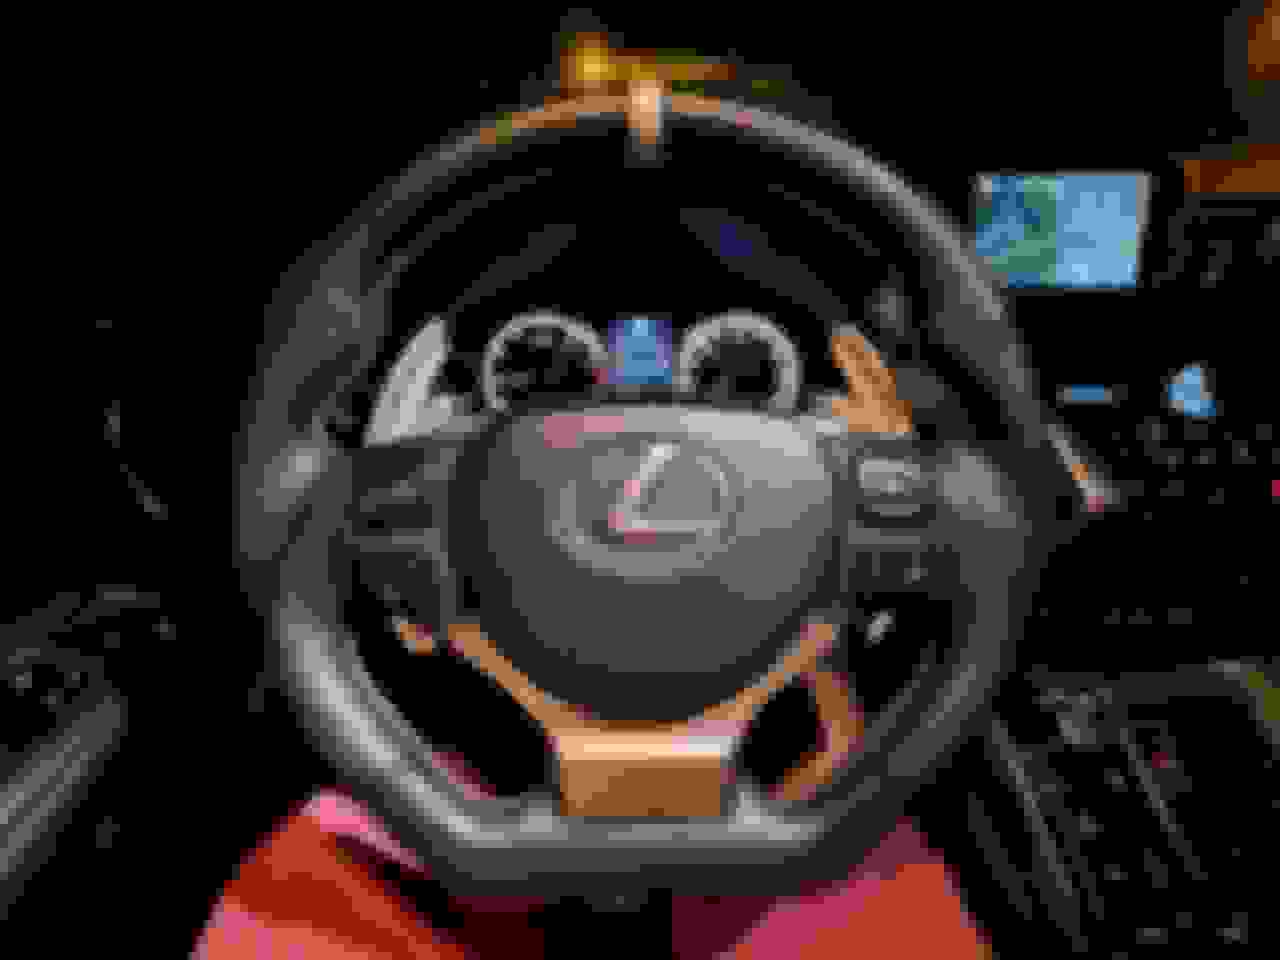
I replaced my steering wheel tonight with a flat bottomed one built to my specifications and thought I'd share the process here. I believe it's the same wheel for the RC and IS. Before anything else, a photo of the finished project (pardon the camera distortion):
WARNING: DISCONNECT THE BATTERY BEFORE COMMENCING WORK. Removing the airbag module with the battery still connected will possibly result in an airbag light at best and a bloodied nose at worst.
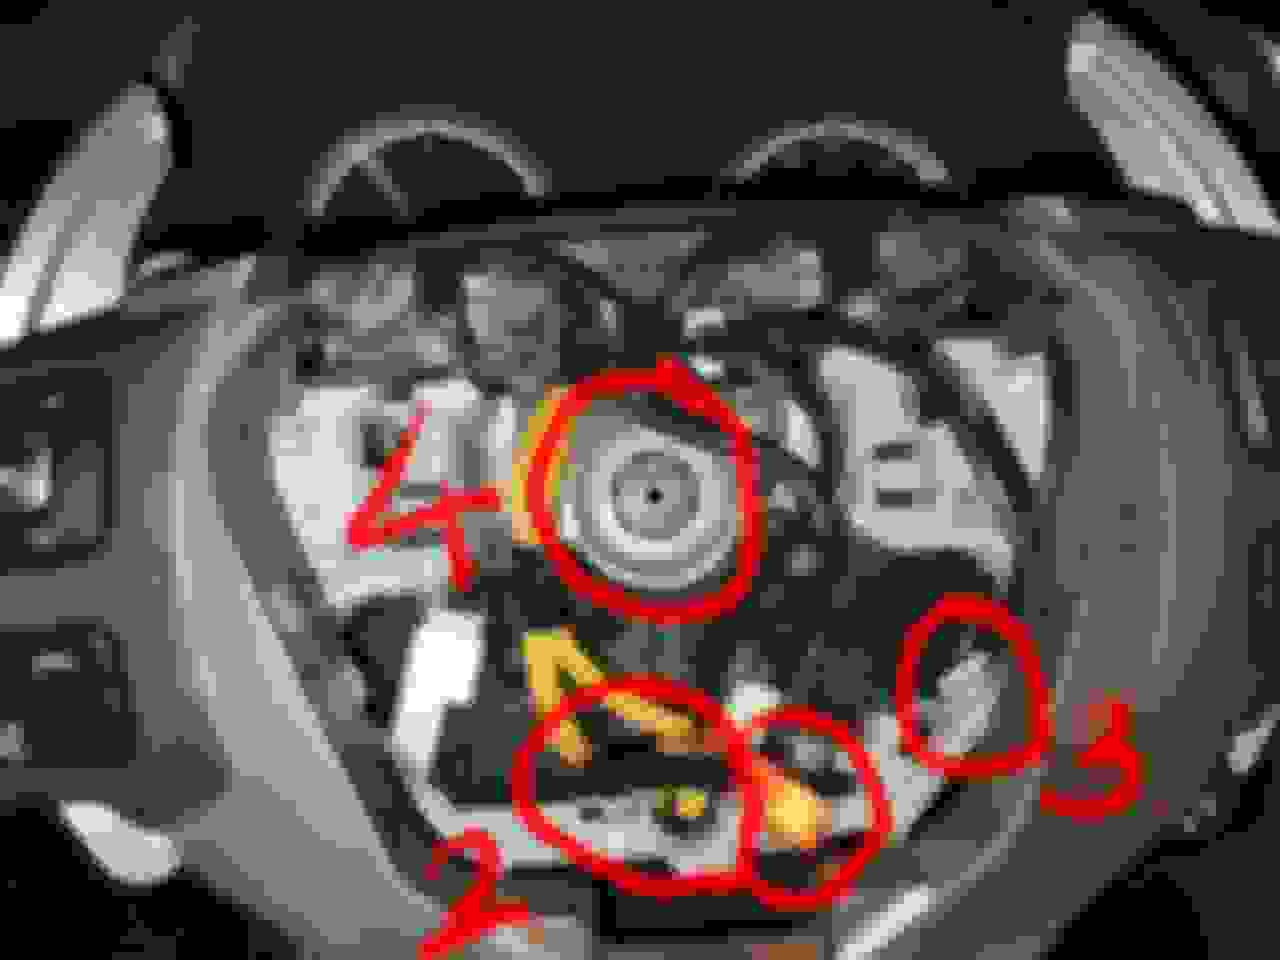
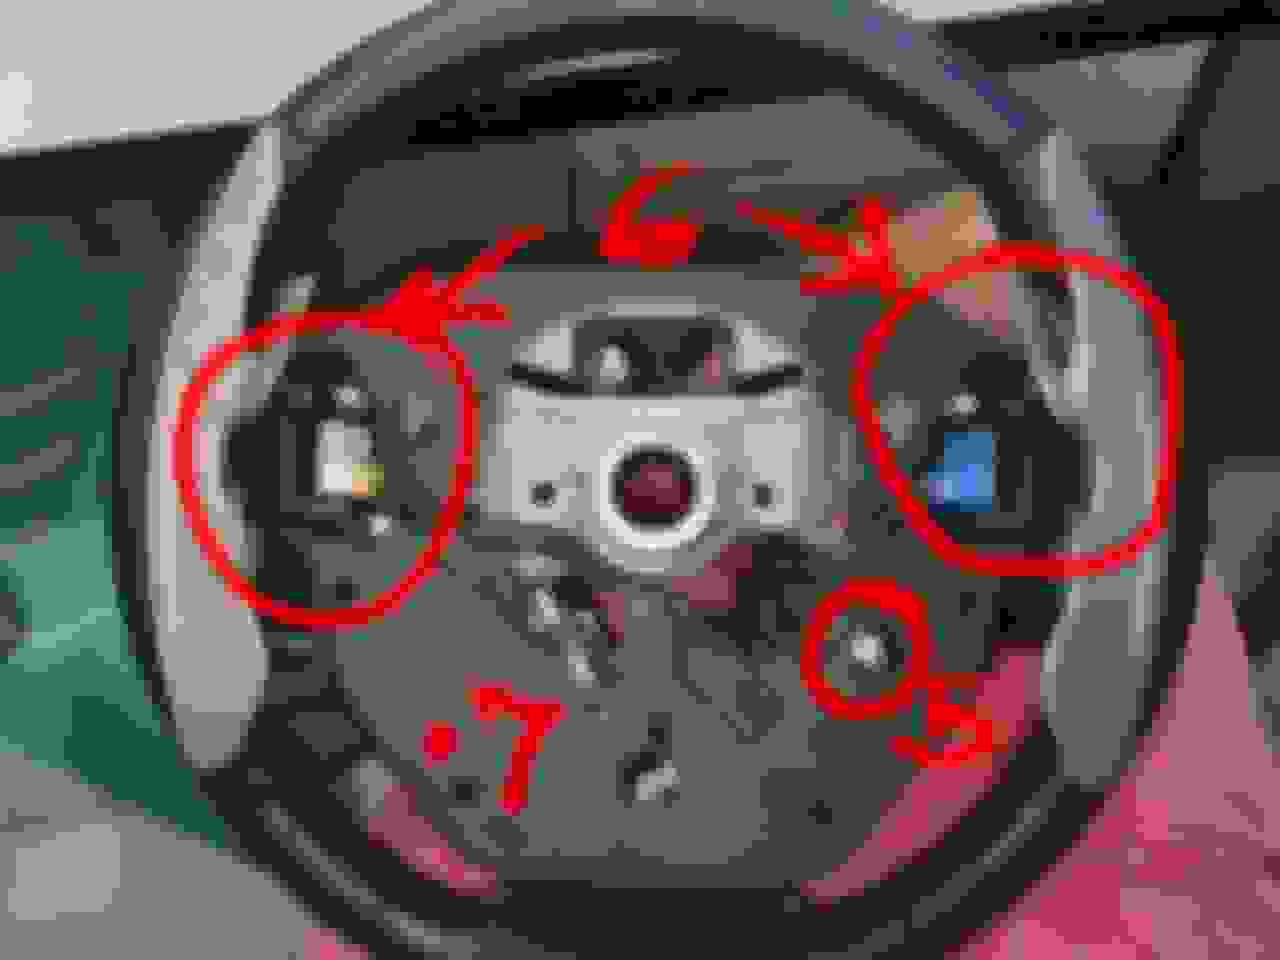
1. AIRBAG/HORN MODULE REMOVAL. I wasn't able to take a photo of this step, but the process is rather straightforward. Two plastic panels are located on the lower part of the steering wheel's sides. These can be easily removed with a flat head screwdriver. The encircled metal clips need to be pushed at their tips, in the direction of the arrows. The entire module will pop out once released, since it's spring loaded.
2. AIRBAG WIRE REMOVAL. Pop the yellow lockers up and pull the plugs up and away from the surface. They're color coded to make assembly easier.
3. HORN WIRE REMOVAL. Just slide this off.
4. STEERING WHEEL NUT REMOVAL. Use a 19mm socket wrench for this step.
Once the steering wheel nut is removed, unplug the middle black plug (hidden in photo) and right white plug from the spiral cable assembly, which won't come off with the wheel. The left airbag wire plug doesn't need to be removed, since the airbag wires will just slide off the steering wheel. After unplugging the wires, it will take some muscle to pull the steering wheel out. A steering wheel puller will make the job a lot easier, though I didn't have one on hand when I worked on this.
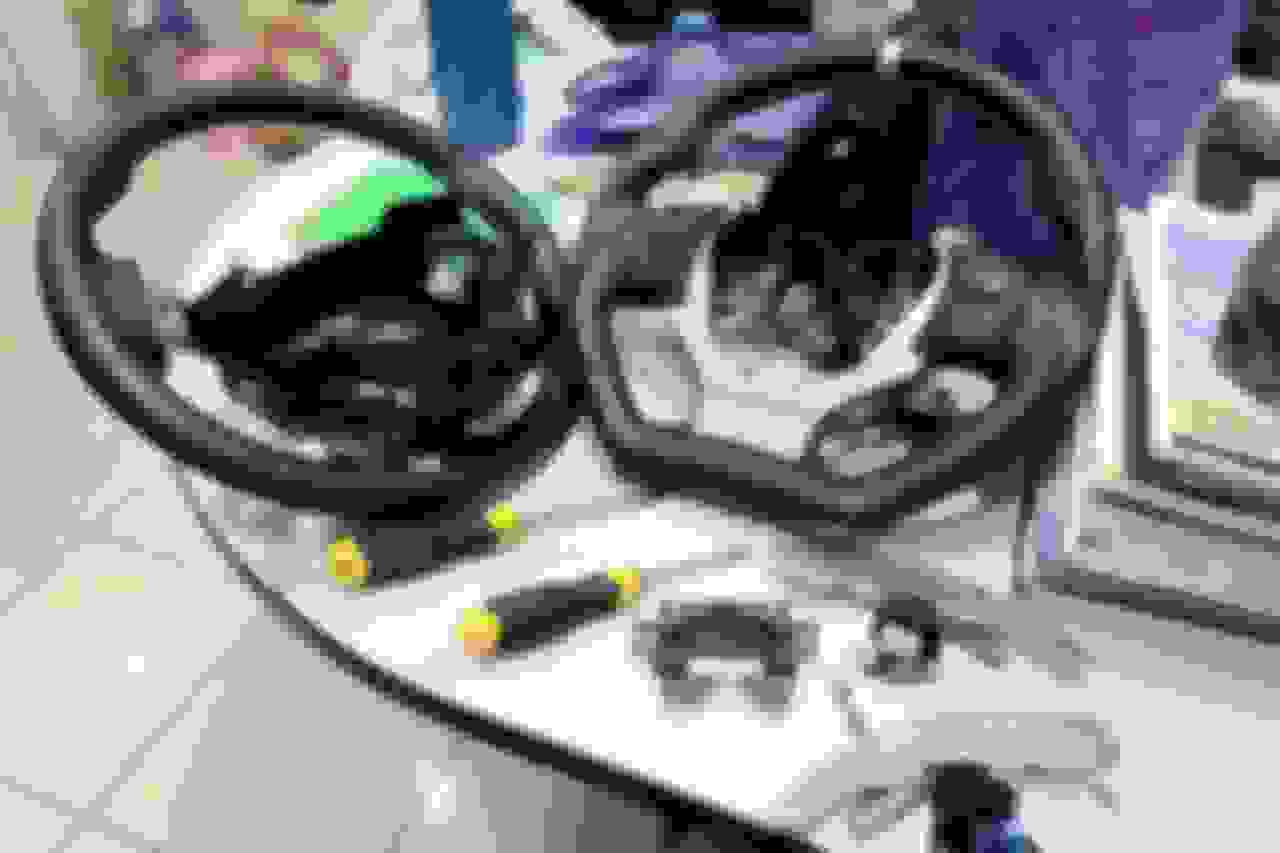
With the steering wheel out of the vehicle, you can take it indoors and work comfortably.
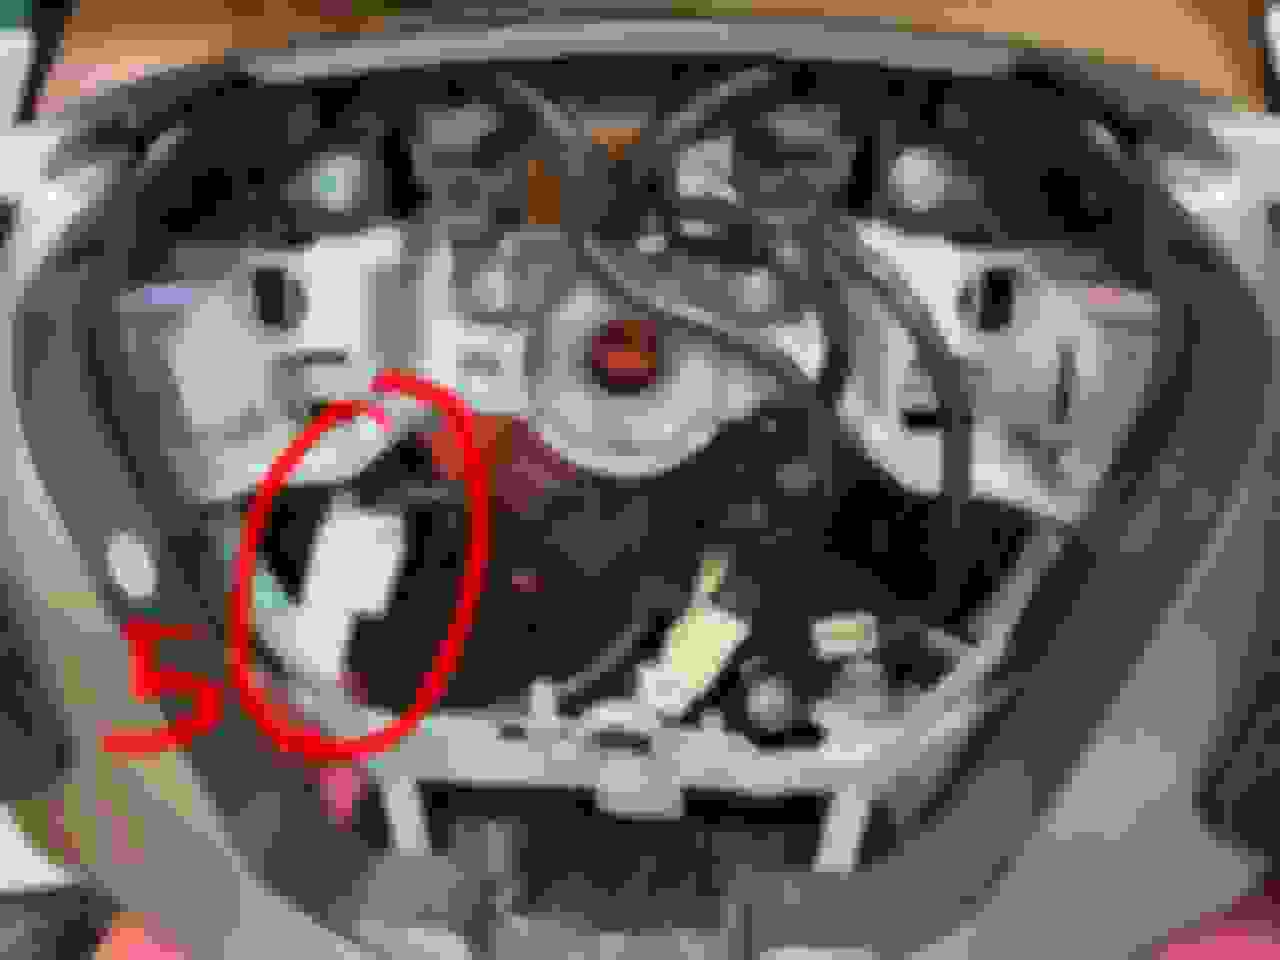
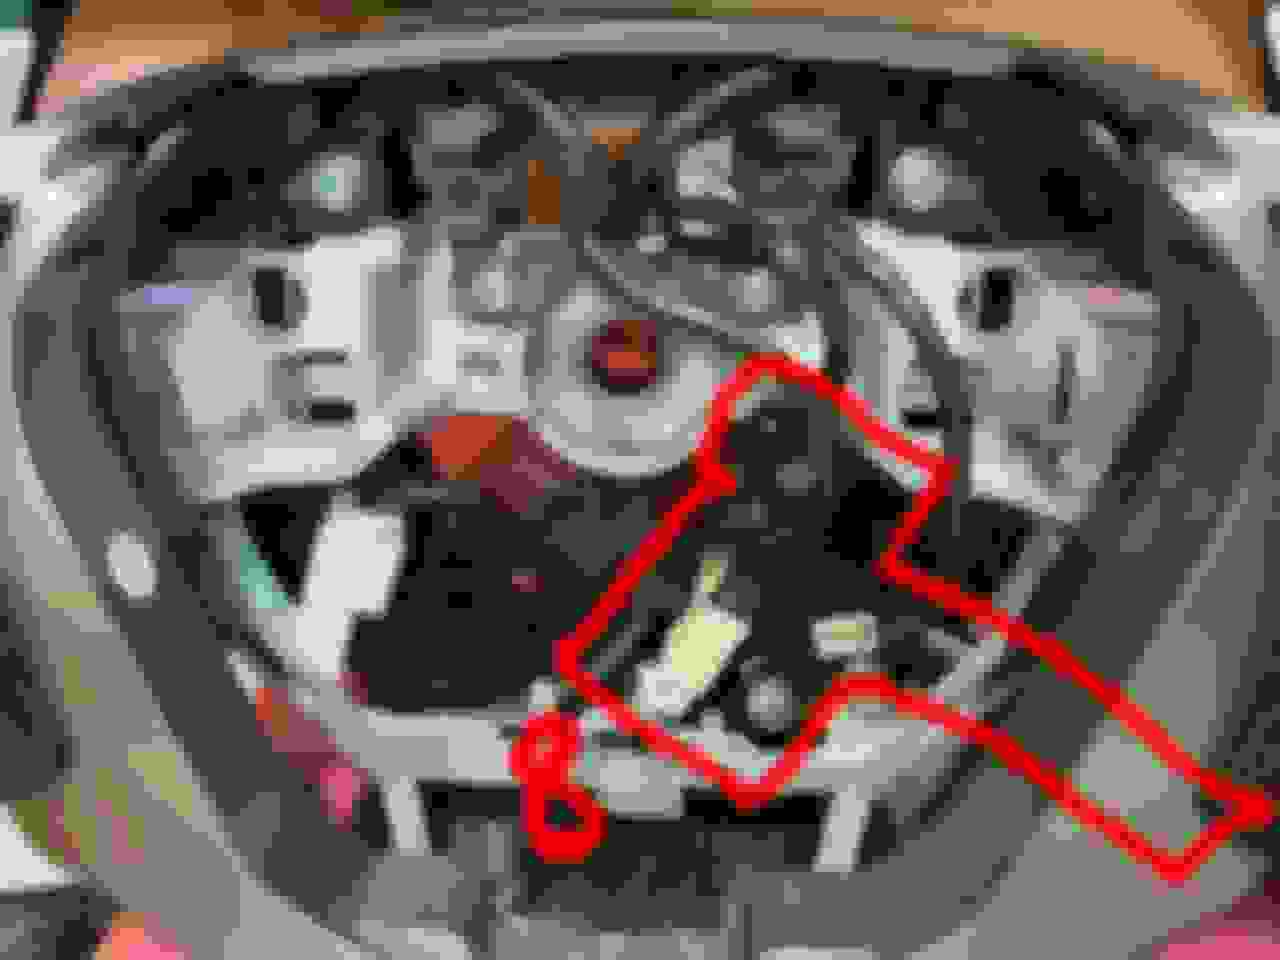
5. Unclip the wire connector from the back cover and unplug the wire that splits to each shifter. By doing so, the need to undo the splitter wire from the back cover is eliminated.
6. SHIFTER REMOVAL. Unscrew 2 screws from each shifter and unplug their respective wires.
7. Pop the rear cover off. Again, there's no need to take out the shifter wires.
8. CRUISE CONTROL STALK REMOVAL. Unscrew 2 screws to take out the cruise control stalk. There's no need to unplug anything, since it doesn't share the white plug removed after Step 4 with anything else.
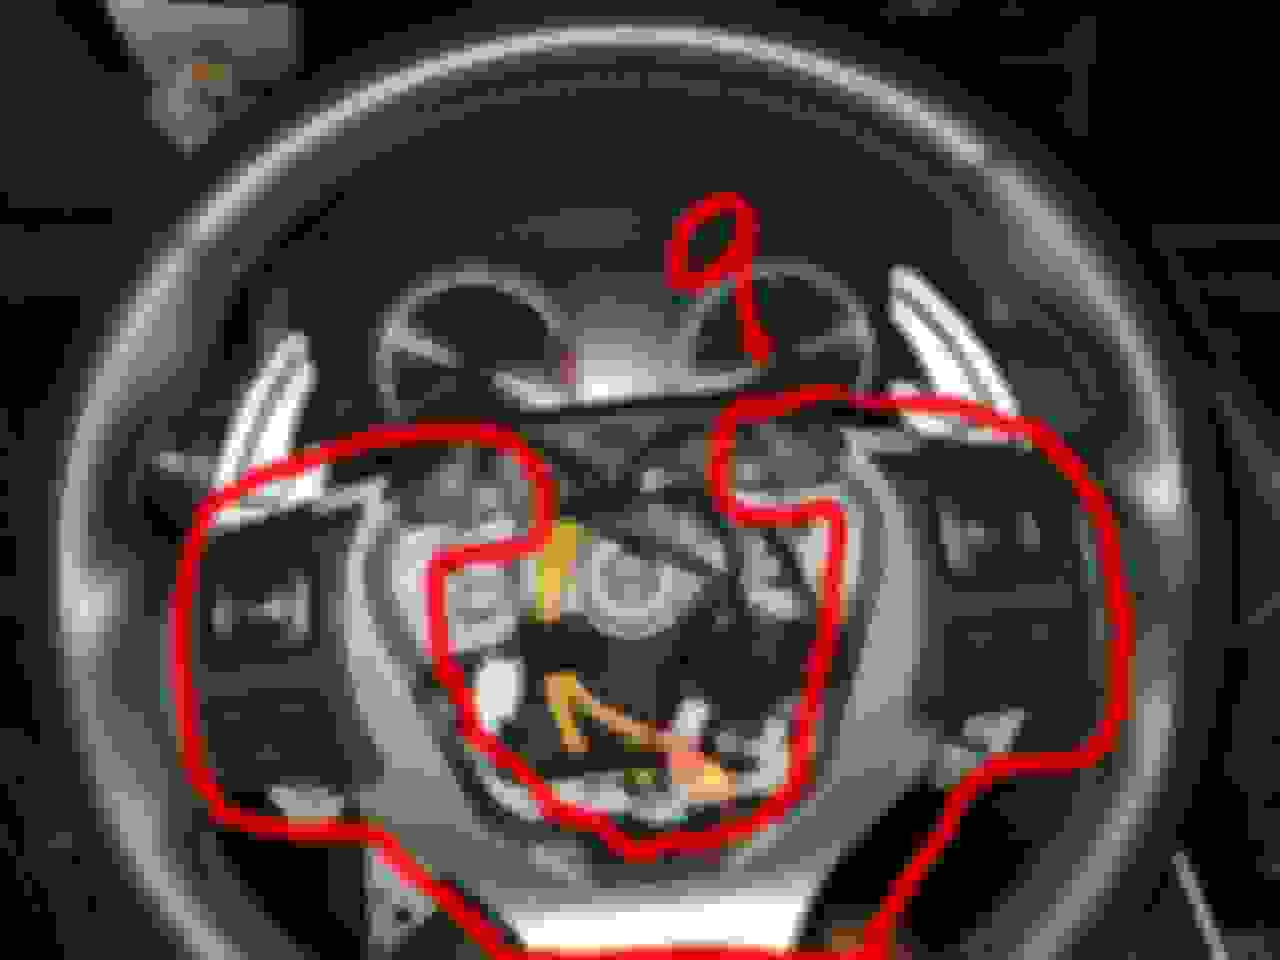
9. STEERING WHEEL CONTROLS REMOVAL. Unscrew 2 screws and unclip the entire U-shaped panel from the steering wheel.
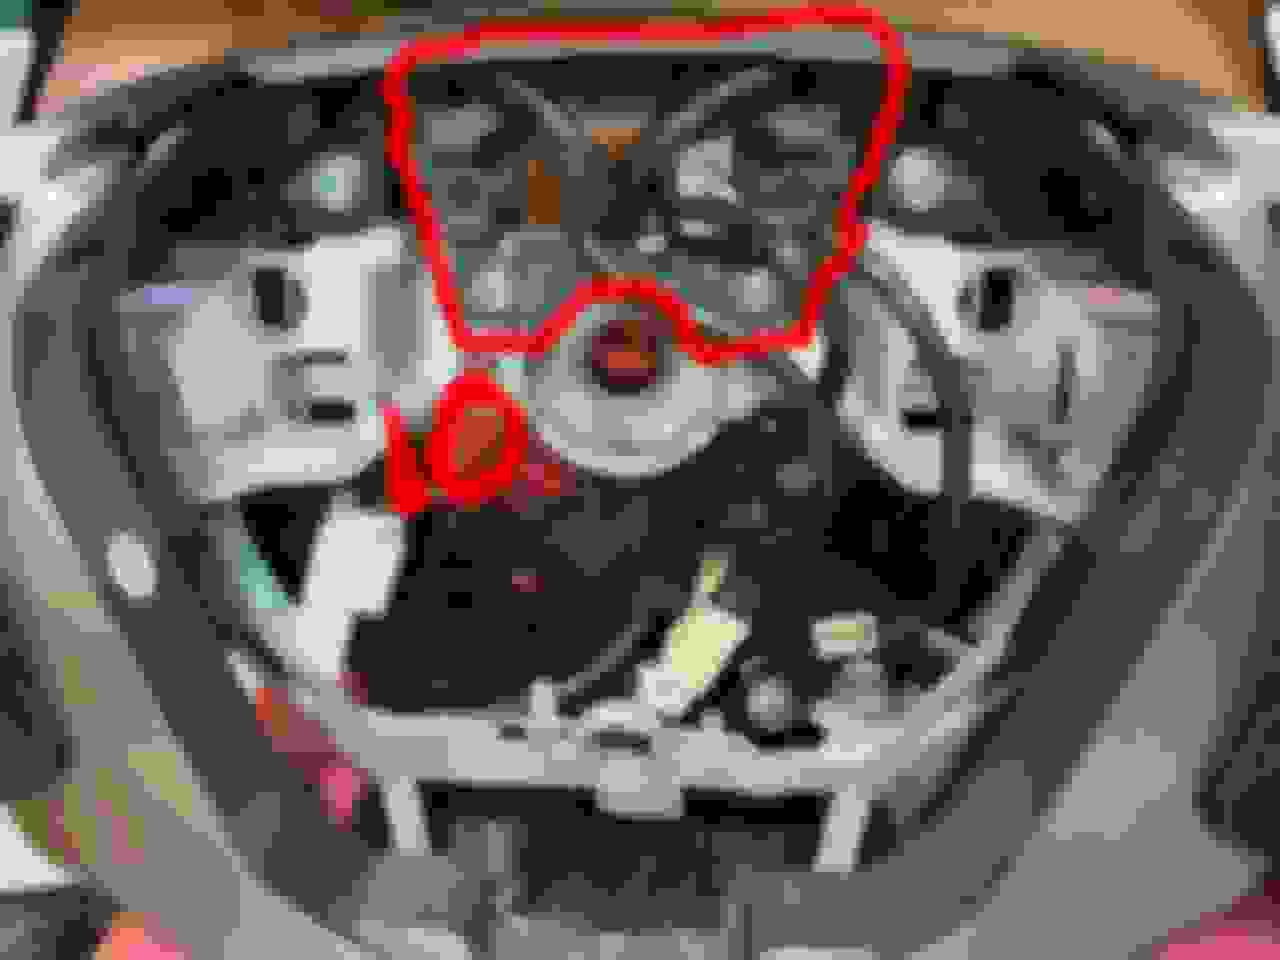
10. BALANCING WEIGHT REMOVAL. This odd part freely bounces around and is rather heavy. I think it's there to mask the electric power steering motor's vibrations. Again, unscrew 2 screws to take this out.
Assembly is reverse of removal. Please note how the wires snake around in the Step 1-4 photo. As most aftermarket steering wheels are built on used steering wheels that likely had their airbag engage in the past, it would be prudent to transfer the existing airbag module retaining clips to the new steering wheel and discard whatever clips that came with it.
Very nice write up, thanks. I do like the stock steering wheel, but yours is nice.
Thank you. I still had to do some figuring out, even with all the write-ups and video guides available, and thought there's space for a more elaborate guide.
As for the wheel, glad you find it nice. I had the vendor remove all the carbon fiber bits to make sure nothing looks out of place in the interior. The 12 o'clock sight line fortunately matched the silver shifter extensions and stainless steel interior trim well.
 06-04-20, 08:23 AM