When you click on links to various merchants on this site and make a purchase, this can result in this site earning a commission. Affiliate programs and affiliations include, but are not limited to, the eBay Partner Network.
Had to make my intentions known lol, as we both know a 6 pot BBK for this car is strictly aesthetics without more engineering and better tires.
I also saw your thread on the RPVs, while I'm intrigued, not sure if I'm ready to do that just yet. You must be a mechanical engineer or something with all this knowledge and know-how, I'm just an above average backyard mechanic.
For the EBC rotors, how do they hold up against rust? Are they coated in the non-contact surfaces?
Ah yes, tires. I kept mine 18 for comfort and practicality, and the 255/55 size that's OEM for a lot of base model German SUVs had me spoilt for choice.
I'm a backyard mechanic, too! Just had too much time to research and do stuff last year. 😂
The EBC rotors come entirely painted black. Once you install them, the band that contacts the pads then wears away to show the metal underneath. Non-contact surfaces stay painted.
With the factory front springs, the NX has almost equal amounts bump (compression) and droop (extension) travel available from its static ride height. With the vehicle sitting on RS-R Downsus lowering springs, the static ride height has around 25% of travel available for bump and 75% of travel available for droop. Inside the strut assembly, there is a factory bump stop that engages in the last 20%-ish of travel to prevent the strut from compressing too much, bottoming out, and suffering internal damage. Sans intervention, the NX rides on the harsh bump stops when running over rough roads. Over-lowering also yields poor geometry, as mentioned earlier.
To alleviate the above issues, a custom strut stack was made to introduce roughly 10 mm (NOTE: formerly 15 mm) of preload. This adds and subtracts the same amount to bump travel and from droop travel, respectively.
Components are as follows:
1. Caster relief shim out of a 70s Dodge/Chevy/Ford axle camber correction shim (NOTE: Removed after installation of RS-R Half Down front springs, higher front ride height eliminated the need for caster relief)
2. Grade 10.9 ATV studs pressed in place of the factory ones (NOTE: Unnecessary, now that the caster relief shim has been removed)
3. 6 mm polyurethane pad from a modified Energy Suspension 9.6114G isolator (NOTE: Removed after installation of RS-R Half Down front springs to rein in bump steer)
4. Factory strut bearing and dirt shield
5. 10 mm Whiteline W73419 polyurethane pad, notched with a channel to locate the factory isolator better and improve NVH
6. Factory spring upper isolator
7. RS-R T532THD 3.32 kg/mm spring (NOTE: formerly RS-R T532D 3.51 kg/mm, changed for more bump travel)
8. Hybrid bump stop stack from factory and Ground Control components - details below
9. Factory adaptive variable strut - able to deal with the elevated spring rate, unlike the rear dampers
Factory bump stop photo from masuma.ru
The factory bump stop, OEM P/N 48331-42080, is a progressive, multi-cell foam unit that engages softly but quickly ramps up into a solid 35+ mm thick donut in the most extreme of compressions. Essential to this is the solid, black plastic ring that prevents the foam bump stop from expanding any further horizontally. With �” cut off, the modified factory bump stops still didn't quite match the new suspension setup. The solid plastic band around them stopped impact absorption too early, causing the stops to lock up despite the struts having plenty of travel left.
To fix things, I made "hybrid" bump stop stacks by retaining the wide bases of the factory bump stops, inserting modified Ground Control "soft strut" bump stops, and again retaining the soft, progressive end of the factory bits. The wide base fits right into the bell housing under the strut mount bushing. The modified Ground Control bump stop, while shorter than its factory counterpart, starts soft but quickly ramps up in rate to provide ample insurance. The soft, hollow donut tip from the factory stop helps keep bump stop engagement imperceptible. While I haven't tested with a hydraulic press, the entire stack shouldn't go under 22 mm when fully collapsed (the wide base doesn't compress much). 22 mm is what I measured to be the terminal cushion requirement to prevent the front dampers from bottoming out internally.
The bump stops aren't just for strut protection, by the way. When in contact, they help raise spring rates for flatter cornering. On the other hand, they usually stay disconnected when the vehicle is traveling straight. I used the same concept to a more drastic extent for the rear bump stops, which I will detail in a future post.
Hybrid bump stop stack from factory and Ground Control components
Ground Control "firm strut" bump stop on left, factory bump stop center section on right, sans donut tip. The setup on the left was a little too harsh for my liking.
Modifying the Energy Suspension 9.6114Gs. Note polyurethane ring around the strut mount bushing. Unmodified piece on lower right. Also note the bell housing that the bump stop base seats into. (NOTE: Removed after installation of RS-R Half Down front springs)
All stacked together! The modified Energy Suspension isolators are thin enough to still allow the strut bearing assembly to seat properly around the strut bushing.
Aside from the vehicle riding harshly, the front and rear ride heights were visibly uneven prior to preload adjustment. This was compounded by the increased caster, which pulled the front wheels forward. Old wheels, black mirror housings, old house. This photo was taken quite some time ago.
Last edited by chezgk; 05-18-21 at 09:07 AM.
Reason: Updates and revisions
RS-R Ti2000 Halfdown front springs installed! The rear end still rides on RS-R Downsus springs. Despite different quoted drop rates by the manufacturer, the fender gaps are fairly even due to the front end's elevated caster and steering axis inclination.
Anyway.
Lowering springs and double offset polyurethane LCA bushings - these are basic, common mods that seem to have no drawbacks. If you scour the web for information on them, there seems to be nothing but praise. Lower center of gravity is good. As much caster as you can get away with, even better. I still recall the first drive after installing the double offset bushings some two years ago: heavier steering, vastly improved steady-state cornering, and not much else to object to, save for a slight increase in straight-line instability when traversing over severe ripples. Gotta pay to play, I assumed, wrongly attributing the instability to increased road feel.
As mentioned in a previous post, Hardrace camber curve correctors were installed to allow negative camber gain deeper in bump. This worked really great on smooth roads. On the rally stage that is our very poorly maintained local highway, however, the steering wheel would keep moving and fighting to change lanes by itself, making the vehicle quite a chore to drive. Hard braking and anticipating which side the NX would veer to was like flipping a coin.
It was quite apparent that I had severe bump steer in my hands. I set about trying to understand the specifics of my bump steer problem one night, raising and lowering the front in 5mm increments and checking the alignment with each height change. Measurements showed that the NX toes in on both bump and droop after all the geometry changes. This was convenient on my part, since I only needed to reduce the length of the rack ends' active parts (move the inner pivot outboard) rather than change the height of the steering rack or tie rod mounting points, which would have been necessary had my bump curve been asymmetrical.
Rough total toe measurements while the suspension was raised and lowered. The front setup was a lot lower back then. R2F is rim-to-fender height.
Looking for a same-threaded, M16x1.5 I/O set of rack ends with pivots further outboard seemed more cost effective than ordering custom-made parts. Rummaging through our parts catalog first led me to some Kia Soul replacement rack ends that had inner pivots located some 3 mm more out than the Lexus NX/Toyota RAV4s'. I ran this setup for a few months before deciding to check for better options.
Side by side comparison. Kia Soul on left, factory Toyota/Lexus on right. Intersection of mount center and shaft center shows where the pivot point is.
Searching some more, I realized I totally overlooked these '04-'09 Hyundai Tucson rack ends. They provide around 10 mm outward pivot relocation without compromising thread engagement and safety. That said, I sandwiched 3 mm-thick steel washers on each side for even more relocation and to serve as a steering rack stopper/keep wheel angle at full lock the same. Unfortunately, I wasn't able to take a photo of the washers.
The Tucson bits provide 10-ish mm of outward pivot relocation. Installed on the steering rack together with 3 mm washers, they end up marginally longer than the Lexus rack ends and allow more threads to engage with the outer tie rod.
Quick sketch of how the two replacement rack ends compare with the factory one.
Install time! Note almost identical total lengths of both rack ends. Washers are, yet again, not in the photo.
Several post-alignment road tests late last night left me fully convinced. The steering wheel stayed steady on bumpy roads. Cornering with the suspension compressing and extending no longer needed steering input changes. The stability, together with the improved suspension geometry, was just beautiful. Finally, she drove with precision once more.
All of this is useless without proof, of course, so I quantified my results by doing measurements again. Some residual bump steer rears its head on more extreme droop movements but stays largely unnoticeable most of the time. Here are the new measurements in the form of a graph:
Before: Kia Soul rack ends. After: Hyundai Tucson rack ends + 3 mm washers. Note that the x-axis is stretched extra wide to make things clearer. I didn't include the extreme droop measurements because the vehicle's starting to tilt back likely made them inaccurate. Base ride height here was 175 mm left R2F vs the first table's 157 mm. (NOTE: After removing the 5mm Energy Suspension preload and the angled caster shims, the new ride height zero point is at roughly -7 mm. This further eliminates what little bump steer is left by getting things in a more favorable zone.)
Last edited by chezgk; 05-18-21 at 09:31 AM.
Reason: Updates and revisions
Downpipe installation - finally, a DIY I absolutely DO NOT recommend doing. Installed a custom stainless steel catted downpipe in the NX200t last Sunday. With the number of parts that had to be removed just to get to the factory piece, I could've replaced the turbo in another 30 minutes. Let's save that for some other day.
Comparison of the main and middle pipes. I ended using just the main one due to flange issues with the latter.
While the set came in three pieces, I ended up not using the middle and rear pipes because:
- The rear flange on the middle pipe was rotated a little too much and just wouldn't line up with the main downpipe and the rear pipe.
- The downstream O2 sensor provision on the rear pipe was too close to the front right half shaft/axle retaining clip.
Comparison of the rear pipes. The photo's angle doesn't show it, but the O2 sensor provision on the aftermarket bit was way forward of where it's supposed to be, forcing the downstream O2 sensor to hit and rest on the axle retaining clip when installed.
Not a big deal, as the inner diameters of the original and aftermarket middle pipes are almost identical. I don't think the factory cat on the rear pipe is that restrictive, either. Exhaust gases would have contracted and slowed by the time they get there.
Now to the main downpipe, where it matters. I attached a photo to show just how restrictive the factory downpipe is, with the cat appearing almost solid compared to the 200-cell cat on the aftermarket piece. The inner diameter immediately after the turbo exhaust is a lot larger, too. Since it didn't come with a guide pin like the factory bit, lining it up with the v-band clamp was quite hellish. Did I mention it was quite heavy?
Aftermarket vs factory main downpipe. One can see how the cat on the factory bit appears almost solid.
Finished the install. Started the car. Holy crap did it sound like a ricer car. That's when I noticed a gasket on the floor I forgot to reinstall, staring back at me. Redid part of the install. Went out for a drive.
The improved low and mid range from quicker turbo spool was very, very apparent. Going wide open throttle (WOT) on the first drive is definitely not advisable, though! If there's anything I learned from my tuner back in my Subaru days, it was to log and log and log to make sure the safety margins built into the ECU aren't tapped out.
To start, I logged 80%-ish throttle pulls in 2nd and 3rd gear Monday night to check for boost creep. Fortunately, target air-fuel ratio (AFR) and measured AFR were in agreement. This meant that the NX wasn't leaning out, even on the custom OV tune. Fuel trims were healthy as well, other than long term fuel trims (LTFT) showing -12 at idle, which was rather rough. Removing the downstream O2 sensor spacer I installed (for good measure, I wrongly assumed) fixed that and brought idle LTFT to hover around -8.
80% throttle pull logs, trimmed to remove downtime and half throttle events. Target and actual AFRs were in agreement.
Seeing how the ECU was able to adapt to the downpipe with lots of fueling headroom, I logged 100%/WOT 2nd and 3rd gear pulls last night, even going past redline (6400+ rpm) a few instances. Boy, does she slingshot in the upper end of the rev range! Logged AFRs were still perfect, and the single digit fuel trims show just how versatile Toyota made the ECU to be.
WOT 2nd gear pull past the 6000 rpm redline. AFRs still very healthy.
WOT 3rd gear pull just short of redline. AFRs still don't indicate fueling shortage.
Without boost creep and with improved response and lower exhaust gas temperatures as a result of reduced backpressure, she ought to have more safety headroom than before.
It's been over a year since I installed the Hardrace camber curve correctors in the NX, and despite following Hardrace's instructions and torquing to and even past Toyota's factory specifications, there was distinct clunking that just wouldn't go away.
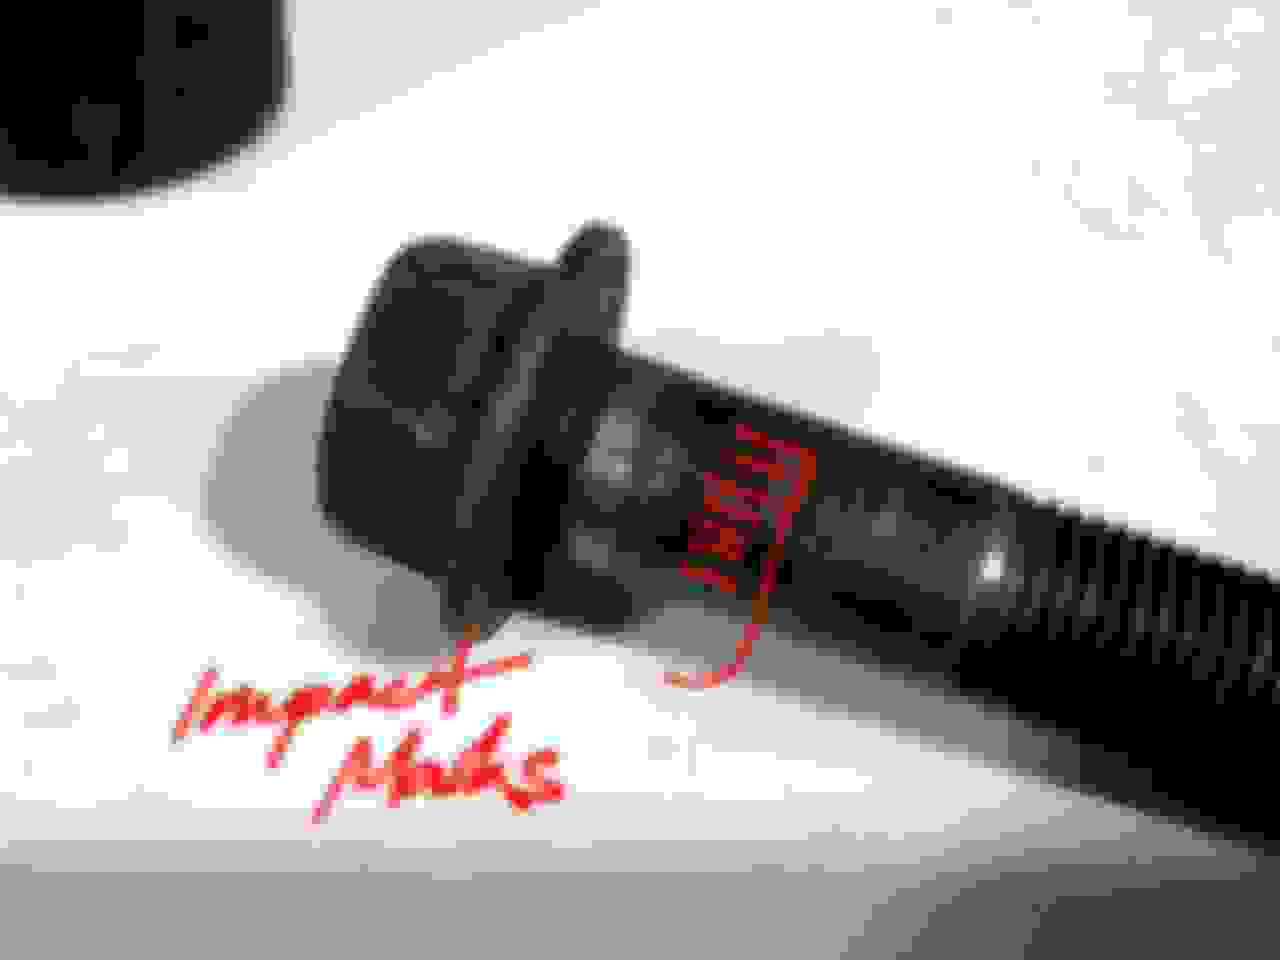
Taking both ball joints off and inspecting them up close revealed evidence that the long flanged bolts supplied by Hardrace to replace the Toyota factory ball joint studs allowed the ball joint bases to move around. Despite the flange diameter, there was very little real contact area to clamp the ball joints securely in place. These findings were further confirmed by the impact marks on the bolt shanks, which showed signs of the ball joints' pre-splined sections banging onto them whenever potholes, bumps, humps, or other road irregularities were encountered - not good for the long run.
Ball joint base showing how little actual contact area there was between itself and the bolt flange.
Impact marks reveal the ball joint bases shifting about, despite the nuts being torqued to and past factory spec.
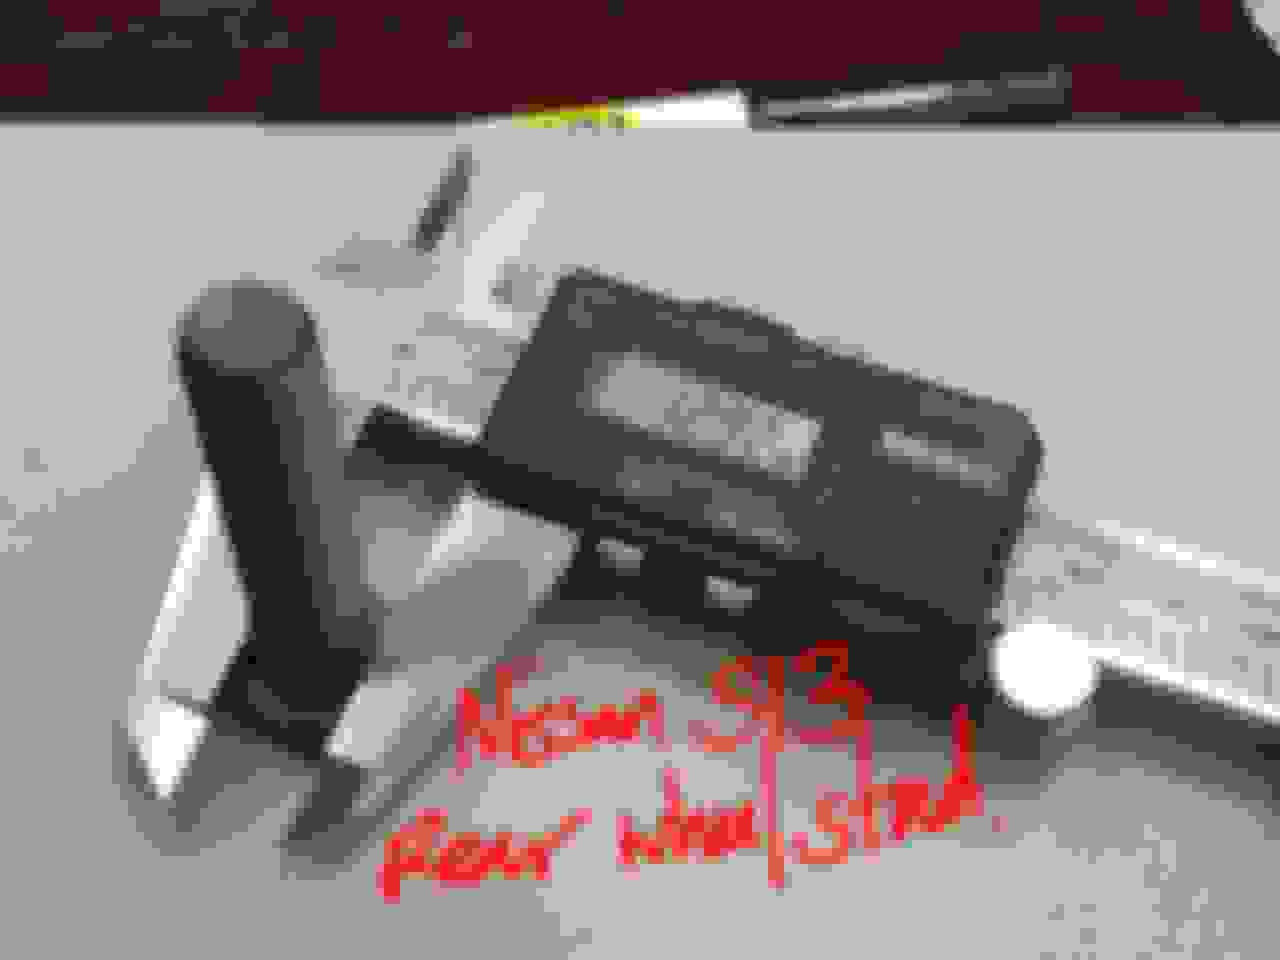
So maybe there was a reason Toyota went with splined studs and not bolts in the first place. Some internet scouring led me to these Nissan S13 extended rear wheel studs - viable alternatives that almost match the length of the bolts Hardrace included with the kit. They match Toyota's factory hardware well: same M12x1.25 thread, almost the same splined section diameter (0.2 mm delta, took some force to get in), same 31 splines.
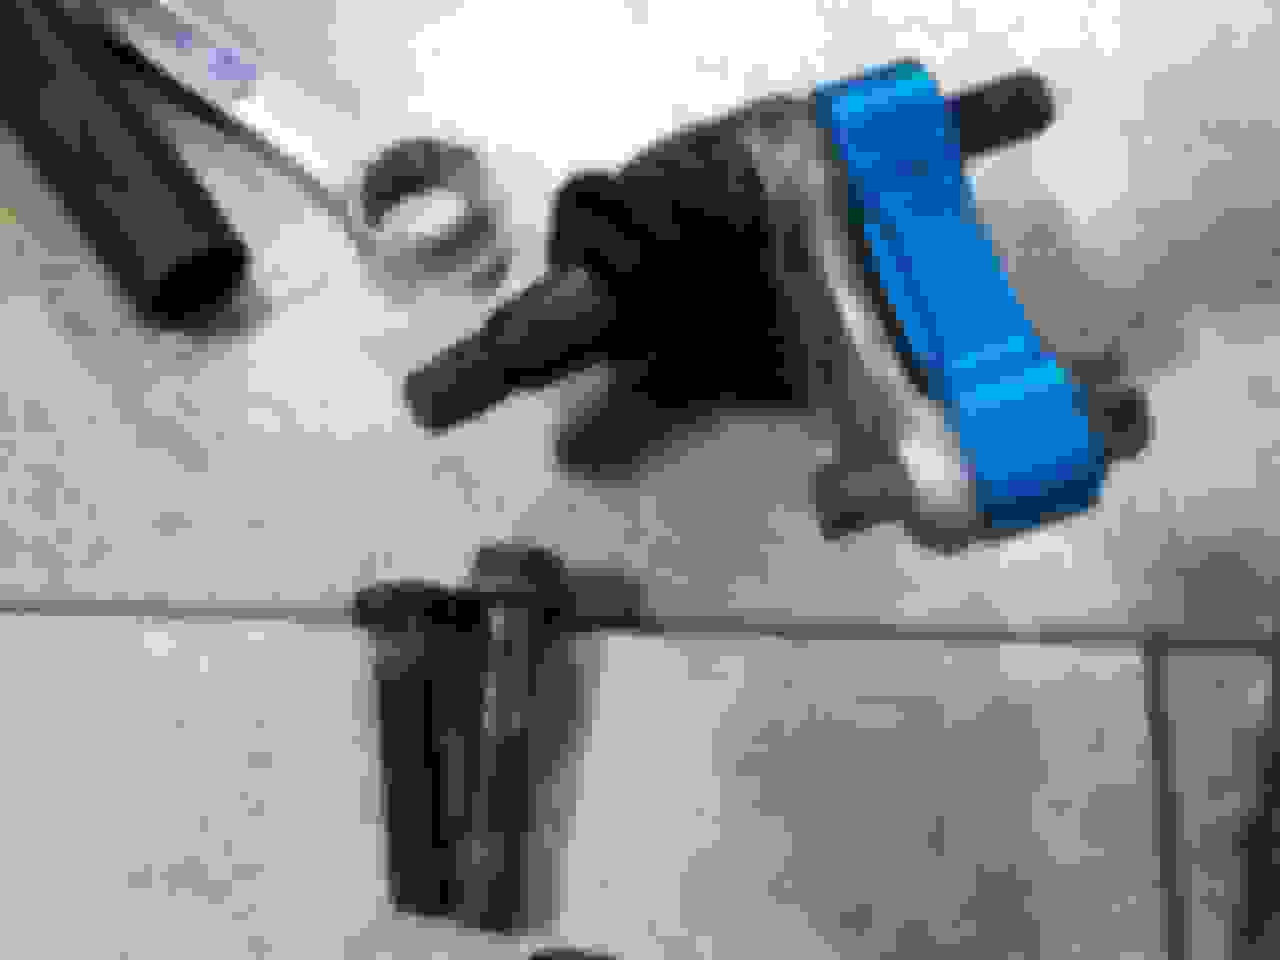
There was some excess spline depth on the S13 studs, so I had to sandwich some washers under the stud heads to take up the slack. Fortunately, the reduced length still allowed full nut engagement.
In photo: side-by-side of the new stud and the Hardrace bolt, washer installed under the head of the first stud pressed in
Washers sandwiched under stud heads
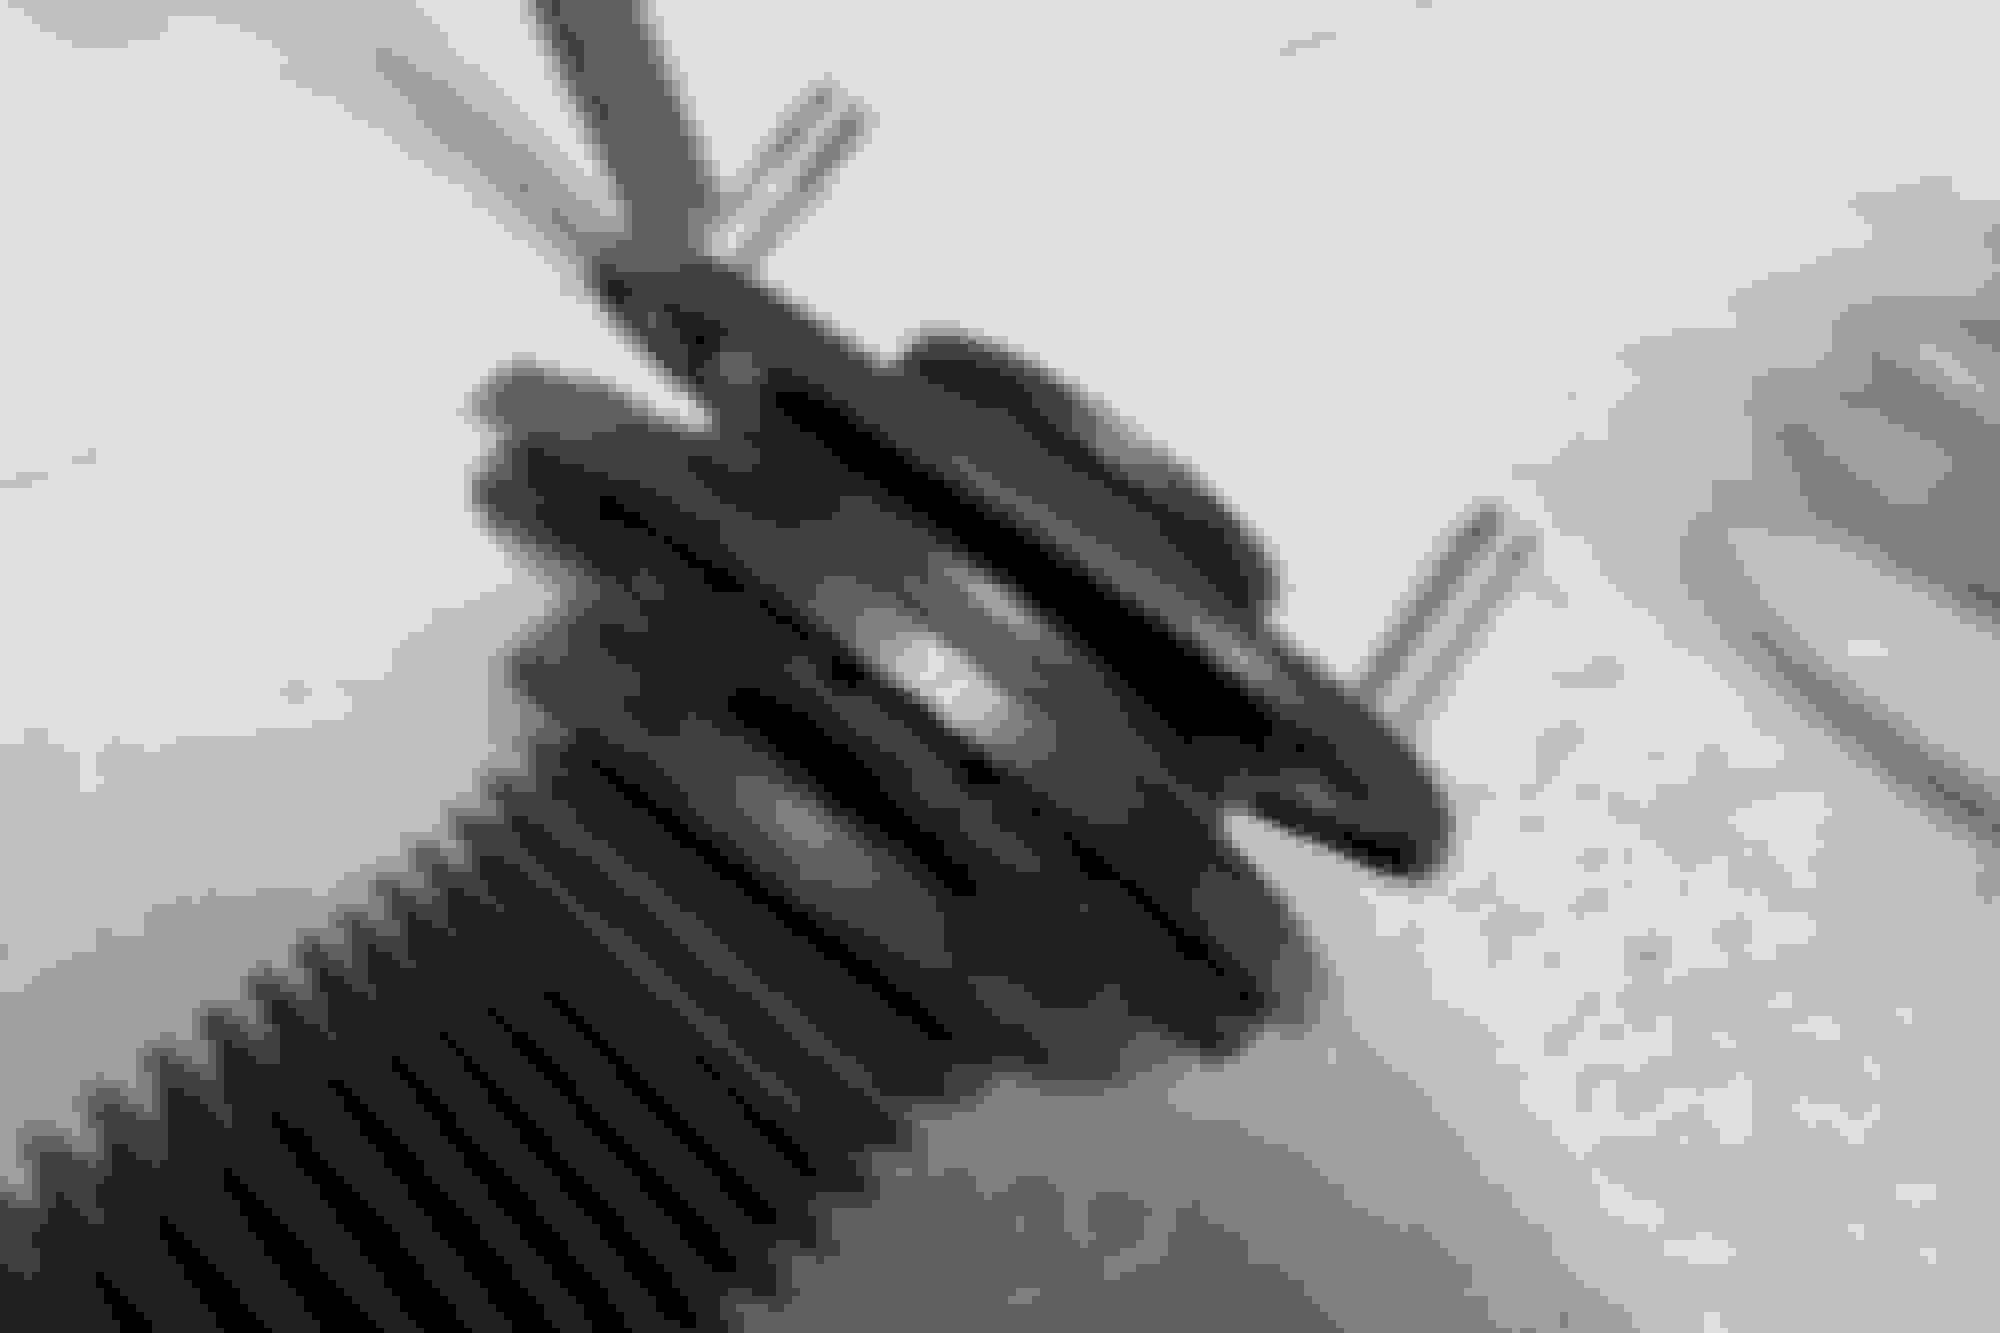
Full thread engagement on the factory nuts
So, was the effort worth it?
Yes! Through my favorite NVH road test segment, the suspension no longer exhibited the unpleasant clunks and subtle alignment shifts that I've grown so accustomed to. Back were the tightness and tautness whose absence I didn't even realize until now.
Moral of the story? Studs stay studs, and bolts stay bolts. The strongest of bolts, be it Class 12.9 (like mine) or Grade 8, will never be a viable alternative to a stud that was put there by the manufacturer for a reason.
Whiteline 10 mm pre-load, RS-R half down spring, Bilstein B6 strut
Much has changed with the NX's suspension setup in the past year, and the front end, with factory adaptive struts that used to feel very adequate for their job, no longer match the grip levels of the rear end ever since the latter had Bilstein B6 shock absorbers installed in place of the factory adaptive ones. The logical next step was to upgrade the front end to Bilstein B6 struts as well. This meant losing adaptive suspension functions entirely, so I held it off for over a year to enjoy what was left of AVS in my car. Nevertheless, the front upgrade was ultimately inevitable.
Like the rear shock absorbers, these B6 front struts were developed by Bilstein for the 4th generation RAV4 - the NX's identical twin, as far as suspension parts are concerned. While of monotube construction, they aren't inverted like the B6 and B8 struts made for more performance-oriented applications. No big deal on a street car. On the plus side, the struts' being non-inverted means keeping the same factory strut shaft diameter. All the bump stops, packers, and other toys I ever bought/made for the factory struts won't go to waste.
As always the case, I did some pre-install measurements to get bearings for this project. The strut shaft length was 186 mm at full extension and 8 mm at full compression. In comparison, the factory AVS strut measured 181 mm and 22 mm, respectively. That's 19 mm of total travel gained from switching alone! The 14 mm difference in compressed strut shaft length would also allow any combination of shorter bump stops, softer bump stops, and more bump stop packers for tuning. Very exciting.
* While measuring strut shaft travel, I took the chance to fully cycle both new struts around 5 times, just to make sure everything was in order.
76 mm in length, the outgoing bump stop stack consisted of a solid base from the factory bump stop, a progressive medium segment from a Ground Control product, and the soft tip from the factory bump stop yet again. Since the Bilstein B6 struts only needed 8 mm of safety, I swapped the solid base for a thinner, firm one to bring the total length down to 63 mm. Thanks to this change, the new stack will have longer travel range despite being shorter.
Having cleaned and transferred the upper and lower spring mounts, springs, and strut mounts to the new struts, it was time to work on sealing the AVS wires. This was accomplished by double heat shrinking the plugs, routing the wires close to the speed sensors', and fixing the sealed plugs in an upright position. Everything was done in a fully reversible manner, though I doubt I'd ever go back to the AVS struts.
The AVS plug was double heat-shrinked. Its wire was routed close to the wheel speed sensor's for safety. Green circles denote zip tie points.
For documentation purposes, I installed a zip tie around the strut shaft before setting the vehicle down, driving it around the block, and lifting it back up to take measurements. (See diagram. A = Total - D.) The new struts allowed 93 mm of bump travel vs the old setup's 62 mm. Droop travel was slightly reduced but still very ample.
Compiled measurements for comparison. Unfortunately, I overlooked measurement of "F".
Front camber was set to -1.65/-1.70. Toe-in was set to my preferred 2 mm total. Off to the road test I went. Initial findings on 36 psi-cold tires:
PROS:
- The tires now follow the road surface better.
- Braking benefited a lot from better surface tracking. I used to have braking issues with as little as -1.50 camber.
- Vehicle turns in with more authority and stability than AVS S+.
- Vehicle feels more planted on longer "sweepers".
- Inside front wheel no longer spins as much when accelerating hard in the middle of a turn. (Softer rebound?)
- Downward events like depressed manhole covers are handled way better.
CONS:
- The vehicle body tends to track the road surface more, which makes ride rather jittery. Could possibly be solved by playing with tire pressure.
- New struts are "lazy" to compress eg. on long speed bumps or asphalted expansion joints. Hope to see improvement after break-in.
- Compression resistance takes away bump stop tuning opportunities.
Based on experience with the B6 rear dampers, the ride ought to improve and become less "edgy" in a few weeks. Also based on the same experience, the ride will never be as cushy as the OEM AVS struts. Anyhow, there's plenty of room for tire pressure experimentation while breaking the new struts in.
Great write up btw! Hello! I'm not tech savvy but more or less, if someone has rsr down springs, they could use these b6 bilstein shocks for somewhat better performance compared to reusing the stock shocks, right? When I opted out of coilovers last year I couldn't find anything for just shocks to go with the lowering springs other than kyb oem replacement shocks.
Great write up btw! Hello! I'm not tech savvy but more or less, if someone has rsr down springs, they could use these b6 bilstein shocks for somewhat better performance compared to reusing the stock shocks, right? When I opted out of coilovers last year I couldn't find anything for just shocks to go with the lowering springs other than kyb oem replacement shocks.
Thanks for your r&d achievements!!!
Glad to help! Full credit for the Bilstein fitment goes to 84hachi of Rav4World HERE.
I also opted out of coilovers to preserve suspension travel range, which, in my opinion, is essential for a daily driven vehicle. The performance difference with the B6 Bilsteins is very, very obvious. The firmer damping easily keeps the higher spring rates in check. With altered alignment specs and rear active bump stops providing ample rotation, I'm able to put the power down and straighten the steering wheel much earlier mid-corner than, say, a stock X3 or GLK/C on factory alignment specs. Add the ECU and transmission tunes and it's just pure bliss.
*** But at what cost? ***
Sure, the B6s corner and brake really well. Damping remains stable even after pounding on uneven third-world concrete roads for a over an hour. A few months broken in, however, and the struts remain rather harsh - probably softer than coilover damping but still harsh. If you think you would have found a coilover ride to be acceptable, then the B6s are a great choice. If you want to preserve ride comfort as much as you can and don't mind leaving some performance on the table, then the softer twin-tube B4s are the way to go. I know I'm going with them once the B6s are shot in a decade or so.
The above notes are just my opinion. I wanted to be as transparent as possible about the comfort tradeoff and not just hype my own purchase decision. I hope they help you decide which way to go.
Options
Aside from the Bilstein B4s and B6s, there's also a Sachs part available for the RAV4.3/4.3 and therefore our NX. In terms of damping firmness, the order would probably be Sachs-B4-B6 soft to firm. I reckon the B4s would be able to handle higher spring rates better than the factory struts and shock absorbers, which are tuned for soft OEM springs. I'm not so sure about Sachs, though.
Chezgk, it's time to come out of hiding, did you ever install those Hawk brake pads? I demand an update (my pads are getting thin.......)!
Hey how are you? Yes, the Hawk LTS brake pads were installed some 1,500 or 2,000 Km ago. The factory rotors were reinstalled in place of the worn EBC rotors last week, though, so I'm back to the bed-in process.
As predicted, brake balance with the Hawk LTS front brake pads and OEM replacement Lexus rear brake pads was perfect. The front EBC Yellow pads had that "wow" factor of instant grab on light pedal application before promptly breaking front traction, since the rear brake pads ended up not working much. With the Hawks, I have to press a little firmer on the brake pedal, but the brake force distribution is noticeably more even. As a result, the NX no longer breaks traction as much during hard braking.
I'm good, just took my NX on it's second round trip to Houston TX from Chicago, so 2000 miles, which pushed me over the 40K miles mark. Time for a tune up (fluids, spark plugs, etc) but brakes are looking a little thin.
What are your impression on the EBC rotors? Debating if I go OEM or EBC. I don't care much about slotted/drilled look, I'm looking for OEM+ performance.
NX well used!
The slightly bigger and supposedly directional inner vanes of the EBC rotors seem to have helped, since I never experienced brake fade with them. The slots may have helped keep the pads clean, too. Towards the end of the rotors' life, however, raised lips on the inner edges of where the pads meet the rotors prevented the pads from fully seating. This led to exponentially uneven rotor wear as time went by.
If you don't have heat and brake fade issues at present, I reckon you'd be fine with OEM rotors. Saves you some, too.
Hi chezgk, cool thread! I've read most of your posts and its giving me motivation
Any reason you haven't gone with a true coilover? I quickly discovered how poor the handling of the NX is and haven't been able to confirm if the FWD and AWD use the same coil over?
Also, I've noticed you ditched the 18x9.5 setup in favor of 18x8.5... Was it too much unsprung weight? did you have clearance problems? I see many people run 20x9 but I think 18x9 or 19x9 are a better sized wheel for the car.
 04-25-21, 05:00 PM


 Installed a custom stainless steel catted downpipe in the NX200t last Sunday. With the number of parts that had to be removed just to get to the factory piece, I could've replaced the turbo in another 30 minutes. Let's save that for some other day.


 Redid part of the install. Went out for a drive.