When you click on links to various merchants on this site and make a purchase, this can result in this site earning a commission. Affiliate programs and affiliations include, but are not limited to, the eBay Partner Network.
Be very careful. I have the Eminent White Pearl also. I had the Lexus dealer order the NX body side moulding. It came in as Sonic Quartz. To a casual look, it seemed the same. But I had the parts guy recheck after he agreed it was not a match and he reordered to get the correct matching color.
Probably similar for the wheel moulding.
Can you post pictures of how it looks for the EWP? Might help me decide on doing this or not. Thank you!
I will attempt the installation this Thursday. I'm confident that the front and rear fender ones will simply be unscrewing and replacing. The rear door moulding may require removal of the rear door panel trim, but I was able to find a video on YouTube. I'll take pictures of the entire installation process.
My bad, I got confused. I was looking for the wheel arch molding, which I thought you still ended up doing.. Lol.
No problem, I was wondering. LOL I actually like the black wheel moulding esp on the white NX. Probably jus the contrast to me add some interest. Also, no paint damage/dirt vs a painted moulding over time.
It took me about 3 hours but I finished the job. The rear door piece was the biggest pain in the *** as I expected. I actually ended up paying $20 for a 2 day pass for the Toyota Technical Information System and it was definitely necessary to figure it all out. I have uploaded the relevant documents for all of you at my expense.
You can browse the PDFs for a better idea of each one, but I will add some tips for each section. I also advise wearing some thin gloves to protect your skin from potential cuts and nicks.
Important: If you have mudguards installed already, you will need to uninstall them first. Watch this very helpful video from Victor G, who is a Lexus master technician.
--------------
Front Moulding - Easy difficulty
Tools required
-4mm or 5/32 inch hex key
-Flat head screwdriver or plastic auto trim tool (buy one of those cheap sets on Amazon for less than $10)
There are 5 tab clips and 1 hex screw that requires the hex key (4mm or 5/32 inch). TURN YOUR STEERING WHEEL AWAY FROM THE FRONT. e.g. if you're working on the driver side, turn your wheels to the right. This makes it easy to access the first two tabs at the front of the wheel well. After you pop off the 5 tabs and remove the 1 hex screw, you will have to move the wheel well liner away from the moulding so you can squeeze your hand in behind the OEM moulding. Push the 4 tabs one by one and the moulding can just be pulled away. Use both hands gently and pull one clip out at a time. Then move your hands up to the top middle of the moulding and firmly pull away to get the rest of the clips out.
Once you have the OEM moulding removed, tuck the fender liner back into place. Then, line up the tabs and clips on the F Sport moulding and just insert them into the same holes and use the bottom of your fist to just tap the moulding into place. Reinstall the 5 tab clips and the hex screw and you are finished.
---------------
Rear Moulding - Easy difficulty
Tools required
-Very small flathead screwdriver
-Regular flathead or plastic trim tool
-Possibly needle nose pliers
There is one very small tab clip at the top of the wheel arch, and a regular sized one at the bottom. Use your respective flathead screw drivers to remove each tab. Then, starting from the front, just gently but firmly pull the moulding off from the body. The front portion is just clips, but last 4 towards the rear fender are push tabs. Starting from the back, just gently but firmly wiggle them back and forth and they will eventually pop out. After you remove the OEM moulding, just pop the F Sport moulding into the same exact holes. When I was pulling the OEM mouldings off, two of the white clips broke off and remained in one of the holes. I used the needle nose pliers to pull them out. Your new F Sport mouldings will have brand new white clips which will be used. After the F Sport moulding is in place, reinstall the 2 tab clips and you are finished.
----------------
Door Moulding - Medium difficulty
Tools required
-Plastic trim tool
-10mm socket wrench, short and long lengths
-Possibly needle nose pliers
Go to diagram 35 of the weather strip pdf. There are 8 clips total. The two on either end do not come off with the weather strip. They are shaped like a T and you need to stretch the weather strip so that it comes off the hole in the weather strip. The 6 clips in the center are colored (orange for driver side door, green for passenger side door). These need to come out of their holes with your weather strip so you can reinstall them easier. If your weather strip comes off without the clip, use your pliers to pull them back out. Trust me when I tell you it is easier to put the T end of the clips into the weather strip first and then just put them back in.
Next, go to the rear door removal pdf. Remove the hole plug with your trim tool. Use your 10mm long socket wrench to remove the now exposed nut. Remove it by hand after you've gotten it most of the way off so it doesn't fall into the hole. Next, you will remove the lower outside moulding. It's a clamshell design and there are four tabs. On the interior side of the door, just firmly pull away at it and the tabs will pop out. Once the clamshell is open, go to the exterior side of the door and gently pull it off from the door.
Next, remove the rear panel protector weather strip as pictured in my attachments. Similar to the other weather strip, it has holes and you guide them onto the rails. And now we get to the tricky part. If you see in the pdf, it says you need to remove the entire rear panel protector. DO NOT do this. You can simply pull the bottom part gently out of the way and squeeze your socket wrench in to remove the 10mm bolt that secures the moulding. The plastic is pretty forgiving but don't pull too hard like I did. I snapped one of the clip retainers on one side. After removing the 10mm bolt, you can pull the OEM moulding off from the body. I ended up breaking off some of the clips on the OEM moulding and had to use needle nose pliers to pull out the clips that didn't come out of their holes. Put on the F Sport moulding into place and screw in the 10mm bolt at the bottom. Reinstall the rear panel protector weather strip first. Then reattach the lower outside moulding, exterior side first. Close the clamshell, reinstall the 10mm bolt, and put the plug cover back on. Now to finish with the weather strip from diagram 35. Hopefully you have the 6 middle clips attached to the weather strip. You will need to hook the end holes onto the two T hooks at the ends. This was the most difficult part for me, but I used the help of a wooden toothpick to keep the T clip steady. After you get the weather strip back on, you are finished!
Lexus has a 14% off sale on parts right now if you're considering doing this.
14% off MSRP?
MyLparts dot com has 26.8% off plus 10% forum discount.
I have a set of the Grecian Water wheel moldings that were shipped yesterday and due to arrive Monday by UPS. They were like $630 plus shipping which is high at $70. That's mainly because they have to ship them from Canada to Ca to me in OK.
I've bought from them in the past before . They are a Lexus dealership in Roseville California that is known for selling discounted parts in the forums.
I also bought Obsidian black mirror caps from them for my NX.
I changed my wheel well moldings out over the weekend . Big shout out and thanks to @Skell6009 for the part numbers and install pdf's. They were dead on and made it an easy job. I was a little leery of the ones on the aft doors but not that hard at all as there is one hidden bolt at the bottom under the black trim.They were about $700 shipped.
I had 3 day weekend so I Graphene Ceramic coated the NX with Adams coating after polishing with my Rupes Bigfoot DA. Second vehicle I've done so it was much faster the second time.
Last week I changed out the 20's for some gunmetal 18 inch RX F Sport wheels on Michelin CC2's . Also,got rid of the stupid lug bolts and put studs on my wheels like Lexus had for the last 30 years! I had a BMW M3 years ago that I ,like most then, changed it to studs also .
Night and day difference in ride quality and quietness. It feels like a complete different vehicle....in a good way. Why they would put 20's and run flats is beyond me. Must be a fashion statement.
Here is a video I took today showing the Grecian Water wheel moldings and new wheels. Overcast skies makes the blue look darker.
The Grecian Water looks amazing with the matching mouldings
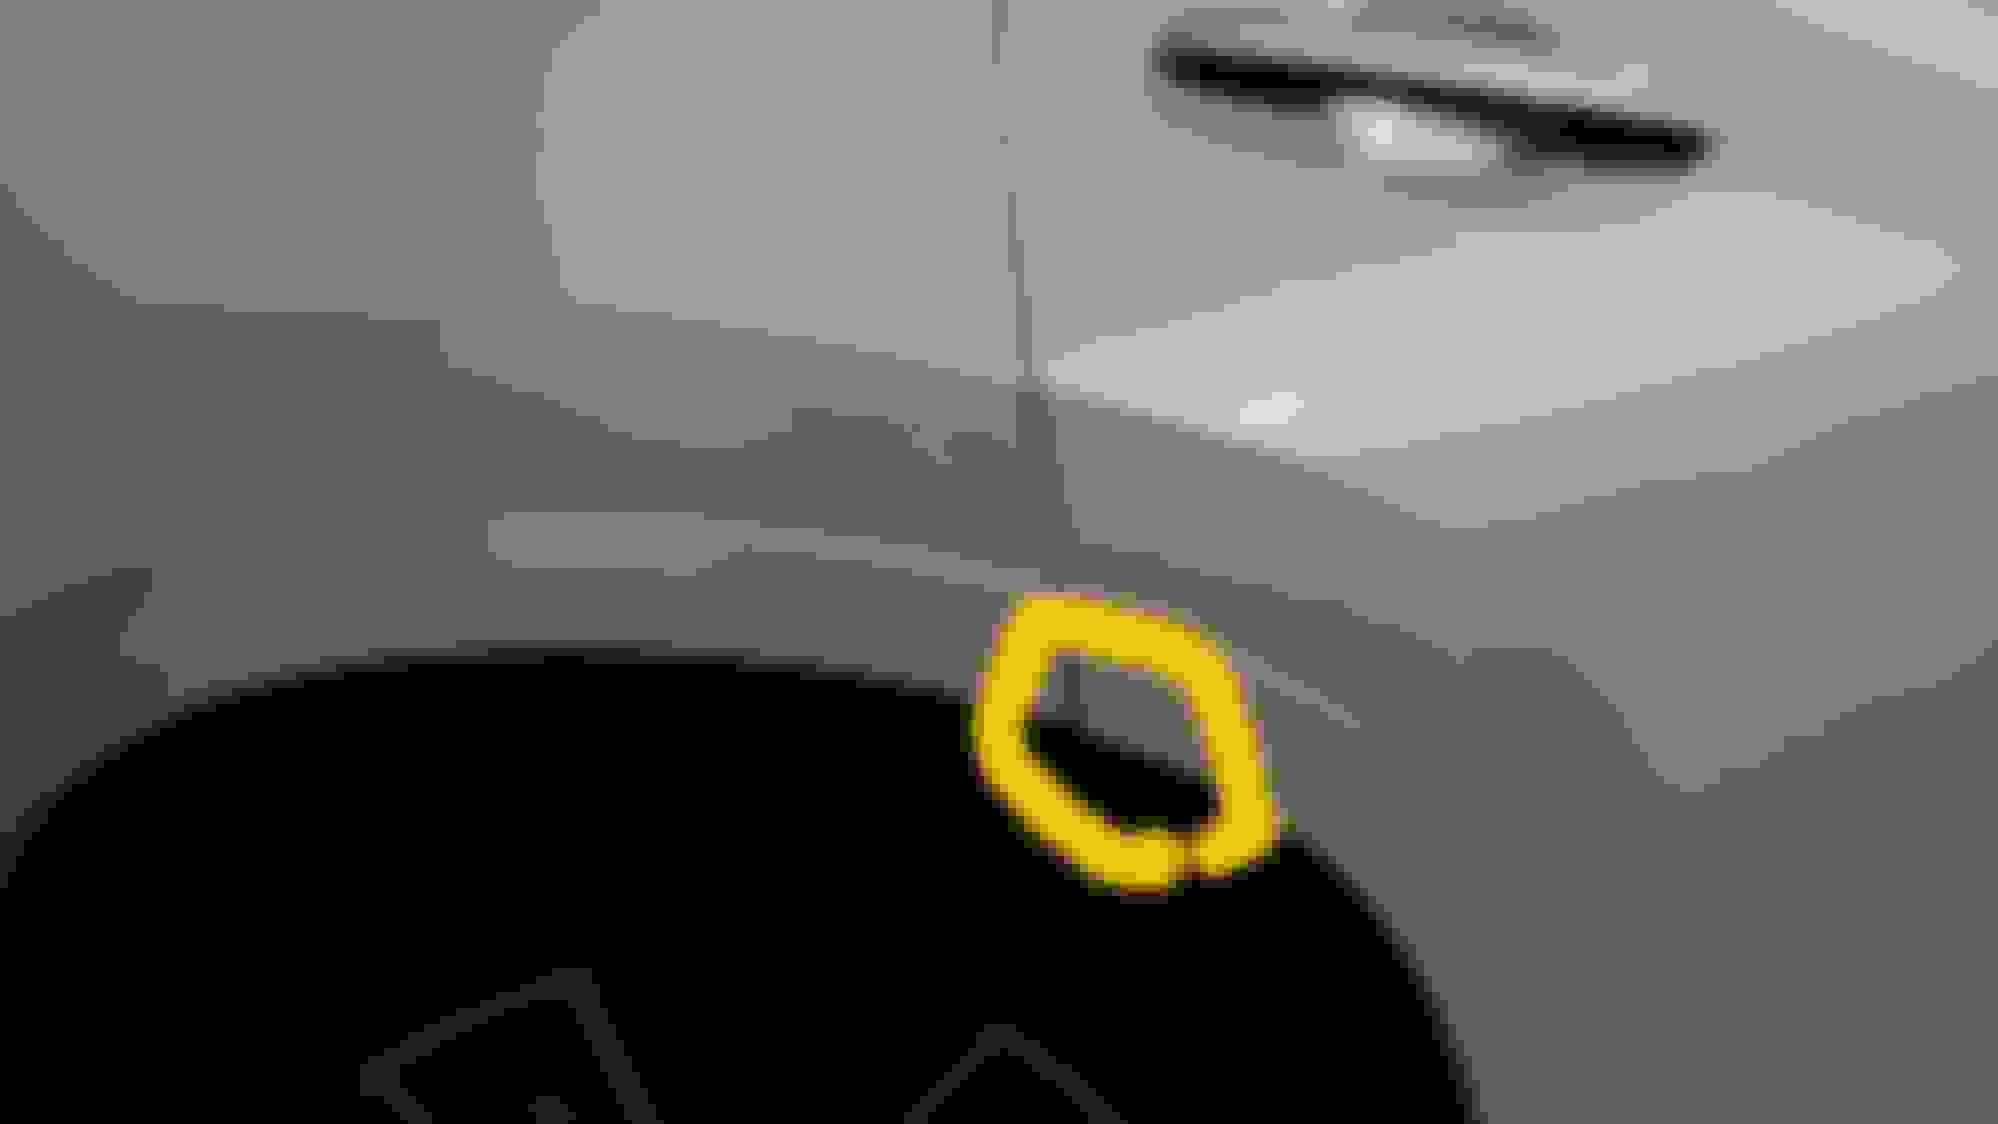
I've also changed my wheel arch to the color matched verison, however I have noticed on one side of the passgener door, the wheel arch is not completely flushed with the back body panel.
I've attached pics, it is a bit hard to see but the marked part is protruded slightly when comparing with the body panel part, and it is a bit obvious in certain angles.
The parts all seem to be fitted securely.
I was told this is normal, but wondering if anybody also experience the same? thanks!
Last edited by nicelynice623; 07-07-23 at 04:53 AM.
It took me about 3 hours but I finished the job. The rear door piece was the biggest pain in the *** as I expected. I actually ended up paying $20 for a 2 day pass for the Toyota Technical Information System and it was definitely necessary to figure it all out. I have uploaded the relevant documents for all of you at my expense.
You can browse the PDFs for a better idea of each one, but I will add some tips for each section. I also advise wearing some thin gloves to protect your skin from potential cuts and nicks.
Important: If you have mudguards installed already, you will need to uninstall them first. Watch this very helpful video from Victor G, who is a Lexus master technician. https://www.youtube.com/watch?v=XlmdB-SX0J0
--------------
Front Moulding - Easy difficulty
Tools required
-4mm or 5/32 inch hex key
-Flat head screwdriver or plastic auto trim tool (buy one of those cheap sets on Amazon for less than $10)
There are 5 tab clips and 1 hex screw that requires the hex key (4mm or 5/32 inch). TURN YOUR STEERING WHEEL AWAY FROM THE FRONT. e.g. if you're working on the driver side, turn your wheels to the right. This makes it easy to access the first two tabs at the front of the wheel well. After you pop off the 5 tabs and remove the 1 hex screw, you will have to move the wheel well liner away from the moulding so you can squeeze your hand in behind the OEM moulding. Push the 4 tabs one by one and the moulding can just be pulled away. Use both hands gently and pull one clip out at a time. Then move your hands up to the top middle of the moulding and firmly pull away to get the rest of the clips out.
Once you have the OEM moulding removed, tuck the fender liner back into place. Then, line up the tabs and clips on the F Sport moulding and just insert them into the same holes and use the bottom of your fist to just tap the moulding into place. Reinstall the 5 tab clips and the hex screw and you are finished.
---------------
Rear Moulding - Easy difficulty
Tools required
-Very small flathead screwdriver
-Regular flathead or plastic trim tool
-Possibly needle nose pliers
There is one very small tab clip at the top of the wheel arch, and a regular sized one at the bottom. Use your respective flathead screw drivers to remove each tab. Then, starting from the front, just gently but firmly pull the moulding off from the body. The front portion is just clips, but last 4 towards the rear fender are push tabs. Starting from the back, just gently but firmly wiggle them back and forth and they will eventually pop out. After you remove the OEM moulding, just pop the F Sport moulding into the same exact holes. When I was pulling the OEM mouldings off, two of the white clips broke off and remained in one of the holes. I used the needle nose pliers to pull them out. Your new F Sport mouldings will have brand new white clips which will be used. After the F Sport moulding is in place, reinstall the 2 tab clips and you are finished.
----------------
Door Moulding - Medium difficulty
Tools required
-Plastic trim tool
-10mm socket wrench, short and long lengths
-Possibly needle nose pliers
Go to diagram 35 of the weather strip pdf. There are 8 clips total. The two on either end do not come off with the weather strip. They are shaped like a T and you need to stretch the weather strip so that it comes off the hole in the weather strip. The 6 clips in the center are colored (orange for driver side door, green for passenger side door). These need to come out of their holes with your weather strip so you can reinstall them easier. If your weather strip comes off without the clip, use your pliers to pull them back out. Trust me when I tell you it is easier to put the T end of the clips into the weather strip first and then just put them back in.
Next, go to the rear door removal pdf. Remove the hole plug with your trim tool. Use your 10mm long socket wrench to remove the now exposed nut. Remove it by hand after you've gotten it most of the way off so it doesn't fall into the hole. Next, you will remove the lower outside moulding. It's a clamshell design and there are four tabs. On the interior side of the door, just firmly pull away at it and the tabs will pop out. Once the clamshell is open, go to the exterior side of the door and gently pull it off from the door.
Next, remove the rear panel protector weather strip as pictured in my attachments. Similar to the other weather strip, it has holes and you guide them onto the rails. And now we get to the tricky part. If you see in the pdf, it says you need to remove the entire rear panel protector. DO NOT do this. You can simply pull the bottom part gently out of the way and squeeze your socket wrench in to remove the 10mm bolt that secures the moulding. The plastic is pretty forgiving but don't pull too hard like I did. I snapped one of the clip retainers on one side. After removing the 10mm bolt, you can pull the OEM moulding off from the body. I ended up breaking off some of the clips on the OEM moulding and had to use needle nose pliers to pull out the clips that didn't come out of their holes. Put on the F Sport moulding into place and screw in the 10mm bolt at the bottom. Reinstall the rear panel protector weather strip first. Then reattach the lower outside moulding, exterior side first. Close the clamshell, reinstall the 10mm bolt, and put the plug cover back on. Now to finish with the weather strip from diagram 35. Hopefully you have the 6 middle clips attached to the weather strip. You will need to hook the end holes onto the two T hooks at the ends. This was the most difficult part for me, but I used the help of a wooden toothpick to keep the T clip steady. After you get the weather strip back on, you are finished!
Hi Skell,
Thankyou for all of this information. You�ve inspired me to do this on my partner�s NX here in Australia. I�ll be ordering the painted F Sport wheel arches tomorrow. I see that the video doesn�t work anymore. Do we need the video as well to assist in the process, or would your description be enough? I only ask as the car hasn�t arrived yet� we�ve been waiting 16 months!!
Thankyou for all of this information. You�ve inspired me to do this on my partner�s NX here in Australia. I�ll be ordering the painted F Sport wheel arches tomorrow. I see that the video doesn�t work anymore. Do we need the video as well to assist in the process, or would your description be enough? I only ask as the car hasn�t arrived yet� we�ve been waiting 16 months!!
You only need that video if you have the mudguards installed.
My other advice is to always compare the attachment points on the new parts as you remove the old parts. They are identical, so you should be able to figure out where and how to apply force when removing the old mouldings.
You only need that video if you have the mudguards installed.
My other advice is to always compare the attachment points on the new parts as you remove the old parts. They are identical, so you should be able to figure out where and how to apply force when removing the old mouldings.
Ok thankyou. Have now ordered the parts. Should be 1-2 months
 01-28-23, 08:14 AM