When you click on links to various merchants on this site and make a purchase, this can result in this site earning a commission. Affiliate programs and affiliations include, but are not limited to, the eBay Partner Network.
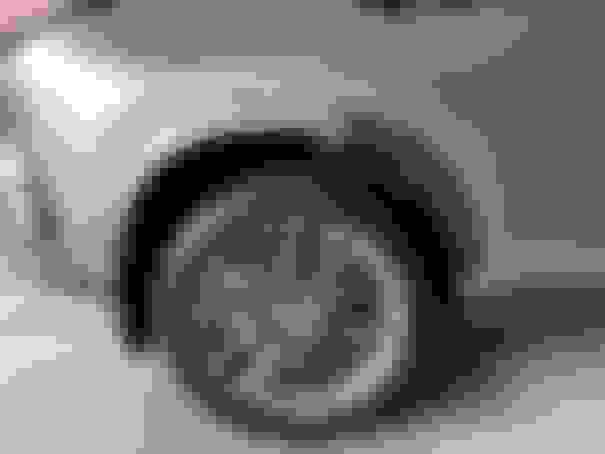
Wooohooo, got my wheel arch moldings today from https://www.lexuspartsoutlet.com/ they sell them with discounts, and I installed them right away
Everything is pretty much straight forward, except the rear door one, which is not really bad, but it does involves removing quite a few extra things. Anyway, I can sleep better at night now haha
[QUOTE=oreon333;11701420]Wooohooo, got my wheel arch moldings today from https://www.lexuspartsoutlet.com/ they sell them with discounts, and I installed them right away
Everything is pretty much straight forward, except the rear door one, which is not really bad, but it does involves removing quite a few extra things. Anyway, I can sleep better at night now haha
The rear door arch moulding, could you share how that was replaced. I�m reading that you may have to take off the door panel? Any help would be great, thank you.
Wooohooo, got my wheel arch moldings today from https://www.lexuspartsoutlet.com/ they sell them with discounts, and I installed them right away
Everything is pretty much straight forward, except the rear door one, which is not really bad, but it does involves removing quite a few extra things. Anyway, I can sleep better at night now haha
The rear door arch moulding, could you share how that was replaced. I�m reading that you may have to take off the door panel? Any help would be great, thank you.
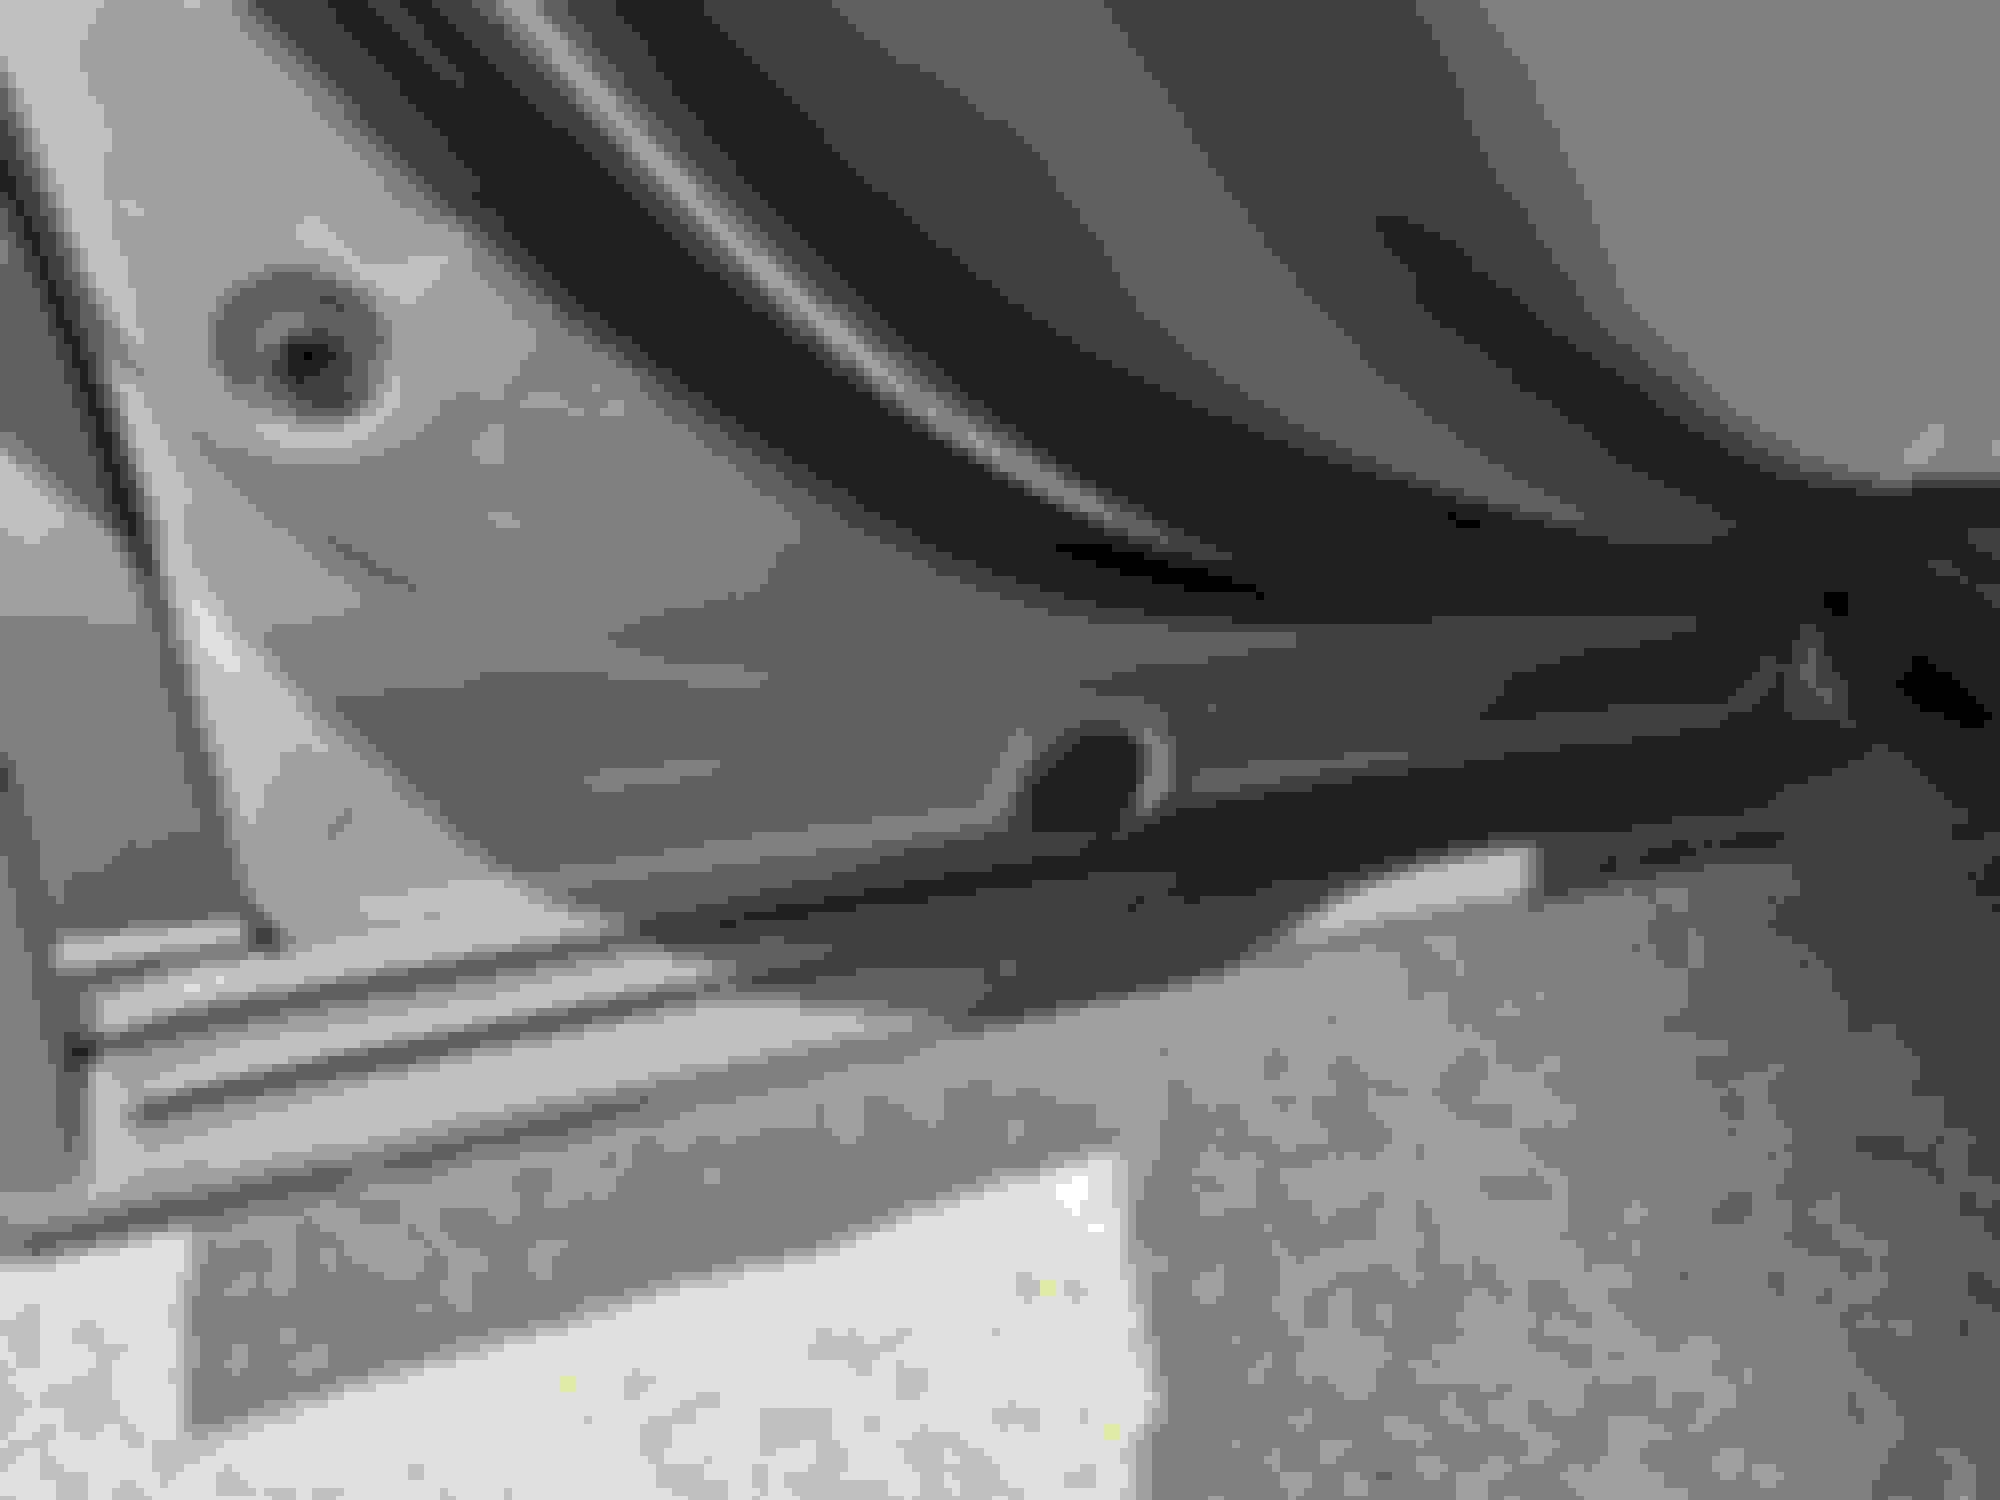
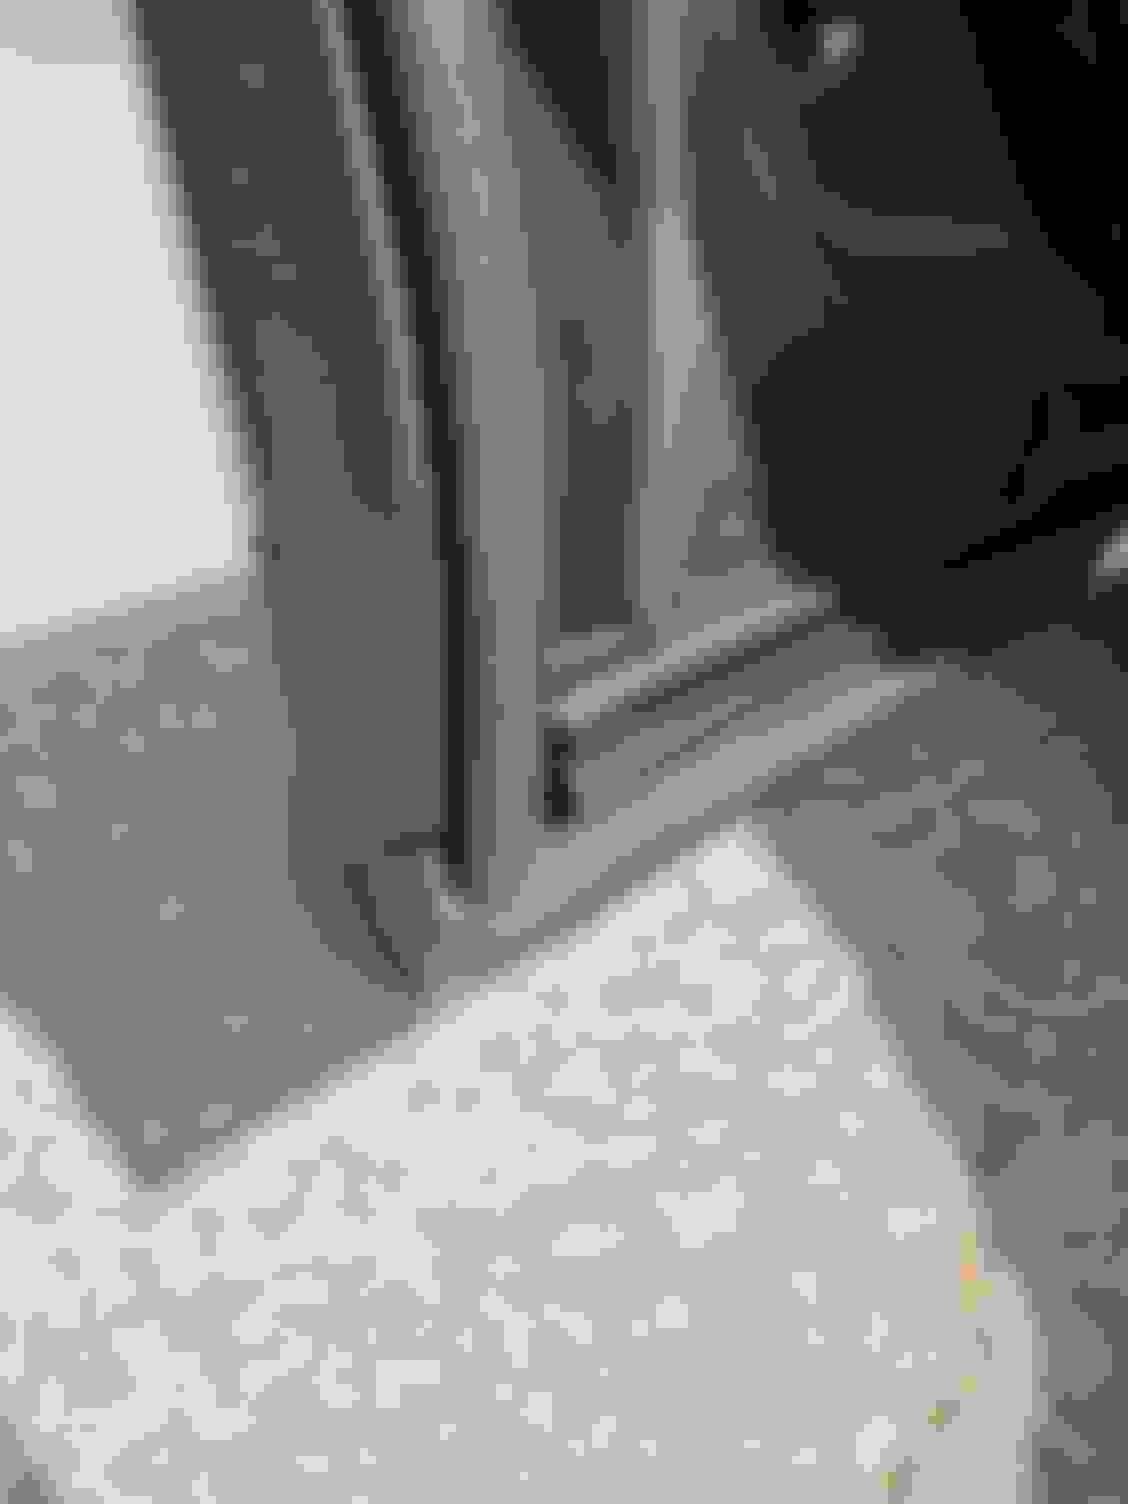
Remove that single hole plug at the base of the door. There's a bolt behind it that you remove so you can take off the lower door rocker panel. Doing so will expose a bolt for the wheel arch moulding if you carefully pull the plastic away.
When I did it, I also removed the weather strip that covers the hole plug, but looking at it again, you might not need to do that.
The rear door arch moulding, could you share how that was replaced. I’m reading that you may have to take off the door panel? Any help would be great, thank you.
Once you get in there it is pretty straight forward, just take your time and see what is holding things in place and what you need to disconnect. Read the thread from the start, there are some guides and documentation and explanation from other people. Like tundotcom said previously First "Remove that single hole plug at the base of the door." Then on the weather stripping on the bottom disconnect/remove ONLY the first and the last clip, those are the only two that hold the bottom panel. Those clips that hold the rubber are like a T clip that goes into the hole of the weather strip, so you want carefully pull the rubber strip from that clip first, then with pliers or whatever pull the clip itself out and then insert that plastic T-clip back to the weather strip, so you can put the strip easily back into the door later. To expose the other bolt on the bottom that holds the moulding you would need to undo the two clips on side panel and carefully pull it just enough so you can get your ratchet or whatever you will be using to unscrew the bolt. Do not just try to pull the plastic trim to try to get enough room for your tool, there will not be enough room,, and you may break the trim or clip, you need to pull two clips that hold that side trim piece, then you will have plenty of room for your tool. It is difficult to explain, you just need to get in there and you will see what is what, but first read all the instructions and explanations previously posted, so you get a general idea.
Got a new front bumper replaced due to a collision and when the shop reattached both fenders back on, it�s not sitting flushed and I can see some double sided tape particularly where the bumper attaches to the fender
from reading all the posts here, I don�t see any use of adhesive. Push in the tabs and that�s it
Definitely no need for the tape. Could be a broken/missing clip on the back of the wheel arch part.
It took me about 3 hours but I finished the job. The rear door piece was the biggest pain in the *** as I expected. I actually ended up paying $20 for a 2 day pass for the Toyota Technical Information System and it was definitely necessary to figure it all out. I have uploaded the relevant documents for all of you at my expense.
You can browse the PDFs for a better idea of each one, but I will add some tips for each section. I also advise wearing some thin gloves to protect your skin from potential cuts and nicks.
Important: If you have mudguards installed already, you will need to uninstall them first. Watch this very helpful video from Victor G, who is a Lexus master technician. https://www.youtube.com/watch?v=XlmdB-SX0J0
--------------
Front Moulding - Easy difficulty
Tools required
-4mm or 5/32 inch hex key
-Flat head screwdriver or plastic auto trim tool (buy one of those cheap sets on Amazon for less than $10)
There are 5 tab clips and 1 hex screw that requires the hex key (4mm or 5/32 inch). TURN YOUR STEERING WHEEL AWAY FROM THE FRONT. e.g. if you're working on the driver side, turn your wheels to the right. This makes it easy to access the first two tabs at the front of the wheel well. After you pop off the 5 tabs and remove the 1 hex screw, you will have to move the wheel well liner away from the moulding so you can squeeze your hand in behind the OEM moulding. Push the 4 tabs one by one and the moulding can just be pulled away. Use both hands gently and pull one clip out at a time. Then move your hands up to the top middle of the moulding and firmly pull away to get the rest of the clips out.
Once you have the OEM moulding removed, tuck the fender liner back into place. Then, line up the tabs and clips on the F Sport moulding and just insert them into the same holes and use the bottom of your fist to just tap the moulding into place. Reinstall the 5 tab clips and the hex screw and you are finished.
---------------
Rear Moulding - Easy difficulty
Tools required
-Very small flathead screwdriver
-Regular flathead or plastic trim tool
-Possibly needle nose pliers
There is one very small tab clip at the top of the wheel arch, and a regular sized one at the bottom. Use your respective flathead screw drivers to remove each tab. Then, starting from the front, just gently but firmly pull the moulding off from the body. The front portion is just clips, but last 4 towards the rear fender are push tabs. Starting from the back, just gently but firmly wiggle them back and forth and they will eventually pop out. After you remove the OEM moulding, just pop the F Sport moulding into the same exact holes. When I was pulling the OEM mouldings off, two of the white clips broke off and remained in one of the holes. I used the needle nose pliers to pull them out. Your new F Sport mouldings will have brand new white clips which will be used. After the F Sport moulding is in place, reinstall the 2 tab clips and you are finished.
----------------
Door Moulding - Medium difficulty
Tools required
-Plastic trim tool
-10mm socket wrench, short and long lengths
-Possibly needle nose pliers
Go to diagram 35 of the weather strip pdf. There are 8 clips total. The two on either end do not come off with the weather strip. They are shaped like a T and you need to stretch the weather strip so that it comes off the hole in the weather strip. The 6 clips in the center are colored (orange for driver side door, green for passenger side door). These need to come out of their holes with your weather strip so you can reinstall them easier. If your weather strip comes off without the clip, use your pliers to pull them back out. Trust me when I tell you it is easier to put the T end of the clips into the weather strip first and then just put them back in.
Next, go to the rear door removal pdf. Remove the hole plug with your trim tool. Use your 10mm long socket wrench to remove the now exposed nut. Remove it by hand after you've gotten it most of the way off so it doesn't fall into the hole. Next, you will remove the lower outside moulding. It's a clamshell design and there are four tabs. On the interior side of the door, just firmly pull away at it and the tabs will pop out. Once the clamshell is open, go to the exterior side of the door and gently pull it off from the door.
Next, remove the rear panel protector weather strip as pictured in my attachments. Similar to the other weather strip, it has holes and you guide them onto the rails. And now we get to the tricky part. If you see in the pdf, it says you need to remove the entire rear panel protector. DO NOT do this. You can simply pull the bottom part gently out of the way and squeeze your socket wrench in to remove the 10mm bolt that secures the moulding. The plastic is pretty forgiving but don't pull too hard like I did. I snapped one of the clip retainers on one side. After removing the 10mm bolt, you can pull the OEM moulding off from the body. I ended up breaking off some of the clips on the OEM moulding and had to use needle nose pliers to pull out the clips that didn't come out of their holes. Put on the F Sport moulding into place and screw in the 10mm bolt at the bottom. Reinstall the rear panel protector weather strip first. Then reattach the lower outside moulding, exterior side first. Close the clamshell, reinstall the 10mm bolt, and put the plug cover back on. Now to finish with the weather strip from diagram 35. Hopefully you have the 6 middle clips attached to the weather strip. You will need to hook the end holes onto the two T hooks at the ends. This was the most difficult part for me, but I used the help of a wooden toothpick to keep the T clip steady. After you get the weather strip back on, you are finished!
Any idea how the rear panel protector is removed? Mine is rattling, so I'd like to remove it and apply some foam tape on the inside of the panel where it meets the door.
Any idea how the rear panel protector is removed? Mine is rattling, so I'd like to remove it and apply some foam tape on the inside of the panel where it meets the door.
I don't remember off hand. If it's not in the attached PDFs, it will require more disassembly.
Hello, just wondering if anyone has attempted a wheel arch moulding replacement. I'm getting a NX 350 Premium soon and I would like to replace the black plastic wheel arch mouldings for the body color matched F Sport ones. If no one has done it, I may be the guinea pig and attempt it when I get my vehicle.
Wooohooo, got my wheel arch moldings today from https://www.lexuspartsoutlet.com/ they sell them with discounts, and I installed them right away
Everything is pretty much straight forward, except the rear door one, which is not really bad, but it does involves removing quite a few extra things. Anyway, I can sleep better at night now haha
Thanks for the tip on where to buy. Can you help me confirm it's called the Wheel Opening Moulding?

 04-05-24 | 08:06 PM
 and I installed them right away