When you click on links to various merchants on this site and make a purchase, this can result in this site earning a commission. Affiliate programs and affiliations include, but are not limited to, the eBay Partner Network.
AutoAnything.com has the Draw-Tite receiver hitch for the NX for only $111.99 (regularly $139.99), so I bought one. This post/thread shows some of the steps involved in installing it on my NX 200t.
Some items of note...
I recommend having a helper to hold the hitch up while you put the bolts into each end of the hitch. I was planning on putting a 2x4 across the car jack to help support it, but was lucky my neighbor had just gotten home as I was prepping the jack.
You'll also need something to prop under the exhaust (either for each pipe or for the muffler, itself) because you'll be removing the two exhaust brackets.
Also, the instructions say that you'll need 17mm and 18mm sockets. The 17mm worked fine, however, the 18mm didn't fit the new bolts�they were 3/4" in size so have a 3/4" socket on-hand.
Finally, the instructions also say you'll need a 3" socket extension. I also recommend something a bit longer. The next longer size I had was an 8" extension and it worked very well.
Pre-installation
Unscrewing the fascia cover.
Slide the fascia cover forward to remove it. Do not pull it straight down. This cover will not be reinstalled, so keep it in case you ever want to remove the hitch.
Removing the passenger side exhaust bracket. (two bolts are removed)
Removing the driver side exhaust bracket with integrated tow hook (two bolts are removed)
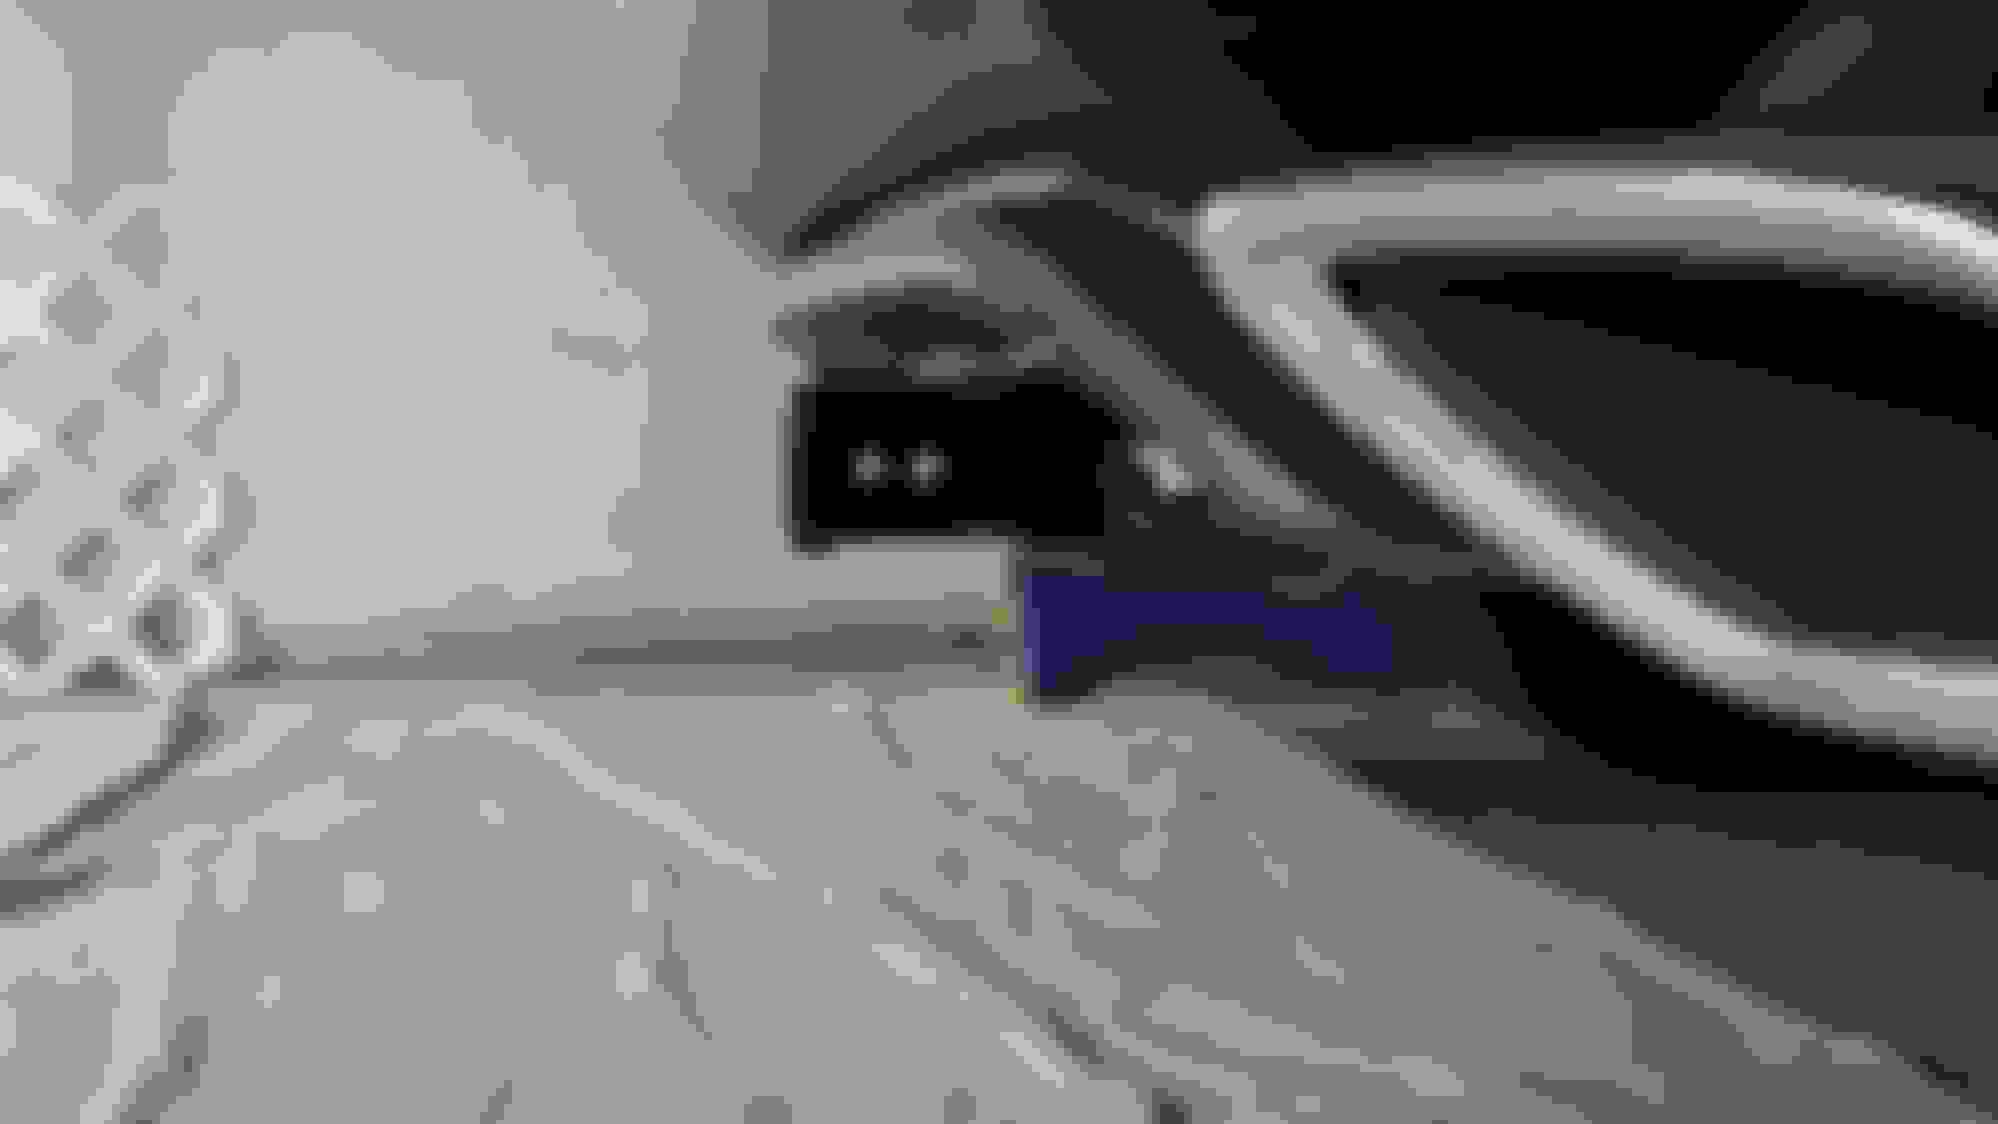
After installing the receiver hitch. This is the driver side exhaust bracket with integrated tow hook that now contains the hitch mounting plate placed between the frame and the exhaust bracket. There are three bolts installed on this side, even though the vehicle only came with two. The image does not show the third bolt, which is located between the two bolts shown. The passenger side is mounted similarly [not shown] (inserted between the frame and the exhaust bracket), but with only two bolts. All bolts installed (total of five) are new bolts that come with the hitch.
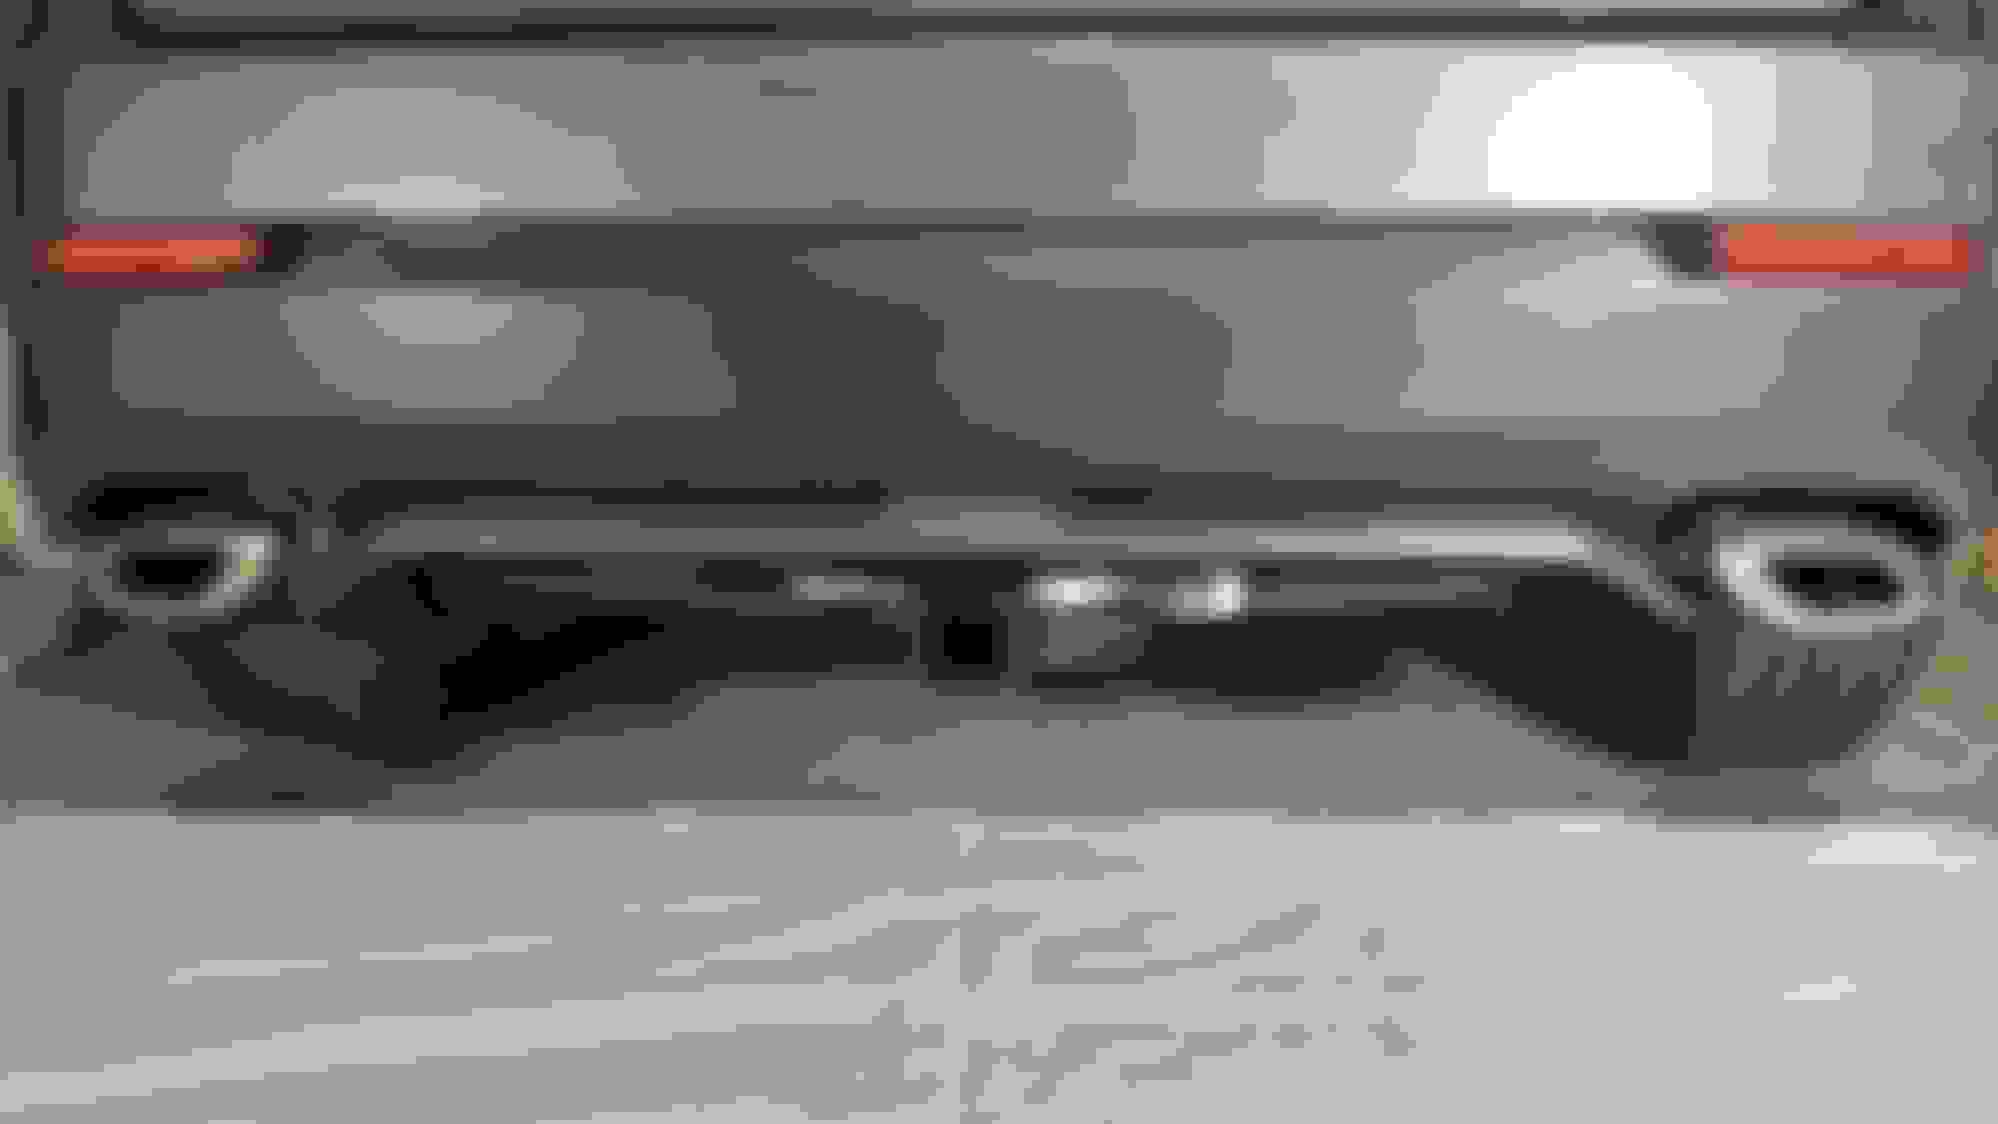
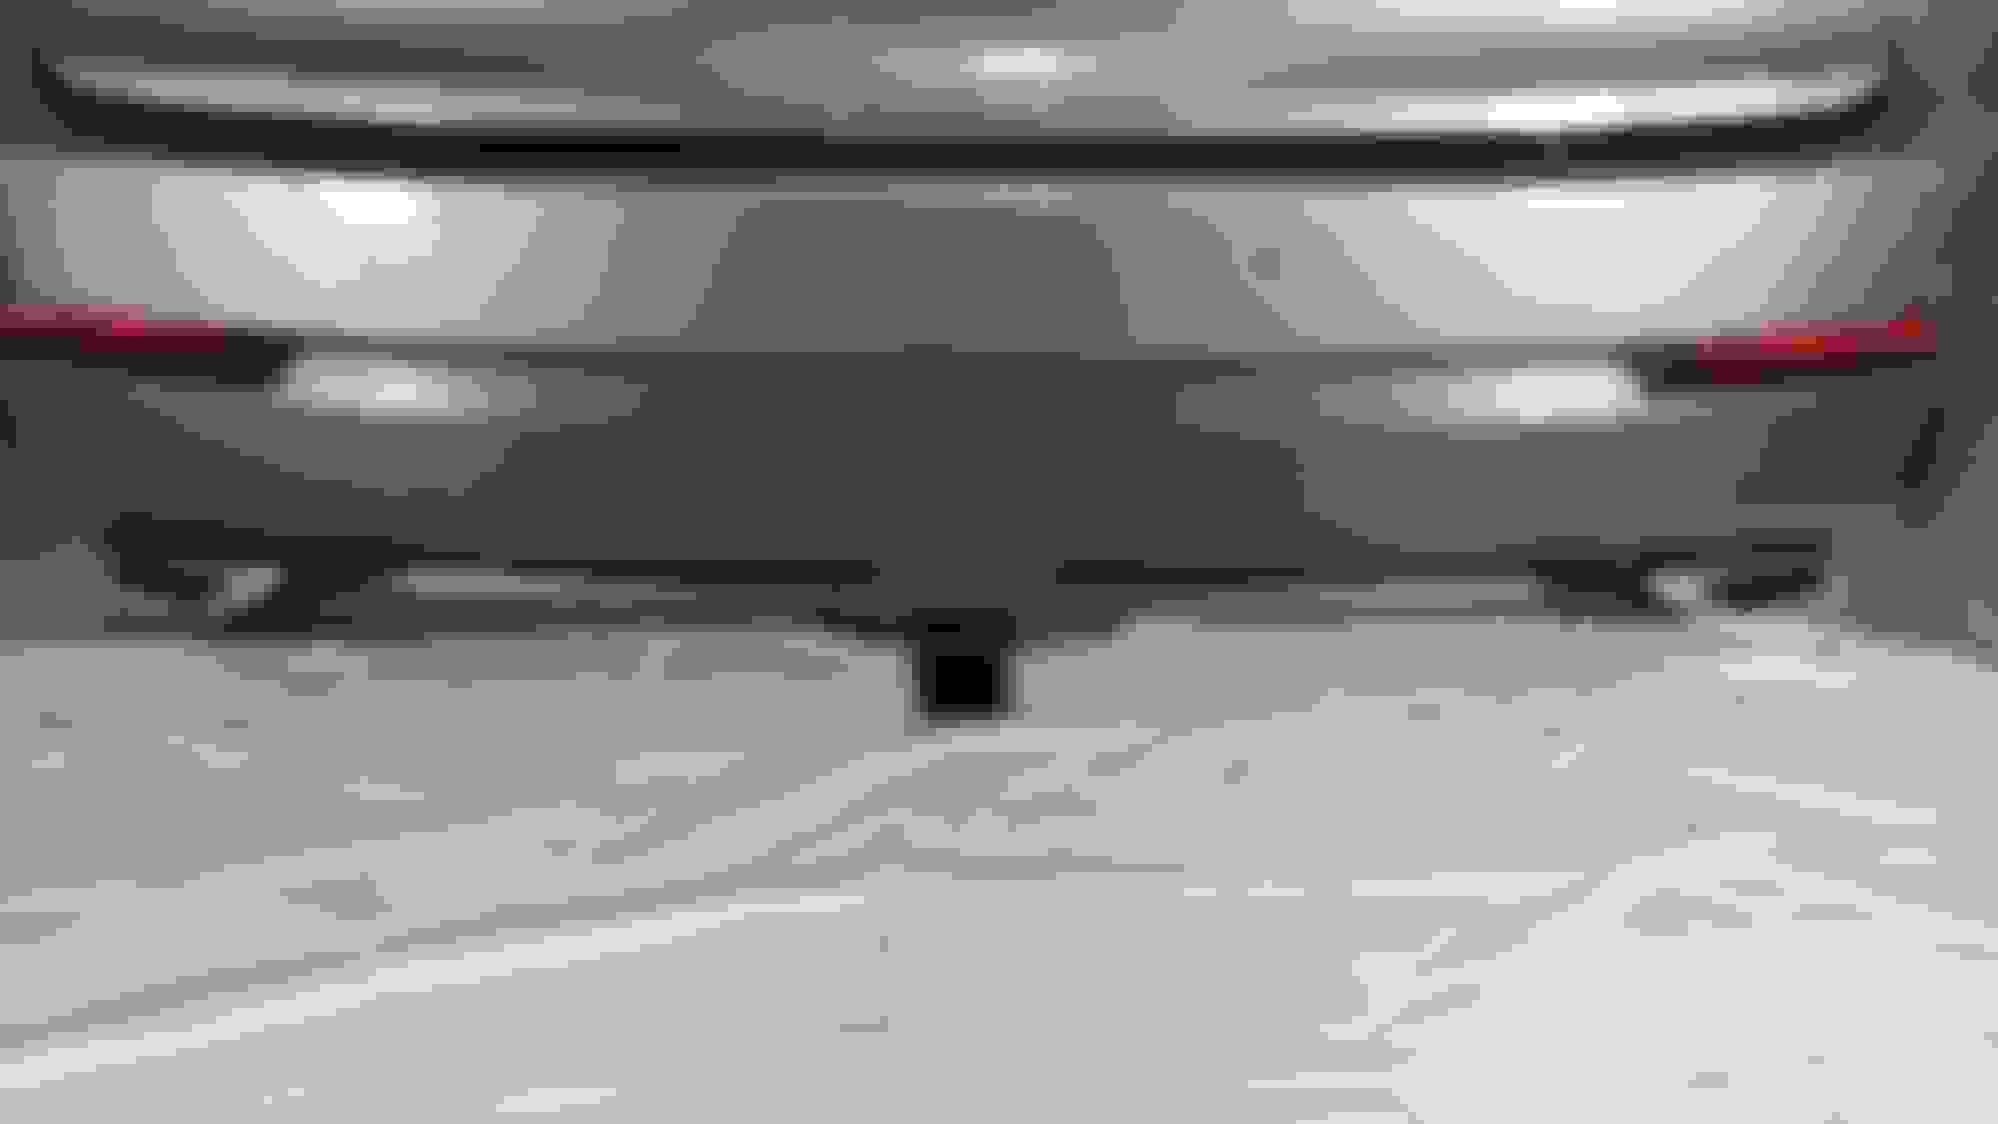
Finished view of the installed NX receiver hitch from Draw-Tite. (01)
Finished view of the installed NX receiver hitch from Draw-Tite. (02)
Finished view of the installed NX receiver hitch from Draw-Tite. (03)
Finished view of the installed NX receiver hitch from Draw-Tite. (04)
Finished view of the installed NX receiver hitch from Draw-Tite. (05)
Finished view of the installed NX receiver hitch from Draw-Tite. (06)
Finished view of the installed NX receiver hitch from Draw-Tite. (07)
Finished view of the installed NX receiver hitch from Draw-Tite. (08)
Finished view of the installed NX receiver hitch from Draw-Tite. (09)
Finished view of the installed NX receiver hitch from Draw-Tite. (10)
In case you're wondering, I am not installing an electrical connector for this hitch because I am only using it to carry snowboards and bicycles (but not at the same time)
did you have to lift the car up at all to do this?
No, not at all.
There was also no drilling, nor cutting. The instructions say it's a 35 minute install if you are a professional. It took me an hour because of taking photos, realizing I needed a 3/4" socket, and finding something to prop up the muffler.
As I was telling another NX owner, the hitch is the least expensive component. It's when you start buying the bicycle rack, the ski/snowboard rack, cargo carrier, etc. where the costs go up significantly!
Few tips - the hitch comes in a large box, but it's not really wrapped or cushioned inside. There were some open handholds, and as I lifted, the hitch moved and whacked my hand - luckily, it wasn't too bad.
I propped up the muffler and proceeded to loosen the existing bolts - those took some force (ok, I'm not the strongest guy) to remove. Once the bolts are removed, the bracket can swing down partially.
I maneuvered the hitch under the car then lifted one side and used a car jack to prop that end up. I then went to the driver side and lifted that end into place with one hand and secured two bolts in (I didn't secure the bracket as it'd be too difficult to do all that and not get clobbered on my head.
I then went back to the passenger side and got one bolt in. The other bolt wasn't lining up properly (hard to see when I'm doing this myself and worrying about my wife calling me an idiot if the thing falls on my head). Then I realized that the original bolts had a tapered end. I used one temporarily to at least get things lined up (can't use it permanently as it's not long enough to catch enough threads to be secure). I then tightened up the other bolt more. Then I went back to the driver side. One bolt I put in was for the extra hole that's not used for the exhaust bracket. I removed the other temp bolt, put the bracket up, then secured all three bolts.
Back to the passenger side, removed the one original bolt, and put in the bolt that came with the hitch - much easier as everything was lined up. Then I tightened everything up.
Took about an hour for me. Would have been a lot faster if I had someone helping me to hold stuff up.
I think it MIGHT still fit if I left the fascia cover on, but I'm too lazy to undo things and try.
Did your instructions mention a socket size that didn't match the new bolts?
My instructions said I would need 17mm and 18mm sockets. The 17mm worked well on the original bolts, but the new bolts were not 18mm...they were 3/4" (SAE). Luckily, I had such a socket in 3/8 drive--which is also the drive of my torque wrench.
I didn't read the instructions for that. I just grabbed sockets util one fit...it was annoying that the new and old bolts were different sizes. Would have gone a lot easier if the new bolts were designed like the old bolts where they're tapered. Makes things line up a lot easier. As I mentioned, anyone who wants to do this safely, invite a friend over for pizza, then say, "hey, since you're here, can you come into the garage for a bit...oh, and here's an old shirt to put on first..."
Thanks NXOwner for the writeup. Without it, I probably wouldn't have taken this on. (hopefully, I'll use this hitch at least once...)

 12-07-15, 10:55 PM