When you click on links to various merchants on this site and make a purchase, this can result in this site earning a commission. Affiliate programs and affiliations include, but are not limited to, the eBay Partner Network.
As with many, I have not been impressed with the factory system nor with the ML system that I could have selected upon purchase (I am in Japan) so I have been piecing together the system for my NX over the past few months and gathering the information needed to do so. Almost all the gear is in, waiting on the Helix DSP.3 and minidsp microphone for the RTA function, then build will start in July.
I'll document my steps here for others to reference in the future. Have a look at the design and, if you have any advice for me, I am all ears.
Customization points:
1. Tweeters will be in custom-built A-pillars covered in black Alcantara.
2. Dash speakers will be trimmed to fit in the factory locations (2 mounting tabs removed)
3. Doors will be fully dampened and speakers mounted with Alpine KTX-Y171HD adapters plus RKFR6 fast rings.
4. Helix DSP.3 and Audison amplifiers to be installed under the rear seats.
5. Subwoofer to be in a small sealed box in the hatch that can be moved to under the false floor when space is needed (I play hockey and golf ).
6. URC.3 remote to be installed in the small pocket above the factory radio for remote subwoofer control and other functions.
7. All speakers will have new 14 gauge wiring with exception of the front right dash to be ran through the telematics unit for hands-free.
8. Use PAC APH-TY02 amp-speaker connection interface - I want to be able to return this system back to factory condition when I sell it off so this allows me to leave all factory wiring intact and system removal plug-n-play.
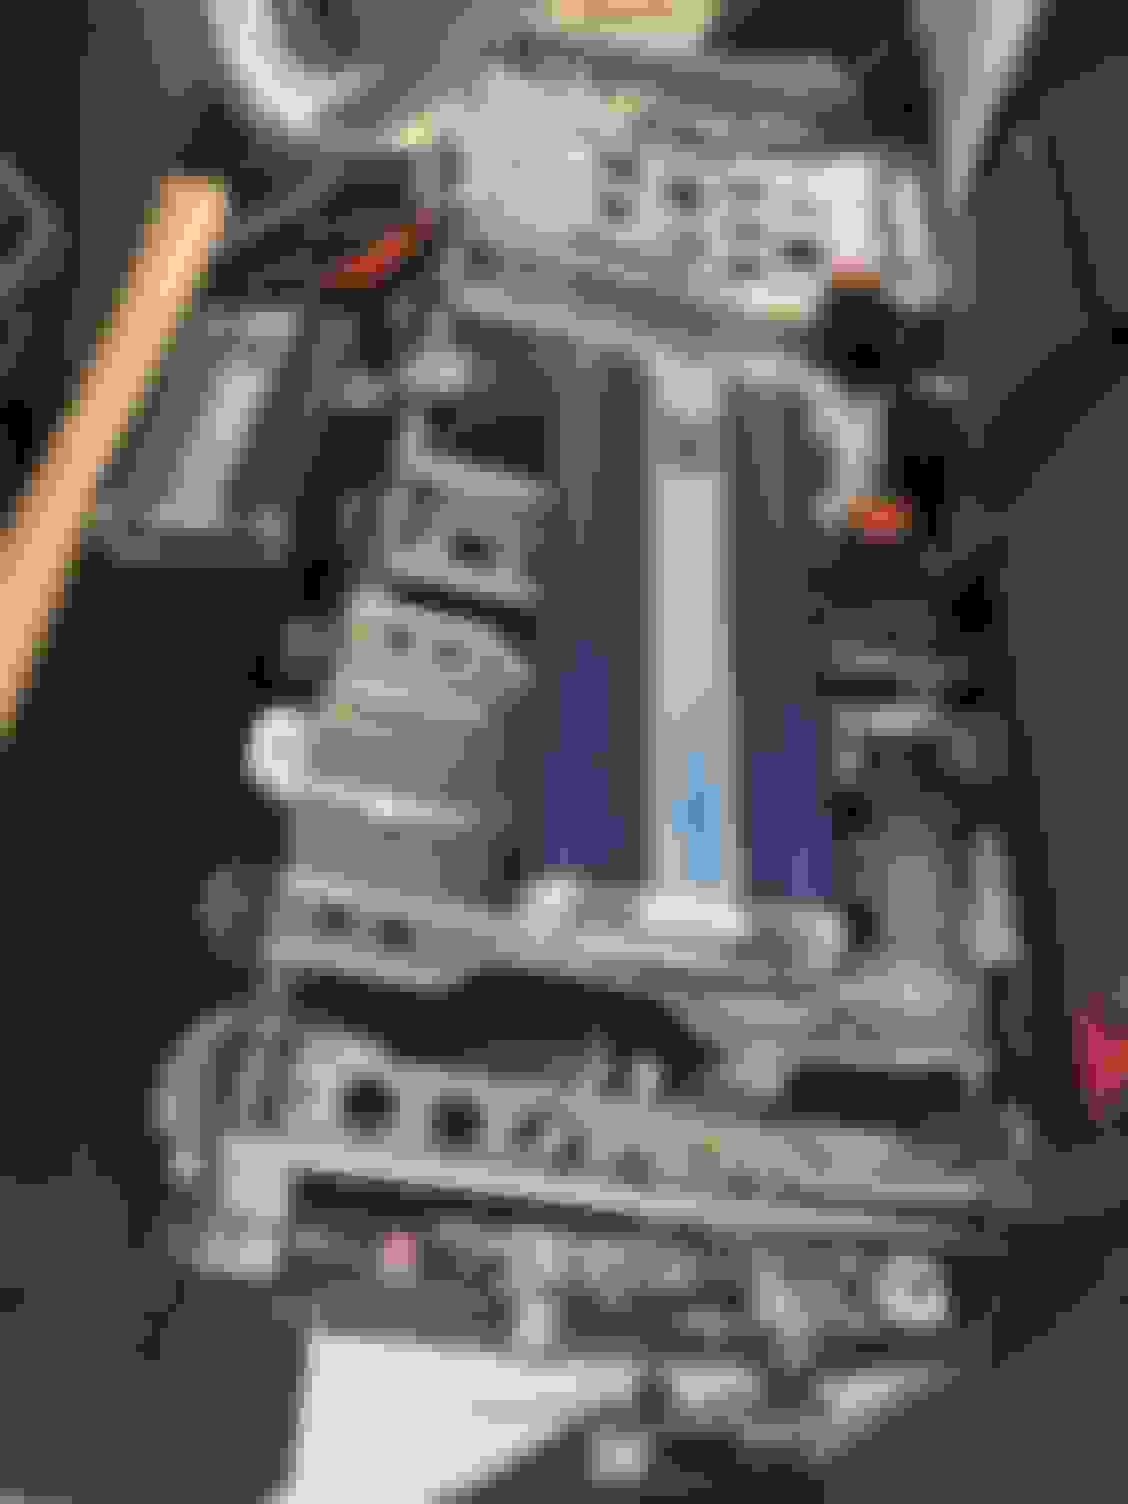
Factory amp is Pioneer. Thing is really small, thought it would be bigger.
Rear seats are super easy to pop off, access to the amps and processors will be quick. Best of all no rear space is used. Amps will be on the battery side. May add a cooling fan if needed.
A-pillar tweeter pods to be covered in black Alcantara. Angles set up for optimal staging.
Mic has arrived - got this instead of the Helix Mic as it was a quarter the price, especially for something you only really use once in a blue moon.
The A Pillars are done! Black Alcantara. They weren�t the easiest thing to wrap that is for sure but happy with the results. Kinda wish Focals were red to match the interior stitching....nah, Focal is Focal. Yellow baby! Amp mounting rack for under the seats is done as well in the background there. Added foam to ensure no rattles and or vibrations. The original pillars were white, got them used as I will keep the originals for when I sell off this ride in a few year.
The final pieces to the puzzle have arrived! Helix DPS.3 & the URC.3 for it. The install is about to finally commence!
Found a good use for that useless pocket! Blends in fairly well - this will give me remote bass control and other level functions from the DSP.3 Helix definitely has style, and German build quality. The high level inputs Low level outputs to the amps
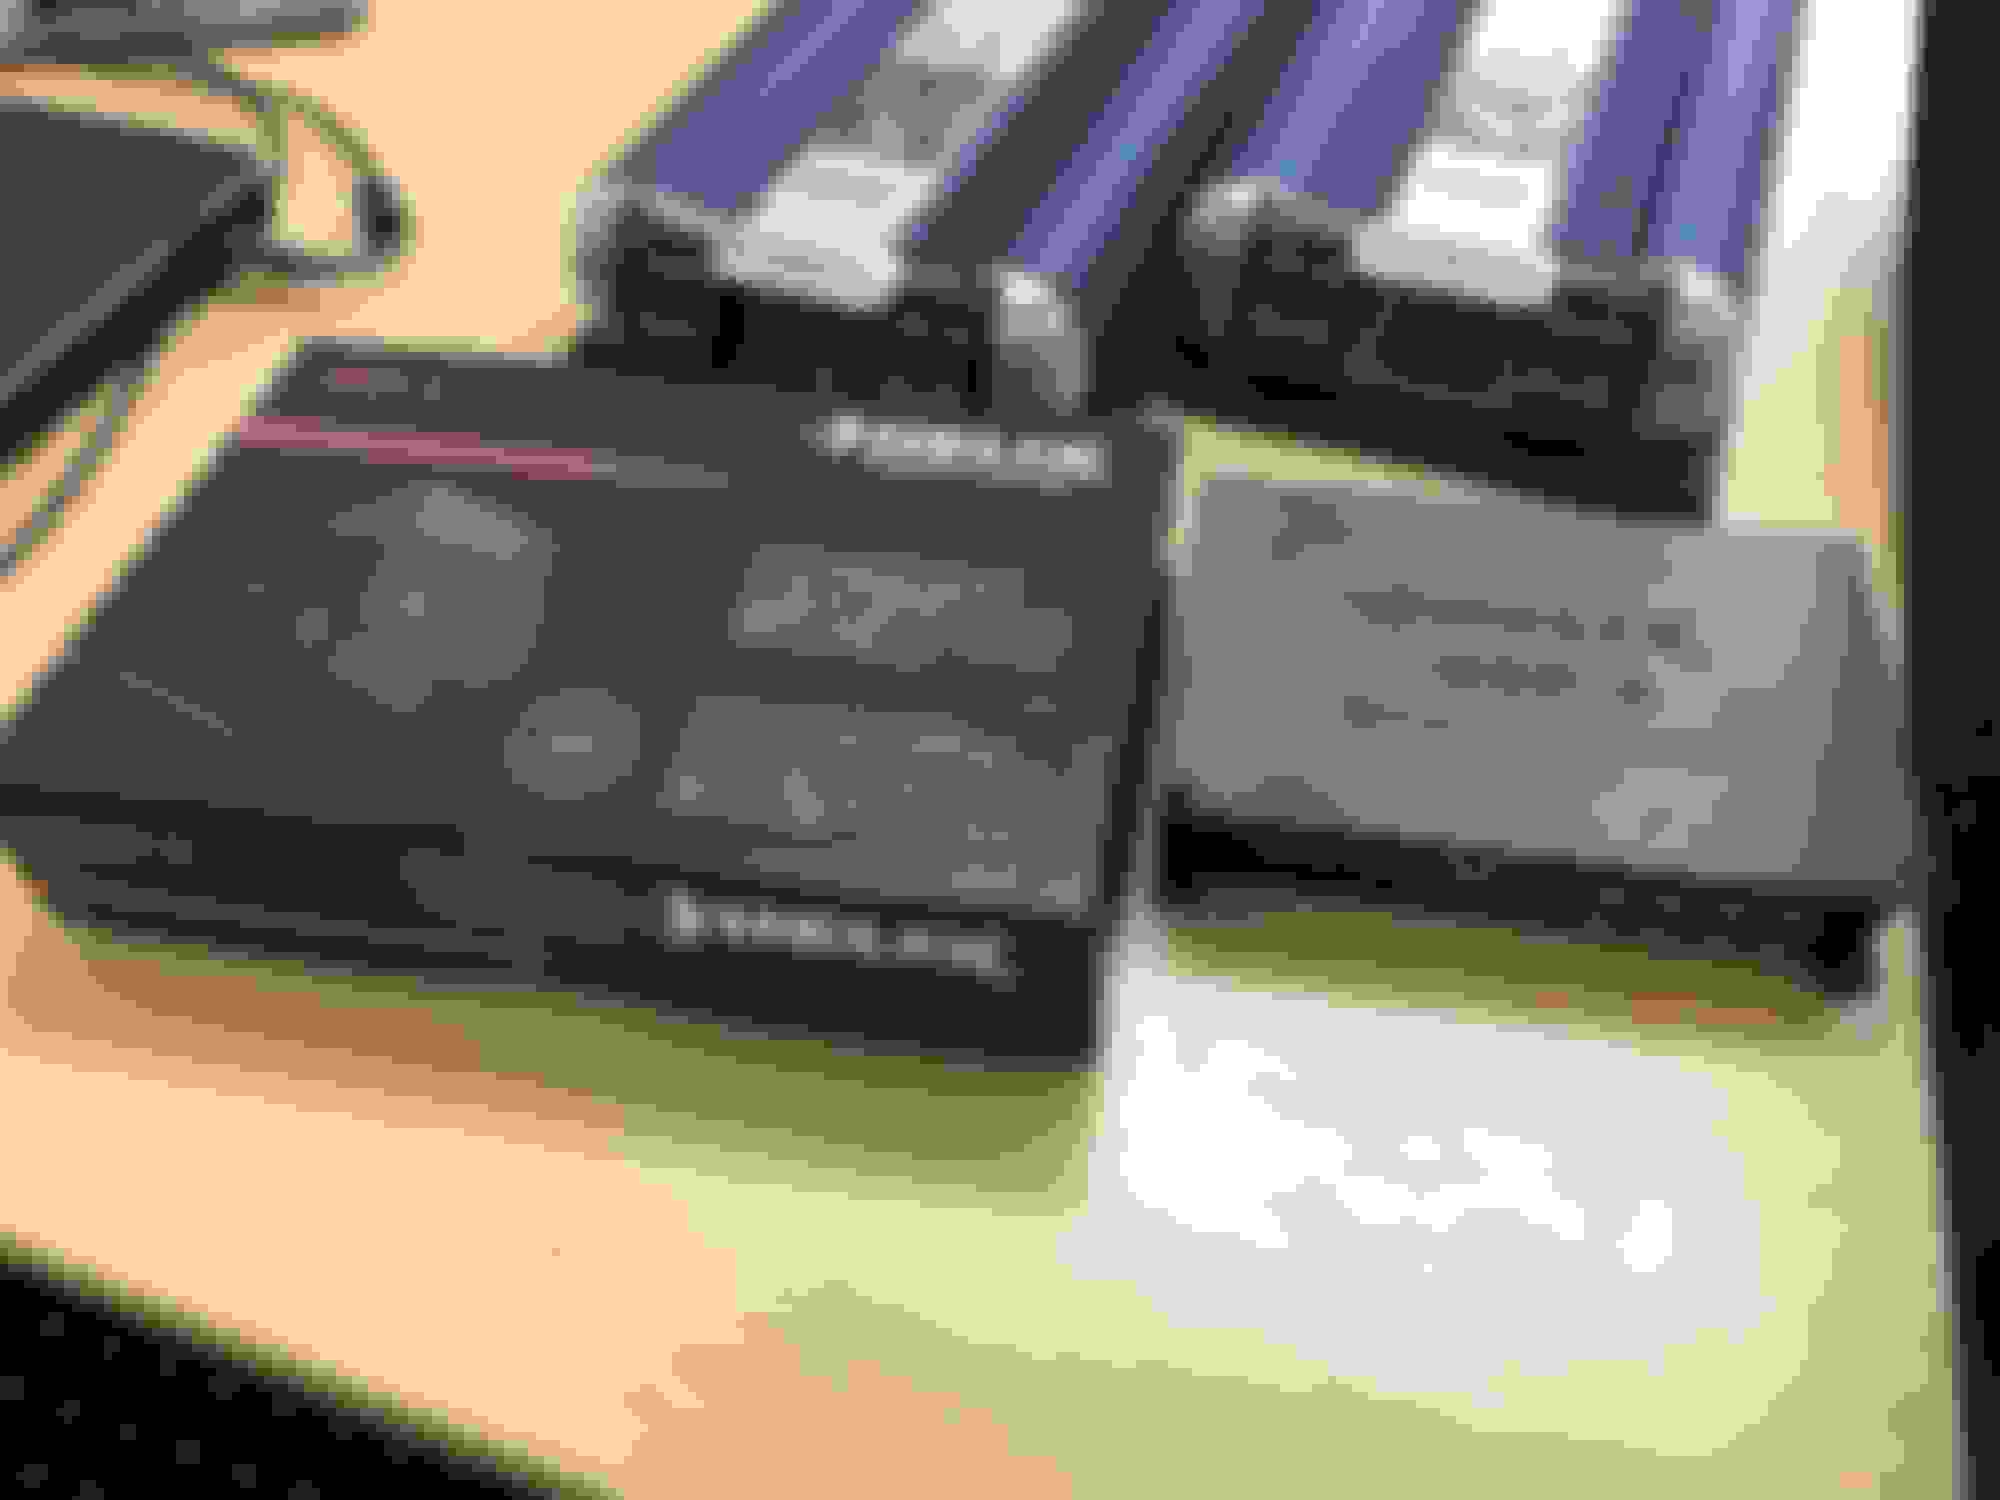
I prefer the sound of class a/b amps over the digital ones, call me old school I guess. One of the LRx amps I had from another build and really liked it so wanted to reuse it and was able to pick up the other for a couple of bills used.
The Helix DSP.3 will control everything so the Audison amps should be able to easily do their jobs.
Installed the left hand side today... So this is the extent to what Lexus installs for deadening in the front....one little square ;() Alpine adapters worked perfectly getting the door speakers in - foam added around and behind. Mids needed some modifying to fit, cut off two tabs and enlarged the mount holes. The A pillar pods fit perfectly. Dynomat both on the outer panel and inner panel
1. Run 4 guage power wire down the left side
2. Run URC control cable
3. Run left hand side speaker wires - 14 guage x3
Well I thought it would take 2-3 hours.....was so kidding myself.
Lexux, um Toyota, thanks for making access through the firewall next to impossible to reach without disassembling the car. About 5 cuts later and a lot of cussing I was able. I don’t care how much a pro charges you to do this job, its worth every penny!
Behind the glove box on the left side, Japan spec car, had to take these off to access the hole to the engine bay.....grrrr This is the access behind the last picture. There is a hole provided to run wire on the right where my blue lead wire is, problem is the other side is sealed and impossible to access without blood loss.. The other side. Had to take photos with the phone to see what I was doing, you cannot see in here! Inside the cabin - ran the 4 guage from inside to the engine bay. Lots of 4 letter words used... Tucked the power wire low and on the floor - above and to the left is the 3 speaker wires and URC cable (wrapped in cloth tape) that fit nicely into a channel available. The tweeter pods are looking sweet, the Alcantara adds a bit more luxury to the dash.
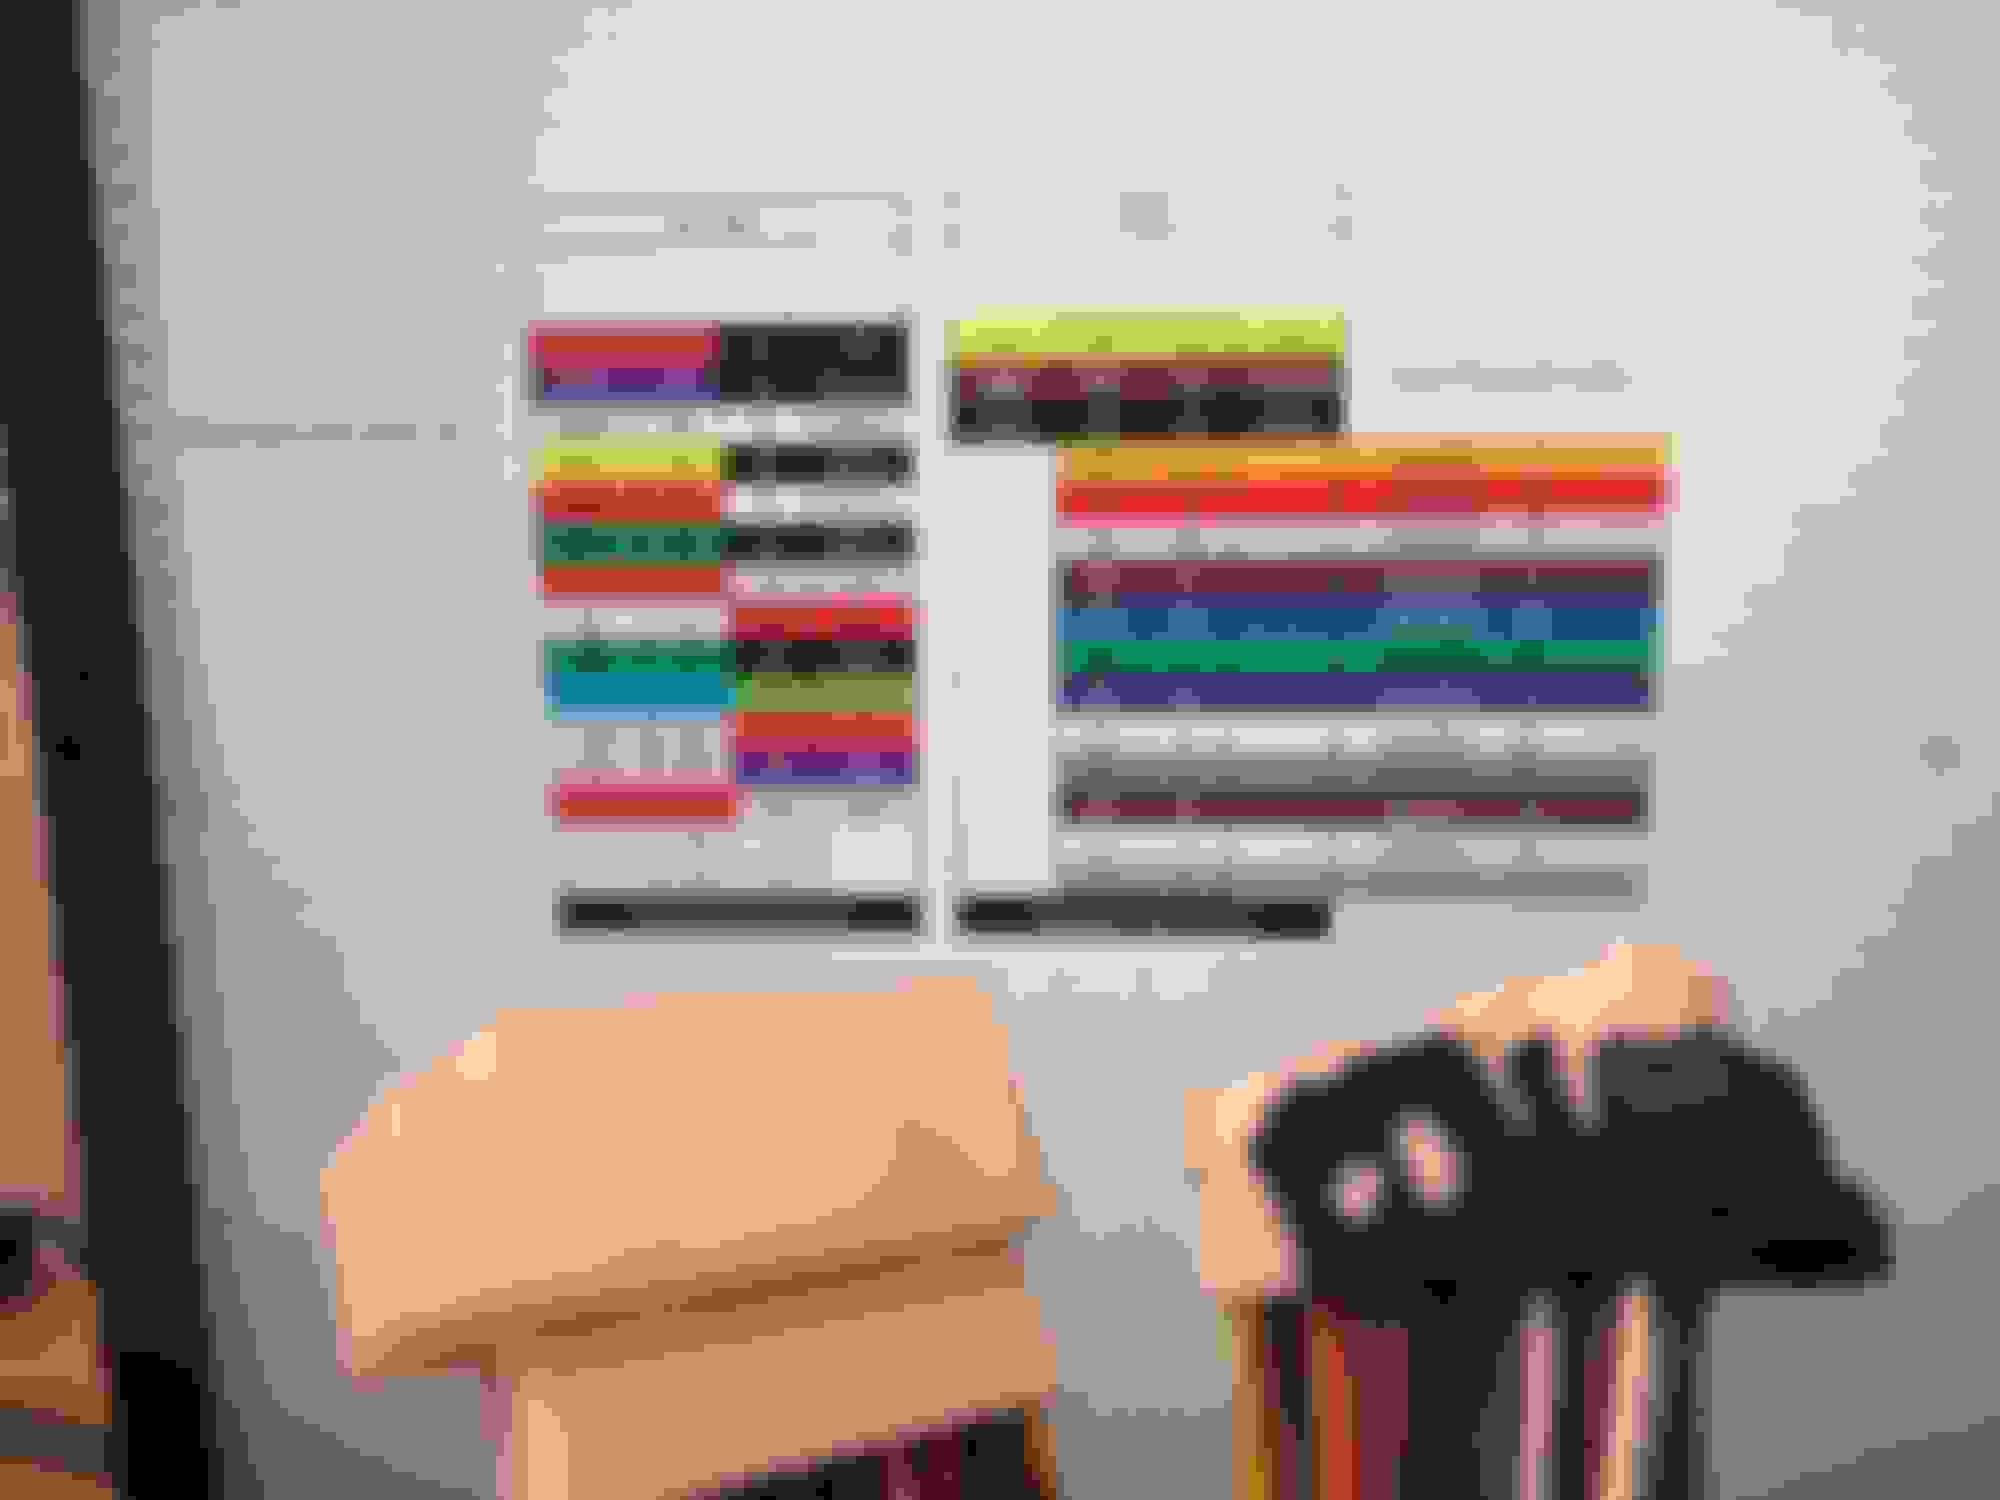
The PAC APH-TY02 interface adapter arrived today. Wasn�t sure it would work on the 2019 but after matching things up it seems it will - too bad Lexus and PAC use opposite numbers for their pins.... 18 inches of extra wire, should make interfacing easier.. Matching up the pins and colors....hope I got them right. Will double check before installing.

 06-23-19, 06:36 PM

 ).
).