Hyperblink fix for 92-94 SC w/ 97 Taillights
#46
Found this listing at Napa on line, and the almost item at O'reillys on line. These came up after boring done to the year, make and model of car. They even listed a loud flasher besides this one.
http://www.napaonline.com/MasterPage...+-+Turn+Signal
http://www.napaonline.com/MasterPage...+-+Turn+Signal
#49
This is an old thead, but I have some new information...
I figured out how the current sensing works and bypassed it. Now my turn signals work like they should and it doesn't affect my emergency lights.
You can't tell if a bulb is gone without going around your car with emergency signals on though.
So... There is a current simulator circuit used when emergency lights are turned on. It will make sure that the lights are blinking at the right rate even when all but one bulb have been broken.
This mod will use that circuit when you use normal signals as well.
All you need is two small general purpose diodes (I used 4148 diodes which are common) .
Here are the instructions:
- Locate, remove and open the flasher unit using the info on this thread.
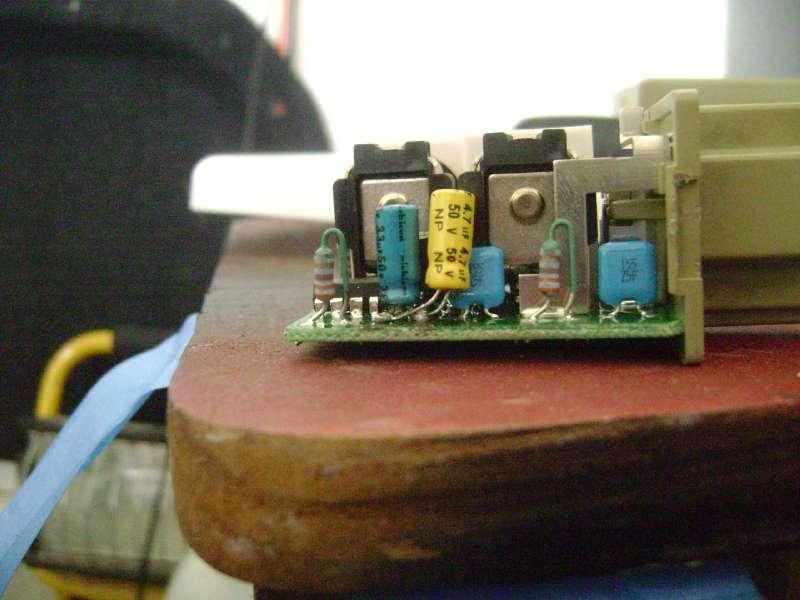
- Solder the cathode (black stripe) ends to the middle legs of the two transistors.
- Solder the anode ends to end of the resistor you see in the picture (Center one from the three and lower end).
- Make sure the leads do not make contact anywhere else.
- That's it!
Also, my car had aftermarket lights when I bought it, so could someone tell me how many tail, brake and turn signal bulbs were there originally on 92-94 tail lights? Is there supposed to be 2 brake lights per side?
#52
cool, I think this is the same part number. I used the LED version of this relay but lost the blinking and sound when arming my GS. It does blink properly but I'd rather fix the original to keep my security armed blinking confirmation.
#54
thankd guys just did mine your way works great now i can pass inspection . easy as hell took 30min to do hardest part was taking it out the holder lol
#56
Best thing to do is to pull your out and check if it is a 8pin relay. If it is then this is what you need..
http://www.v-leds.com/BlinkerWarning...57253-1-3.html
apparently this is the new design where the "Parking light flash confirmation WILL function." I just ordered one, will try it out and let you know how it goes.
http://www.v-leds.com/BlinkerWarning...57253-1-3.html
apparently this is the new design where the "Parking light flash confirmation WILL function." I just ordered one, will try it out and let you know how it goes.
Last edited by kuWuPt; 04-07-11 at 11:40 PM.
#57
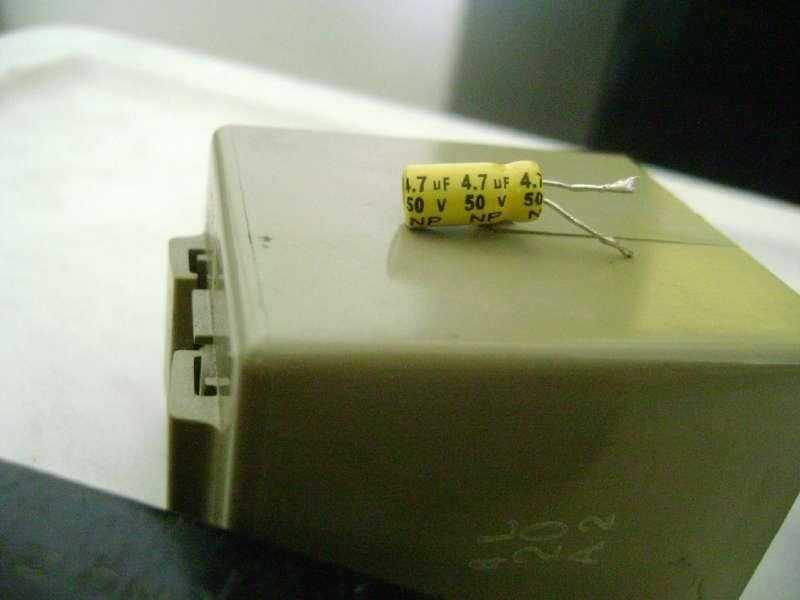
Also adding a 4.7uf capacitor in conjunction with the stock 3.3 as stated previously will work even on the your flasher relay, opened part number 81980-50020 and there is a 3.3uf capacitor in that too... when I get the new relays from v-led I'll open it up and check on the differences..
#59
Had this same problem with my Sc, I fix mines with a temporary fix by adding two headlight sockets and bulbs (tried using/adding smaller bulbs but they didnt add enough resistance) both mounted on a bracket i made and i mounted them both behind trunk side panel near power antenna positioned so that they are not visible while blinking and they dont touch anything. It worked well that i just left it like that.
What i did:
1. i located the main harness running to the taillights located near the jack and tools
2. used a test light to find the 2 wires for the turn signals. 1 for the right signal and 1
for the left signal.
3. ran a wire from from each turn sig. wires to the headlight bulbs. the left to one bulb
and the right wire to the other bulb.
4. the second wires on the headlight bulbs was then both grounded on the chassis.
My turn signals works nice (didnt have to remove the taillights) and i made a nice bracket to mount those to headlight bulbs but i felt like this way was kind of cheesy but
it works for me for now.
#60
Just did this very easy mod, thought it would be hard but only took me about 30 min. Feels great to have it back to normal. Bought the 4.7uF 50V capacitor, solder and soldering iron at radio shack helps to get one with a smaller tip. Thanks LesJet
Last edited by JJ823; 04-17-12 at 08:41 PM.


