
SC300 BFI DIY w/pics
 04-15-09 | 02:36 PM
#19

Rookie
Joined: Nov 2008
Posts: 63
Likes: 0
From: GA
EDIT:PM Me if you need some help
your using the url from the addy bar instead of the image link.watch...
in your photobucket there is a box that says "share this image" and it gives you options...you need to pick "IMG Code"
You can also select all the images, and generage code for all of them
your using the url from the addy bar instead of the image link.watch...
in your photobucket there is a box that says "share this image" and it gives you options...you need to pick "IMG Code"
You can also select all the images, and generage code for all of them
05-09-09 | 12:29 PM
#20
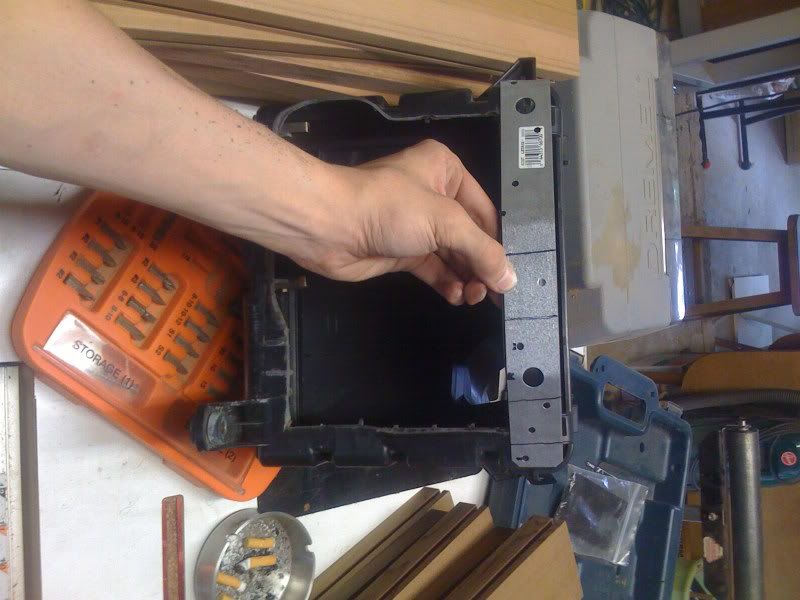
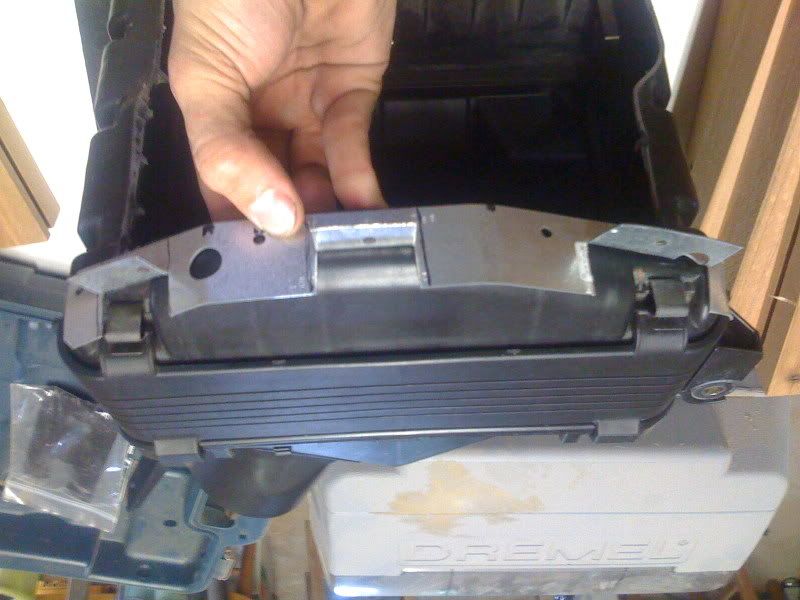
5.) Now making the support for the top cover. Get a piece of tin from lowes and bend it to fit the box nice. mark off where you want the screw holes to be placed to hold it to the box. mark the sections you will be cutting and the sections you will be bending down as supports. The pictures should sufice for this portion of the build as to what you want to have.
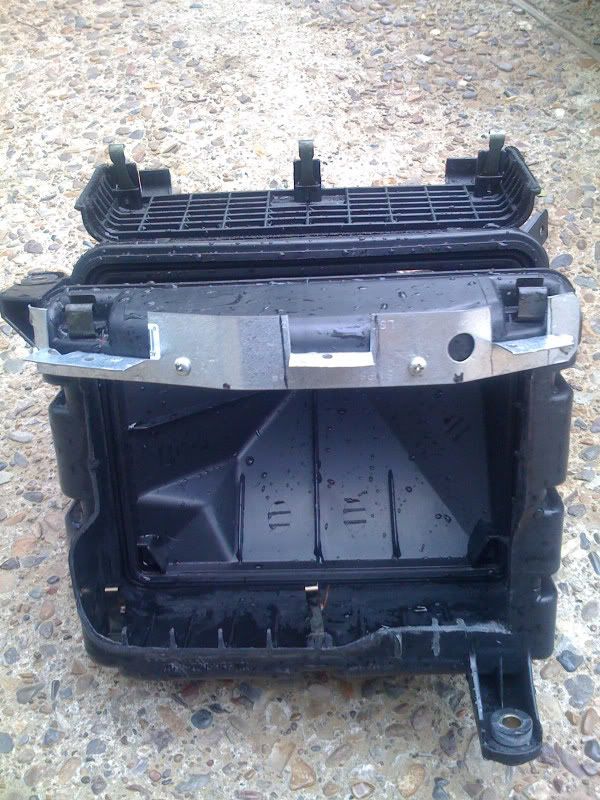
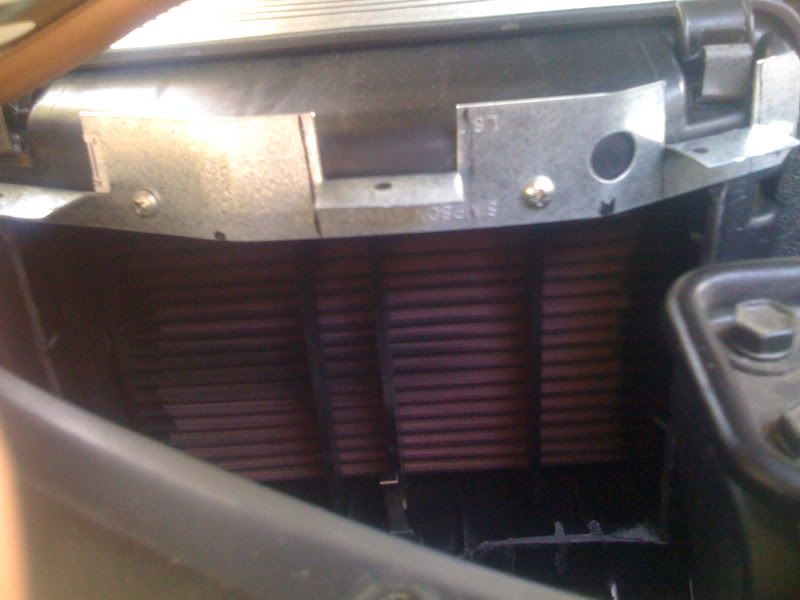
6.) Once the support is on and the edges are shaved and smoothed out, wash the box real good with a hose, no plastic bits or powder from sanding should remain at all!
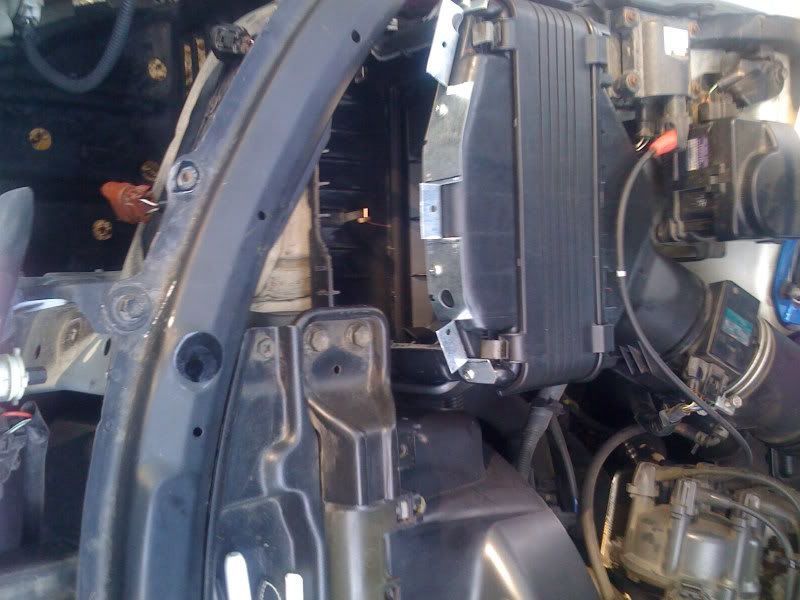
7.) Put the new modified airbox back in its place and dont forget to connect the MAF wires on that clip thing.
8.) Put the bumper screws back on nice a tight so where it looks normal again. Put the headlamp back on, before setting in place, connect the wires so you have more room to do so. Then snug it in real good and re put the 3 screws that held it in.
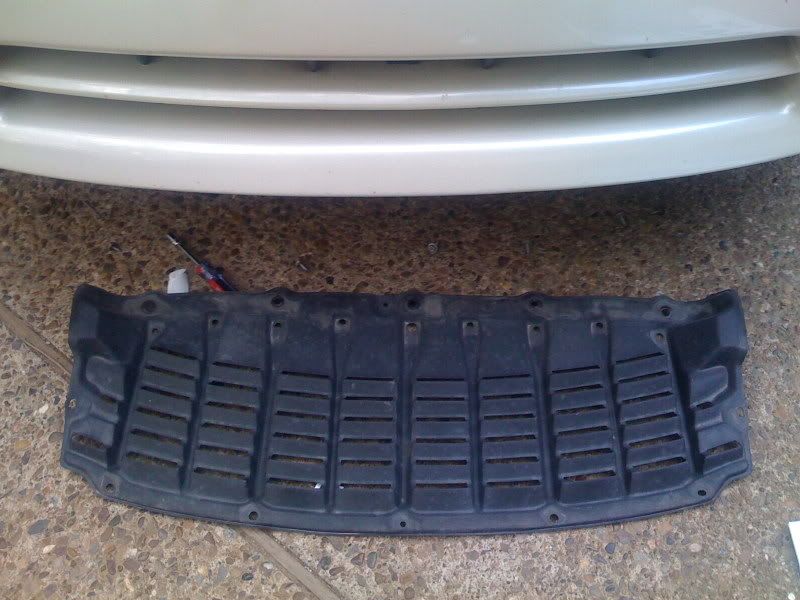
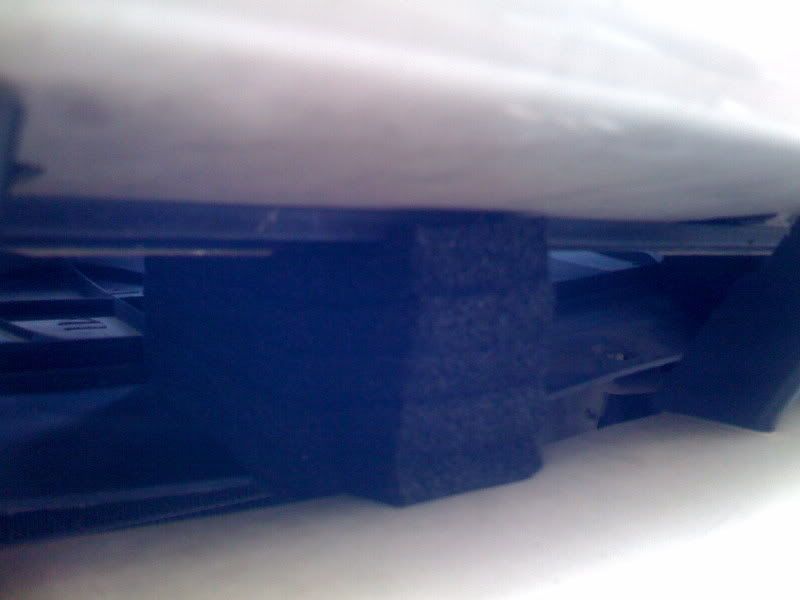
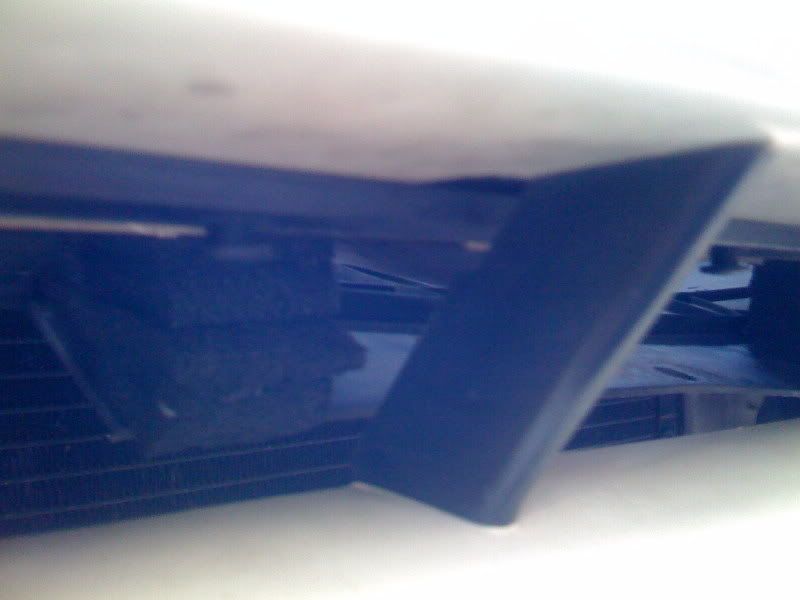
9.) Almost done. Remove the most front undercarraige plate to make the piece of plastic that will be the scoop accessible. about 12 or so screws in total holding the undercarraige up. Once out of the way, remove the center screw and the ones to the right and left.3 in total. push down on the center and it should just ease down. make a support out of any material you find trust worthy, i used foam with adhesive on one end and put many together to get a nice thick piece. Place the thickest piece in the center and another thick piece of the left and right so that the scoop is as efficiant as can be. Once done put the undercarraige back on.
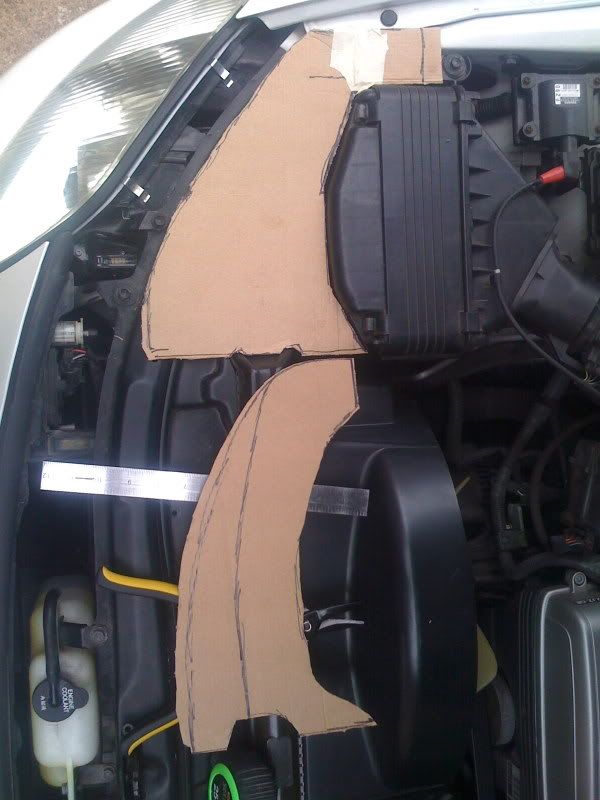
10.) Making the top cover. Using the template, draw the outline on a final piece of material you have chosen to use.i used "for sale sign". Cut big first then as you need, cut down to the right size. on the outsides of the top cover, you'll want to find a rubber air tight tubing with adhesive to grab on real good. i used window and door weather seal, not strong enough adhesive, trust me. ill be changing that tomorrow. For one hold down on the top cover, do a predrill hole on the top left screw section of the airbox, this is the only one i currently have and it works just fine. small half inch or one inch screw will fit perfectly. and your done.
6.) Once the support is on and the edges are shaved and smoothed out, wash the box real good with a hose, no plastic bits or powder from sanding should remain at all!
7.) Put the new modified airbox back in its place and dont forget to connect the MAF wires on that clip thing.
8.) Put the bumper screws back on nice a tight so where it looks normal again. Put the headlamp back on, before setting in place, connect the wires so you have more room to do so. Then snug it in real good and re put the 3 screws that held it in.
9.) Almost done. Remove the most front undercarraige plate to make the piece of plastic that will be the scoop accessible. about 12 or so screws in total holding the undercarraige up. Once out of the way, remove the center screw and the ones to the right and left.3 in total. push down on the center and it should just ease down. make a support out of any material you find trust worthy, i used foam with adhesive on one end and put many together to get a nice thick piece. Place the thickest piece in the center and another thick piece of the left and right so that the scoop is as efficiant as can be. Once done put the undercarraige back on.
10.) Making the top cover. Using the template, draw the outline on a final piece of material you have chosen to use.i used "for sale sign". Cut big first then as you need, cut down to the right size. on the outsides of the top cover, you'll want to find a rubber air tight tubing with adhesive to grab on real good. i used window and door weather seal, not strong enough adhesive, trust me. ill be changing that tomorrow. For one hold down on the top cover, do a predrill hole on the top left screw section of the airbox, this is the only one i currently have and it works just fine. small half inch or one inch screw will fit perfectly. and your done.

 ill post up pics of the newly improooooved scoop tomorrow first thing in the morning
 the foam scoop sucks ***. now ive got screws...you'll see.

Thread
Thread Starter
Forum
Replies
Last Post
raylor
RX - 3rd Gen (2010-2015)
0
09-02-15 07:01 AM