
SC300 BFI DIY w/pics
 04-12-09 | 07:12 PM
#1
Heres a bfi diy for lexus sc300 owners. Provided is a list of tools you want to have ready and pics in order from beggining to end.
List of tools.
-10mm nut driver
-screw driver
-jigsaw with fine blade
-ziplock baggie for nuts and screws
-2 napkins to hold to particular screws with supports of some sort
-a chizzle with a rough sanding edge
-handheld saw blade
-car jack, the one in the truch is perfect and quick
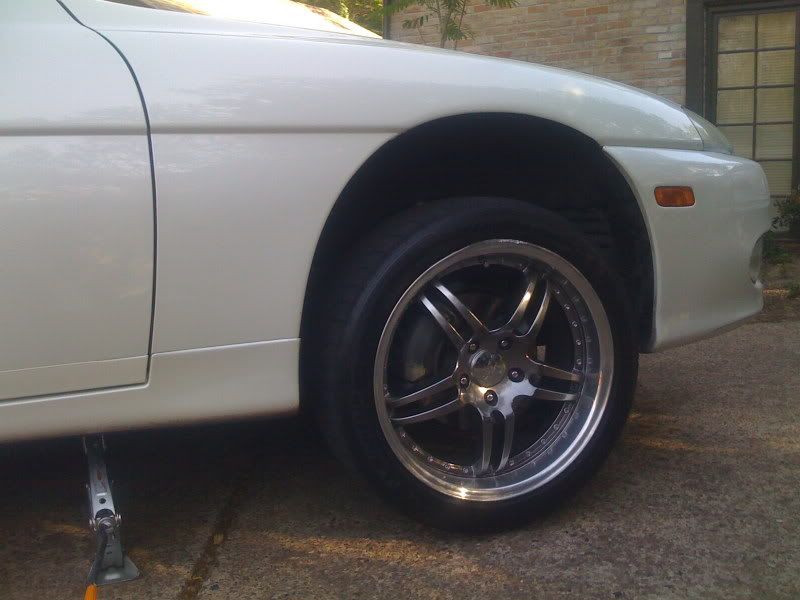
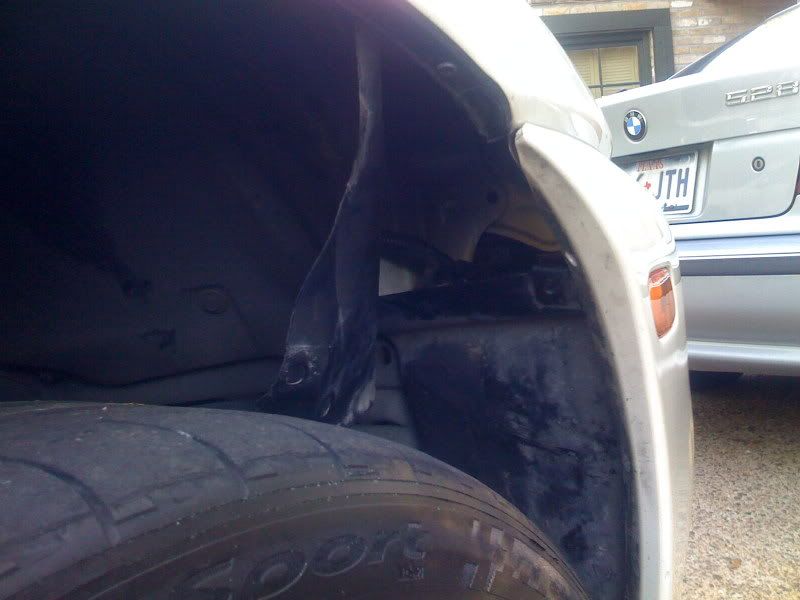
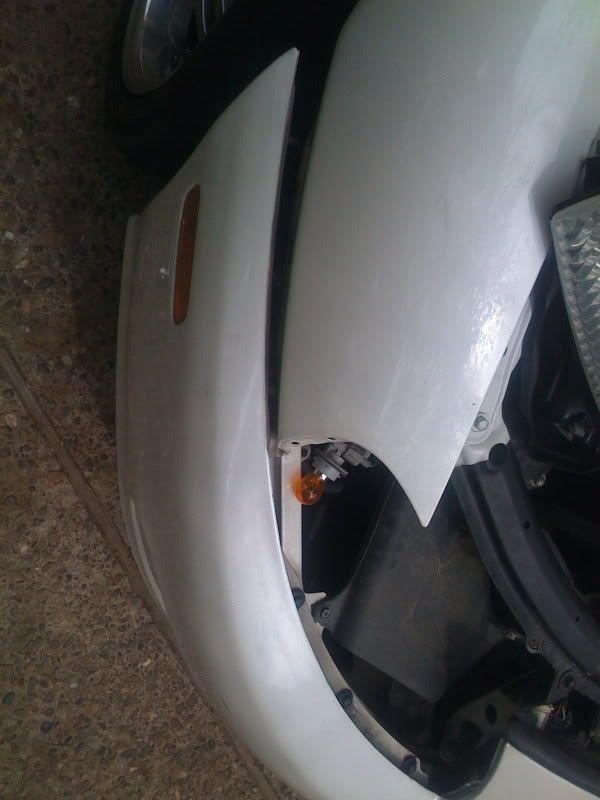
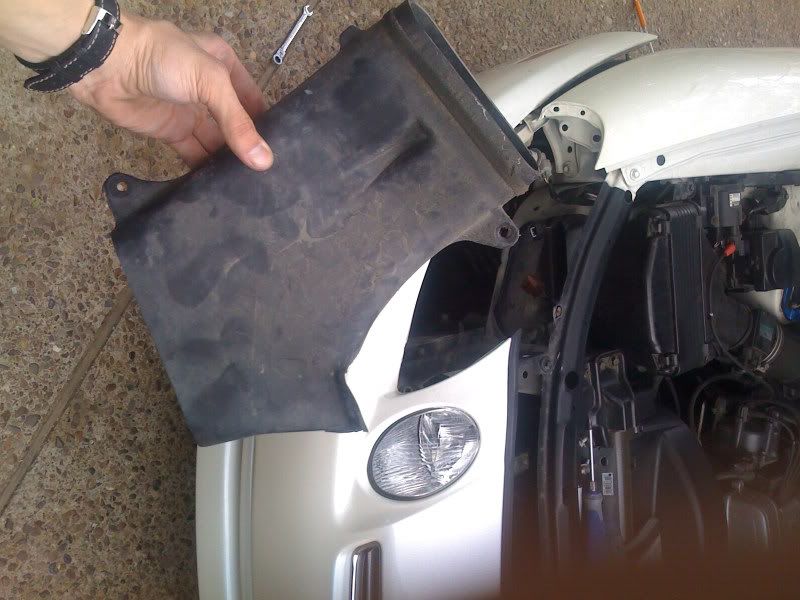
1.) Jack up the car on a flat even working surface. pull back the wheel well to make the 2 rear end headlamp screws accesable. remove them, they're tight but not painted over, just work at it. Also remove the 2 screws to the right of the rearend headlamp screws, these will make it possible to wedge out your bumper a bit to the right making it easier to remove the headlamp without damage. The last screw holding your headlamp is in the engine bay on the front, you cant miss it, its got support of some kind, keep it in a napkin rolled up then in the baggie. Once all this is done, unplug the wire connection, the turn signal lightbulb pops out, just turn it upwards or downwards and pull. Wiggle out the headlamp and keep it somewhere safe.
2.) Removal of the stock air snorkal is next. only 2 screws holding it in. once theyre out wiggle out the snorkal and pull towards yourself. it'll slide out. The snorkal and the screws are trash unless you want to keep them. i did.
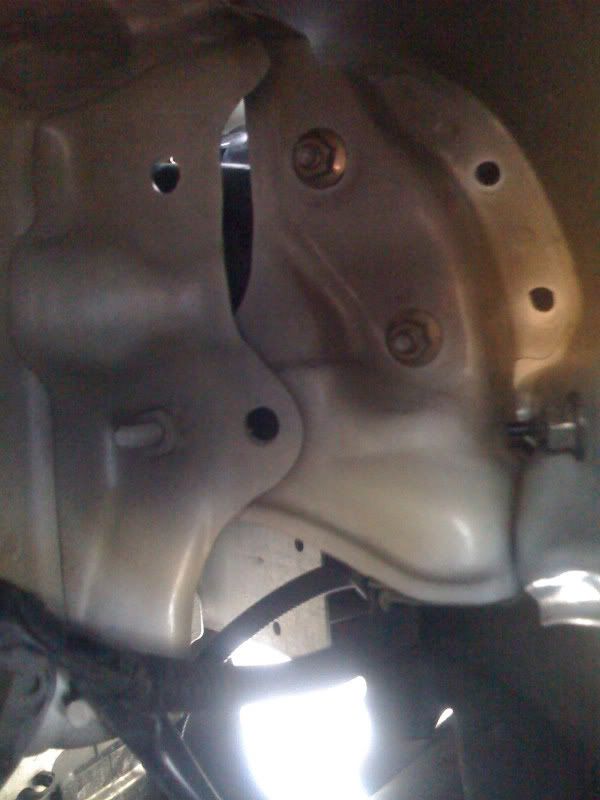
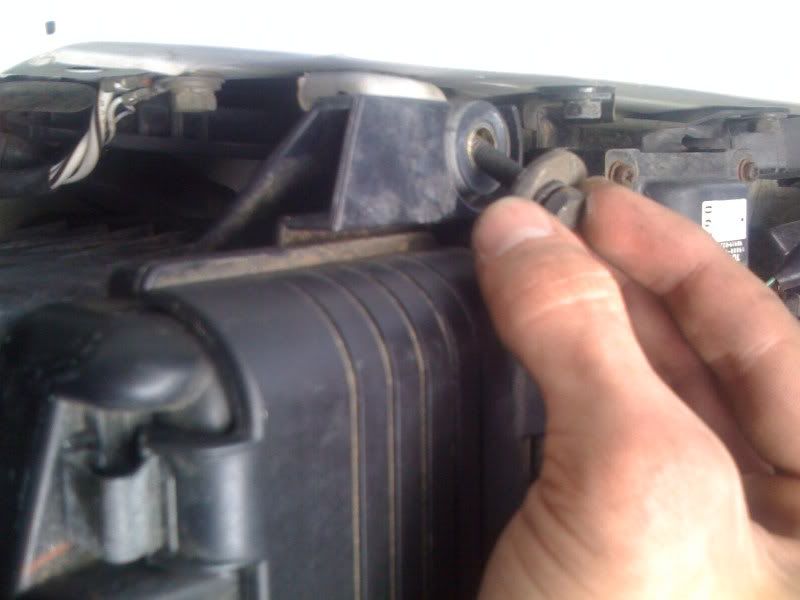
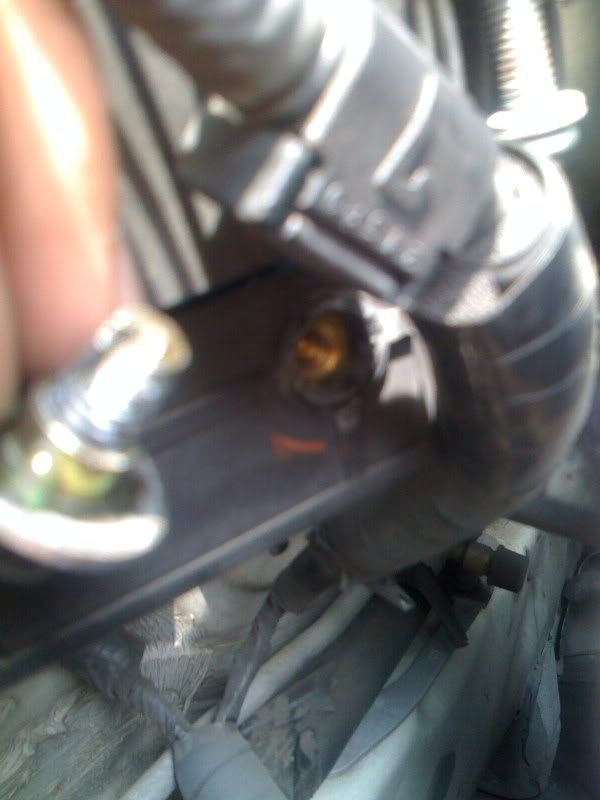
3.) Removal of the stock airbox is next. This involves 4 screws, and a simple clip on connecting the wires from the MAF to the rear end of the airbox. For the clip make sure you dont break the clips, with your nails push them towards eachother and it'll pop right out. The box will take some wiggling and pulling, but should come out nicely. Put a plastic bag around the intake pipe to keep things from getting in there. the blurry pic with a gold looking screw is another screw you want to put into a napkin.
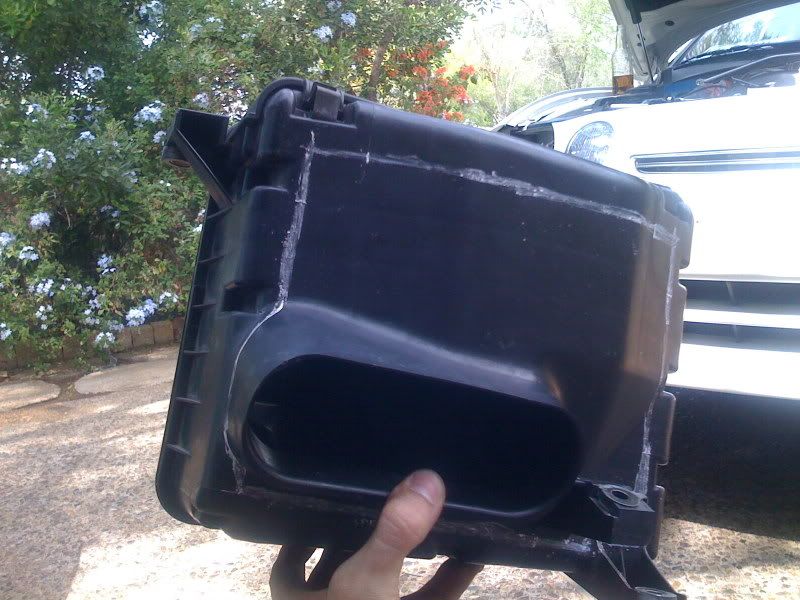
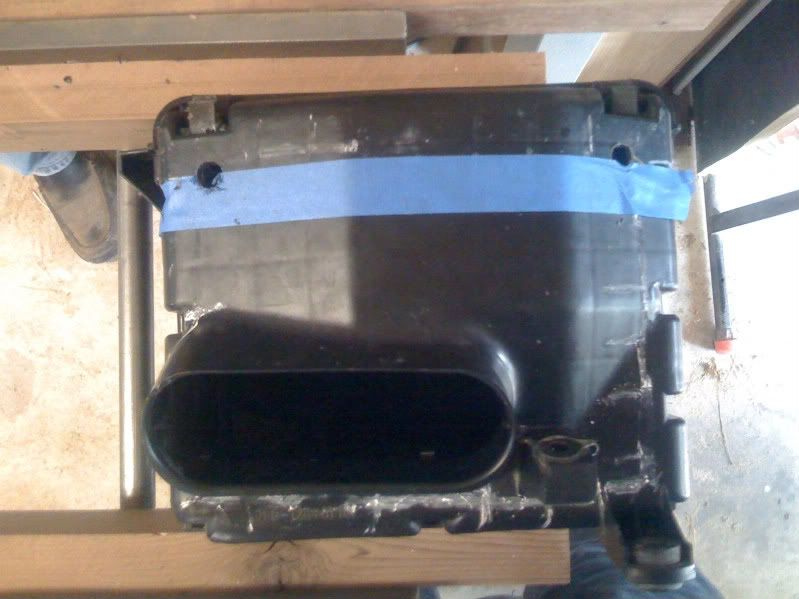
4.) Next step is cutting out the hole in the airbox to your desired size, the bigger the better. draw an outline as to where you will be cutting. for the top, left, and side sides, a jigsaw will save time for the straight simple cuts. On the left side, the snorkal inlet will only allow for a certain distance of cutting space. Once the sides have all been cut through, cut from the left end to the right, to get some plastic out of the way making the rest of the cutting a bit easier. For the bottom right portion of the box i just got creative with the saw blade and cut what i could then sanded the rest with a real rough shaver. leave all the edges nice and clean, you'll like it more.

List of tools.
-10mm nut driver
-screw driver
-jigsaw with fine blade
-ziplock baggie for nuts and screws
-2 napkins to hold to particular screws with supports of some sort
-a chizzle with a rough sanding edge
-handheld saw blade
-car jack, the one in the truch is perfect and quick
1.) Jack up the car on a flat even working surface. pull back the wheel well to make the 2 rear end headlamp screws accesable. remove them, they're tight but not painted over, just work at it. Also remove the 2 screws to the right of the rearend headlamp screws, these will make it possible to wedge out your bumper a bit to the right making it easier to remove the headlamp without damage. The last screw holding your headlamp is in the engine bay on the front, you cant miss it, its got support of some kind, keep it in a napkin rolled up then in the baggie. Once all this is done, unplug the wire connection, the turn signal lightbulb pops out, just turn it upwards or downwards and pull. Wiggle out the headlamp and keep it somewhere safe.
2.) Removal of the stock air snorkal is next. only 2 screws holding it in. once theyre out wiggle out the snorkal and pull towards yourself. it'll slide out. The snorkal and the screws are trash unless you want to keep them. i did.
3.) Removal of the stock airbox is next. This involves 4 screws, and a simple clip on connecting the wires from the MAF to the rear end of the airbox. For the clip make sure you dont break the clips, with your nails push them towards eachother and it'll pop right out. The box will take some wiggling and pulling, but should come out nicely. Put a plastic bag around the intake pipe to keep things from getting in there. the blurry pic with a gold looking screw is another screw you want to put into a napkin.
4.) Next step is cutting out the hole in the airbox to your desired size, the bigger the better. draw an outline as to where you will be cutting. for the top, left, and side sides, a jigsaw will save time for the straight simple cuts. On the left side, the snorkal inlet will only allow for a certain distance of cutting space. Once the sides have all been cut through, cut from the left end to the right, to get some plastic out of the way making the rest of the cutting a bit easier. For the bottom right portion of the box i just got creative with the saw blade and cut what i could then sanded the rest with a real rough shaver. leave all the edges nice and clean, you'll like it more.
Last edited by ashtray; 05-09-09 at 12:24 PM.

Trending Topics
04-12-09 | 09:08 PM
#9
great write up, nice free mod if you have some time..
another thing i might suggest, you can do this for about $40 to 50 bucks worth of ebay parts and make your own intake.. it was not all the way hooked up in the pics here it was being removed..
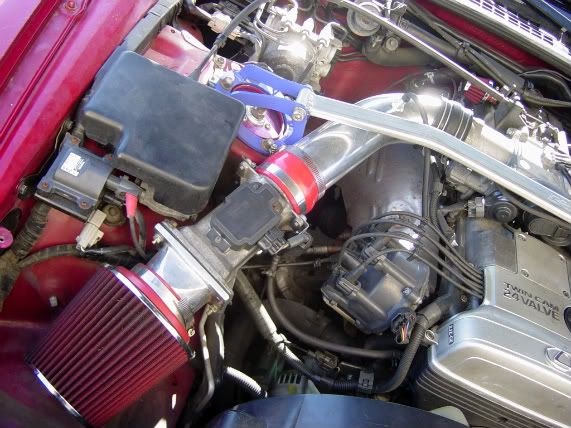

another thing i might suggest, you can do this for about $40 to 50 bucks worth of ebay parts and make your own intake.. it was not all the way hooked up in the pics here it was being removed..
