When you click on links to various merchants on this site and make a purchase, this can result in this site earning a commission. Affiliate programs and affiliations include, but are not limited to, the eBay Partner Network.
what type of hole are you planning to cut, like the shape of it?
The inner line of the horizontal upper flap. So, it'll basically be a triangle shape pointing rearward, with the front tips then angling in at 90 degrees for a couple inches to follow the flap. At that point, I have to decide how far forward to bring the front straight cut that is perpendicular to the length of the car. I'll keep it a bit behind the front edge of the vent, so water is forced to flow down it and be directed where I want it to, rather than just pouring down a horizontal opening.
Edit: It'll probably look best if I curve the front line slightly to follow the hood shape.
this is really exciting by the way, custom hoods for the win!!!
This process has made me give serious thought to my earlier idea of creating a fiberglass replacement for the entire raised center portion of the hood. Mold the entire thing with a vent built into a foam form and have it all perfectly symmetric, then just drop it in on top of the stock [trimmed] bracing. It would probably turn out better, as well as cutting quite a bit more weight.
The inner line of the horizontal upper flap. So, it'll basically be a triangle shape pointing rearward, with the front tips then angling in at 90 degrees for a couple inches to follow the flap. At that point, I have to decide how far forward to bring the front straight cut that is perpendicular to the length of the car. I'll keep it a bit behind the front edge of the vent, so water is forced to flow down it and be directed where I want it to, rather than just pouring down a horizontal opening.
Edit: It'll probably look best if I curve the front line slightly to follow the hood shape.
This process has made me give serious thought to my earlier idea of creating a fiberglass replacement for the entire raised center portion of the hood. Mold the entire thing with a vent built into a foam form and have it all perfectly symmetric, then just drop it in on top of the stock [trimmed] bracing. It would probably turn out better, as well as cutting quite a bit more weight.
like the idea of the center section it almost be like a cowl hood?
like the idea of the center section it almost be like a cowl hood?
No, but I did consider doing something like that originally to cover the vent. The fiberglass center section idea would be a drop-in replacement for the sheet metal, following its shape exactly, meaning a lot of cutting of the original piece and figuring out a way to blend the new piece in.
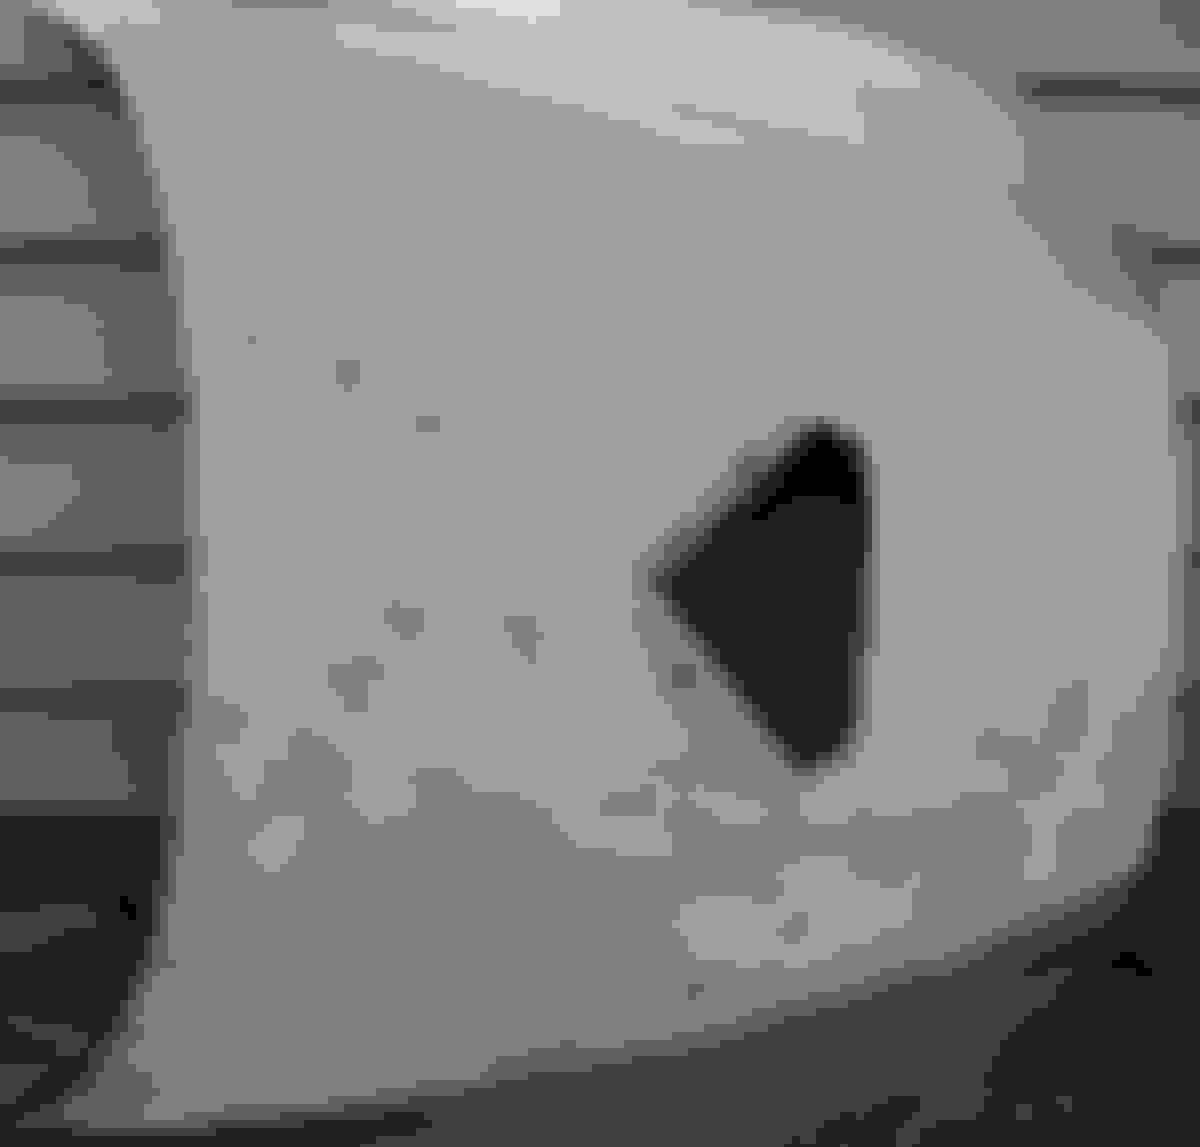
The hood cutout is done:
I was able to do most of it from the backside, but had to flip it over to finish up the cuts since the jig saw couldn't get in to the tight spots around the bracing. You can see in the second pic how the side cuts are slightly unequal length due to the mold not turning out perfectly symmetric. I'm undecided if I'll keep it like that or extend the driver's side cut a quarter inch further back and change the angle of the rear cut line to meet it, which would probably make the lip of the vent visible along the back edge.
The sheet metal actually isn't as thick or heavy as I was expecting. The portion cut out weighs only 15.6 oz. The perimeter and latch bracing must be where all the weight is, given the ~60 lbs to that behemoth. Net weight savings will be 3.25 lbs. Not insignificant, but not earth shattering, either. (And hopefully not fiberglass shattering, either!)
Two more, with the vent wedged in between the sheet metal and bracing, but no adhesive used yet.
Looking straight down on the vent, as the rain would hit it.
Perspective angled forward to better see the shape of the vent and how it'll route hot air out and wet air (!) down.
The plan is to paint the center section of the hood black to match the trunk lid, but I have to say, the gold looks pretty good against the black vent. At least with it painted black, the slight lack of cutout symmetry will be hard to detect.
I decided the unequal side cuts would drive me nuts, even if less noticeable when painted black, so I extended the one side like described above and started sanding the whole thing down.
Ironically, a guy stopped by today to pick up some parts and has a crumpled hood in OEM gold. He was supposed to swing by a week ago when: a) I hadn't started cutting the spare hood up, and b) I didn't know he was in need of one. Whoops.
I got a bit sidetracked with an idea I've been toying with for a few months...
That reflects probably 15 hours of sanding, most of it by hand after rounds of belt sanding and block sanding. I just need to finish up the edges (the toughest part) and then it'll be ready for clear.
At first, I was just sanding the primer as smooth as possible for re-paint, having learned from previous mistakes that leaving some old primer behind never blends well. Then I started digging how clean it was looking and decided to keep going until finally reaching an almost stainless steel look. It's amazing how tough it is to get all that baked on primer out of the metal.
I'm sure as hell hoping so, given how much work it takes. I really liked the black vent against the gold hood, but gold isn't my color... I think bare metal will give a similar effect and offer me a few possible directions to go with the rest of the car.
I was reading up on some cool 'bare metal' ideas from hot rodders, like tinted clears, ghosted artwork with a sandblaster, surface rust left behind in specific patterns, etc., but decided to minimize the places where I can screw something up.
The clear coat went on disappointingly splotchy and was only 50% improved after a round of buffing. I may see if I can get a pro to re-do it. Otherwise, I'm pretty pleased with the final product. It's absolutely, overwhelmingly intense in the sunlight! Fortunately, with the seating position and slope of the hood, it shouldn't create any glare issues while driving. Just gotta put some adhesive on the vent (currently just wedged into the bracing for the pic) before taking it for a spin.
I got a neighbor to help me swap hoods -- much easier than taking the spare off by myself to work on -- and he could tell immediately that the brushed metal version is a lot lighter.
Got a couple test drives in today, and up to 50 mph (untested above that), there isn't a hint of vibration, shake, or wobble from the lightened hood or vent. (I was actually banking on the vent replacing some of the rigidity of the center bracing that I removed.) Also, I can feel lots of heat rising from the vent after driving, so it seems to be functioning nicely.
I'll be keeping an eye on it to see if the clear coat will prevent rust at all. The more I read, the more unsure I am... Some people say it'll work as long as you prep the surface well, while others, including professional painters, say it's impossible to keep rust lines from developing under the clear.
I didn't realize until yesterday that you could paint over Gibbs Brand oil. I should have ordered a can of that to put on first as a metal treatment and second layer of rust protection.
 09-09-15, 08:26 AM


 I really liked the black vent against the gold hood, but gold isn't my color... I think bare metal will give a similar effect and offer me a few possible directions to go with the rest of the car.

