When you click on links to various merchants on this site and make a purchase, this can result in this site earning a commission. Affiliate programs and affiliations include, but are not limited to, the eBay Partner Network.
I am in the process of replacing all my struts but I have never done that before. I have started with the rear left (Driver) and I have already pulled the coil/strut from the vehicle. I have rebuilt the new strut but I am uncertain about that 17mm nut that holds the strut in the spring. First of all it took me a while to even get the new strut to fit into the hole on the hat where the 17mm bolt is located. I had to keep wiggling that thing for about 30 minutes before I could get it to slide freely in and out of the hole.
My question is specifically about that 17mm nut that helps to hold the strut in the coil -- how far down should it be able to be turned on that shaft before you place the strut back on the car? I was only able to get it about half of the way down on it while it is out of the car so is that about right or do I have a problem there? I want to know if I am doing this correct before I proceed with the remainder of the work I have to do. I am intending on replacing all brake pads, rotors and struts on the vehicle because I was hearing a grinding noise while driving and discovered that the noise is coming from the rear pads (what is left of them perhaps) grinding on the rotor.
I thought it was the bearing but once I removed the brake caliper and turned that wheel hub there was absolutely no noise of metal grinding so I was happy that I did not have to do that at least on the rear. I may have to do that on the front right (passenger) but I will cross that bridge once I get all of the struts replaced and proceed with the pads and rotors. I looked that the old thread on the forum entitled "How To: Coilover install with Pics" and thought it could be helpful but none of the pics are there anymore so I have no visual reference. If someone could repost those pics I am certain that would be extremely helpful to others like myself who have never crossed this bridge.
I am attaching some pics of what I have done so far and ignore the black duct tape as it was only there to hold the rubber in place as I was trying to get that shaft through the hole on the top hat of the strut. The silver duct tape is on there to line it back up with the other piece of silver duct tape in the trunk where the strut screws are located -- I just didn't have any white paint or light color anything to mark it with so I used that silver duct tape.
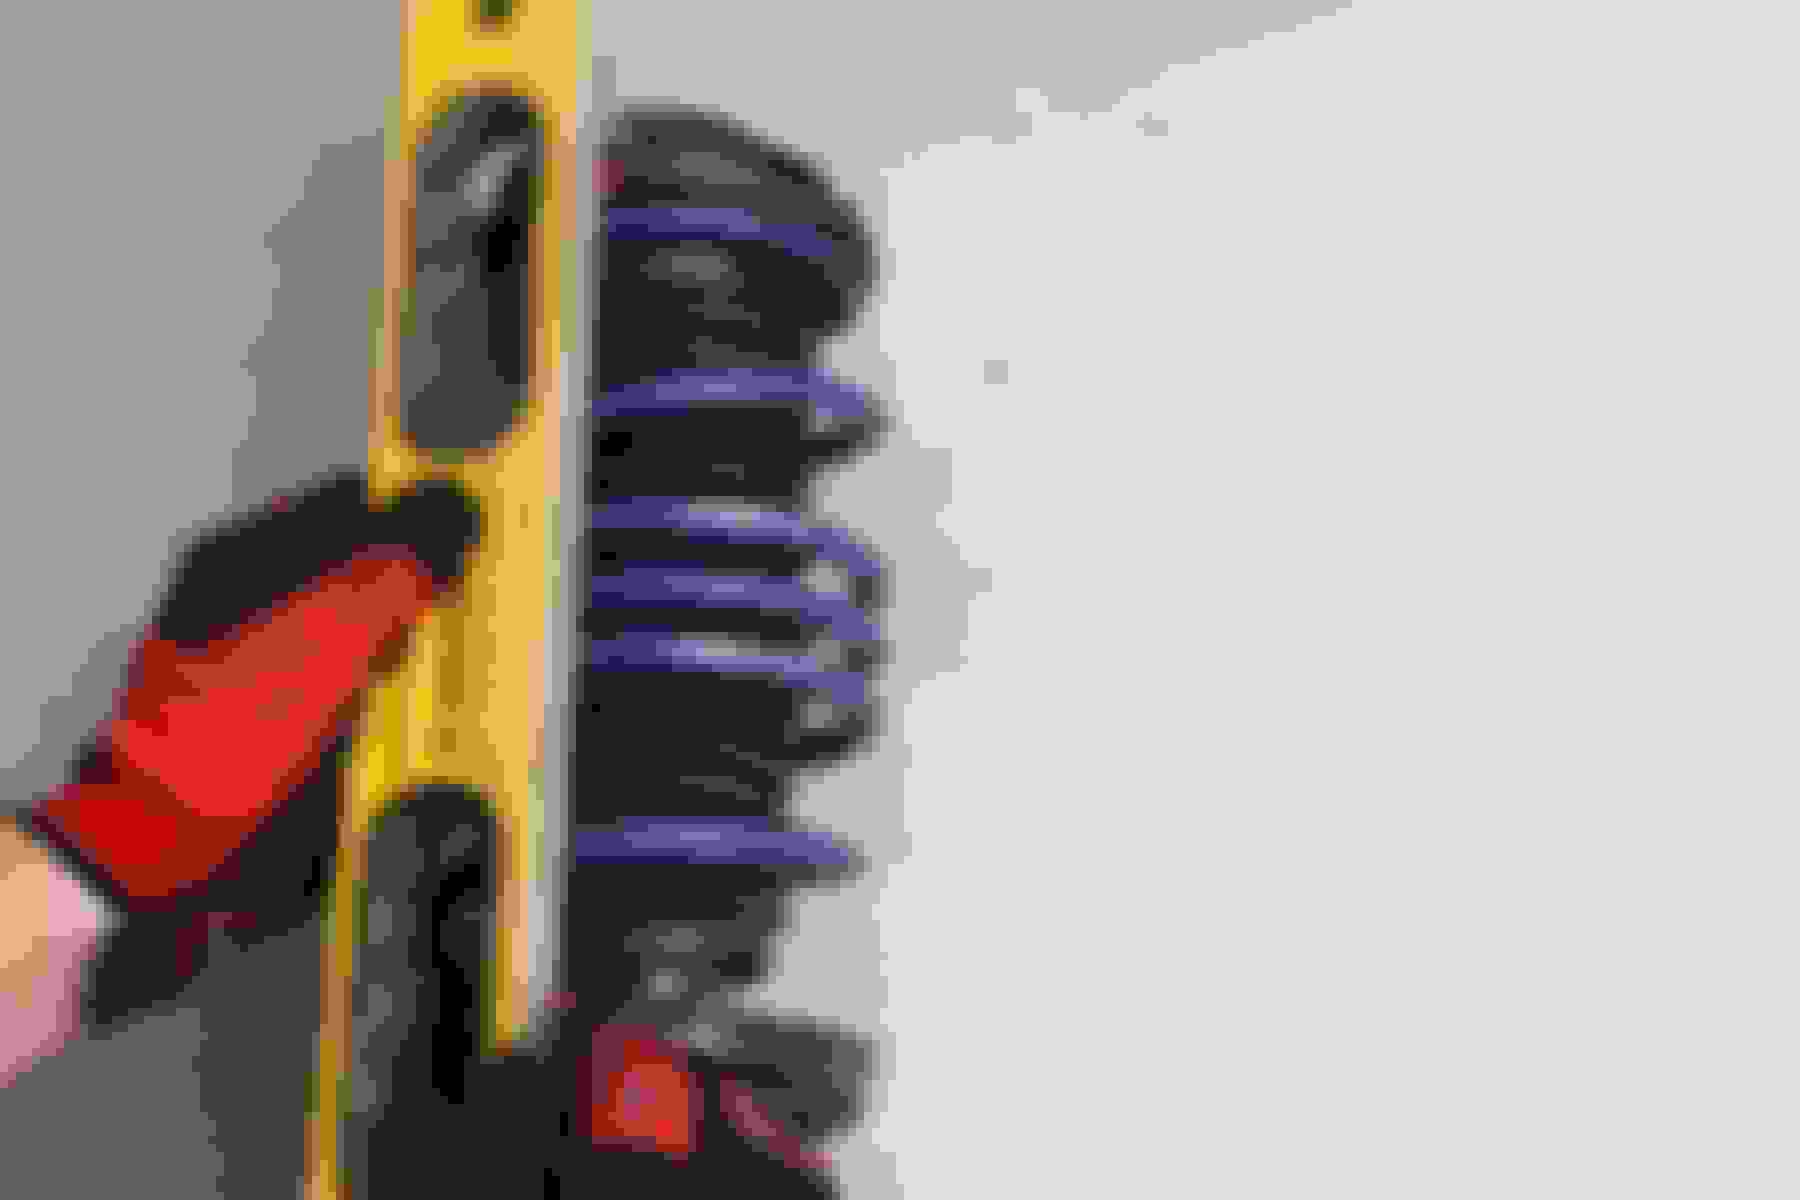
Agree with Blk, it looks like it is not fully threaded onto the shock stem, it is either not tightened all the way or is bound up. Like also stated, go rent a spring compressor it should make the job much easier.
I have rented a compressor and that nut is my concern -- for some reason when I was putting that top hat on I could not get that thing through the opening. I will compress it again and see if I can get the nut further down. The problem is that shaft that the nut tightens on just would not go through that opening and when I finally got it through the shock would compress down as I would try to push it more. I was concerned about the compressor slipping so I was be very delicate with everything. Maybe I did not have the compressor cover enough of the spring but it was about one spring down below the top hat on the coil. I will take a pic of the compressor on the coil if I cannot get that nut further down on the shaft so I can make sure I am doing this correct.
Also, I noticed that the nut on that shaft is crimped on the inside of the nut -- kind of like on the bearing nut of the axle to prevent it from turning but in this case I assumed that the more the nut moves down on the shaft it would open that bent/overlapping metal on the nut. Perhaps my fear of that loaded spring just had me too nervous to tighten the nut more but I was very tentative with tightening that nut while the compressor was on the coil. I certainly appreciate that pic Blkexcoupe it is really helpful and before I install the strut I want to make sure I do this correctly. I truly appreciate both of your comments. Once I get that nut on there correctly, and install the strut back on the car don't I have to lower the car with its weight on it before I torque that nut to the proper spec?
If you compress the spring enough off the car, then you should be able to torque it to spec off the car. If not, then once you lower the car, then you can torque it to spec afterwards like you said. I would recommend that you get the nut flush with the head of the shock (at the bare minimum) before attempting to install the spring/shock, then torque it to spec once the car is on the ground.
Blkexcoupe,
I think I have it right this time but just to be sure take a look at this. It is definitely not on as much as the pic you sent to me but it is better than it was. I do not know if that is a function of the shocks themselves or just my inexperience in doing this but as you may be able to see some of the thread from the nut is shown in the first pic (JPEG # 1208). I am installing Gabriel Ultra Spring Struts so maybe that is unique to that manufacturer but tightening that thing was not easy after it was compressed.
The first pic is the finished rebuilt strut and the remaining pics are of the compressed spring. I am the pics from when it was compressed so you can look at it to see if I am doing that correctly. I actually placed the compressor differently this time -- I had one of the compressors higher up on the top of the strut than the other in hopes of compressing more of the spring. I could not get them both at the same height because of the spiral nature of the spring and me trying to make sure they were as close to being directly opposite of each other.
I still have to install the strut on the car but before I do that I want to make sure this is right because I am doing this without a helper so I am going to have to remove the LCA and sway bar link to install it. I did not remove those when I pulled the strut from the car. I used a crow bar to lift the strut over the LCA when I was taking it off but that will not work to put it back on since I am doing it all by myself. I will probably use my bottle jack to hold the strut up while I am bolting it back in the trunk. Then I can put the bolt into the strut on the LCA and again use that bottle jack to raise the LCA into place to put the bolts back in for the strut.
When you are doing these projects solo it becomes very interesting to find ways to manipulate installs and removals where the DIYs are saying get someone to stand on that knuckle so you can raise that strut over the LCA -- there is no one else to do that for me so I often have to do a little extra work. Still if all of this goes well it saves more than enough money to justify the extra work. All of your feedback is greatly appreciated and I want to make sure I let you know that every time because this is my only vehicle so I am going nowhere until I get all of this done.
How far down it threads varies by brand, but it looks like you're good to install them. Remember to double check the center once the car is on the ground.
Your old shocks must have been completely blown if you were able to use a pry bar to wedge the fork over the LCA.
I would recommend removing the sway bar endlink, place the shock fork on to the lca, then step down on the hub to get the shock assembly inside of the fender. Continue to press down on the hub until you can get the bolts into the holes. It's tough to do on your own, but I have done it before. Using a long bar (like the one for the floor jack) and wedging it between the frame and the uca, then pressing down on the top of the rotor is a good way to get additional leverage. It does bend the rotor dust shield, so its more of a last resort. If you're not able to do it this way, then drop the LCA like you planned on doing.
I forgot to mention this before, but before you remove the top hat from the shock take a straight edge or a string and draw a reference line from the center of the shock mount bolt up to the top hat and spring. Mark the spring and top hat, so that you make sure the top hat is aligned properly. kind of like this:
Blkexcoupe, Just getting back to this today and realized what you were saying about marking the coil and the top hat.I think I got luck though because the strut looks like it lined up with the bolt although it did not line up with the marking I made in the trunk for the top hat.I should have marked the top hat in the trunk and then continued that mark on the coil once it was removed.
Remember I told you that the silver duct tape was for the marking in the trunk to line that up when it was time to reinstall the coil onto the car � as you referenced in your last post I should have extended that top hat mark down the coil once I had removed the old strut.I see now that was to ensure that the strut lined up correctly with the bolt on the LCA once you are putting it back on the vehicle.
I took pics of what I have done so you can let me know if it will be ok to reinstall the replacement based upon the alignment of the strut bolt on the LCA.Like I said I may have gotten lucky because I did not think about that prior to removing everything.Before I go any further I want to make sure it will work.
I am having a problem getting that LCA off because without the tire on the car the knuckle gives way every time I try to unscrew the bolt.I have hit it with PB Blaster several times and will let it soak overnight but I do not know how I am going to get that strut onto that LCA otherwise.I am able to put the 19mm socket with a breaker bar on that LCA bolt and push down on the knuckle to get it to move down � still not enough to get the strut over it onto that hole for the strut screw.
Pics: 1209 (strut on bottle jack next to LCA), 1213 (strut on bottle jack next to LCA), 1214 (top hat in trunk), 1218 (top hat in trunk silver duct tape not lined up), 1222 (strut next to LCA), 1225 (coil in wheel well), 1240 (coil in wheel well).
You got very lucky. The top hat is symmetrical, so there is no need to mark it in reference to the car. Marking a straight line from the center of the shock mounting hole to the top hat would be more beneficial.
As far as your installation method goes, it won't work and it'll do more harm than good. Even if the jack was able to lift the fork over the LCA once the tension releases it'll extend and stab the ball joint (which will lead to more problems in the future).
The shocks goes in bottom side first placed over the LCA. Then push down on the rotor to get the shock into the fenderwell, then continue to press down until you can align the top studs into the 3 holes.
Try and find a friend to come help you press down on the rotor, but if you can't find anyone, then try a pipe placed like this to press down for more leverage and use your body weight to press down in the pipe. It's not the easiest thing to do by yourself, but it will work.
Blkexcoupe, Thank you � oh that bottle jack is only there to hold up the coil so I could show you the alignment in relationship to the LCA � I wanted to make sure that was flush enough in your opinion to install on the LCA.I was still thinking it would be easier (although more work) for me to remove that LCA -- you are so right about that ball joint because when I was removing the coil to mount the replacement the end of it got wedged into the rubber boot on the ball joint � that is why I was just thinking I should remove that LCA.I may need to see if I did any damage to that ball joint to be on the safe side but getting that nut off is problematic.
I am thinking I will put a jack under the rotor (I am installing new slotted ones so the old one will be discarded) to hold it in place while I try to get that LCA nut off.I had the socket on that thing and I am able to push down on that nut which lowers the axle/LCA but I do not want to strip that LCA nut so I backed off of that option.The LCA nut is torqued so tight that I can easily lower the knuckle with a ratchet as I step on it but manipulating that coil at the same time is impossible.
I am glad I was patient because I certainly did not know I should put the LCA nut into the strut first and then install the coil screws into the trunk.This job is something I would not have tried solo if I had known how beneficial a helper would have been plus I have a torn rotator in my dominate shoulder so that makes it worse.I will try to find someone to assist me but if not I will try your approach � it may cause some damage to the undercarriage of the wheelwell but that should not be a big deal.
I noticed after looking at your pic of the line on the coil that the coil I removed has white paint on it � I did not know what that was initially but now I think it is because that strut was replaced.I bought the car 16 years ago as a certified pre-owned so the dealership or previous owner must have had the struts replaced.If you look at the top hat it too has that white mark on it and just by coincidence I nearly lined them up but it is slightly off center.Do you think there is any benefit to me compressing that coil again to line up the white markings if they are in fact what you were suggesting or should I just leave well enough alone?
I think you'll be fine leaving the springs as is. The fork looks straight enough that it should work.
Remember to disconnect the sway bar end links first, then place the fork over the LCA first, but don't install the bolt. The bolt will limit your ability to manipulate the strut from going into the correct position. Once the 3 top bolts slide into the holes in the body, then you can tighten those and proceed to the lower strut/lca bolt. You'll have to use a large screw driver, pry bar, and floor jack to manipulate the LCA until it aligns with the shock, then slide/hammer in the bolt.
The good news is... the fronts are a lot easier to install.
Blkexcoupe, I just wanted to let you know (and anyone else who is working on replacing their struts) that I was able to get the struts finished on the back of the car.I didn�t have anyone assist me (unreliable friends never showed up) but I was able to do it with little effort once I removed the LCA.I tried to get that ball joint out the knuckle and decided that was the wrong approach � instead I removed the LCA from the chassis (not the knuckle) where the alignment bolt holds it in place.I stepped back and said that bolt is designed to be adjusted so it will be easier to get out and would not cause damage to my ball joint.
Of course I marked the alignment markings on the chassis and the washer plate (in the front and the back of that alignment bolt) so that I could get it as close to possible to the original alignment.I will probably still need a full alignment on the car once everything has been completed but that should keep it from being too far out of alignment.I have done this before when I replaced the bushings on the front of my car and when I finished the car was better aligned than it was before I did the work � it straightened out my steer wheel that had gotten off center.
I used the jack that comes with the car because it has a grove that is perfect to keep that LCA from moving once you start to jack it up.I screwed the coil into the trunk to reduce the weight on the jack stand and raised the jack up in line with the bolt for the strut.Once that bolt was put in I just continued to jack up the stand until it was in the slot for the LCA on the chassis where the alignment is done.It seemed to be a lot easier IMO that way and it makes getting the sway bar links in/out without any damage to the bolts that hold them in place.
I am attaching pics for anyone who has to do this job especially if they do not have anyone to help them replace their struts.I have replaced the rotors and the brake pads too so now I am doing the same on the front of the car.The front struts are easier but there is a little more work in getting the splash shield off so you can move that windshield washer tank out of the way � that UCA bolt is very long but none of it was a problem to remove.Once I get everything done I will gladly post any pics or information that can help someone else.Again I truly appreciate all of your posts and the other posts here � they were extremely helpful to me.
Additional question have you ever used that �Rubber Flex Shield� product?I wonder if it will work to help me repair my engine splash shield and the rubber boot on the LCA that protects the ball joint.I think I may have damaged that rubber boot trying to get it off with the ball joint separator (I hate using them for that reason) and I wonder if that flex shield works.If it does it may help to keep the debris out of that ball joint plus I can tape up my engine splash shield then coat it with that flex shield � that would be much cheaper than a new splash shield and it would solve 2 problems.

 12-23-16, 01:48 PM