When you click on links to various merchants on this site and make a purchase, this can result in this site earning a commission. Affiliate programs and affiliations include, but are not limited to, the eBay Partner Network.
EGR port cleaning for 1992-1997 2JZ-GE Non-VVT-i manifolds
Note: some of the measurement information I collected and early ideas on how to clean this EGR passage were collected into the 2016 thread linked below. This thread covers the cleaning procedure itself (something Toyota neglected to detail in the SC300 TSRM): https://www.clublexus.com/forums/per...-cleaning.html
I've been meaning to post this mini-DIY for some time now. If your EGR equipped SC300 is subject to smog testing you'll have to deal with servicing your EGR system at one point or another if your ECU throws a CEL code 71 for "EGR malfunction or insufficient flow".
If you don't have to worry about this then great! But for those that do, here's how to clean a big part of what can cause those issues: a clogged up EGR passage in your upper "Y" intake manifold on 1992-1997 2JZ-GE Non-VVT-i SC300's.
I will not be addressing in this thread every part of the EGR system. All of the other components are well covered in the SC300 TSRM with testing procedures to determine if an individual part has failed. To list them in brief, the 2JZ-GE Non-VVT-i EGR system consists of:
--An EGR passage in the cylinder head at cylinder #6 which passes through a rear EGR cooler plate (removable with a gasket).
--A short steel pipe that goes from the cylinder head to the EGR valve
--The EGR Valve, which has a steel plunger inside operated up and down via a diaphragm inside the steel "saucer" section on top of it.
--An EGR Vacuum Modulator, acts on the EGR valve's vacuum diaphragm via the EGR VSV
--An EGR Vacuum Switching Valve (VSV) that allows the ECU to trigger the EGR Vacuum Modulator and thus open and close the EGR valve's diaphragm at optimum RPM & throttle load for the best emissions.
--Some rubber vacuum lines (most of it similar to Gates #27042 vacuum hose)
--And finally, a long and very angled EGR passage inside your top cast aluminum intake manifold part that is shaped like a "Y" that goes from the EGR valve mating surface all the way into a steel tube inside the intake manifold right before the throttle body bolts on. This is the place where EGR gasses are put back into your intake for re-combustion in order to lower emissions.
This system works well but over many years carbon buildup can cause that "Y" manifold's EGR passage to become very clogged up.
Unbelievably (or perhaps very predictably) Toyota/Lexus lists no procedure in any of the SC300, GS300 or Supra TSRMs for the Non-VVT-i 2JZ-GE to show how they want you to clean this passage and they also have no replacement freeze plug part listed that needs to be popped out temporarily in order to clean the passage of carbon.
So here's how to do it yourself. It is probably a good idea to do this anyway to preserve the health and good function of all the other parts of your EGR system. No good flow through this intake part means more stress over time on the rest of the EGR components before it.
First you'll have to remove the EGR pipe and EGR valve. You really should to it in THAT order. Use a long extension like this:
Then get to work removing the "Y" manifold which will require removal of the throttle body among other things first. It is best to do this with the engine fully cold so that no coolant is heated up and pressurized in the system. There is a coolant bypass hose underneath the intake manifold section that connects to the throttle body. You need to put a shop rag underneath that hose and its clamp while you remove it with a set of automotive style bent clamp pliers. This is to prevent any coolant leakage from seeping into the spark plug galley. The throttle body can lay to the side with the throttle cable's tension holding it in place with that coolant bypass nipple facing upward so as to keep it from leaking onto anything else.
Then the "Y" intake can be unbolted once you remove a couple of vacuum connections from it.
With the "Y" intake removed from the far you can then get to work on cleaning it.
Get a hammer and a flat head screwdriver:
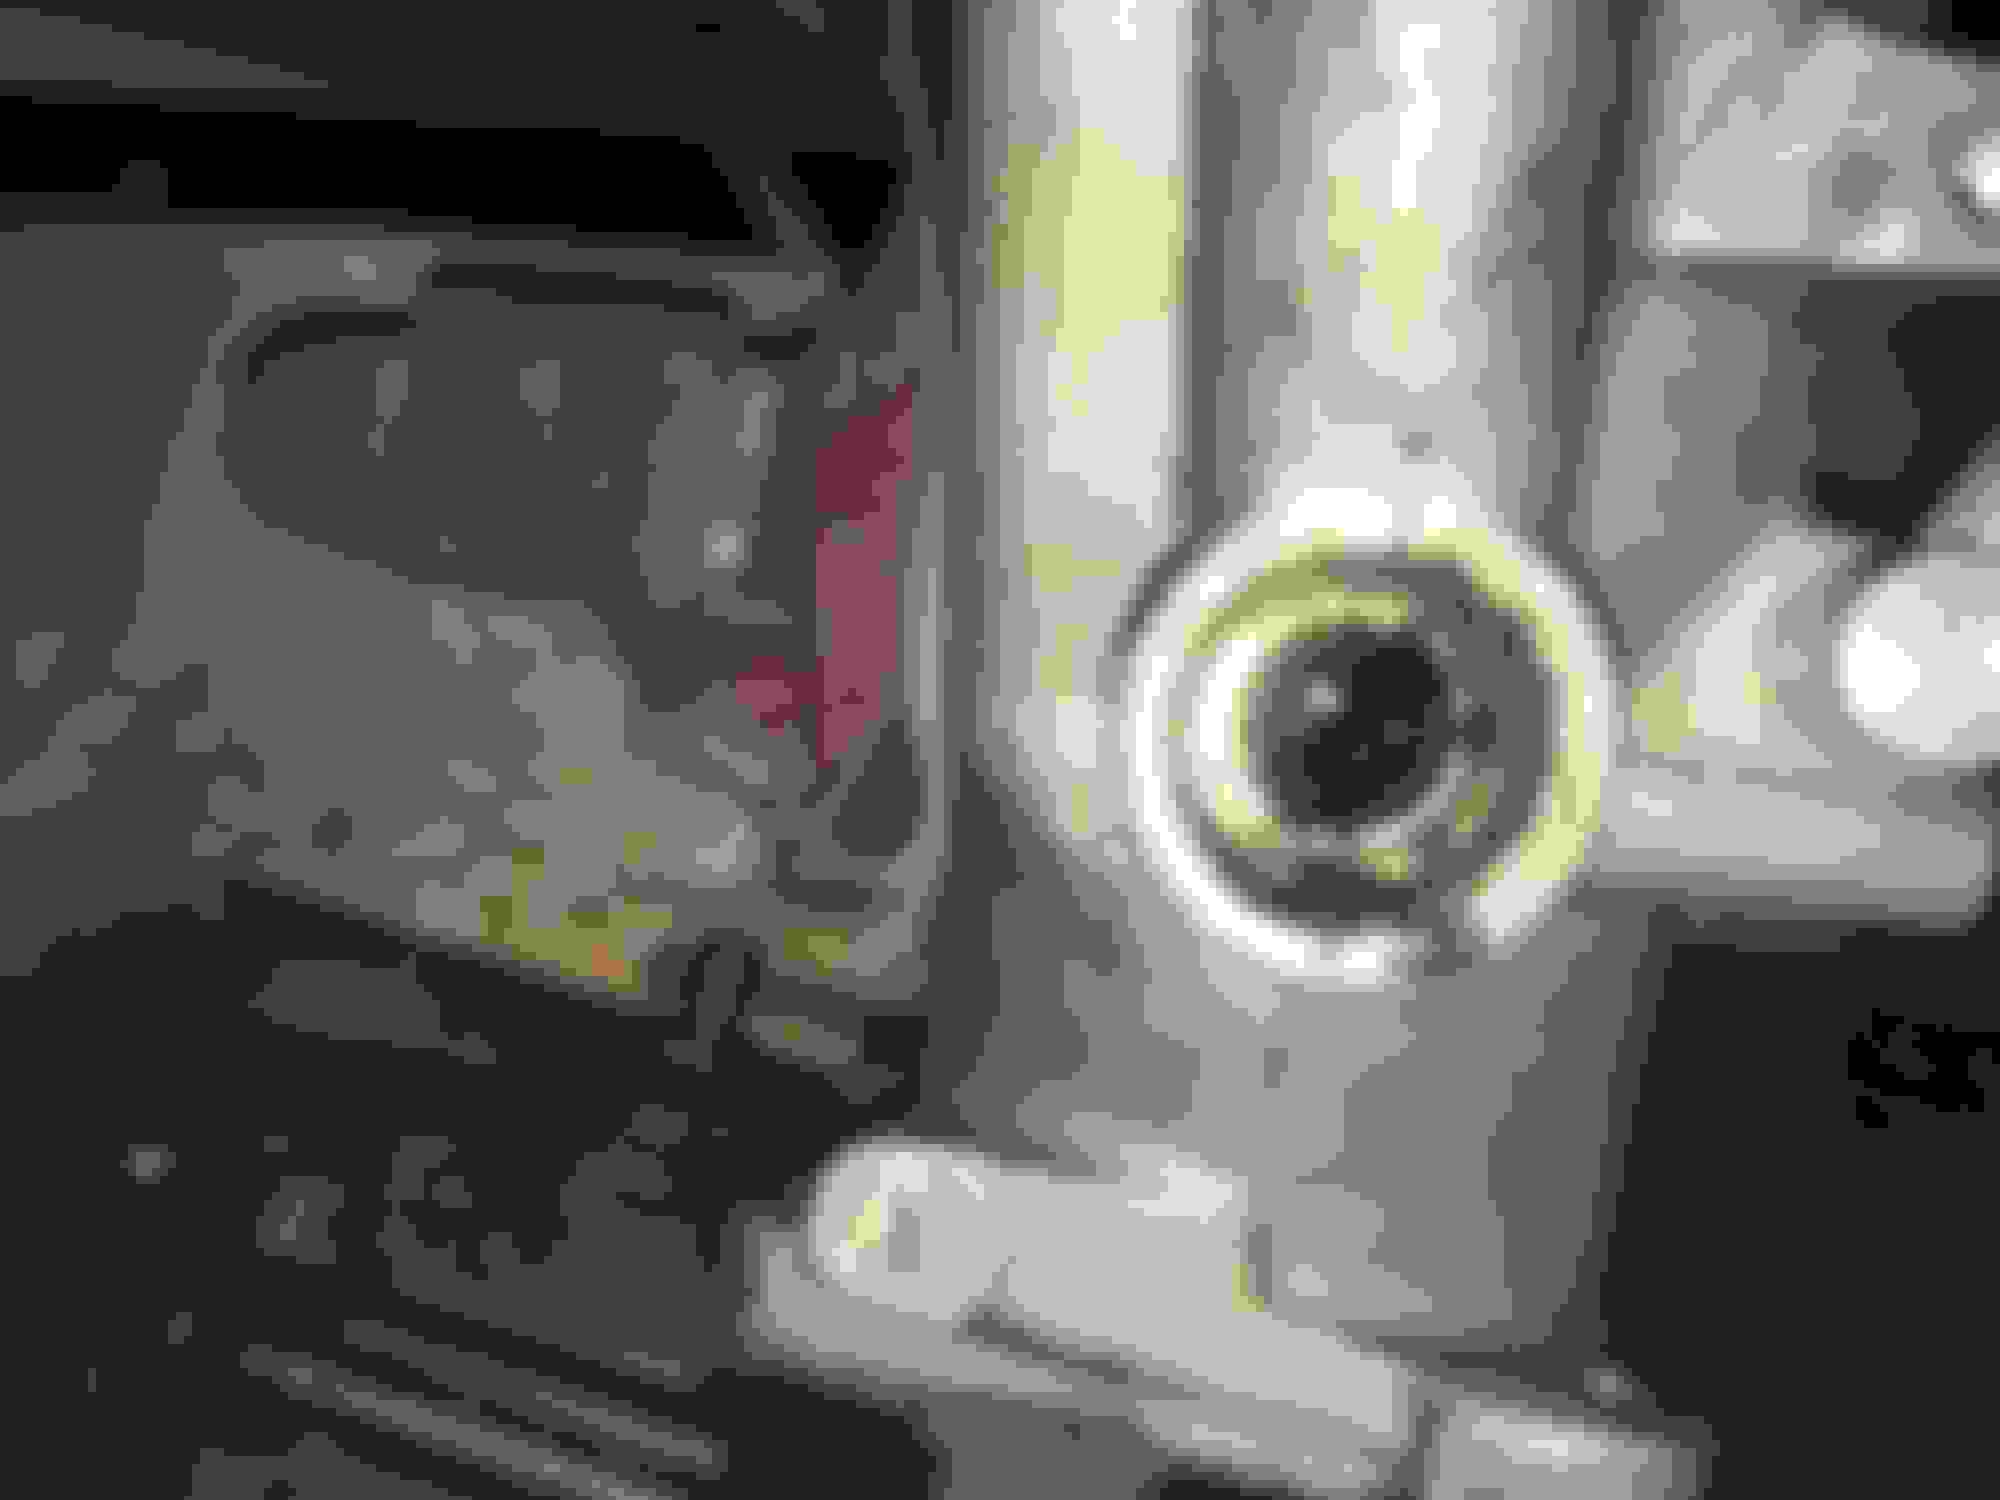
And then you need to look for all the freeze plugs on the "Y" intake manifold. Note that there is one small one near the EGR valve flange mounting area and one larger one further up on the side of the manifold. Here is one of them in up close near the EGR flange (aside, in this thread I am using a spare manifold that someone damaged taking out and reinstalling my EGR valve like a moron; always remove the EGR valve the way the TSRM tells you to):
To fully clean these passages, both need to be removed temporarily. The larger of the two freeze plugs it the MOST critical if you don't want to remove the smaller freeze plug but getting them both out allows for a straight path that your cleaning tool can get into to remove as much carbon as possible.
Try to be as kind to them as you can as re-using them (if they are still intact) is the best solution, however I have found aftermarket equivalent plugs that can be substituted if necessary since Toyota does not list any replacements in their parts catalog.
Tap them out like this:
Then you will probably see this inside it. Years of caked on carbon buildup clogging up the EGR passage:
Next, you'll need a can of CRC carb and choke cleaner but BEFORE that you will need a variable speed drill and a special flexing bit designed to clean EGR passages.
When I last did this job in 2016 I used one called "Snake Bit" by Automotive Specialty Tools that is 21" long but if that is not available there is another one on ebay called "S.U.R. & R Flexible EGR Drill Bit 21" EGR21. The "Snake Bit" was much cheaper than the prices I currently see for the "S.U.R." bit so I hope the former is still available somewhere for sale.
The key is you want the flexible shaft and the dull cutting head that is only going to get through carbon buildup rather than score up your aluminum passage.
Once you have cleared out as much of the carbon as possible using the flexible EGR cleaning bit then you can start spraying in the CRC carb and choke cleaner to get the rest of the gunk out of there.
This is not a perfect example (I did it all hastily for this DIY writeup) but the finished result should look a little better than this:
Then you'll need to replace the freeze plugs.
If you were able to be kind enough to your original manifold freeze plugs and keep from deforming them then you can just hammer them back into place. On reinstallation a small socket that matches the diameter of each is a good way to get them back in evenly and firmly without putting too much force on any one part of each plug's lip.
Barring that, after doing some caliper measurements in 2016 I came up with the following findings and alternatives to replacing these two freeze plugs which Toyota inconveniently does not stock in their replacement parts catalog for these engines:
FREEZE PLUG DIAMETER (measured on manifold with caliper gauge): 20.75mm
Ordered: Dorman 20mm BRASS plug (P/N: 565-101) but brass on aluminum is not a good idea. Plus this isn't a very good fit and I believe it may have a pinhole(?) for some reason which rules it out.
There is a Dorman 20mm steel plug (555-104) but probably a better fit is the Dorman 20.76mm steel plug (555-013). Or a steel freeze plug in 13/16ths which is the same masurement as 20.64mm.
It was recommended to me that a freeze plug should be sealed with something when tapping a new one into the manifold plug area.
Additional small plug area near EGR valve mating surface: 14.9mm (measured on manifold)
Ordered Dorman 14.80mm METAL plug (P/N: 555-114).
I am not sure if using a BRASS freeze plug on an ALUMINUM intake manifold is a good idea, since putting the two metals together is usually a recipe for causing corrosion. At least when dealing with radiators, radiator drain plugs and coolant. No coolant here, obviously but still it is better to source a STEEL plug like the factory one.
....
Again, IF you can be kind enough to your original freeze plugs for this manifold you should be able to reinstall them. This was possible for me when I did it. Being steel they are quite strong in addition to being the correct alloy to use against a raw aluminum surface.
When you have finished, it should look normal and sealed up again as if nothing was touched!
Reassembly is the reverse of the process! Just make sure to torque the manifold back in correctly (it's 15 or 20 ft-lbs I believe for those 10mm bolts-- have to re-check which figure is correct) and torque your EGR pipe back in correctly (47 ft-lbs) with a Crows Foot adapter. You can adjust for the torque setting correction with that crows foot using a calculator like this one:
This issue of a clogged "Y" intake plagued me incessantly when I once had to check, clean and replace EVERY part of my EGR system in order to eliminate a Code 71 in order to pass my required smog test (in California). The "Y" manifold was the very last part that I bothered to check. While I did need to replace some other EGR parts at the time it was this part of the system that I should have gotten right into cleaning FIRST.
I hope this writeup helps someone!
Last edited by KahnBB6; 12-14-19 at 01:31 PM.
Reason: Updated with link to related 2016 thread on the same subject.
 11-15-19, 05:21 PM