Makeover time!! GS400TT upgrade/build has begun (pic happy)


 07-14-08, 08:52 PM
#34
Lead Lap

Join Date: May 2002
Location: California
Posts: 445
Likes: 0
Received 0 Likes
on
0 Posts
 07-15-08, 05:34 AM
#37
This is AWESOME...flat out! Just FYI Mo from SRT (Swift Racing Technologies) got his GS400 running 12.7s (in 2001/2002?) in the 1/4 with his custom SRT TT setup. I'm sure you can replicate or do even better with the newer parts and technology of today! BTW I believe Mo was using street tires as well! Good Luck man and I know you can do it!
 07-19-08, 07:32 PM
#39
Lexus Test Driver
Thread Starter
Join Date: Mar 2001
Location: 808state
Posts: 1,393
Likes: 0
Received 0 Likes
on
0 Posts
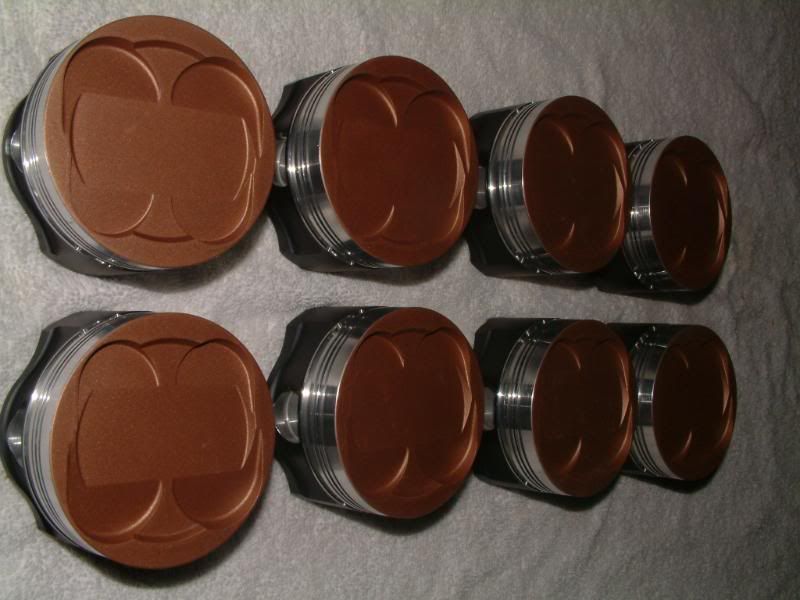
So things have been moving along relatively smoothly. I recently sent out the pistons to get antifriction coating to the skirt and a thermal dispersal coating to the dome/face. Embee performance did a fantastic job and the turnaround time was much quicker than expected.
this is the piston prior to coating

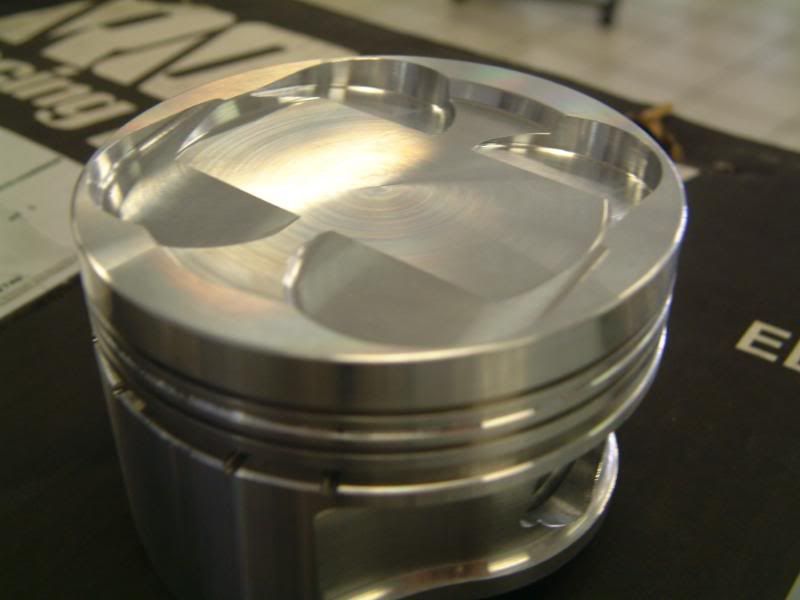
I really love the look of clean pistons. When I got back the set after getting the coatings placed, I was bummed .....................
because now I wished that the head was transparrent so I could see these babies at work.
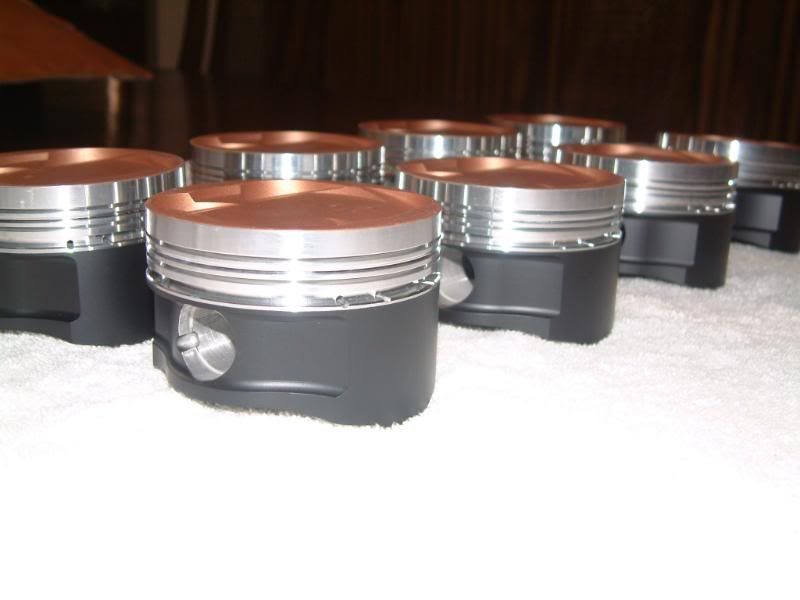
Here is the magic that was performed.
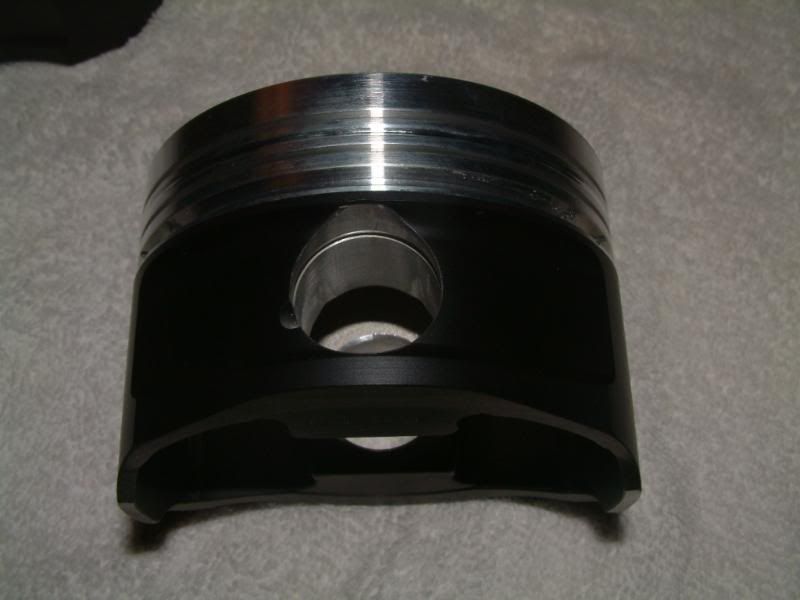
side skirt with antifriction coating
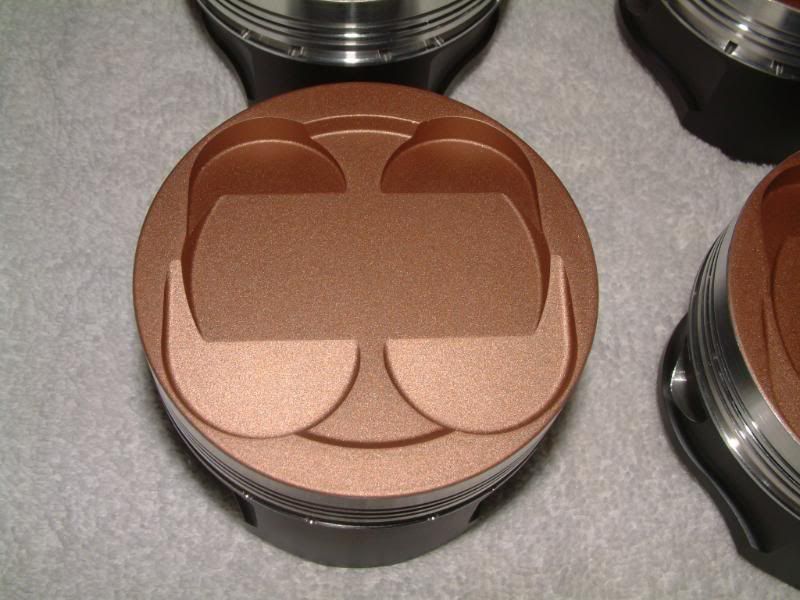
Top with thermal dispersal coating
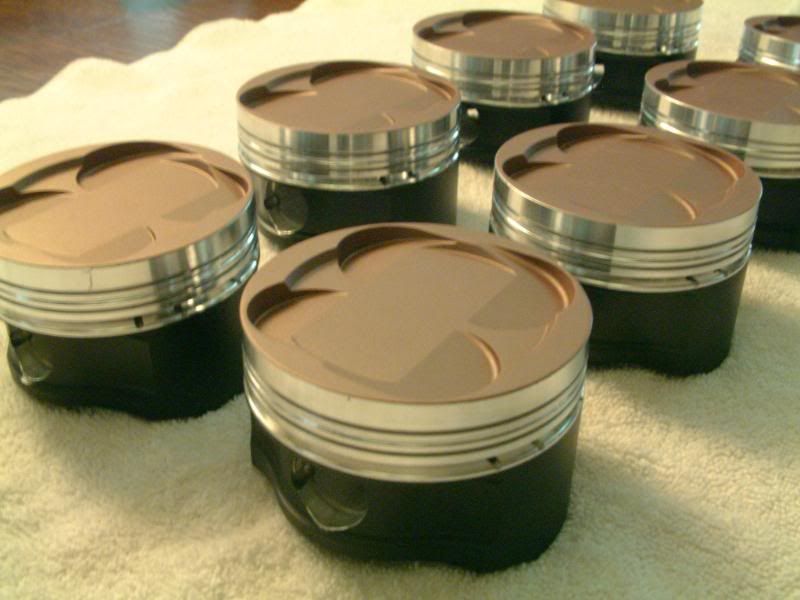
The work is excellent. I went with the coatings due to the fact that I can make the tolerances on the "tight" side without worrying about scuffing. I also have heard nothing but good things about these types of coatings from engine builders.
this is the piston prior to coating
I really love the look of clean pistons. When I got back the set after getting the coatings placed, I was bummed .....................
because now I wished that the head was transparrent so I could see these babies at work.
Here is the magic that was performed.
side skirt with antifriction coating
Top with thermal dispersal coating
The work is excellent. I went with the coatings due to the fact that I can make the tolerances on the "tight" side without worrying about scuffing. I also have heard nothing but good things about these types of coatings from engine builders.
07-19-08, 07:39 PM
#40
Lexus Test Driver
Thread Starter
Join Date: Mar 2001
Location: 808state
Posts: 1,393
Likes: 0
Received 0 Likes
on
0 Posts
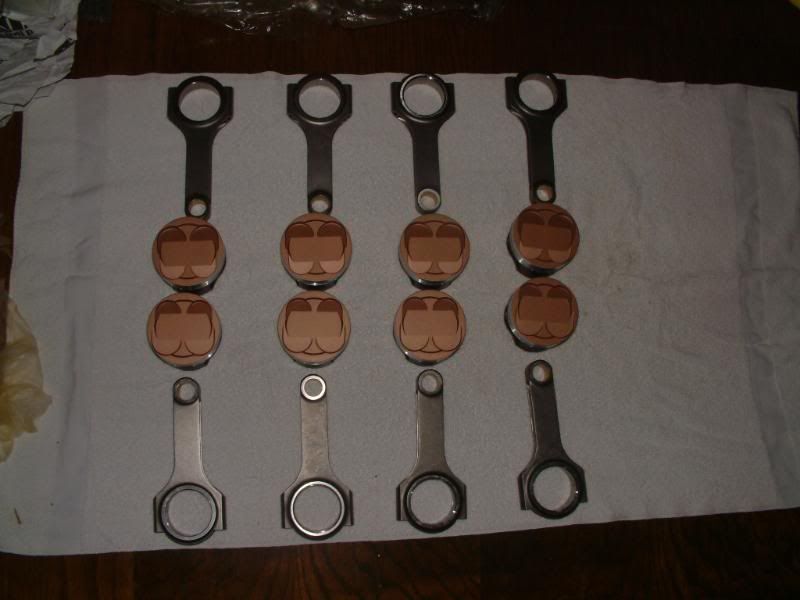
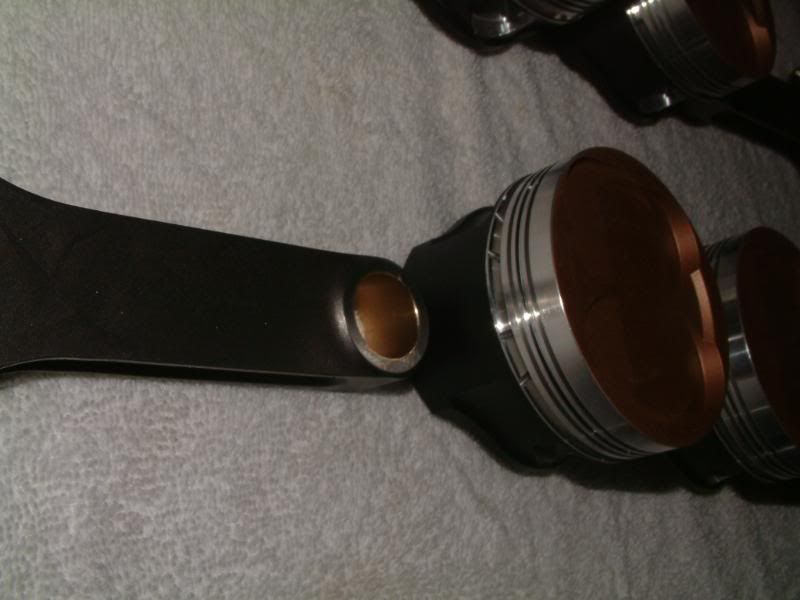
Now I had to make some type of formal introductions since the Pistons were gonna be mated for "life" with their partner "Rod" (Lextreme Lightning Rods)
so here are the eligible connectors
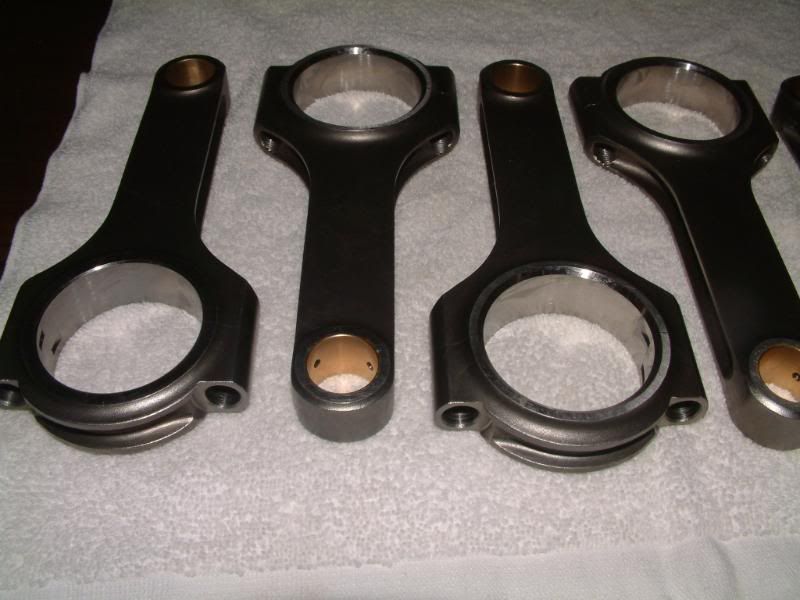
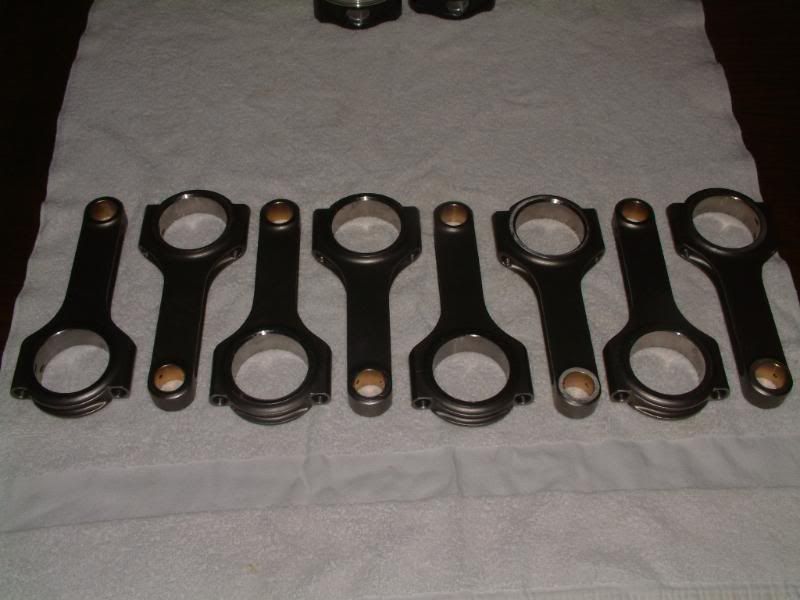
and the pistons
And initial pairings, final choices will be made at a later date.
this thread will be updated again shortly as I understand that another main part is on the way.....
Stay tuned. I am sure some of you guys are gonna love this one.
so here are the eligible connectors
and the pistons
And initial pairings, final choices will be made at a later date.
this thread will be updated again shortly as I understand that another main part is on the way.....
Stay tuned. I am sure some of you guys are gonna love this one.
Last edited by HI98GS; 07-30-08 at 12:58 PM.
 07-24-08, 01:44 AM
#43
Lexus Test Driver
Thread Starter
Join Date: Mar 2001
Location: 808state
Posts: 1,393
Likes: 0
Received 0 Likes
on
0 Posts
So as with any build, you can only really start when the final piece arrives.
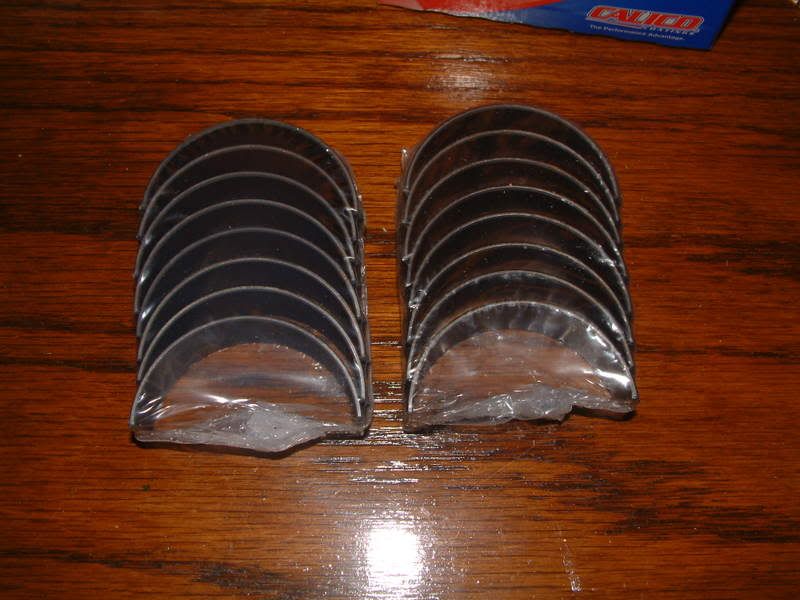
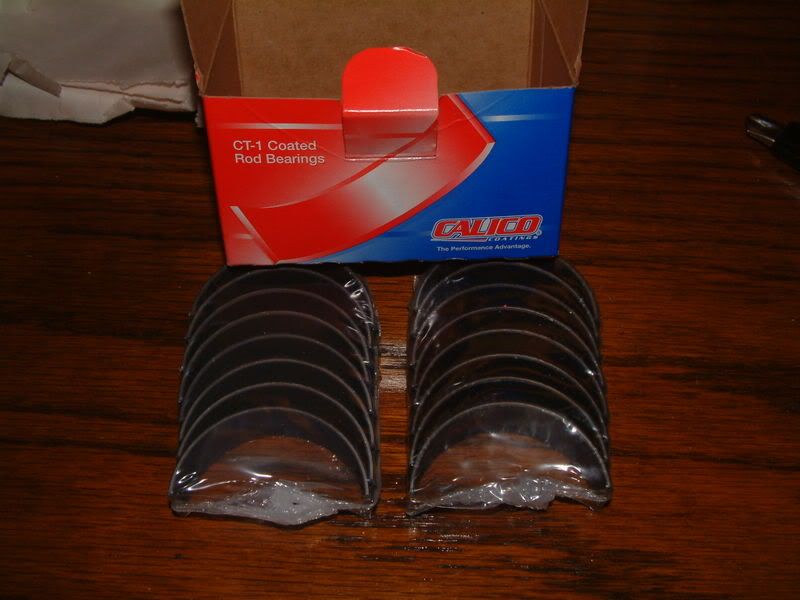
As most of you who have followed the thread have noted, I already have my bottom end pretty much covered. (no pun intended) LOL But the one thing that I wanted to make sure is that everything is slippery-smooth. So I got bearings that were coated to ensure the rods and mains were rotating as smoothly as possible. I entrusted Calico to supply the ACL coated bearings and thrust washers.
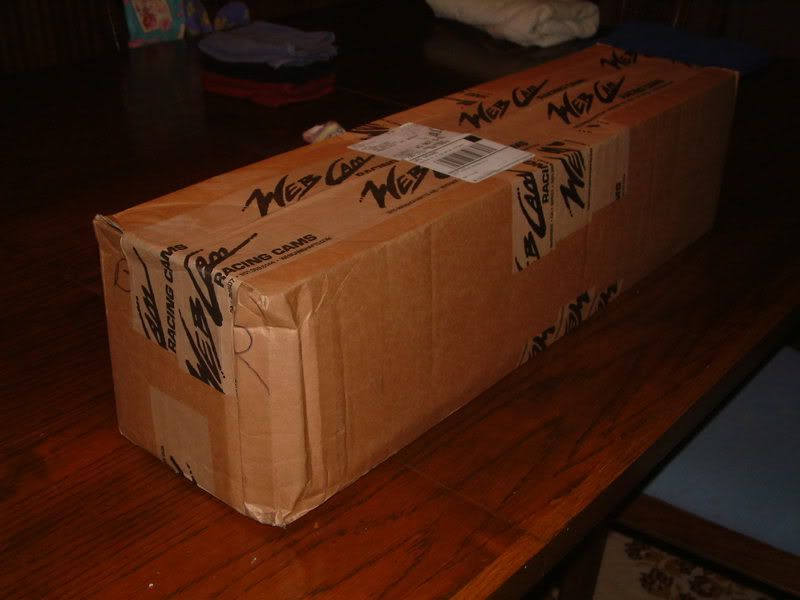
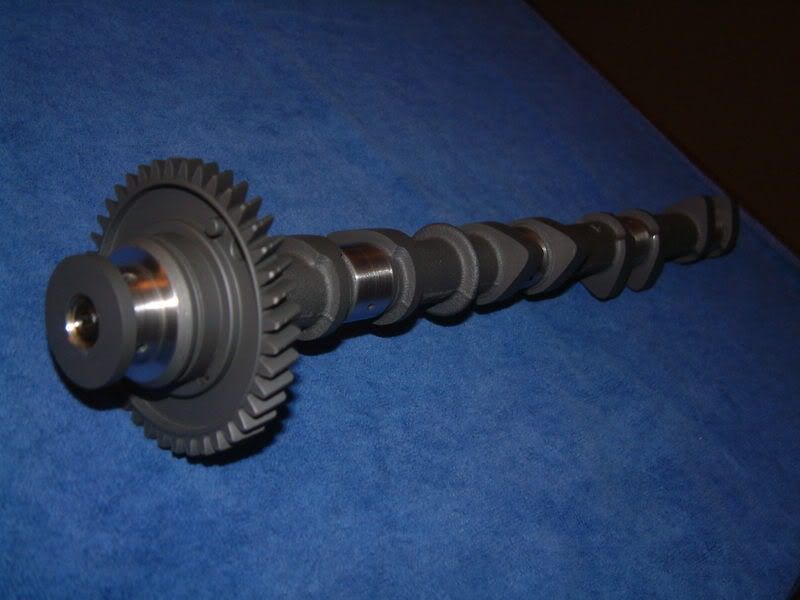
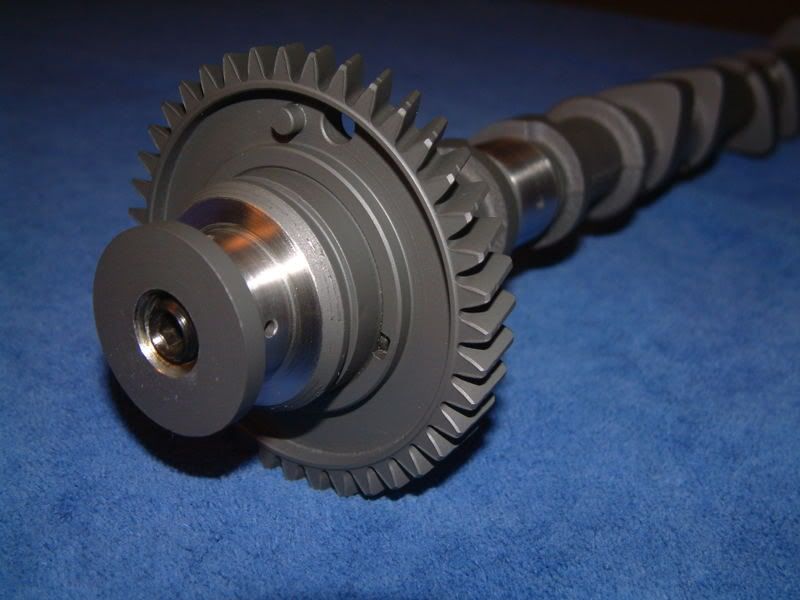
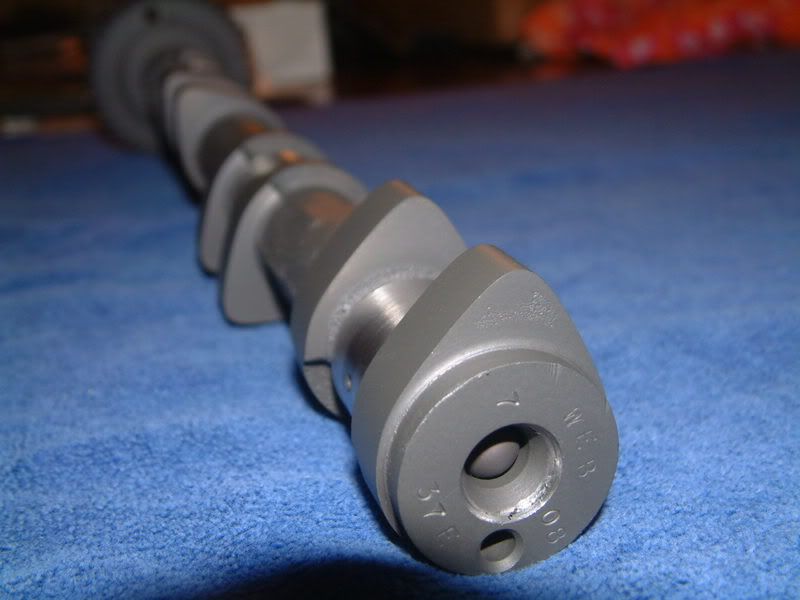
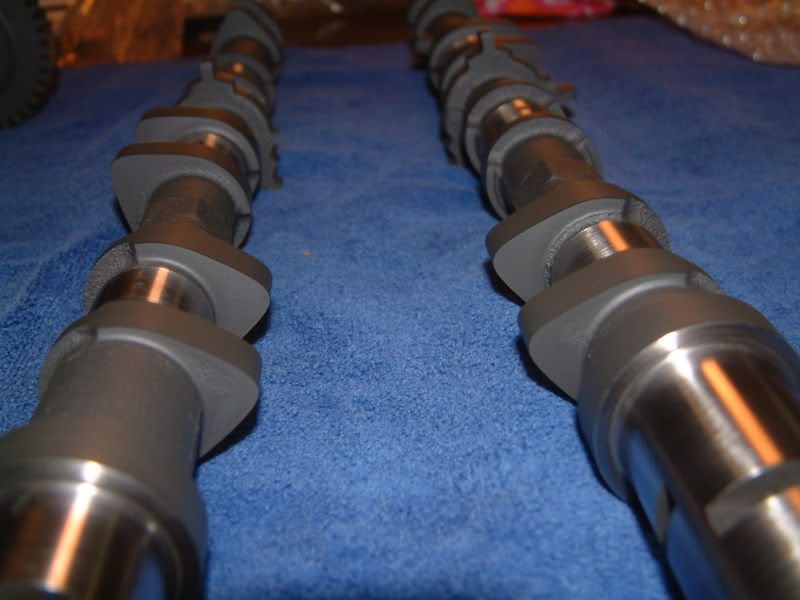
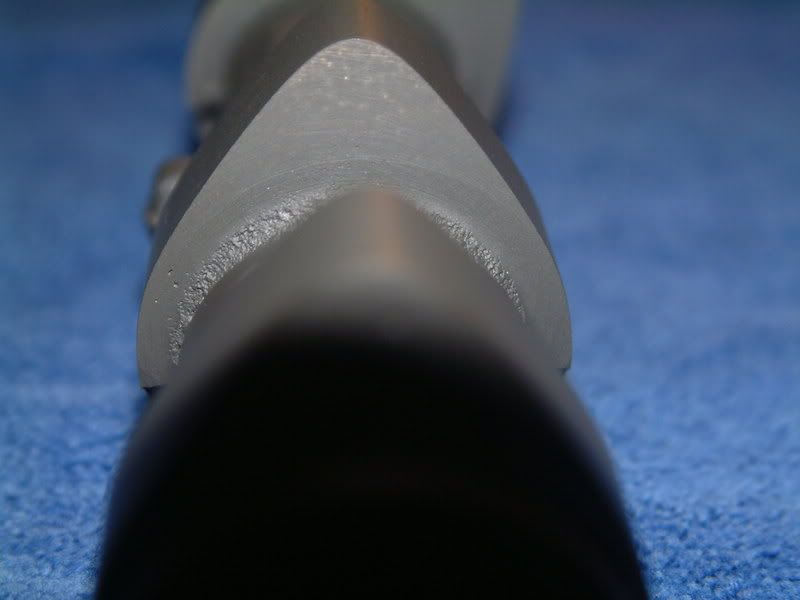
The valve train for the 1UZ is ok, but I wanted to make it more aggressive. So what could I do? With the assistance of Cowboy (Eric) at TTC performance, a set of cams were hardwelded by a well renowned cam specialists to new specs that benefit my turbo setup. I did need a set of core cams and this was purchased from Adesai8. Here is the final result of hardwelding and cleaning of the cams.
 [IMG]
[IMG]
http://i102.photobucket.com/albums/m86/hi98gs/Rebuild/DSCF5810.jpg[/IMG]
The block is currently at the machine shop and should be set to go soon. I'll post again when it gets done.
As most of you who have followed the thread have noted, I already have my bottom end pretty much covered. (no pun intended) LOL But the one thing that I wanted to make sure is that everything is slippery-smooth. So I got bearings that were coated to ensure the rods and mains were rotating as smoothly as possible. I entrusted Calico to supply the ACL coated bearings and thrust washers.
The valve train for the 1UZ is ok, but I wanted to make it more aggressive. So what could I do? With the assistance of Cowboy (Eric) at TTC performance, a set of cams were hardwelded by a well renowned cam specialists to new specs that benefit my turbo setup. I did need a set of core cams and this was purchased from Adesai8. Here is the final result of hardwelding and cleaning of the cams.
[IMG]http://i102.photobucket.com/albums/m86/hi98gs/Rebuild/DSCF5810.jpg[/IMG]
The block is currently at the machine shop and should be set to go soon. I'll post again when it gets done.
Last edited by HI98GS; 07-25-08 at 12:49 AM.