When you click on links to various merchants on this site and make a purchase, this can result in this site earning a commission. Affiliate programs and affiliations include, but are not limited to, the eBay Partner Network.
Alright ya'll, at the request of several members over months now I will try to detail a list of fittings used to DIY your oem fuel pump hanger. Keep in mind that you will have to ditch the oem filter to fit any physically larger pump, and the regulator if going to a full return system. I went with a Radium 10an external inline filter with adapters to 8an for my feed line. My hanger is installed and I don't wish to pull it unless necessary, so other than the pics in my build thread of the hanger, I will just be listing of the items needed and why. This isn't really a step by step, but just to give you an idea on what you might need to do the job. Most fittings came from eBay with only important items being name brand quality.
To start with, decide the size of feed and return lines you will run, and order all of your fittings accordingly. I will use an 8an feed and 6an return for this example.
First up is what's called "bulkhead fittings" and they look like this:
You need one in 8an for the pump to feed into and one in 6an for the return fuel to come back into the hanger. The reason this is what I used is that it's a "full flow" design without the sharp 90* turn of normal elbows to optimize flow. They are also nice because after you have your holes made, as you can see, they actually "bolt" into place with the nuts along with the washers/epoxy you will use. Some people just epoxy a straight fitting to the top, I wouldn't trust it not to crack over time. So bolt in is the way to go in my opinion.
Next up, some nylon washers and epoxy: They are known as sealing washers. They come in 8an, 6an, whatever size you want. I don't think I need to picture them. If you just search nylon washers 8an or whatever you will find them. I could only get them in packs of 10 each. But you need 2 in each size. These are to go in-between the nuts for the bulkhead fittings above to help get a good tight seal and soften the impact on the lid from the squishing force. You will also need JB or whatever brand you like "plastic weld" epoxy. You will want to go around the fittings both inside and out to seal the heck out of it. With the bulkhead style just being what it is with the nuts, plus the washers, and the epoxy you will have no trouble sealing the fittings. It's 3 steps just for sealing the top so fuel/vapor can't escape.
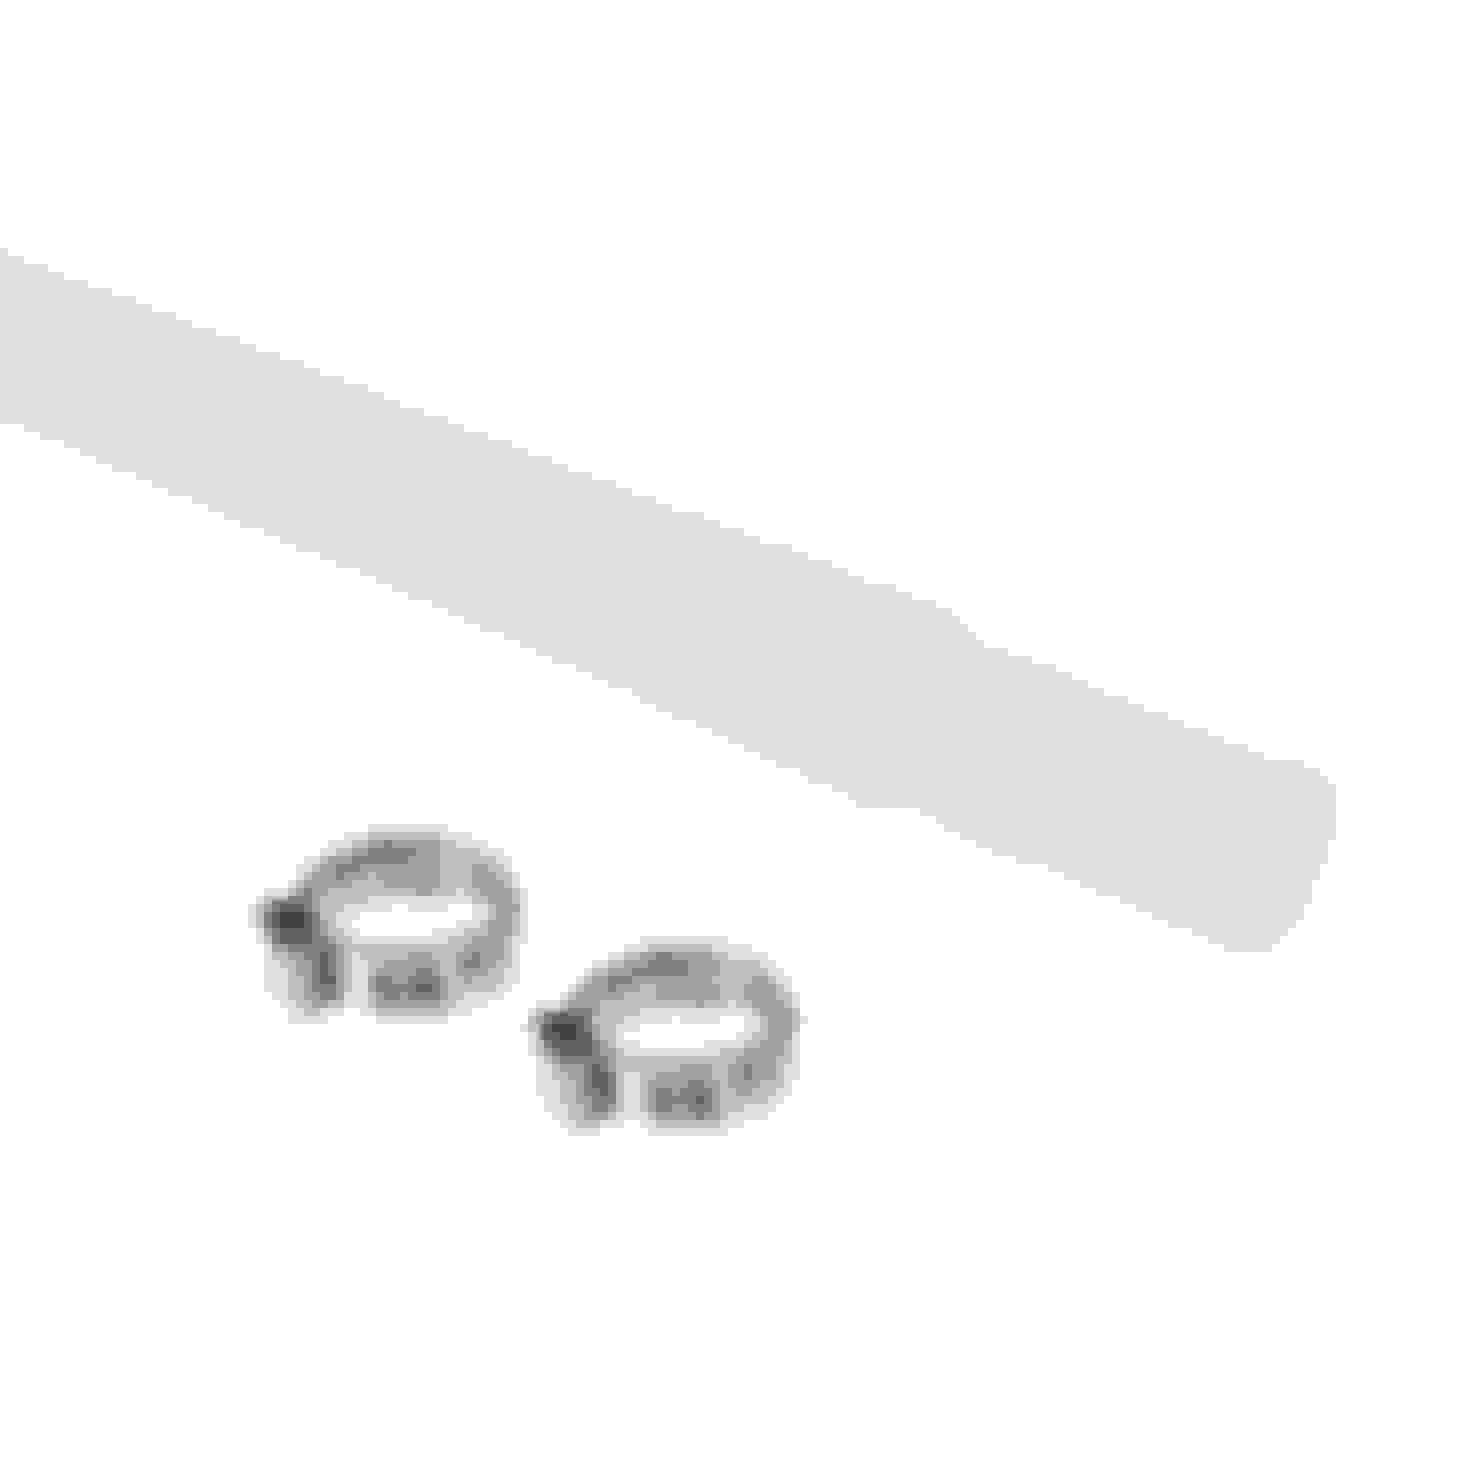
Next is the adapters for the pump to feed into and the return to go to. The one for the 8an fitting must reduce all the way down to the size of the pump's outlet size. Here is what they look like:
These will screw onto the bulkhead fittings pointing down into the hanger. One with an 8an female end, and one in 6an with 5/16" barbs for both. I determined this to be the appropriate size of of the pump outlet and jet valve connection.
Next you will need the corrugated PTFE flexible fuel hoses to rout the fuel. Your length will be determined by your setup. But here is what it looks like: The size I went with is 8mm for these lines. That is basically the same as 5/16. It just didn't seem to be sold in 5/16. So basically you will have to clamp these to the reducer fittings above. One hose for the pump to feed into the 8an one, and the one from the 6an goes to the jet valve where the old fuel pressure regulator use to attach. You need this so the jet valve still siphons fuel from the other side of the saddle tank, other wise the car runs out of fuel at 1/4th tank so I've read.
I used braided stainless steel lines with PTFE rated inner lining for the feed and return lines. I like the sets that have several fittings so you have ample choices as you run/cut lines where necessary. It can be something like this:
This is just one of many sets on eBay that come in whatever AN size. Just get an 8an line kit and a 6an line kit with the adapters shown so you can build your lines and have plenty of angle options as you go. Obviously one of these fittings are what I used to attach the lines to the bulkhead fittings on the hanger.
Other things needed are small hose clamps. I don't trust the crimp fit ones that come with the flex lines and didn't want to brake anything trying to get them tight enough. And I had to use some metal zip ties like you'd use for exhaust heat wrap to help secure the large pump inside the hanger. Just be resourceful. You do have to be savvy and handy with various tools to make all this work. Remember to plan the bulkhead fitting outlet direction before epoxying them into place. Test fit it etc. Always measure twice/cut one. It helps to get a special vice for AN fittings for making your lines. Making the lines themselves is a brutal task. Watch videos on youtube before attempting.
That being said feel free to ask any questions here and I'll do the best I can to answer how this and that works.
 02-17-21, 08:27 AM