Photo shop some wheels to my truck please!

 10-14-08, 03:09 PM
#2
Lexus Champion
Join Date: Feb 2007
Location: WA
Posts: 2,910
Likes: 0
Received 0 Likes
on
0 Posts

 10-15-08, 07:58 AM
#4
Can you give me some tips on how to do this myself? I have photoshop and was able to use the lasso tool on it but I couldn't figure out how to shrink it then move it?
I tried transform selection but it didn't shrink or copy and paste.
Thanks,
Ken
I tried transform selection but it didn't shrink or copy and paste.
Thanks,
Ken
Last edited by kphu; 10-15-08 at 08:04 AM.
10-15-08, 09:35 AM
#5

1. You can use the magnetic lasso or the elliptical marquee tool to trace around the rim.
2. Once you have the rim outlined, right-click on it and click on layer via copy.
3. Click on the move tool and drag it to the rim of the car.
4. Once you've did that, click on edit > free transform or ctrl+t.
5. Finally, just drag the handles to make it to size. And move around so it would look centered and voila, you have a PS rim.
Oh btw, to make a copy of it for the front or rear rim, on the right side you'll see your background and layers. Just right-click on the rim layer that you just modified and click on duplicate layer and repeat steps 3-5.
10-15-08, 09:37 AM
#6

Ken, you may not have noticed, there's a sticky post at the top of the forum with links to Photoshop resources. There are tutorials available specifically for the various car Photoshop mods that people do, like changing wheels. Check em out 
Quick answer on resizing - After you copy and paste your selection into your target picture, it's an individual layer. Ctrl + T allows you to transform that layer (scale, x/y, rotation). You can mouse it or use the numeric entry at the top of the screen. If you mouse it, holding the Shift key while scaling constrains the proportions.
Quick answer on resizing - After you copy and paste your selection into your target picture, it's an individual layer. Ctrl + T allows you to transform that layer (scale, x/y, rotation). You can mouse it or use the numeric entry at the top of the screen. If you mouse it, holding the Shift key while scaling constrains the proportions.
10-15-08, 10:27 AM
#7
Thanks for the tip guys. I figured out how to make a layer with just the rim but still unable to figure out how to shrink it. I'll try the free transform.
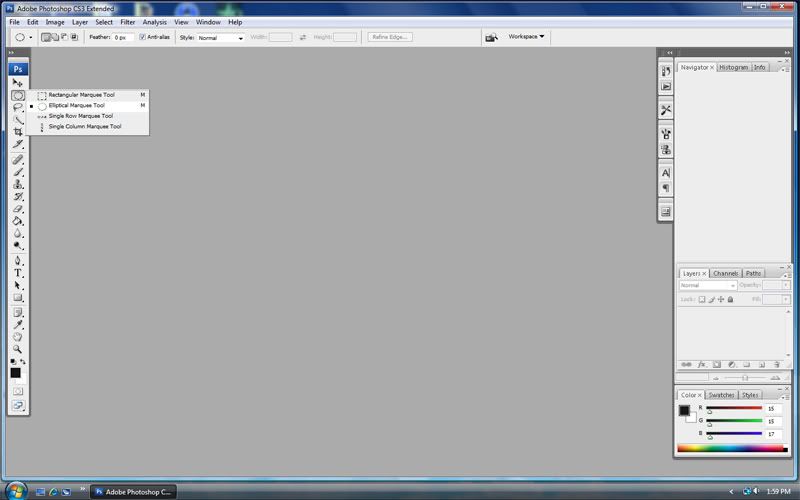
yeah I did noticed th sticky post and went through it. Some of them were links to books and not necessarily free tutorials. There was one really good one but tutorial say to use the elliptical marquee...no clue where to find that so i gave up after 40 mins of searching and just played around using the magnetic lasso.
yeah I did noticed th sticky post and went through it. Some of them were links to books and not necessarily free tutorials. There was one really good one but tutorial say to use the elliptical marquee...no clue where to find that so i gave up after 40 mins of searching and just played around using the magnetic lasso.
Trending Topics
10-15-08, 10:57 AM
#8
Thanks for the tip guys. I figured out how to make a layer with just the rim but still unable to figure out how to shrink it. I'll try the free transform.
yeah I did noticed th sticky post and went through it. Some of them were links to books and not necessarily free tutorials. There was one really good one but tutorial say to use the elliptical marquee...no clue where to find that so i gave up after 40 mins of searching and just played around using the magnetic lasso.
yeah I did noticed th sticky post and went through it. Some of them were links to books and not necessarily free tutorials. There was one really good one but tutorial say to use the elliptical marquee...no clue where to find that so i gave up after 40 mins of searching and just played around using the magnetic lasso.
Two tips for that Shift + drag holds the selection as round and Alt + drag starts from the center. Both useful. Shift + Alt + drag holds round and starts from the center.
 10-15-08, 01:08 PM
#10
Lexus Champion
Join Date: Feb 2007
Location: WA
Posts: 2,910
Likes: 0
Received 0 Likes
on
0 Posts
wow..cs3 looks nice! haha..i just have v7
 How would you change the color of something say like a car as in the picture?
10-22-08, 08:59 AM
How would you change the color of something say like a car as in the picture?
10-22-08, 08:59 AM
#13
That particular picture was problematic because it had very uneven lighting and overexposed areas, so it was more involved than the generic task of changing the color of something. That aside, there are multiple ways to do a number of tasks in Photoshop. One person might take one route while someone else takes another. I think that learning this calls for experimentation and learning the tools, not specific tasks.
Simplifying the steps, what I did was use a combination of the wand and lasso selection tools to create a layer (copy + paste) that contained the white painted areas of the car.
I then used a combination of the Color Balance (Image > Adjustments > Color Balance -or- Ctrl + B), Curves (Image > Adjustments > Curves -or- Ctrl + M), and Hue/Saturation (Image > Adjustments > Hue/Stauration -or- Ctrl + U) to re-color that layer.
Color Balance allows control over individual color values (with your targets being Red-Green-Blue values) for shadows, midtones, and highlights. Curves allows control and repositioning of levels (for this task, mostly to affect contrast - relative dark/light/saturation levels). I sometimes use the Hue/Saturation dialog for fine tuning.
I suggest experimenting with these controls and learning how they affect image parameters. An example you'll find is that Color Balance doesn't change the appearance of pure white or pure black. That's why I mentioned that particular SC was problematic and called for other steps.
10-22-08, 01:11 PM
#15
Good stuff. I played around with your tips and I can see why the bright spots causes problems. Obviously I'm not done but i get what your talking about.
Thanks a bunch. Sorry for the crappy pic. Originally the file was too large to post and I saved it over with a lower setting.
Thanks a bunch. Sorry for the crappy pic. Originally the file was too large to post and I saved it over with a lower setting.
Last edited by kphu; 10-22-08 at 01:19 PM.