When you click on links to various merchants on this site and make a purchase, this can result in this site earning a commission. Affiliate programs and affiliations include, but are not limited to, the eBay Partner Network.
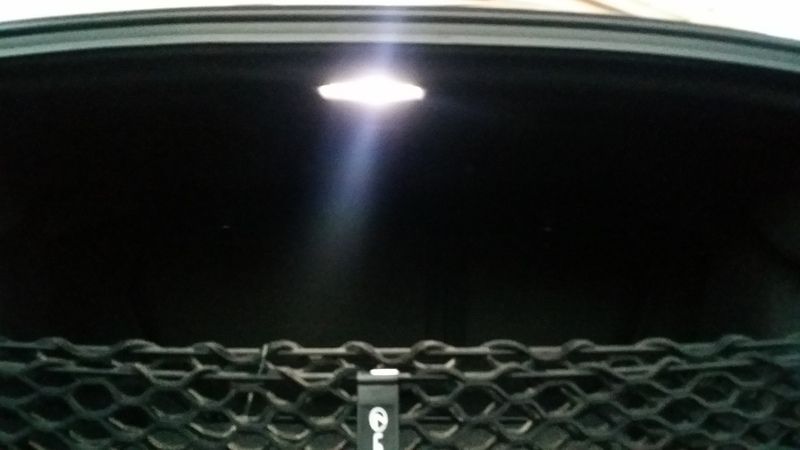
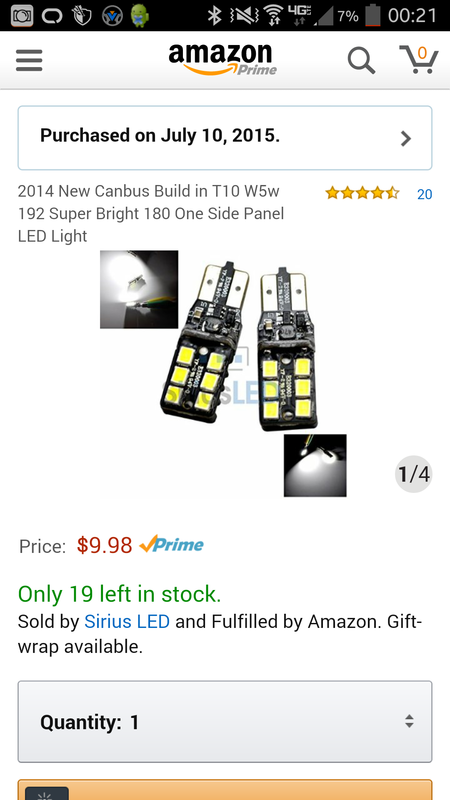
OK, here is the install pics. The first one is the before with the 194 bulb with 5 Led. The second is the one from iJDMToy, and there is a huge difference. I like it.
OK, here is the install pics. The first one is the before with the 194 bulb with 5 Led. The second is the one from iJDMToy, and there is a huge difference. I like it.
When you install yours look for how it is fitting, as it looks like it can go in either way, but only one way fits the best. Also be careful of the tab as it is a bit soft and can be broken off easily. Came close, but it was OK
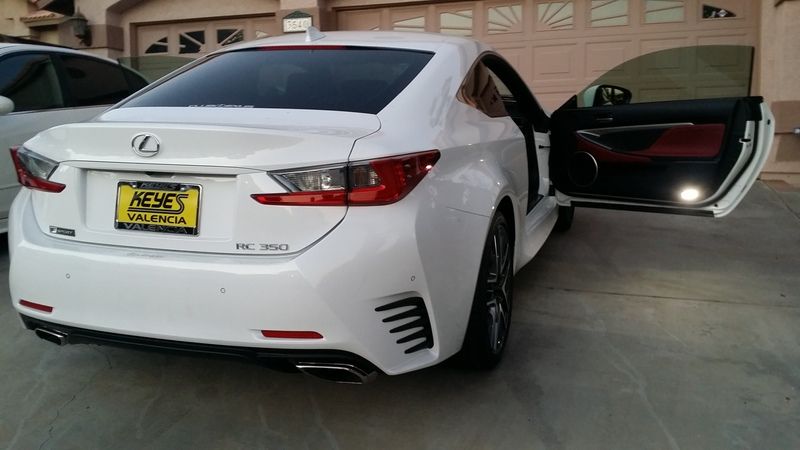
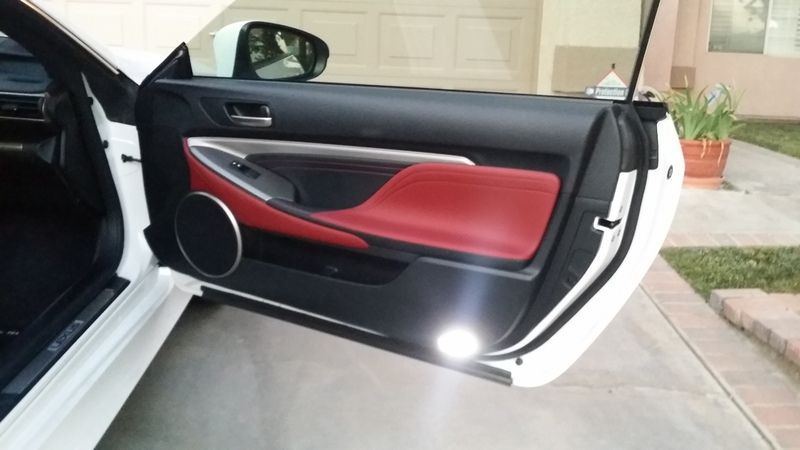
Installed the GF's door lamps today and ordered a super sweet 6 led Canbus T10 bulb for the trunk that face downward and whoa! Super bright! It looks amazing!!! The stock bulb and the led bulb I had in there previous were weak sauce. I highly recommend this if you want to brighten up your trunk! Oh and we got her windows tinted today. Went 70% in front and 18% rear ceramic tint. Love it. Were not into the dark side window look. Personal preference.
<a href="http://s42.photobucket.com/user/buffalicious/media/20150714_201718_zpsw44v7ddh.jpg.html" target="_blank"><img src="http://i42.photobucket.com/albums/e336/buffalicious/20150714_201718_zpsw44v7ddh.jpg" border="0" alt=" photo 20150714_201718_zpsw44v7ddh.jpg"/></a>
<a href="http://s42.photobucket.com/user/buffalicious/media/20150714_201725_zps3hxsaa2w.jpg.html" target="_blank"><img src="http://i42.photobucket.com/albums/e336/buffalicious/20150714_201725_zps3hxsaa2w.jpg" border="0" alt=" photo 20150714_201725_zps3hxsaa2w.jpg"/></a>
<a href="http://s42.photobucket.com/user/buffalicious/media/20150714_201631_zpscwioi3kh.jpg.html" target="_blank"><img src="http://i42.photobucket.com/albums/e336/buffalicious/20150714_201631_zpscwioi3kh.jpg" border="0" alt=" photo 20150714_201631_zpscwioi3kh.jpg"/></a>
<a href="http://s42.photobucket.com/user/buffalicious/media/20150714_201638_zpszbtonoor.jpg.html" target="_blank"><img src="http://i42.photobucket.com/albums/e336/buffalicious/20150714_201638_zpszbtonoor.jpg" border="0" alt=" photo 20150714_201638_zpszbtonoor.jpg"/></a> <a href="http://s42.photobucket.com/user/buffalicious/media/Screenshot_2015-07-15-00-21-54_zpsilavkrv6.png.html" target="_blank"><img src="http://i42.photobucket.com/albums/e336/buffalicious/Screenshot_2015-07-15-00-21-54_zpsilavkrv6.png" border="0" alt=" photo Screenshot_2015-07-15-00-21-54_zpsilavkrv6.png"/></a>
So I was looking at the door panel courtesy lights ... How the he** to you pop out the housing without marking the door panel? The hard plastic on the panel gives little wiggle room to work. Also, what is the best way to open the housing from the trunk light without damaging? Thanks!
So I was looking at the door panel courtesy lights ... How the he** to you pop out the housing without marking the door panel? The hard plastic on the panel gives little wiggle room to work. Also, what is the best way to open the housing from the trunk light without damaging? Thanks!
Get something very skinny and pointy underneath the light. I actually used a panel popper tool specially designed for taking door panels off etc, back when I used to install car audio. A slim flat head screw driver would work just be careful to not mark up your panel. Since its on the bottom side though, not noticeable if you do. The trunk, I went from the right side and dug my tool and popped it down. Its just clips on the sides. Goes in left to right so pop the right side out first.
Get something very skinny and pointy underneath the light. I actually used a panel popper tool specially designed for taking door panels off etc, back when I used to install car audio. A slim flat head screw driver would work just be careful to not mark up your panel. Since its on the bottom side though, not noticeable if you do. The trunk, I went from the right side and dug my tool and popped it down. Its just clips on the sides. Goes in left to right so pop the right side out first.
The best place to remove the door courtesy lights is from the side of each one since that is where the tabs are. I used a plastic pry bar that you can get in a set at Harbor Freight or any auto parts store. Just be sure to use the one that has the thinnest blade as there isn't much room to get it in there.
The interior trim panel plastic pry bars that I got from Harbor Freight worked. I used the one that has a small edge, the second from the left in the link below worked great.
The interior trim panel plastic pry bars that I got from Harbor Freight worked. I used the one that has a small edge, the second from the left in the link below worked great.
Installed the GF's door lamps today and ordered a super sweet 6 led Canbus T10 bulb for the trunk that face downward and whoa! Super bright! It looks amazing!!! The stock bulb and the led bulb I had in there previous were weak sauce. I highly recommend this if you want to brighten up your trunk! Oh and we got her windows tinted today. Went 70% in front and 18% rear ceramic tint. Love it. Were not into the dark side window look. Personal preference.
Is the trunk light assembly the same as the door courtesy lights? Would you use the same one-sided LED bulb for the courtesy lights too?
 07-14-15, 06:14 AM


 Now I have to get something else. The trunk light looks so much better, and I just ordered a set for me.