RC350 F Sport Front Bumper Removal DIY
#1
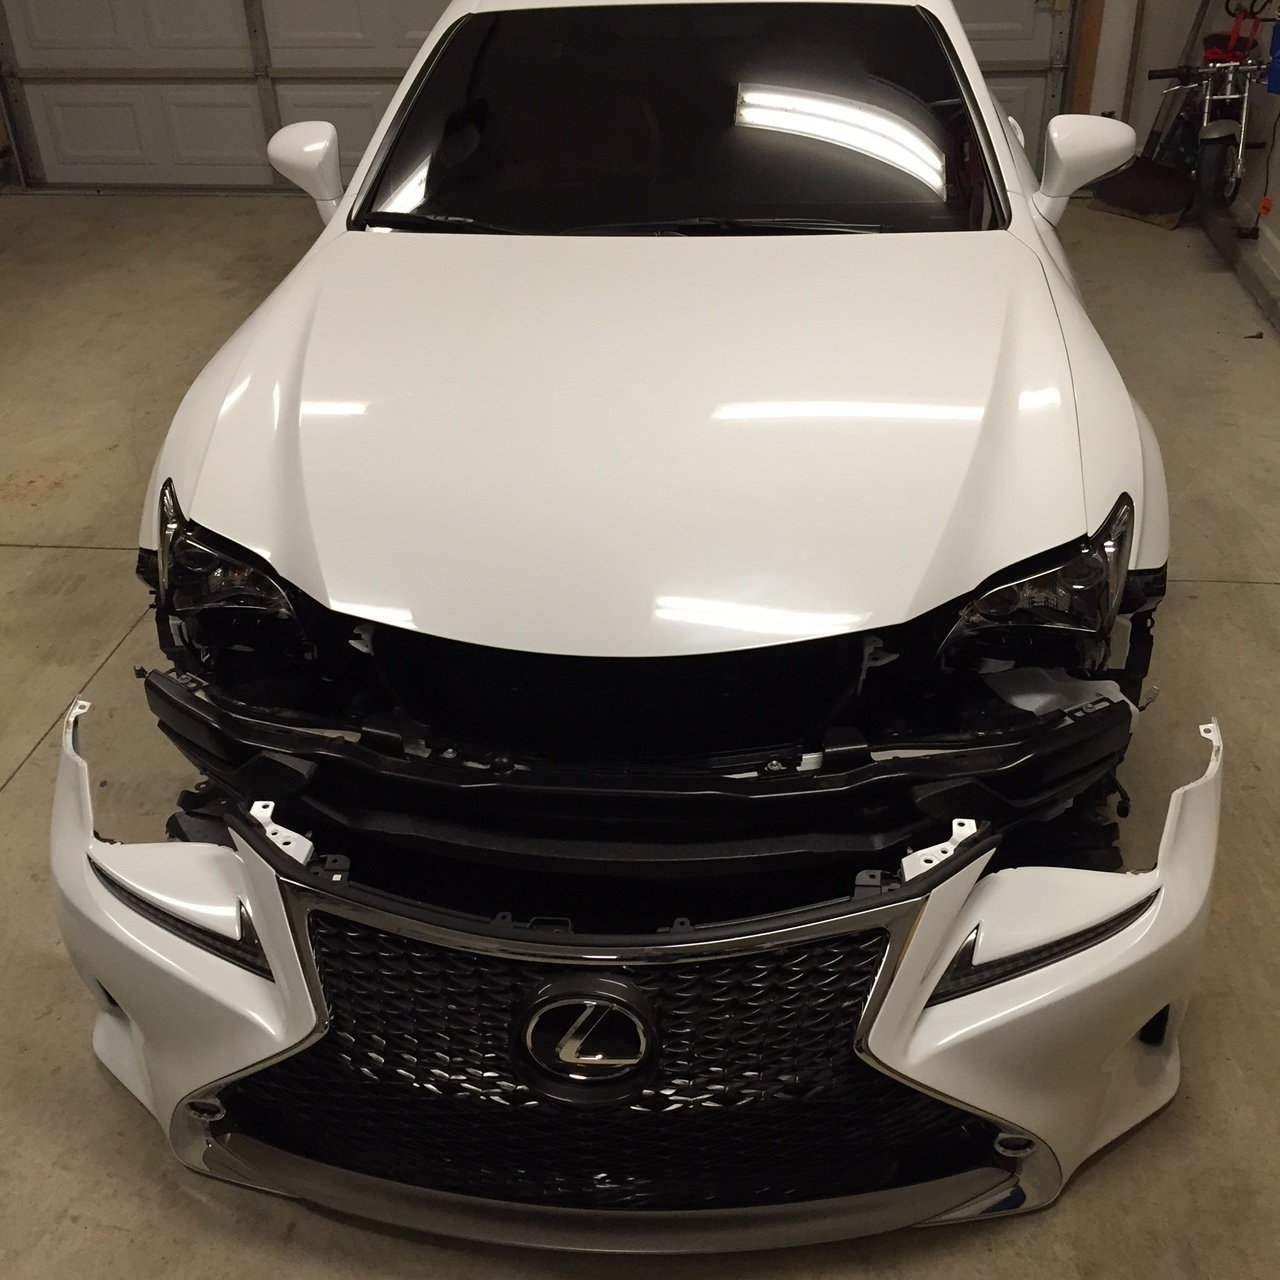
**** Quick write up, didn't spell check or grammatically check anything, not held liable for you screwing up using these instructions ****
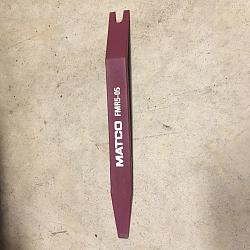
First of all, own this tool or similar plastic trim pry tool so you do not scratch your bumper when working with the push pins
Step 0: Pop hood and remove engine bay plastic coverings by pushing down on center of push pins, once all push pins are pushed in the center you can pull up on the panel (retaining all of the push pins together)
Step 1: On front bumper under hood, locate 6x push pins and 3x 10mm bolts and remove
Step 2: Remove 8x 10mm screws from bottom of bumper to under tray
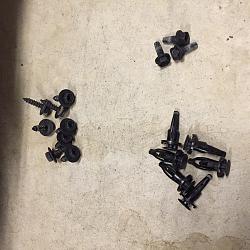
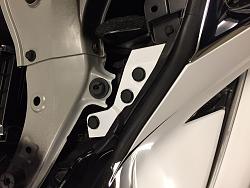

Step 3: Move to the fender to bumper connection, I prefer to rotate the steering wheel to full lock while working on each fender to bumper location to give ample room. The inner fender liner is held in with these 5 fasteners along with two of these attached tabs. The tabs require you to pry the center section out and then you can feel the bumper is released. Then remove the additional fasteners. The last push pin requires you to pull back the fender liner to access, it goes vertical from bumper to fender.
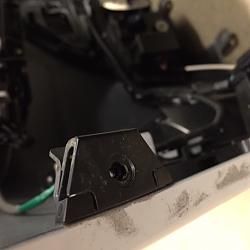
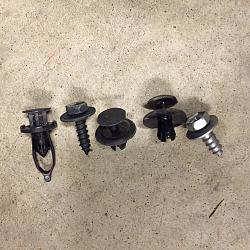
Step 4: Disconnect wiring harnesses located behind the fender liner on each side for fogs and for DRL lights, also reach down through behind the radiator and unplug the parktronic sensors if equipped
Step 5: In preparation for final removal, put some easy peel painters tape on the fender and lower portion of the headlights to prevent scratching once the bumper cover becomes free.
The bumper now should be ready to pull free, but it will still feel pretty secure so take your time and make sure you didn't miss any clip or screw. If you feel resistance, stop and double check before damaging anything. Around the bottom of the headlights are black bumper holders mounted, 3 small tabs on the painted bumper cover clip into these holders pictured below:
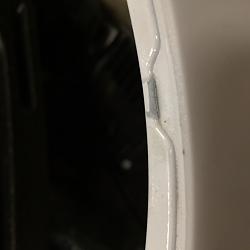
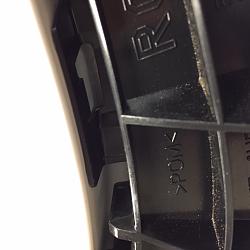
These little tabs are very easy to damage. My recommendation is to insert the plastic pry tool and gently persuade the tab free from its holder while you stick your hand through the fender liner to help push outward on the bumper cover.
Pull each corner of bumper free from fender and headlight bumper holders. Once both sides of the bumper cover are free from connection at fender, the whole assembly should be able to slide forward. Double check all wiring harnesses are disconnected and pull free from vehicle.
Last edited by shocker2; 06-08-16 at 06:02 AM.
Thread
Thread Starter
Forum
Replies
Last Post


