When you click on links to various merchants on this site and make a purchase, this can result in this site earning a commission. Affiliate programs and affiliations include, but are not limited to, the eBay Partner Network.
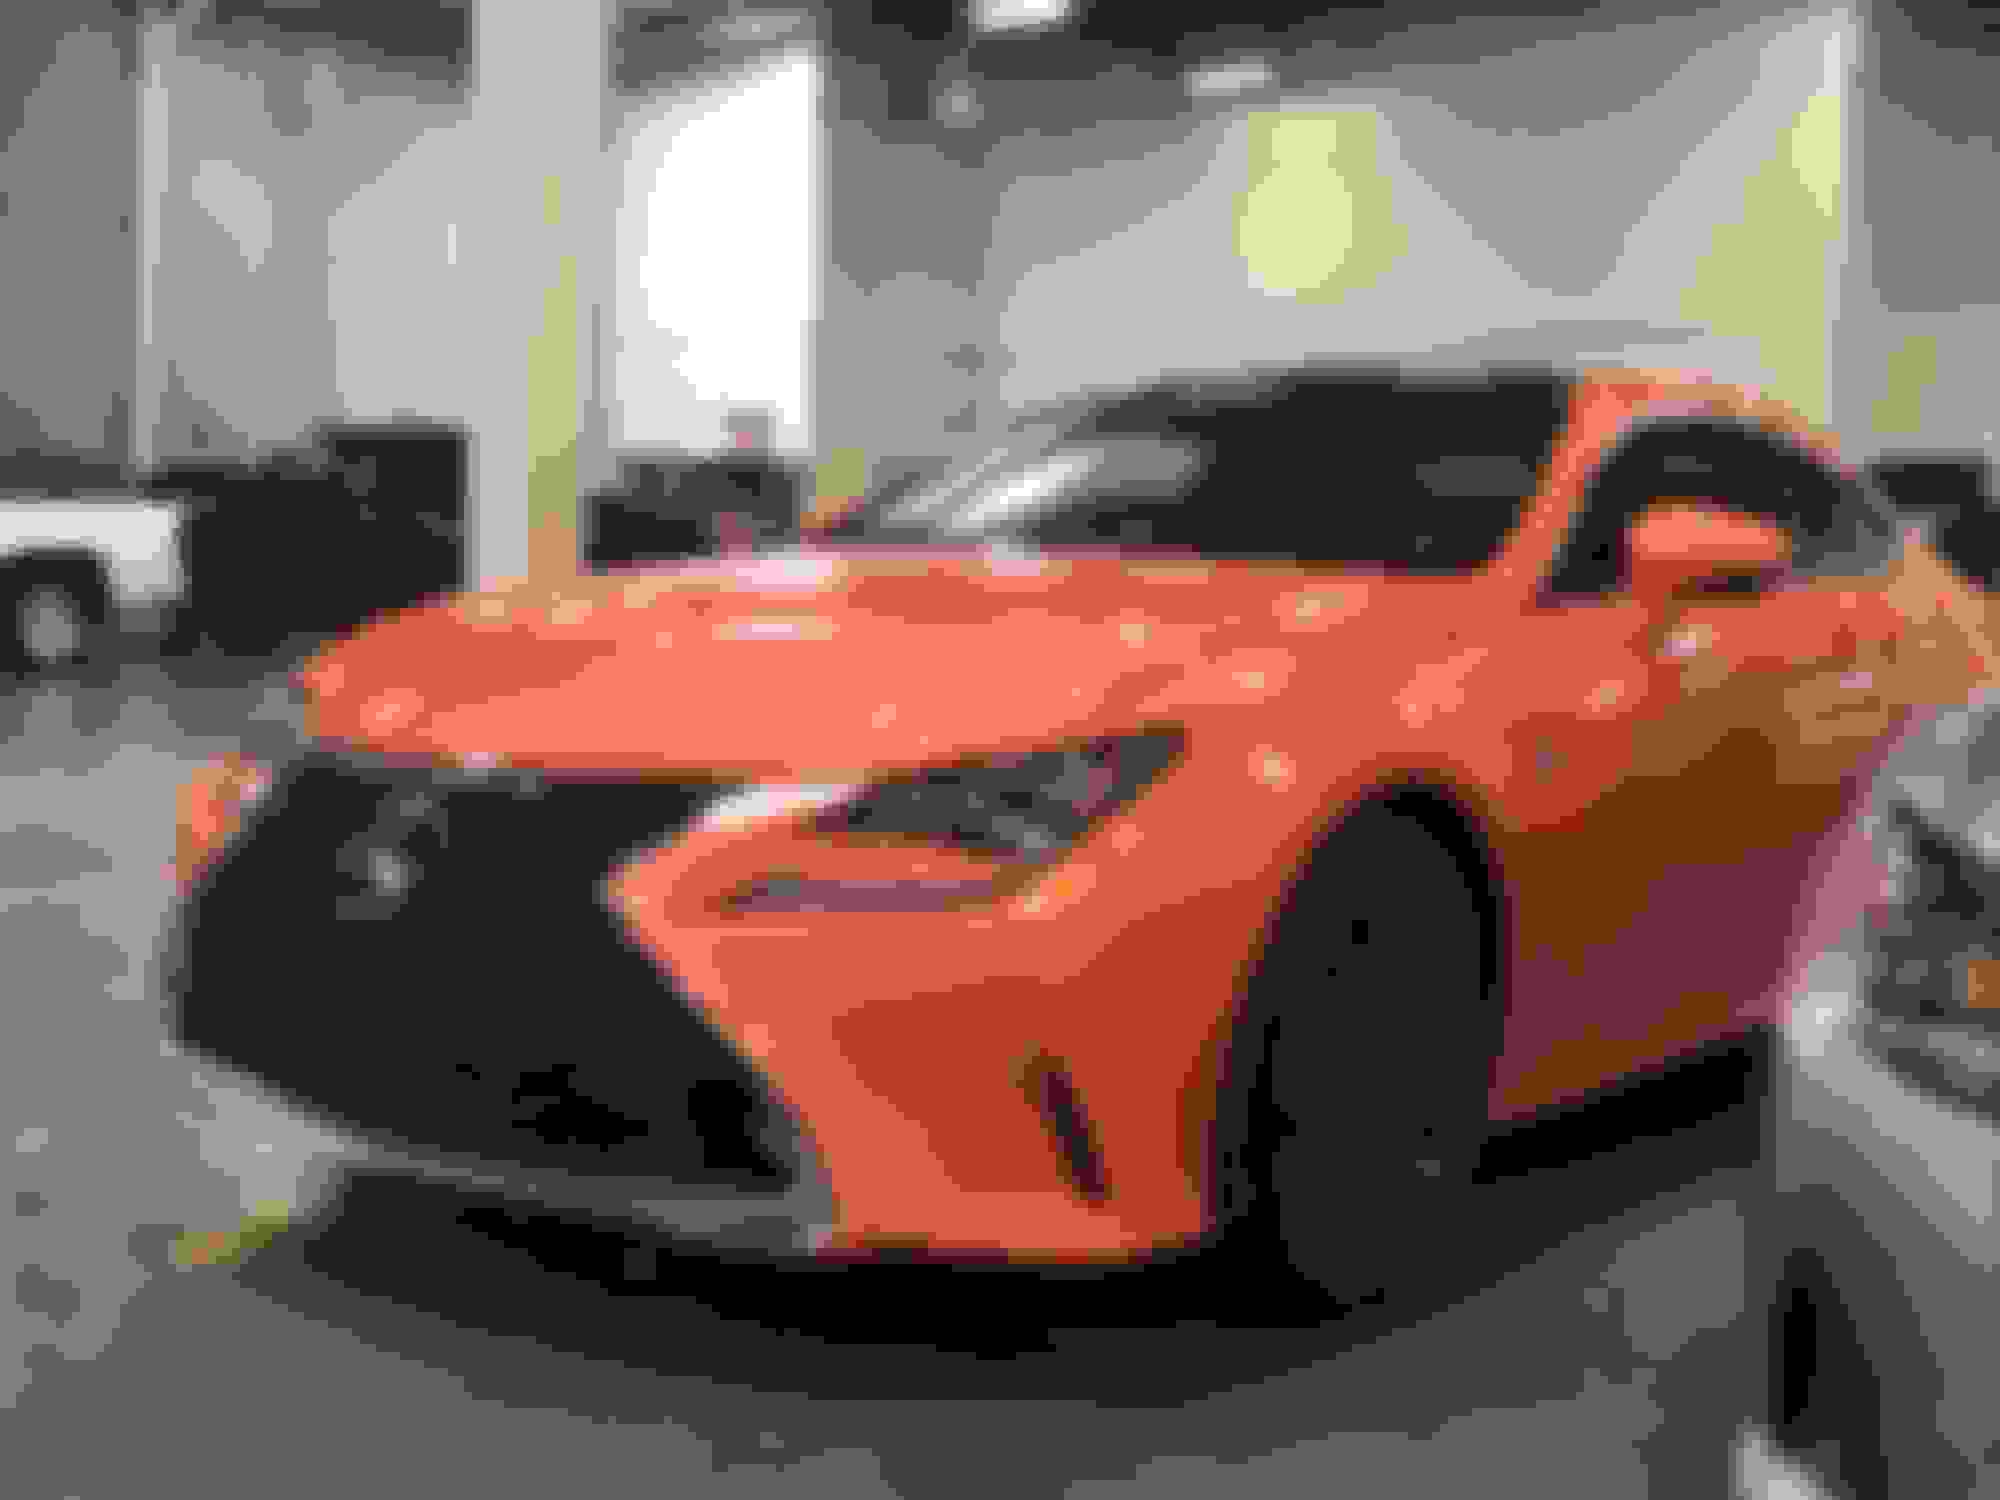
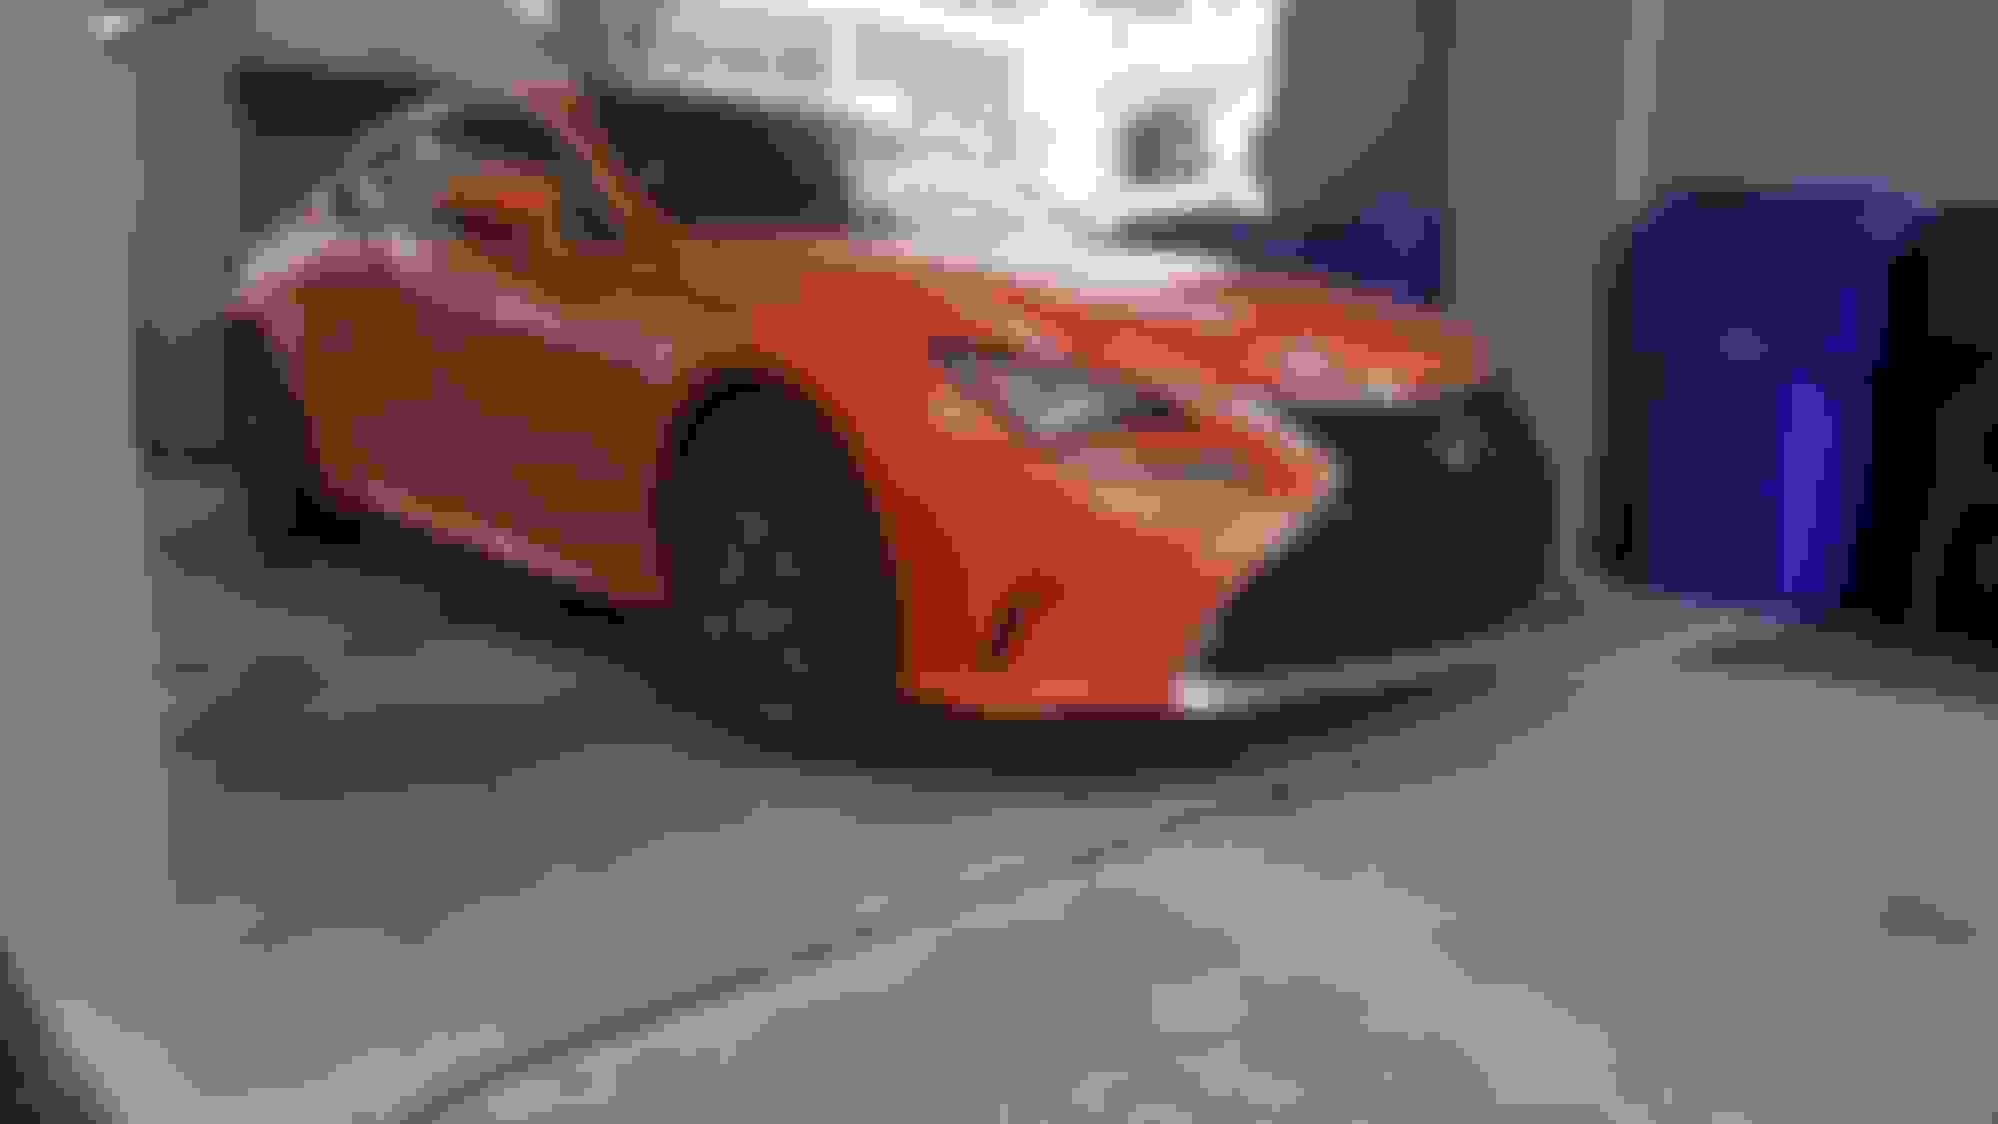
Hey everyone! I've been on this thread for about a year or so and I've never really introduced myself. I own an RC 350 F Sport in Molten Pearl. I love the car especially since I've always wanted to own an orange car lol. I've had it for about 4 years and since then I've done a few mods to the car. I figured I'd show everyone what I've done thus far (nothing crazy). I'll post each project i did/do as a separate post. Let me know what you all think! Thanks!
Mods List:
Exterior:
Painted roof (Dark Grey Pearl)
Painted all plastic trims (Dark Grey Pearl)
Chrome trims painted (Black)
Spoiler painted (Dark Grey Pearl)
Geon Ceramic Coating
Xpel Clear wrap (hood, front bumper, fenders, side mirrors)
TSW Bathurst Gunmetal 20"
Ceramic Tints
Tinted Taillights
Lexus Black Pearl Emblem
Debadged the trunk emblems
Interior:
OEM Lexus RC-F Orange Japan Limited edition Interior: Steering wheel, garnish trim, shift **** and shift boot
OEM RC-F Alcantara Cluster Cover
OEM RC-F Alcantara Arm Rest
OEM RC-F Rear seat Cup holder
OEM Orange Stitching RC floor mats
To Do List:
Skipper Lip kit
Reupholster Door Panels
Acquire the RC350 Black edition orange stitching seats (I would be extremely lucky to get these lol)
RC-F Muffler Swap
Upgrade Sound system
Upgrade Navigation Screen (screen mirroring, car play etc.)
So I bought the RC-F Orange interior trims online. Yes, quite pricey but I really wanted to keep as many pieces as i could original from Lexus.
Here are the garnish trims, shift **** and boot. Pretty easy install.
Now the steering wheel..... Well lets say I learned an important lesson. Removing it really isn't hard. I ended up doing it like 5 times because I couldn't get the steering wheel to sit perfectly centered so by the 5th time I could remove it in less than 10 minutes. Where I royally screwed up was completely removing the nut that hold the wheel in place. When you go to pull the steering wheel out LEAVE THE NUT ON! Loosen it but DON"T REMOVE IT! It requires a bit of force to remove it and I yanked the steering wheel out so hard and well..... here was my result lol
I took the clockspring out with it smh.... By a miracle and my girlfriends dads help (because i was pretty frustrated at this point lol) we were able to actually put it back together and its still working till this day lol
I ended up messing up the steering wheel sensor when i ripped apart the clockspring so had to get it replaced by Lexus but other than that the install was a success lol. My only issue is that I need an alignment because no matter how many times i messed with the wheel it still isn't perfectly centered. I heard the steering wheel can be adjusted without messing up the cars alignment.
Bought these off ebay. They're the ones used on the Black Edition model that came out. Its hard to tell in this picture but the stitching is orange. Probably no one will notice but i do so whatever lol
Here's the RC-F Cluster Cover. Love the way it looks, I also bought the center console armrest cover from the RC-F both from a member here. Don't have a picture but i'll try to get a few nice pictures of the interior once it stops raining here
Rear Armrest (also bought from the same person i bought the RC-F pieces above)
So I had taken my car to the shop to fill in a few chips and decided to paint all my exterior trims. I painted the chrome in black and the Roof, Rear Diffuser and rear bumper claw things in a grey pearl. The exact color i don't remember but it came from a BMW. I also had the calipers painted in black with the Lexus logo on.
Roof Before (wrapped) Roof After
I opted out of doing carbon fiber trims but i didn't really want everything to just be black and orange so i went through a few colors with the body shop and this was the one we chose. I actually really like it. At night it does look black but during the day the pearl comes out a lot and it gives it a really nice look. This is the same color i used for the rear spoiler, the diffuser and the claw things on the rear bumper. It worked out because it matches the black pearl emblem i bought for the back which is more of a dark grey.
Here's the rear with the trims painted and the black pearl emblem along with the tailights tinted.
Here are the calipers. I was in between black and blue and stuck with black. Maybe in the distant future i'll try blue out but i like the way it came out!
Here's the front with the chrome painted black. Originally i opted out of painting the bottom piece because i thought it would be too much black in the front but after some convincing i went back and had it painted as well.
here's the car with the middle piece painted
When i got the car clear wrapped they didn't do the chrome trims that were painted but they left the leftover sheet in my car so i did a little bit of youtubing and did the trims myself to avoid any rock chips because it was only a matter of time before it happened.
Great job on the car! How hard was it to do this rear cup holder mod? That is definitely something I would be interested in doing as well.
Hey, thank you! It's super easy. All you have to do is pop the back seats up and unhook the tabs towards the back of the original piece. Slide it out, slide the new one in and just pop it into place. If you do it or need help let me know and I'll try to better explain with pictures or a video.
yea all one piece. same mounting tabs as the one you have now
Really great idea, they should have come with this from the factory. Is there any issue with folding the seat backs down now that the center is slightly taller?
Really great idea, they should have come with this from the factory. Is there any issue with folding the seat backs down now that the center is slightly taller?
None at all. Sits a little higher than before but you can't notice
What size tires you running and what is the width of the rims
Front:
20 x 9 +30
245/35/20
Rear:
20 x 10 +40
275/30/20
If I ordered them again I would�ve gone with 20x8.5 +35 in the fronts just because the tires would�ve fit better. If I go any wider with tires in the front I�ll rub too much. Still looks great though.

 10-22-19, 06:49 PM