When you click on links to various merchants on this site and make a purchase, this can result in this site earning a commission. Affiliate programs and affiliations include, but are not limited to, the eBay Partner Network.
It pulls up as the EGR valve in my parts system (O'Reilly's).
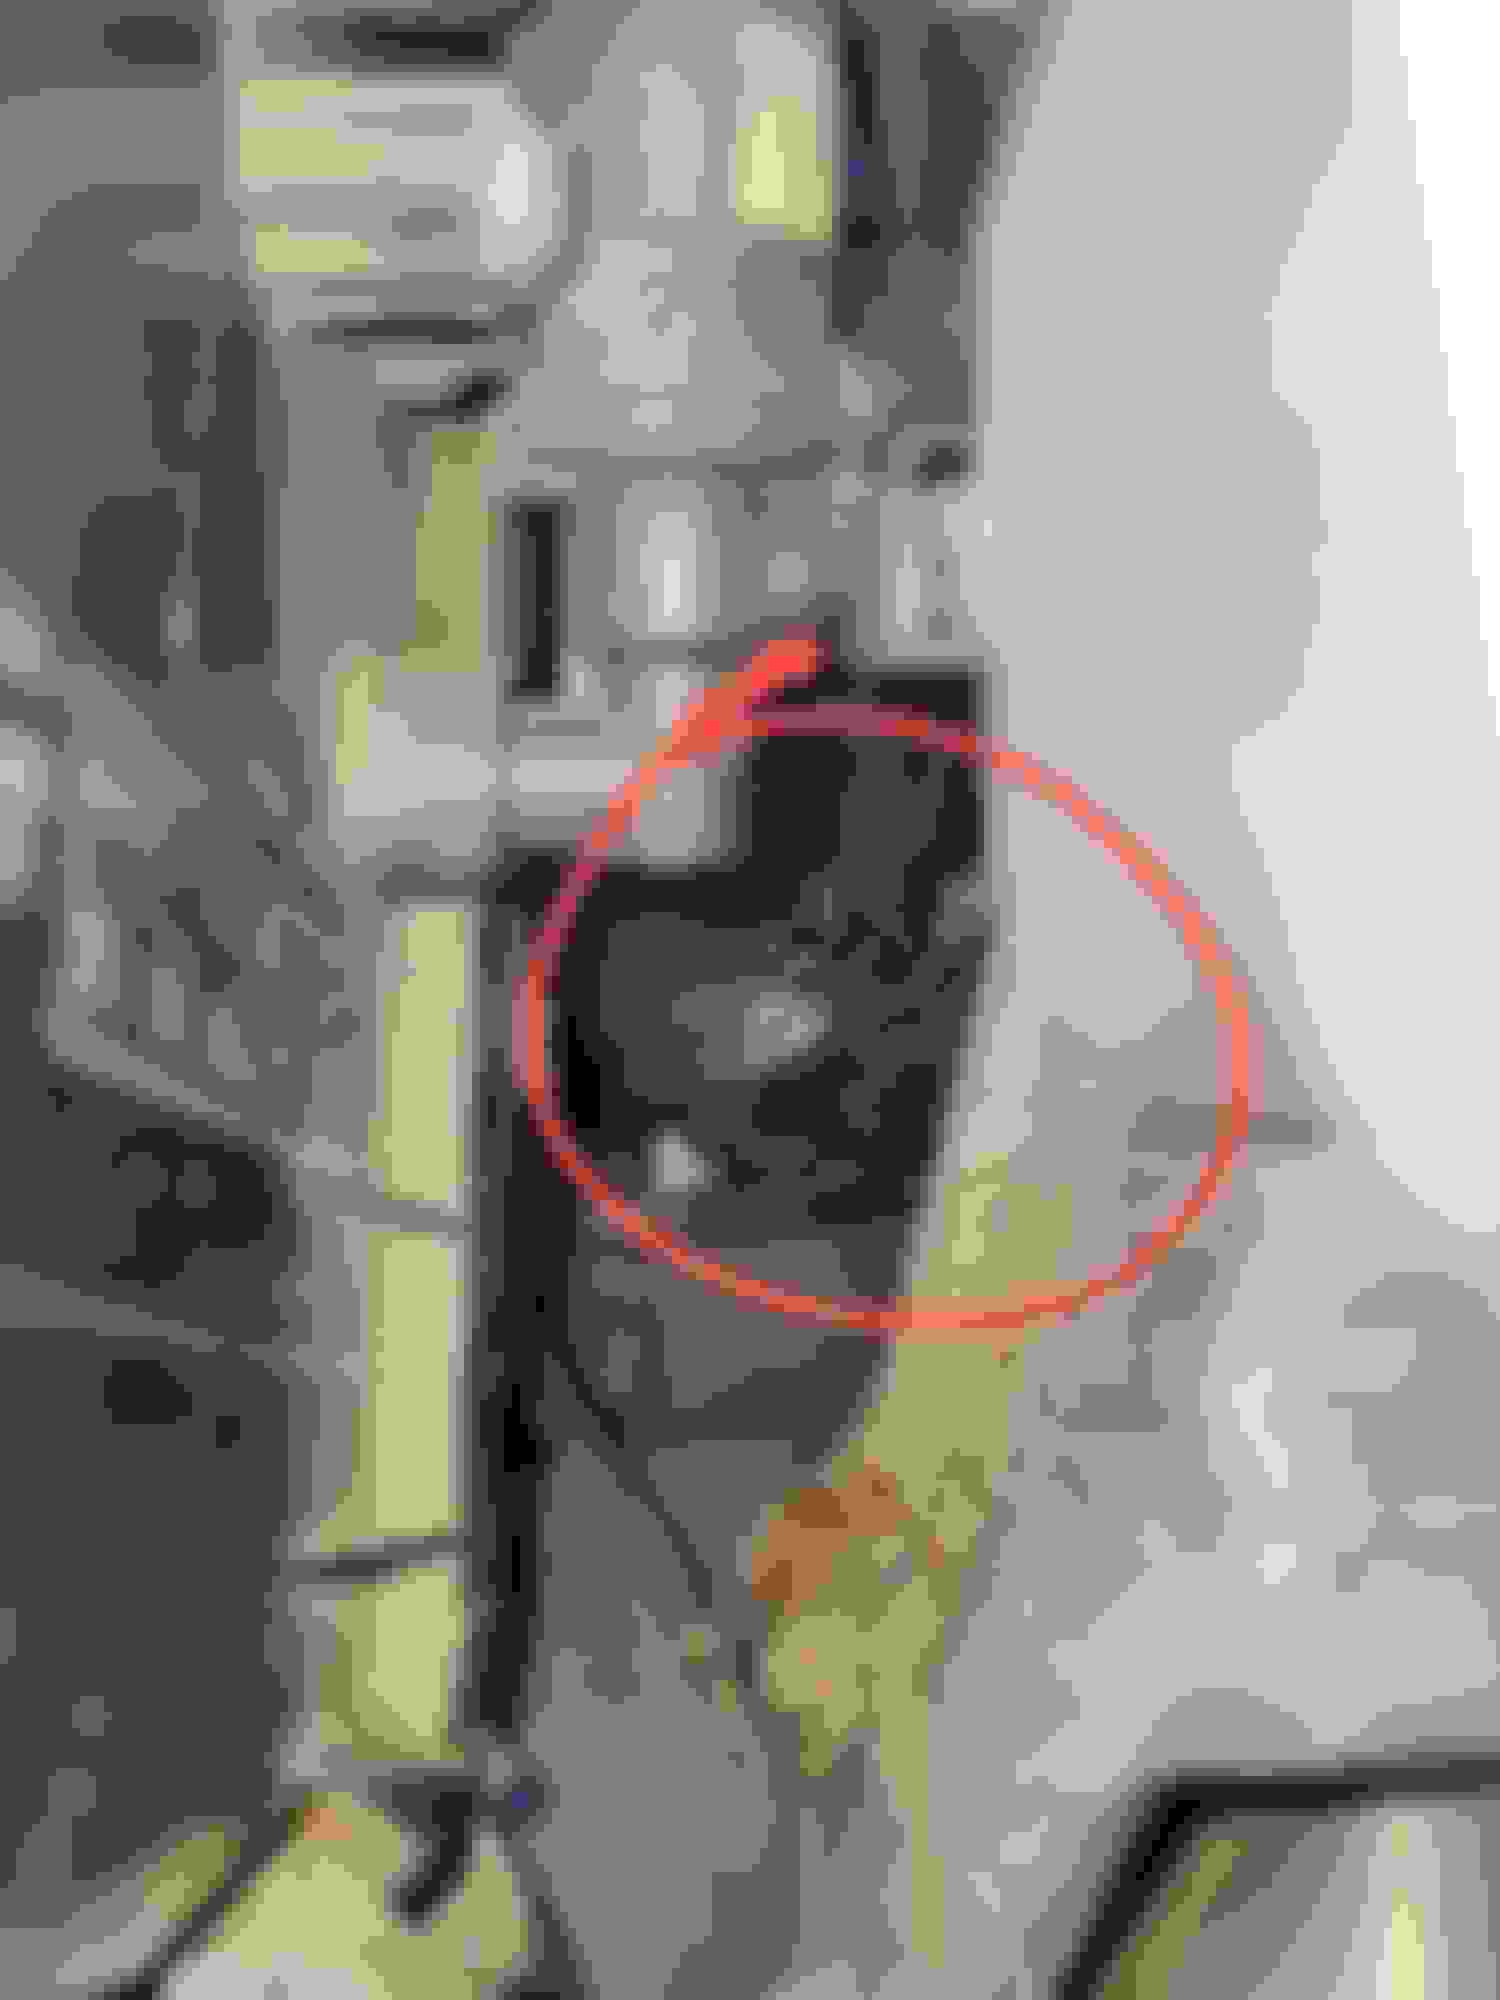
This was my point of failure, that's the hose on the rear of that unit attached to the back side of the air filter box top, running down to a hard line.
It pulls up as the EGR valve in my parts system (O'Reilly's).
This was my point of failure, that's the hose on the rear of that unit attached to the back side of the air filter box top, running down to a hard line.
GHBabie: Thank you for sharing your finding. Your stated failure point is the lower end of the hose whose up-end is connected to the "VSV for Canister Closed Valve" in maxSteel's "PARTS LAYOUT AND SCHEMATIC DRAWING LOCATION" shared in his 09/21/2022 post #29. The long hard line tube going to the rear is marked as "Air Inlet Line" in the same schematic drawing. The other end of the "VSV for CCV" goes to the air box. In maxSteel's #24 post, this VSV for CCV device is not present behind the air box (his vehicle is a 1999 RX300 and mine is a 2000) - could be somewhere else.
I am waiting for an EVAP Service Port kit and vacuum/pressure meters to arrive this weekend, and then use the service port to run a couple of tests as suggested in the PDF shared by Tammy (post #7, 11/02/2006). At this point I have not observed any loose hose ends and visible cracks on hoses and hard line tubes. I will report back with my end of EVAP test results.
While preparing myself for a vacuum test via the EVAP Service Port and reading through the test procedures outlined in Tammy's PDF (post #7, 11/02/2006), the following paragraph on page EC-7 (second page in the PDF) near the top:
#####
(e) Check the vacuum at idle.
Vacuum:
Maintain at 0.368 – 19.713 in.Hg (5 – 268 in.Aq) for over
5 seconds
HINT:
If the vacuum does not change, you can conclude that the hose
connecting the VSV to the service port has come loose or is
blocked, or the VSV is malfunctioning.
#####
confused me. Which VSV is this text referring to? According to the schematic (maxSteel, post #29, 09/21/2022), the service port connects to the VSV for EVAP which is located on top of the engine block and, via a long Purge Line (as marked in the same schematic), to some device (another VSV?) in the Charcoal Canister assembly at the rear.
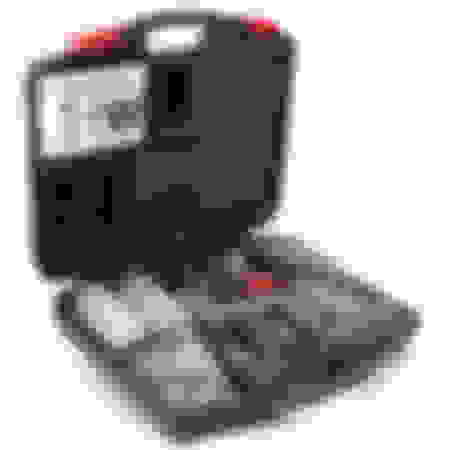
Amazon shipping was lost on the way and, finally, second order came last week. Here is a photo of the EVAP Service Port Kit:
Here is a link of the product on Amazon for $19:
I also tested the VSV for EVAP (off the rail rack) by connecting its electric port directly to the battery and (mouth) blow the air in to one of its 2 air ports and tested its shut and through functions.
My vacuum test started by following the instructions outlined in the PDF:
(1) Warm up the engine to operating temp and turn engine off.
(2) Connect the vacuum meter to the EVAP Service Port - first use the stem valve install/remove tool to loosen the port's inline stem valve by turn it clock-wise several turns and use a small nose plier to pick the stem valve out.
(3) Disconnect the electric connector of the VSV for EVAP and connect small electric wires with crocodile alligator clips to the connector's 2 terminals and verify good connection (30 ohms):
Then, connect the alligator clips of the other ends to the battery and a "click" sound is heard (from the VSV for EVAP device).
(4) Restart the engine and let it idle, and get a reading on the vacuum meter:
The reading on mine is jut a little over 5.5 inHg, within the specs' 0.368 - 19.713 inHg range (from the PDF). I left the engine idle for several minutes and the vacuum reading is steady at 5.5. Tried disconnecting one of the VSV for EVAP battery connection and the reading goes down to 0.
This concludes my EVAP vacuum test and I guess the related parts (VSV, hoses, etc.) are in working order?
To prepare a "Pressure" test, I am trying to find a hand air pump to produce very low pressure. The requirement is to "add 13.5 - 15.5 inAq" pressure via the EVAP Service Port. 1 PSI is about 28 in.Aq so an auto tire air pump is not going to do well for this purpose - "too easy to blow things up." I find a low pressure meter on Amazon for $23:
I think last time I tested the lines and VSV's I borrowed this vacuum testing tool from Advance Auto. It creates both vacuum and pressure and has a gauge.
I didn't use the service port. Will check out that connector
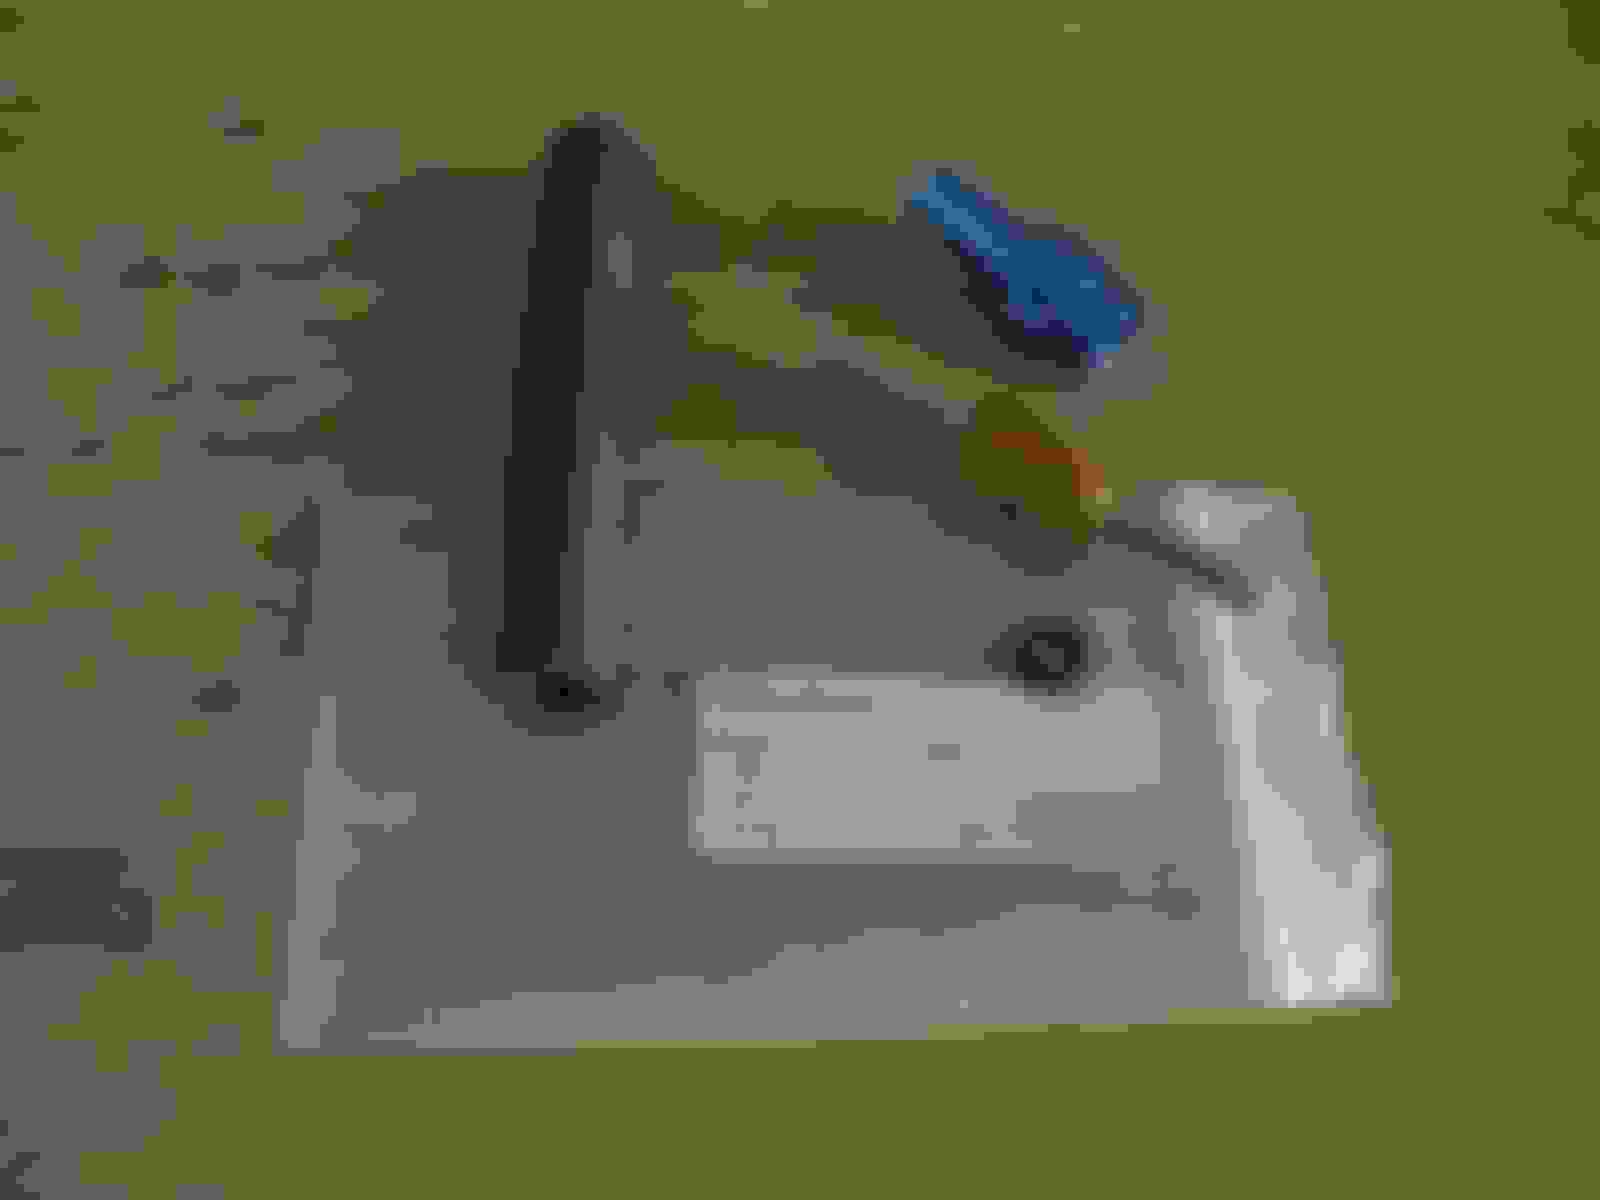
Finally I got all necessary parts and tools for a Pressure test. Here is a photo of my Canister Assembly:
I used a small socket adaptor and a clamp to block the big house's open end:
What do I do with the smaller hose's open end?
Here is a photo os the pressure gauge and hand pump setup:
With the car cold and engine not running, I can only get to about 4 in.H2O (far from the required 13.5 - 15.5 inH2O) - somewhere there is leak(s) - and it only takes about 2-3 seconds for the hand pumpted pressure to leak all. It is getting dark on the driveway; Tomorrow I will warm up the engin first and then try the Pressure Test again.
I don't know what that short disconnected hose is. I don't see it anywhere. Maybe someone else does.
We were originally looking for leaks in the line that runs from the air box to the charcoal canister. I think from the diagram posted earlier this is the air inlet line, and I think it is the one connected to the canister right next to that fat air drain line you plugged. Maybe you can isolate that line, disconnect and plug one side, connect vacuum pump & gauge to the other, see if the line itself leaks.
A sunny morning and good temp at 60 on the driveway. Warmed the car and turned the engine off. Closed the air drian at the Canister assembly as the Pressure Test procedure instructed. Run a pressure test with the gauge+ hand pump mixture which holds at 14 in.Aq steady and no retreat.
Hooked up the setup to the GREEN EVAP Service Port; my use of the hand pump can only get to about 4 in.Aq - not enough pressure as required (cannot keeps up with leaked air?). So I used a battery-powered bicycle tire air pump instead. With the power pump on the pressure gauge needle swinds to about 12 in.Aq and then retreat to stablize at 6 in.Aq (with the power pump still ON).
After turning off the power pump, all pressure would be gone in about 2-3 seconds. So there is a leak.
Next, is to pressure test the air inlet line as you sugguested and then on to the Canister Assembly.
Please help me in identify hoses and a device in the Canister Assembly, where I marked with RED arrows and text in the following photo:
Hi chenxingha. It's hard to be definitive, the service manual is really unclear. In fact, the service manual docs I have shows a completely different canister for the RX300, shown here: https://www.clublexus.com/forums/rx-...l#post10096245 . Apparently my manual is not for the USA RX300. The "EVAP Testing" document attached to this thread, posted by Tammy, https://www.clublexus.com/forums/rx-...ml#post2218270 is actually for a 2003 Toyota Tacoma but it looks *mostly* correct. I say mostly because I don't see that smaller diameter hose in your photo. Maybe when you compare the canister and document it will become apparent. From the diagrams in that document it looks like you have labeled the purge and air inlet lines correctly. The circular component is not identified but I would guess it is a vacuum triggered valve (not an electrical one). The diagnostic appears to test for internal failure in the canister. When I tested mine it failed, and after I replaced the canister my problems went away.
Hi maxSteel: Thanks for sharing. I am using Tammy's schematic drawing for the time being (as you stated that it looks mostly correct (for the EVAP part) - the schematic mostly matches what I see on my wife's 2000 RX300. From the schematic, I don't see any effect it would produce if I unplug the air inlet hose (at the Canister Assembly end), close it and then add pressure via the EVAP service port. What I did try was to close the Purg line at the Canister end and add pressure via the EVAP service port: with just 2 hand pumps the guage reads beyond 15 in.Aq but would retreat to ZERO in about 5-6 seconds.
If I reads Tammy's schematic correctly, this Purg line is from its Canister end and runs up to the "VSV for EVAP" device with the GREEN EVAP Service Port in the middle. With the VSV for EVAP closed and its Canister end clamped, the hand pumped 15 in.Aq pressure should be held steady, right?
My other options are to check the VSV for Canister Closed Valve and replacing the Canister Assembly (if I canot find a test procedure for it).
Hi maxSteel:
Here is my pregress report:
(1) I removed the Air Filter Box top to get access to the Air Inlet line and the TST-CCV (according to Tammy's schematic). I mouth-pressured the inlet of the TST-CCV and air flow was blocked; I then applied 12v to the CCV's terminal and it clicks. Then I found out that, in normal operation this CCV is OPEN to pass air when no voltage applied, and it closes the air path when voltage is applied. So, it appeares that this CCV was stuck initially until I applied voltage. I then drive the CCV many more time and it doesn't appear to stuck anymore.
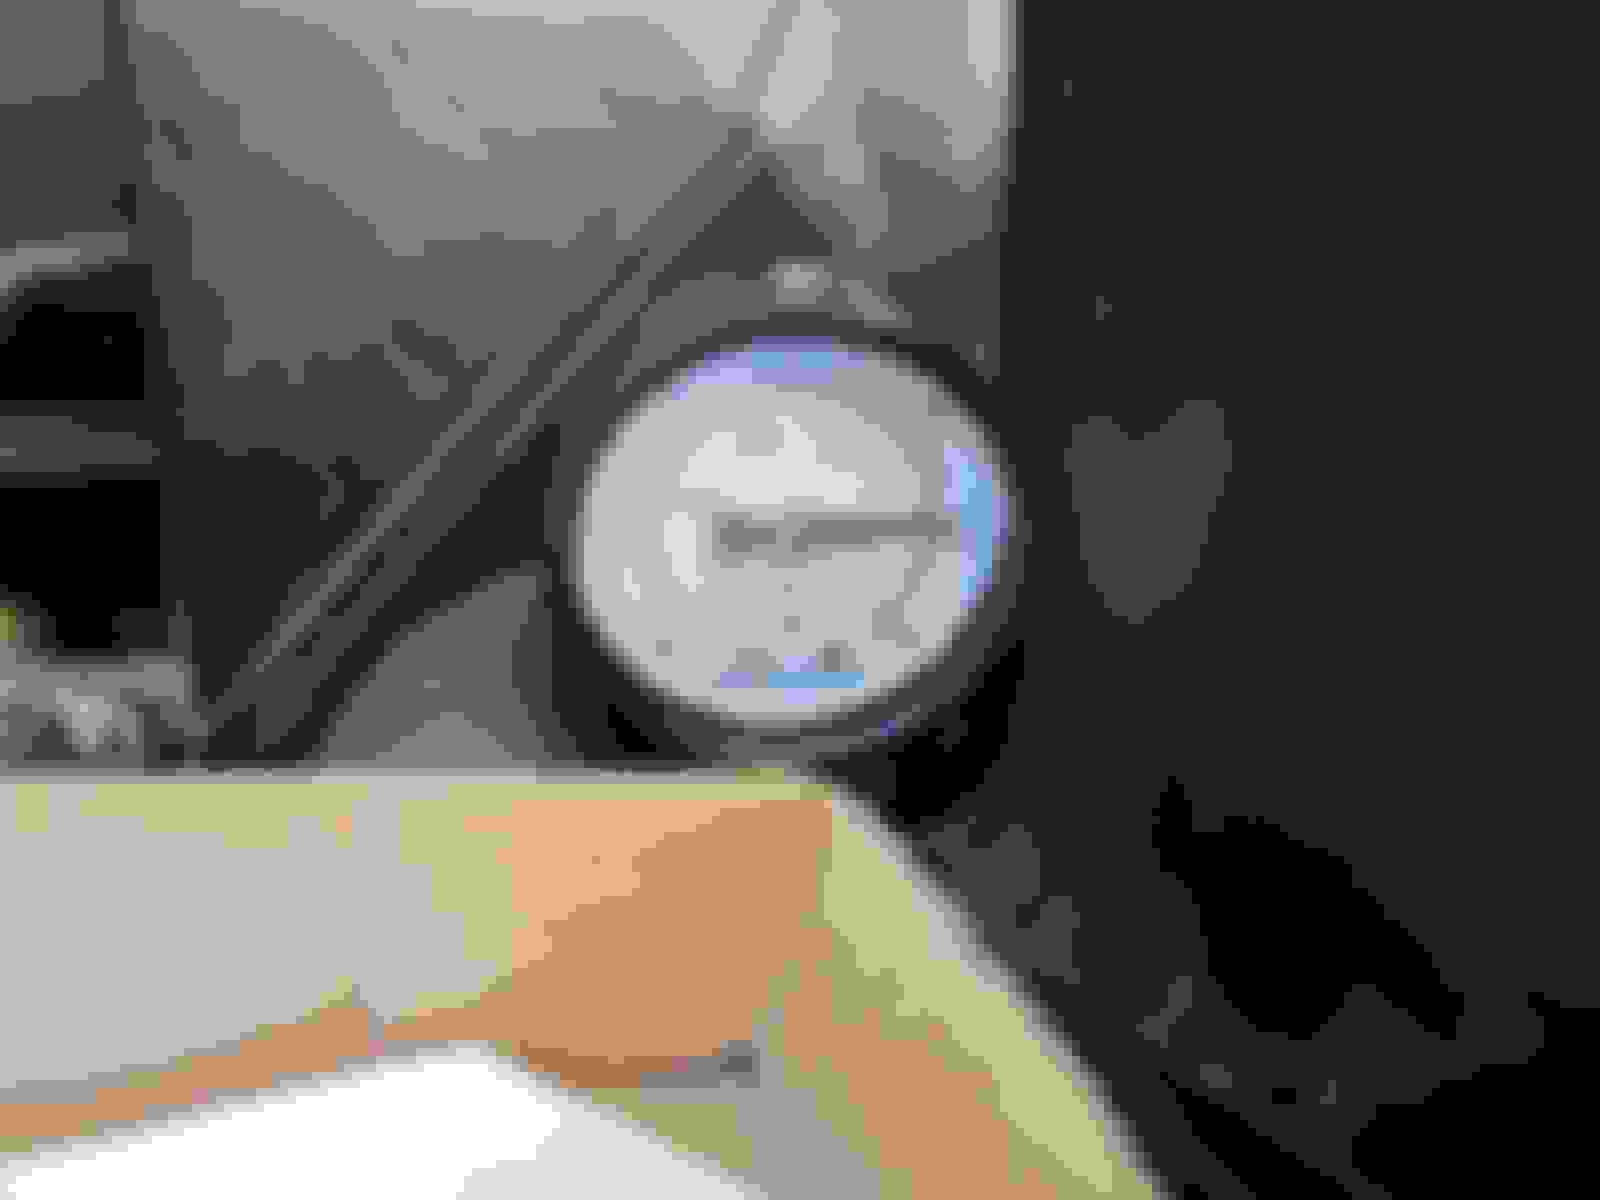
The photo doesn't capture the CCV's label clearly. Here is what on its label:
TOYOTA
90910-12227
184600-9110
911
12V
DENSO JAPAN
(2) I then clamp up the Air Inlet line at the Canister end and hand applied pressure from the Air Inlet line at the VSV-CCV end to about 2 PSI and the pressure holds steady - no leaks on this line.
(3) I clamped up the Purge line at the Canister end and hand applied pressure via the EVAP Service Port to about 15 in.Aq and the line holds the pressure steady - no leaks.
By now I have run tests with all VSVs (in the Engine compartment) and Vacuum and Pressure tested the Air Inlet and the Purge lines up to the ends at the Canister Assembly.
I will report back tomorrow on tests at the Canister end and the EVAP line.
(1) Clamped up the Purge Line end at the Canister side and add pressure via the EVAP Service Port. Just a couple of hand pump squeezes it would reach 15+ in.Aq and stays steady - this is to proof no leaks in the pressure test setup. Then remove the clamp and used it to close the Air Drain opening at the Canister and add pressure via the EVAP Service Port; switched to a battery-operated bicycle air pump as the hand pump could not keep up beyond 7-8 inAq. Used the power pump to bring pressure to about 15 inAq. and used a Stop Watch on my iPhone to time the decending pressure. Here are the readings:
DONW TO TIME STAMP
15 inAq 0.0 second
9 2.3
5 13.2
4.5 27.2
3 41.7
2.6 1:01.8
1.5 1:42.2
1.2 2:03.4
In the Test Procedure (Page EC-7 near the bottom) it describes "Add the pressure 13.5 - 15.5 in.Aq from the EVAP Service Port. 2 minutes after the pressure is added, the gauge should be over 7.7-8.8 in.Aq."
My reading appears way off.
(2) While adding pressure in (1) removing the gas tank filler cap did not appear to decrease pressure.
In the Test Procedure (on PAGE EC-8 near the top) it describes "HINT If the pressure does not decrease when the filler cap is removed, then you can conclude that the hose connecting the service port to the fuel tank is blocked, etc."
As the "pressure test setup test in (1) proved that there is no blockage between the EVAP Service Port and the Purge Line Canister end, I don't know how to make of this HINT as this Purge Line connects to the Canister and then maybe and somehow to the fuel tank.
(3) Removed the EVAP Line hose at the Canister end; used the power air pump via the EVAP line to add pressure to about 7-8 in.Aq (unable to go higher) and the pressure would quick be gone with the pump stoped.
According to the Test Procedure (Page EC-8, Section 5) it describes "... pressurize ... the internal pressure in the fuel tank to 0.58 psi (about 16 in.Aq.). Check that the internal pressure of the fuel tank can be hold for 1 minute."
In my this test the 7-8 in.Aq pressure would be gone in about a couple of seconds.
According to Tammy's Schematic, this EVAP Line goes to the top of the fuel tank and connects to a Fill Check Valve and a Cutoff Valve; also shown in the Schematic, there is a section of hose and clamps between the connection to the valve. Since I have put a new filler cap, so leakage is likely on the valves and the connections and somewhere else.
I will report back in a week on a few more pressure tests for the Fill Check and Cutoff valves, and then take off the Canister Assembly and test the many components.
I replaced a bad battery which reset all Emmission EVAP codes and the Check Egine Light. While I was waiting for a workable weekend weather on driveway over 2 weeks, this vehicle had accumulated 70+ miles and the CEL has yet to light up! Based on what I reported in Post #42, the stuck VSV-CCV device is likely the culprit for my P0440, P0441 & P0446 codes. Come to think this now, the VSV-CCV device was stuck likely due to the accumulation of (post air filter) intake air dust over 22+ years; I regret that I did not do much cleaning - apply W40 to the CCV's internal while the air box cover was off. But if the codes do come back again, the first thing I would do is to check the CCV device and spray some W40.
My this experience appears to confirm the findings that maxSteel and many others have pointed to: leaks related to the air inlet line. It just happened that on my car there is this VSV-CCV between the airbox and the air inlet line while this device is not present on maxSteel's car.
I learned a great deal about the EVAP system during this exercise and I thank you all, especially maxSteel, for sharing insights. I will certainly report back if new developments come up.
 10-04-22, 10:44 AM