
Smoke tails DIY for less than $10.00
 07-03-08 | 09:15 PM
#1

Thread Starter
Rookie
Joined: Jun 2008
Posts: 95
Likes: 0
From: GA
Here it goes.
I was debating on performing this task on my newly aquired RX and I found the courage to do it. So here it is.
First remove the tail light assy.
There are four 10mm nuts to remove.
On the outer assys they can be seen without taking panels out, but the inner assys are hidden behind the tail gate panel.
Just take the panel out by prying it out first from directly in front of the hatch.
Then after you undo that fastener you can see the rest and do them one at a time.
OK Well the pics are not the greatest. I hope you can get the full effect.
I will take more pics if needed.
After you have ALL the light assy out of the car. Head to the kitchen. Yes the kitchen
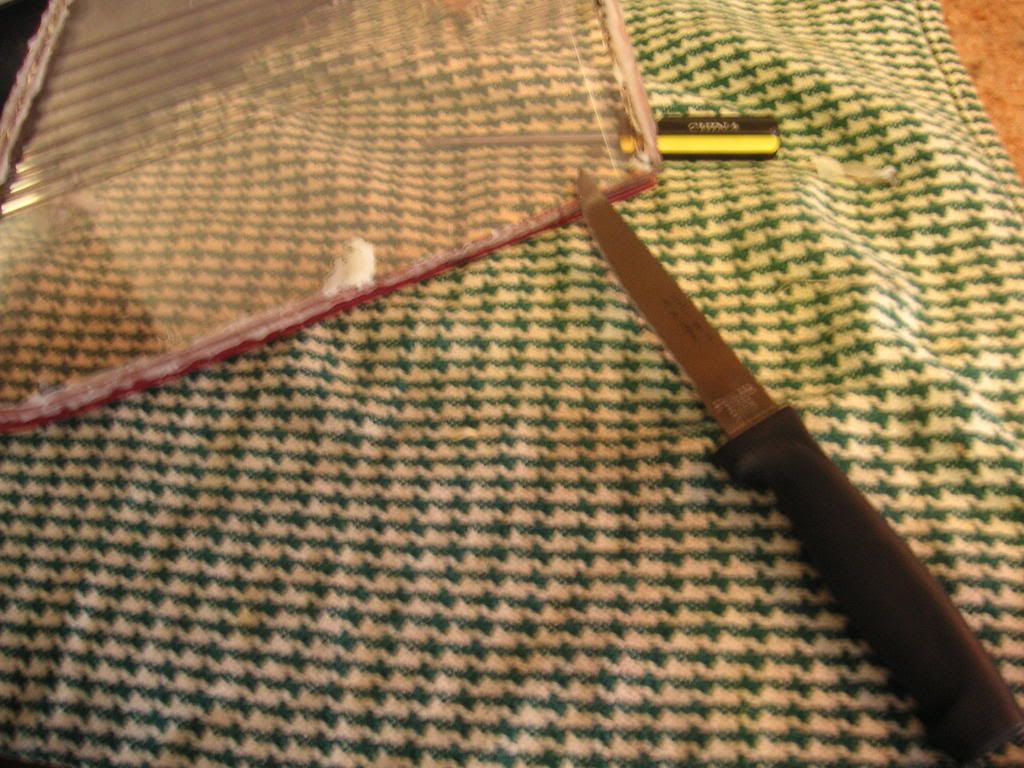
You will need the following tools with you.
1 Flat tip Screwdriver
1 Razor blade( I didn't need mine)
1 Steak Knife
1 tube of black silicone(a must)
1 Oven
1 Pair of gloves(heat Resistant)
Stopwatch or oven timer( a must too)
6 hours of your time and a lot of patience
Ok now you are ready to do this
All of the following instructions are to be used for every pice of the tail light assy one at a time. Don't try to short cut it. If you cannot dedicate 6 hours to do thjis then don't start to do it. You will end up buying a new set of tails.
Well we will start with heating the oven to 350deg for 15 min
have a beer
after 15 min the oven is ready
Have the first piece ready and clean.
Turn OFF THE OVEN
Place the first piece inside the oven on A PAN OR COOKIE SHEET.
NOTE
The cookie pan should be cool like the light assy.
Set the stopwatch to 5min
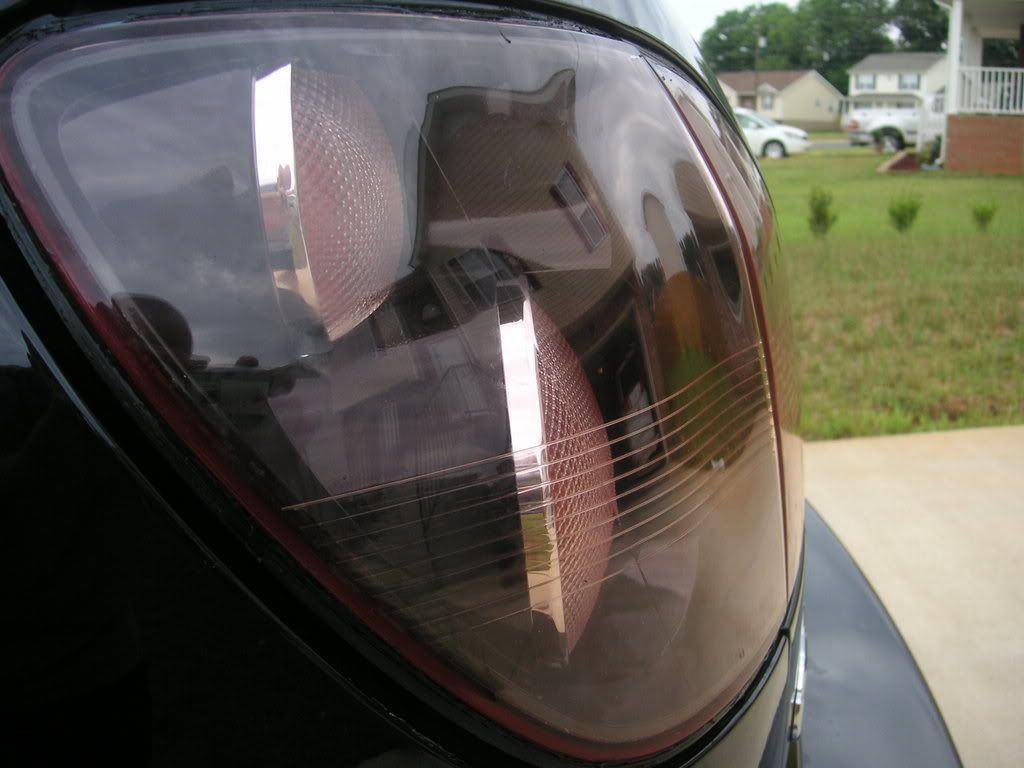
NOTE
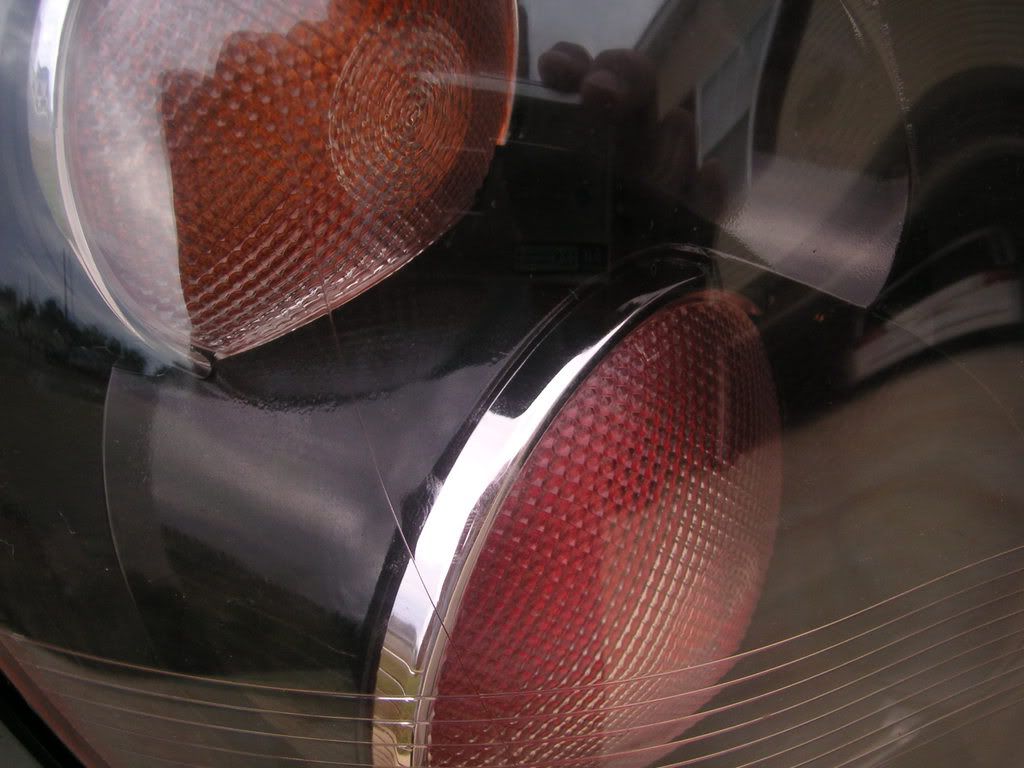
Do not let any piec inside the oven longer than 5 min. Disobeying will result in warpped assy's . The following pic is the result of leaving the assy inside longer.
Please notice the shape of it. I was lucky it still fit the light assy and when installed you cannot tell the difference.
Put on the gloves
after 5 min, take it out of the oven
Pry out the plastic clear with the flat tip screwdriver.
If the glue is not flexible yet then just put it inside the oven for 1 minute at a time until you know how many minutes it takes to ghet the glue to give.
Once you pry it out then clean out the clear edges out of all glue.
NOTE
Do NOT touch the inside of the clear plastic. If you do just clean it up. Figerprints are very noticeable if you don't clean them up.
Now some will tell you that this is not needed because you can heat it again and reinstall. Well It does not work quite like that. The glue is very hard and difficult to work with. I chose to remove it from the clear plastic and this way is easier to put it together again with the help of the black silicone.
Once you have it out then disconnect the painted plastic part out.
Paint the plastic part with the color of your choice. ( I used black Plastic paint from Advance Auto)
Once it's painted then place the paited piece inside the warm oven for aprox 2 min at 200 deg temp. ( I had a thermometer inside the oven). This will give a very nice shine to the paint. You can actually see the changes in the shine through the glass door.(pretty Cool to watch)
Take the piece out of the oven. Let it cool down.
In the meantime turn the oven on again and let it heat up to 350. Once it reaches above 300 deg shut off the oven.
Place the assy inside the oven for 5 min(this is done solely to soften the glue again) leave the painted part and the clear part out of the oven.
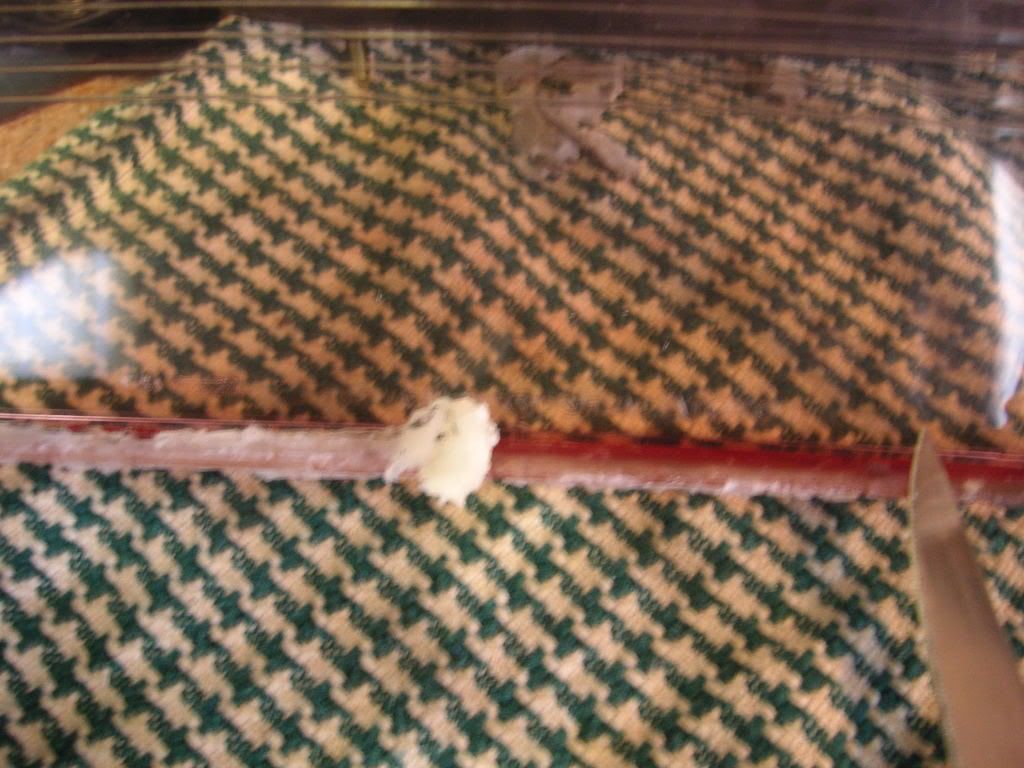
After 5min take it out of the oven and bead black silicone through the entire edge inside ths canal.
then place the painted part inside the clear part and assemble the entire thing together.
Ensure to work it from every angle possible. It is very warm so the gloves are very much needed on this step
Then after that repeat the procees for the rest of them.
Once you have them all done, take the black silicone and apply a small bead to the entire edge on all of the pieces after they are assembled.
This is the last step.
Install on the car.
Now you are ready to show a nice set of tails to the rest.
If some residue sticks to the tail light dont worry. Nothing that a littl rubbing compound cannot handle.
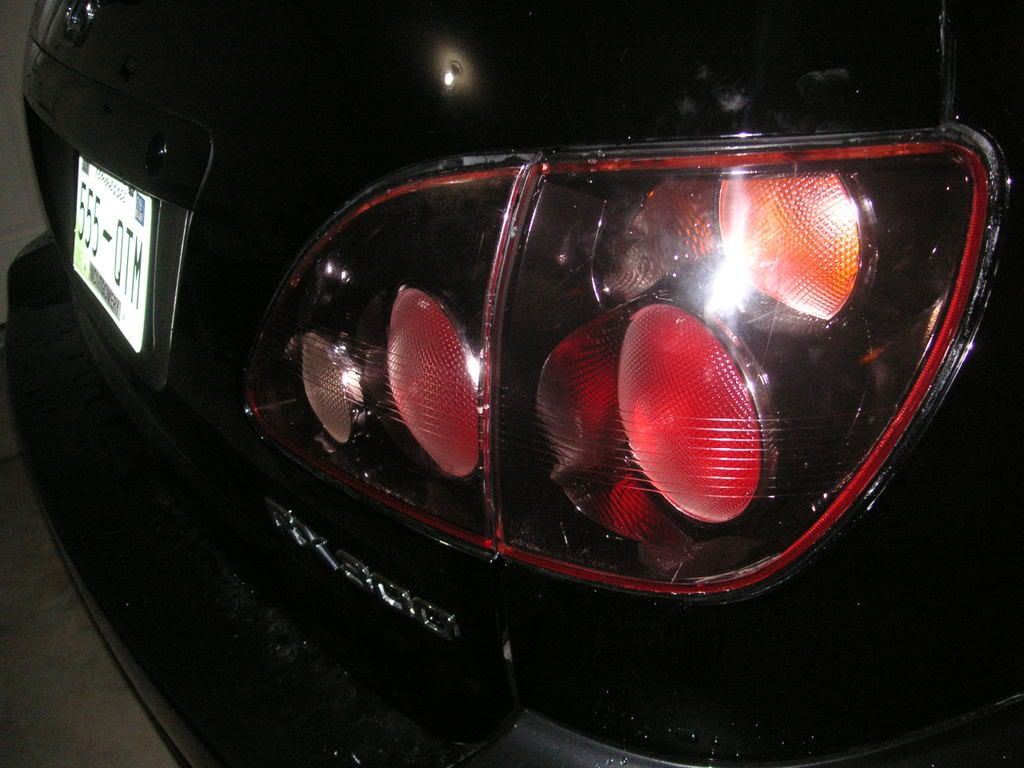
Here are some pics of the rest of the project in no particular order.
Please enjoy and let me know hat you think of it.
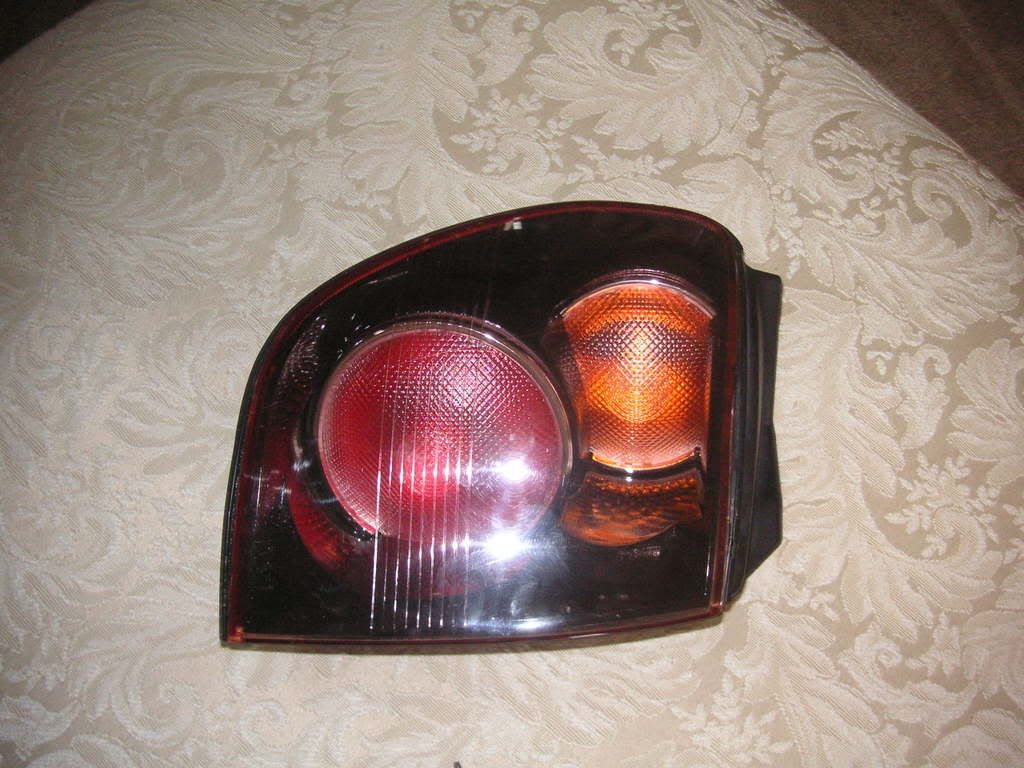
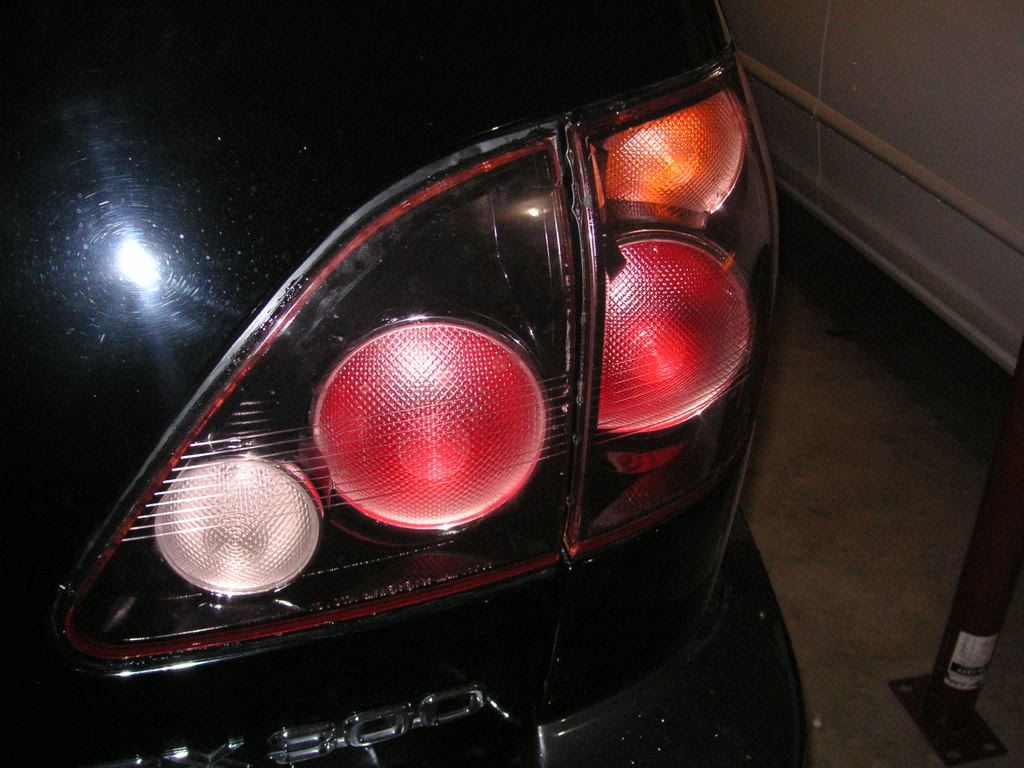
If you notice on this pic there is a red border to it. Well the clear plastic has a red tint to it, but it contrasts very nicely with the black paint. The pics do not do it the justice deserved. Believe me.
Be creul, be honest let me know what you think.
I was debating on performing this task on my newly aquired RX and I found the courage to do it. So here it is.
First remove the tail light assy.
There are four 10mm nuts to remove.
On the outer assys they can be seen without taking panels out, but the inner assys are hidden behind the tail gate panel.
Just take the panel out by prying it out first from directly in front of the hatch.
Then after you undo that fastener you can see the rest and do them one at a time.
OK Well the pics are not the greatest. I hope you can get the full effect.
I will take more pics if needed.
After you have ALL the light assy out of the car. Head to the kitchen. Yes the kitchen
You will need the following tools with you.
1 Flat tip Screwdriver
1 Razor blade( I didn't need mine)
1 Steak Knife
1 tube of black silicone(a must)
1 Oven
1 Pair of gloves(heat Resistant)
Stopwatch or oven timer( a must too)
6 hours of your time and a lot of patience
Ok now you are ready to do this
All of the following instructions are to be used for every pice of the tail light assy one at a time. Don't try to short cut it. If you cannot dedicate 6 hours to do thjis then don't start to do it. You will end up buying a new set of tails.
Well we will start with heating the oven to 350deg for 15 min
have a beer
after 15 min the oven is ready
Have the first piece ready and clean.
Turn OFF THE OVEN
Place the first piece inside the oven on A PAN OR COOKIE SHEET.
NOTE
The cookie pan should be cool like the light assy.
Set the stopwatch to 5min
NOTE
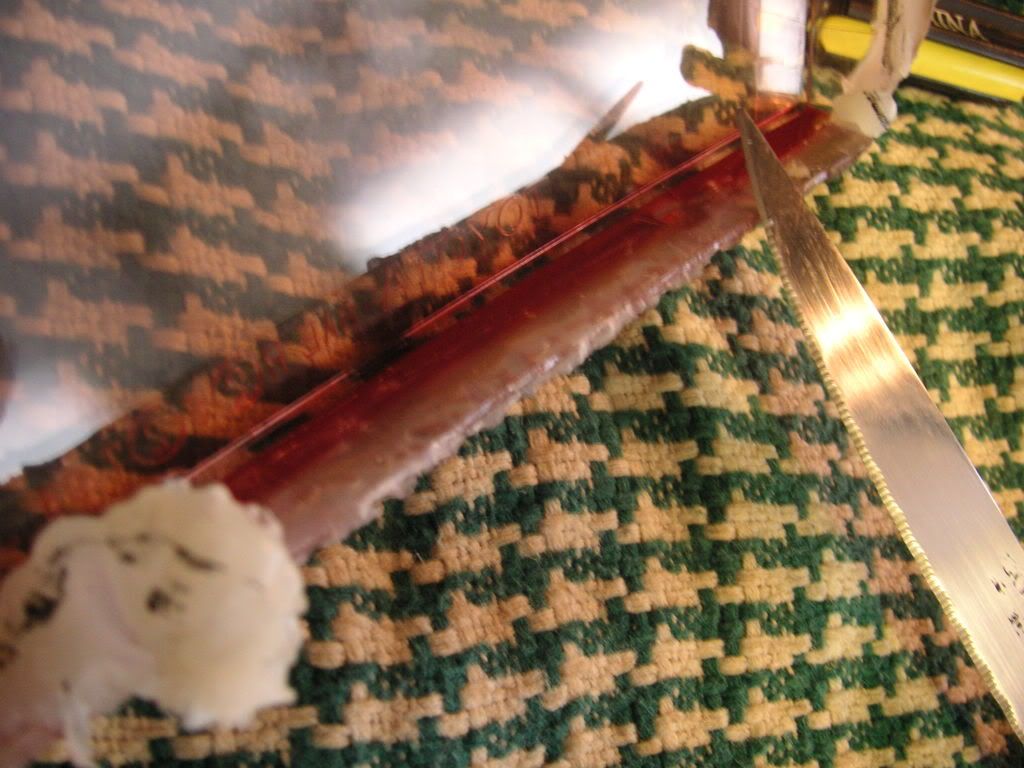
Do not let any piec inside the oven longer than 5 min. Disobeying will result in warpped assy's . The following pic is the result of leaving the assy inside longer.
Please notice the shape of it. I was lucky it still fit the light assy and when installed you cannot tell the difference.
Put on the gloves
after 5 min, take it out of the oven
Pry out the plastic clear with the flat tip screwdriver.
If the glue is not flexible yet then just put it inside the oven for 1 minute at a time until you know how many minutes it takes to ghet the glue to give.
Once you pry it out then clean out the clear edges out of all glue.
NOTE
Do NOT touch the inside of the clear plastic. If you do just clean it up. Figerprints are very noticeable if you don't clean them up.
Now some will tell you that this is not needed because you can heat it again and reinstall. Well It does not work quite like that. The glue is very hard and difficult to work with. I chose to remove it from the clear plastic and this way is easier to put it together again with the help of the black silicone.
Once you have it out then disconnect the painted plastic part out.
Paint the plastic part with the color of your choice. ( I used black Plastic paint from Advance Auto)
Once it's painted then place the paited piece inside the warm oven for aprox 2 min at 200 deg temp. ( I had a thermometer inside the oven). This will give a very nice shine to the paint. You can actually see the changes in the shine through the glass door.(pretty Cool to watch)
Take the piece out of the oven. Let it cool down.
In the meantime turn the oven on again and let it heat up to 350. Once it reaches above 300 deg shut off the oven.
Place the assy inside the oven for 5 min(this is done solely to soften the glue again) leave the painted part and the clear part out of the oven.
After 5min take it out of the oven and bead black silicone through the entire edge inside ths canal.
then place the painted part inside the clear part and assemble the entire thing together.
Ensure to work it from every angle possible. It is very warm so the gloves are very much needed on this step
Then after that repeat the procees for the rest of them.
Once you have them all done, take the black silicone and apply a small bead to the entire edge on all of the pieces after they are assembled.
This is the last step.
Install on the car.
Now you are ready to show a nice set of tails to the rest.
If some residue sticks to the tail light dont worry. Nothing that a littl rubbing compound cannot handle.
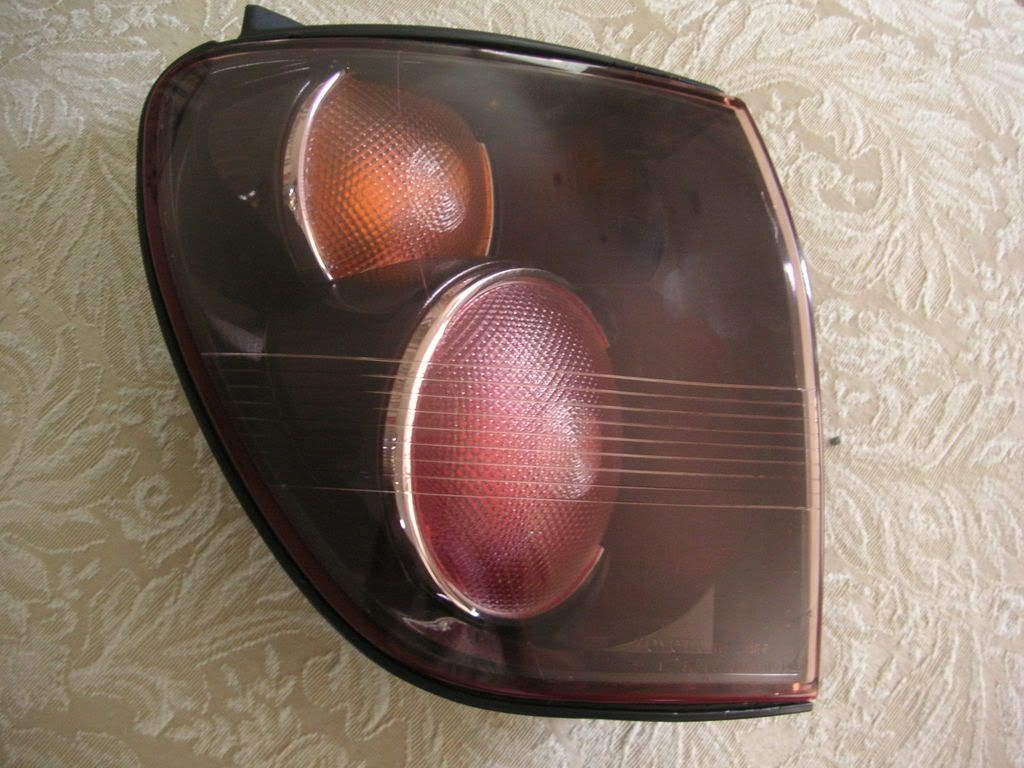
Here are some pics of the rest of the project in no particular order.
Please enjoy and let me know hat you think of it.
If you notice on this pic there is a red border to it. Well the clear plastic has a red tint to it, but it contrasts very nicely with the black paint. The pics do not do it the justice deserved. Believe me.
Be creul, be honest let me know what you think.
07-04-08 | 08:50 AM
#2
Thread Starter
Rookie
Joined: Jun 2008
Posts: 95
Likes: 0
From: GA
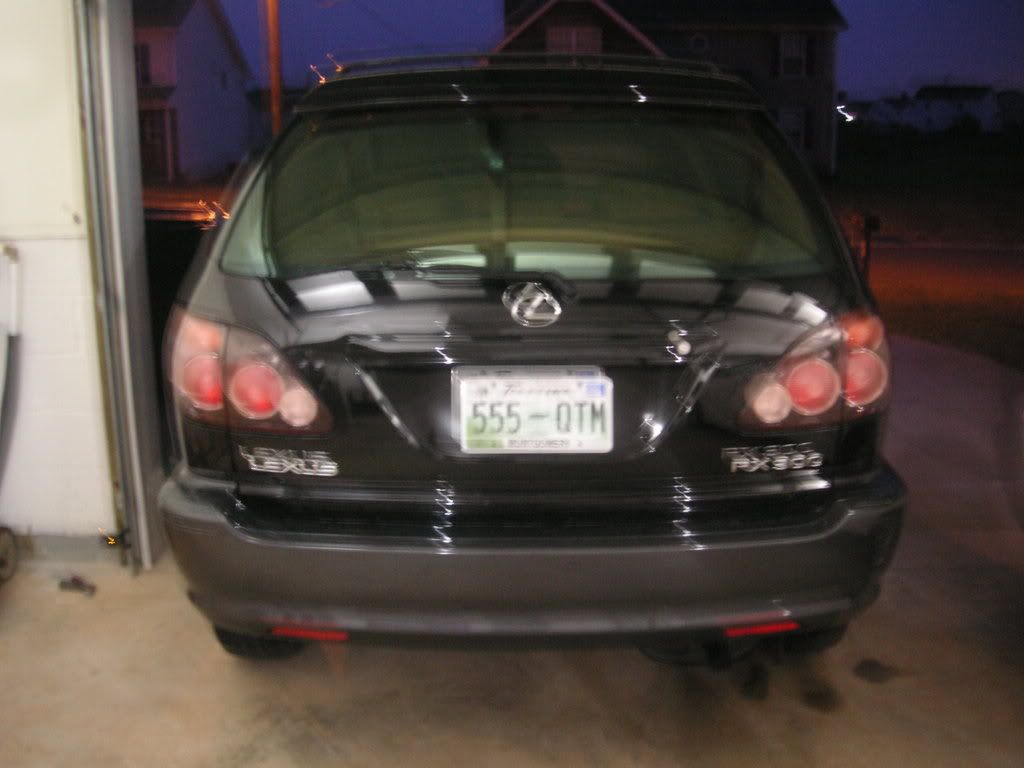
This is the end result during daylight.
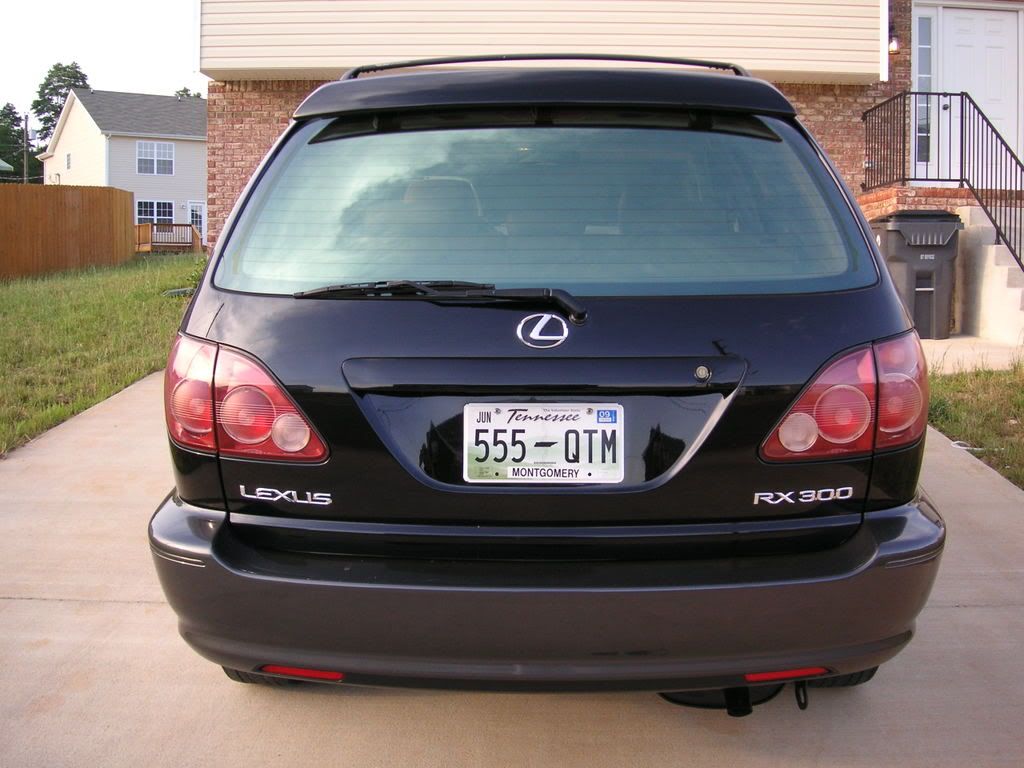


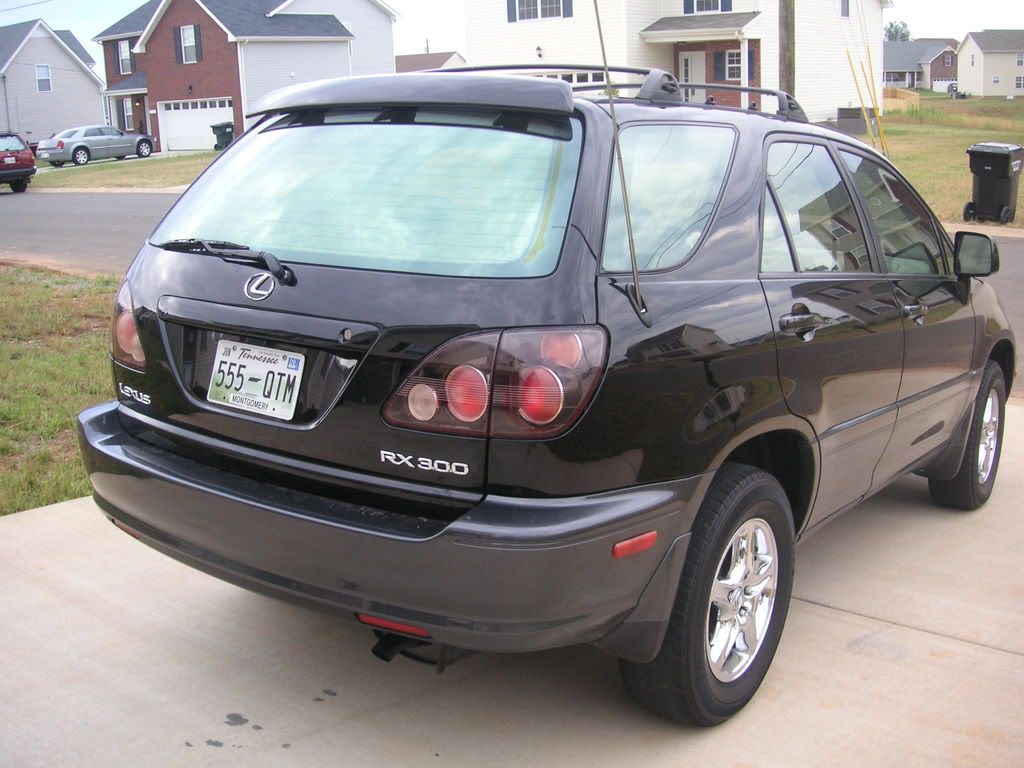
There you have it. A nice 6 hours of work. In my opinion it was well worth it for me.
Now I want to hear it from the masses.
What do you guys think???
There you have it. A nice 6 hours of work. In my opinion it was well worth it for me.
Now I want to hear it from the masses.
What do you guys think???
 07-04-08 | 06:30 PM
#4
Thread Starter
Rookie
Joined: Jun 2008
Posts: 95
Likes: 0
From: GA
thanks
I like the outcome too.
I think I guess I expected a more vibrant reaction from the forum members.
Maybe because most of the users already spent 180 for their smoke lights they are not comenting.
I am going to keep theses. I guess theyre uniqueness make them something to talk about.
A guy stopped me today at wally world and asked me where I got them. I smiled.
I told him about the forum and he will probably join soon.
Thank you for the comment.
07-05-08 | 05:15 AM
#5
Super Moderator
Joined: Apr 2004
Posts: 17,250
Likes: 165
From: Miami, Florida
I have a 99 black RX, actually went so far as removing my spoiler (had one like the one you had) and even repainted the lower panels black to match along with removing all the rear emblems, even the side corner lights are gone. Thus, this might be an additional modification I might try in the future.

 07-05-08 | 04:04 PM
#7
Thread Starter
Rookie
Joined: Jun 2008
Posts: 95
Likes: 0
From: GA
I think I agree and it was best to keep it there.
I do like the outline it gives.
Thanks for the comment
Juan

Thread
Thread Starter
Forum
Replies
Last Post