When you click on links to various merchants on this site and make a purchase, this can result in this site earning a commission. Affiliate programs and affiliations include, but are not limited to, the eBay Partner Network.
Edit: this test failed. .....
The oil is not flowing like a river, but you can see the atomized oil condensing in the can. Filling it a rate greater than before.
I just read your results and had a thought based on my experience with boost control solenoids on my turbo car. The factory lines to my turbo have a restrictor pill to feed a pressure signal the solenoid via 4mm lines. When i remove the pill i have sluggish response to hit my targeted boost pressure. The smaller diameter creates a more sensitive "signal" due to the speed of air through a smaller volume tube. In the event of vacuum, you appear to be exhibiting the same thing by accelerating the air through a restriction, in some ways like your thumb on the end of a garden hose. I theorize if you used a larger volume catch can, use larger ID hoses or longer hoses...vacuum would have to act on a larger volume of air before sucking into the manifold.
btw, i had hoped your pcv extension mod would have worked to create that extra bit of volume. I may have mentioned in another thread but i dont think the oil level is rising high up to the pcv valve on the rear head but still think the baffles should have been designed larger to allow oil mist to condense and drain back to the head. Your results further reinforce the theory that Gen 2 covers position the baffle drains right near the cam lobes, allowing the cams to flick oil up into them and letting vacuum do the rest. Thanks for sharing your real world testing results so far.
I just added a bit more to the previous post. The air passing thru the restrictor is moving faster but the overall amount of air volume is much less than before. In short, I still believe the restriction reduces the volume of air flow and total vacuum on the pcv.
Where I think the brass pipes failed is allowing the oil to migrate up a 30 degree incline and the fact that the valve inside the pcv was now horizontal and allowing free flow of air around the jiggler inside. Now that its vertical and the restrictor is still in the line, the oil stopped flowing into the catch can.
I keep reflecting on the fixed orifice pcv systems and just how small that hole is. It looks like its only 1/16" in diameter. If that's all it takes to draw off the vapors and moisture, I'm good with that. If its good for a 5.3L GM engine, it should be fine for a 3.slow toyota motor. I have to drive an hour into work tomorrow. I expect better results this time.
let me just add this thought. The amount of vacuum from the factory setup hinders the oil flow down through the narrow passages as it pulls air up to the head. By reducing the amount of air coming up from the crankcase, should improve oil flow down to the crankcase.
Can someone educate me on the oil gelling problem? Is it due to too much outside air being drawn through the motor? I thought the pcv removed moist air and prevented gelling, but it sounds like the constant influx of moist atmospheric air may actually be the problem not the solution to gelling. Correct me if I am wrong.
DrCoffee, does the amount of oil in the catch per miles driven match the consumption you measured previously on the dipstick?
I do believe it does. It wasnt in long enough to say conclusively but that amount of oil in just 200 miles is unacceptable to me.
if I recall, I had topped off the oil to the high mark and in 600 miles after swapping the valve cover, I had to add 1/8 Qt of oil to bring it back up to the high mark. (Corrected 1/2qt to 1/8qt). That equates to 1qt per 5,000 miles.
.
Can someone educate me on the oil gelling problem? Is it due to too much outside air being drawn through the motor? I thought the pcv removed moist air and prevented gelling, but it sounds like the constant influx of moist atmospheric air may actually be the problem not the solution to gelling. Correct me if I am wrong.
The only time you can have too much air being drawn through the motor is if the injectors are not spraying enough fuel for optimal combustion.Otherwise you have an extreme lean condition. The pcv does remove the moist air but doesn't prevent gelling. That is the expected job of the valve cover baffles or dedicated factory air/oil separator if provided. The moist air is the product of blowby gasses going past the piston rings into the crank case as a result of combustion. The goal of the factory design is the oil mist needs a place to condense and drain back into the head and eventually back into the crankcase. The moisture and any unburned fuel in fume form is routed through the pcv and back into the intake to attempt to be burned/steamed out in the next combustion cycle and out the tailpipe on the exhaust stroke. In short trips, the oil mist and moisture cool down in the baffle area to create a "whipped butter" gel. In a perfect situation, you would be driving long enough for all the condensation that accumulated from the night of cool down to be heated and steamed away. Optimal engine oil temp to hold for a while is 220F
So for this particular use [DrCoffee's] the redesigned valve cover did not fix the oil consumption through the intake?
The key word being 'FIX' .. we can't talk about improvement.
Salim
hard to say. I didnt drive it much between buying it and swapping the valve cover from Gen 1 to Gen 2. However, it was 1/2 qt low when I did the oil change just after the valve cover swap. I assume it was eating oil before but I cant prove it.
As it sits, it is eating 1qt per 5,000 miles. Once I stop the oil loss thru the pcv, I can determine how much of it was via the piston rings. I see no visable oil leaks and I get no smoke out the tail pipe. Oil consumption outside the pcv seems minimal and probably normal.
edit:
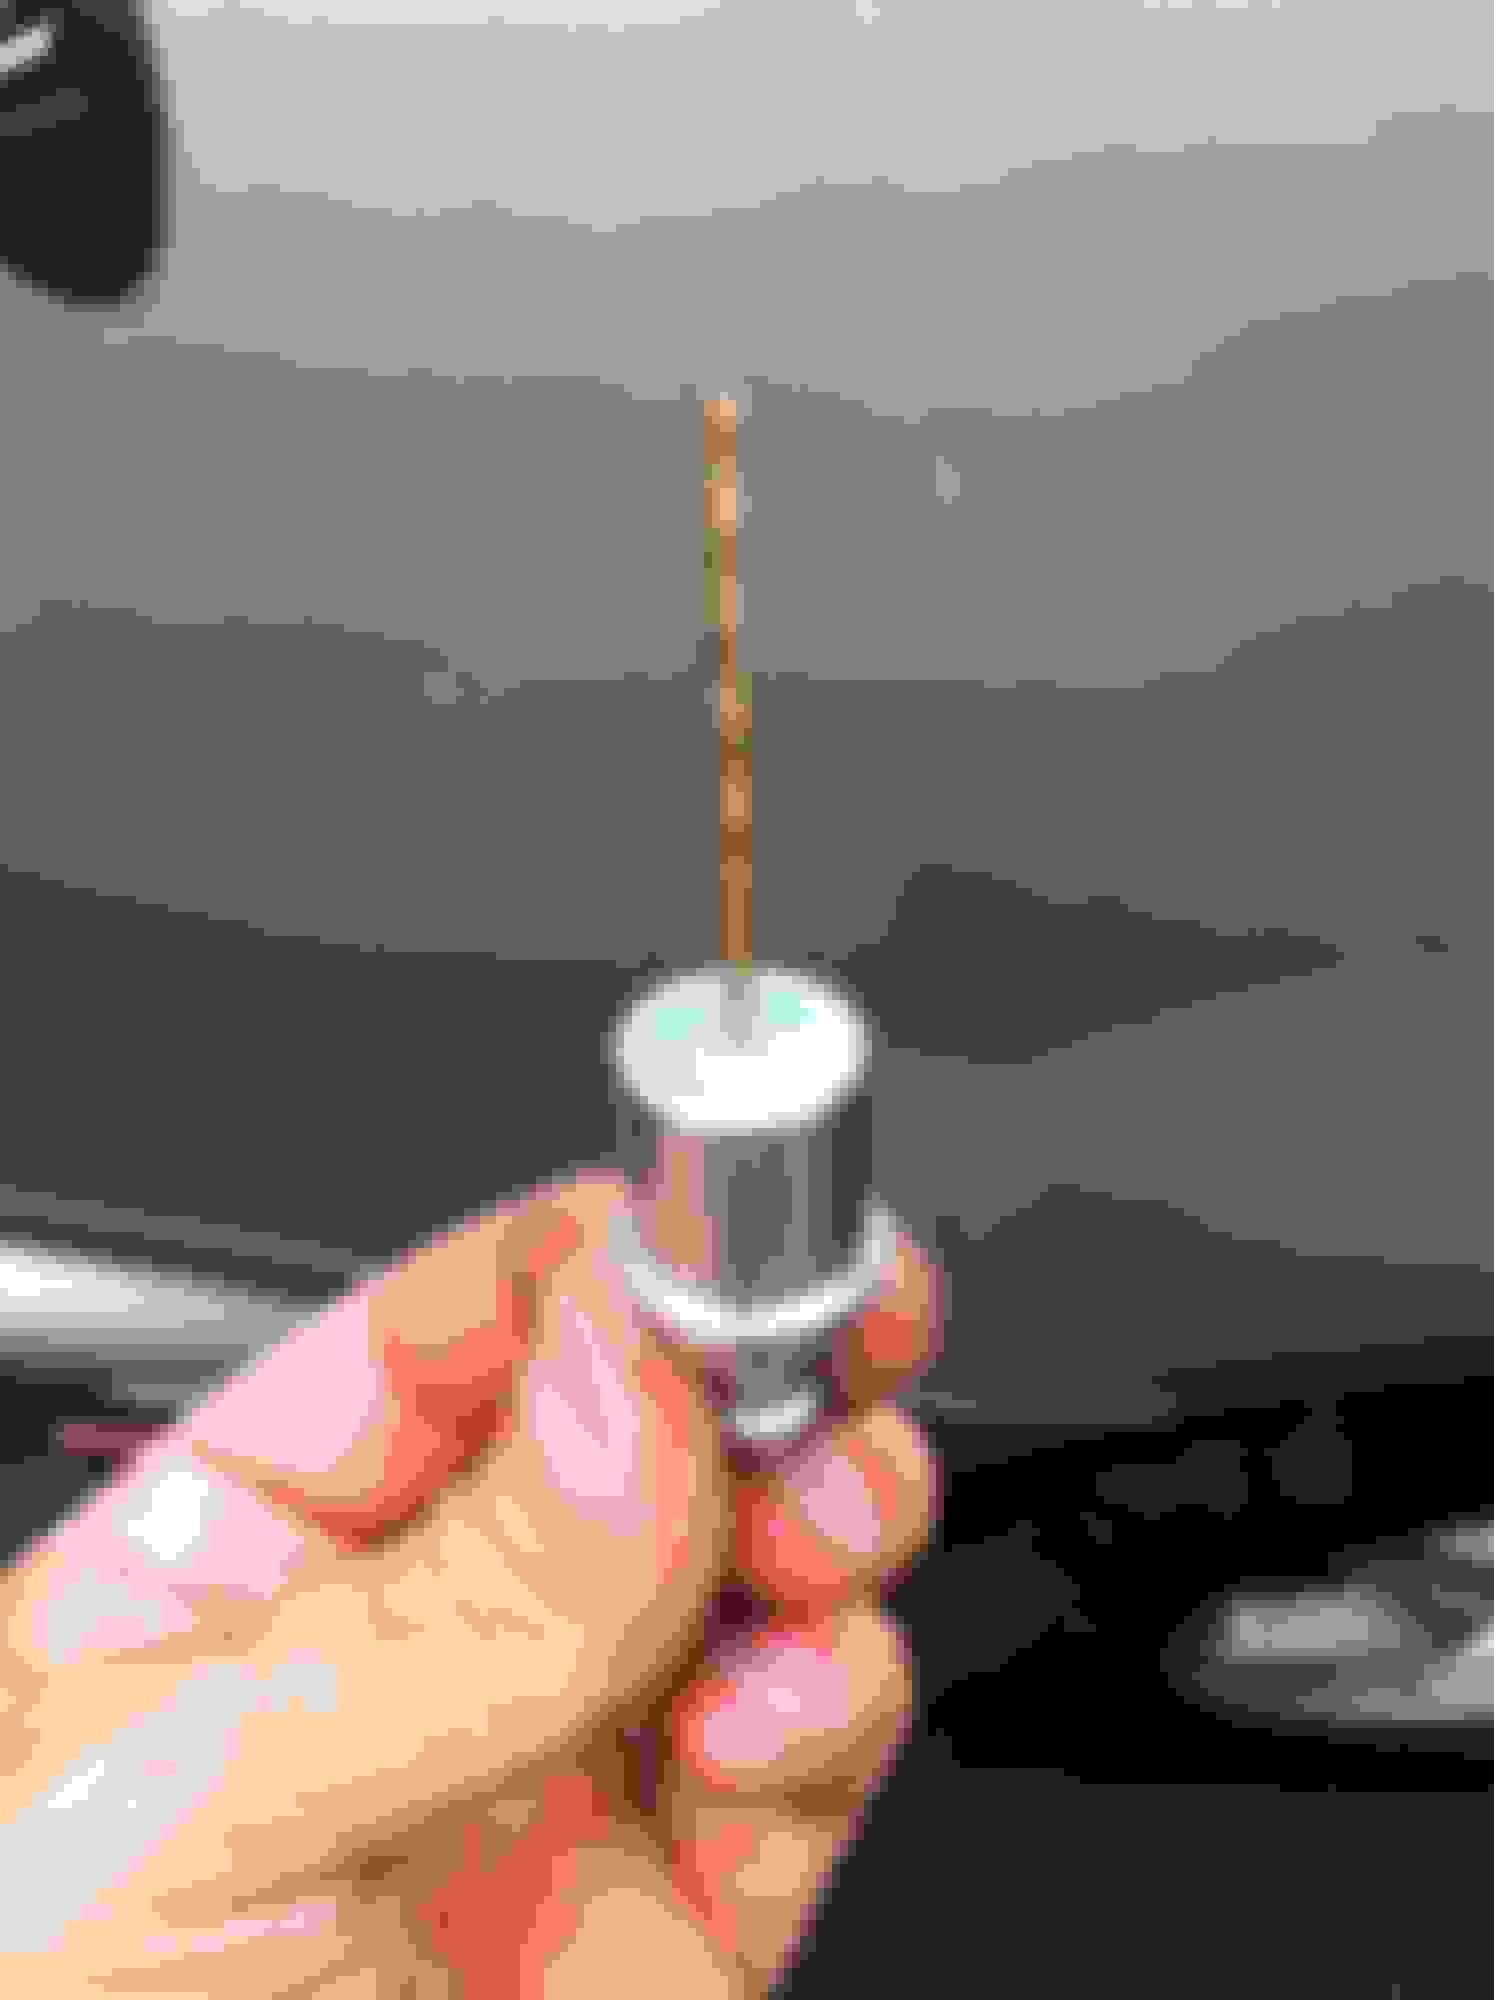
with the 1/8" vacuum splice in I am still collecting oil at the same rate. Its impossible to find off-the-shelf orifices to test, so I decided to make my own. The 1/8" orifice it still too large, and I will need to test sizes more in line with what GM has on their fixed orifice valve 0.102" (2.5mm)
The closest drill bit I have to that value is 3/32" = 0.094"
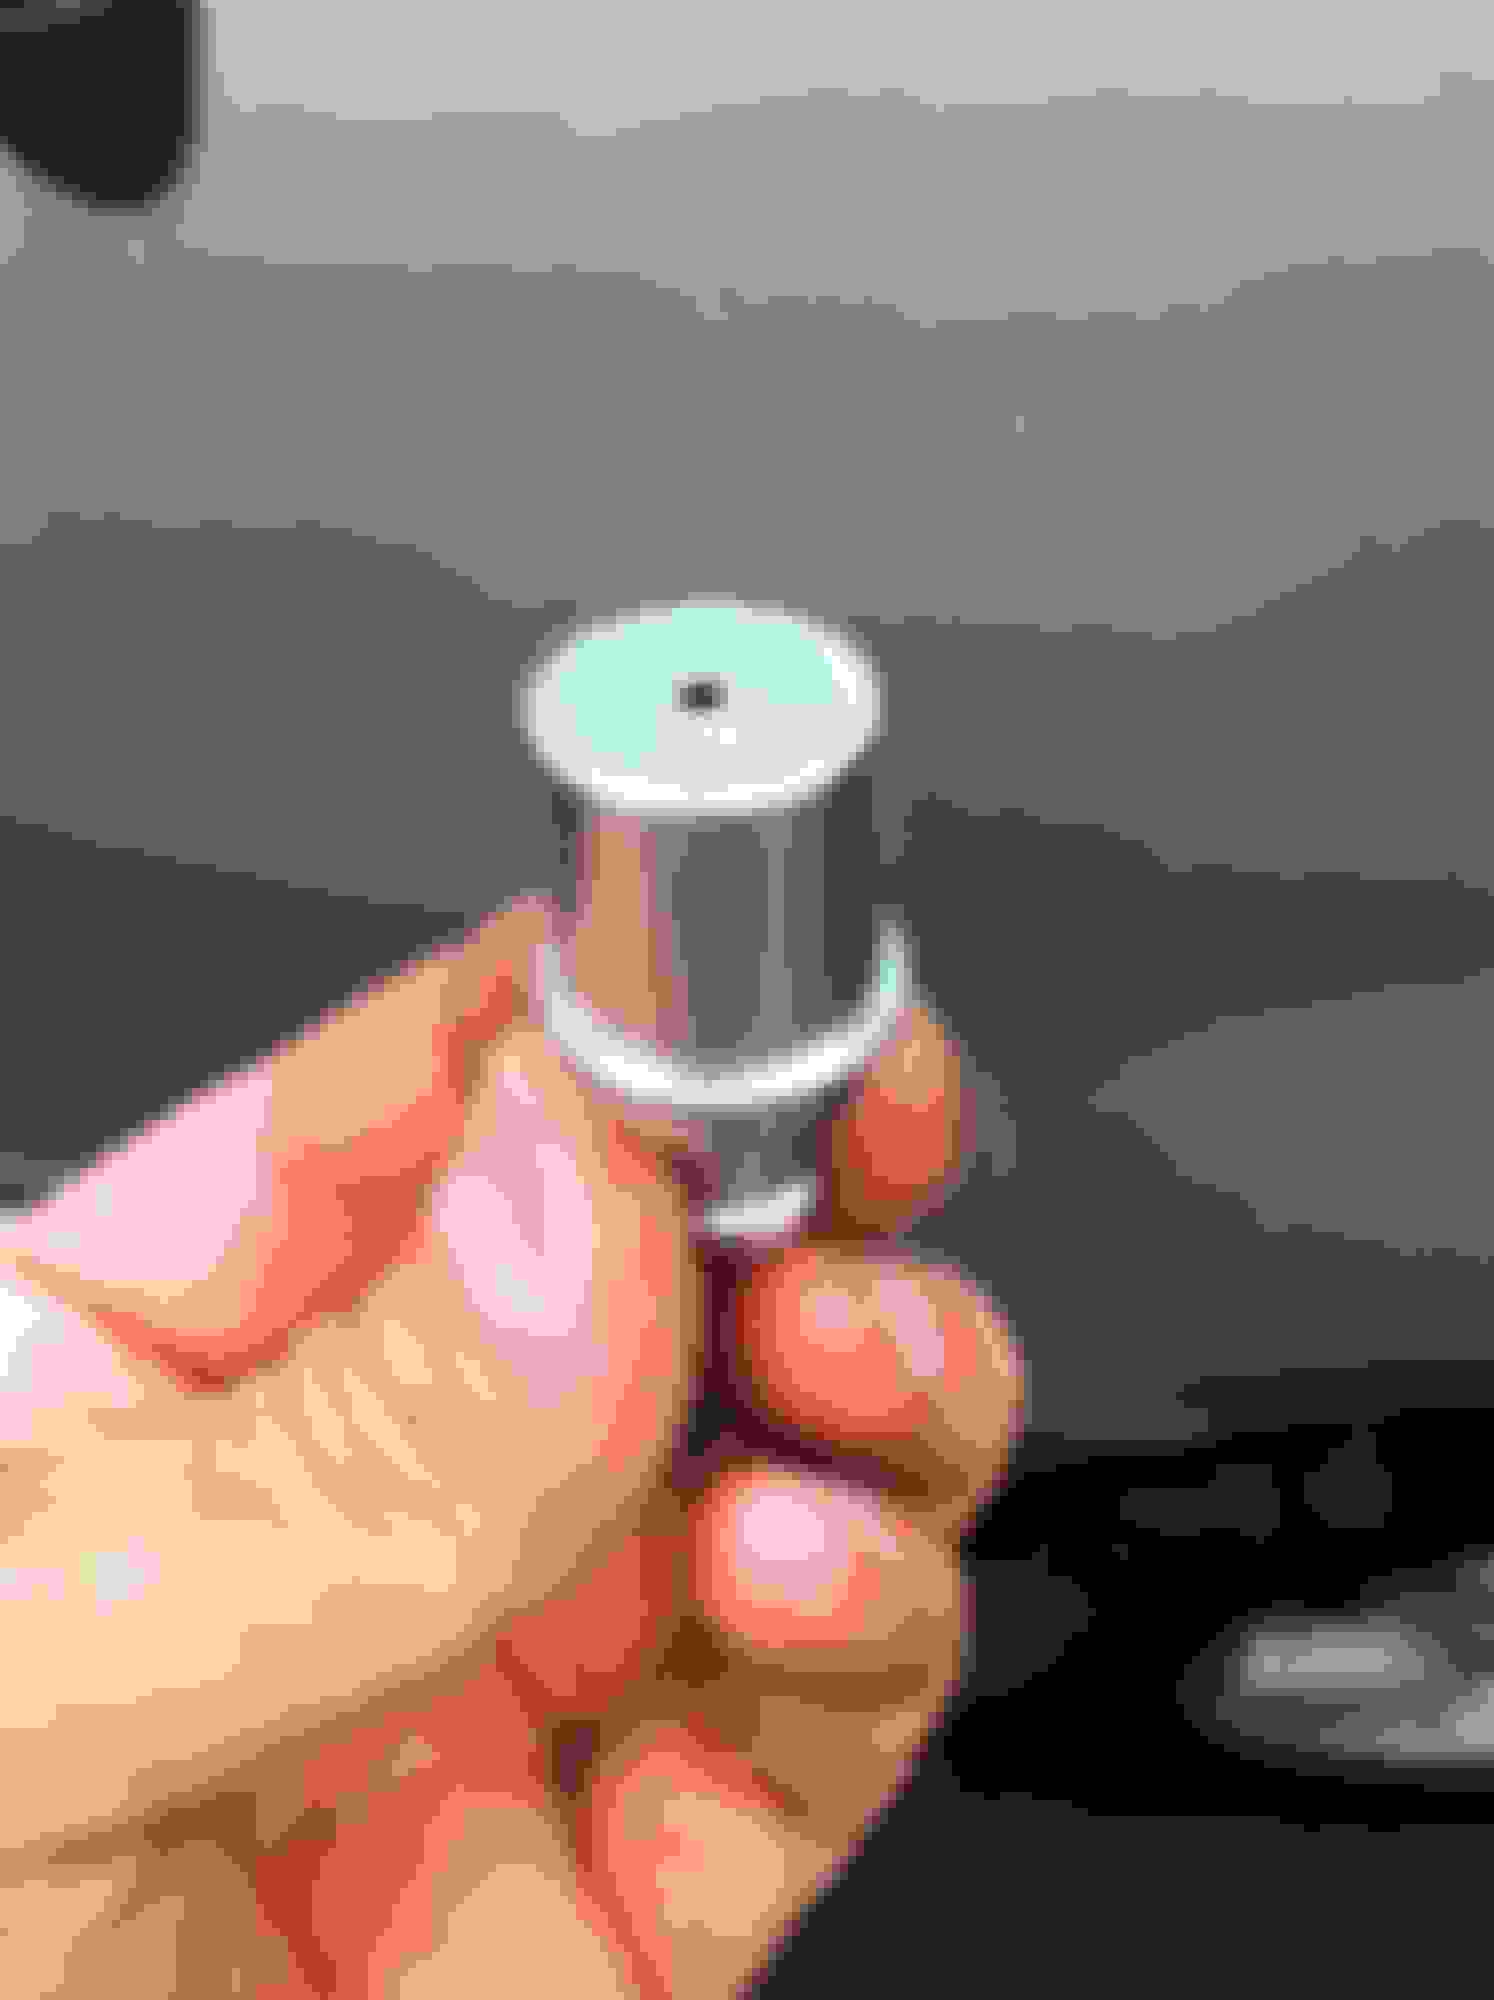
the process requires a male and female 3/8" adapters. Stainless steel sheet that I needed for another project and one of my favorite tools, the roto broach drill bit. The roto broach cuts a clean perfect circle. This picture shows the stainless steel sheet with two holes labeled for the size hole drilled. This hole also acts as a centering point for the roto broach.
I went to the parts store today and bought the GM PCV with the fixed orifice to make sure of the hole size. Its 2.5mm and the 3/32" drill bit fits perfectly. The problem is I am still drawing oil. So I made a new restrictor 5/64" (2mm) and re-installed it. This is going to have to be my last iteration as I give it to my daughter tomorrow.
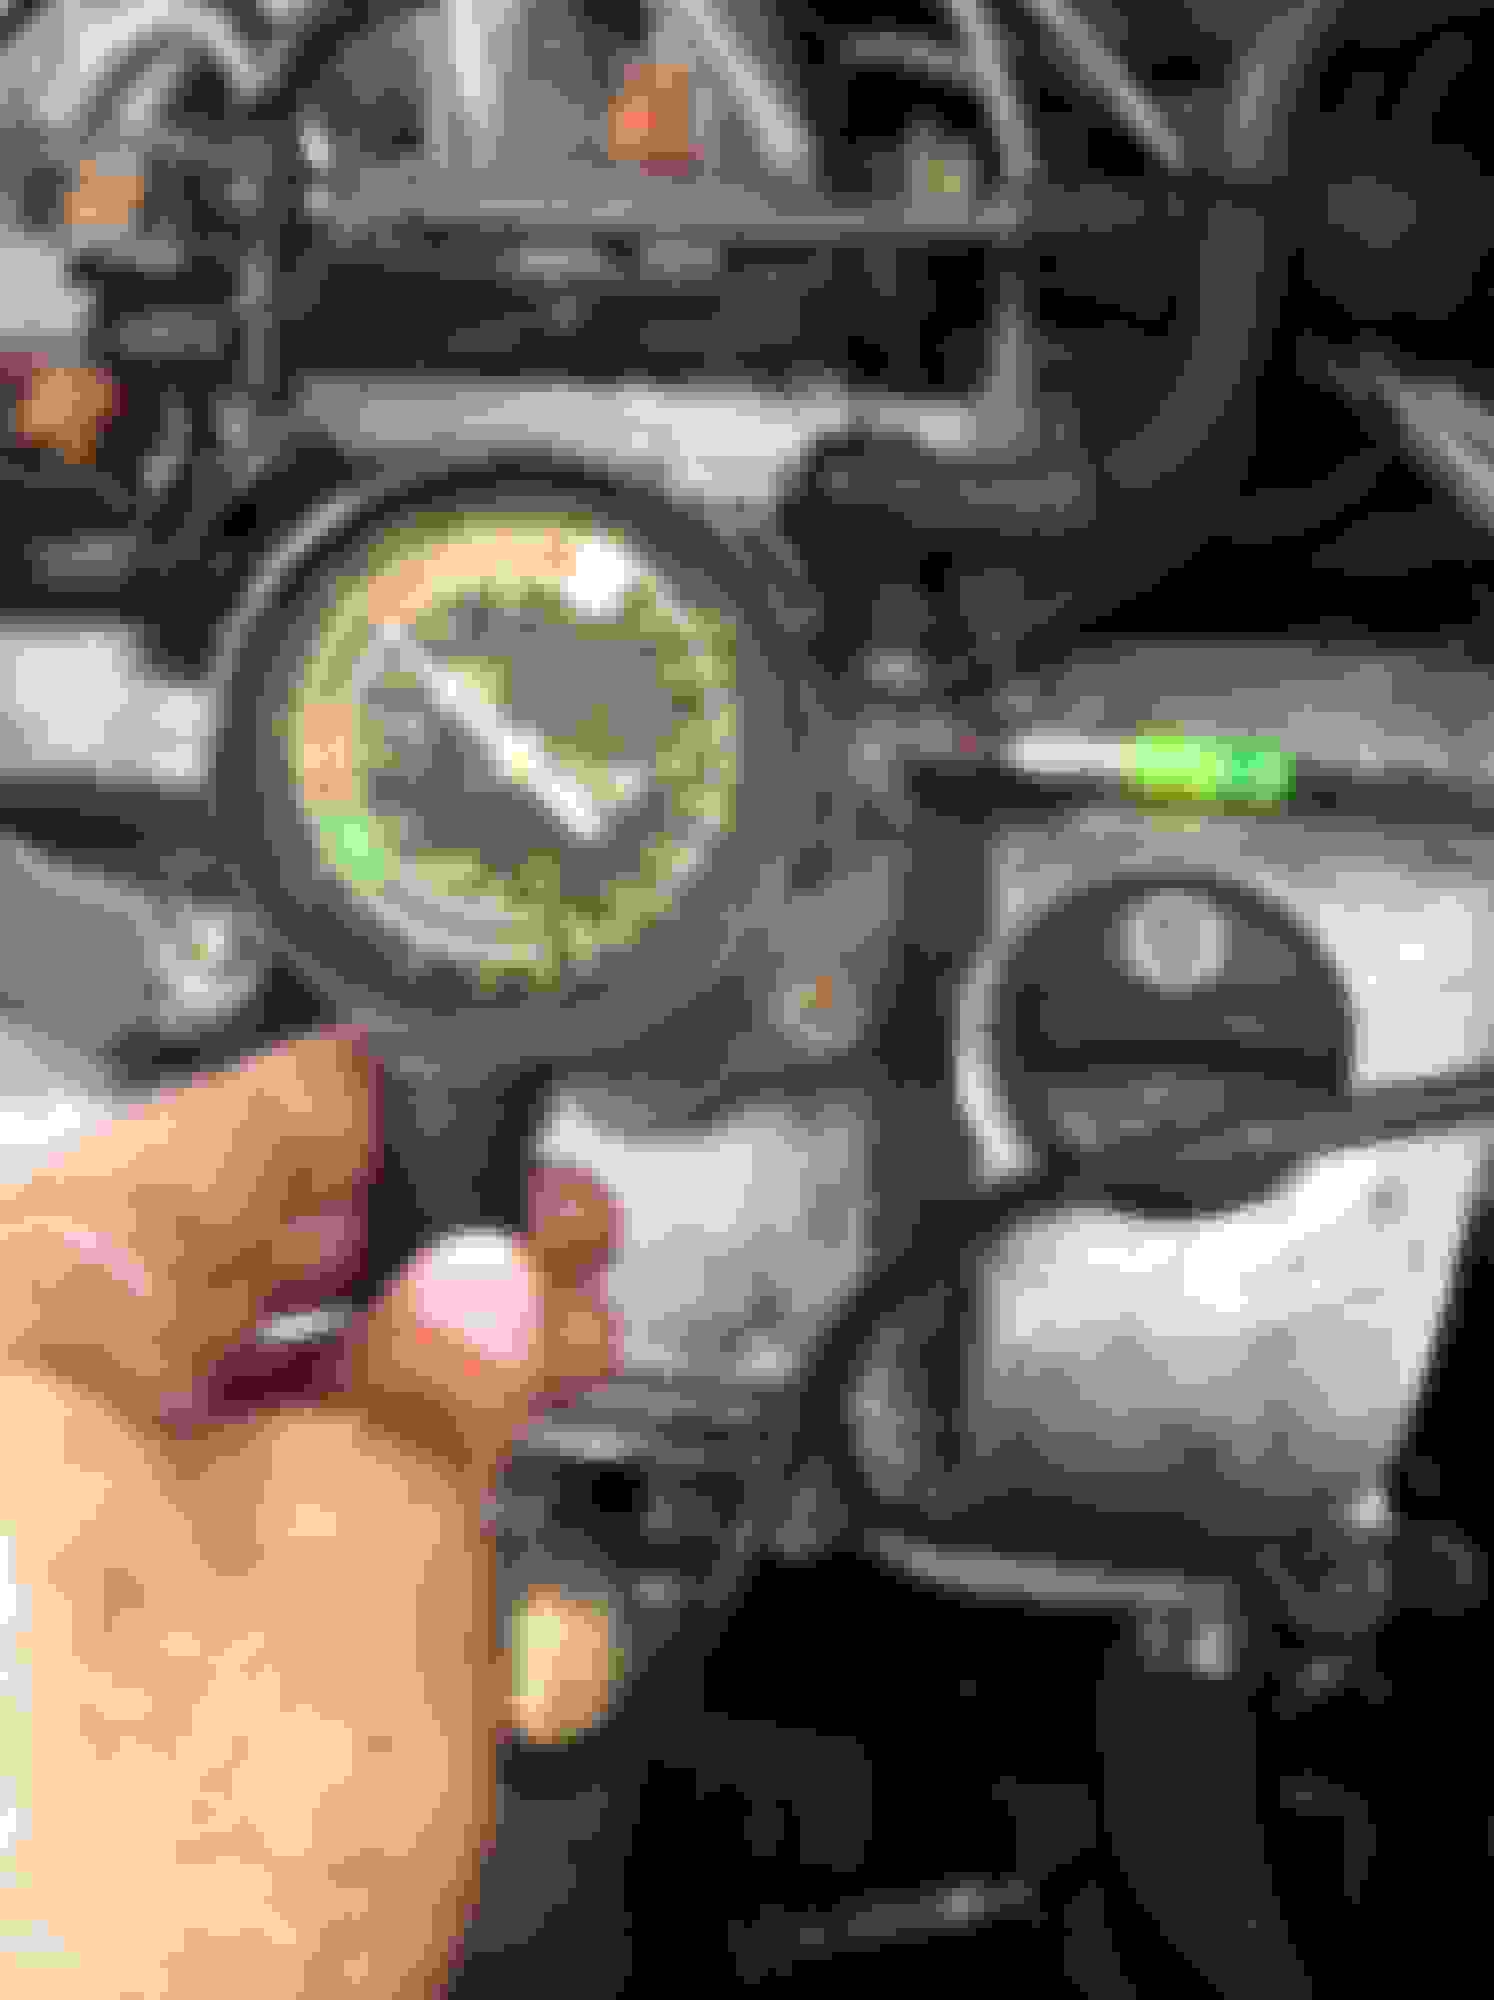
I was curious though just how much vacuum the 2mm restrictor was pulling. With the RX300 idling, I disconnected the fresh air port and put my finger over the port and wow! There is still a good amount of vacuum even with a 2mm restriction. I put a vacuum gauge on the fresh air port on the Left cam cover and it was pulling 10 in Hg. That will only get stronger at 3200rpm at highway speeds. I wish I had a manometer to measure air flow but you can check your own to compare.
If anyone with oil consumption would like to test this on their RX, I would be willing to make one for you if you cover shipping and report back with your results in a timely manner. PM me.
Drcoffee, have you thought of using an inline valve to create the restriction size you are looking for? Simple plastic or brass valves found at aquarium shops should create the restriction you are looking for
.
....Or just route the pcv vac source to a vacuum source before the throttle body but behind the MAF. In the stock location source, vacuum will always increase as rpms increase , however prior to the TB, vacuum will vary as it opens and closes itself. Just other ideas to slow /restrict the vacuum down.
High heat and oil will degrade the seals in those valves. I am looking for a permanent fix that needs no adjustments. If you run the pcv before the throttle plate it will carbon up the TB quickly.
Well, this was an interesting weekend of testing the fixed orifice idea. I get about 320 miles to a tank of gas using 87 octane. I drove mid-way to swap vehicles with my daughter who lives in Tulsa OK which put us in St. Louis as a meeting place. We had a wonderful time sightseeing the city I went to college in 1988-90. But that aside, I stopped about 200 miles from home to refill with fuel and check the oil level. I was frustrated with my results because I was over half a quart low in just 200 miles. Reference the picture above of the hose and restrictor as it is setup in post #188. The restriction is about 6" in on a 20" hose and at that point was closest to the PCV valve. I don't know why but I thought of reversing tne position of the restriction to the intake side as if that would change the vacuum on the PCV. Any way, thats what I did and got back on the road after refilling the oil to the high mark. After another 110 miles and 2 hours later, arriving at the hotel, I re-checked the oil level and shazam! No oil loss. Of course that can't be so, and I just ignored the results. Today we left St. Louis and the RX300 headed to its new home in Tulsa 350 miles away.
This evening I had my daughter check the oil level again after 6 hours at 80 mph and Shazam! The oil level is still at the high oil mark. So we will keep an eye on it for a while, but I think I finally solved the oil sucking issue without deleting the PCV system or buying the newest cam cover costing $250.
The offer still stands if anyone with oil consumption wants to try this out before replacing their cam cover, PM me.
Well, this was an interesting weekend of testing the fixed orifice idea. I get about 320 miles to a tank of gas using 87 octane. I drove mid-way to swap vehicles with my daughter who lives in Tulsa OK which put us in St. Louis as a meeting place. We had a wonderful time sightseeing the city I went to college in 1988-90. But that aside, I stopped about 200 miles from home to refill with fuel and check the oil level. I was frustrated with my results because I was over half a quart low in just 200 miles. Reference the picture above of the hose and restrictor as it is setup in post #188. The restriction is about 6" in on a 20" hose and at that point was closest to the PCV valve. I don't know why but I thought of reversing the position of the restriction to the intake side as if that would change the vacuum on the PCV. Any way, thats what I did and got back on the road after refilling the oil to the high mark. After another 110 miles and 2 hours later, arriving at the hotel, I re-checked the oil level and shazam! No oil loss. Of course that can't be so, and I just ignored the results. Today we left St. Louis and the RX300 headed to its new home in Tulsa 350 miles away.
This evening I had my daughter check the oil level again after 6 hours at 80 mph and Shazam! The oil level is still at the high oil mark. So we will keep an eye on it for a while, but I think I finally solved the oil sucking issue without deleting the PCV system or buying the newest cam cover costing $250.
The offer still stands if anyone with oil consumption wants to try this out before replacing their cam cover, PM me.
I am installing this next weekend. I have access to a punch at work and have replicated the 5/64" hole restrictor disc. Can't wait to try it out and will report back how it works on my RX!
Dr. Coffee,
I cut the disc and drilled a 5/64" hole, but when I put the disc into the female coupler, I could never screw the male side down enough to pin the disc against the base of the coupler. The disc was able to move some when I shook it, and I still had threads visible on the male side, but it felt as if I had bottomed out though I hadn't. At that point I could blow air through the fitting and it seemed to allow much more air than the hole would have alone. I then further tightened it so much it seized and I couldn't unscrew it. I thought about adding some stainless washers to create more standoff to engage the male end before it binds. Any comments on how yours worked? I am also going to add anti-seize to the threads on my next attempt.
My barbed ends are a flare fitting and seal against each other.
PM me your address and I will send you the other one I made.
Hey Guys!
My 2002 RX300 (168K miles) was using 1/2 quart every 100 miles with new PCV . It had the screw in PCV valve. BUT the valve cover was a 2nd Gen, Not a 3rd Gen. The 2nd Gens are also oil suckers!
Found a used 3rd Gen rear valve cover on Ebay for $50.
Finally got around to installing it. Have driven 200 hwy miles at 75+ and haven't lost a drop of oil. HALLELULAH.
Motor had no sludge and 180 psi all cylinders thank God.
Anyway......for those of you with screw in PCV valves- want to know how to tell if you have a 2nd or 3rd Gen valve cover?
There are slight differences on the outside that you can use to ID your cover. The 3rd Gens PCV valve boss is slightly slanted. ALSO there are 4 notches on the 3rd Gens edge and only 2 on the 2nd Gen.
Inside the covers it's obvious...the 3rd Gen has the PCV vent all the way over on the side, and none in the middle.

 08-14-16 | 04:27 PM