When you click on links to various merchants on this site and make a purchase, this can result in this site earning a commission. Affiliate programs and affiliations include, but are not limited to, the eBay Partner Network.
Works great! Its ironic that the lamp failure box has failed lol.
This 4 year old post saved a lot of time and money for me. I was gonna give it to the local auto electrician and it would have costed me a ton of money.
All in all it was an easy fix and mechanics should refer to the internet more often, because my mechanic said it'll be the ecu and will need to bypass the wiring etc and suggested me replacing various stuff like switches and relays.
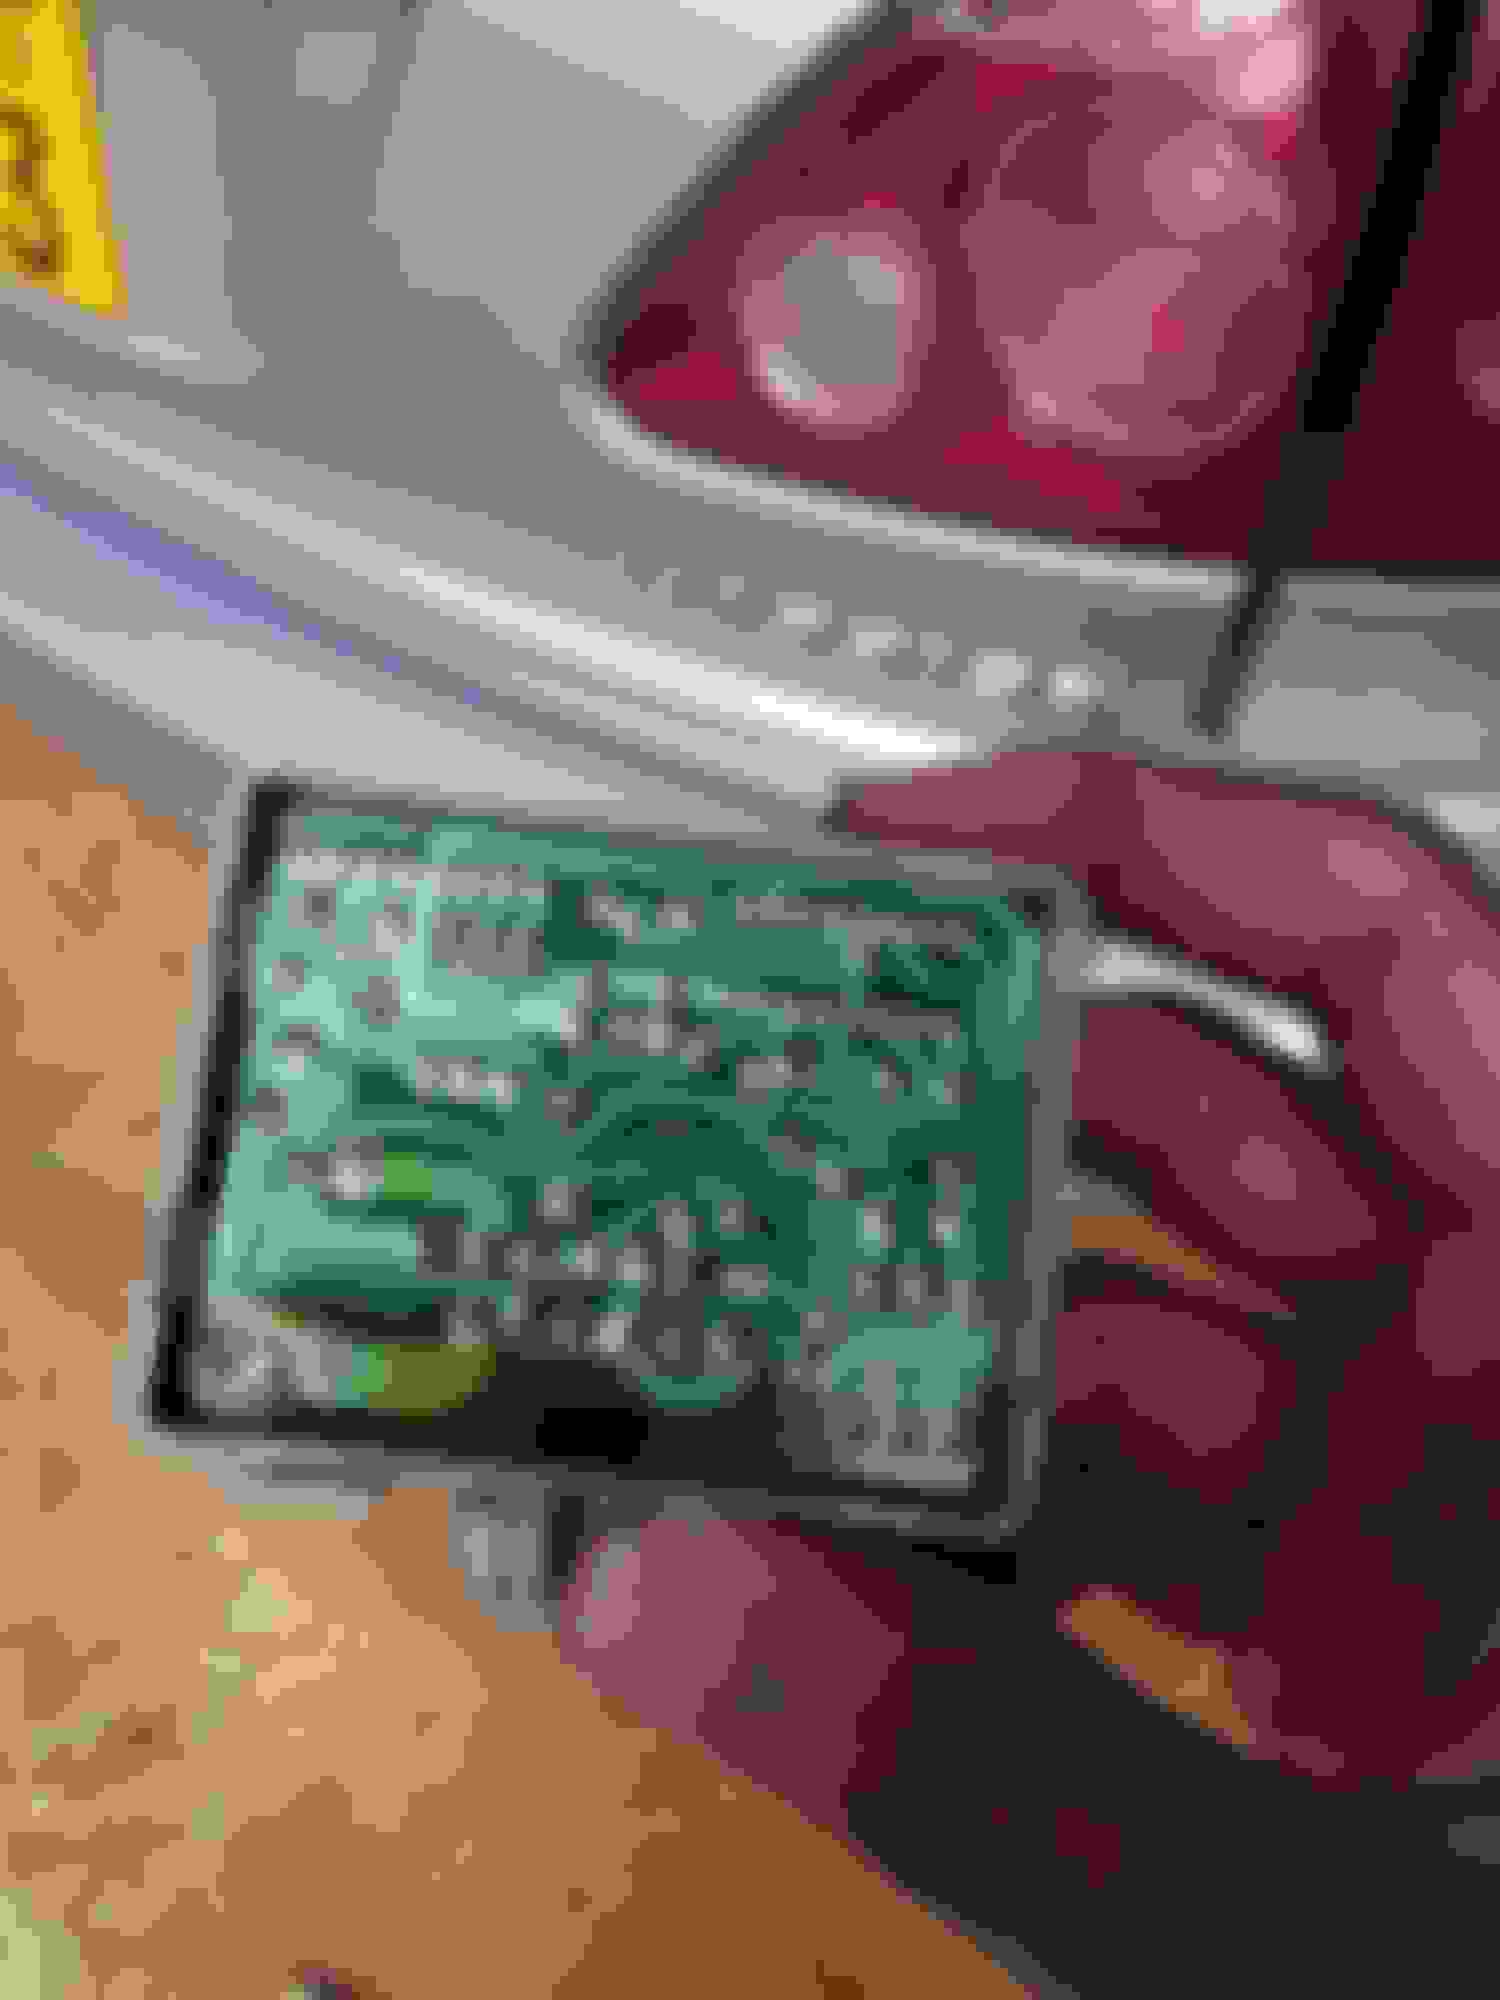
For people who come across this issue in the future , I attached some photos. and like everyone pin no 1 was the loosen solder. Don't add too much solder, add a little after scraping the existing, and always remove battery. Do other pins if they look like the solder has loosened or looks thin.
I put a lot of solder the 1st time and removed half of it after, too much solder will short things out when heated and liquefied as the unit sits at an angle. You don't have to remove all the panels, just need enough room to squeeze the plastic tabs by hand.
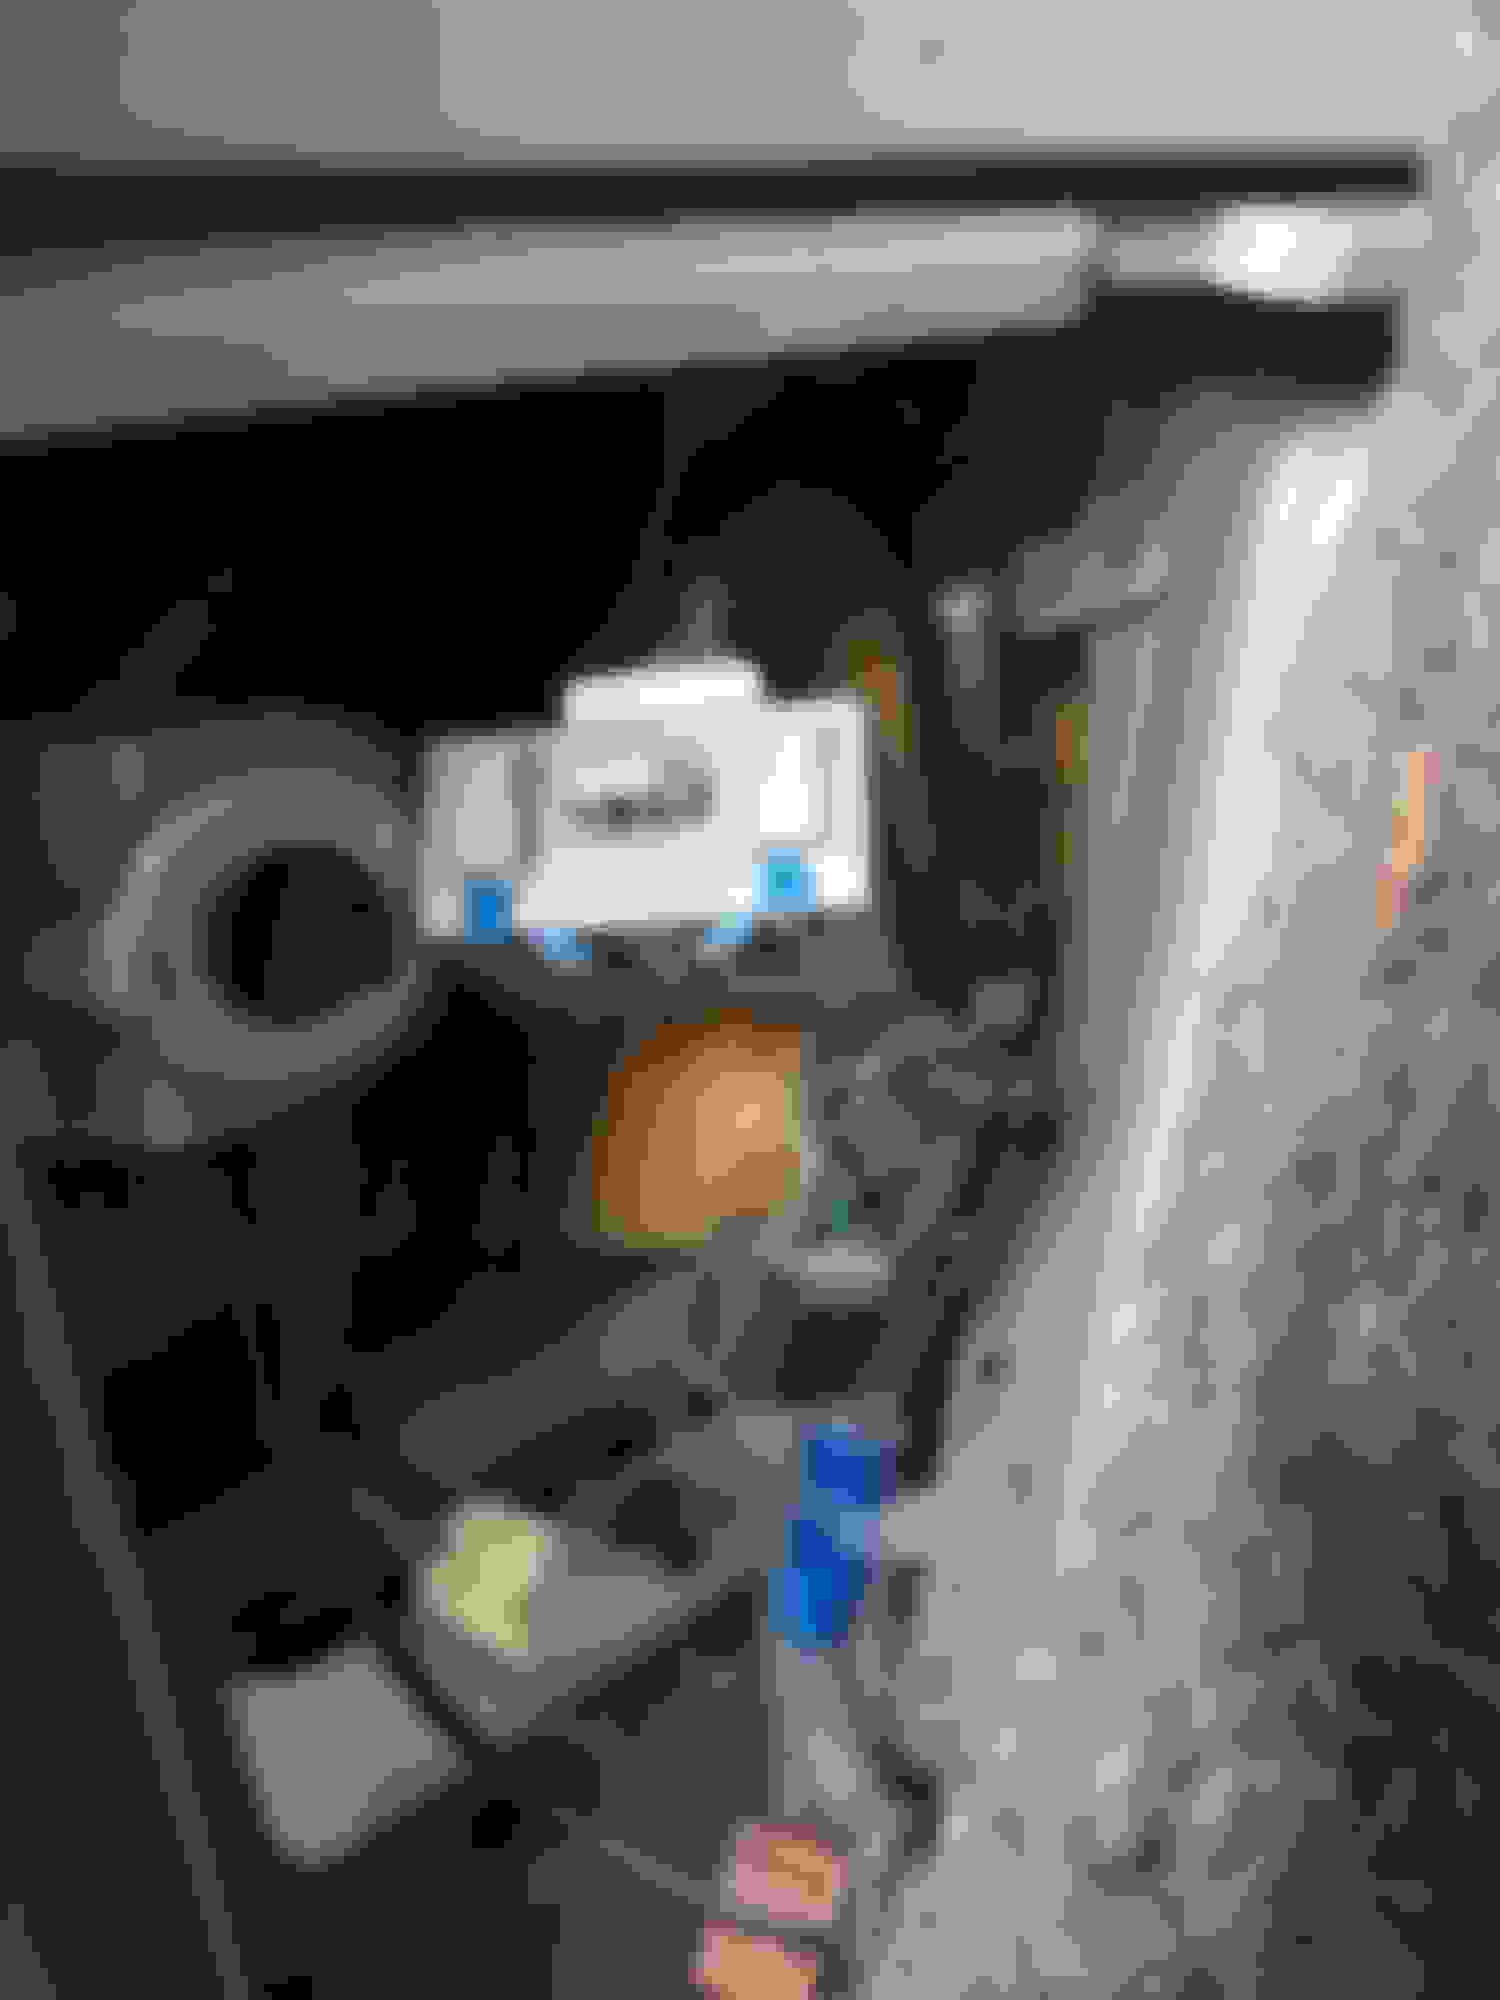
The upper plastic panel needs to be partly removed, reach the plastic tab of the unit from side of the plastic window panel.
There it is.
That is too much solder, apply half of this,(i removed half of it before connecting) but applying a lot then removing half of it makes the contact more clean and connected.a bit of soldering iron heat won't kill the unit but be careful with the plastic.
Go to a radio repair store or any repair shop with a soldering iron of you're not familiar soldering stuff , they'll do a better job than what i did 😁
It works and costs you like $20 max, i had solder and an heat iron so the fix is technically free for me.
I just wanted to thank you all for this posting. I was able to glean everything I needed from it to fix my Failure Module. I wasn't able to take all the interior panels off as instructed because my LH Rear Seat Lock Control is busted, but was able to get enough loose to wiggle my hand up under the window panel to identify and release the module based on the pictures and descriptions within this posting. I'm only moderately experienced in fixing my own vehicle issues, and have maybe 2 hours of soldering experience but was able to get this done anyhow, thanks to your having shared the right stuff. Now, on to the next fix! :-)
Didn't see this posted anywhere so I figured I would take it upon myself to do so. Like many people before me, I ran into an issue with the brake lights on my 99 RX300. When I pushed the brakes, no lights would come on at all.
*First thing to do is obviously check the fuse. It was fine.
*Second, check power at the brake sensor at the brake pedal. These DO go out, but often times are NOT the issue. The two wires connected to the sensor are Green/Black and Green/White. The Green/Black comes from the battery and should have 12v. When the brake pedal is depressed, power flows through the switch and out of the Green/White wire. There isn't much room down there to fiddle around with testing those wires, so here is an easier way to test that below:
-The BRAKE LIGHT FAILURE SENSOR MODULE is located on the cargo area underneath the fabric lining. Once removed, it is a tan colored box clipped to the back side of the sheet metal. From HERE, we can test if the BRAKE SENSOR at the pedal is bad. As I mentioned above, once the pedal is depressed, it sends 12v through the green/white wire. This wire leads back to the BRAKE LIGHT FAILURE SENSOR MODULE in the cargo area. So here, take your voltmeter and test the GREEN/WHITE wire on the module harness while the KEY IS ON and the BRAKE PEDAL IS DEPRESSED. If your BRAKE SENSOR is working, you will get 12v. If you get no power, your brake sensor is bad.
*NOW...if you DO get power at the GREEN/WHITE wire, but you DO NOT have brake lights still, you will now test PIN #1 on the same harness. This is the GREEN/YELLOW wire. CHANCES ARE, you WILL NOT get 12v at this wire. Again, test with the KEY ON and BRAKE PEDAL DEPRESSED. If you DO NOT get 12v at the GREEN/YELLOW wire, then your BRAKE LIGHT FAILURE SENSOR MODULE is bad. This seems to be the most common issue when the brake lights don't work all of a sudden.
*****A NEW MODULE WILL RUN YOU UPWARDS OF $300 FROM THE DEALER!!!!*****
*We don't want to pay this ridiculous amount of money for a small plastic box. And with a couple minutes, you can fix the sensor YOURSELF and be back to working in no time.
These sensors are just like the main relays on Honda's...one pin in general ends up getting a broken solder joint. This is caused by many heat cycles on/off. The solder heats up when power goes through (BRAKES APPLIED) and cools when there's no power (BRAKES RELEASED). With the Honda relays, it is usually the starter solder joint that ends up cracking. Anyway, back to our modules. With the constant heat cycles and the robotic welds on the board itself, the design is prone to failure from the factory...AS WE KNOW.
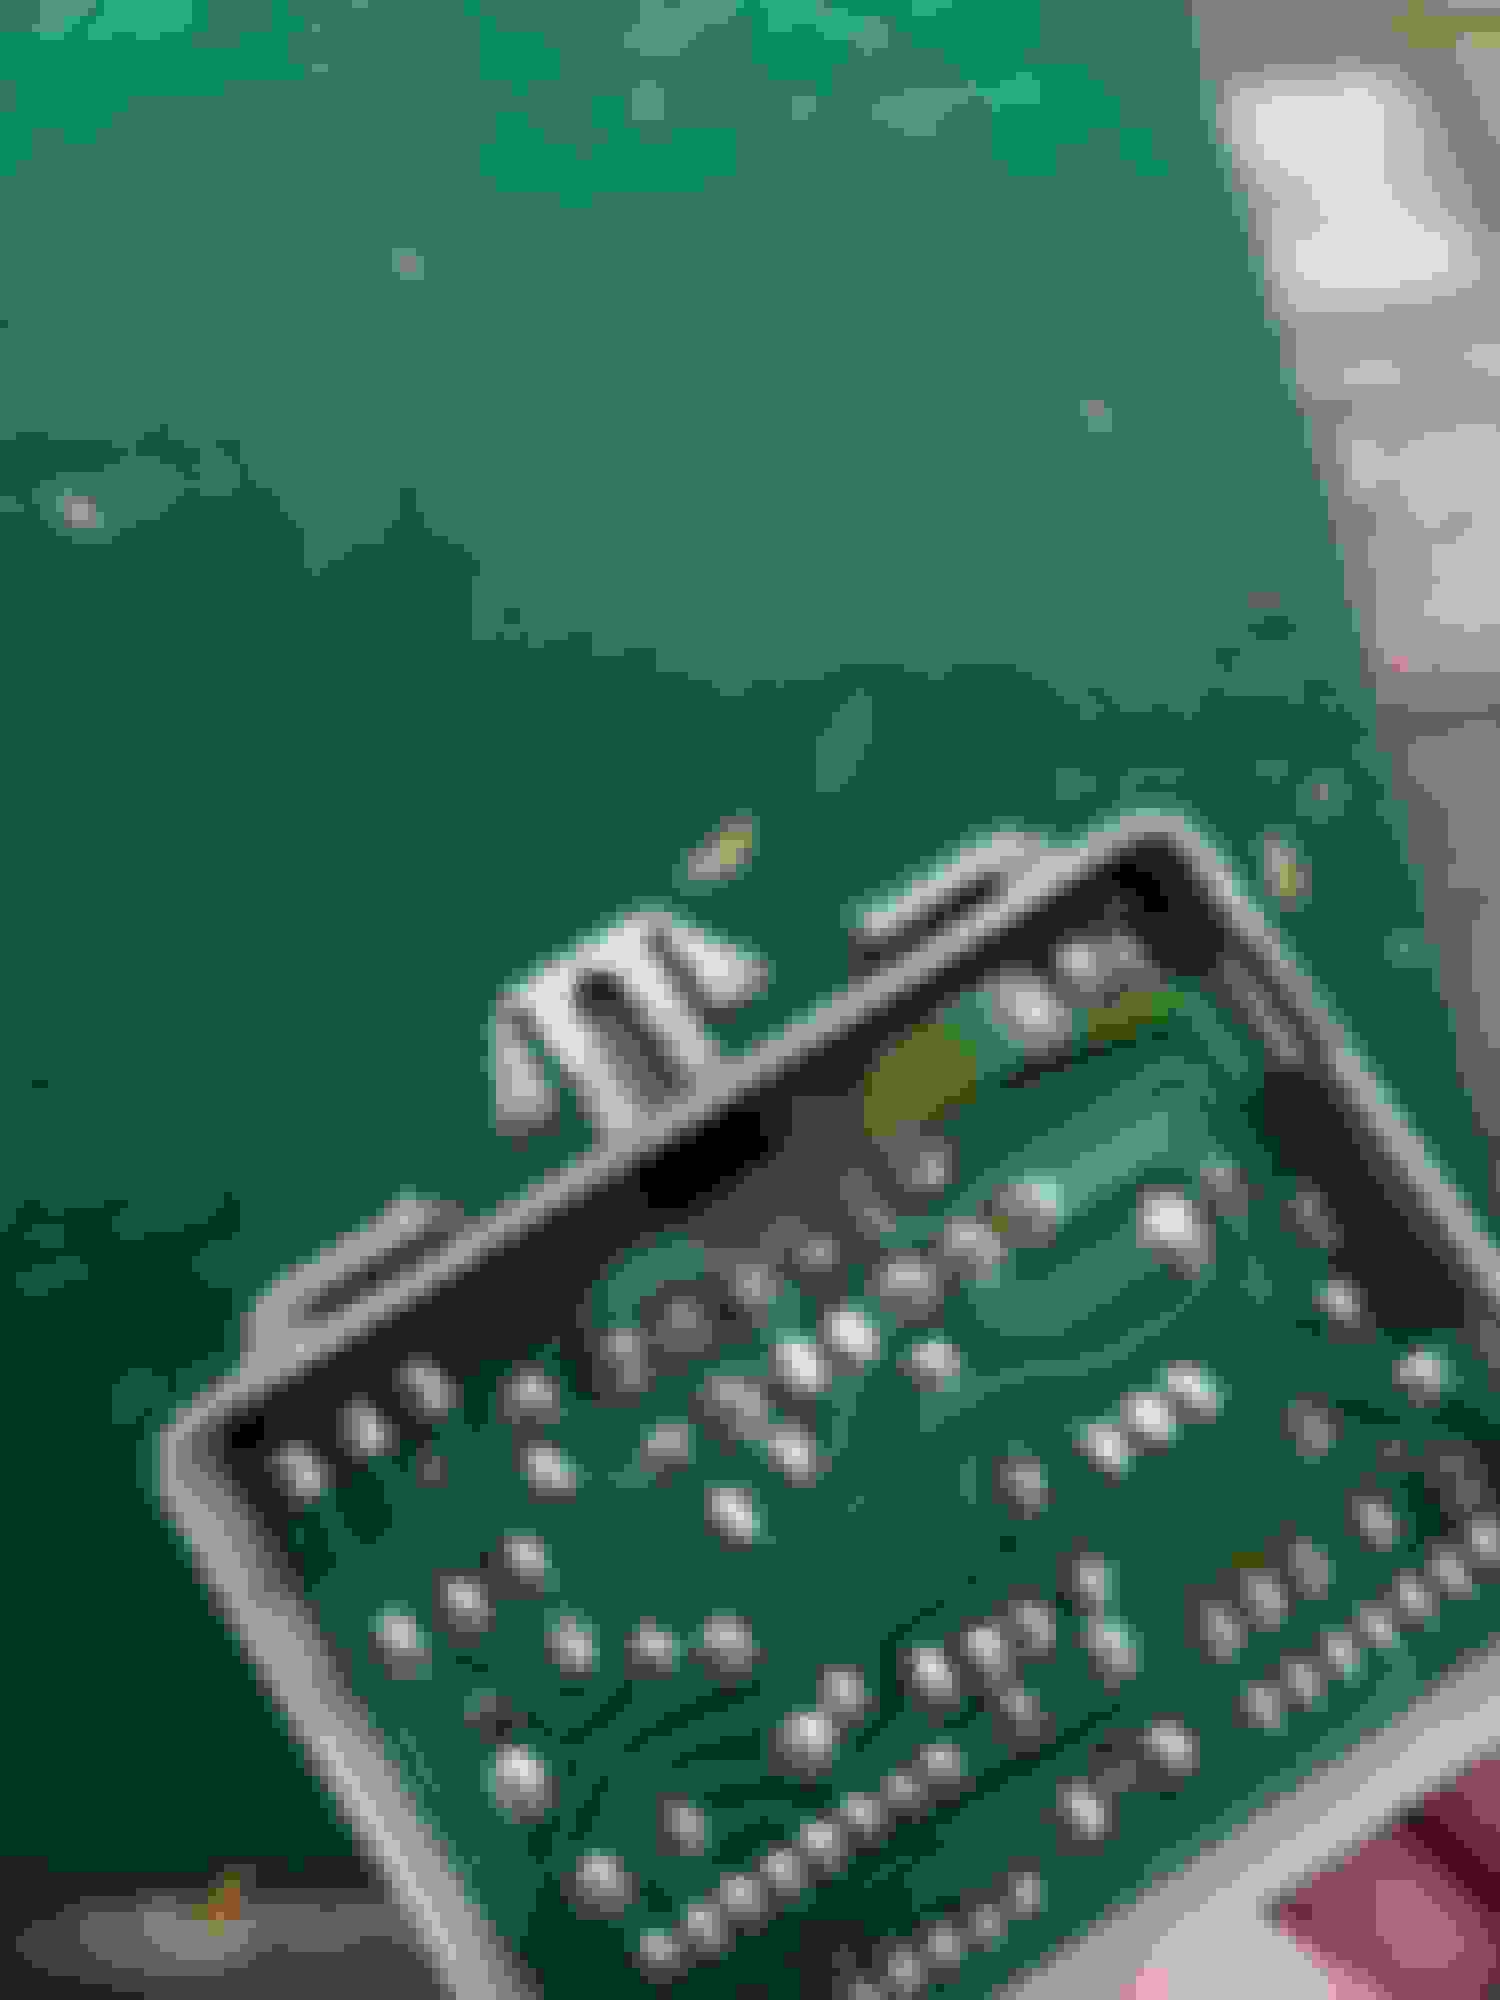
*Once your module is out, take the blue cover off of the back, you will see the circuit board. You will see the pins for the connector along the top. PIN #1 is the one that we are working with here. It is where the GREEN/YELLOW wire will be when the plug is connected. If you check it out, chances are you will see that the solder has cracked and broken away from the pin. You will see all of the other solder joints are solid but the solder on PIN #1 looks like THIS:
As you can see, there is a clear difference in the way the solder flows. The pictures don't do justice to what you see in person, but it is definitely noticeable in my pictures.
*You can two one of two things here. First would be to use solder braid and remove all of the old solder, then resolder the pin afterward. OR apply a tad bit more solder to the already existing solder. The existing solder has become a cold solder joint due to cracking, as you can see. Reheat the old solder and flow new solder onto the pin. After you are done, you will get something similar to THIS:
After you flow new solder, you can clean up the surrounding area with your solder braid and alcohol. Put the blue cover back on the module box and plug it in. Step on the brakes and ENJOY the fact that you didn't have to spend $300.
My car is a 99, it took 14 years for the solder joint to fail like it did. Resoldering this with a GOOD solder joint should last the rest of the life of the car. I've repaired multiple Honda main relays like this and even years later, there hasn't been an issue again. My brakes are working perfect in the RX now. Time will ultimately tell how long this fix lasts, but just remember that the natural design of the module is prone to failure to begin with...so even if you were to buy a brand new module, it will fail again at some point. Maybe not before your car dies, but you get the point.
Will this work on a 2004 RX330? I am having the same problem and the service guy has gotten down to where the module should be but hasnt found it yet. $$$$$$$
Thank you, everyone, for suggestions and solutions 🤍
I really appreciate and made this little image video with the process i was doing. If this helps, I�m only glad, as i was upset to discover that my car brake lights not working. I fixed it, despite that, i do not know anything about cars and was soldering for the very first time. If I could fix it, anyone can! It was even satisfying to fix it by myself this time. Best wishes!!!
My situation seems unique. My mother's 2003 RX300 has the brake light indicator on but the brake lights still work. I pulled out the Brake ECU to look at the circuit board but it seems clean with no obvious cracks or discolorations. Would the brake lights still work with the Brake Sensor no longer functioning? I tested the green/white wire and got no voltage, but the brake lights still functioned.
it's working. The indicator light first went on when one of her taillights went out. I replaced all 4 red lights with LEDs but that didn't change the indicator light.
I think our model only likes OEM bulbs. My indicator light would come and go. Each time I would have my wife get out and make sure everything was working (you can also back up to the plate glass windows at a strip mall if you don't have a spotter). Finally the light came on and we discovered the high mount brake light was out (AKA 3rd brake light). I replaced the bulb with an OEM bulb (from O'Rielly Auto Parts, AutoZone, etc.) and the warning light has never came back on. I believe it was failing all along and causing the indicator lamp to illuminate.
I replaced the 3rd brake light. The indicator light hasn't gone off immediately but I'll have my mom drive it around for a bit first before moving to the next step.
I replaced the 3rd brake light. The indicator light hasn't gone off immediately.
@Fit1too is right.
I remember reading on here that LED lights tend to trigger the service taillights icon on the cluster for some people.
My 3rd brake light just went out and triggered the service taillights. I will be replacing it with an OEM style bulb.
Try putting OEM style bulbs from your local parts store.
There is current sensing that triggers the lamp failure dash light. Style and type do not guarantee the expected range of current. Make sure you get the right wattage bulbs.

 04-03-18, 06:08 PM