
Knock and oxygen sensor replacement question...
 11-18-20 | 04:23 PM
#16
Lexus Test Driver
Joined: Aug 2009
Posts: 5,700
Likes: 92
From: NJ
They are different, one for each bank - they quite similar because they are essentially the flip side of one of them.
The following users liked this post:
Mystery (11-18-20)
11-18-20 | 09:37 PM
#17

Driver School Candidate
Joined: Mar 2020
Posts: 23
Likes: 9
From: Gauteng
Hi Mystery, I haven't made a video. There are many video's about connecting external knock sensors but my method is unique and just requires clamping a single knock sensor against the inlet manifold with the microphone end against the manifold. Removing the glove box gives you access to the two black and clear wires (27 and 28) which you cut and join together to the wire running to the knock sensor you have clamped to the manifold.
11-19-20 | 10:35 AM
#18

Thread Starter
Rookie
Joined: May 2015
Posts: 62
Likes: 0
From: CO
Hi Mystery, I haven't made a video. There are many video's about connecting external knock sensors but my method is unique and just requires clamping a single knock sensor against the inlet manifold with the microphone end against the manifold. Removing the glove box gives you access to the two black and clear wires (27 and 28) which you cut and join together to the wire running to the knock sensor you have clamped to the manifold.
So the knock sensor doesn't even have to be in the intake manifold?
Hmmm...
11-19-20 | 10:38 AM
#19
Thread Starter
Rookie
Joined: May 2015
Posts: 62
Likes: 0
From: CO
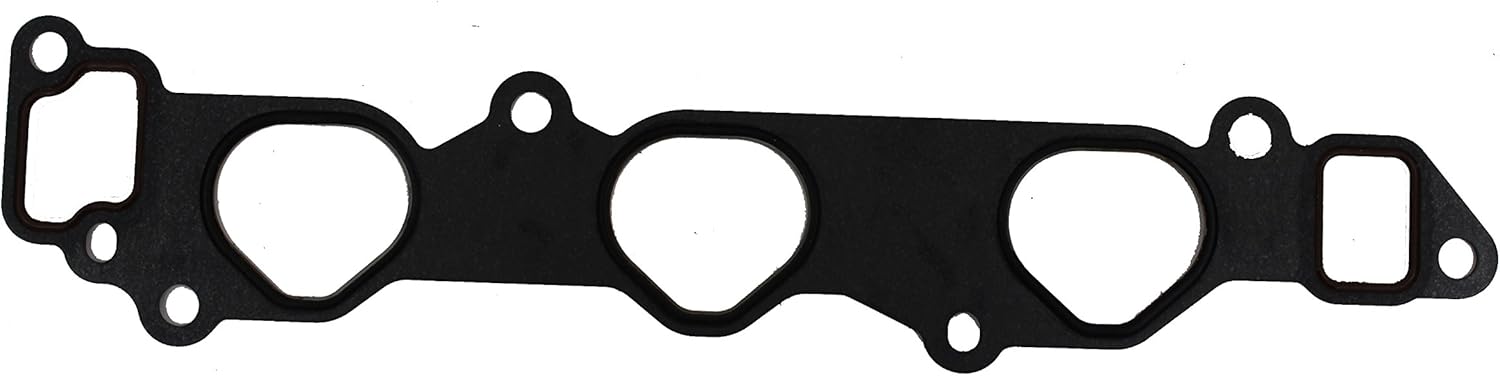
I see they sell two pack 17178-20020 gaskets. Not sure why they sell same gasket in two pack if only one is needed.

Never mind, looks like the 17177-20020 is little different on one side even if we flip it.
 11-19-20 | 10:44 AM
#20
Thread Starter
Rookie
Joined: May 2015
Posts: 62
Likes: 0
From: CO
Note. I did knock sensors on my RX300 (which I no longer own) A few months prior I had done o2 sensers. The rear bank O2 sensor was a PITA to get at, but I got it done.
When I was doing the knock sensors, and had the intake manifold off; that 02 sensor was RIGHT THERE. It would have been 100x easier to replace then, vs the way I did it. I would strongly suggest replacing it while the intake manifold is off.
When I was doing the knock sensors, and had the intake manifold off; that 02 sensor was RIGHT THERE. It would have been 100x easier to replace then, vs the way I did it. I would strongly suggest replacing it while the intake manifold is off.
Too many screws, nuts and bolts plus wires and hoses make me nervous.
I'm also not sure if I have a wrench that gets the hidden nut behind the plenum.
Good thing is I don't have a job and don't drive except for groceries so have plenty of time to work on.
Just need to make up my mind. :O
11-19-20 | 12:55 PM
#21
Thread Starter
Rookie
Joined: May 2015
Posts: 62
Likes: 0
From: CO
I'm making a list of things to do if I decide to do this myself
First, I need to find mfg date from dealer and make sure I have all the tools. I have big torque wrench but need to get ratchets for small spaces, socket extensions and pushlock pliers to make it easy .
First, I need to find mfg date from dealer and make sure I have all the tools. I have big torque wrench but need to get ratchets for small spaces, socket extensions and pushlock pliers to make it easy .
- Undo the knock sensor wire solder hack behind the glove box.
- Replace Knock sensors and wiring harness
- Replace IMA gaskets (I see they have set of three gaskets).
- Replace Oxygen sensors (both).
- Clean IACV.
- Spark plugs? Mileage seems okay. I average around 19.6.
- Clean fuel injectors? I need to read some threads on that if it's needed.
- PCV Valve? Not sure if it's needed but it's 20 year old car now so maybe everything needs replacing.

- Do I need to replace anything else like head gasket or anything? I see few oil drops on my driveway so it's leaking somewhere.
Last edited by Mystery; 11-19-20 at 07:47 PM.
11-19-20 | 09:31 PM
#22

Moderator
Joined: Apr 2001
Posts: 15,703
Likes: 1,119
From: Austin, TX
First figure out what you exactly want to do for knock sensor repair.
a) Hack. [knock sensor hack ... feeding signal from one sensor to both lines]
b) patch [bobwatt]
c) Proper replacement. [Knock sensor replacement DIY]
a or b can potentially turn off the the CEL, but the legal fix is following c as both a and b alter the manufacturers emission monitoring. We have both a and b options discussed here in RX300 gen1 and are for testing and experimenting only.
If you read the c DIY, it will describe the process in detail and it will take you 6-8 hrs or even more to perform. This is the reason why the knock sensor fix by reputed auto shops is expensive. You would not need the big torque wrench for this DIY. I would only recommend that serious DIYers attempt this.
Salim
11-19-20 | 10:11 PM
#23
Thread Starter
Rookie
Joined: May 2015
Posts: 62
Likes: 0
From: CO
First figure out what you exactly want to do for knock sensor repair.
a) Hack. [knock sensor hack ... feeding signal from one sensor to both lines]
b) patch [bobwatt]
c) Proper replacement. [Knock sensor replacement DIY]
a or b can potentially turn off the the CEL, but the legal fix is following c as both a and b alter the manufacturers emission monitoring. We have both a and b options discussed here in RX300 gen1 and are for testing and experimenting only.
If you read the c DIY, it will describe the process in detail and it will take you 6-8 hrs or even more to perform. This is the reason why the knock sensor fix by reputed auto shops is expensive. You would not need the big torque wrench for this DIY. I would only recommend that serious DIYers attempt this.
Salim
a) Hack. [knock sensor hack ... feeding signal from one sensor to both lines]
b) patch [bobwatt]
c) Proper replacement. [Knock sensor replacement DIY]
a or b can potentially turn off the the CEL, but the legal fix is following c as both a and b alter the manufacturers emission monitoring. We have both a and b options discussed here in RX300 gen1 and are for testing and experimenting only.
If you read the c DIY, it will describe the process in detail and it will take you 6-8 hrs or even more to perform. This is the reason why the knock sensor fix by reputed auto shops is expensive. You would not need the big torque wrench for this DIY. I would only recommend that serious DIYers attempt this.
Salim
I'm not doing the soldering hack. I already did that around two years ago and it was working until last month.
I have to undo that back before replacing knock sensor.
Above list is if I decide to replace knock sensor properly.
I'm not a serious diy'er but your thread and many youtube videos gives me hope. I did replace window motor long time back in a camaro.
I don't mind spending $300 labor for the mechanic my friends recommended but I'm skeptical if he'll do everything up to the specs like torque. I'd pay more attention I think.
I still have to read that Toyota Harrier thread for fake knock sensor trick to see if I want to go that route.
Or I could just sell it as is for few grands (I think due to low mileage) and be done with it.
Decisions decisions...
Last edited by Mystery; 11-19-20 at 10:22 PM.
11-20-20 | 06:51 AM
#24
Moderator
Joined: Apr 2001
Posts: 15,703
Likes: 1,119
From: Austin, TX
Let me correct myself and say this DIY requires patience, marking things so that the re-assembly goes smoothly. One has to struggle and work without seeing things (by feel only). Heat and age makes the things brittle and the wire loam just crumbled for me. I don't want to deter you but go with eyes open.If you do decide to take it up, please improve the DIY thread.
Salim
Salim
11-20-20 | 05:51 PM
#25
Thread Starter
Rookie
Joined: May 2015
Posts: 62
Likes: 0
From: CO
Hi Mystery, I haven't made a video. There are many video's about connecting external knock sensors but my method is unique and just requires clamping a single knock sensor against the inlet manifold with the microphone end against the manifold. Removing the glove box gives you access to the two black and clear wires (27 and 28) which you cut and join together to the wire running to the knock sensor you have clamped to the manifold.
The knock sensor has two wires (black and white), do you only use one wire for this hack?
11-21-20 | 12:03 AM
#26
Driver School Candidate
Joined: Mar 2020
Posts: 23
Likes: 9
From: Gauteng
Hi Mystery, the two wires from each knock sensor (clear and black numbered 27 and 28) coming out of the computer are cut and joined together and then joined to the wire you have running to the knock sensor you have clamped down against the inlet manifold. Clamping the knock sensor with the threaded end down generates sufficient A/C voltage to keep the computer happy. Get a second hand sensor as I did and give it a try.
Last edited by bobwatt; 11-21-20 at 12:10 AM. Reason: Added text.
 11-21-20 | 01:06 PM
#28
Thread Starter
Rookie
Joined: May 2015
Posts: 62
Likes: 0
From: CO
Hi Mystery, the two wires from each knock sensor (clear and black numbered 27 and 28) coming out of the computer are cut and joined together and then joined to the wire you have running to the knock sensor you have clamped down against the inlet manifold. Clamping the knock sensor with the threaded end down generates sufficient A/C voltage to keep the computer happy. Get a second hand sensor as I did and give it a try.
Do you solder the end to the tip or what?

Thread
Thread Starter
Forum
Replies
Last Post
techiedude
ES - 1st to 4th Gen (1990-2006)
11
05-02-12 06:57 PM