When you click on links to various merchants on this site and make a purchase, this can result in this site earning a commission. Affiliate programs and affiliations include, but are not limited to, the eBay Partner Network.
So this ML amp is and has been a disaster and not an easy swap for another type, from what I've read it seems that Lexus has placed a monopoly on this stereo system.
Is there a way to install a different amplifier that would work with the existing head unit and it's components, the Nav, steering controls etc ?
Not with the exact same features as the ML amp provides.....
You could upgrade to a more modern system by replacing the Stereo Head Unit including Nav & other features = $$$$, although your factory Nav will be a disabled/ black screen.
Best to calculate what will be more cost effective according to your needs. Replace the ML amp or upgrade.
This isn't a bad price for a replacement: http://www.ebay.com/itm/LEXUS-RX330-...dYWjYI&vxp=mtr
The amp is located in the section noted in the picture below.
I'm still using the same amp but replaced my head unit and added a 12 inch sub with an amp.These three additions made a huge difference! It knocks great.
IMO, no need to upgrade the factory amp, just add an sub/amp and a new head unit if your budget allows.
Headunit: Alpine INI-960HDMI
Sub: JL Audio 12W6V3-D4
Amp: JL Audio XD600/6V2 Factory Amp location
Curious, where did you run the power cable for the amp? I can't find any factory openings on the firewall on the driver's side. Hate to have to run that wire all across the engine bay.
there is room on the driver's side behind where the Left Front shocks are located. Sorry for the blurry picture but this is the best I can do.
*Run the power cable along the plastic pillar near the left driver's foot and pull it up, you should find spce to insert through the forewall near the front left driver dadhboard speaker.
goodluck!
Originally Posted by mdbrown
Curious, where did you run the power cable for the amp? I can't find any factory openings on the firewall on the driver's side. Hate to have to run that wire all across the engine bay.
The amp is located in the section noted in the picture below.
I'm still using the same amp but replaced my head unit and added a 12 inch sub with an amp.These three additions made a huge difference! It knocks great.
IMO, no need to upgrade the factory amp, just add an sub/amp and a new head unit if your budget allows.
Headunit: Alpine INI-960HDMI
Sub: JL Audio 12W6V3-D4
Amp: JL Audio XD600/6V2 Factory Amp location
Hey thank you so much for sharing these images of your amp replacement. I have to replace the amp in my 2009 RX 350 :-/
Do you recall whether you had to also remove the step plate and plastic trim from the rear seat (passenger side)? In YouTube videos, I've seen that's necessary with the next gen of RX 350s, but not sure if it applies to our gen as well.
Thanks for any help!
PS: For anyone in the same boat, I found eBay to be the best source for a used Lexus amp, if you're in the market. My Lexus dealer wanted $1200 for a new/refurbished amp :-0 Just be sure to get the amp's part number from your Lexus service dept first.
sorry I do not remember. It should be easy access and pain free removal since it is only those steps if you have to.
Originally Posted by demian33
Hey thank you so much for sharing these images of your amp replacement. I have to replace the amp in my 2009 RX 350 :-/
Do you recall whether you had to also remove the step plate and plastic trim from the rear seat (passenger side)? In YouTube videos, I've seen that's necessary with the next gen of RX 350s, but not sure if it applies to our gen as well.
Thanks for any help!
PS: For anyone in the same boat, I found eBay to be the best source for a used Lexus amp, if you're in the market. My Lexus dealer wanted $1200 for a new/refurbished amp :-0 Just be sure to get the amp's part number from your Lexus service dept first.
Did you end up fixing your's? I just had this issue and dont find a video where it shows how to replace the amp.
Did you end up fixing your's? I just had this issue and dont find a video where it shows how to replace the amp.
I did replace mine, and it fixed the problem of screeching radio and Bluetooth audio. Here is a step-by-step pictorial. Hope it helps.
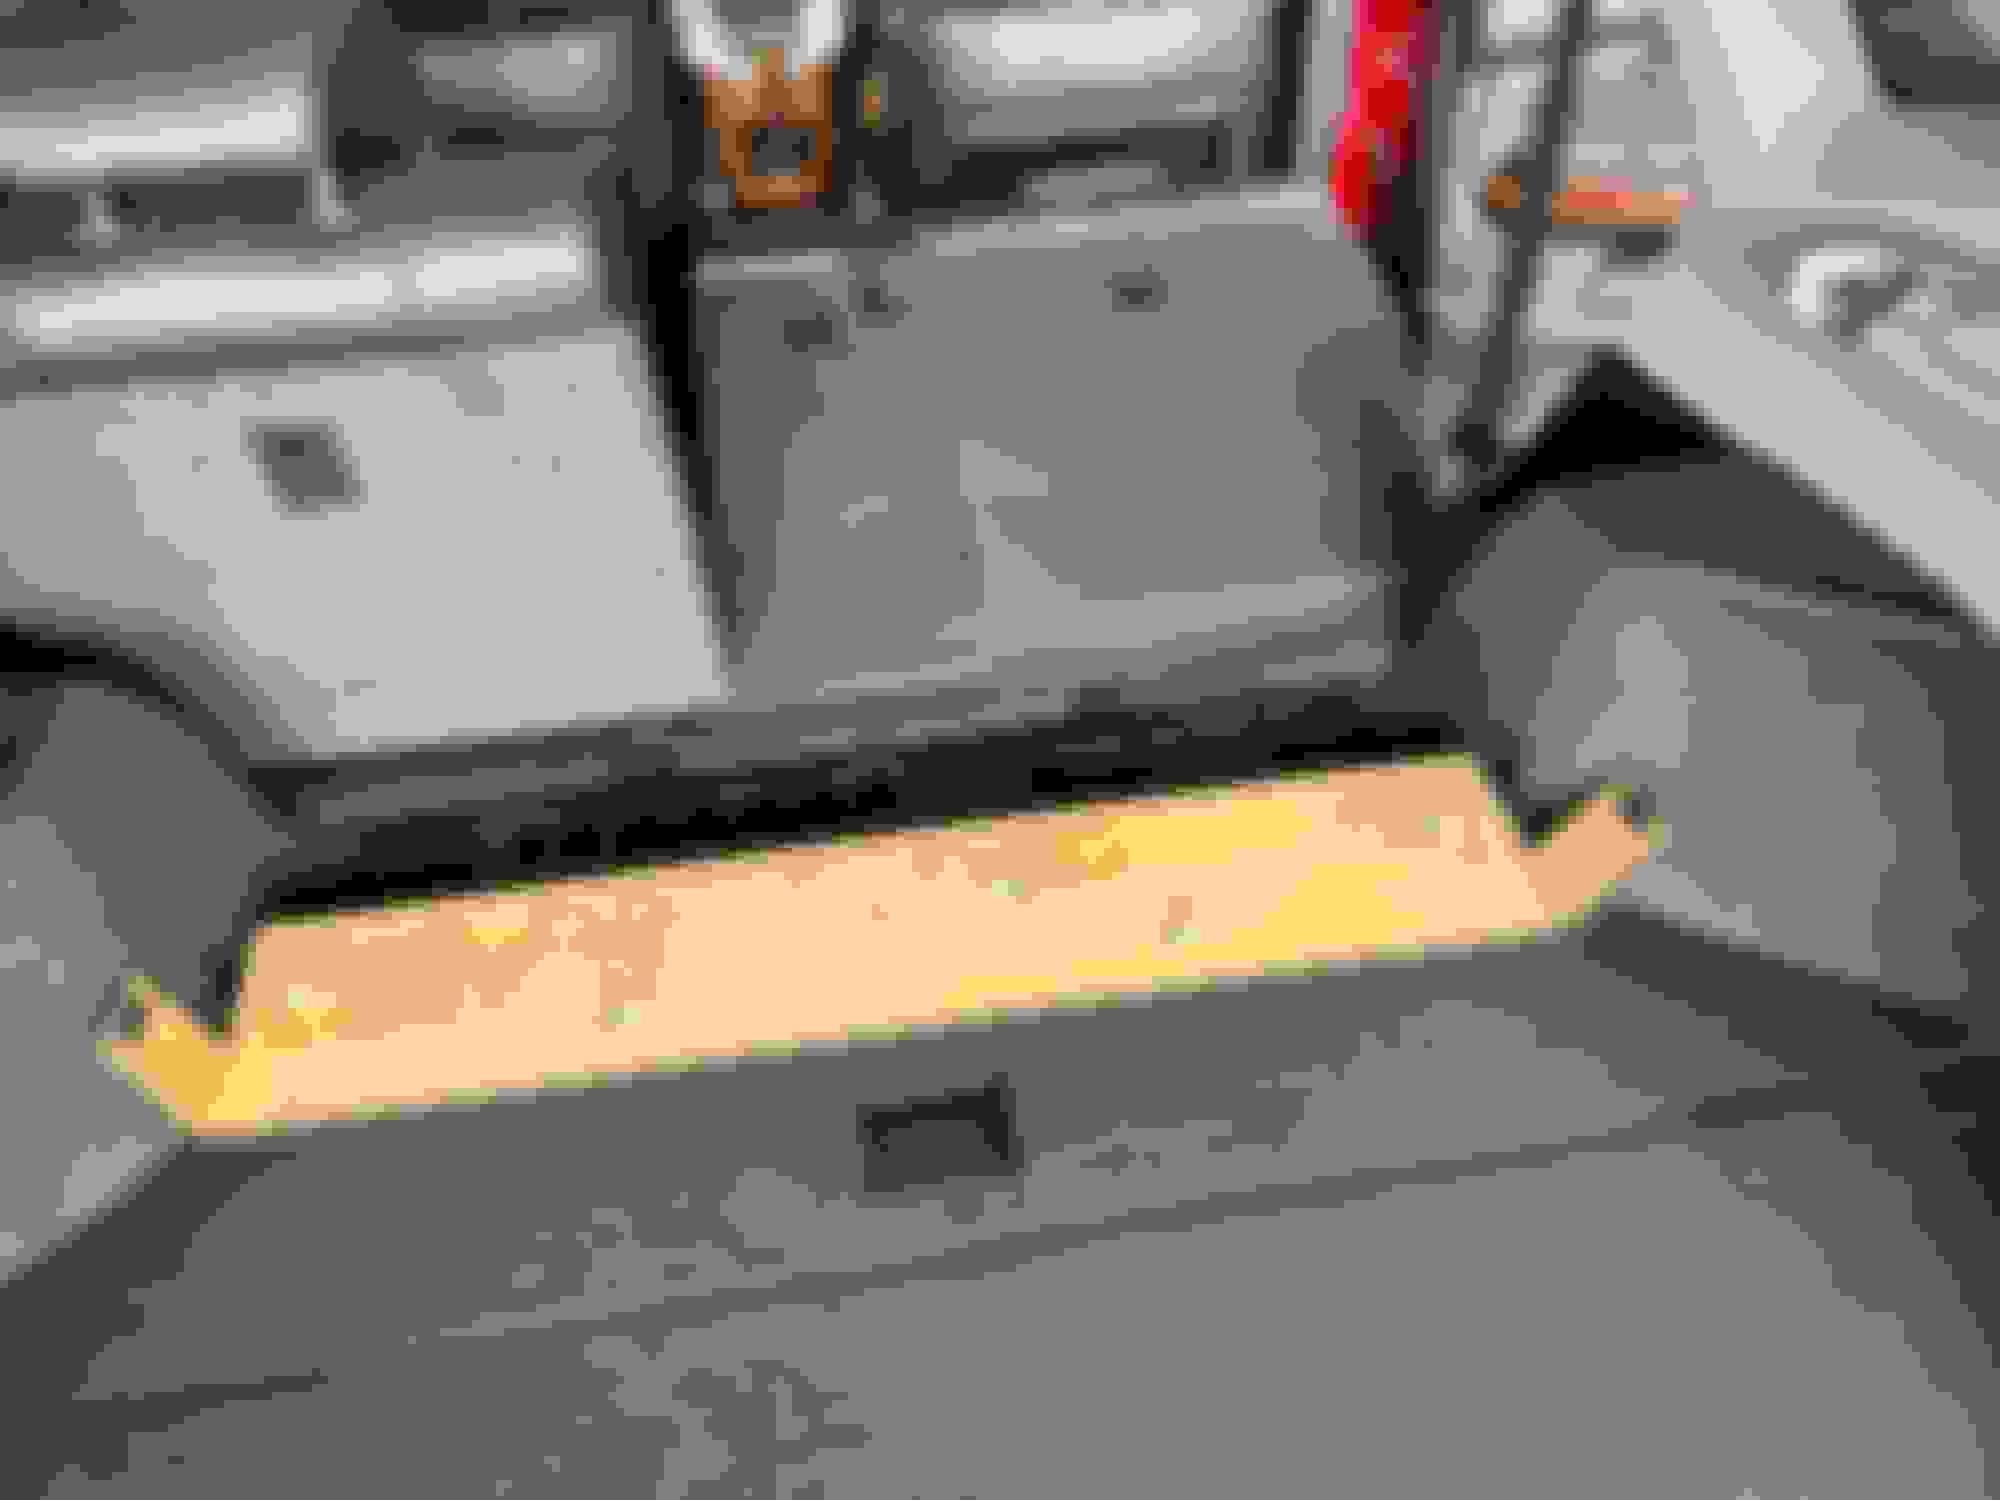
This is where I started. View is from the rear of the car, with hatch open. Two tips: 1) Take pictures at each stage so you can retrace your steps during reassembly. 2) Bag and tag the various screws and bolts so you can remember what goes where.
Flip over this carpet-covered wooden piece and remove the screws/bolts that hold it down.
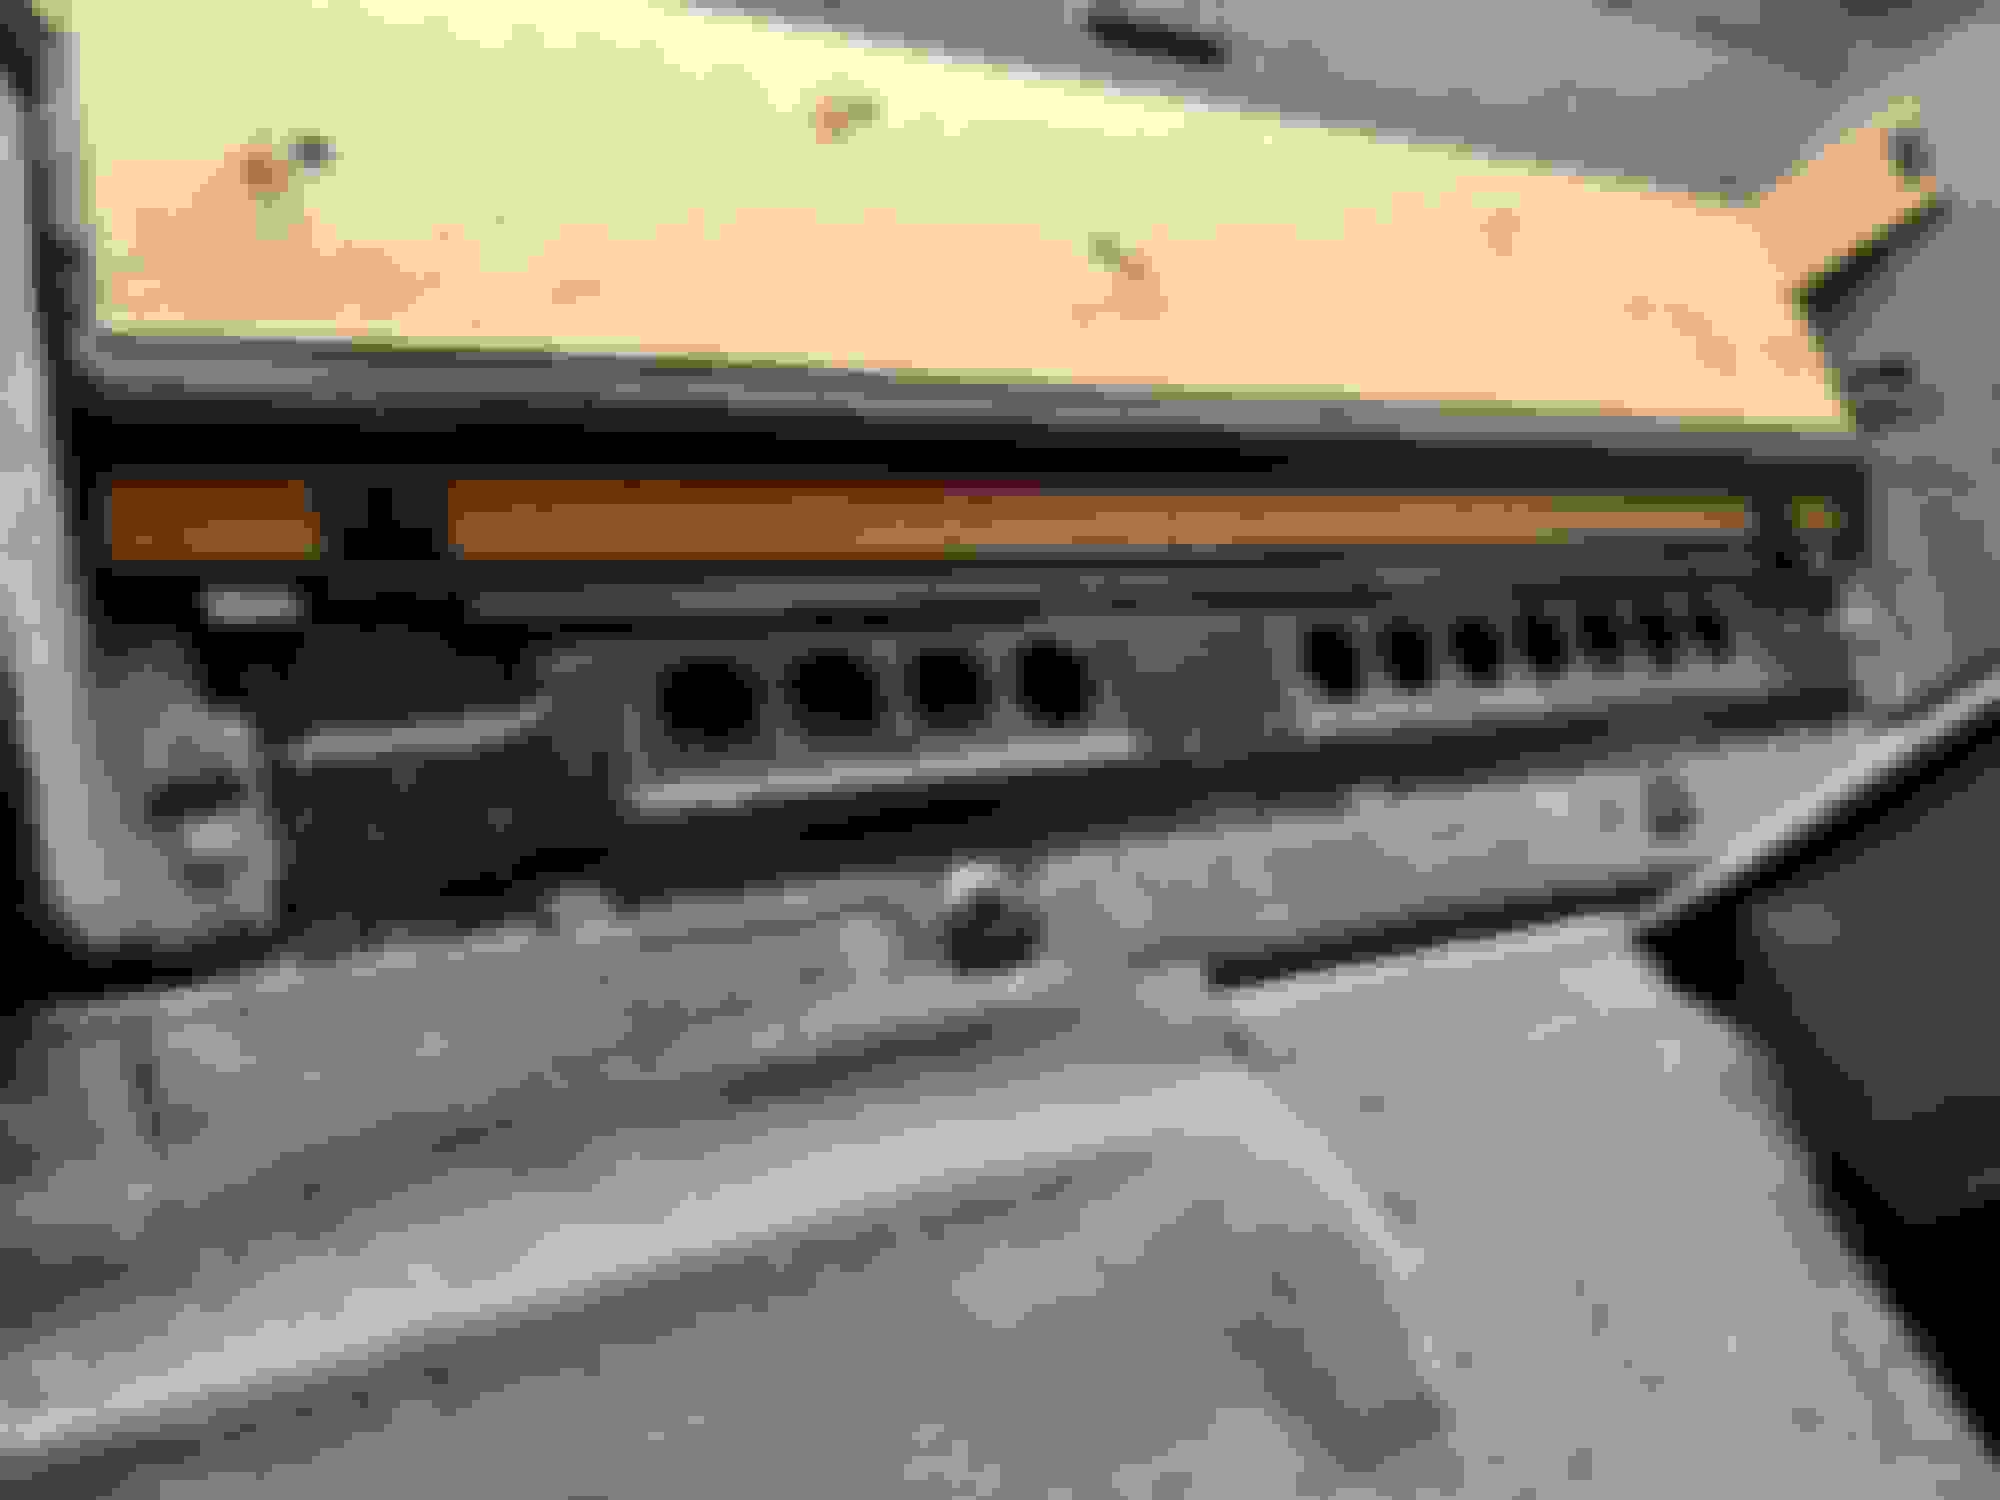
The end goal is to remove that black metal grill. The amp lies beneath it. You'll need a 10mm socket (IIRC), ratchet wrench, and articulating extension arm to reach the bolts (see following photos).
A tool like this, made for removing upholstery pins, is useful.
Remove and set aside.
Lift out this tool tray.
See that unit in bottom right of photo, with "CMO15" written on it? That's not the amplifier. It's a CD navigation system. Leave it alone. You're only halfway thru the job :-) See those metal fins peeking out from below the black grill? That's the amp. From here, it's just a matter of removing all the bolts securing the grille.
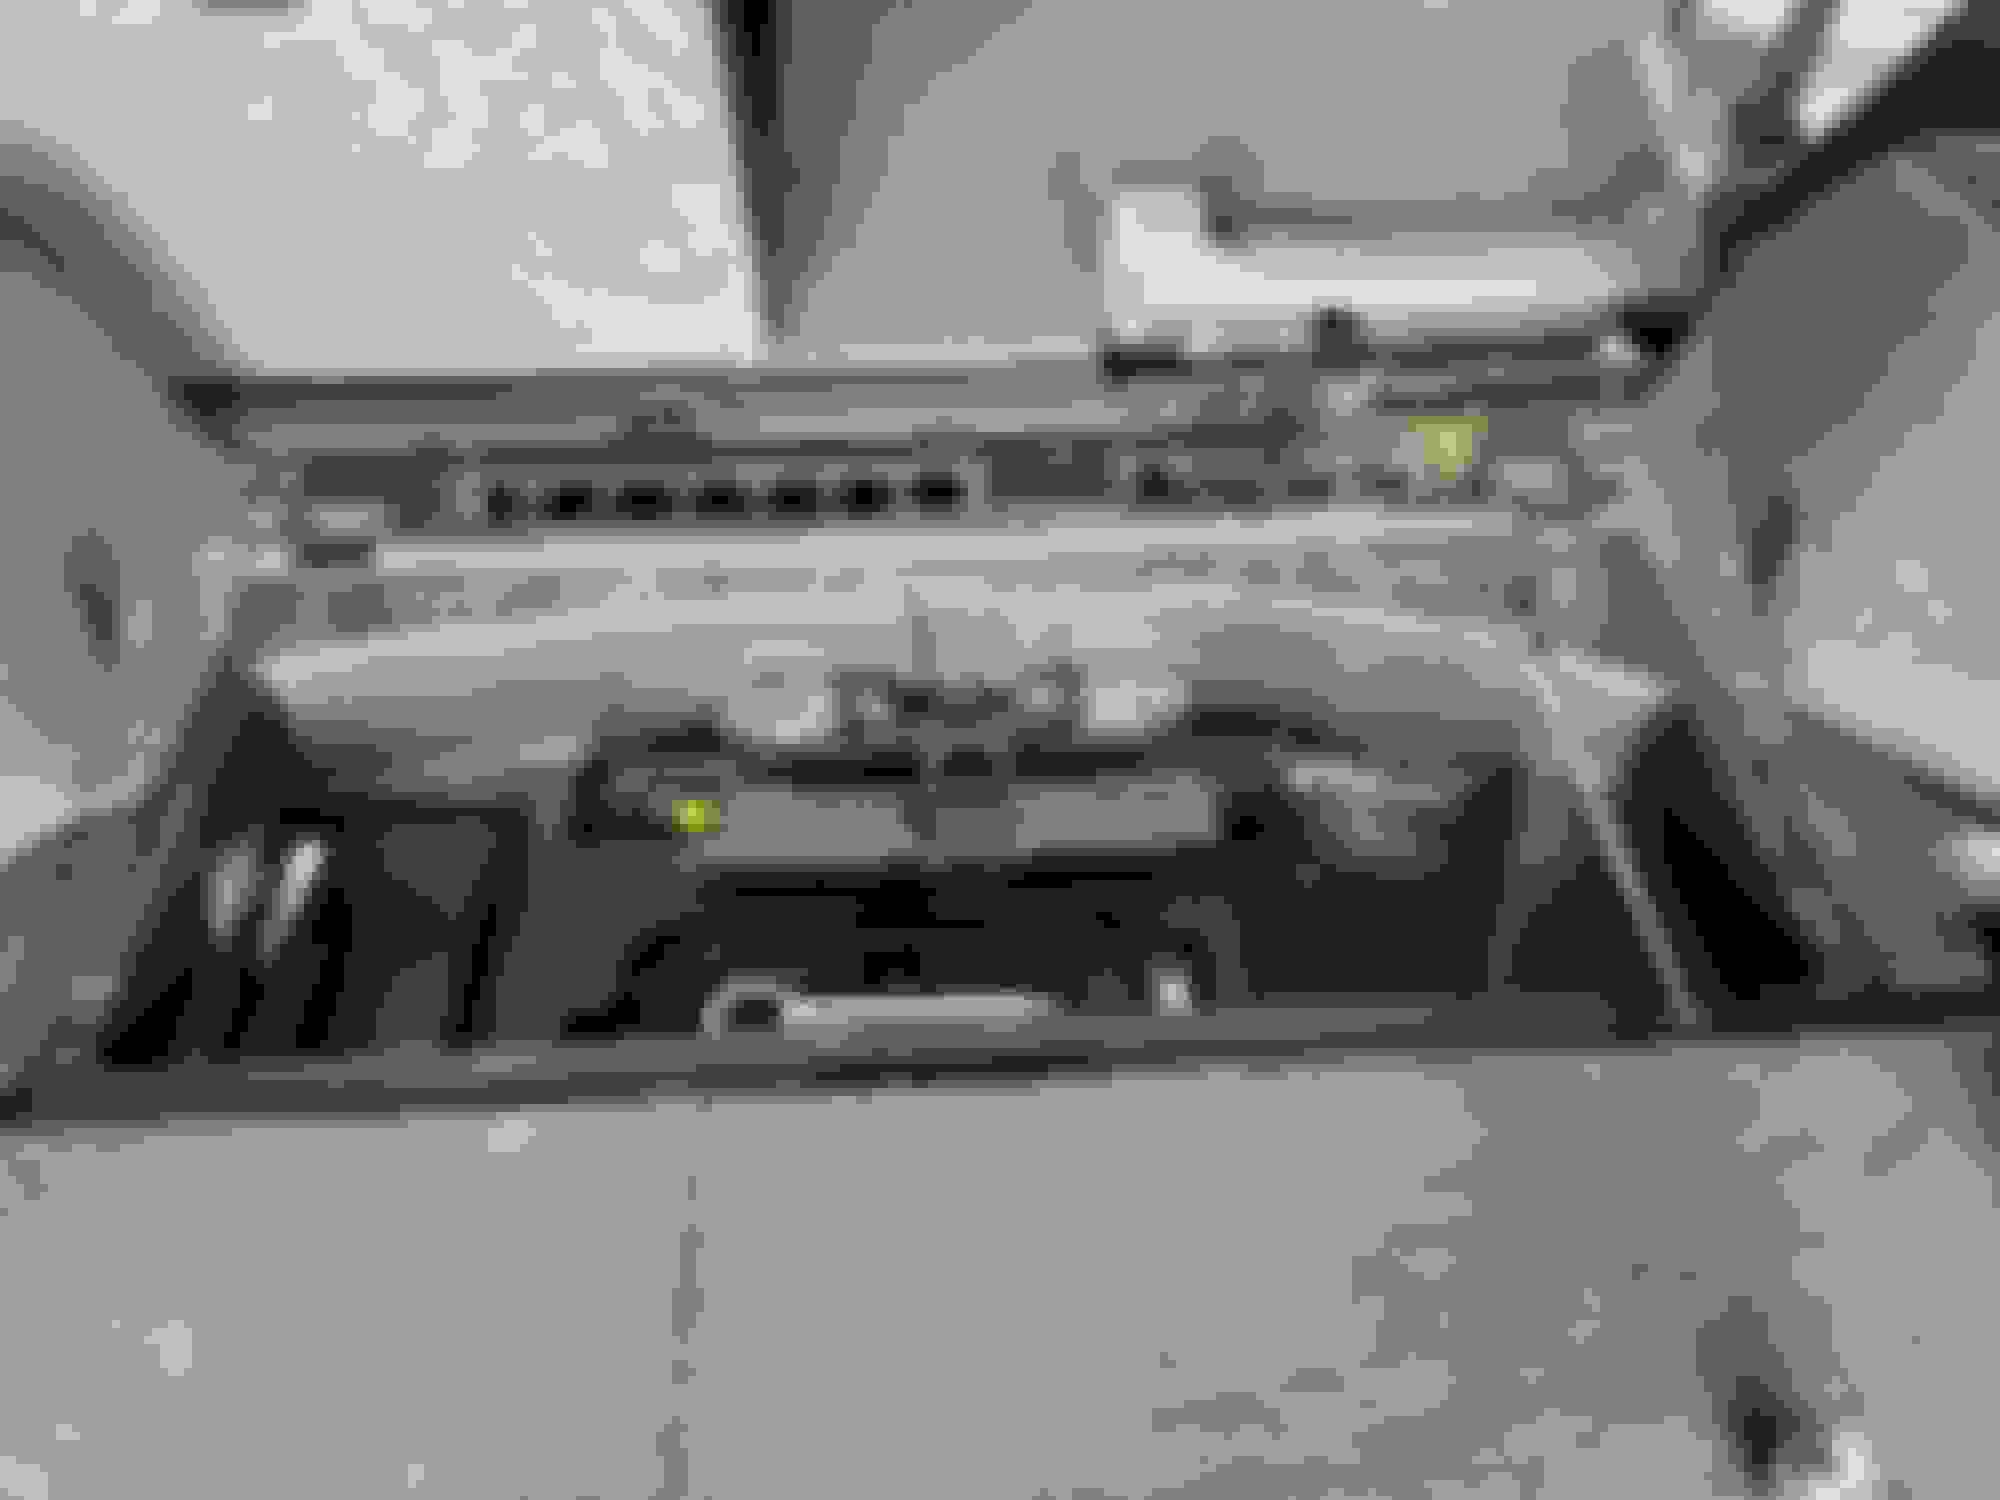
This is where you'll end up to access the amp. The grill is halfway removed. Upholstered piece covering the wheel well must also be partially removed. For that, you'll want some soft tools made for this sort of job. $10-15 on Amazon. Use them to pry off the plastic sill and weather stripping along the rear passenger door. The sill pops off and on, an easy task that I feared would be complex. You can also buy a box of assorted upholstery pins from Amazon.to replace pins you'll break. Use a screwdriver to remove and replace the amp its mounting bracket. The wiring is plug-and-play. The easiest part of the job. Reassemble everything according to the photos you took along the way.
Last edited by demian33; 05-02-24 at 12:23 PM.
Reason: Fixed typos
I did replace mine, and it fixed the problem of screeching radio and Bluetooth audio. Here is a step-by-step pictorial. Hope it helps.
This is where I started. View is from the rear of the car, with hatch open. Two tips: 1) Take pictures at each stage so you can retrace your steps during reassembly. 2) Bag and tag the various screws and bolts so you can remember what goes where.
Flip over this carpet-covered wooden piece and remove the screws/bolts that hold it down.
The end goal is to remove that black metal grill. The amp lies beneath it. You'll need a 10mm socket (IIRC), ratchet wrench, and articulating extension arm to reach the bolts (see following photos).
A tool like this, made for removing upholstery pins, is useful.
Remove and set aside.
Lift out this tool tray.
See that unit in bottom right of photo, with "CMO15" written on it? That's not the amplifier. It's a CD navigation system. Leave it alone. You're only halfway thru the job :-) See those metal fins peeking out from below the black grill? That's the amp. From here, it's just a matter of removing all the bolts securing the grille.
This is where you'll end up to access the amp. The grill is halfway removed. Upholstered piece covering the wheel well must also be partially removed. For that, you'll want some soft tools made for this sort of job. $10-15 on Amazon. Use them to pry off the plastic sill and weather stripping along the rear passenger door. The sill pops off and on, an easy task that I feared would be complex. You can also buy a box of assorted upholstery pins from Amazon.to replace pins you'll break. Use a screwdriver to remove and replace the amp its mounting bracket. The wiring is plug-and-play. The easiest part of the job. Reassemble everything according to the photos you took along the way.
Thank you so much, I will try this and hopefully it all goes smoothly


 06-19-17, 05:07 PM


 Here is a step-by-step pictorial. Hope it helps.