When you click on links to various merchants on this site and make a purchase, this can result in this site earning a commission. Affiliate programs and affiliations include, but are not limited to, the eBay Partner Network.
Video of Aftermarket Stereo Install, USB Ports Added and Wired Mic into Light Dome
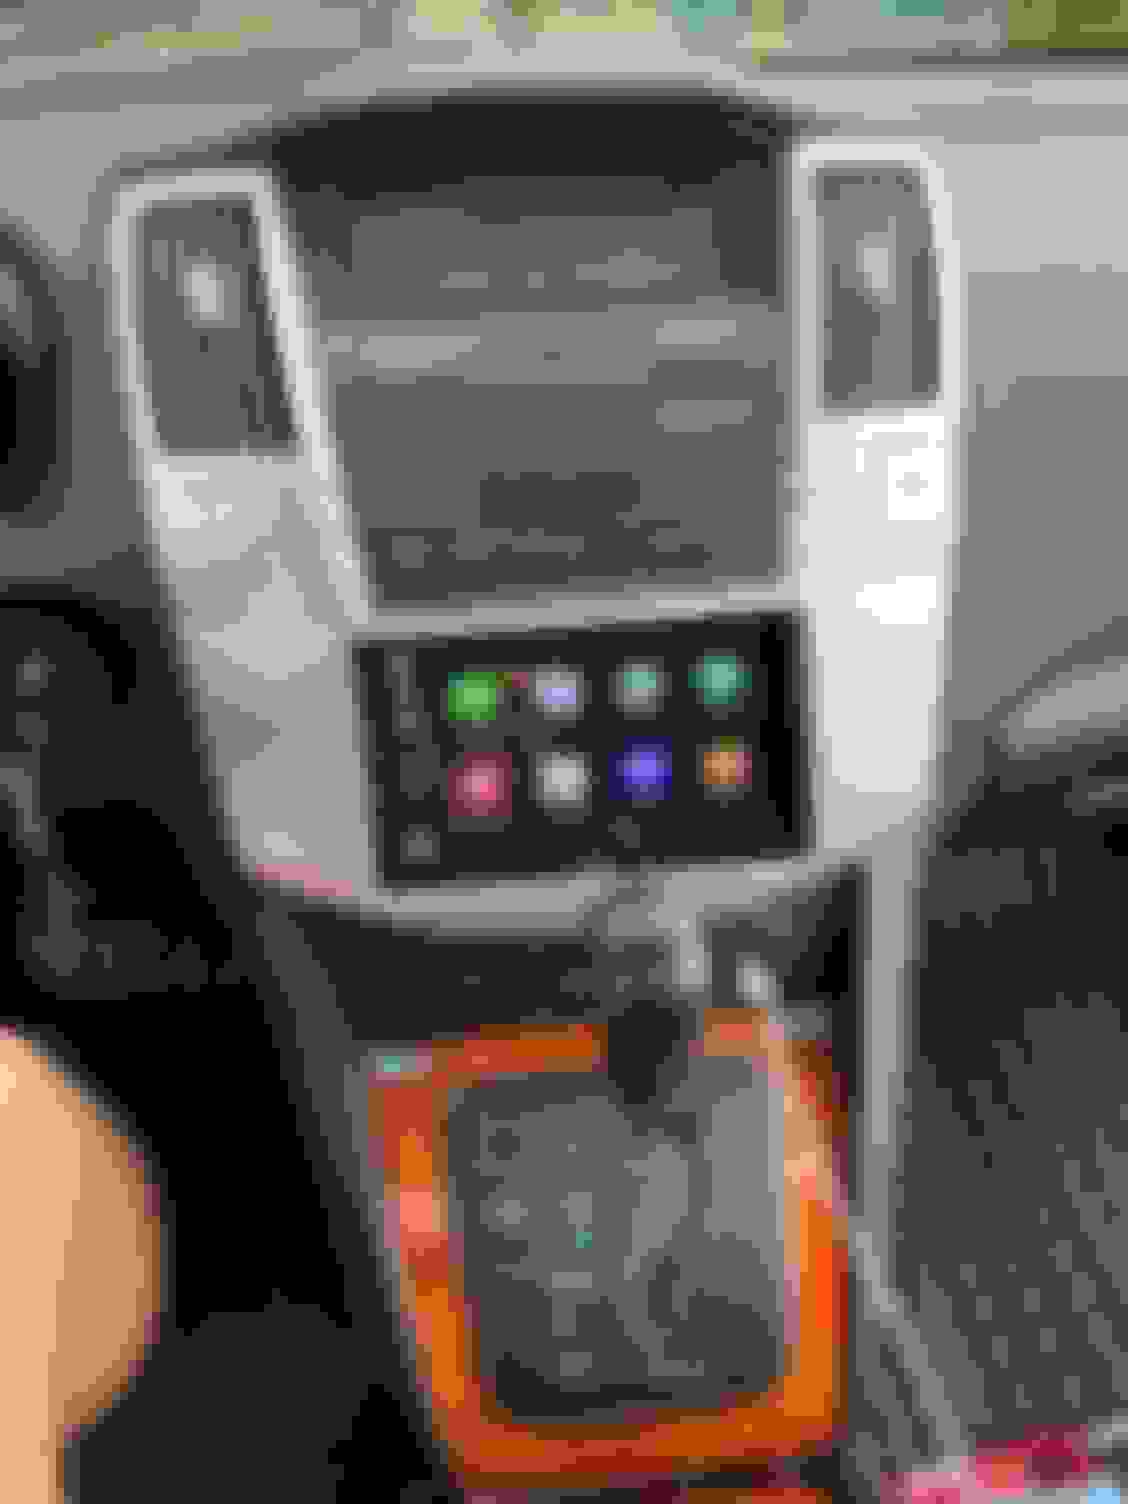
After hours of research from this and other forums, I successfully installed my new Pioneer AVH-4200NEX stereo into my 2004 RX330 with factory navigation. I do not have Mark Levinson nor do I have the factory DVD entertainment system. My factory navigation, voice guidance, climate controls all still works.
I created a comprehensive how to video on YouTube of my aftermarket stereo install. I show how I removed the factory stereo, wire harness connection / schematic, how I ran the microphone up to the inside of the light dome, removed the cigarette lighter / power port from its mounting brackets, replaced the cigarette lighter for a dual USB port, install of the aftermarket stereo and Metra dash kit. For those that only desire a particular upgrade such as the USB ports from the cigarette lighter, I created time stamps for direct access so you don't have to endure watching the entire video (unless you desire to). Here's the video...hope it helps with your project:
I spent $457 for my Pioneer AVH4200NEX head unit $117 on the wiring harness, dash kit, steering wheel controller and parking brake bypass. Way cheaper than the Beatsonic kit which runs $300-400. I also added another USB port to the left side of the steering wheel that provides a direct charge. I added MiraCast to the Pioneer head unit, which mirrors what ever is displayed from a cell phone.
I attempted to plug all the USB ports into USB hubs / spliters, however I learned none of the current stereo head units recognize USB hubs / spliters. You can use them for charging purposes only...not for data transfer (Apple CarPlay, Android Auto).
Mictuning Toyota USB Charger with Audio Input/Adapter - 6.6ft Power Wire, 3.9ft Audio Wire (dual USB port for left side of steering wheel) - VP-106 11.90
Atoto A6 Steering Wheel Wiring, Axxess module NOT required
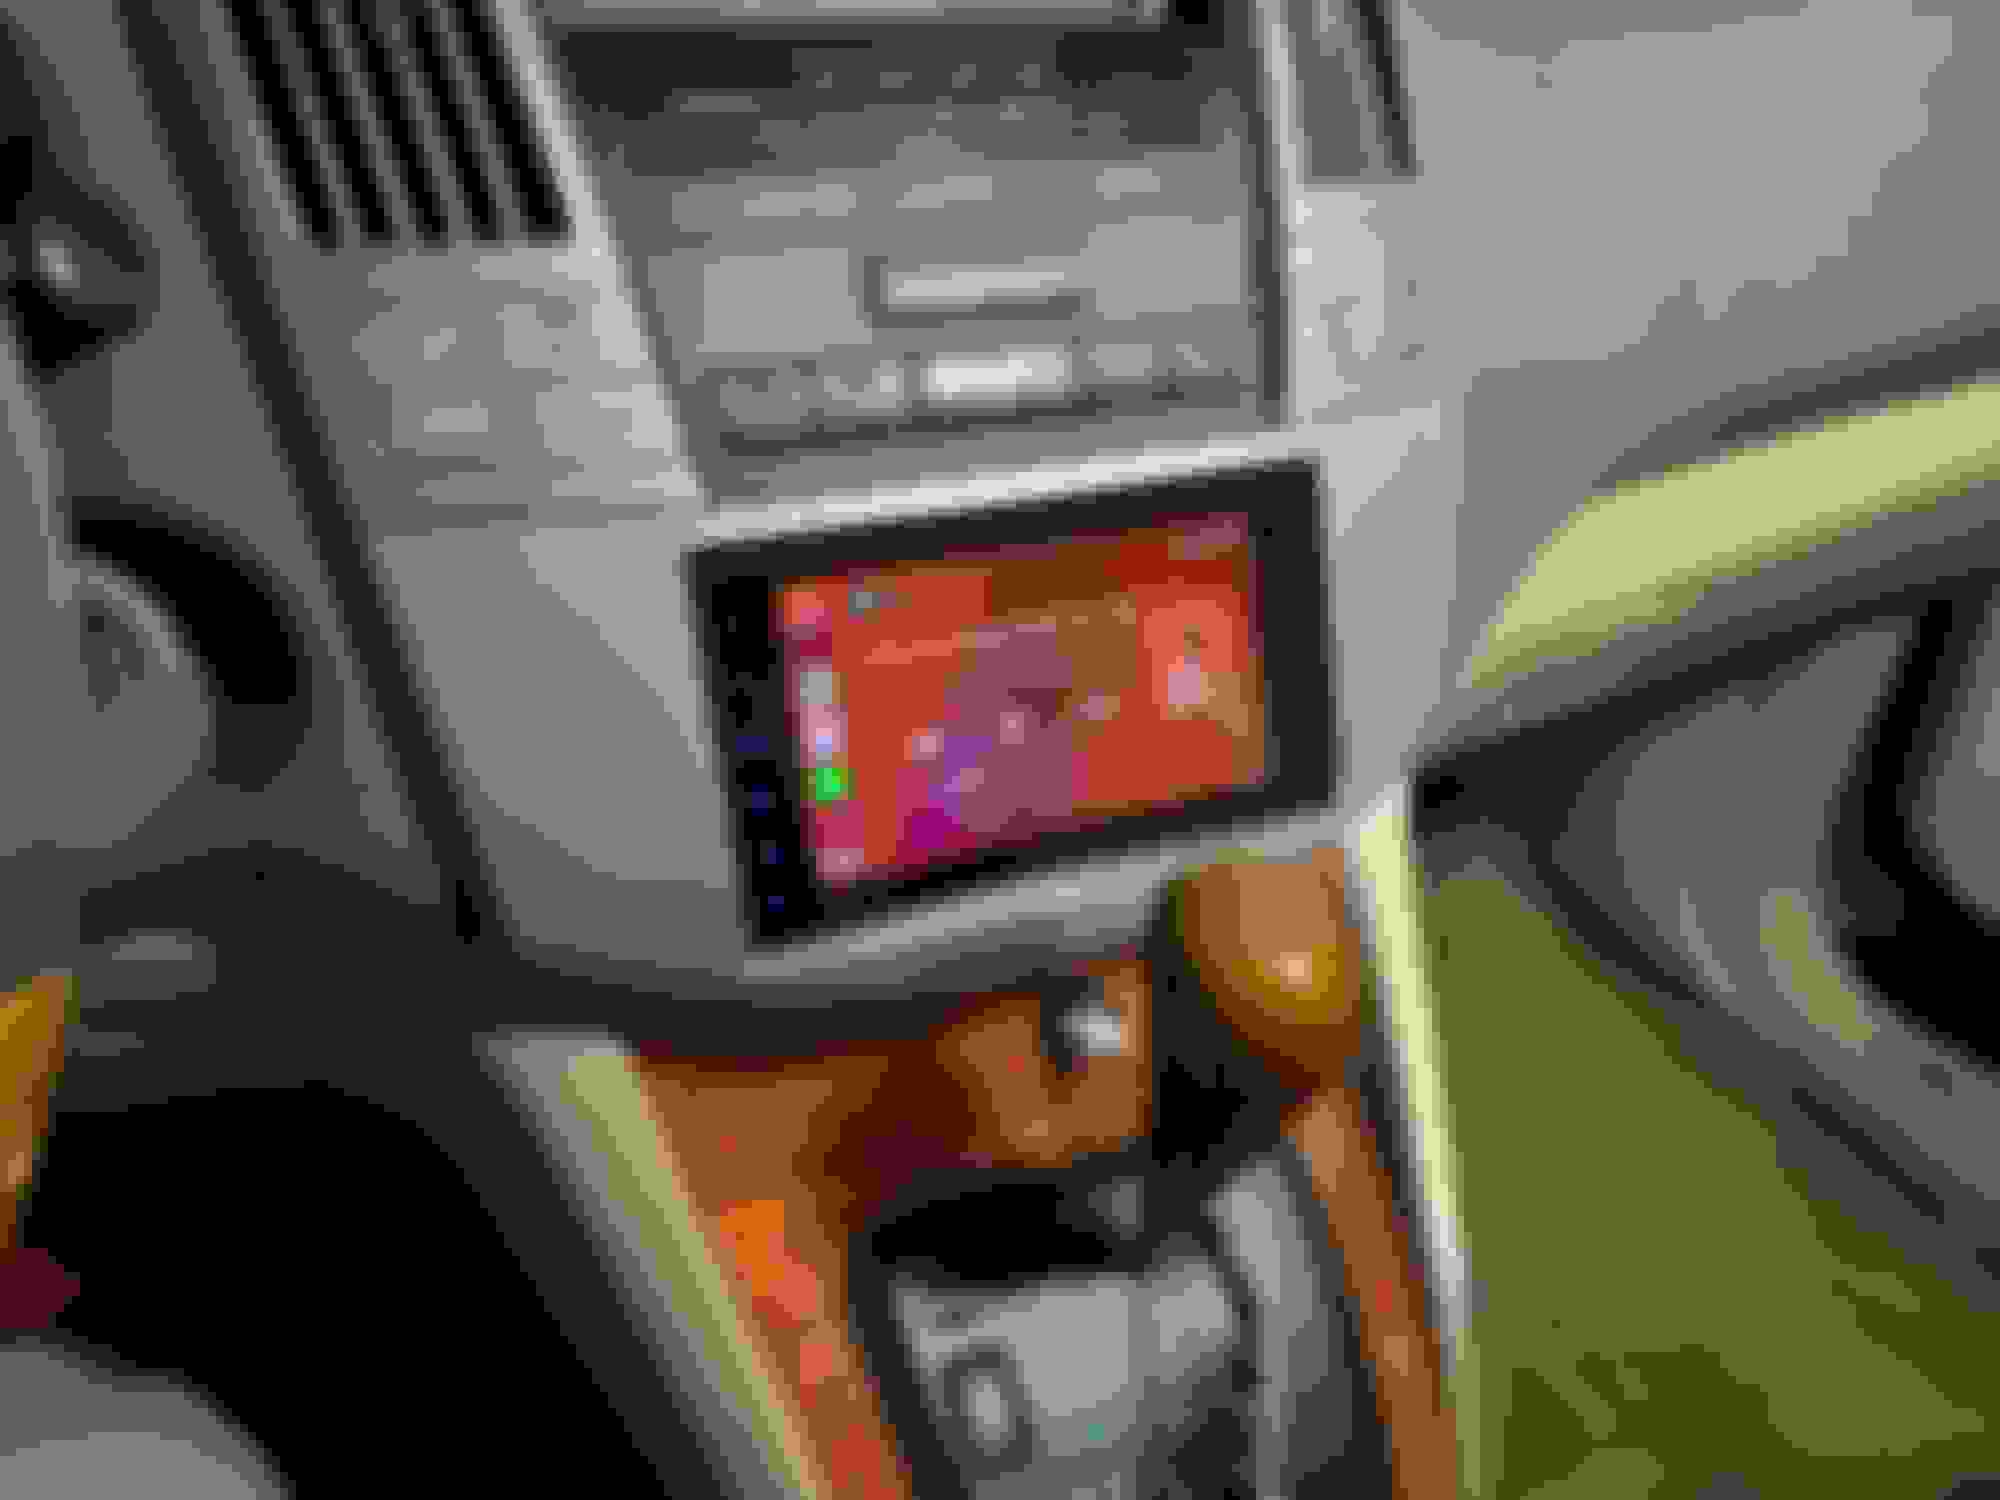
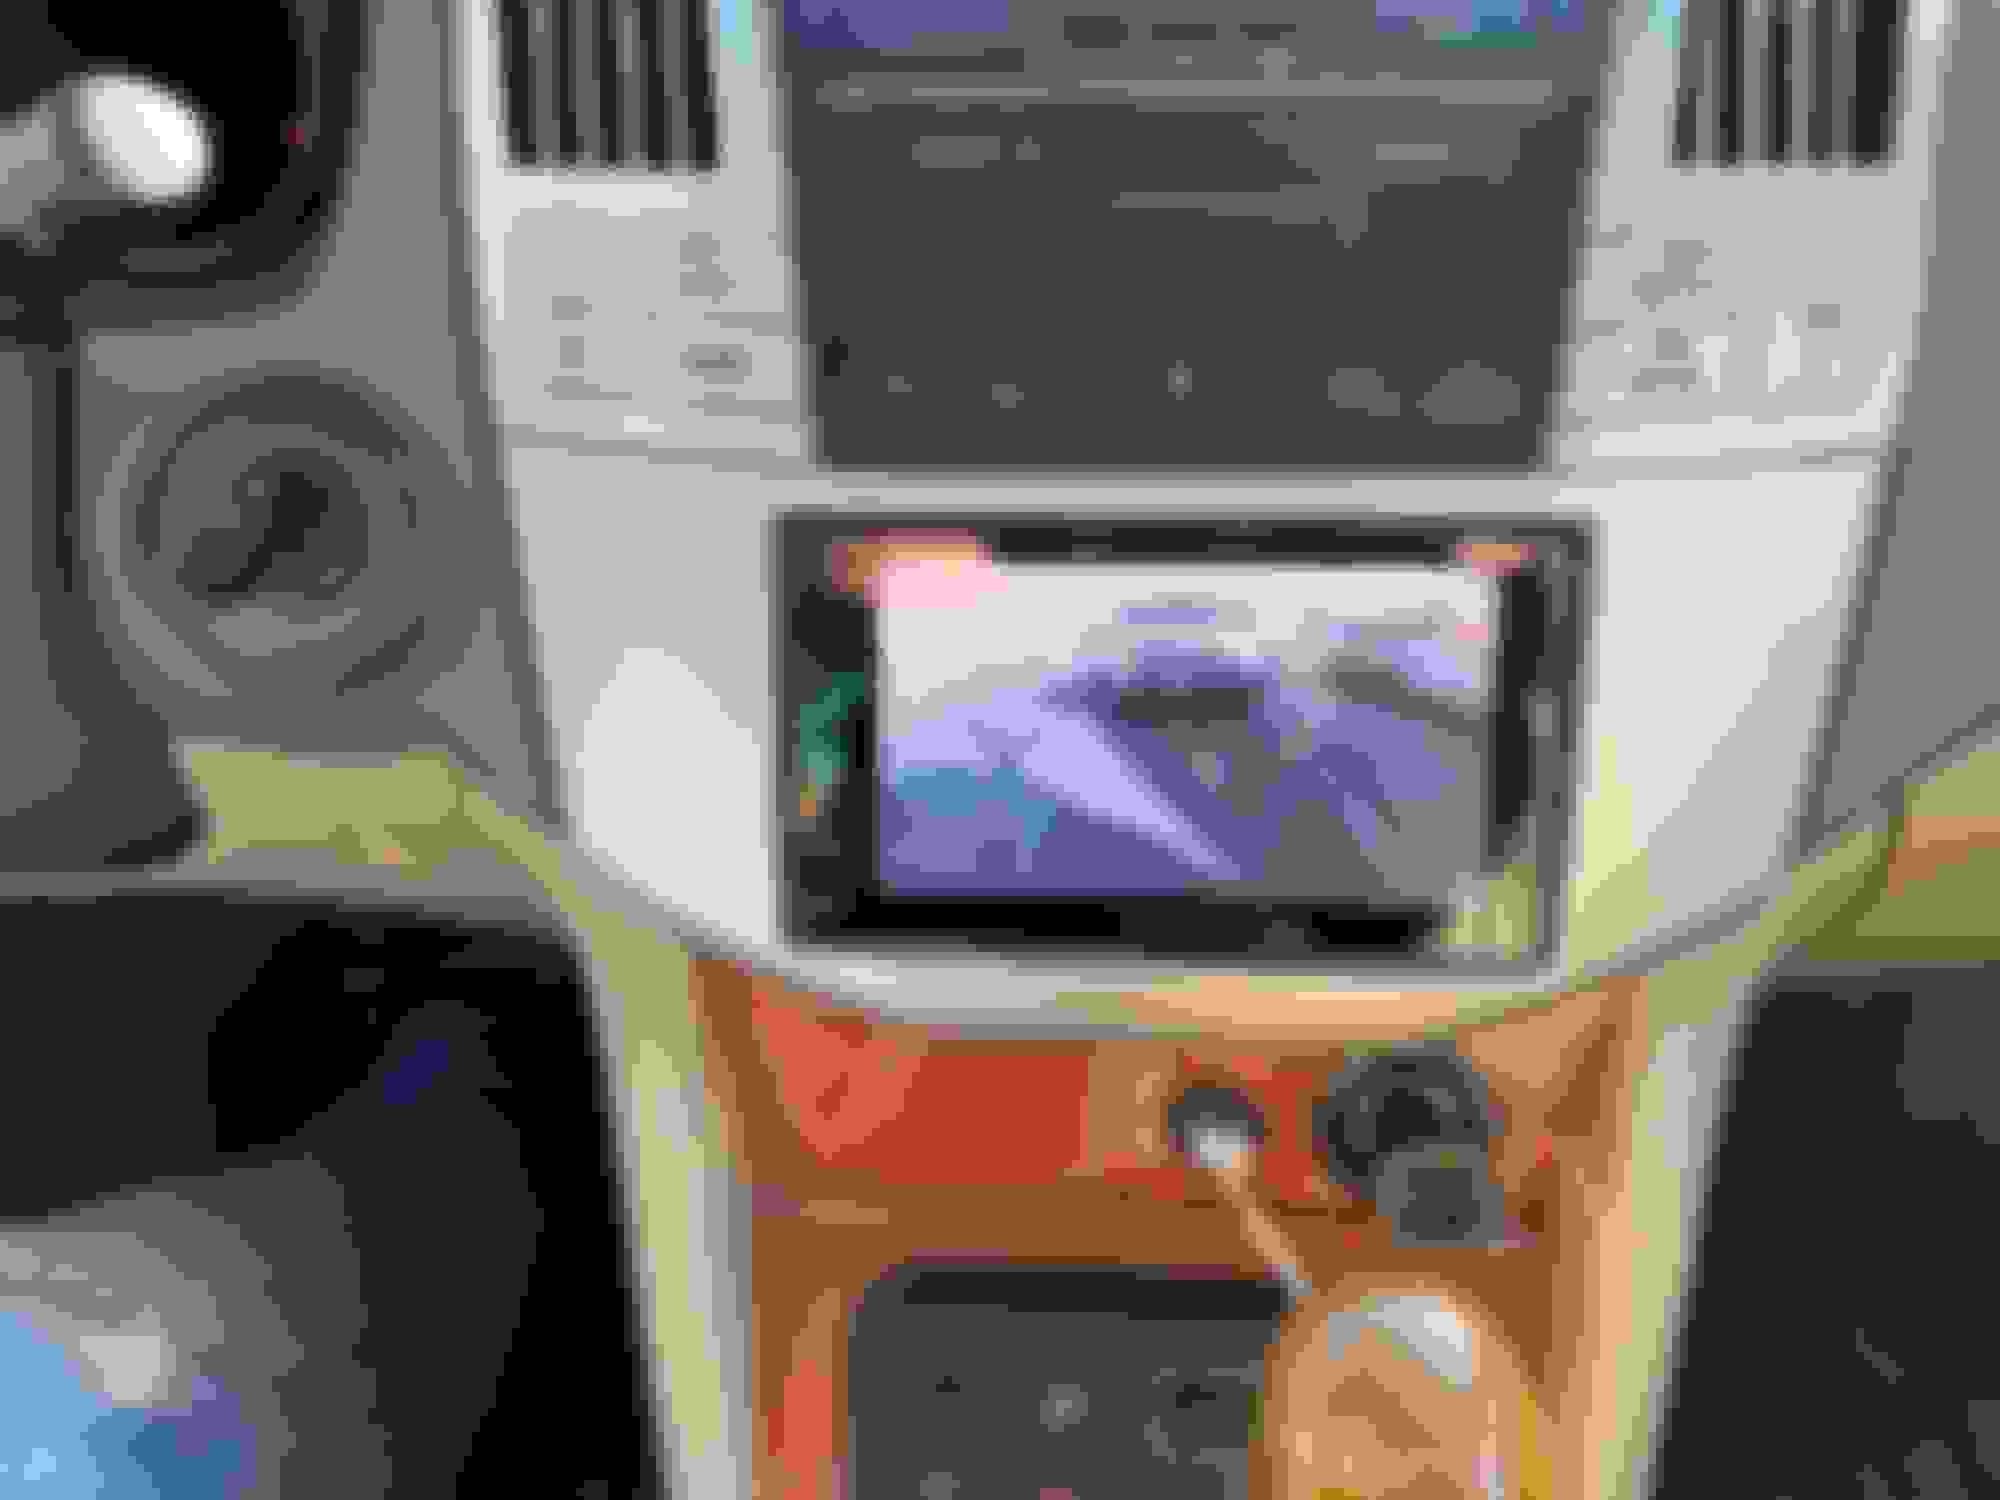
Hi All, I just finished installing an Atoto A6 into my 2004 RX330. You do NOT need the steering wheel harness or the parking brake bypass with any Atoto A6 units. Here is the video of the wiring for all RX’s from 2004 to 2009. I hope someone finds this helpful.
NOTES:
1) ATOTO MICROPHONE: The microphone cord that comes with the ATOTO A6 is too short to be placed in the overhead lights and sunroof control panel. I had to buy the 3.5mm Mono Microphone Extension Cable listed above to connect it to the A6. 6ft is the shortest you can buy on Amazon in Canada, you might have more options in the US, 3ft is more than enough. I tried a stereo extension cable and it did not work.
2) ATOTO WI-FI CABLE: The ATOTO A6 wi-fi cable is not long enough to reach your mirror for placement. It can only reach as far as your side pillars. I recommend that you start fishing the wire from the point where your door jam cover meets your glove box. To fit the large wire harness connector on the wi-fi antenna, remove both the door jam cover and the small foot well cover to fit it up and behind to the space behind the glove box. Then fish it to the head unit, leaving about 12" of cable free so that you can maneuver the head unit into place when you're finished. Then run the remaining cable and antenna within the door weather stripping on the passenger side door up and into the side pillar. Pull the side pillar back enough to slide the antenna in behind the pillar and out of sight. You can remove the side pillar to do this, but be careful not the scratch it and not to break the retainer clips holding it into place.
3) ATOTO GPS ANTENNA: The ATOTO GPS antenna is long enough to be placed beside your mirror attachment on the windshield. The cable will reach all the way to the A6 head unit with plenty of extra cable so that you can easily connect it without it pulling on the back of the A6 while installing.
4) You do not need the parking brake bypass for the ATOTO head unit, just leave the parking brake wire disconnected.
5) BACKUP CAMERA INSTALLATION: No instructions come with the backup camera, but it's easy to install.
Remove the interior door panels by pulling firmly on them starting from the corners. Take care while removing panels to ensure that you don't break any of the plastic fasteners.
Remove your license plate and drill a 1/2" to 9/16" hole in the door placed at the top centre of the license plate. You'll have to eye-ball this to make sure that the hole is not visible when you put your license plate back on.
On the backup camera, from the outside of the car, fish the camera RCA connectors through the hole into the vehicle. Take care not to damage the wires on the sharp edges of the hole you just drilled.
Loosely screw the license plate back on with the camera mount onto the door.
Inside the vehicle, connect the cable extension to the backup camera and put electrical tape around the connections.
Zip tie the connectors to the door to secure them and stop them from rattling around while driving.
Fish the wires towards the backup light on the right (passenger) side of the car.
Remove the backup lights wire housing.
Tap the power for the camera into the backup lights positive (+) wire. This will be a multi-coloured wire, not a straight black, white or red. To tap the power from this line, cut the positive (+) wire from the backup camera with a bit of solder into the wiring harness (recommended if you are skilled at soldering) or use a T-Tap connector (
). Be careful using T-Taps as these lines are 18 or 20 gauge, which is very very thin. If you aren't careful with your T-Taps, you can cut the wire to the point that you cause a short.
Cut, strip and connect your negative (-) to anywhere under one of the many 10mm bolts in that area.
Either zip tie or electrical tape the wires as you go through the door in order to ensure that you don't have any pulling on the wire long-term that could cause it to wear and break.
When fishing the backup camera wires from the rear door into the main vehicle body, use the largest flexible rubber sleeve with grommets on the right hand side of the door. It's the sleeve in the middle of all three sleeves more towards the passenger side. Note that the sleeve on the left is too packed with wires to fit the RCA connector through. Just take your time and work it through slowly and you'll get it through.
Fish the remaining wire up through the headliner and door weather stripping to the front side pillar, then down the pillar, through the glove box and into the A6 head unit area.
Connect the red backup camera wire to the A6 head units "Rear Camera (+)" wire (again soldering is best here).
Connect the RCA connection to the top left VIN input on the back of the A6.
Turn on your vehicle, press the parking brake, put the car into reverse and voila! Your rear camera is now displaying on your head unit.
With the parking brake securely in place and keeping the car in reverse, go to the back of the car and tighten the license plate bolts.
With a pair of needle nosed pilers, adjust the camera so that you can see your bumper with the red lines on the camera. You'll need to fiddle with this for a while until you get it sorted. NOTE: I had to remove my license plate shield that the dealership provided as it got in the way of the camera getting the angle it needed to provide a flat alignment of the backup lines for the car. You'll see what I mean by this once you start adjusting it.
Once you're happy with the camera placement, take the car out of reverse and turn it off.
On the inside of the door, apply a generous amount of polyurethane sealant (any brand will do) to the hole that the wires from the backup camera are coming through. Ensure that the entire hole is sealed off.
Replace the interior door panels and you're done.
Show your kids, they'll think you're super smart.
Now go and play.
Last edited by chadsich; 06-24-19 at 11:36 AM.
Reason: Added image of completed installation.
Thanks viffer. Like you, I held out for years. I wanted to get a Pioneer AVIC 10 years ago, but they were around $450. Then Pioneer released the first CarPlay decks 5 years ago, but they were around $700. So I kept waiting. I used a Grom Audio bluetooth interface for a couple years, but it was flakey. I finally pulled the trigger last week on a MVH1400NEX. Thanks to your video, I was able to install it without any problems, and it looks clean and professional like yours.
The factory amp and steering wheel harnesses made it a plug-n-play install. Instead of crimp connectors, I used solder and shrink tubing.
The backup camera is an aftermarket unit that was wired to the rearview mirror. I just disconnected it from the mirror and connected it to the new headunit. I also tapped a reverse wire from the kick panel to the new headunit reverse trigger wire.
Last edited by willdogg; 12-19-19 at 10:35 AM.
Reason: added pictures
There are 2 antenna wires coming out of the lexus. The antenna wire and the sub antenna wire. I can't figure out what to do with the sub antenna wire. Does anyone know where it plugs in?
There are 2 antenna wires coming out of the lexus. The antenna wire and the sub antenna wire. I can't figure out what to do with the sub antenna wire. Does anyone know where it plugs in?
The car has a diversity antenna (two antennas basically). Apparently for good reception, you need both. You can buy a Y-antenna cable and then an adaptor for the smaller antenna wire to go into the standard size one on the adapter.

 04-01-17 | 01:41 AM