When you click on links to various merchants on this site and make a purchase, this can result in this site earning a commission. Affiliate programs and affiliations include, but are not limited to, the eBay Partner Network.
I purchased a 2007 RX 350 recently with higher mileage (170k). I noticed excessive road noise that was speed dependent. I originally assumed it was the tires, but rotating tires made no difference and the noise was present at a similar level regardless of road surface. The culprit ended up being the wheel bearings despite there being no play in the wheels at any clock orientation and minimal noise when rotated in the air.
After an exhausting attempt to replace the bearings in my existing hub with a rental tool, I ended up buying a complete assembly to replace the entire knuckle, hub, and bearing as one piece. This drastically simplified the process and doesn't end up costing much more than paying to have old bearings removed and new loose bearings pressed into an existing knuckle. There are multiple knuckle assemblies available online at various price points.
The passenger side replacement resolved most of the noise, but I decided to replace the driver's side, as well. I took photos during the driver's side replacement to provide photos to anyone else interested in performing a similar replacement. As a disclaimer, this is only to share my experience and document the process that I used. Please refer to the factory service manual for professional guidance.
First, using a jack with a rubber puck to avoid damage to body seam, lift side of vehicle that needs bearing replacement. Add jack stands for back-up and chock rear tires to prevent movement.
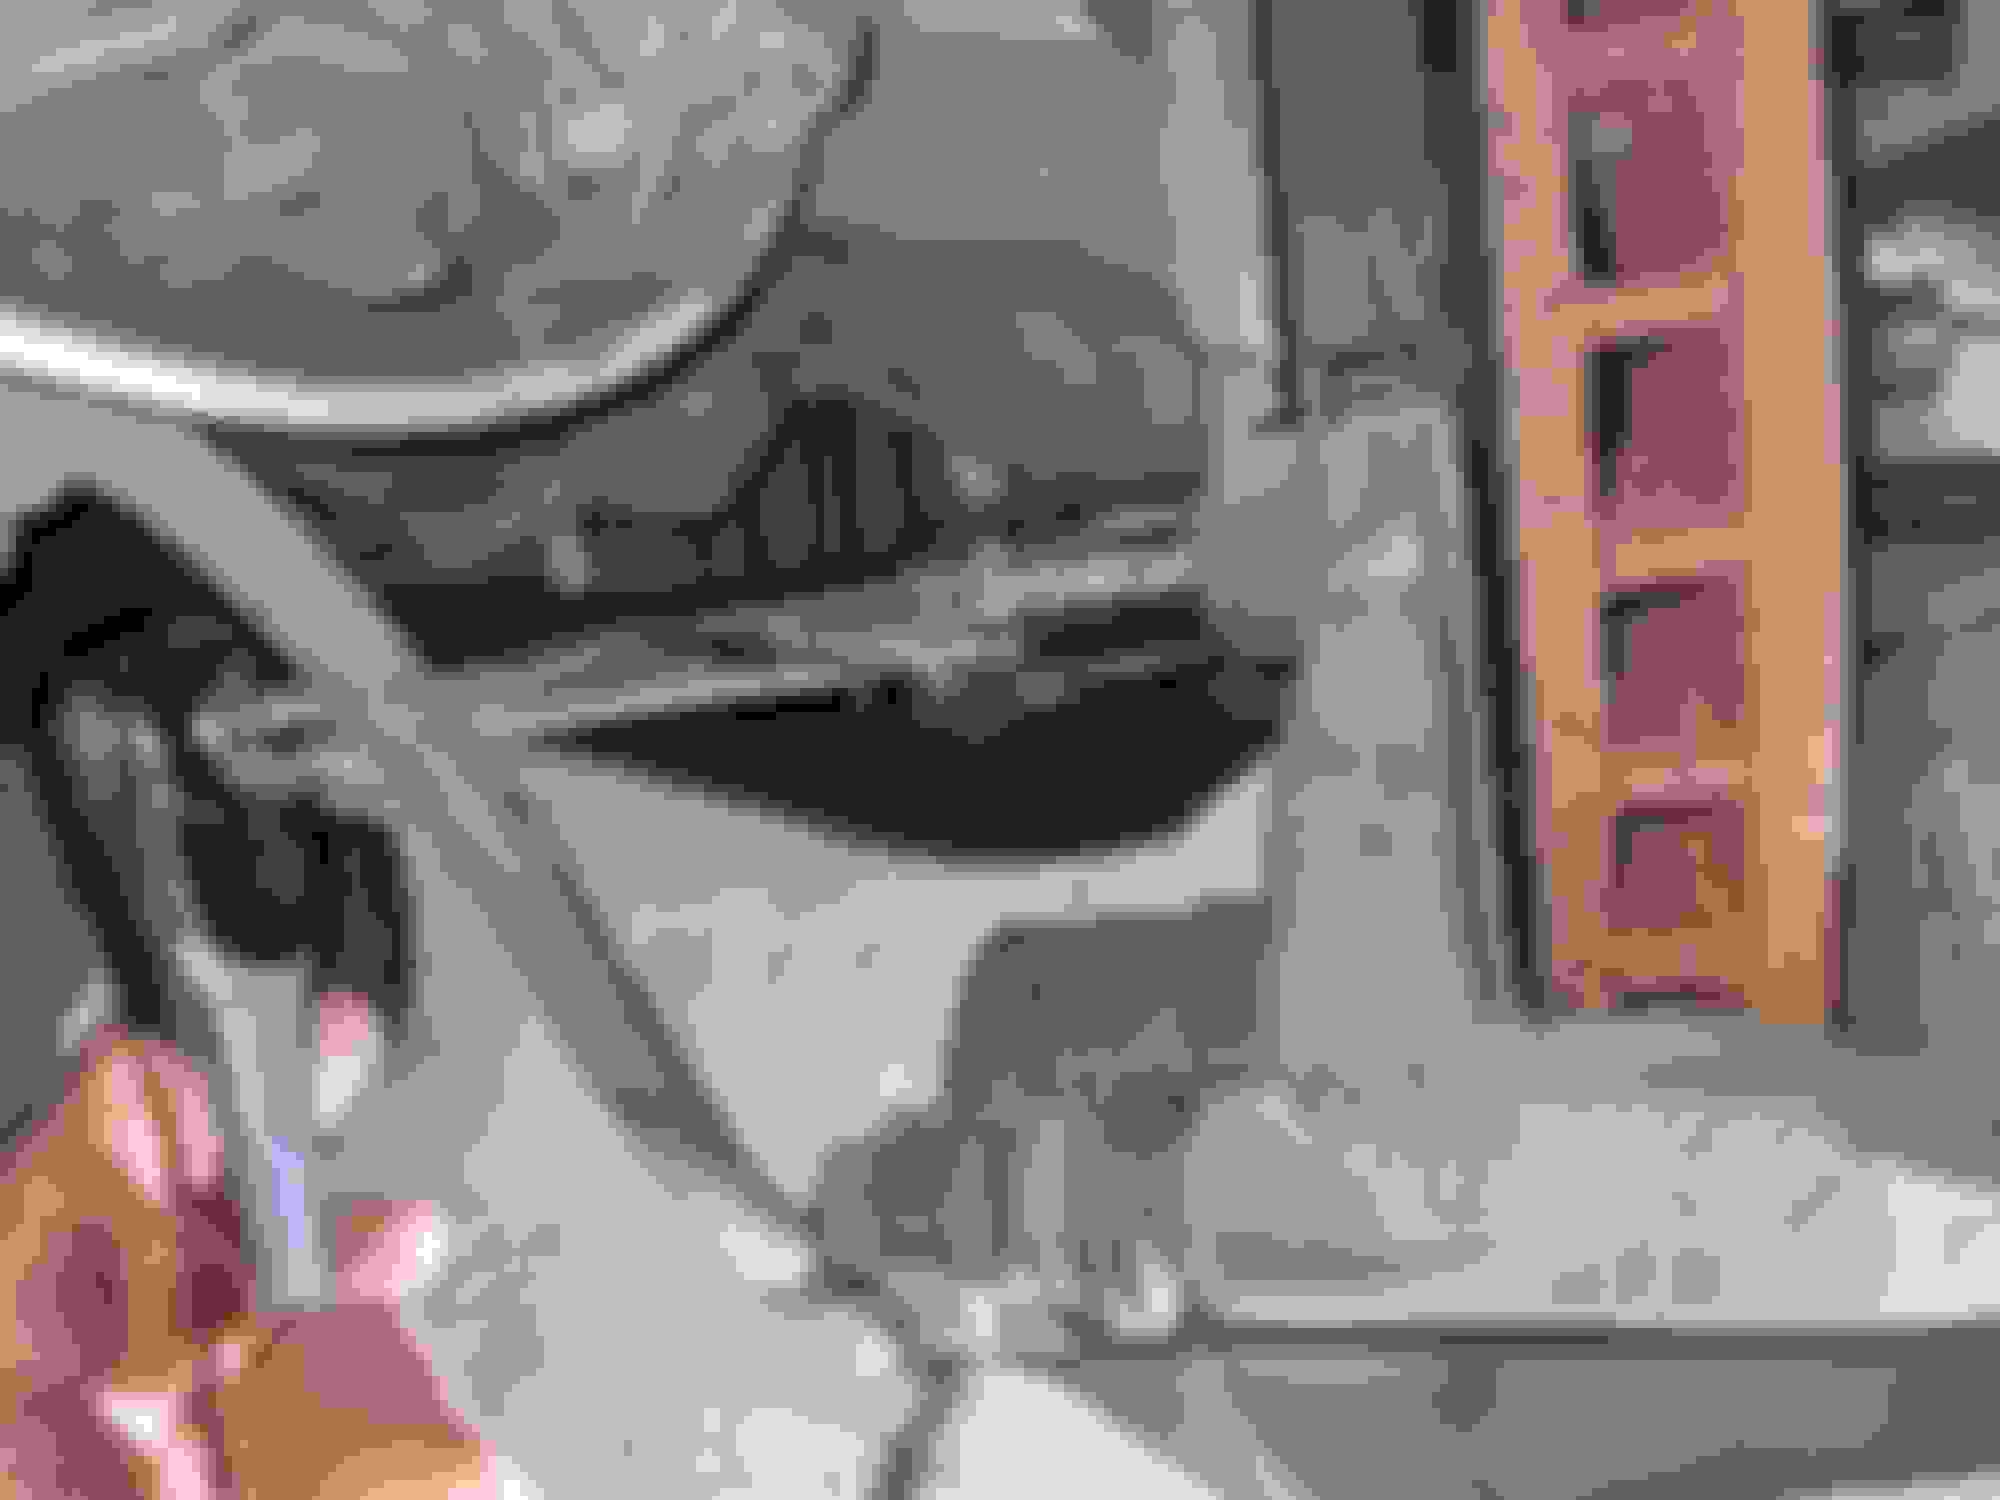
Remove lug nuts with impact wrench or breaker bar (21mm). If the other front tire is still on the ground and the vehicle is in park, the wheel will not turn freely. The vehicle may shift slightly as the other front tire tries to move.
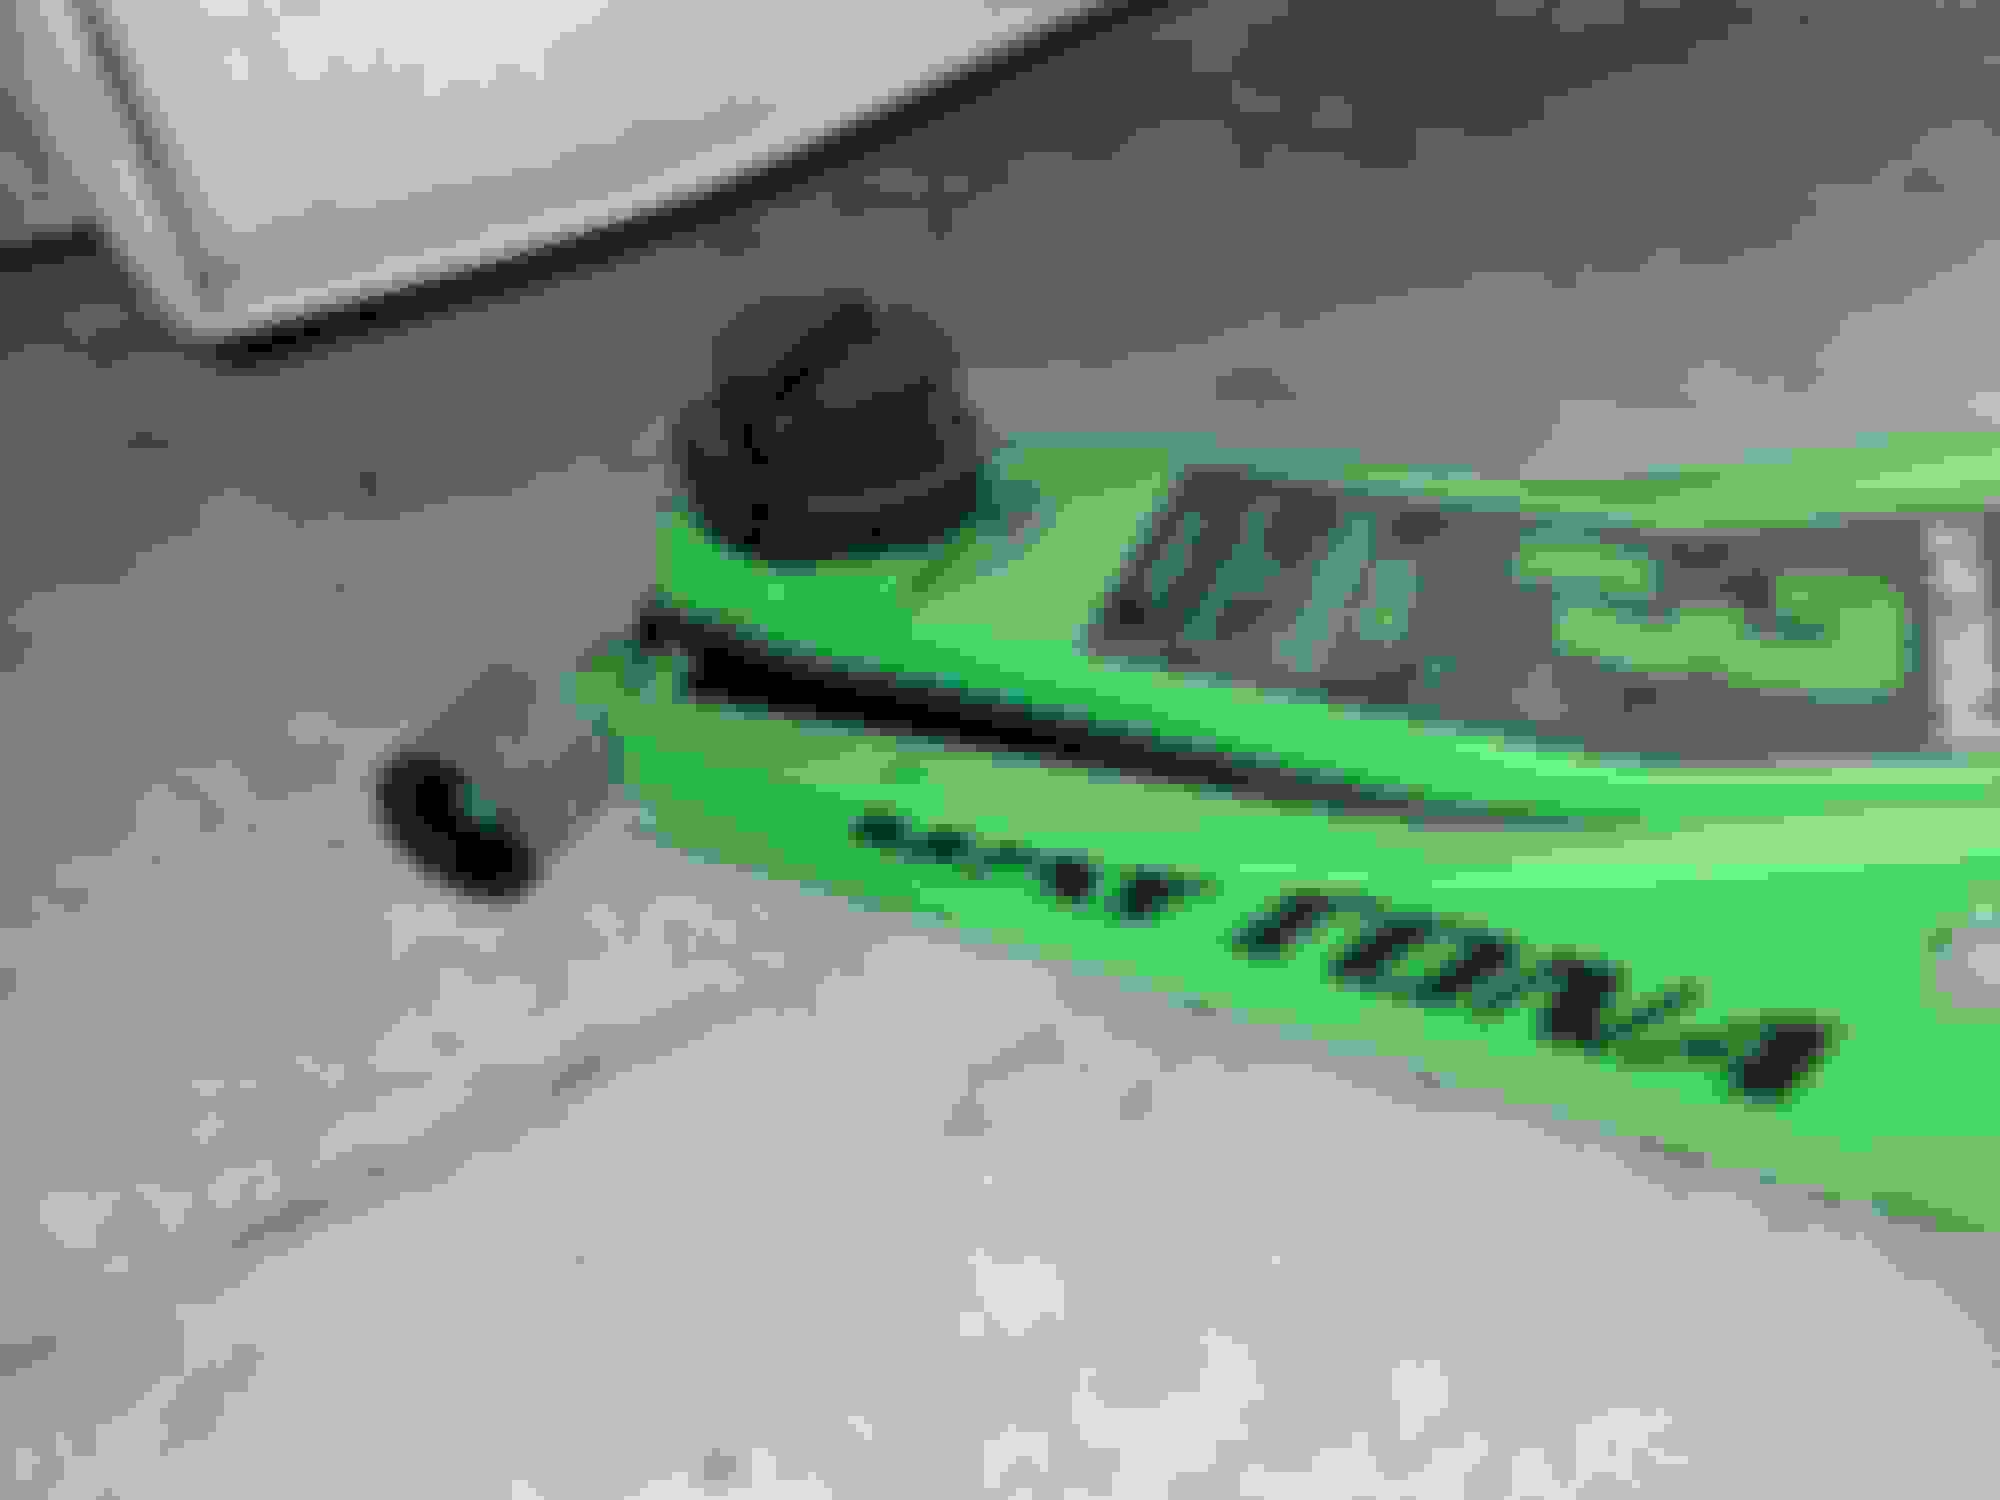
The aftermarket axle in my vehicle has a 6-sided nut, but these are typically 30mm, 12 point and will require the pictured socket to fit. These can be rented at auto parts stores.
Break loose the axle nut with an impact wrench or breaker bar and the appropriate socket. This will likely be very tight. This will cause other front tire on ground to move as you apply torque to nut, so ensure that jack is stable and tires on ground are chocked.
Remove upper and lower brake caliper mounting bracket bolts (17mm). This will remove the entire brake assembly from the hub. You do not need to remove the caliper separately.
Tie brake assembly out of the way with heavy-duty zip ties or wire and ensure that slack is left to avoid strain on brake fluid line
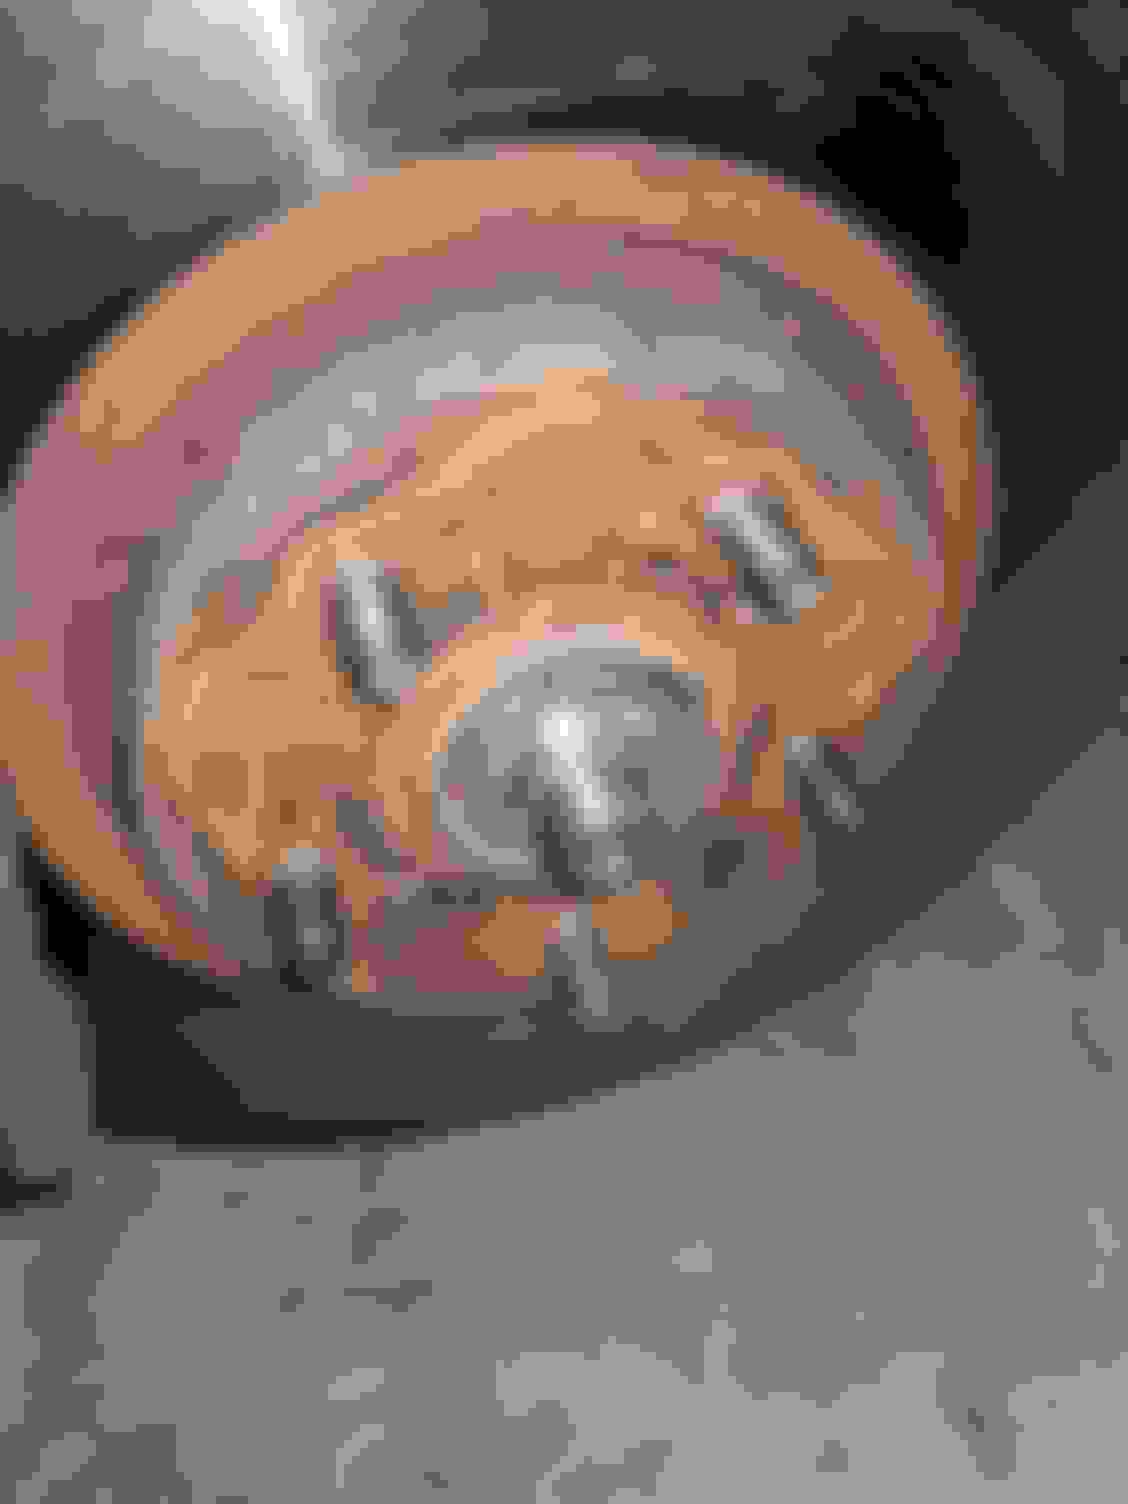
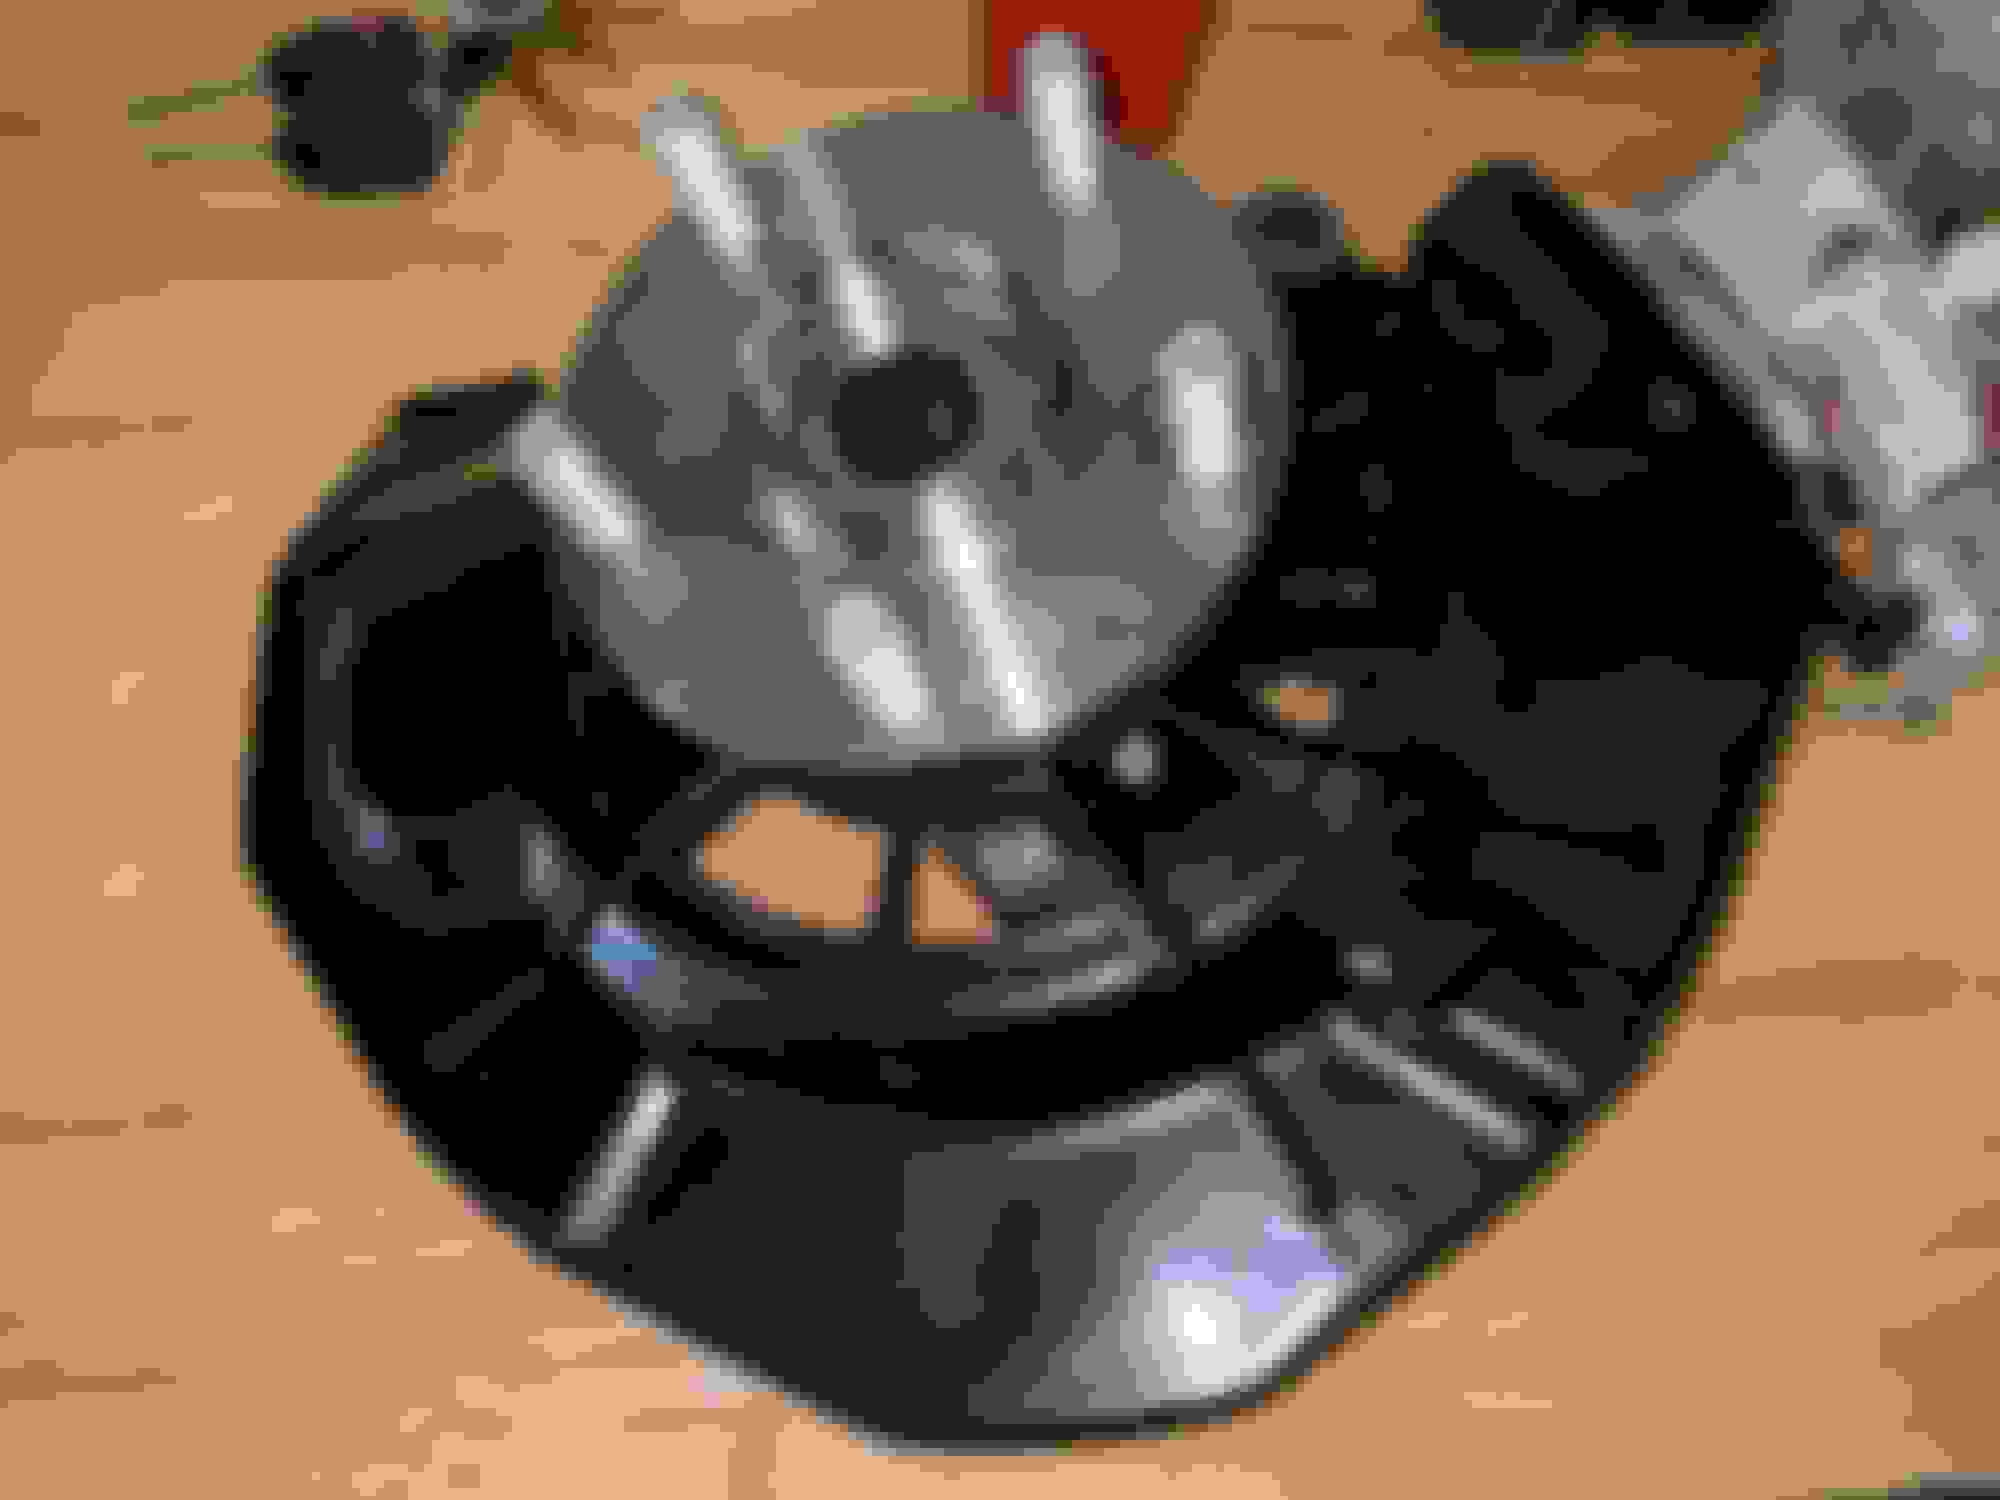
Remove brake disc from hub
Remove tie rod end link cotter pin and nut (17mm)
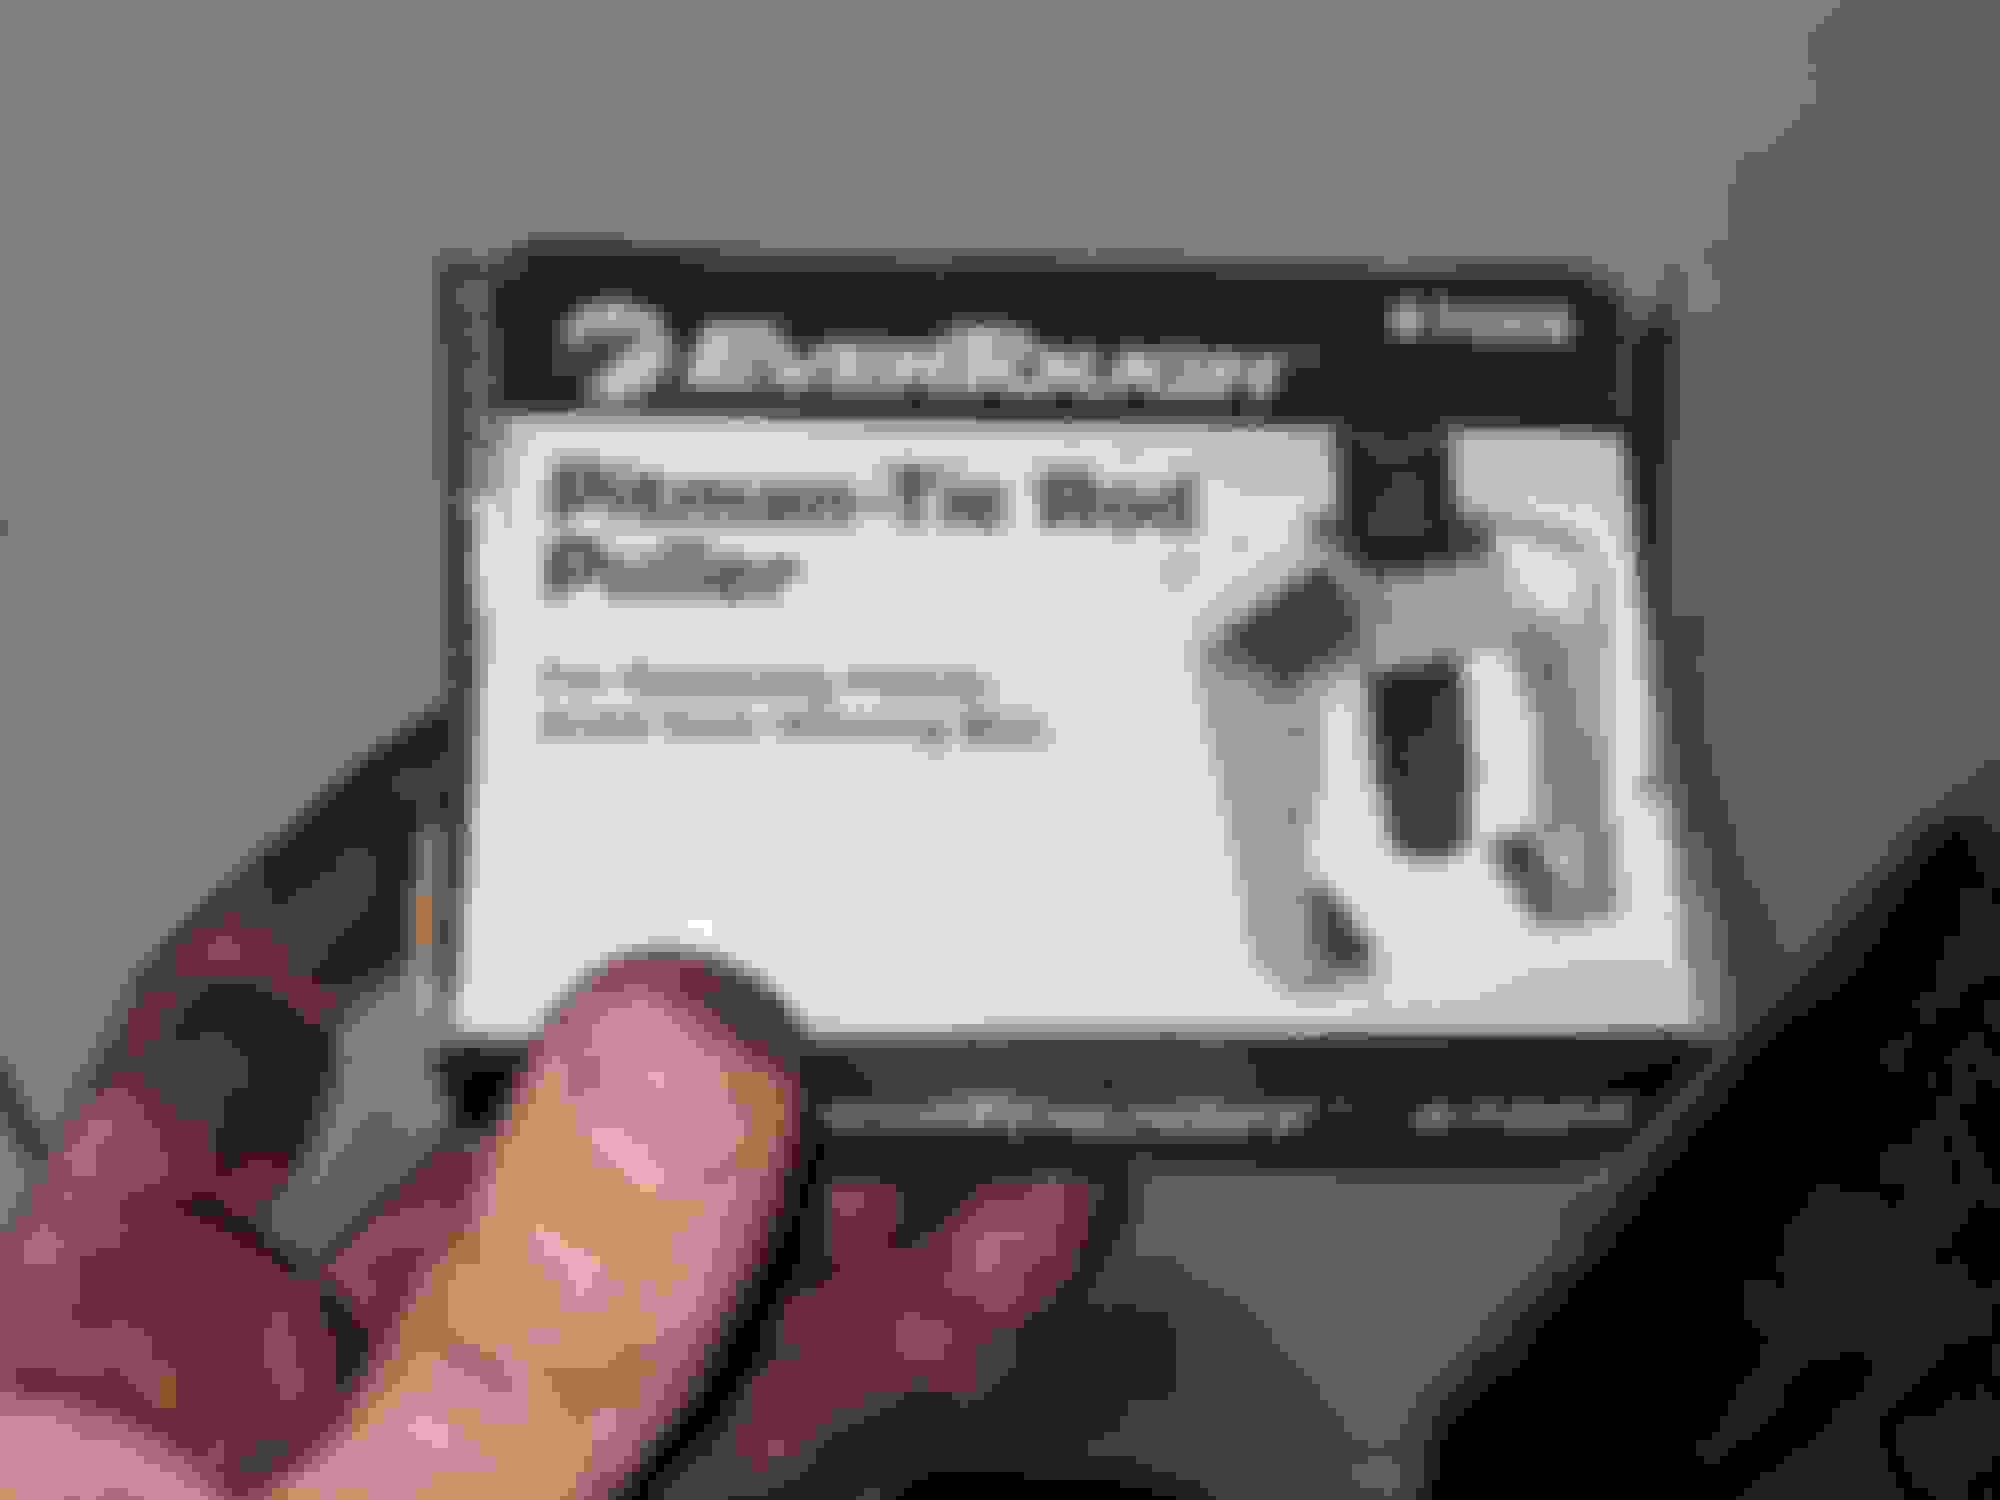
Use tie rod removal tool to pop tie rod out of hole. These can be rented at auto parts stores or purchased for $25-$30.
Remove wheel speed sensor bolt (10mm) and plastic clamp. Tie out of way to avoid damage.
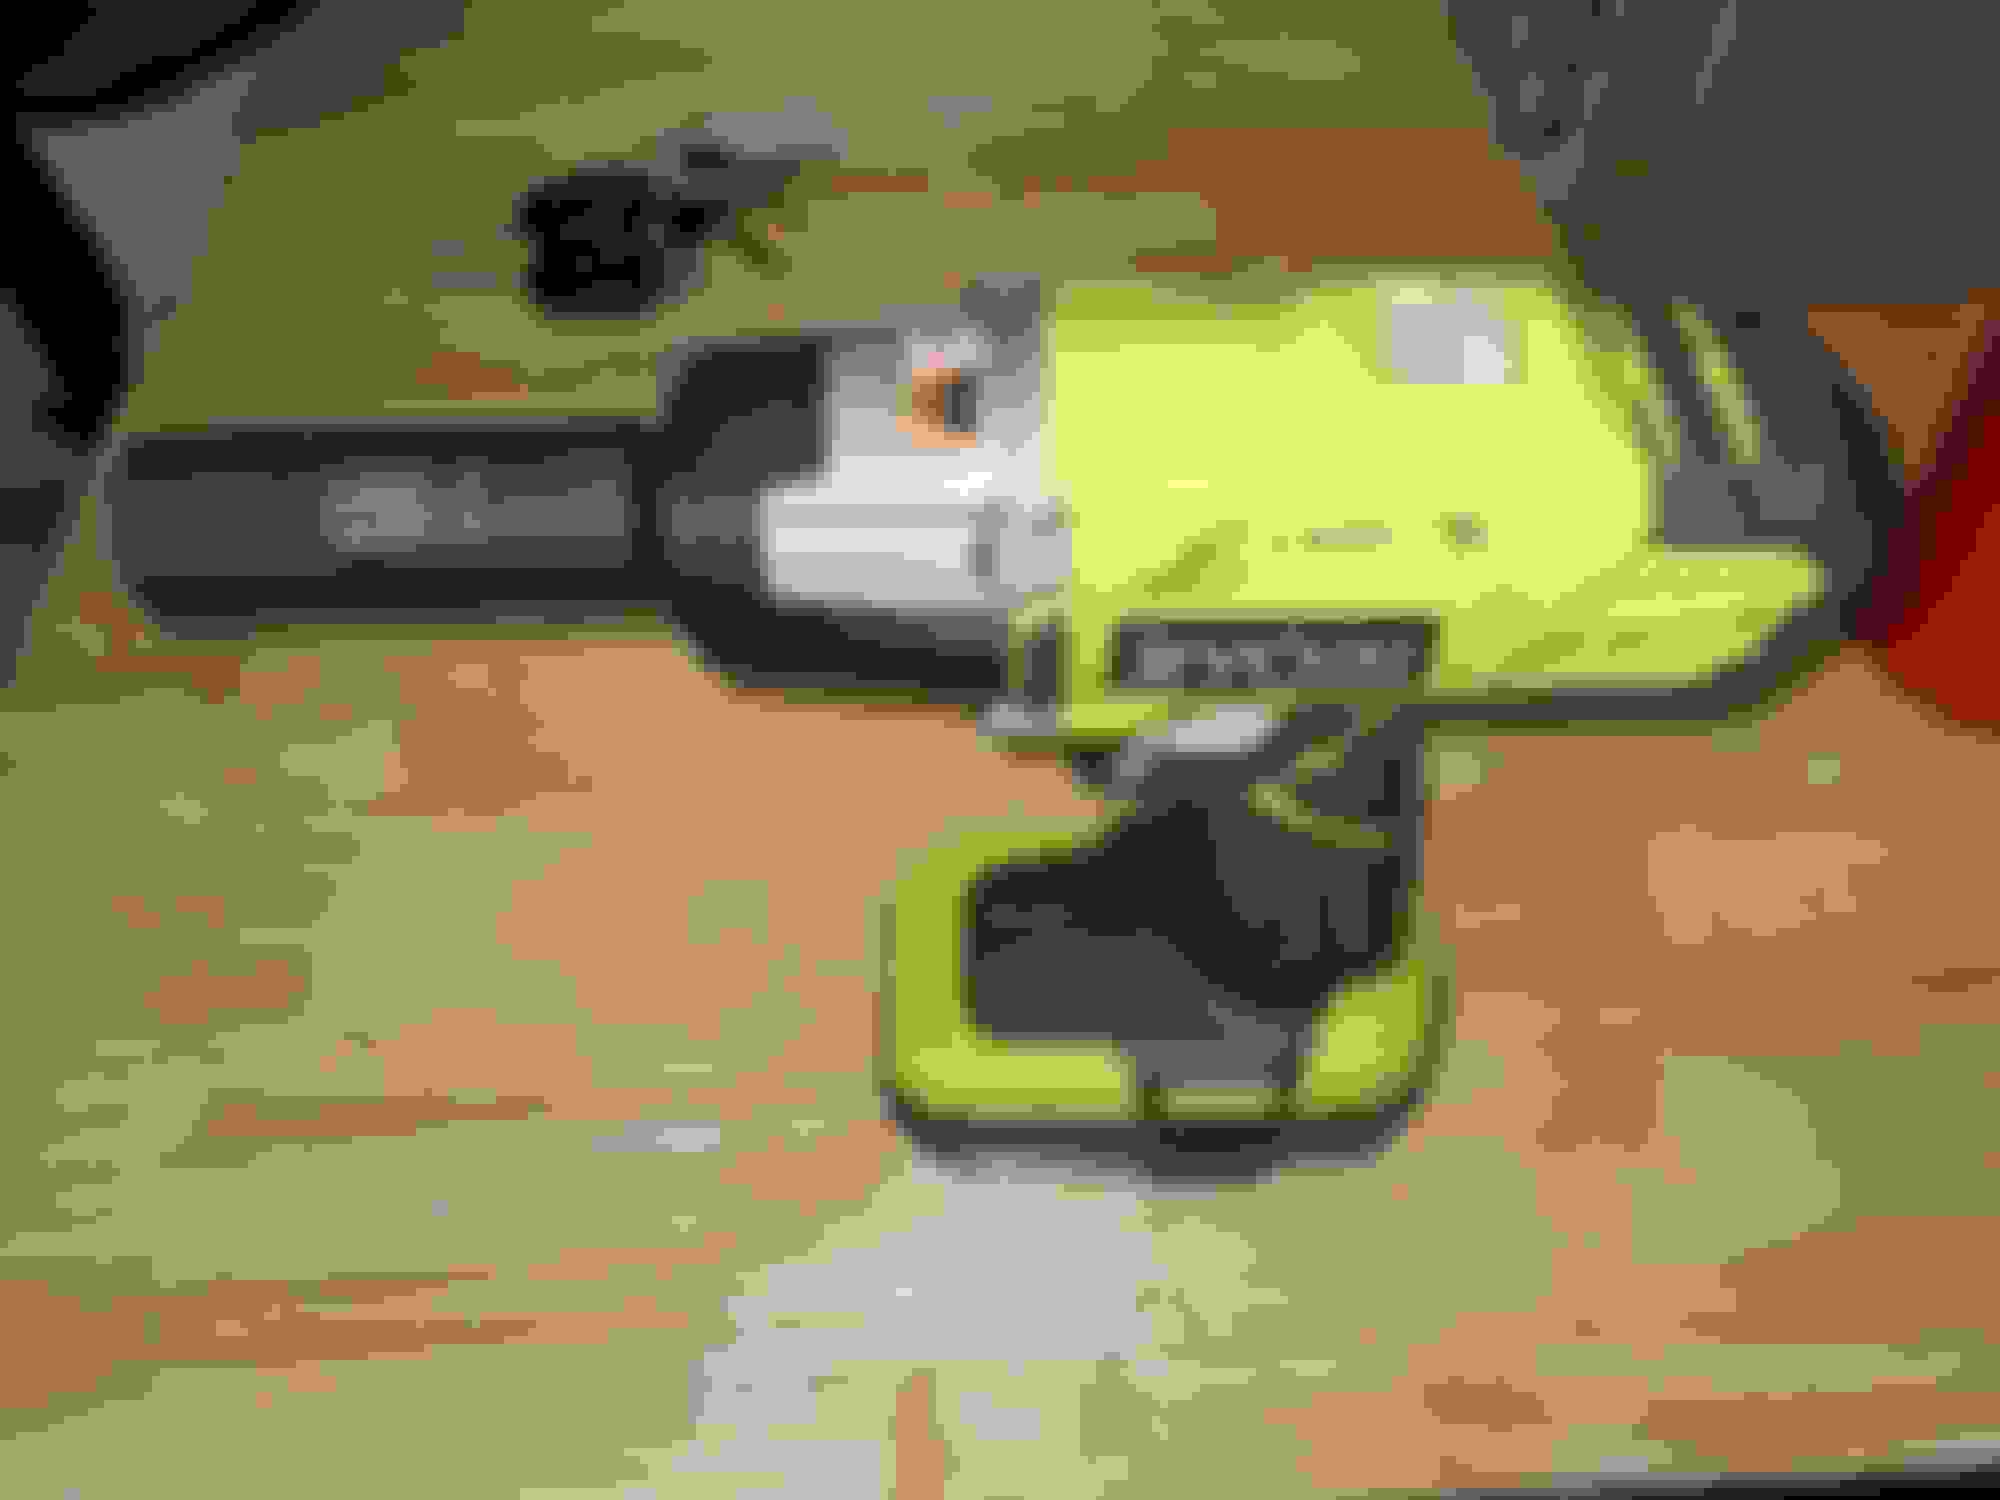
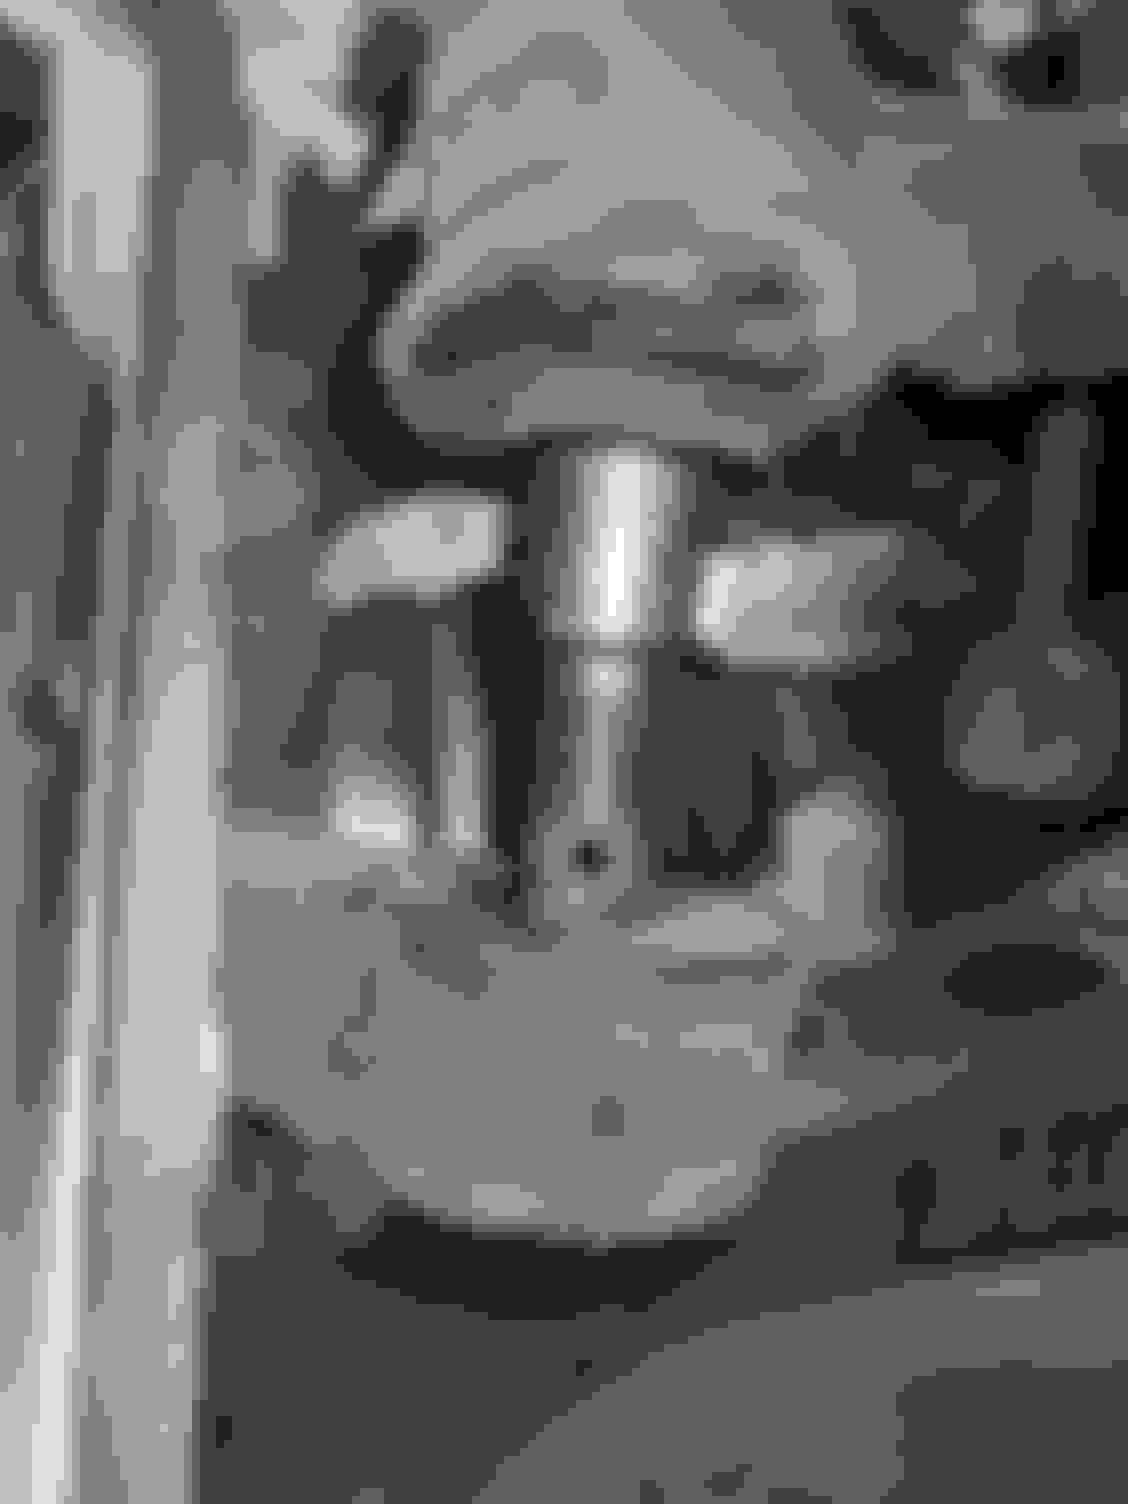
Use an impact wrench or breaker bar with socket (22mm) on strut mount nuts and a second wrench (22mm) to hold bolts from turning.
Tap out bolts from mounting holes to release top of knuckle.
Remove axle nut that was previously loosened.
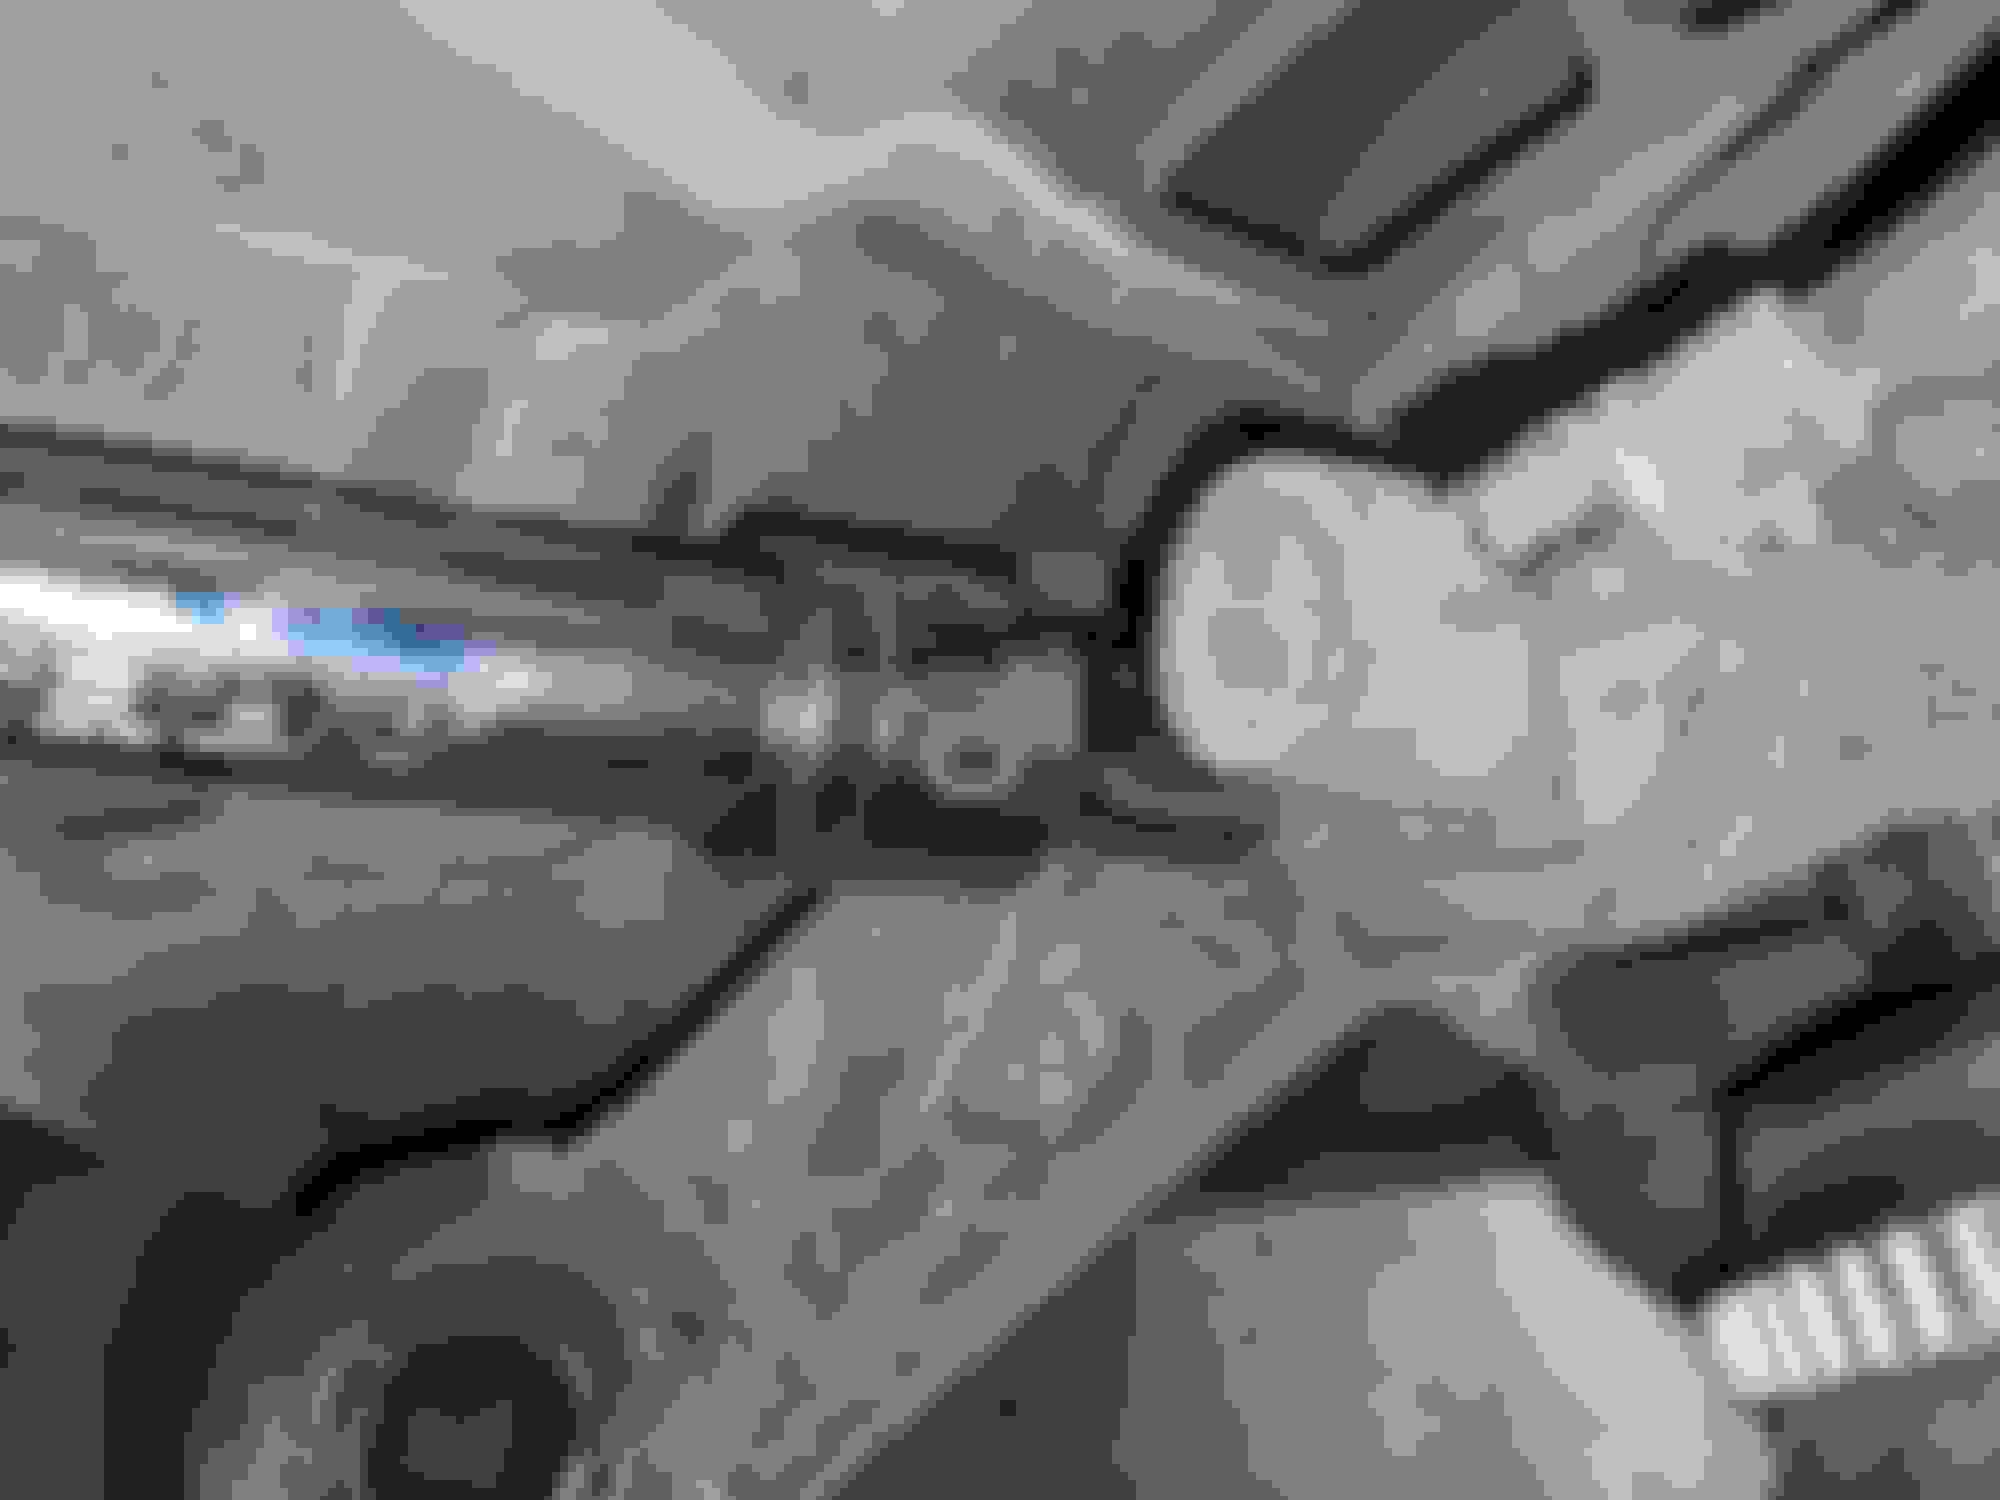
Remove two nuts (17mm) and one bolt (17mm) on the lower ball joint assembly.
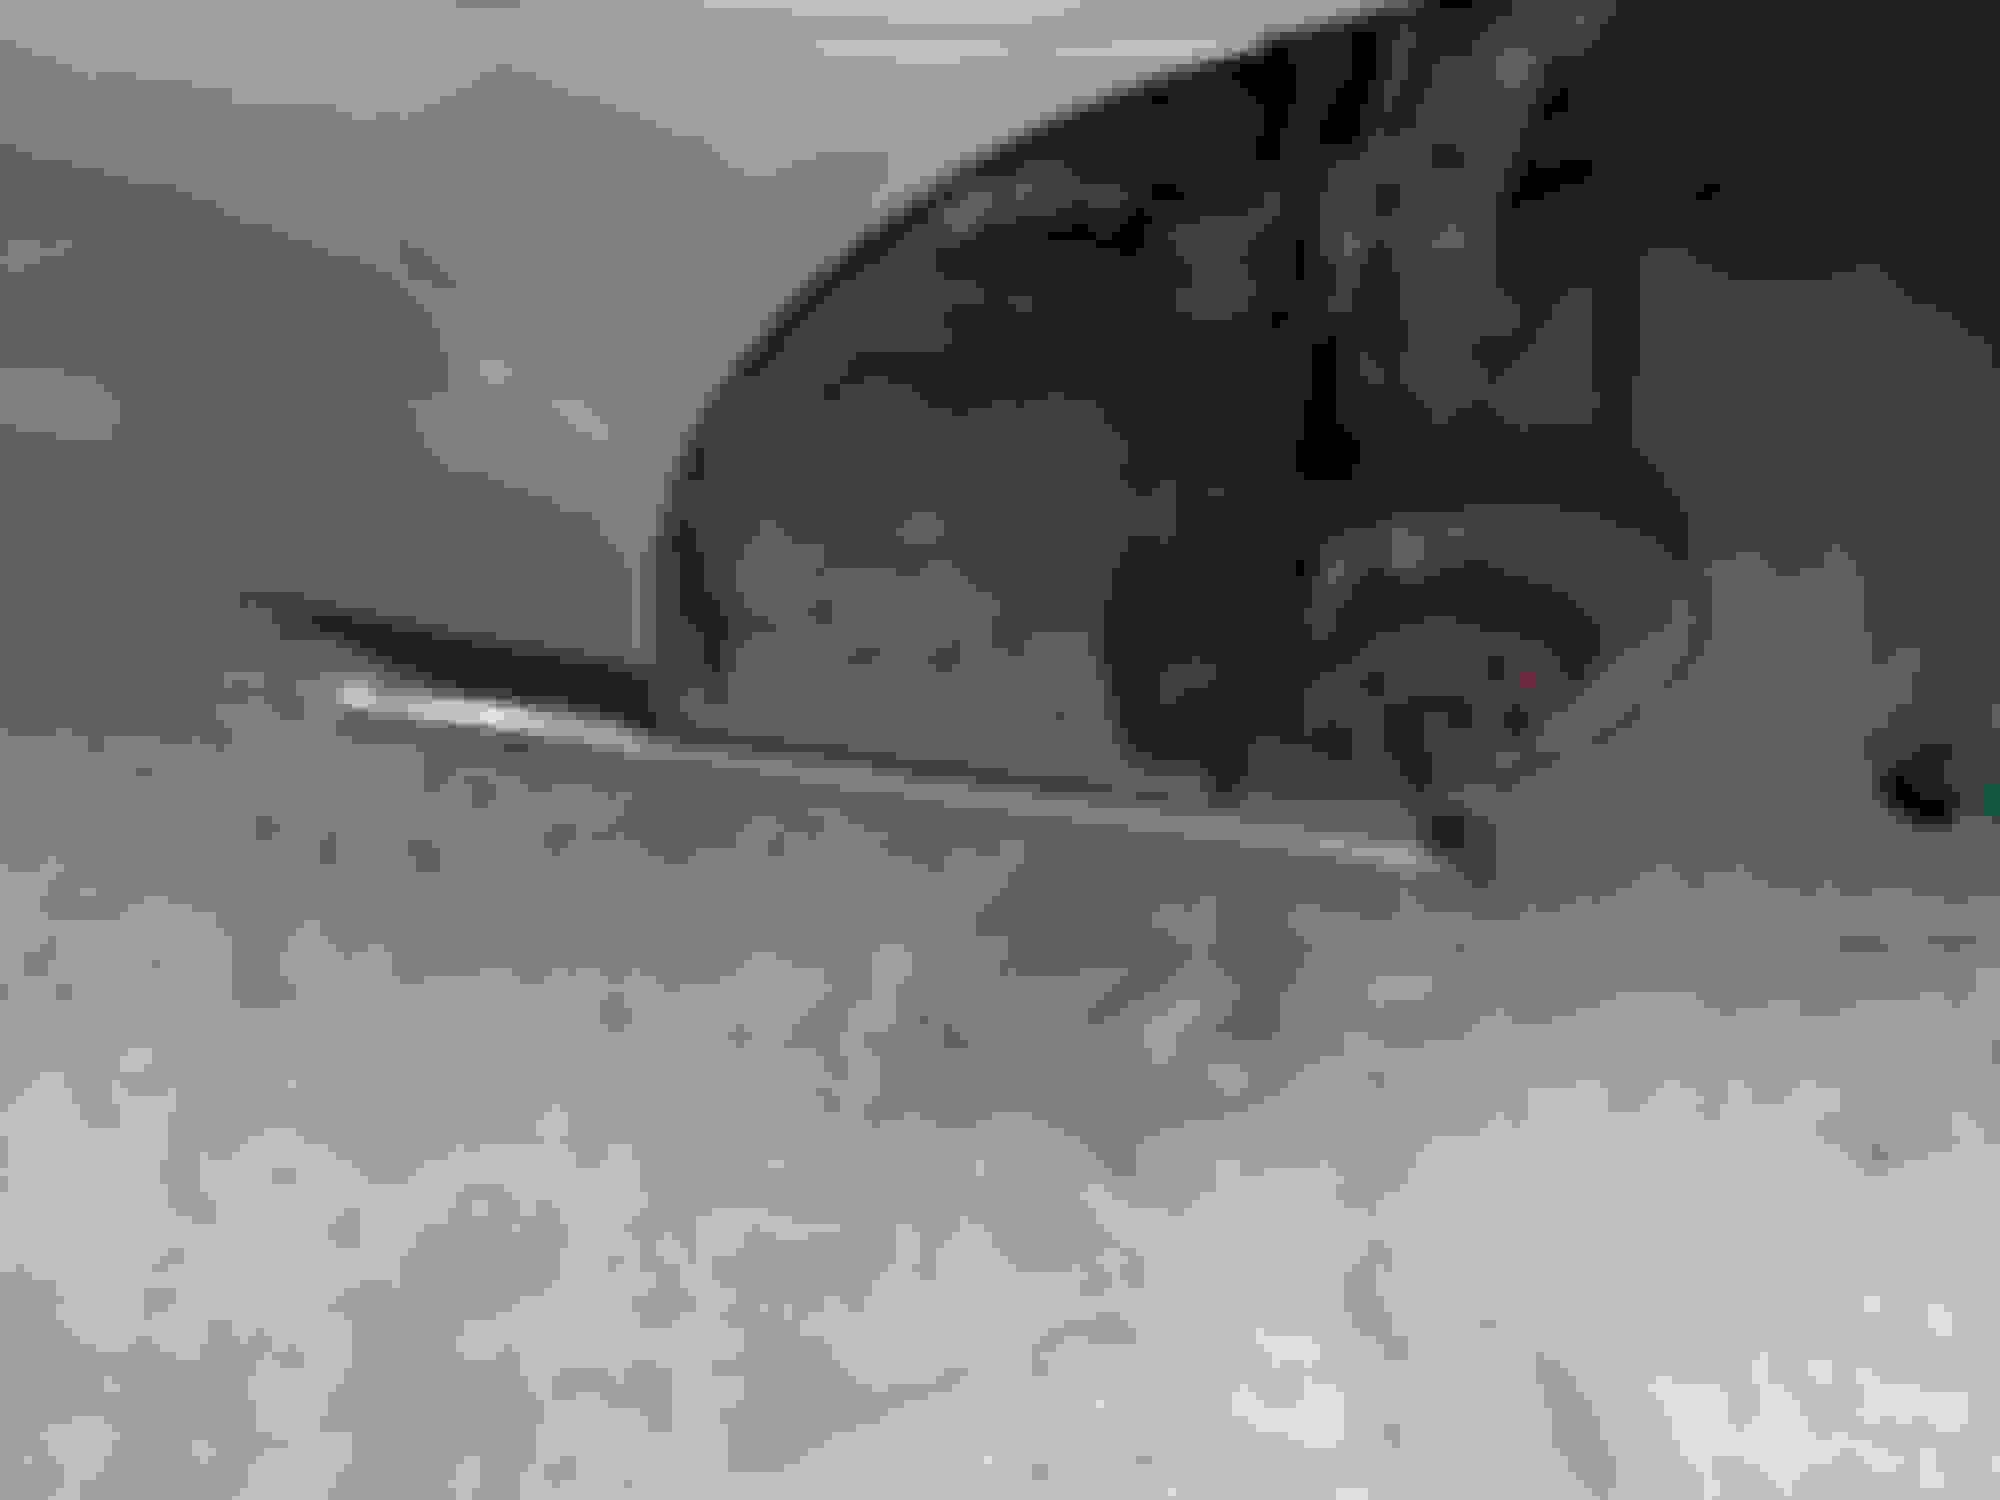
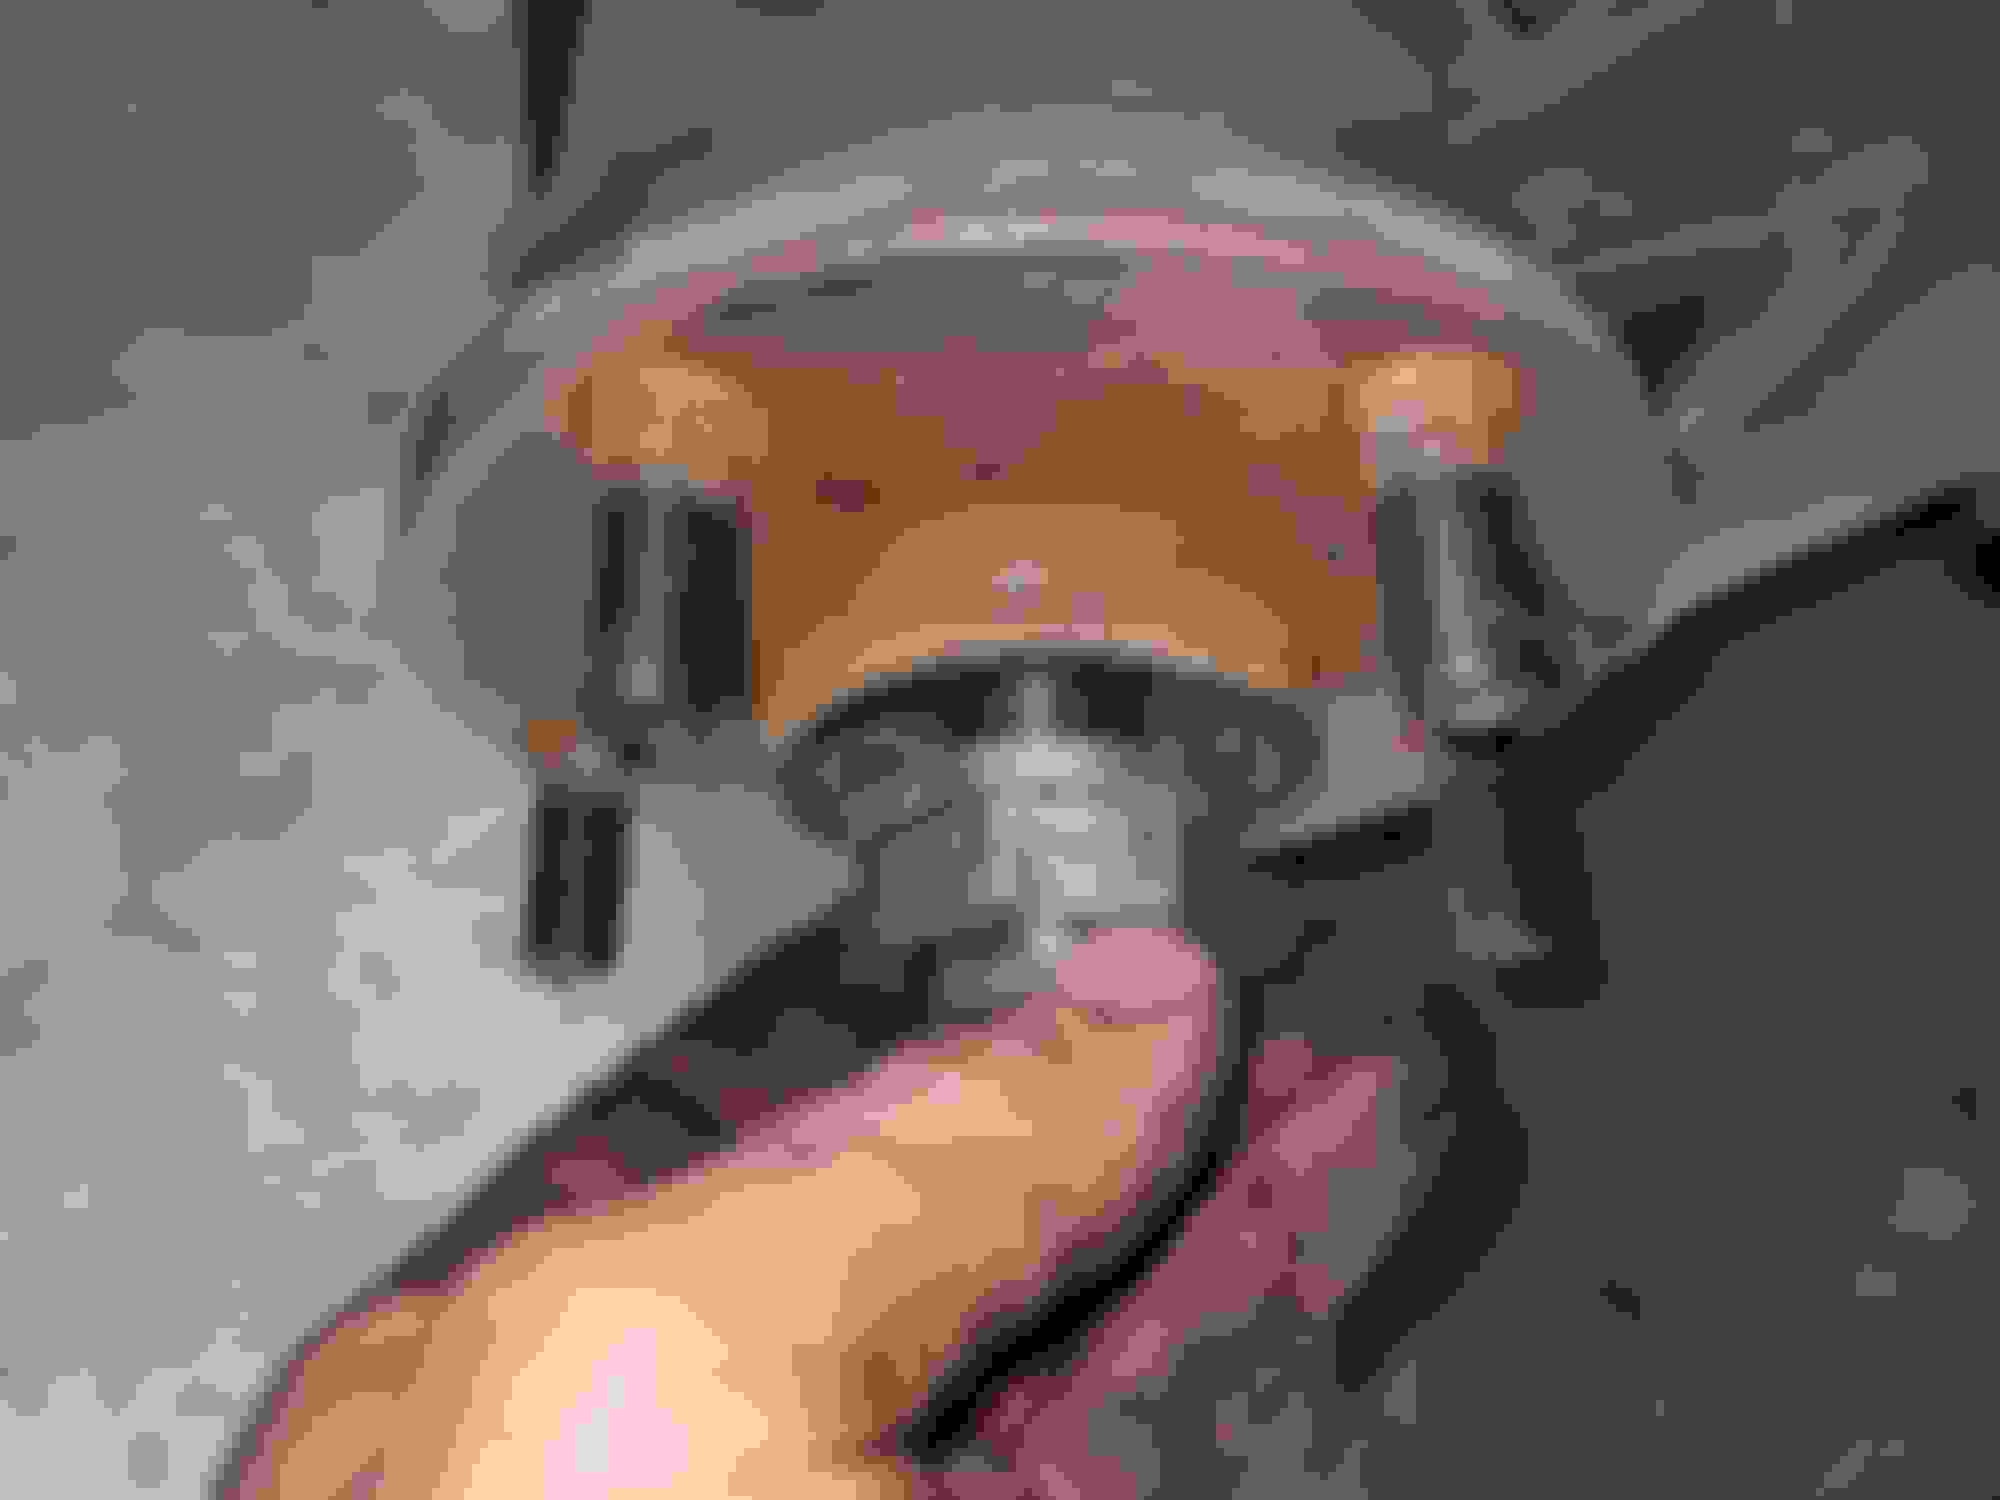
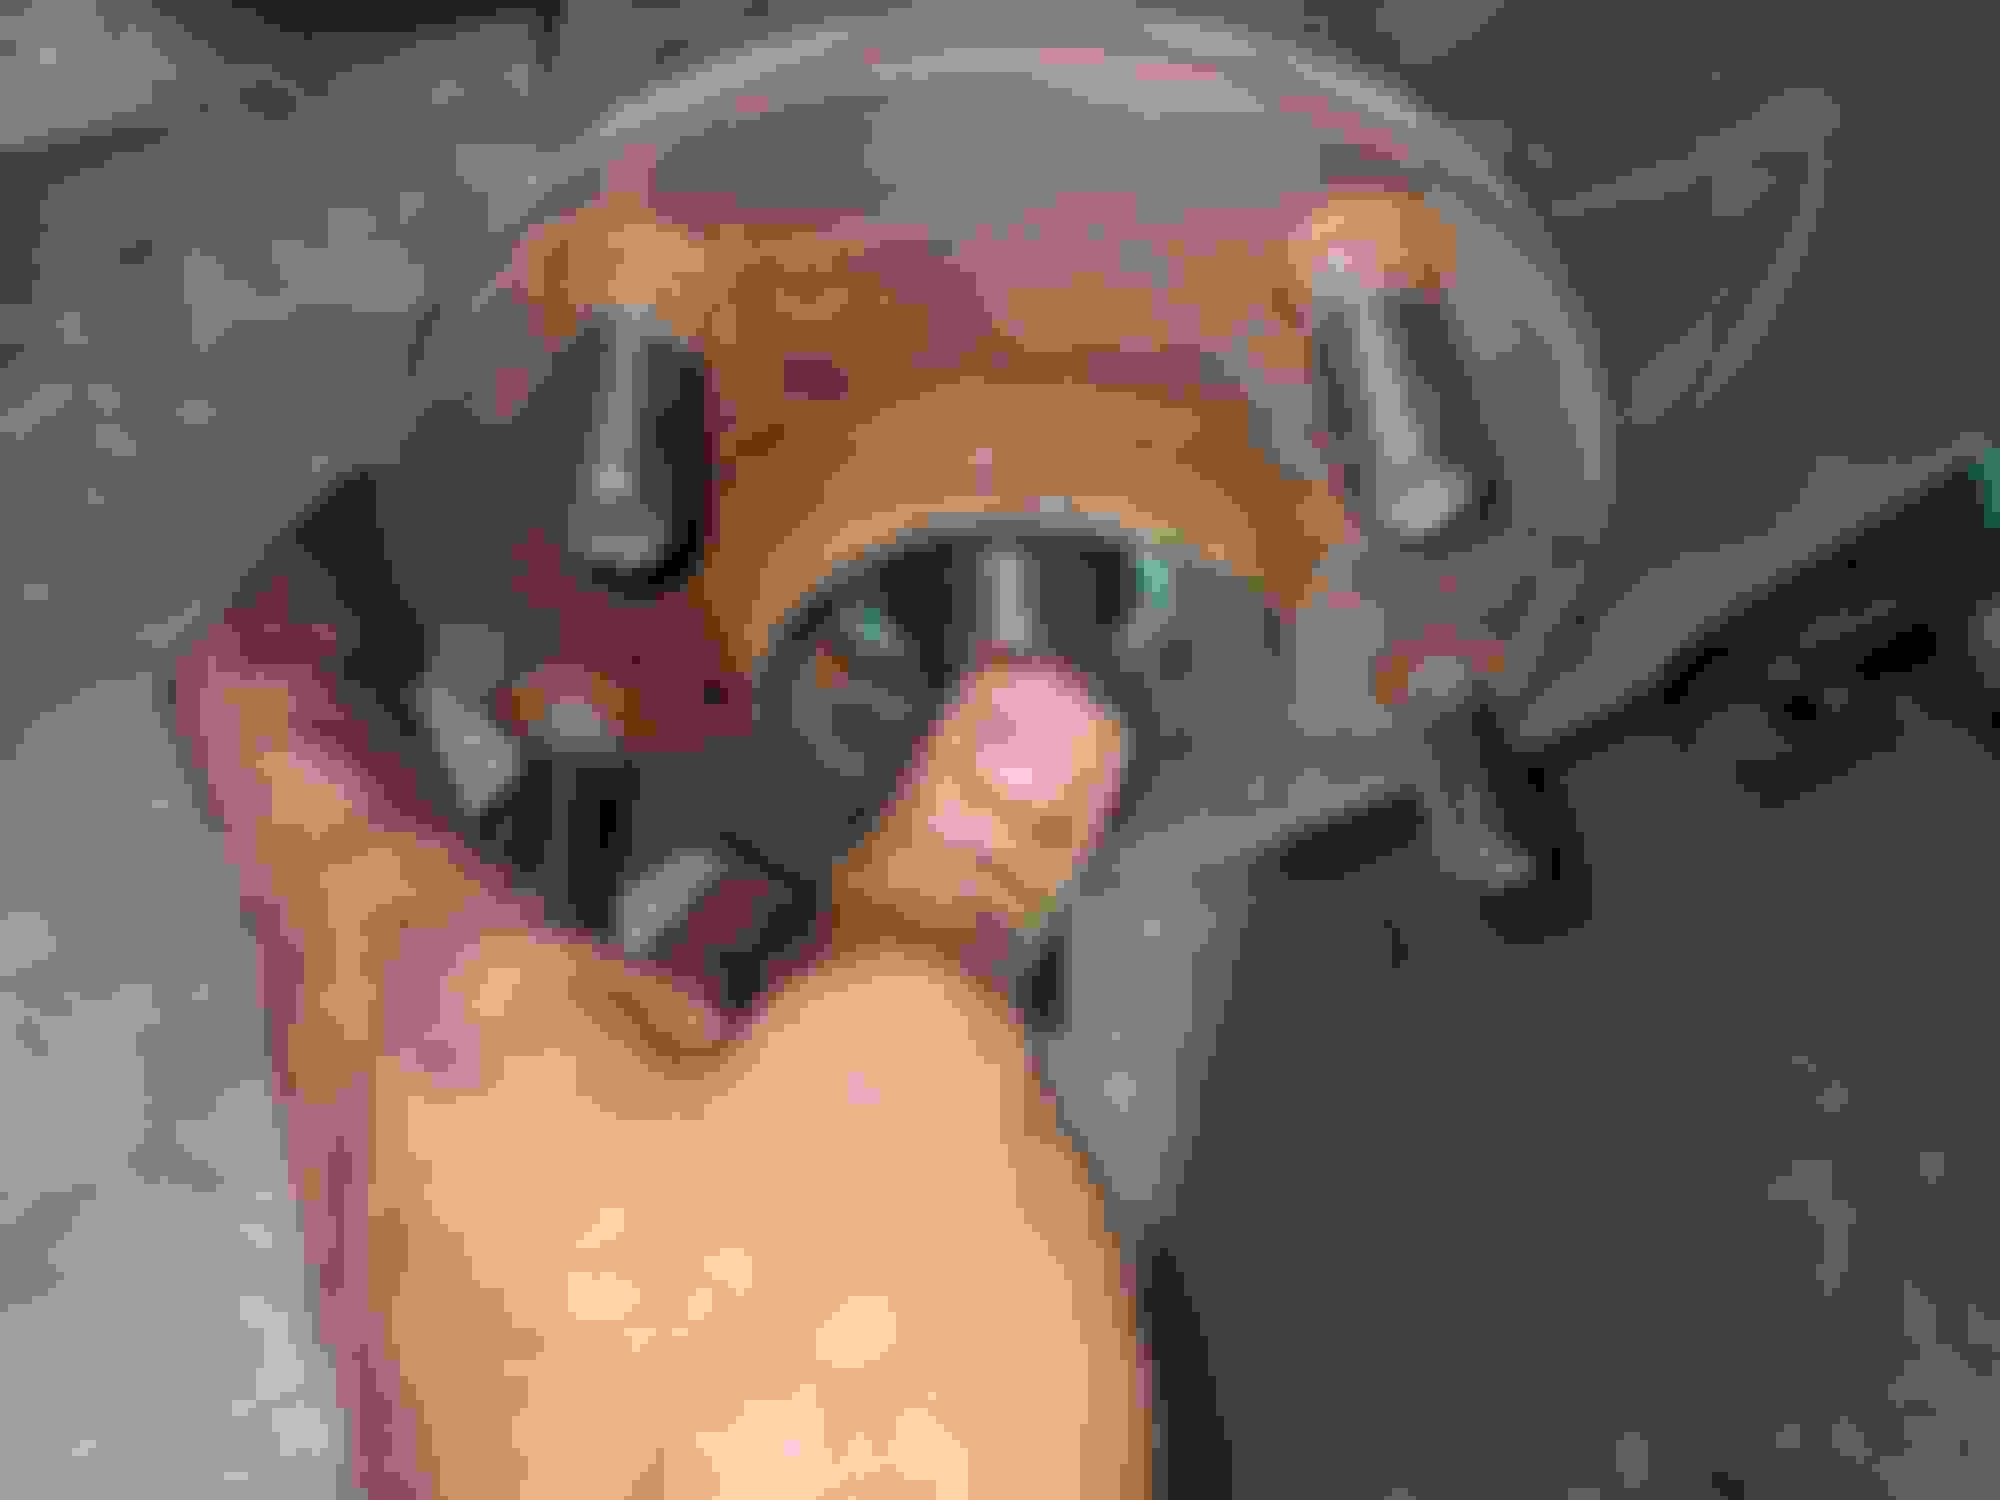
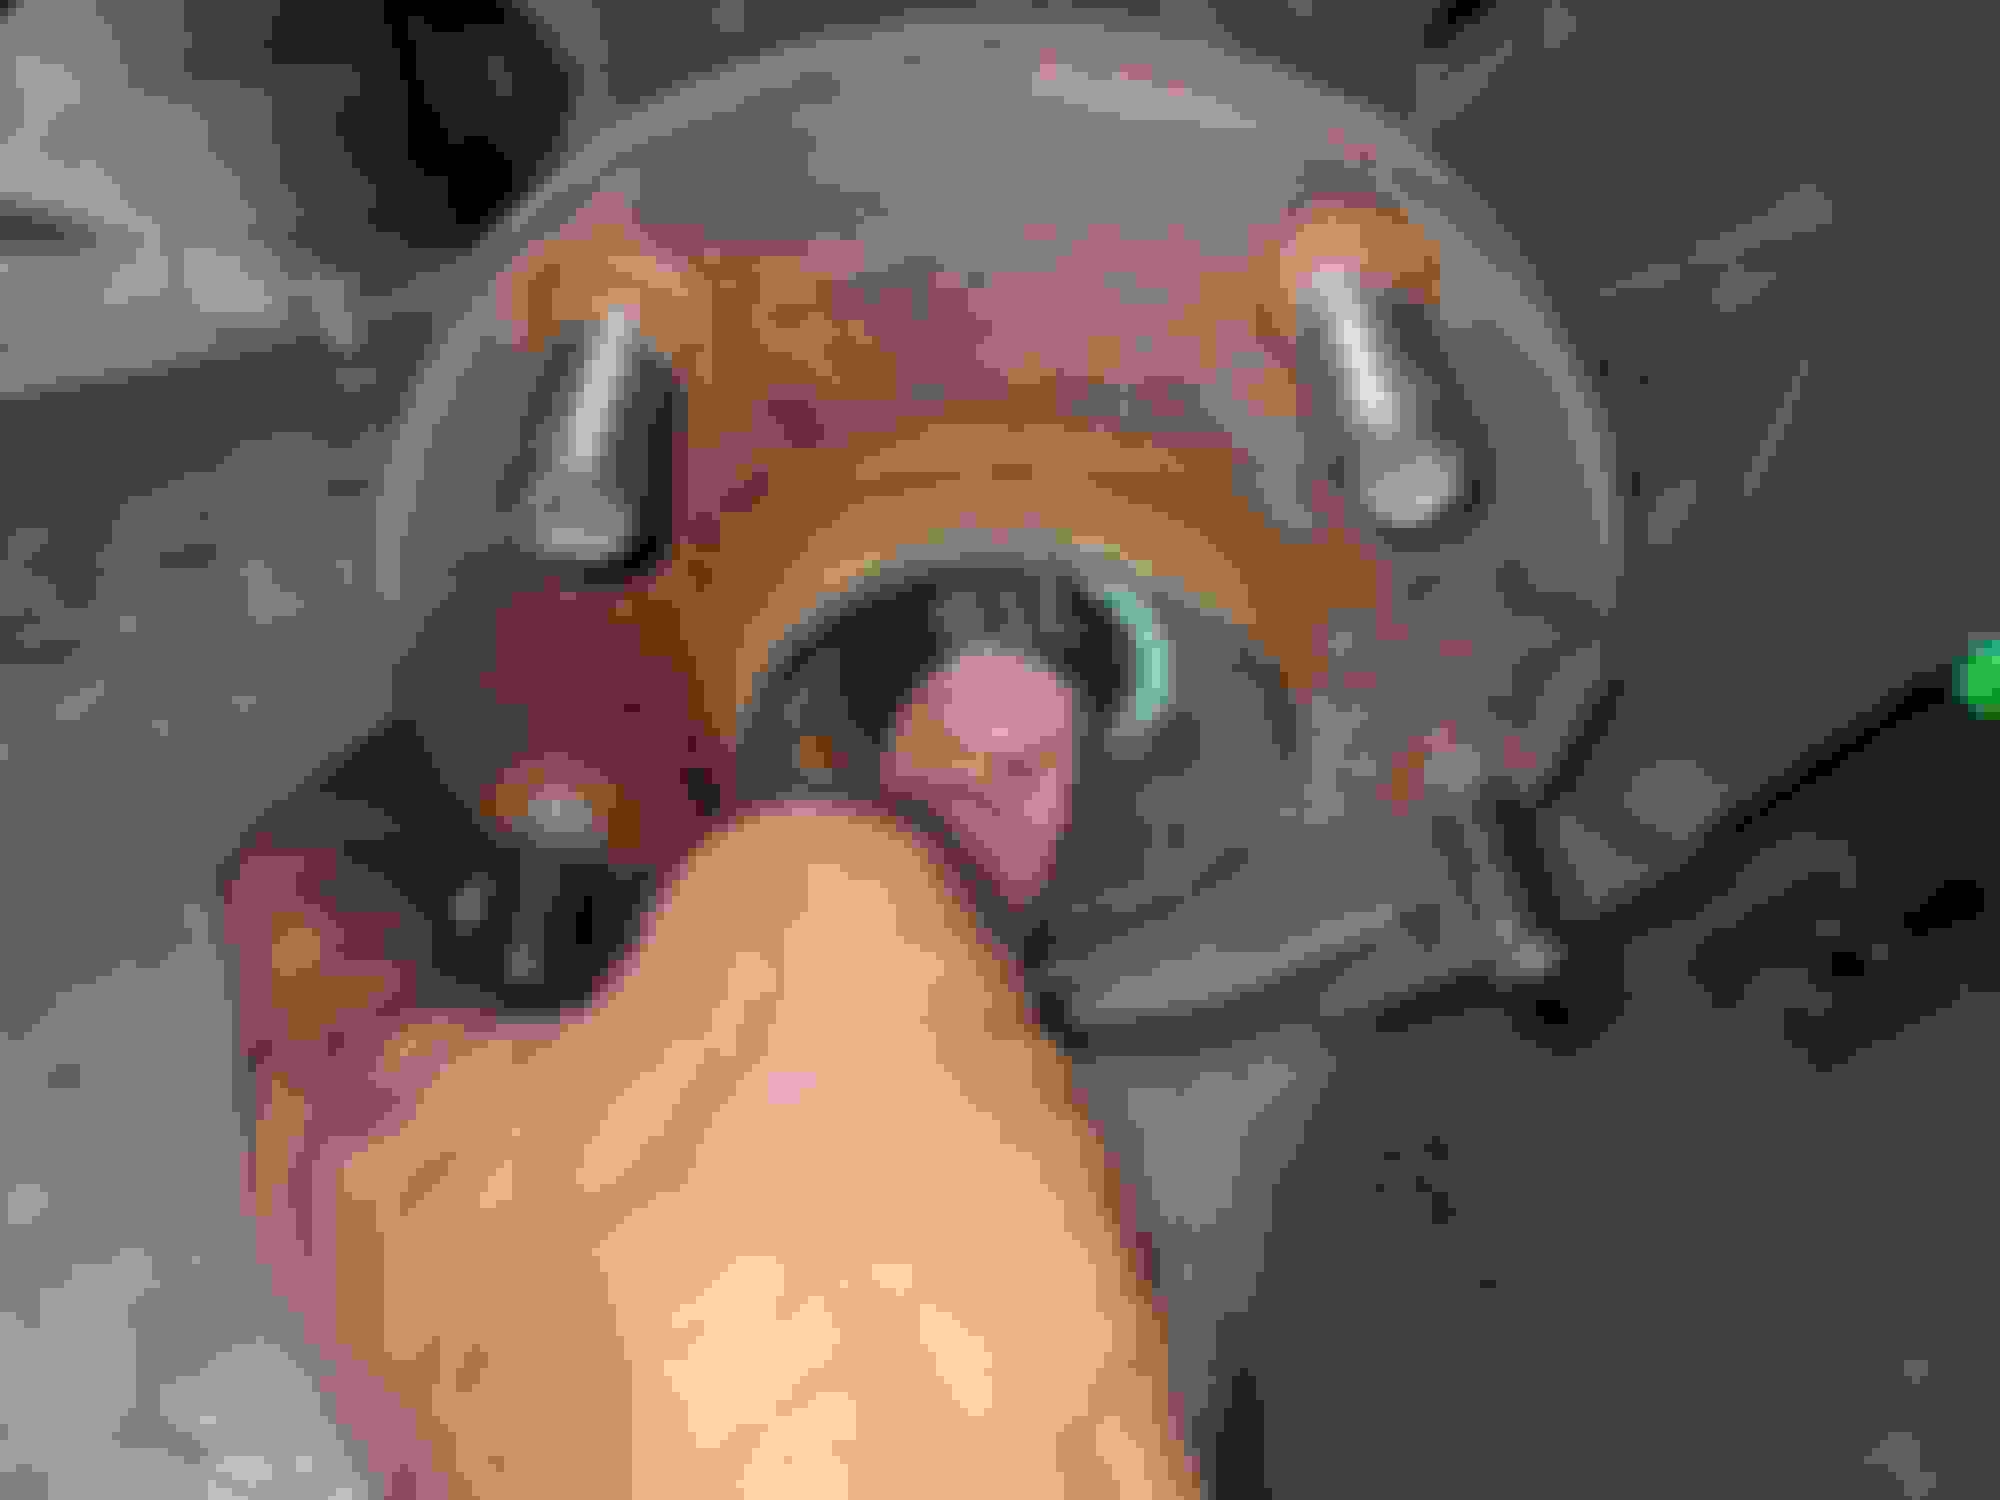
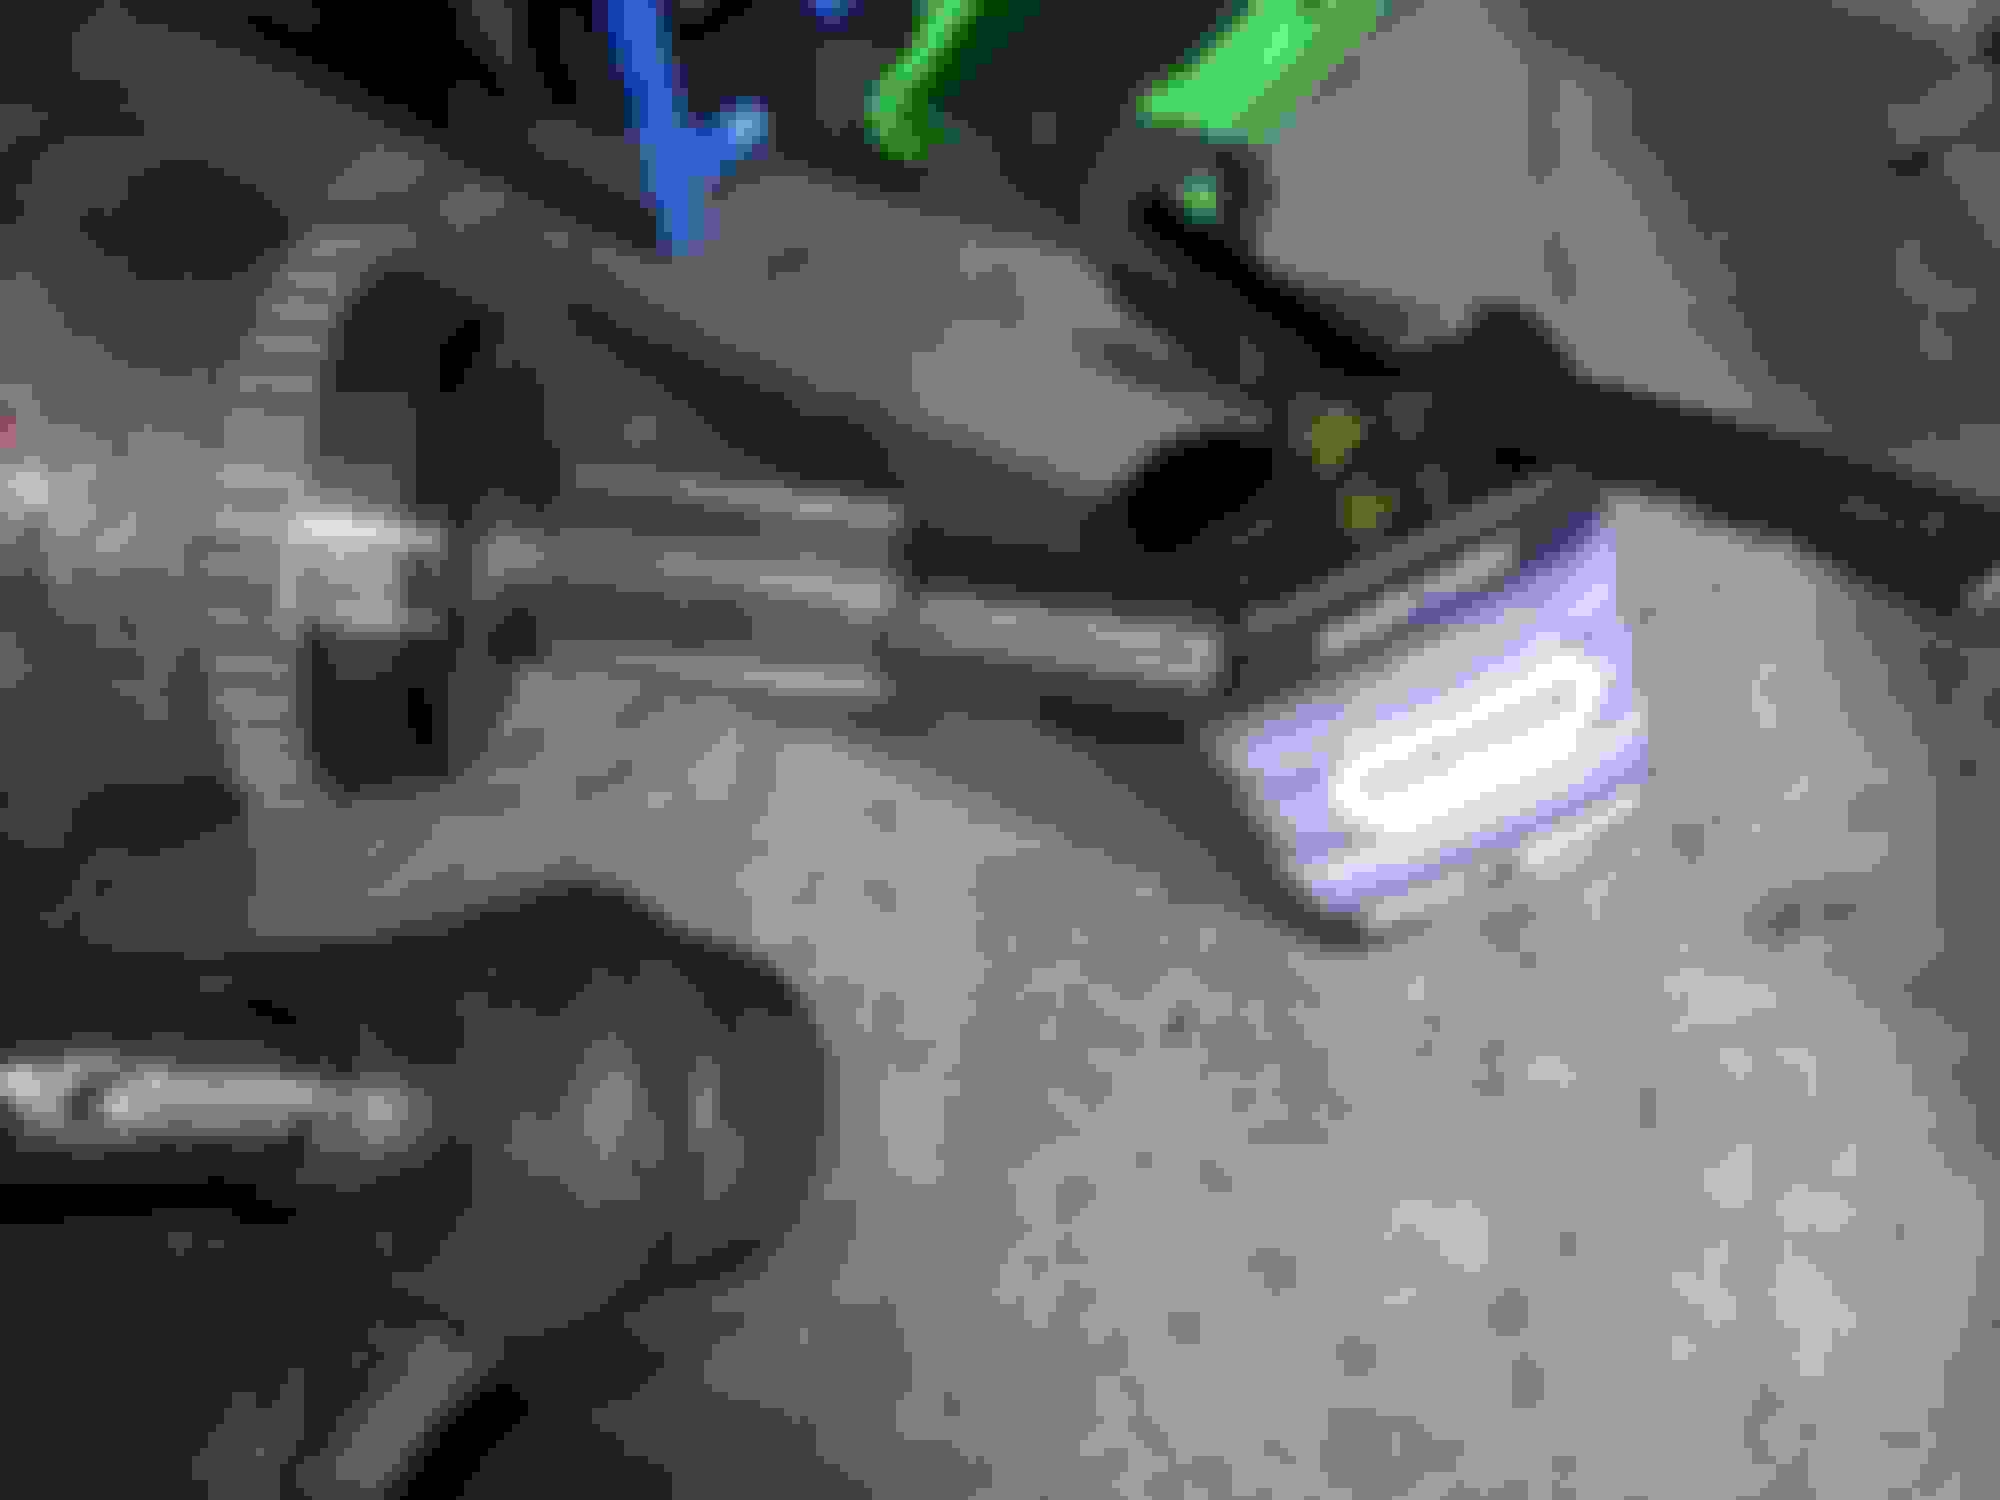
Push CV axles in through center of hub as you begin to remove the knuckle to keep axles in place. I recently replaced axles, so mine slid out by hand. If you have original axles, I would rent a hub puller in case you need it since it makes it much easier and less destructive than using brute force with a hammer.
Once axle is loose in hub, remove knuckle from vehicle
If you are replacing the lower ball joint along with the new hub/knuckle assembly, there’s no need to remove the old ball joint from the old knuckle.
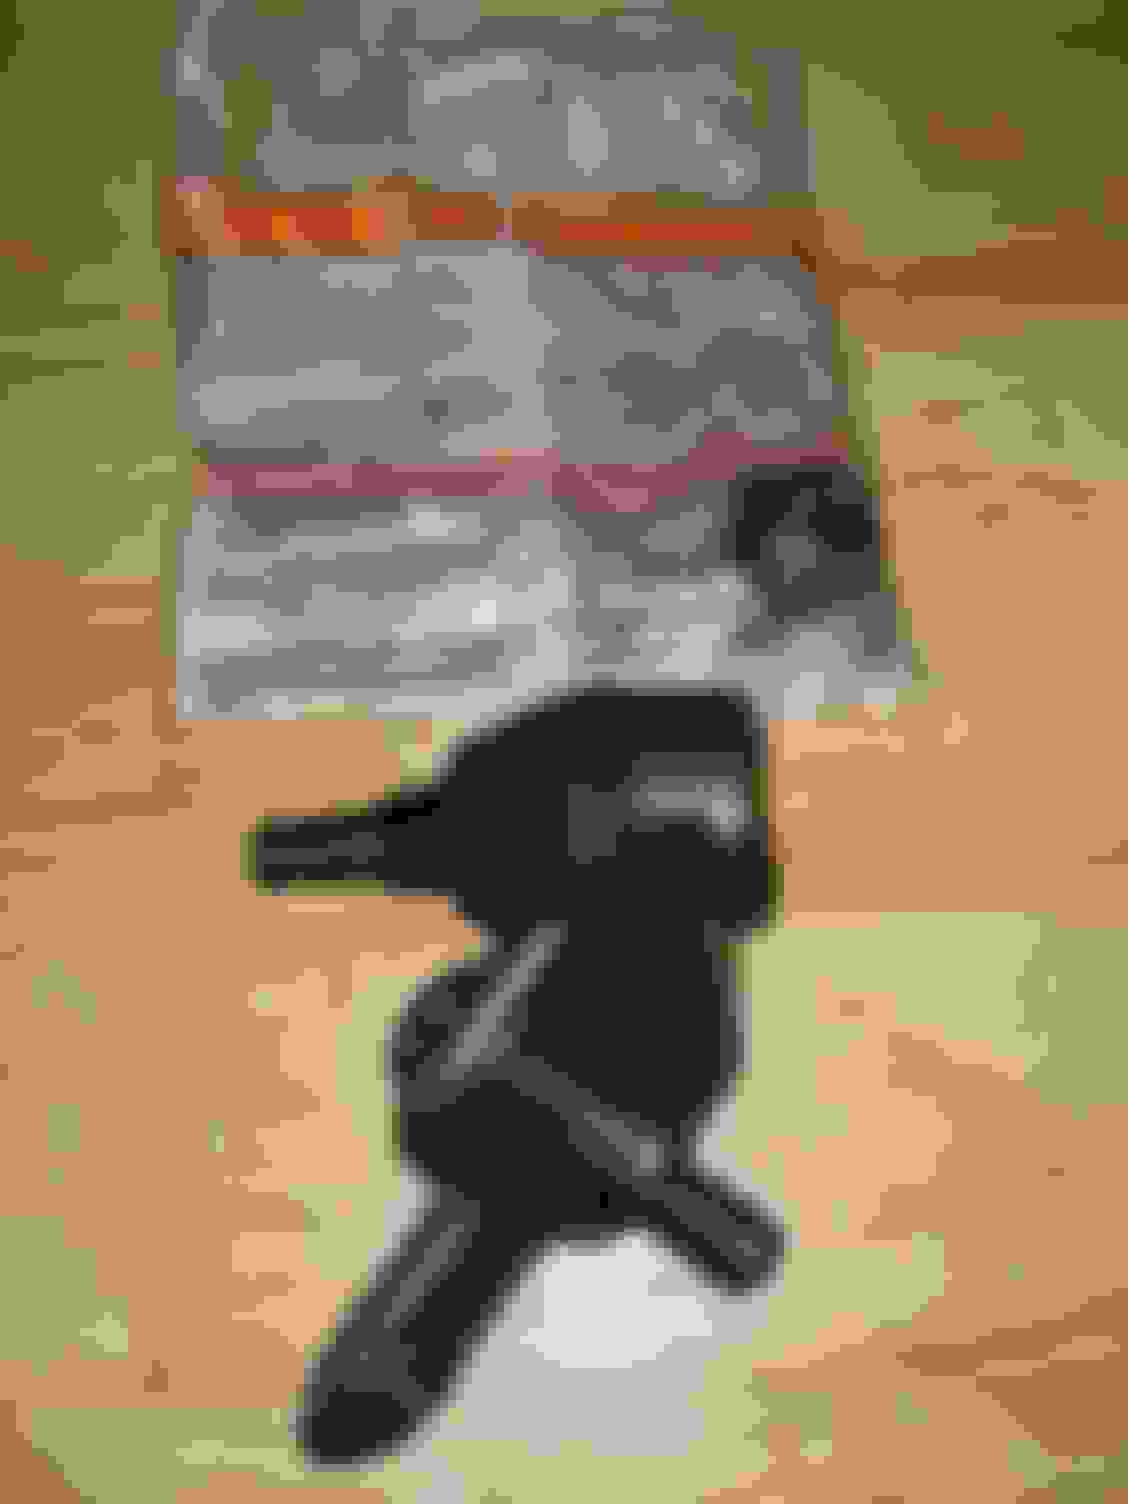
New knuckle, hub assembly, bearing, dust shield, and 30mm, 12 point axle nut assembly from Rock Auto. This is the Ultra Power brand (part number LK023 and LK024) which is around $125 for the complete unit. There are better brands available on Rock Auto, but I wanted to give this one a try. I’ll follow up with any longevity issues as I put mileage on it.
New Moog ball joint. These are roughly $20 on Rock Auto.
Install new lower ball joint and torque the two nuts and one bolt to 68 ft-lbs.
Clean up existing axle
The ball joint nut needs to be installed and tightened prior to putting the CV axle in the hub or it will not be accessible. I moved the CV axle to the side, put the new knuckle in position, and temporarily put a bolt in the strut mount and loosely installed the tie rod end link nut. This keeps the knuckle in place as you are torquing down the lower ball joint nut.
Tighten nut on lower ball joint to 91 ft-lbs and install cotter pin and bend ends.
Remove knuckle back off of strut mount and tie rod end link.
Re-install knuckle into strut mount, insert bolts, apply thread-locker, and torque nuts to 214 ft-lbs.
Insert tie rod end link bolt into knuckle and tighten to 36 ft-lbs. Insert cotter pin and bend.
Install new axle nut and torque to 214 ft-lbs
Gently clean off wheel speed sensor, install clip back into position, and tighten bolt to 7 ft-lbs.
Reinstall brake disc, remove tie from brake caliper assembly, and reinstall brake caliper onto knuckle. Tighten bolts to 77 ft-lbs.
Install the supplied grease zerk onto lower ball joint and add grease with a grease gun until the boot swells. Try to avoid overfilling and causing the seal to break open on the dust cover.
Install wheel back onto new hub and tighten nuts to 76 ft-lbs. Remove jack stands, wheel chocks, and lower vehicle.
Well done, thanks for the nice DIY!! I would like to add that this is the perfect time to replace the lower control arms. I found it much easier to access everything with the knuckle off, also a great time to replace the engine mount which was also causing me vibrations.
Well done, thanks for the nice DIY!! I would like to add that this is the perfect time to replace the lower control arms. I found it much easier to access everything with the knuckle off, also a great time to replace the engine mount which was also causing me vibrations.
For sure!
Did ya'll feel any play on your inner tie rods when you had it apart?
Just curious because I couldn't really feel any play on mine, kinda just felt like some very minor rack slop.
When I had it apart doing LCA's my inner tie rod on passenger side had huge play and were totally shot, driver side had minor play.
Awesome thread, 1st class walkthru!
Very much enjoyed.
I was impressed that on my 2002 Highlander with 290k km on it, my original inner tie rods were still working great. I actually just replaced them yesterday (as well as the outers) as I'm doing a complete suspension overhaul for the entire front and rear of the car. They felt a little loose in my hand, but they felt fine on the car and showed no signs of abnormal wear. If you happen to still have your old inner tie rods, would you happen to know how long they are? I couldn't get 2001-2003 Highlander knuckles, so I had to get some from a 2004-2007 model which happen to be shared with the 2004-2009 RX. Knuckle fit fine except that the outer tie rod taper slot was larger, which caused a loose fitment of my original OTR. I had to get the 2004-2009 RX outer tie rods, but they were too short for my original inners, so I got 2004-2010 Sienna inners to allow me to run the 2004-2009 RX outers! Hilarious but it worked out in the end. I held off on the 2004-2009 RX inners because I felt they wouldn't be long enough.
Incredible write up! Also nice to see you able to buy a full knuckle assembly for the front. I was under the impression the bearing had to be pressed out but maybe because it would be slightly cheaper in parts cost, but at $125, I would just full send it.
If you happen to still have your old inner tie rods, would you happen to know how long they are?
Only have an outer tie rod but if I find one in the shed I'll hit you up with numbers.
I forgot I bought these "koyo's" last year and they been sitting in my parts box.
Problem is I have to look back thu my ebay history to see who I bought them from since members on here are saying so much fake oem stuff so these might be worthless.
Those all-in-one knuckle assemblies are looking more and more attractive.
Thanks for the feedback. Hope it benefits others in the future.
We'll see how long the $125 setup lasts. If you have a second vehicle, then it may still be worth it to get a proven bearing pressed into your OEM knuckle by a shop. I do find it interesting that the Ultra Power and Moog have the same part numbers on Rock Auto. (LK023 and LK024)
Maybe I missed it but can you please post the brand and part# and where you bought yours- was it the moog pn#?
So far in last year this is my experience using parts not reviewed by members on herefirst and it's getting worse it seems:
1) I drained my coolant and pulled the radiator- Advance Auto unit didn't fit the brackets- had to put it all back together, return it and buy from somewhere else, and do the job twice.
2) Replaced cooling fan set(fans & shroud)- Bennet's Auto unit(Doorman) was defective, new in the sealed box- bought a different brand, again had to do the job twice
3) Passenger side hydraulic engine mount- Advance Auto unit didn't fit, bolt holes 1/2" off and bolt holes wouldn't line up- again had to put it all back together, went with oem and do the job twice.
I will search the forums from now on for good part#s.
It's nice to have good part#s that fit 1st time and reviews have saved me time and grief and that's why I been asking!
I�m not the OP, but I can say that I�ve had a good experience with these knuckles so far. I got the 26 spline version as the Highlander shares the same knuckle, but just has a different hub compared to the RX. 6 months and 8000km later and they feel and look as good as new.
I�m not the OP, but I can say that I�ve had a good experience with these knuckles so far. I got the 26 spline version as the Highlander shares the same knuckle, but just has a different hub compared to the RX. 6 months and 8000km later and they feel and look as good as new.
Ultra Powers from Rock Auto- good enough for ya'll so good enough for me...
Cheap, works, and fitment is good so that's a win, might go ahead and pick up a pair, I'm at 155k miles so I know my time is coming!
Just fyi- I was quoted $150 per side to press in my supplied bearings by local chain shop- held off because I know how it works at some shops- a tech will pull the knuckle and hand it off to the rookie guy to press in the bearings crooked and kill half the life of my new bearing anyway- might as well buy the complete setup and "hang-and-bang". lol
 09-28-21, 05:37 PM