When you click on links to various merchants on this site and make a purchase, this can result in this site earning a commission. Affiliate programs and affiliations include, but are not limited to, the eBay Partner Network.
A while back someone made a post that their cigarette lighter would blow the fuse when it wasn't being used. I was like wow... I have the same problem. Both the cigarette lighter by the shift lever which is on its own fuse and the power outlets (the one on the floor and the one in the cargo area) that are on a different fuse, would blow the fuse whenever it felt like it. As a result, I carried a package of fuses in the car. Pop in a new fuse, use my GPS or phone charger and the fuse would never blow while I used it. A week, a month later I go to use the outlet again and the fuse is blown.
Then one day the cigarette lighter didn't work and the fuse wasn't blown. So I get out my multimeter and start chasing wires. Long story short, I was not getting any voltage out of the junction block that the wire harness for the cigarette lighter plugged into. Maybe you read that post, too. So I needed to tear the junction block open and figure out what was wrong. But it was still winter and I didn't want to work in the cold, so it could wait since the power outlet on the floor would work if I changed the fuse.
So it is warm now and I finally tore the car apart. And (of course) it didn't go as planned. But thankfully, there is nothing that throwing money at won't cure. To my surprise, there are no wires inside the junction block! The junction block is made using 7 plastic/nylon plates in the concept of a multi-layer printed circuit board. I decided that it would take me too long to figure it out, assuming I didn't destroy it in the process.
First it is important to say that the RX330 and RX350 **DO NOT** use the same junction block. I have an 07 350, so anything I say may not apply to the RX 330. Other than the part being different, probably the removal and installation is the same.
The junction block has 15 harnesses plugging into it as well as 4 relays and doubles as the fuse block and the body control module. This beast is referred to as "underdash junction block" in the service manual and just "junction block" in the parts manual.
For a mere $1000 to $1100 (depending on which one of the 4 your car uses), you can have a nice bright, shiny, new one from Toyota/Lexus. Or for $80 you can have a used, dust covered one from your favorite local junkyard. There are different junction blocks for the Japanese built cars and the North American built cars. Then there is a different junction block for whether you have heated seats or not.
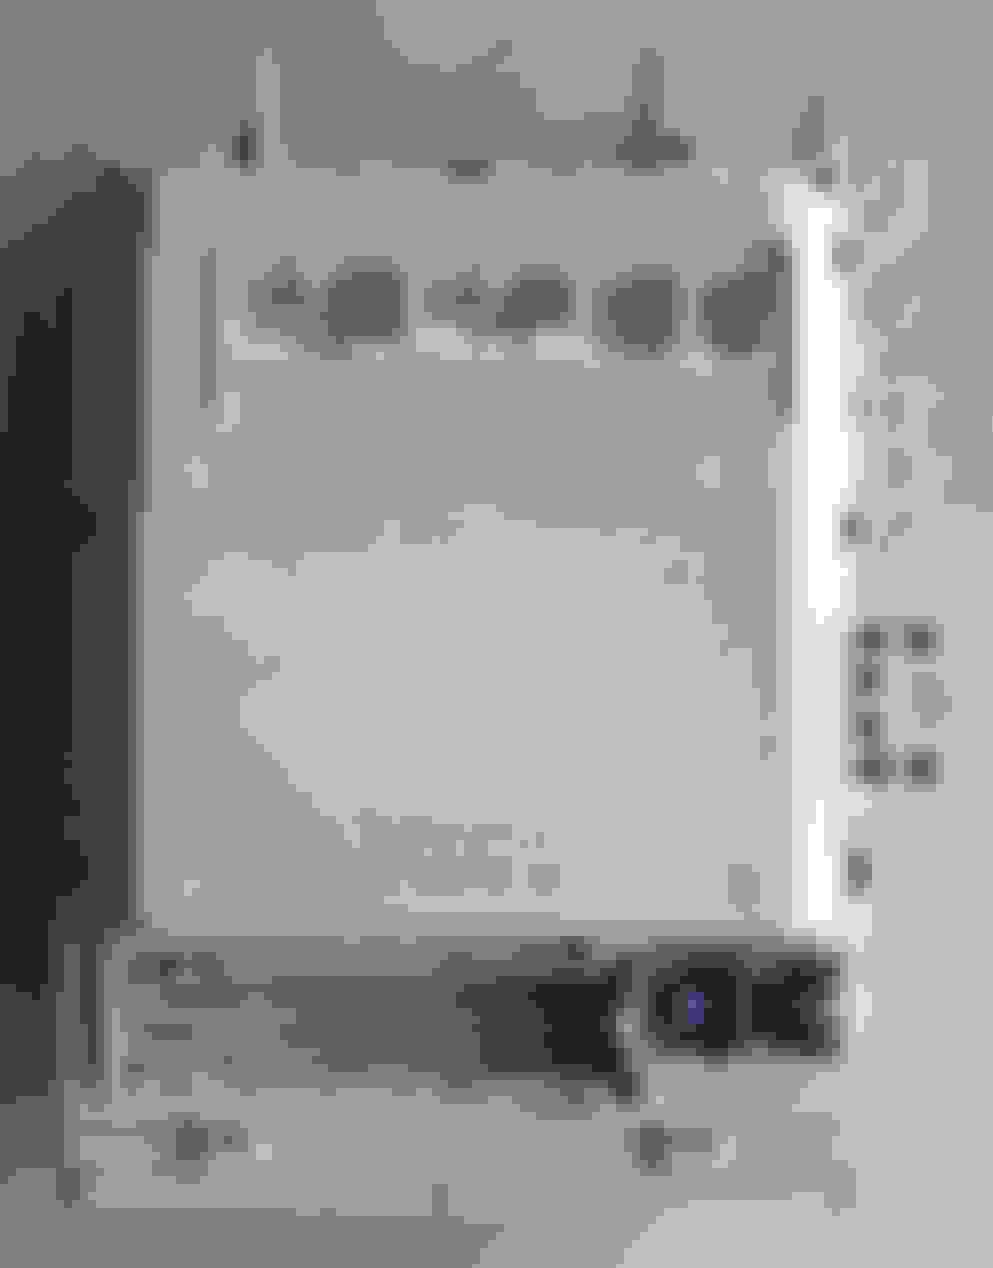
For photos of the junction block out of the car, see Figures 21A, 23A and 22 at the end of this text.
The junction block is not super hard to remove, no special tools are needed (well, maybe). Tools needed are a Phillips screwdriver, a ratchet, a 10mm socket, 3 and 6 inch extensions and some rope or a bungee cord. And of course, the standard vocabulary of swear words will be useful.
Because the junction block has a connector for airbags in it, you should always disconnect the battery and wait about a half hour before unplugging an airbag wire harness. In reality, if you unplug the battery as the second thing you do, by the time you get to unplugging wire harnesses from the junction block, the half hour will be past.
The junction block is located under the dash, between the steering column and the driver's door. It has the fuse block on the bottom of it and the body control module on the back of it.
- - - - - - - - - - - -
1) Move the front seat as far back as it will go.
2) Disconnect the battery.
3) Remove the lower dash trim panel below the steering column, a 10mm bolt in the lower left corner and a Phillips screw in the lower right corner and pull the top edge out of the pop studs along the top edge. Unplug the wire connectors that are on the switches to the left of the steering column so the end of the trim panel will hang down lower. See Figure 10.
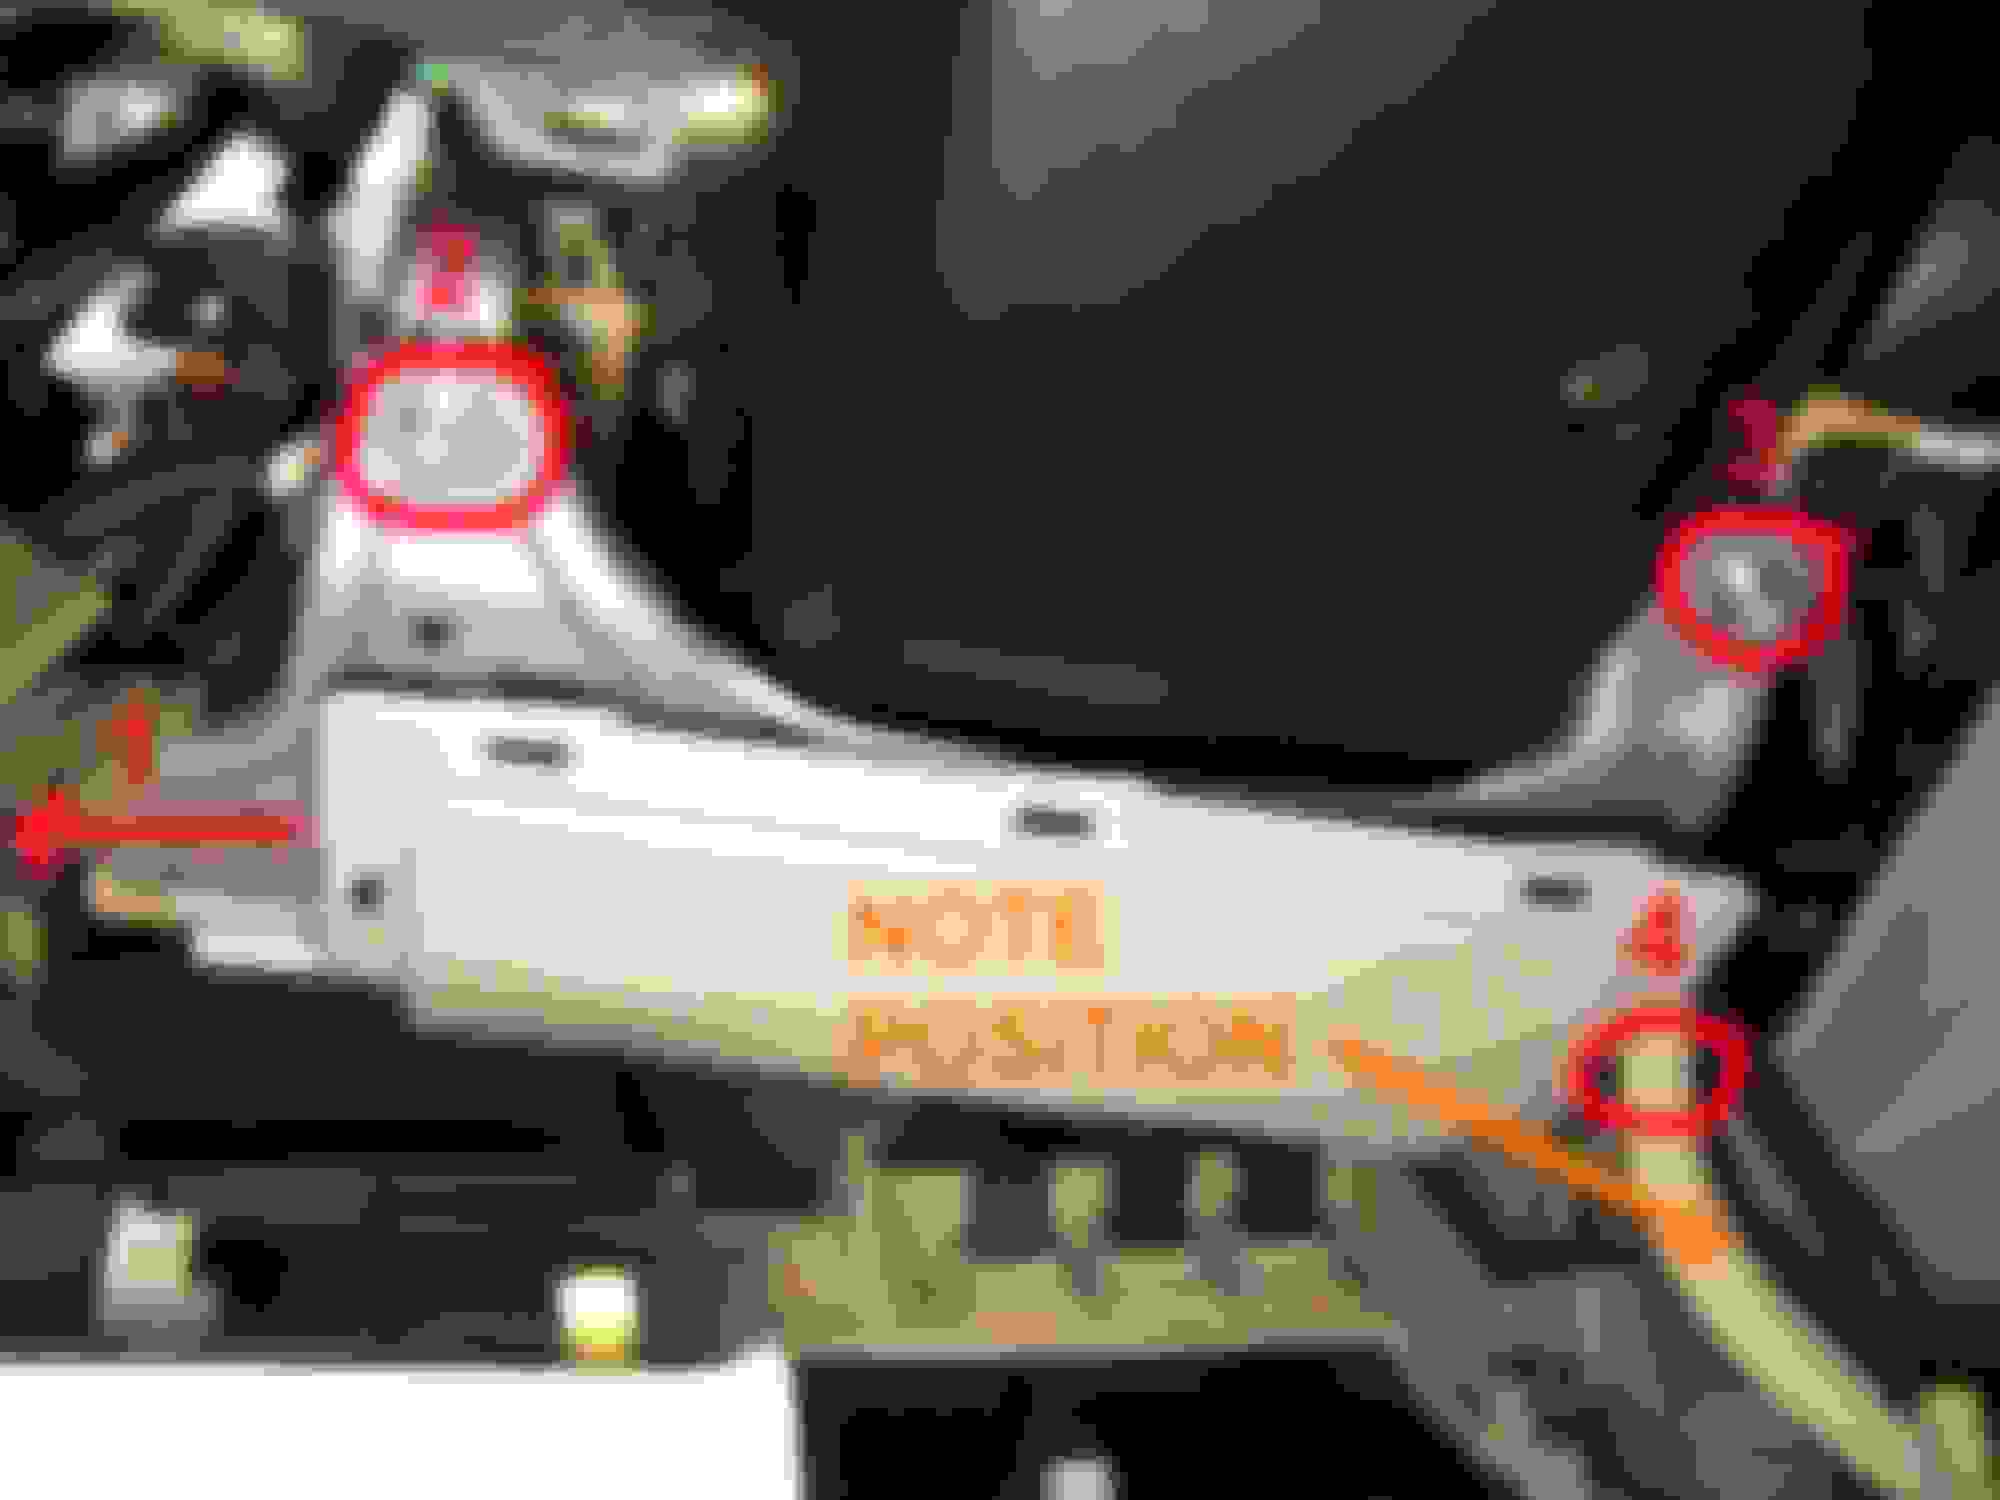
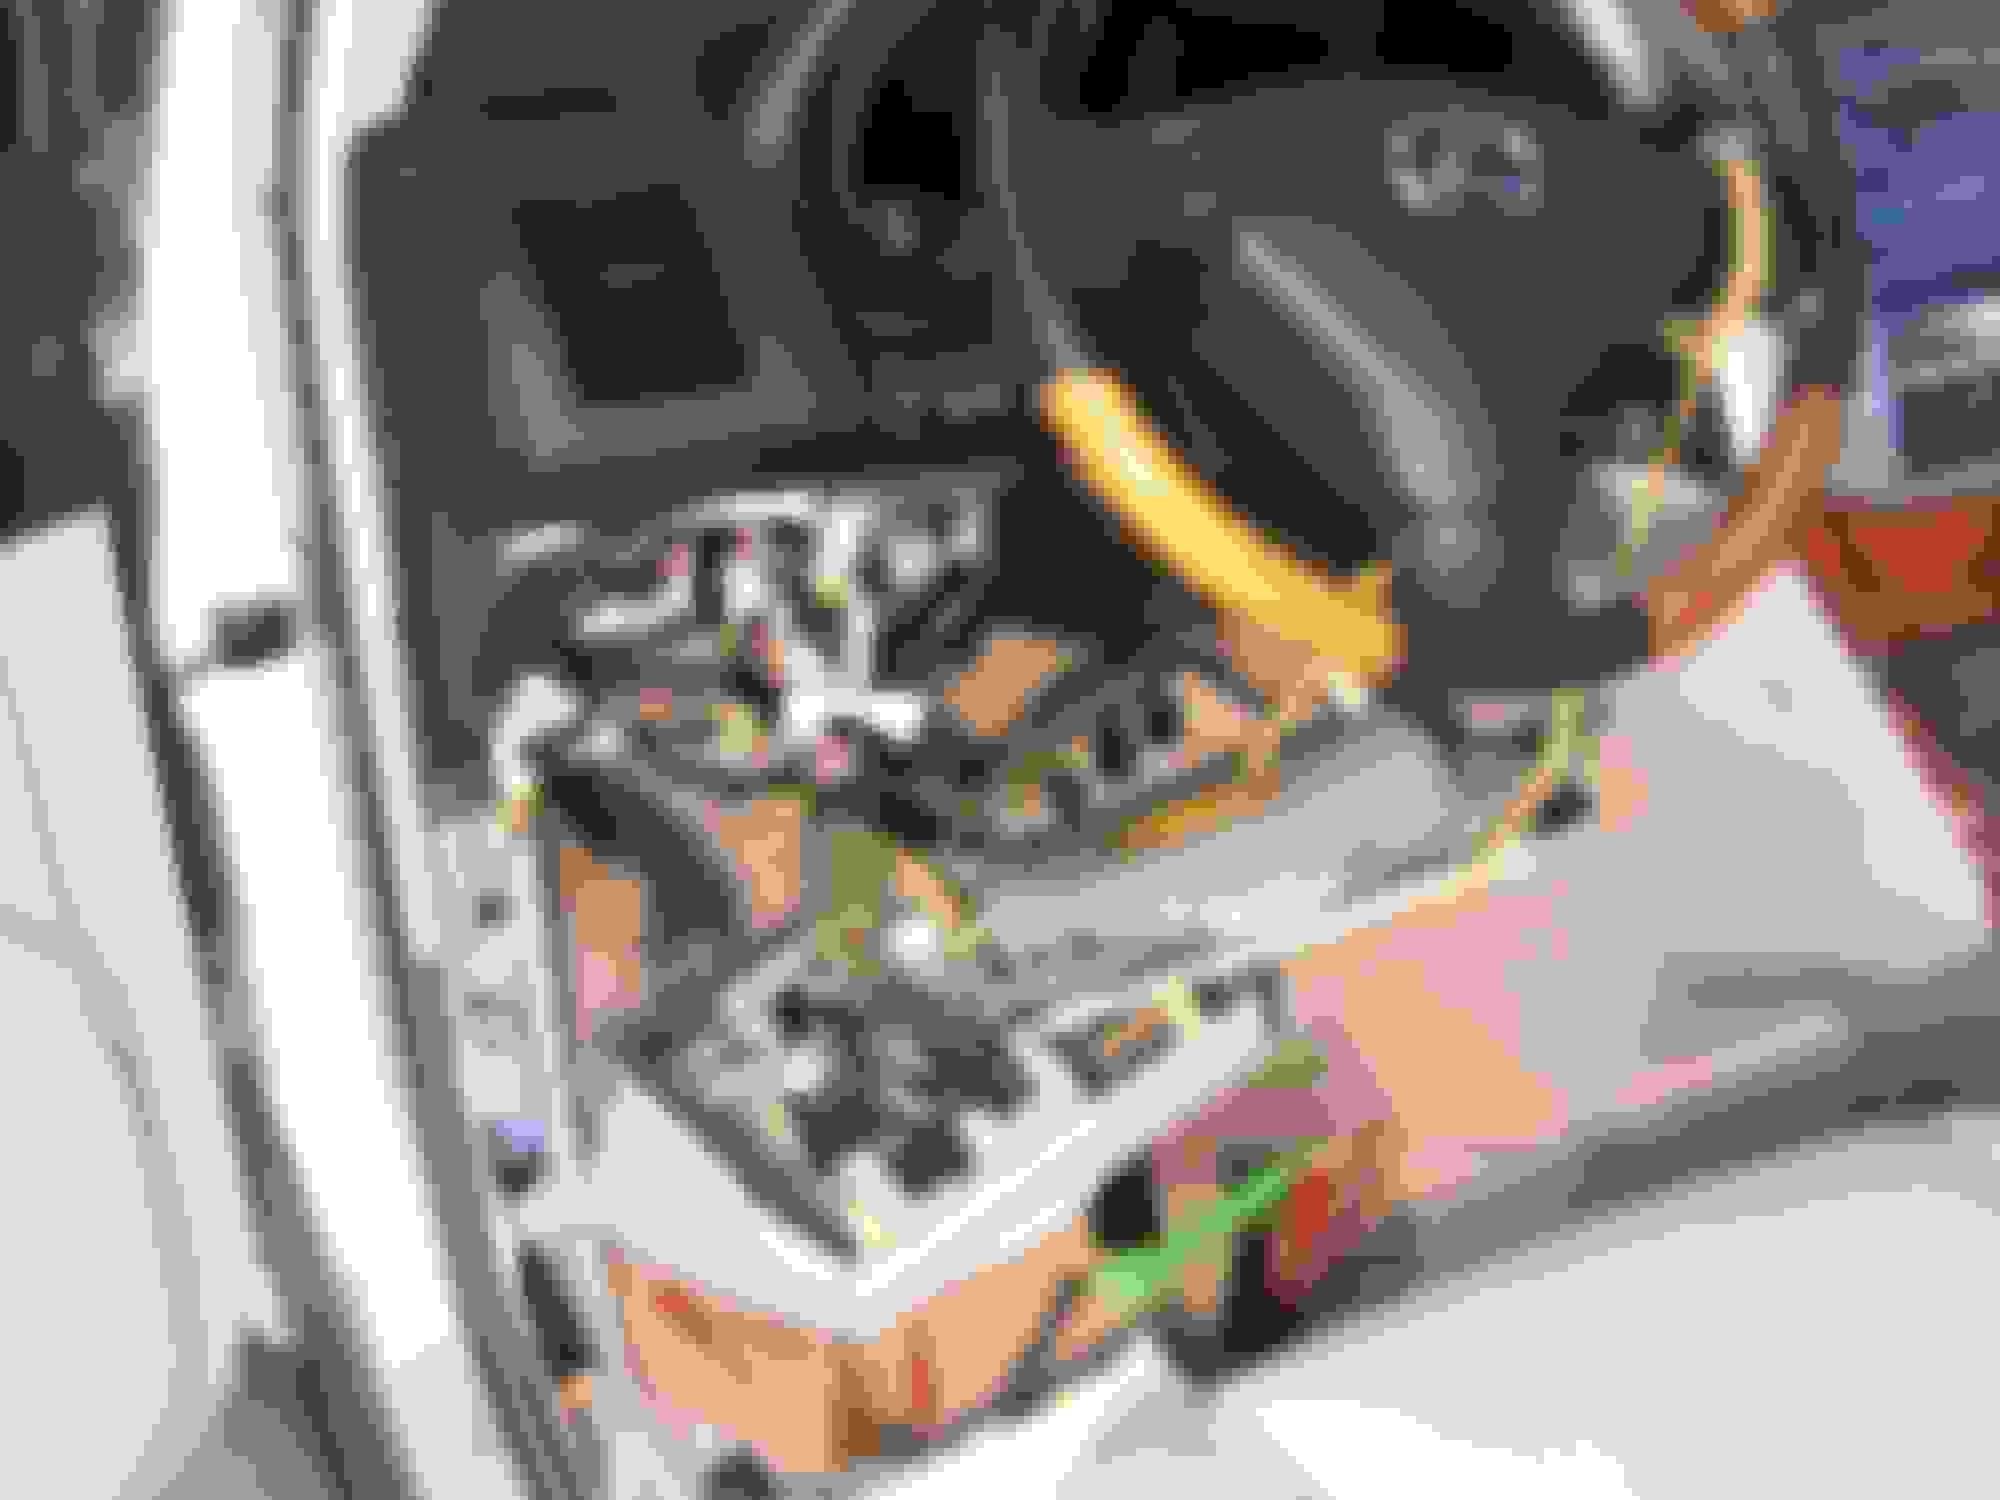
4) Remove the 4 10mm bolts that hold the airbag that is below the steering column. See Figure 11. Note the position of the ribbed air tube as it will prevent the trim panel from going back on properly when putting the trim panel back in place. The airbag weighs around 15 pounds so have a rope/bungee cord handy to hold it up so it doesn't lay on the trim panel and break wires. See Figure 12. Or you can unplug everything from the trim panel and the airbag.
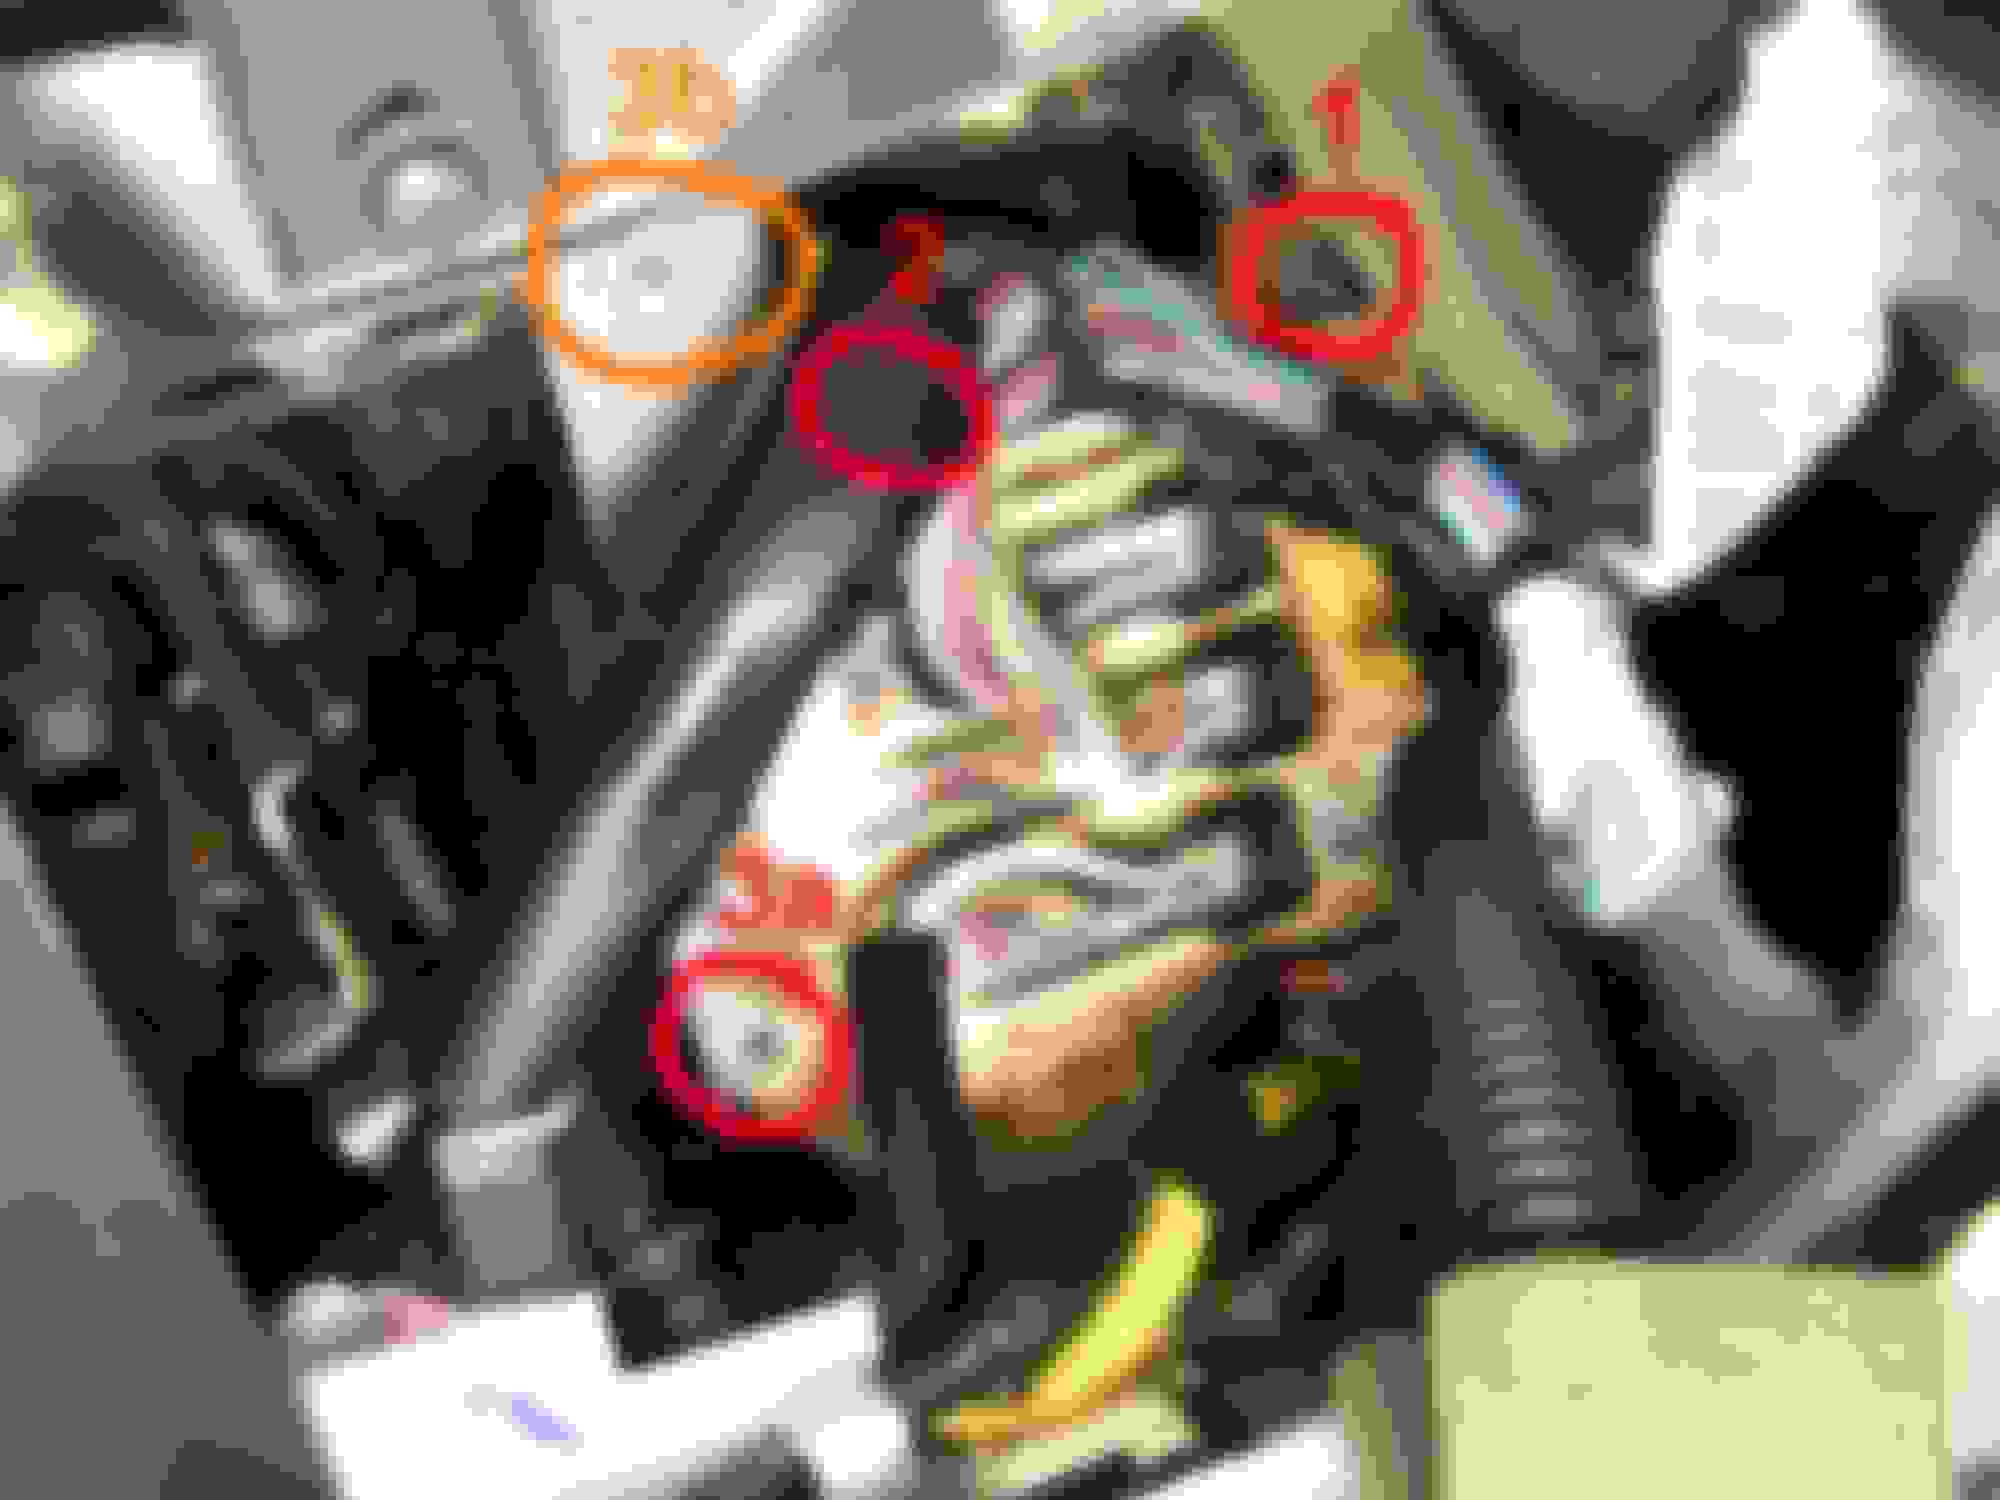
5) Unplug 9 of the 10 harness connectors from the front of the junction block. There are 4 wide connectors that have a black swing lever on the right side that you press a tab and pull up on the lever to remove the connector. See Figure 13. I would suggest that you label the top 2 of these connectors just in case. Remove the rest of the connectors except for the yellow airbag connector. I am assuming Toyota has a special tool for this airbag connector or they have people with 3 hands. I'll discuss this later.
6) Remove the 4 10mm nuts that hold the junction block in place. See Figure 13. Pull the junction block towards you, off of the studs. The junction block will probably not slide off of the stud that I have labeled 3a in the photo. Don't worry, don't fight it because the bracket at 3b comes off and accomplishes the same thing.
7) Tilt the junction block so you can remove the 5 harness connectors on the back side, one of which is a wide connector with a swing lever like on the front. See Figure 14.
8) Now for that yellow air bag connector that is below. See Figure 13 below nut #1. The connector itself is a standard "press the tab and pull" connector. BUT... there is a locking latch on top of it to prevent the connector from falling out (or something). This locking latch is part of the junction block and does not come off with the connector. Simply stated, the locking latch has an arm coming down on each side of the airbag connector that slides over a tab. So you have to pry these arms out from the sides of the airbag connector and then lift up on the latch. One hand on the left tab, a second hand on the right tab and a third hand to lift up the latch. Easy peasy, right? An alternative method is to break/cut those arms off.
Now you can install the replacement, the usual "in reverse order" comment. But there is a "gotcha" in this. If you are observant when you go to push the junction clock onto its mounting studs, you may notice a bracket hanging there that you can't remember removing.
But you did, you just couldn't see that you did. In step 6 when you removed the 10mm nuts that hold the junction block in place, nut #2 on the top left corner of the junction clock also secures that bracket in place. SO... once you have the junction block on its mounting studs, bring the end of that bracket out in front of the junction block on the right side of the mounting tab and slide it onto the #2 stud and then put the nut on.
The only other difficulty I had was with the air tube for the HVAC's auto temperature control. I mentioned this in step 4. It is in a tight fit situation and by dropping the airbag, this tube ends up out of place. You won't have any problem re-attaching the airbag, but the dash trim panel cannot be pushed into place until you get that air tube positioned correctly. So before you drop the airbag, note the position of the air tube.
OBSERVATIONS:
Earlier I mentioned that the junction block was different for heated seats versus no heated seats. My car is the cheapo version without heated seats. Who needs heated seats in Texas 100�+ temperatures anyway? The donor car I got the junction block from was a 2009 with heated seats. This has not caused any issues for me.
When I finally started the car, the "MAINT REQ" light was on in the instrument cluster. That wasn't on with the original junction block, so I guess that was a carryover from the donor car. Did the reset process and the light went out.
The last curiosity is that my back hatch works a little differently. Back in October last year there was a thread discussing that the rear hatch on some cars was a manual lift open if you pressed the switch above the license plate. Similarly, if the hatch was open, you could close the hatch manually without the electric motor operating. Then there were the cars where the hatch always operated by the electric motor. Before I changed the junction block, my hatch had the manual mode and now it has the always powered mode. I prefer the manual mode, you can open and close the hatch faster that way. I don't have TechStream, so this is an item on my "maybe I get it changed" list.
- - - - - - - - - - - -
Now for all the photos:
Figure 21A junction block that faces the rear
Figure 23 junction block that faces the front. Body Control Module is behind this cover.
.
yea im starting to think my bcm is failing slowly as all sorts of gremlins are starting to appear in my 07 350. Granted yes it is a 15 year old vehicle but still.

 07-03-22, 07:23 PM