When you click on links to various merchants on this site and make a purchase, this can result in this site earning a commission. Affiliate programs and affiliations include, but are not limited to, the eBay Partner Network.
First, I'd like to thank 01LEXPL for grabbing these for me and saving me a 5+ hr trip to the junkyard!
This should work for the the 2004-2006 RX330 and 2007-2009 RX350. I have heard of the swap being done before, but there is no actual DIY or walk-through on how to do it, so I figured I'd make one. I'm not a fan of the mixed incandescent/LED tail lights our cars come with. The running lights on both the inner and outer tail lights use a little peanut bulb which seems like such a compromise when you compare it to my Highlander's tail lights which are 100% fully LED. Like the Highlander Hybrid, the 2006-2008 RX400h had similarly styled full LED assemblies which are a big upgrade in my opinion. Like my Highlander, I want this swap to be 100% plug and play as if it came that way from the factory, so that means I will need to order some adapters. The RX400h's tail lights share the same main 4-pin plug for the outer assembly, but like the Highlander hybrid, tie the ground to the main plug and add a spare pin to the 3-pins to form the running light. Also, for the inners they share the same reverse light connection, but the side marker's connector is changed.
I have ordered the adapters and they'll take about a month to arrive, which is when I'll complete this project. In the meantime, I want to share the adapters that you'll need to have a 100% clean and P&P swap for these lights:
Outer tail lights:
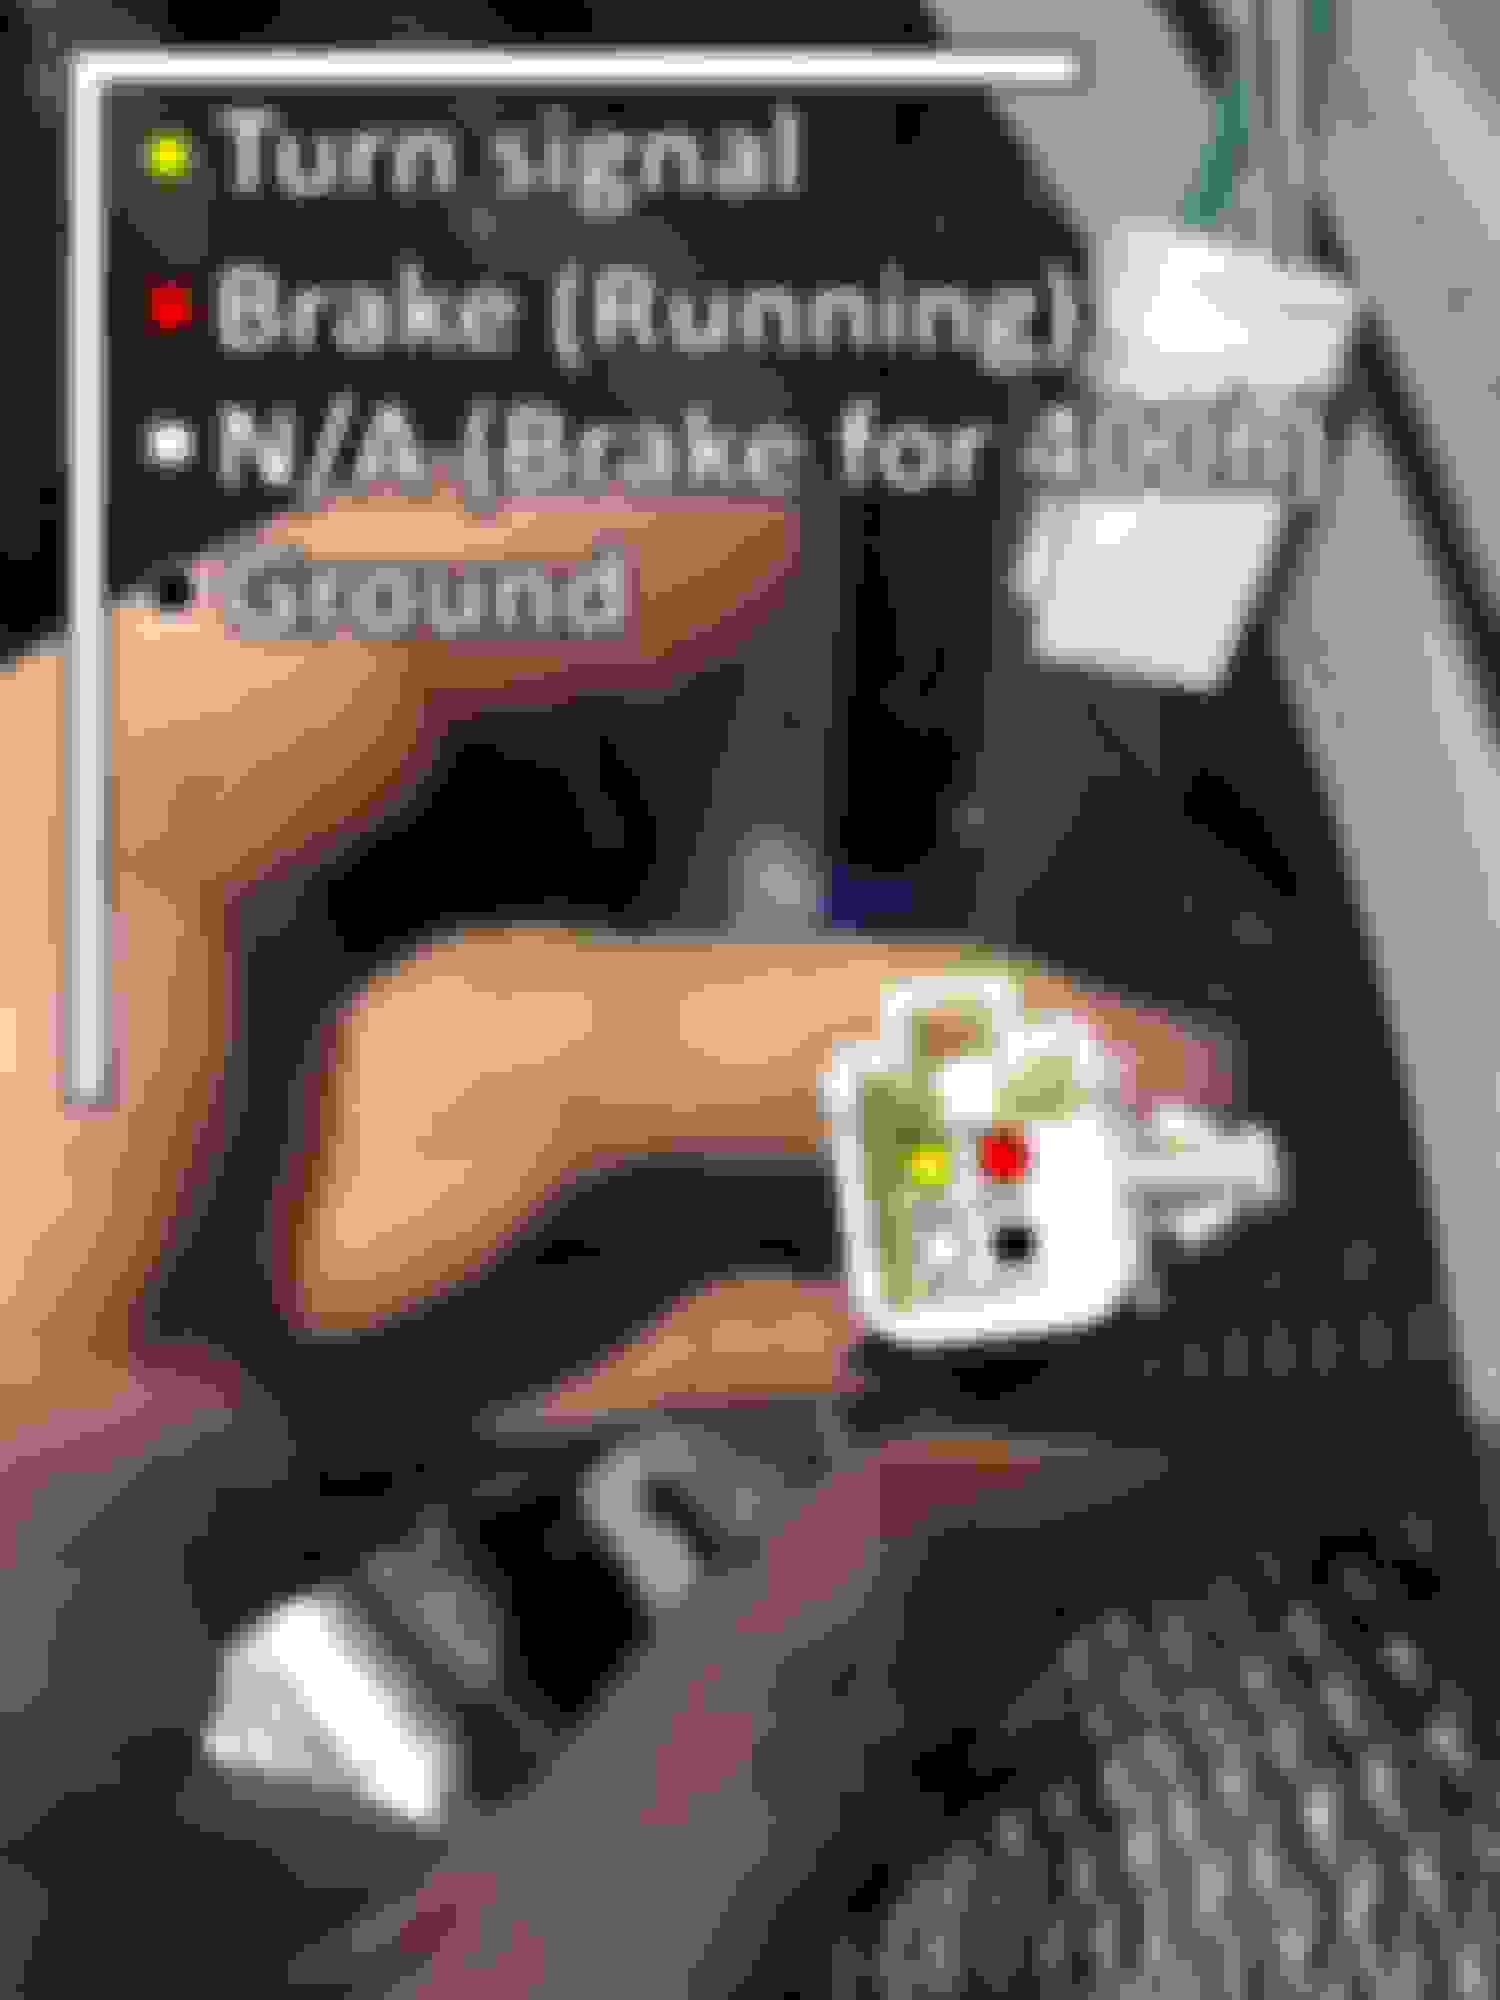
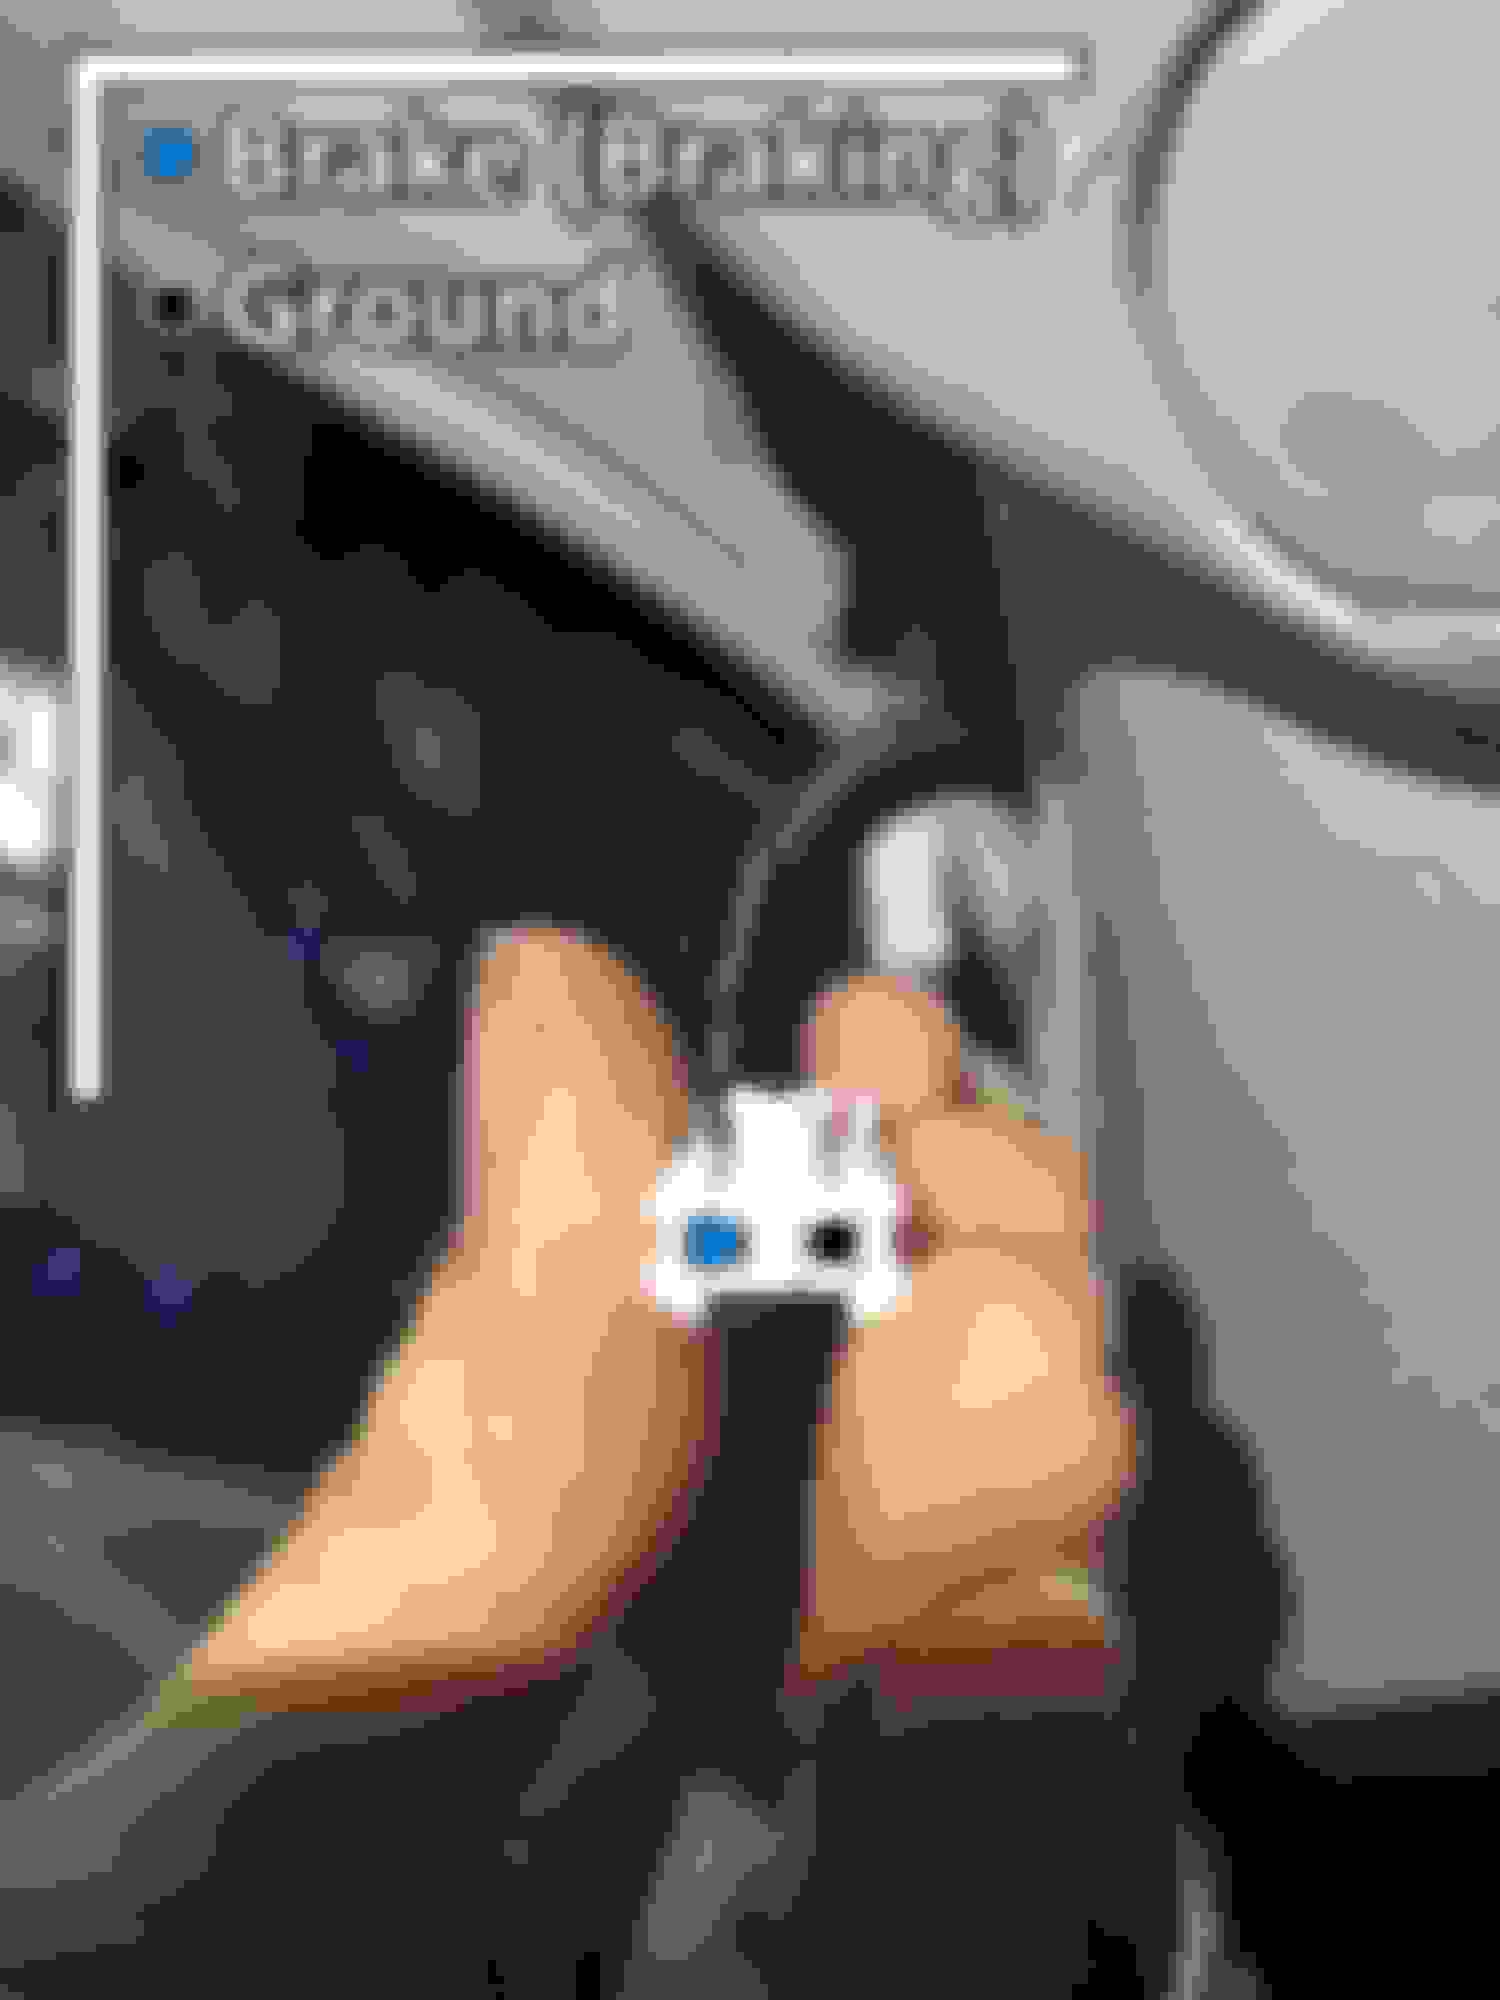
2x Male 90980-11159 (Brake light - FROM car to RX400h light)
1x Male 90980-10795 (Running light - FROM car to RX400h light) - Only if you don't have the harness from the junkyard - you need a pin from this to insert into the unused pin of the car's 4-pin plug
Inner tail lights:
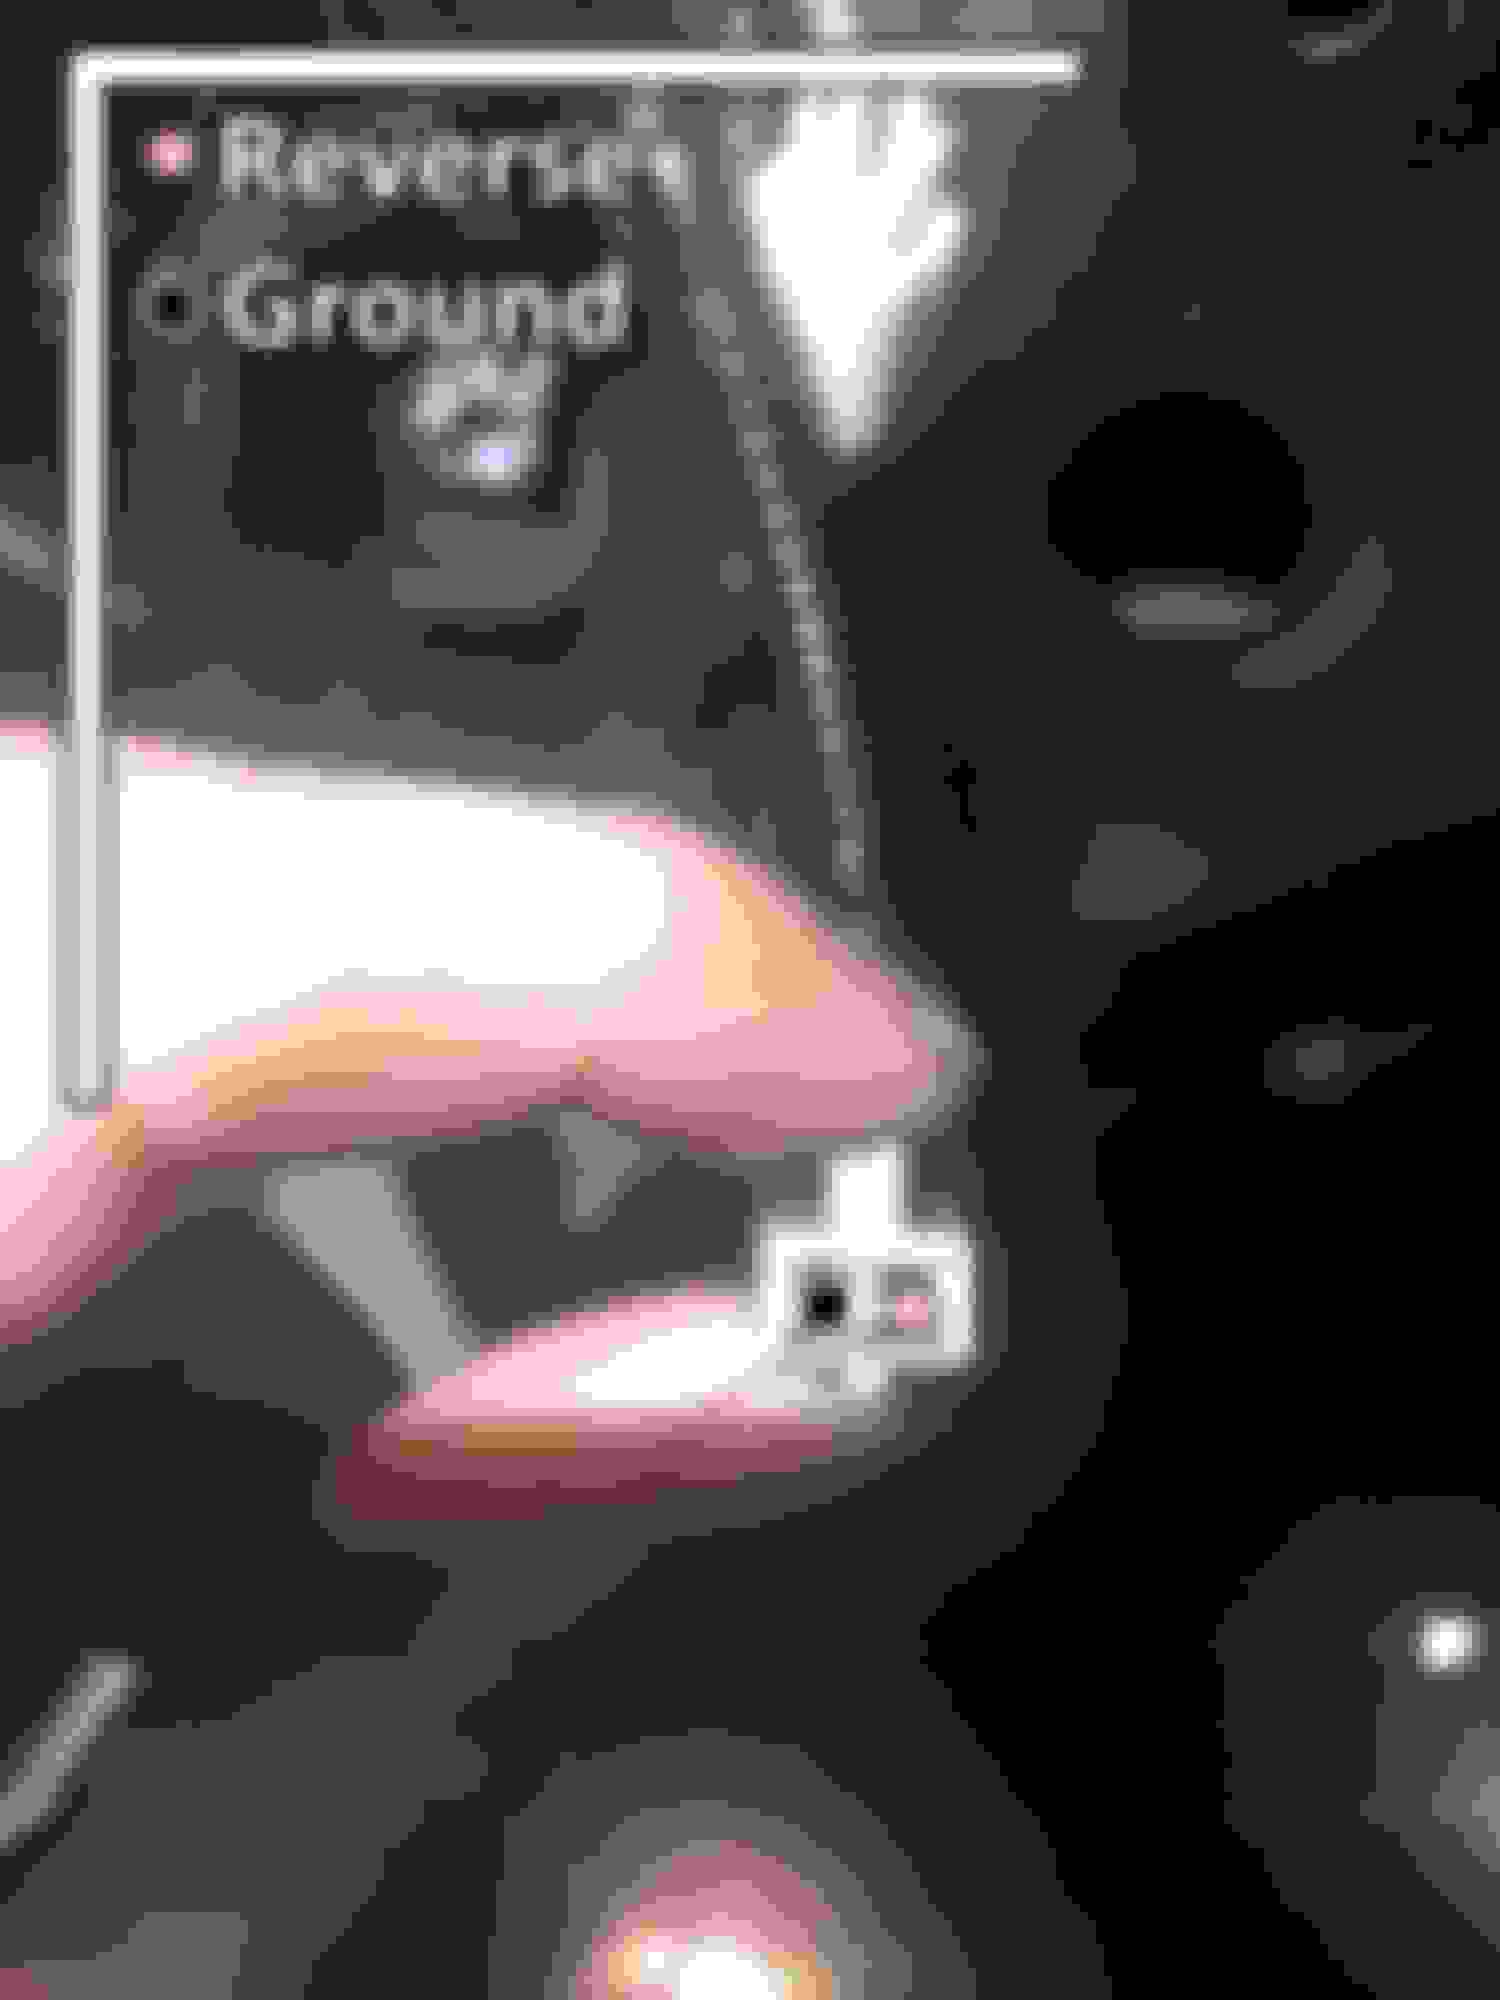
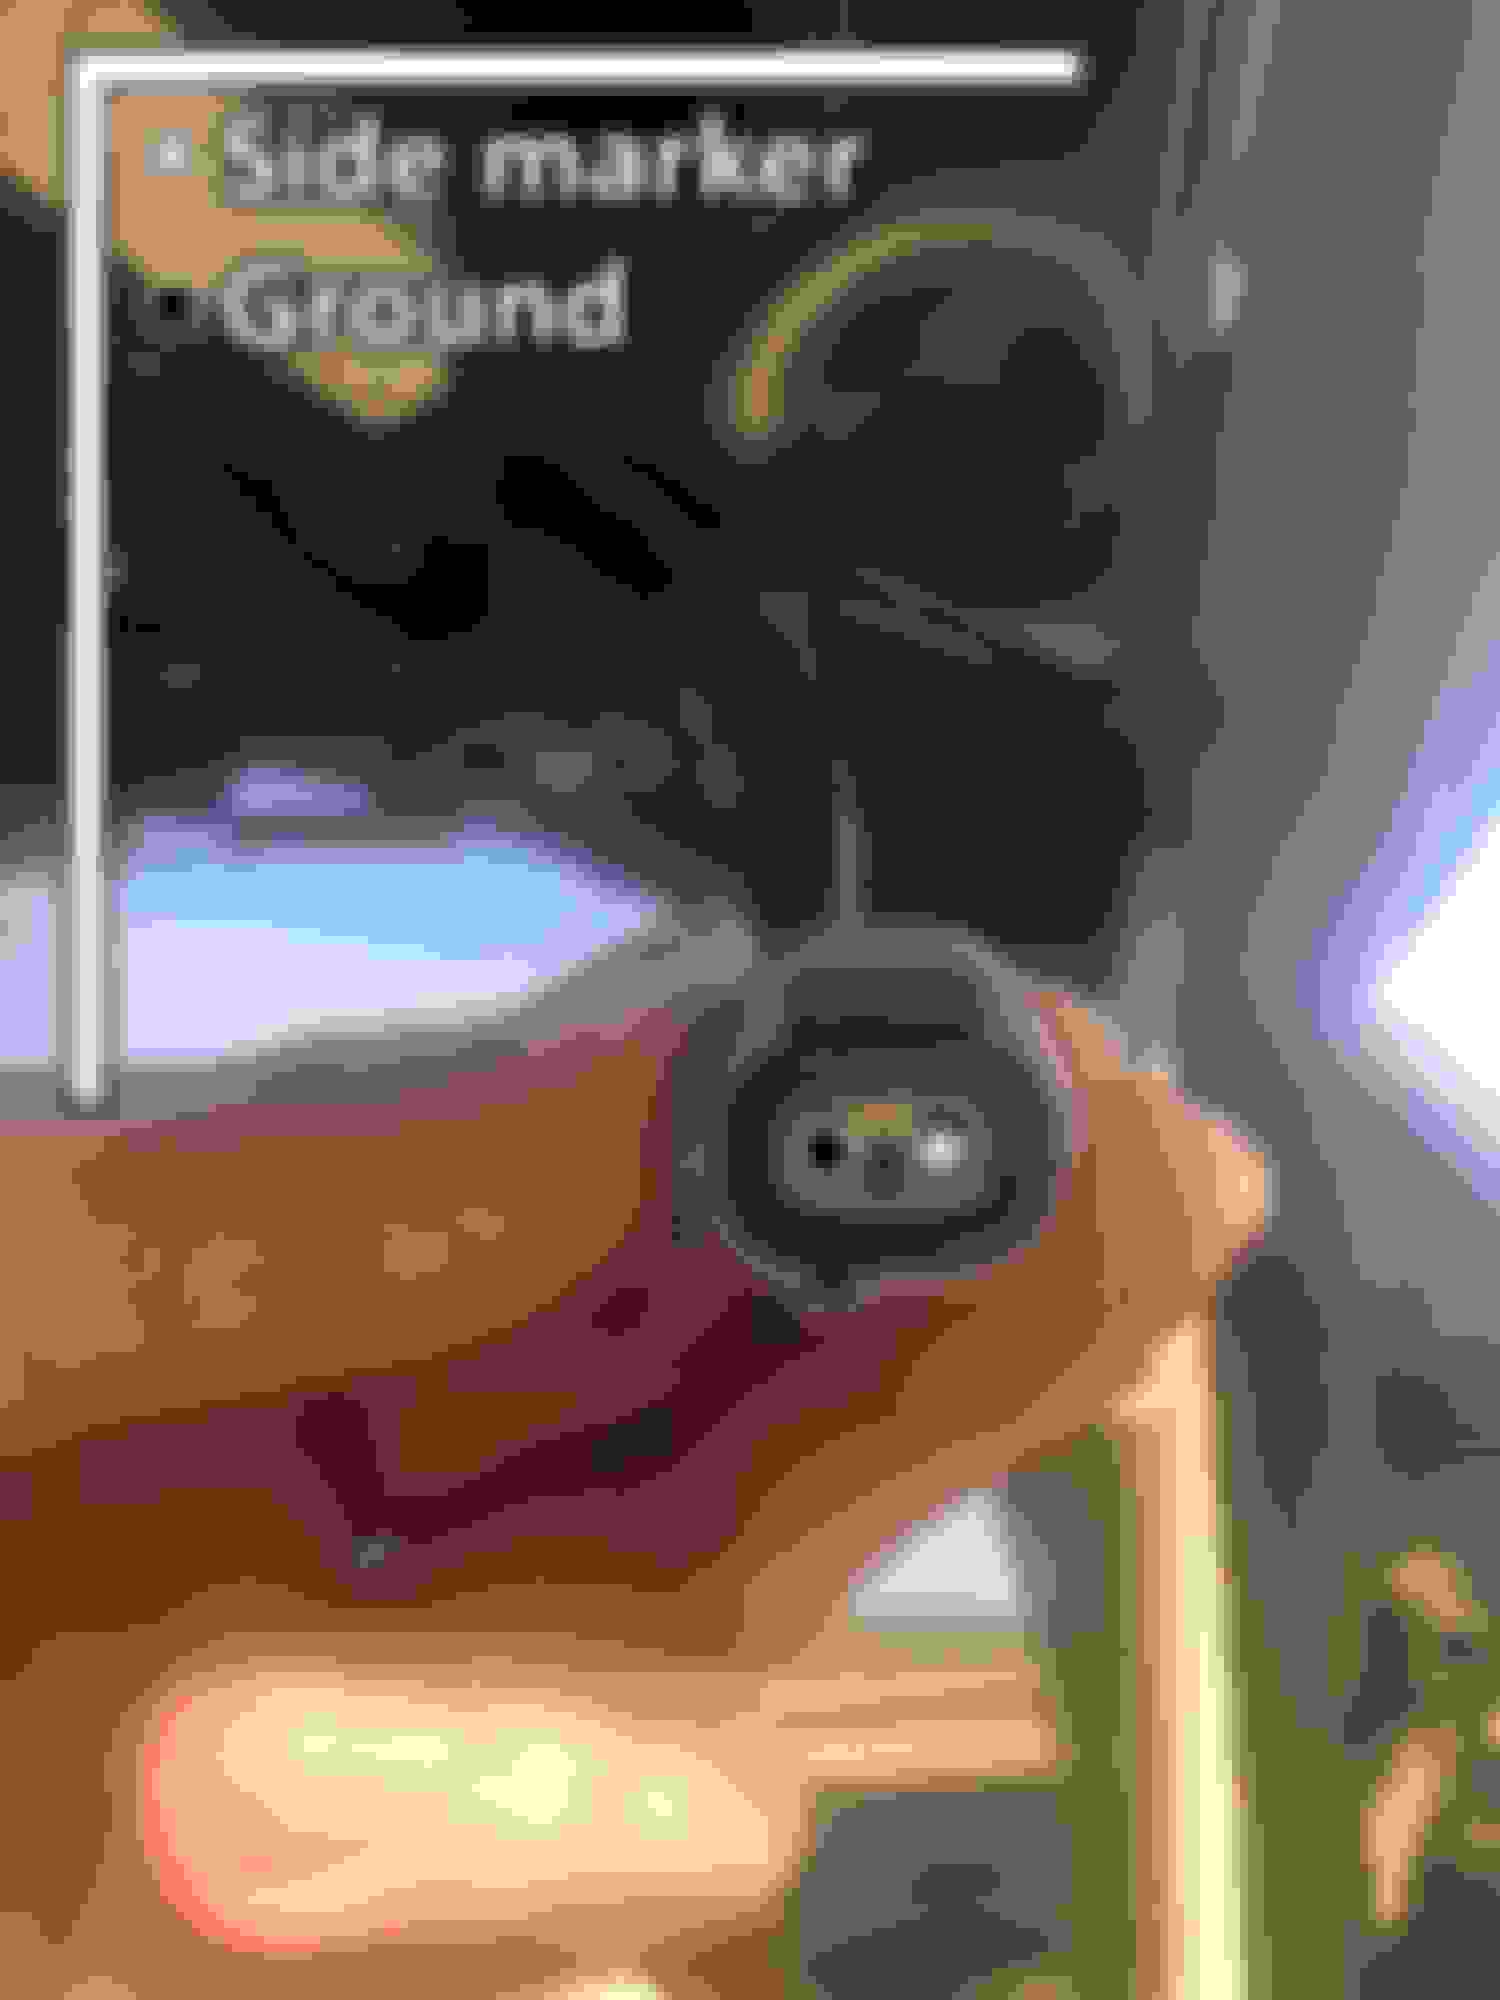
2x Male 90980-11156 (Side marker - FROM car to RX400h light)
2x Female 90980-11717 (Side marker - FROM RX400h light to car) - Only if you don't have the harness from the junkyard, you need both pins of this connector to adapt the side marker
I assumed you were gonna chop the OE harness and be done with it... I like it, taking it a step further... Admittedly, I've done the same in the past with some things, just feels good to be able to unplug & return to stock.
I was pretty tempted to as well! I figured that I have a month to get one of outer tail lights sorted as well as the rest of the car. God bless this Lexus lol, still have to get the interior back together
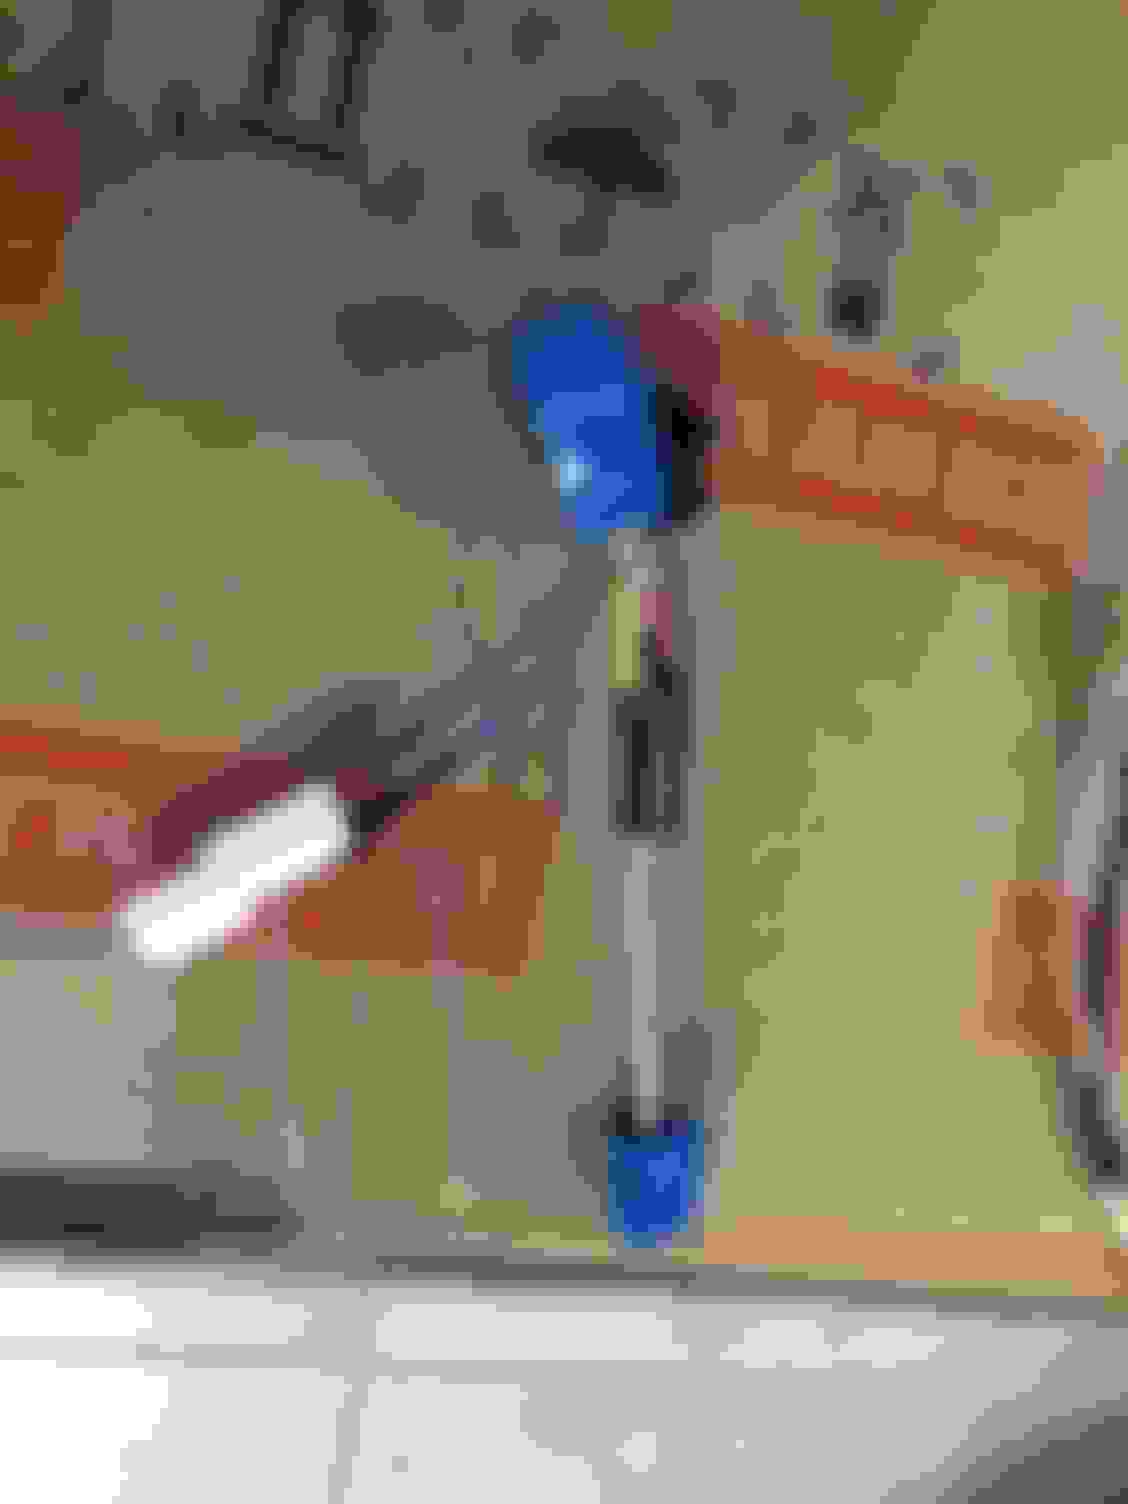
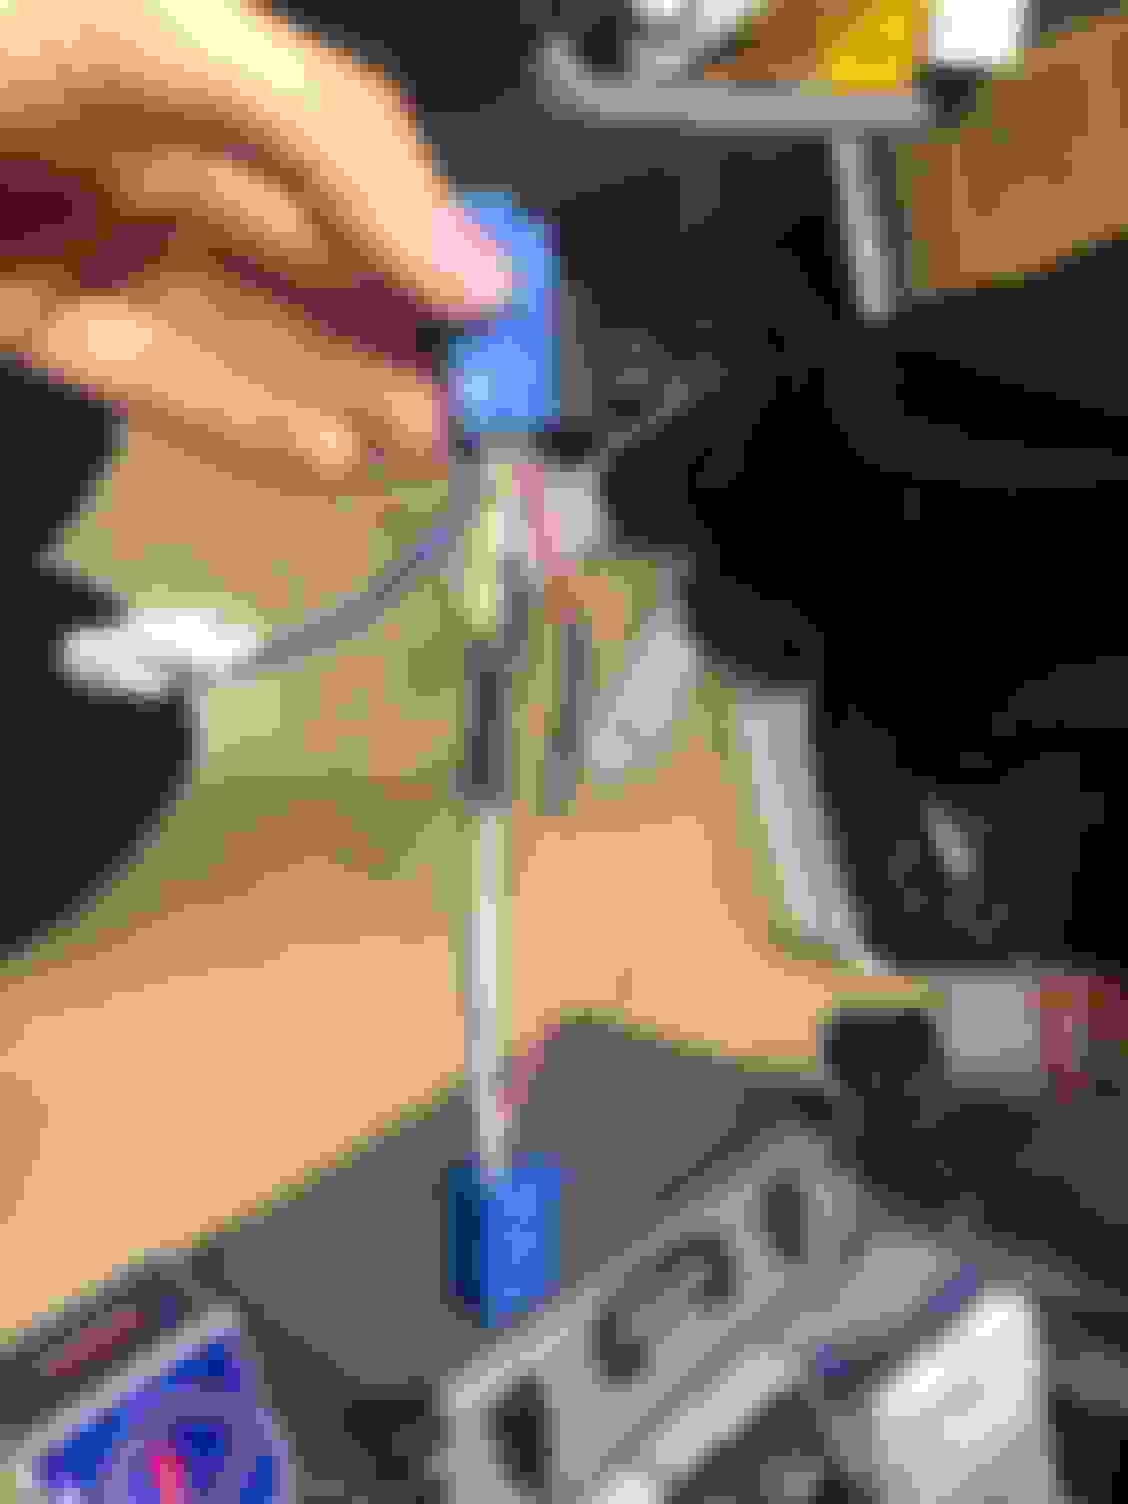
Decided to tackle the inner lights first as they're easier to wire up & install. You only need a 10mm and about 5 minutes to R&R. Remember that white/black stripe = ground and black or white = power. One of my RX400h inners (the driver's side) had a power wire that was white and a white wire with a black stripe.
You need two of these, one for each side + the pins to make an adapter
Idiot light is on, I'll probably add a resistor somewhere or find a way to trick the computer. This shouldn't be a problem for the outer tail lights as stock are already LED
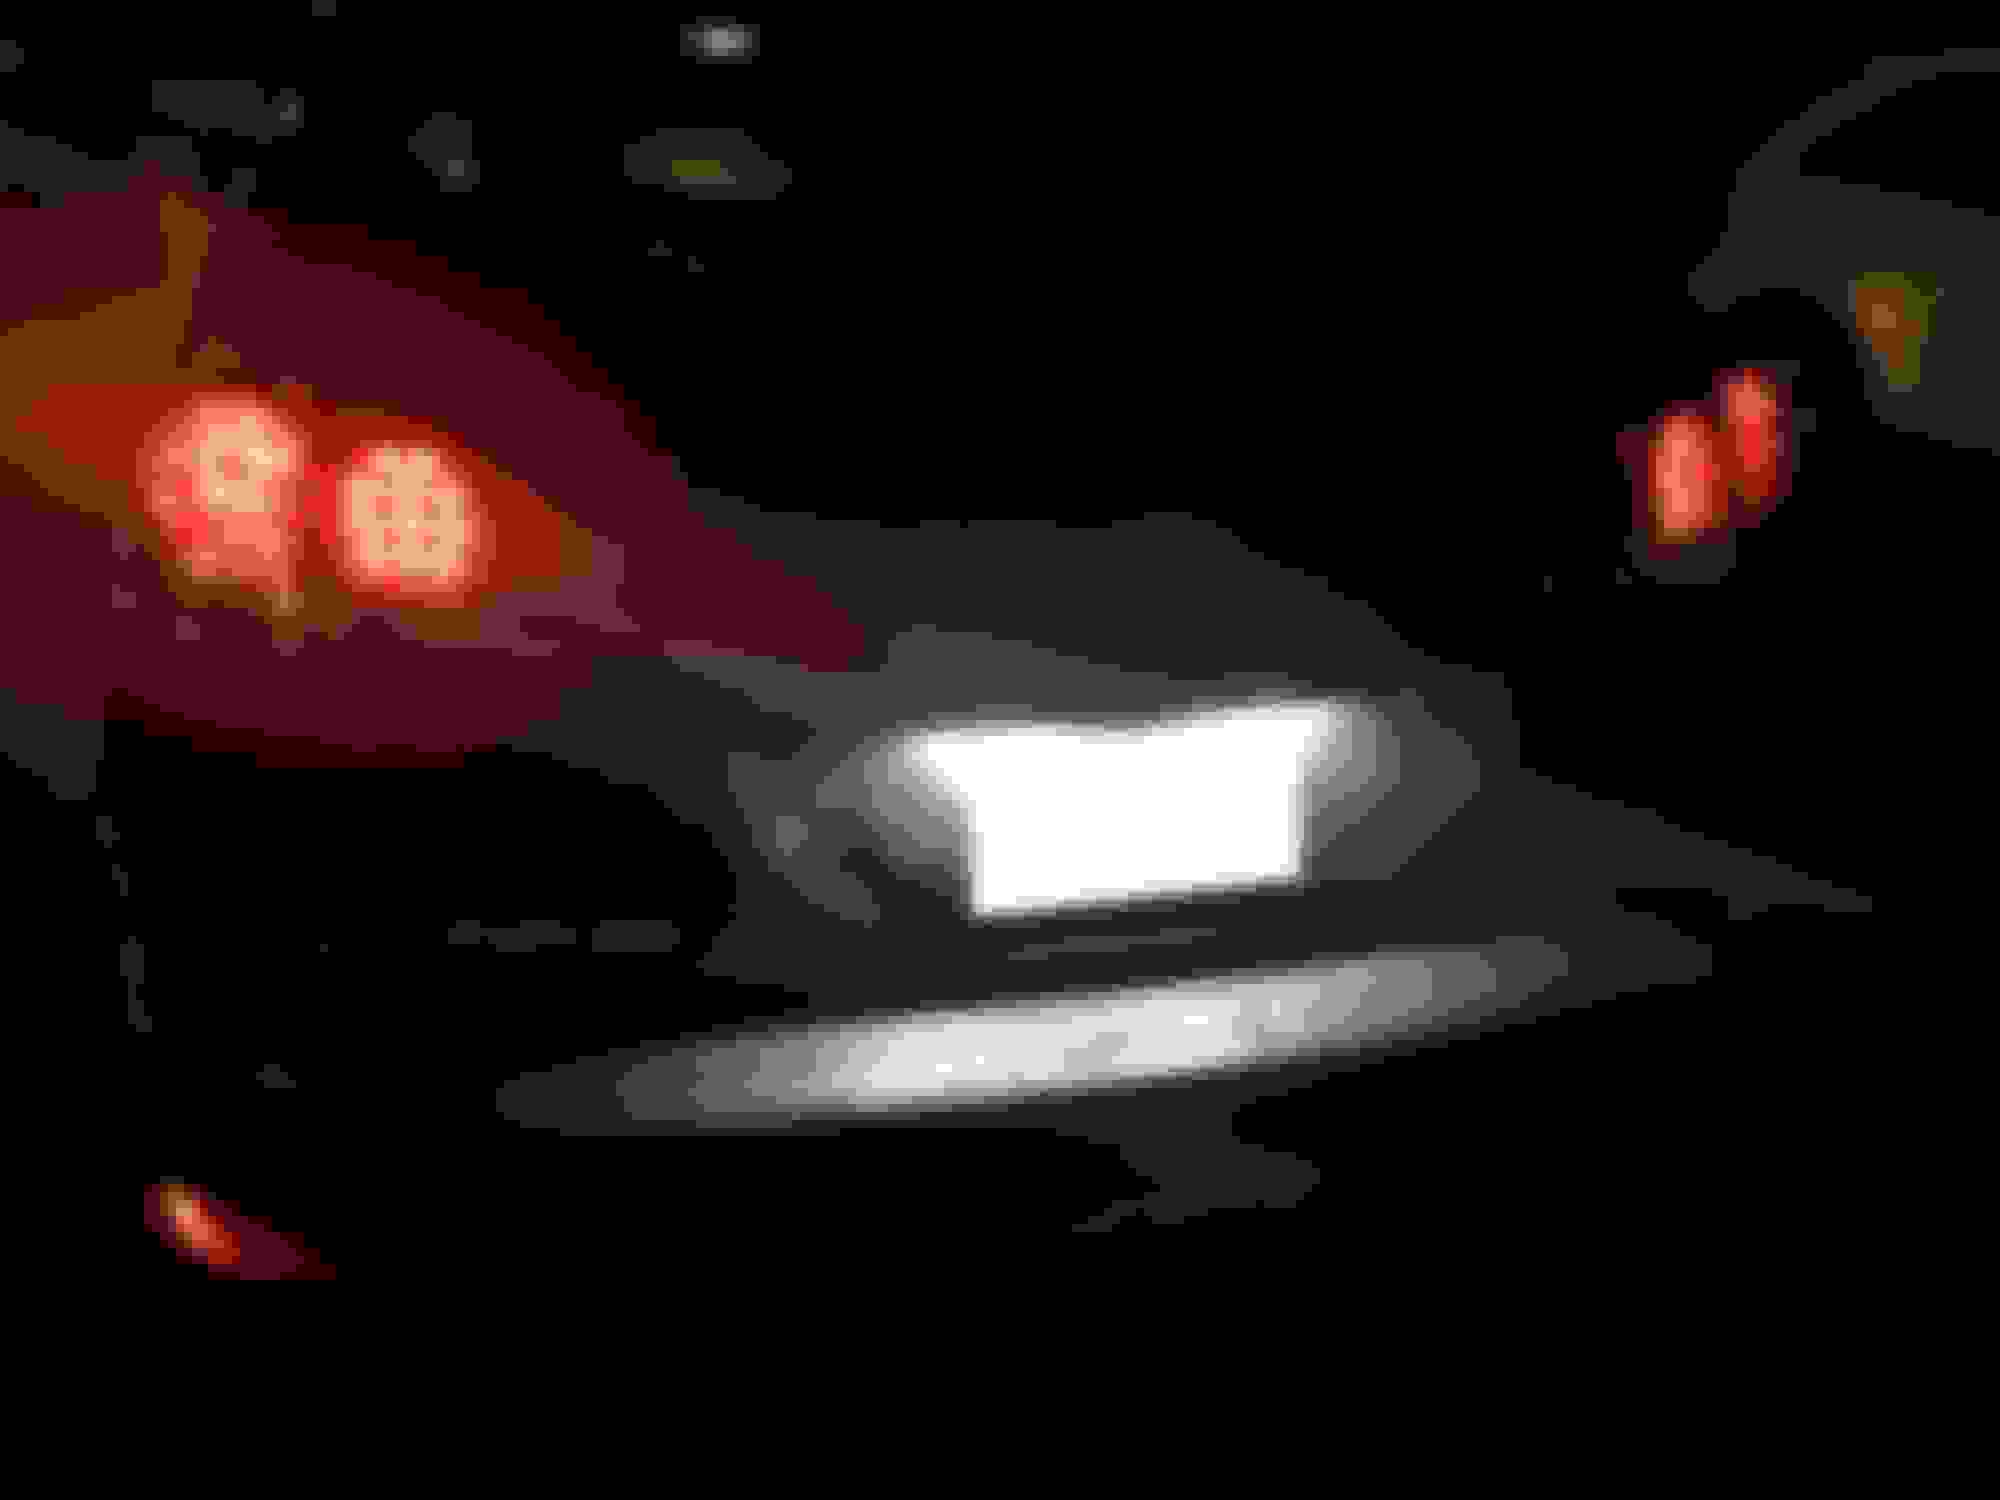
They're in! I'll post some more pics when it gets dark out!
Before:
After:
Yeah, I like definitely like these a lot more than the originals! Can't wait to do the outers next
Last edited by MattRX; 08-03-22 at 07:33 PM.
Reason: Pics
Got both adapters made for the RX400h outers, I have the one properly working light in and it looks fantastic! Everything works perfect. I got the connector ends from a junked 1st gen Matrix at the junkyard, and de-pinned the one pin that would be used for the brake pin on the RX400h. That pin goes unused on the 330/350 as the other little 2-pin connector was used by my RX for the brake, which is that little adapter branching off which uses a single pin. The ground is shared with the stock connector from the car so you can leave it empty, the 400h makes use of a single connector which is cleaner. I think they split it off on the regular 330/350 so there was more wiggle room to remove the sidemarker bulb.
Hi Matt! Looks really nice! I have an 08' RX350 and would very much like to do the same thing. I have looked all over the internet and have been unable to find anyone else who has successfully done this.
Were you ever able to get rid of the idiot light and if so, how?
I haven't disabled of the idiot light yet. You could in theory put in some resistors but I didn't want to ruin the efficiency of these nice LEDs or introduce any extra heat or complexity to the circuit. I'm going to be taking my gauge cluster apart to do red needles and I'll be de soldering the chip for the light. You could also probably find the wire that leads to the gauge cluster and put a switch or cut it. I don't want to do any permanent mods to the car itself so I think my first idea will be the best for me.
I haven't disabled of the idiot light yet. You could in theory put in some resistors but I didn't want to ruin the efficiency of these nice LEDs or introduce any extra heat or complexity to the circuit. I'm going to be taking my gauge cluster apart to do red needles and I'll be de soldering the chip for the light. You could also probably find the wire that leads to the gauge cluster and put a switch or cut it. I don't want to do any permanent mods to the car itself so I think my first idea will be the best for me.
Hi Matt,
I am planning to make the same modification to my brake lights as well and was interested to know where should I order the adapters and will they come with everything I need such as the pins? Also, can you explain exactly what to do with the pins? Are you inserting them into the adapter holes?
I know it would be time consuming, but if you could explain step by step exactly how you created the adapters, that would be so helpful!
I got mine from AliExpress, you will need to wait a month for them to arrive but it's worth it as they're cheap. If you can get the RX400h tail lights with the existing plugs in them already, you will not have to buy as many connectors to complete the job. The first post has the part numbers, if you plug those into AliExpress you should find the right connector. They should come with the pins too, but read the description carefully as some only include the housing and not the pins (although most incl the pins). If you want them pre-done with the pins already installed expect to pay more for the item itself and shipping but it's still not too expensive.
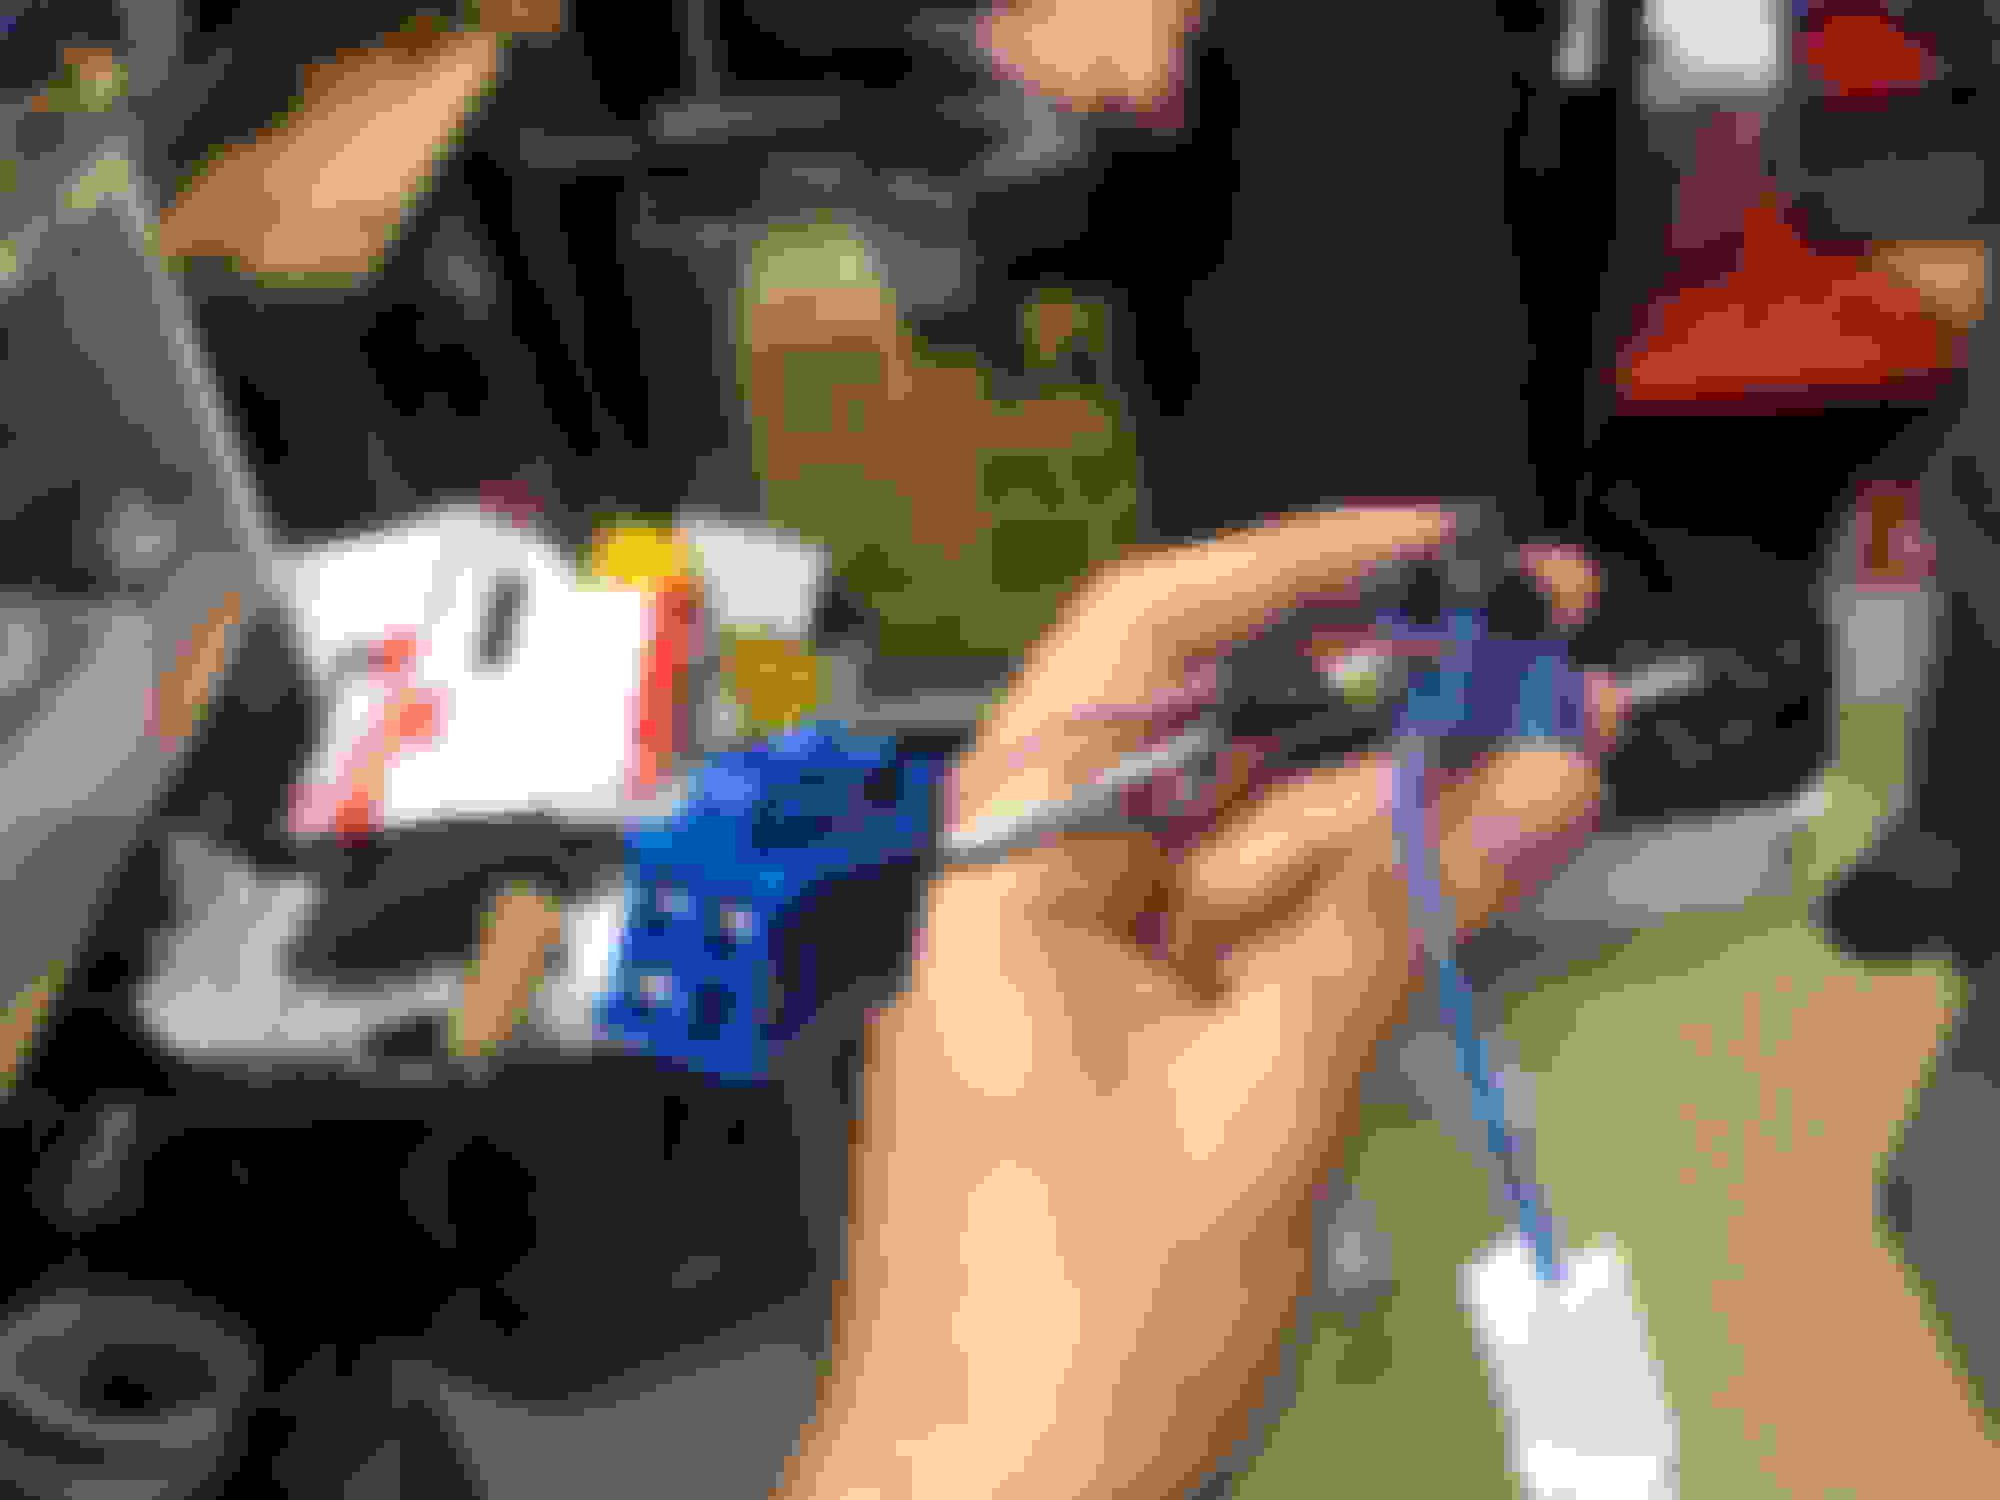
You need a crimping tool and some wire to attach the pins, you can also solder them too if you have a soldering iron. I would also recommend you have some de-pinning tools as well. After figuring out where the wires go, you need to attach the wire to the pin and slide it into the plastic housing until it clicks. For the inner tail lights, you need to crimp the boot onto the back of the pin so it stays in place. This process is nearly the same for all electrical connectors especially for our cars (Sumitomo style).
I did the same on my 2007 rx350 when I had it a few years ago. Luckily my brother is good with electronics and figured it out for me before this post existed. I also ran the rx400 front grill an me custom headlights.

 07-07-22, 05:16 PM