When you click on links to various merchants on this site and make a purchase, this can result in this site earning a commission. Affiliate programs and affiliations include, but are not limited to, the eBay Partner Network.
Hey everyone, I've been lurking here for years getting ideas but figured I should document the updates I've started to make. This was inspired by @MattRX 's awesome and helpful thread, I'm open to feedback and hoping this might help out someone else.
I bought this 2009 RX350 AWD in 2016, I think it was around 168k miles at the time. Not too much later I installed the GTA car kit to add bluetooth audio to the system and LED interior lighting.
In 2019 my oil cooler hose failed and had it towed to a garage to have the replaced with the solid line.
In 2021 @ 186k the engine was struggling due to an ignition coil failure and the suspension was feeling bouncy. I wanted to take care of as much as possible and was living in an apartment at the time, so I took it in for service and had them replace:
All ignition coils
spark plugs
valve cover gaskets
intake gasket
All strut/spring assemblies
Brake rotors and pads
I'm about to return to in-office work after being at home for 3 years, so this will be my daily driver again! I've missed it and am looking forward to refreshing it for the new year… and have also found that rain is leaking into the cabin from the sunroof. This is what I've planned so far:
Replace broken side mirrors with oem style.
Sunroof leak:
Drilling a hole in the firewall and extending the drain tube into the engine bay.
Audio:
Took advantage of the Kicker sale at Crutchfield for new years.
• Tweeters: Kicker 46CST204
• In-Dash: Kicker 47KSC2704
• Front doors: Kicker 46CSC6934
• Rear doors: Kicker 46CSC54
• Sub: Single 10" Solo-Baric L7S Enclosure
• Sub Amp: Kicker 46CXA8001T 800W x 1
Sound deadening:
At first was just going to cover the front doors, then the rear doors too, now I plan to cover just about everything. I've ended up buying a mix of Dynamat, Kilmat, and Siless deadeners and dampening foam. Kept going cheaper each time I decided to extend the dampening area.
Interior:
Replacing the wood trim with carbon fiber vinyl.
Fsport shift ****
Paint the headliner and other grey trim to black.
New front seat covers and floor mats.
Before pics:
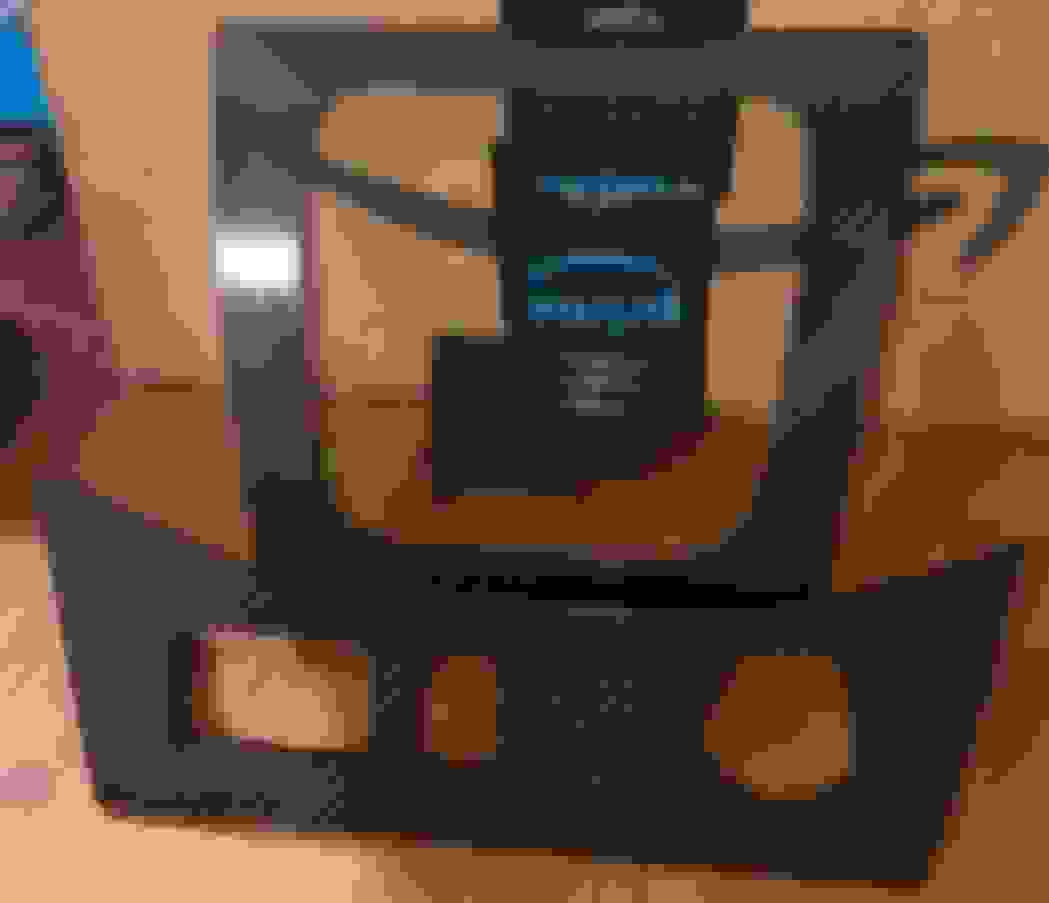
My first attempt at applying vinyl, was fun and very satisfied with the results:
Getting down to the carpet today, removing some of the old dry and cracking sound deadening:
Nice work and good progress! I love the vinyl I need to do most of my interior panels as they�re all scratched up and faded. I will definitely be keeping that sunroof hack in mind for sure!
I�m planning to get some speakers next year when I do my headunit. How are those Kickers treating you? I saw them on Crutchfield a day ago while browsing but I missed the sale, d�oh!
The speakers are all still boxed up, hopefully will be ready to hook everything up by this weekend!
Finally had a break in the rain today, so I took the opportunity to remove the headliner and paint it down. Emptied out all 6 cans of duplicolor I started with between this and the rest of the trim.
This is before the final coat:
I painted the sunshade in-place, and covered the roof with Siless LinerPRO 2in1 200 mil so that I'd only have to roll above my head once
Then while I still had sunlight, I made some more progress removing the old mats from under the rear seats.
Two questions for anyone reading:
What am I missing to get these two pieces removed so I can lift the carpet in the driver area? Is it the 4 small screws that I can't reach straight down in there?
And I was surprised by how tight the space is around the stock amp, I'm thinking of mounting the sub amp in the storage box under the cargo area, where else have people installed an extra amp in these cars?
WOW, man! You�re hitting that interior hard, well done! I unfortunately never disassembled that far into the the console so I�m not sure. I�ll check and see if I have the removal of it saved when I had my 2 day TIS subscription.
Once I got started, I realized that I never want to do this again so I'd better hit as many items as I can lol. I really like my RX and plan on keeping it for a long time still, so this is all just for myself and having fun. I've never done much more than change a battery or air filter before this, it's been quite the adventure of buying always the right tool to get to the next step lol. This torque wrench makes me feel like I can take on anything compared to the little socket wrenches I had before.
I also picked up a Vantrue S1 dashcam that'll be getting installed, with the cable to the rear camera being routed before I put the headliner back up.
Eventually I think I'd like to tighten up the handling a bit too, I've been looking at that 19mm rear sway bar but haven't found a front strut bar that for sure fits this model.
^ Front strut bar, doesn�t list RX350 but they supersede the same wiper linkage and cowl. 55701-0E020
Yes, I never want to drop that headliner again! That was hell to do. Would be a good opportunity to run potential reverse camera wiring too and change the antenna. If I had to do it again, I wouldn�t do the Sienna one I used, too much hacking up a perfectly fine part and having to make adapters.
The tools really do make all the difference! I had to pick up a lower profile torque wrench for some of the suspension stuff.
Haven�t tried a throttle controller yet but I did gain a little bit of response deleting the VSV and some intake resonators. It�s still nothing compared to my good ol� Highlander with a cable throttle and dual throttle body. Still can�t seem to get the RX to be as enjoyable as that thing despite my efforts.
I�m doing a full exhaust soon and eventually getting a tune, maybe then I can play with the throttle mapping and improve it. There�s a noticeable delay between when you hit the throttle and when the engine revs.
^ Front strut bar, doesn�t list RX350 but they supersede the same wiper linkage and cowl. 55701-0E020
Awesome, thanks! I almost ordered that on ebay the other day, but the seller wasn't able to confirm the fit. It looks really straightforward to install, would that alone be noticeable even if I wait a while for the sway bar?
I don�t think it will be anywhere near as noticeable or beneficial as a sway bar, but might provide a difference under some hard driving. I would rather have a sway bar as it�ll do a lot more for the handling dynamics of the car. The cowl is kind of already helping the rigidity up there, but not as much as a strut bar.
I think the Ultra Racing bar is overpriced and I plan on making a custom one eventually just for fun. Unlike a pre-2019 RAV4, these cars have pretty good rigidity from the factory so I think it may go a little unnoticed, even during some spirited driving. Maybe on a Miata or other smaller car without MacPherson front suspension with a less rigid frame it would be a good bang for buck.
I could try taking the factory strut bar off my Highlander and drive around and report back on the differences if you�d like.
Oh man that is one serious refresh project lol. The sheer will to undertake this massive project is indeed inspiring.
The only thing that I don't get is why you're changing the beautiful wood trim to carbon fiber vinyl? I guess people have different tastes, but in my mind, covering that wood trim with vinyl is a tragedy lol.
Good work with the rest of the upgrades though.
I wish the wood trim wouldn�t fall apart in these cars. My Highlander�s is original and looks great, on my RX it is all cracked up and fading. I�m still trying to decide what to wrap it in. I wonder if they make vinyl wrap in fake wood flavour lol
My god that is a piece of refurb work if I ever saw it! You must have a ton of time on your hands. Did you find any water under the carpets. My RX400H which I assume has the same body seams used to collect water faster than a sluice. I stopped it using a mastic over hinges and and rear seams.
@MattRX My wood trim is holding up nicely.
You can actually use cabinet vinyl to cover trim pieces if you want. I actually did this on a 2005 Camry that I had and it turned out beautiful. Make sure you buy quality wraps and take your time with installation. All you need is a hair dryer, utility knife and patience.
Looks like they're making wood vinyl for cars now. Check this one out:
@MattRX Thanks for the info, I'll probably get to the strut bar eventually but will prioritize the rear sway bar.
@ChemEng The wood is pretty and mine is still in great condition except for the steering wheel, but I wanted to try out a sporty black/blue theme for this refresh.
@Vincenze This whole project started because the driver side carpet was soaked all the way through, and I kept going from there to make improvements lol. I had this week free before starting a new job next Tuesday, so decided to just go for it.
I had a busy morning and rainy weather all day, so didn't get as much done as I wanted. Thankfully I did get the leak fixed for good today! Turns out my assumption that the drain tube was leaking into the cabin was wrong, instead the drain tube was clogged so it was pouring right into the roof area. Was surprised to see that suddenly.
I cut off the clogged part of the old drain tube then stuck another tube in to extend it out through the firewall. This was one of the few required fixes, so I'm glad it's finished. will probably do the passenger side too since i'll have it apart and it's likely also clogged based on the flooding I got inside.
Grommet pushed through, need to fish it out. bit of paint to cover the exposed metal.
 01-11-23, 09:06 PM