When you click on links to various merchants on this site and make a purchase, this can result in this site earning a commission. Affiliate programs and affiliations include, but are not limited to, the eBay Partner Network.
Replacing Arm Rest center console for reupholster (ebay) DIY
As we all know the leather on our 2010-2015 Rx350 was not as great as the older models.
Even low millage RX center console looks like a 2001 Rx350 with 200k
The center console leather is a rather easy procedure if you have some time to spare.
Purchase the Leather from ebay. The quality is amazing. It can be stretched if needed. But the cut is perfect.
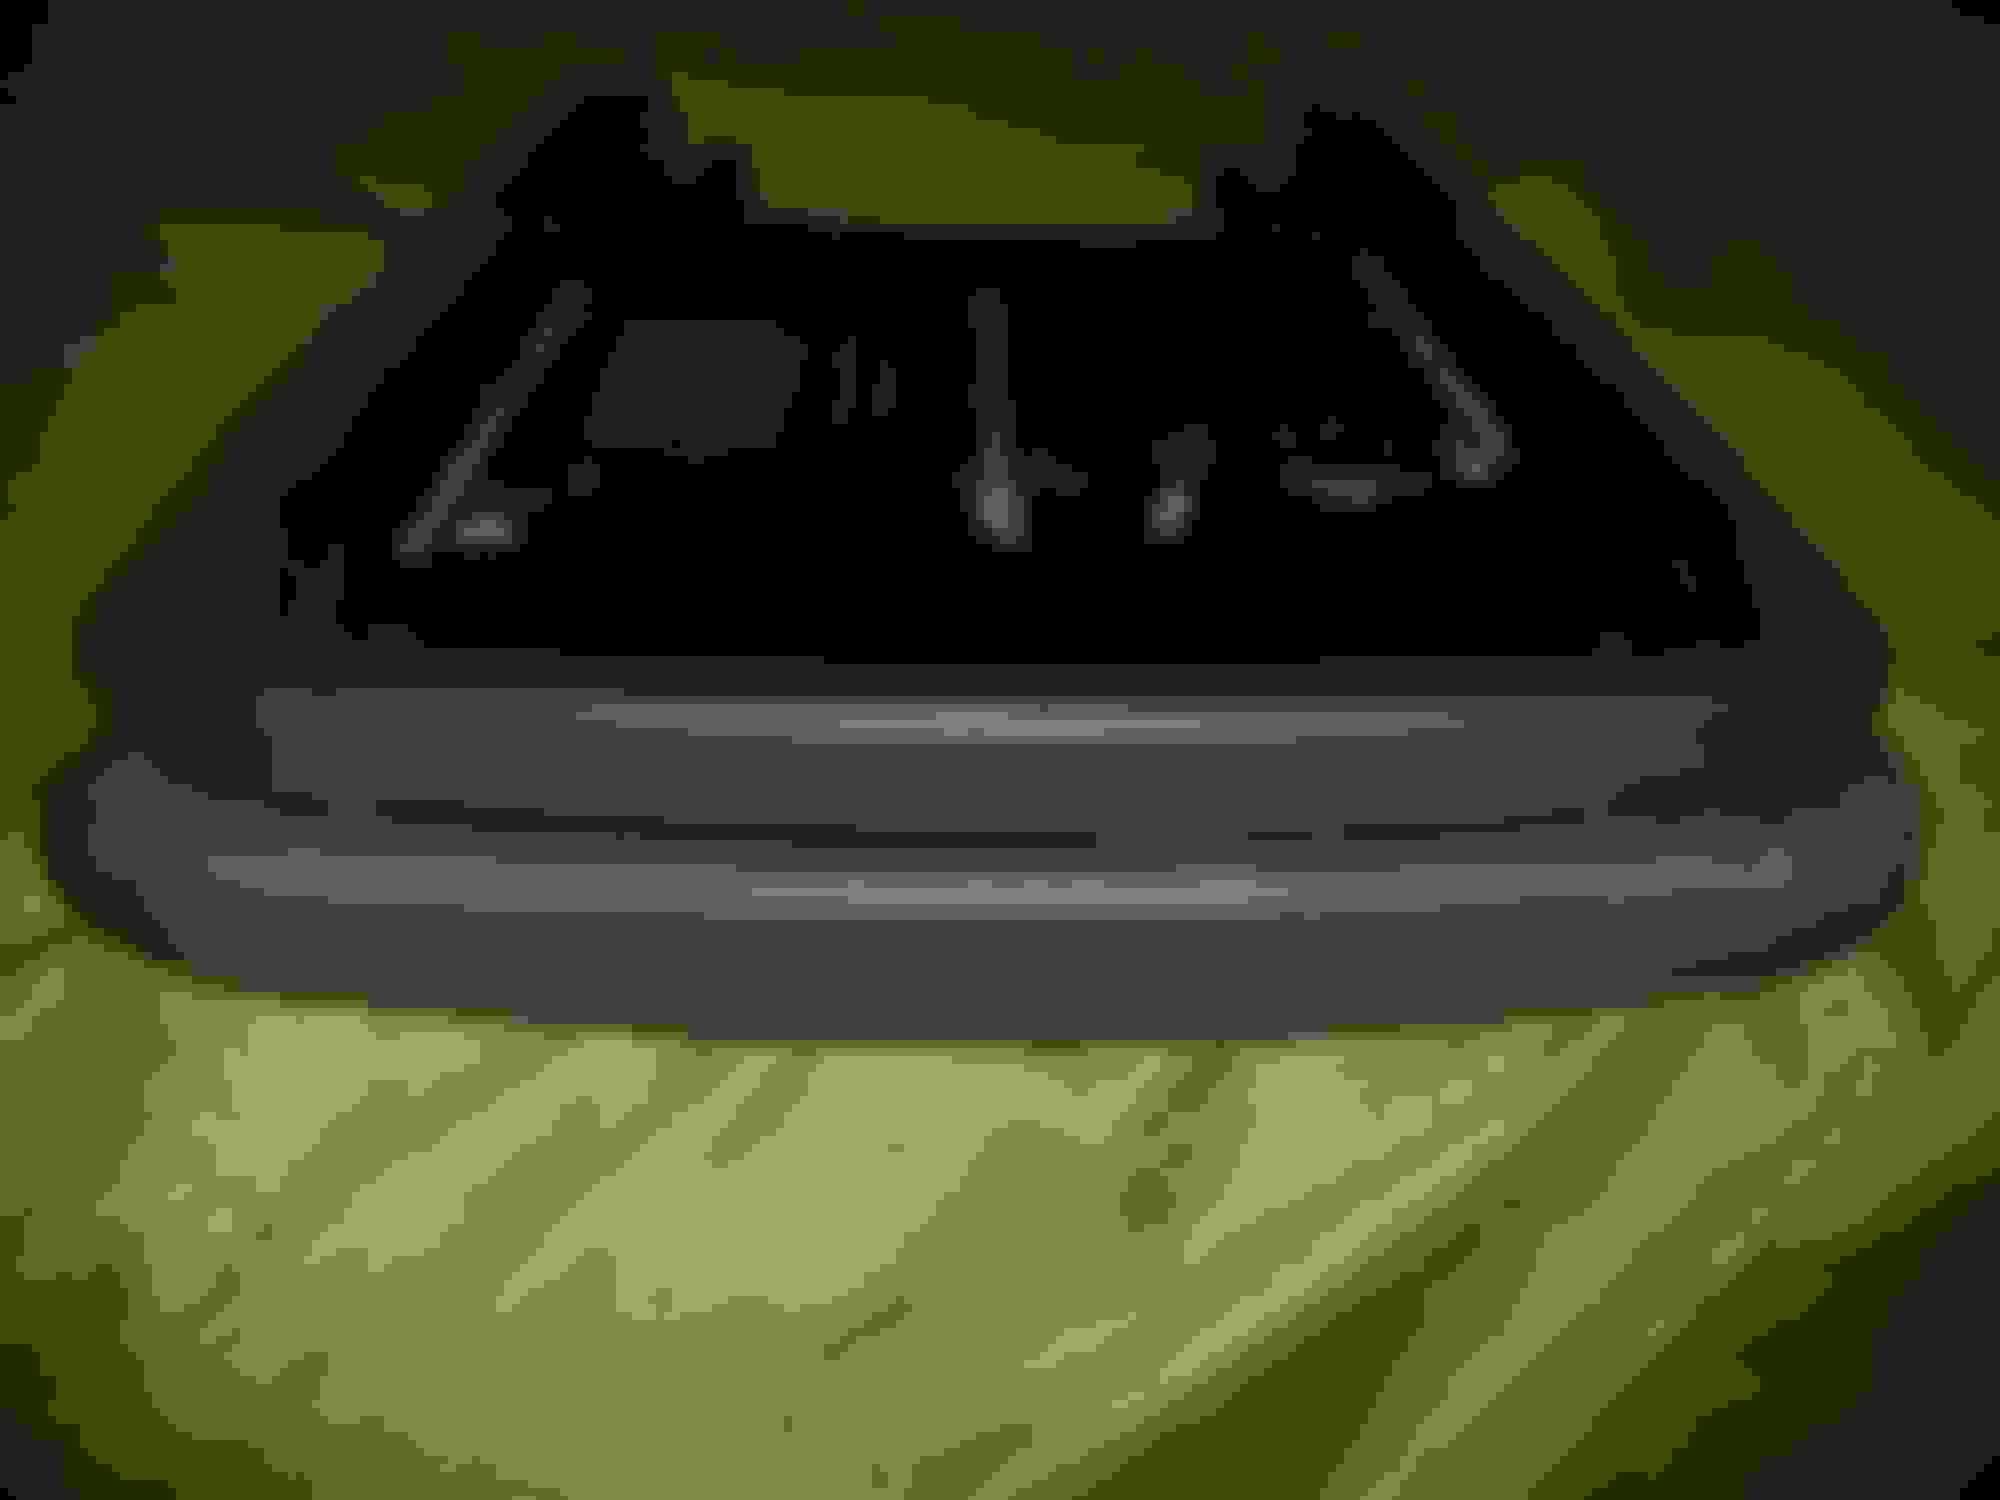
Removing the console lid.
1. Remove the rear AC vent plastic by simply pulling out
2. Remove the 2 Philip head screws located under the lid near the latch. They are small so be careful not to drop them
3. This will allow you to remove the latch half of the under console lid.
4. The 2nd half will slide back right off the track
Removing old leather
1. Flipping over the console lid you will notice there are no screws at all
2. Use a flat head screw drier and pry the sides of the lid separating the black plastic similar to this technique. the video shows him removing the leather part while still attached, you will have the lid off ) The center console lid does not have clips like the video however. You will hear some cracking of the glue separating from the 2 pieces of plastic. This is normal. Work your way around. The two pieces are held together by a thin layer of glue. Just go slow and you will be ok.
3. After the plastic is removed you now have access to all the staples. Just pull them out with a small flat head and a plyers
Applying new Leather
The leather from the ebay seller is already pre cut and stitched you just have to fold it over and staple.
There is NO need for 3M spray or any adhesive. Just get a fabric staple gun from Walmart.
If there are heavy wrinkles you can use a blow dryer or leave it out in the sun for a few hours.
Start with the sides use as many staples as you want, it will be covered by the plastic trim in the end. Just pull tight and staple.. simple
Using an adhesive like super glue lightly coat the to two pieces of plastic (you will see the grooves where they come together.
Dont go crazy with the glue in the even you have to take it apart again in the future.
Reinstall everything int he opposite direction and enjoy your new center console
Last edited by TriniLex; 04-15-18 at 08:09 AM.
Reason: Updated DIY
Look at this recent thread about the center console lid. I think that is a more appropriate term than arm rest, although it also serves that purpose. From looking at the photos, I wonder if you could just push/drive out the hinge pins to remove the top.
The photos also show 4 holes on the under side of the top and maybe there are screws in them that if removed would allow you to take the top cover part off to replace it.
Was planning on doing a DYI on how to replace the leather on the center console (arm rest)
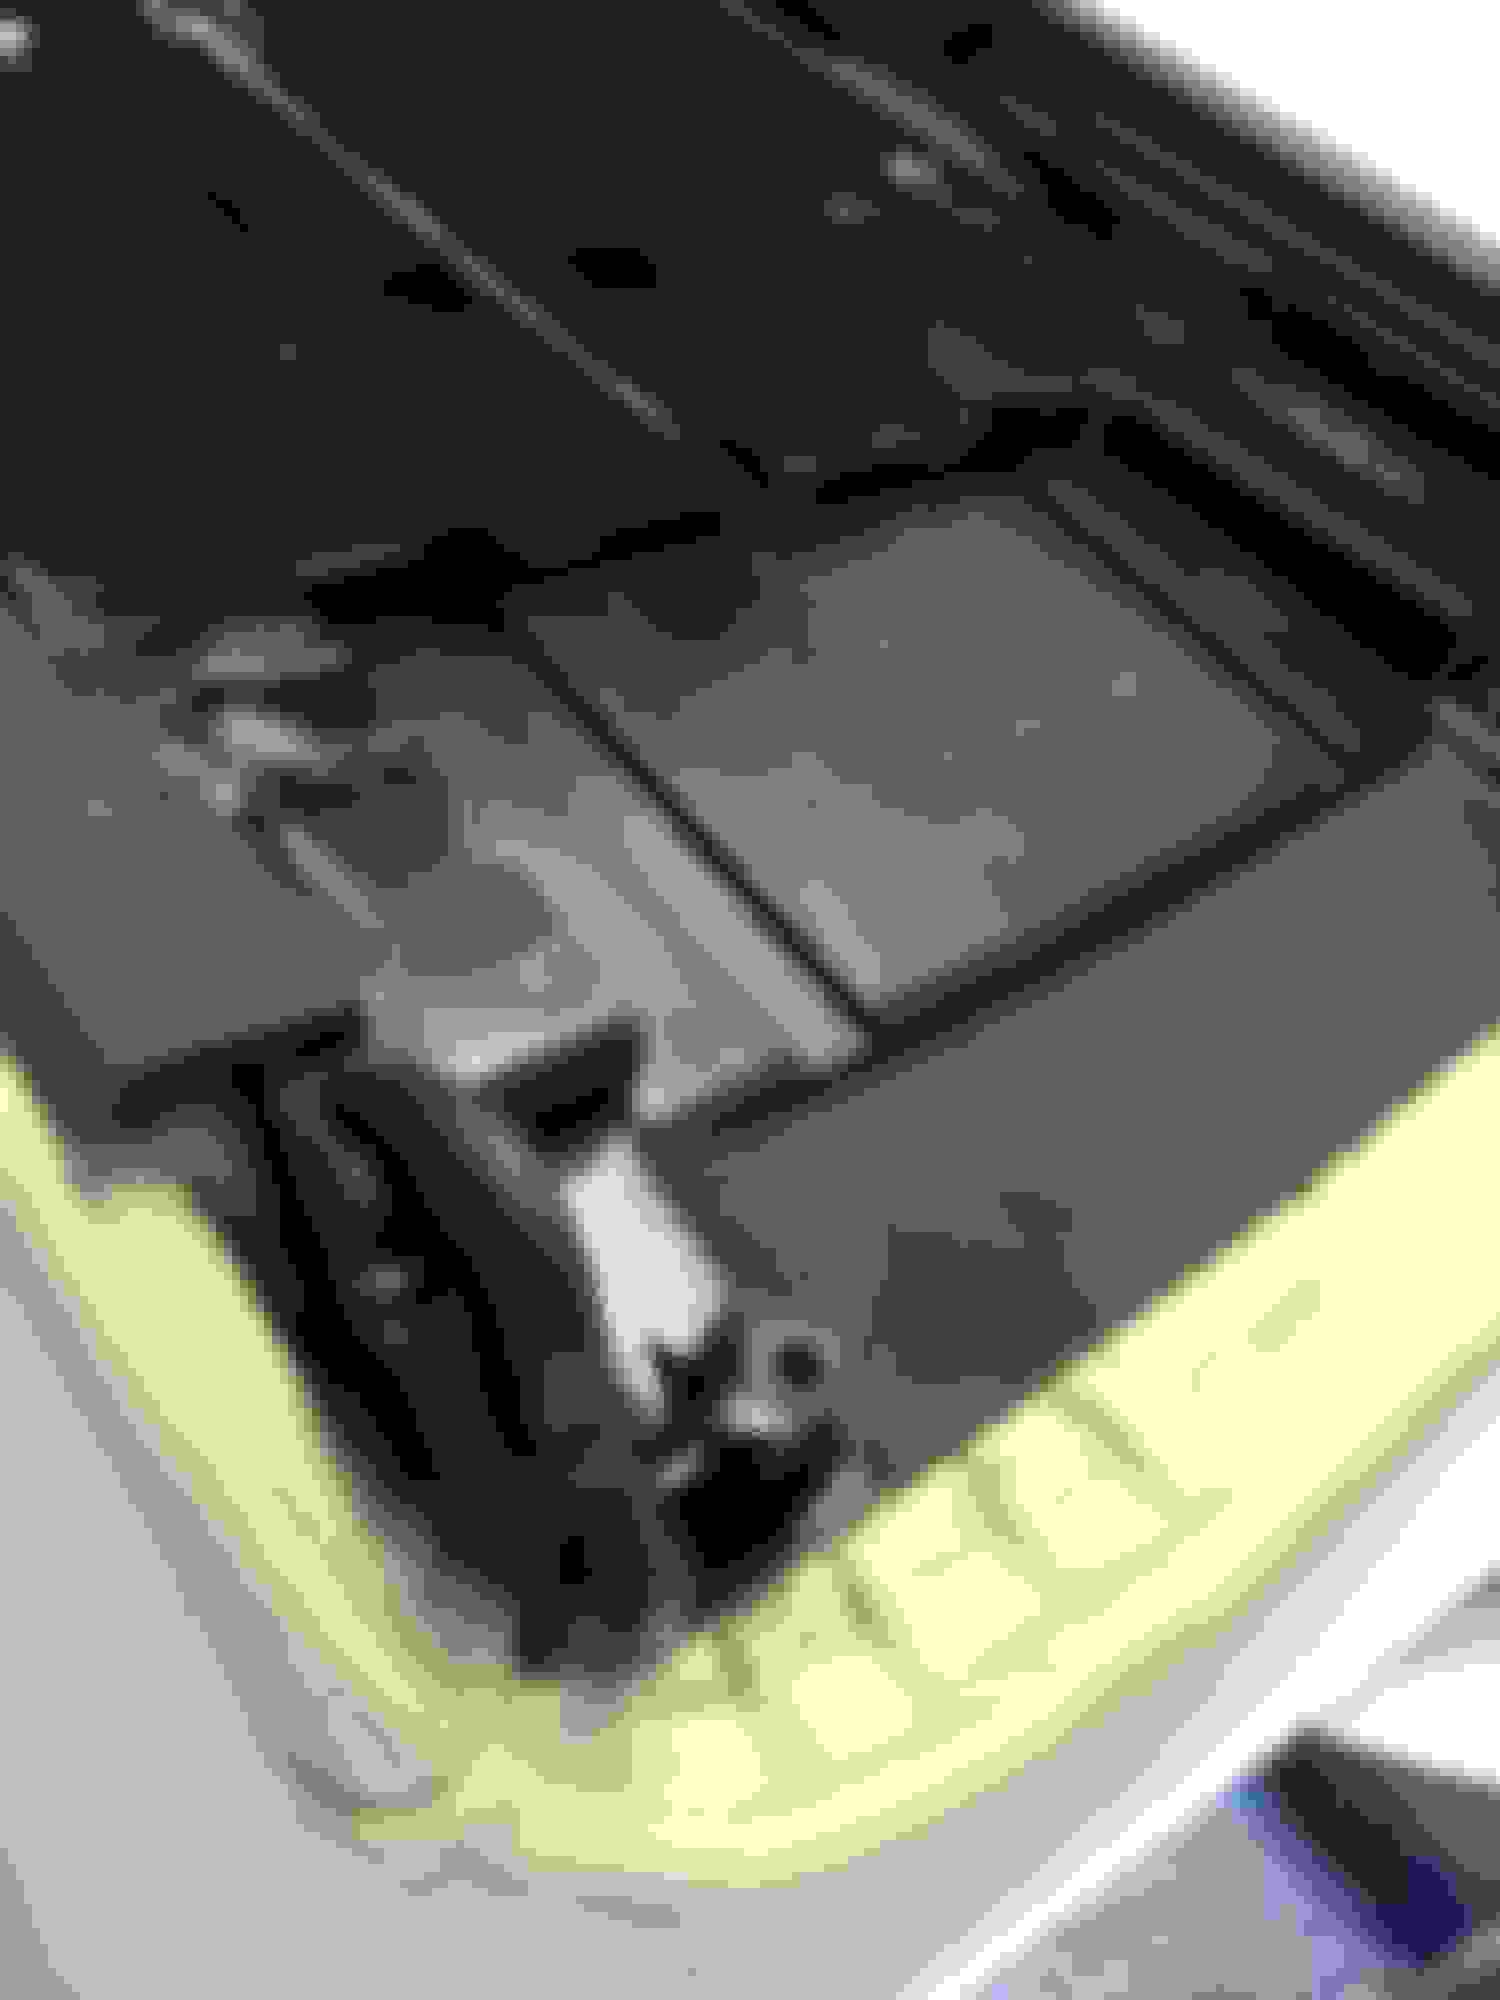
Removing the cover was easy.
1. Remove the 2 Phillip screws on the bottom
2. Push in the clip located in the middle of the arm rest, this will then allow you to slide the top piece off very easy.
I am stuck now not sure how to get this black piece off to reupholster.
Any ideas?
Sorry don't know the answer to your question but have you got an idea of pricing on what it would cost to reupholster vs buying that part from your Lexus dealer spare parts department? If the cost is comparable, it might be simpler just to get a new piece via the spare parts department.
TriniLex, Where did you find a stapler strong enough to pierce the plastic? I see they have pneumatic staplers but I'm not buying one of those. I cannot find one. Do you have a make/brand? Thanks
TriniLex, Where did you find a stapler strong enough to pierce the plastic? I see they have pneumatic staplers but I'm not buying one of those. I cannot find one. Do you have a make/brand? Thanks
FWIW, I just completed this last night using the Stanley TRE500 and it was barely strong enough.
It took many tries (good shot it was user error) to get the staples to sit relatively flush.
 03-03-18, 11:32 AM