When you click on links to various merchants on this site and make a purchase, this can result in this site earning a commission. Affiliate programs and affiliations include, but are not limited to, the eBay Partner Network.
I just replaced oil cooler lines to the upgraded metal lines yesterday. Though some posts have referenced the Toyotanation.com DIY, I just wanted to condense them here for what was minimally necessary from my experience.
3/8 ratchet
3/8 6" extension wobble
3/8 universal joint
12mm deep socket
1/4 ratchet
1/4 2" or 4" extension
E8 socket
10mm socket
flat head screwdriver
needle nose pliers
anti-seize
brake cleaner spray
paper towels
Jack the front end up and place car on jack stands. I prefer under the frame rails and not the front pinch welds.
Remove front under body plastic panel with 10mm socket for bolts and use flat head screwdriver to assist removing plastic push rivets. Set aside hardware for re-installation.
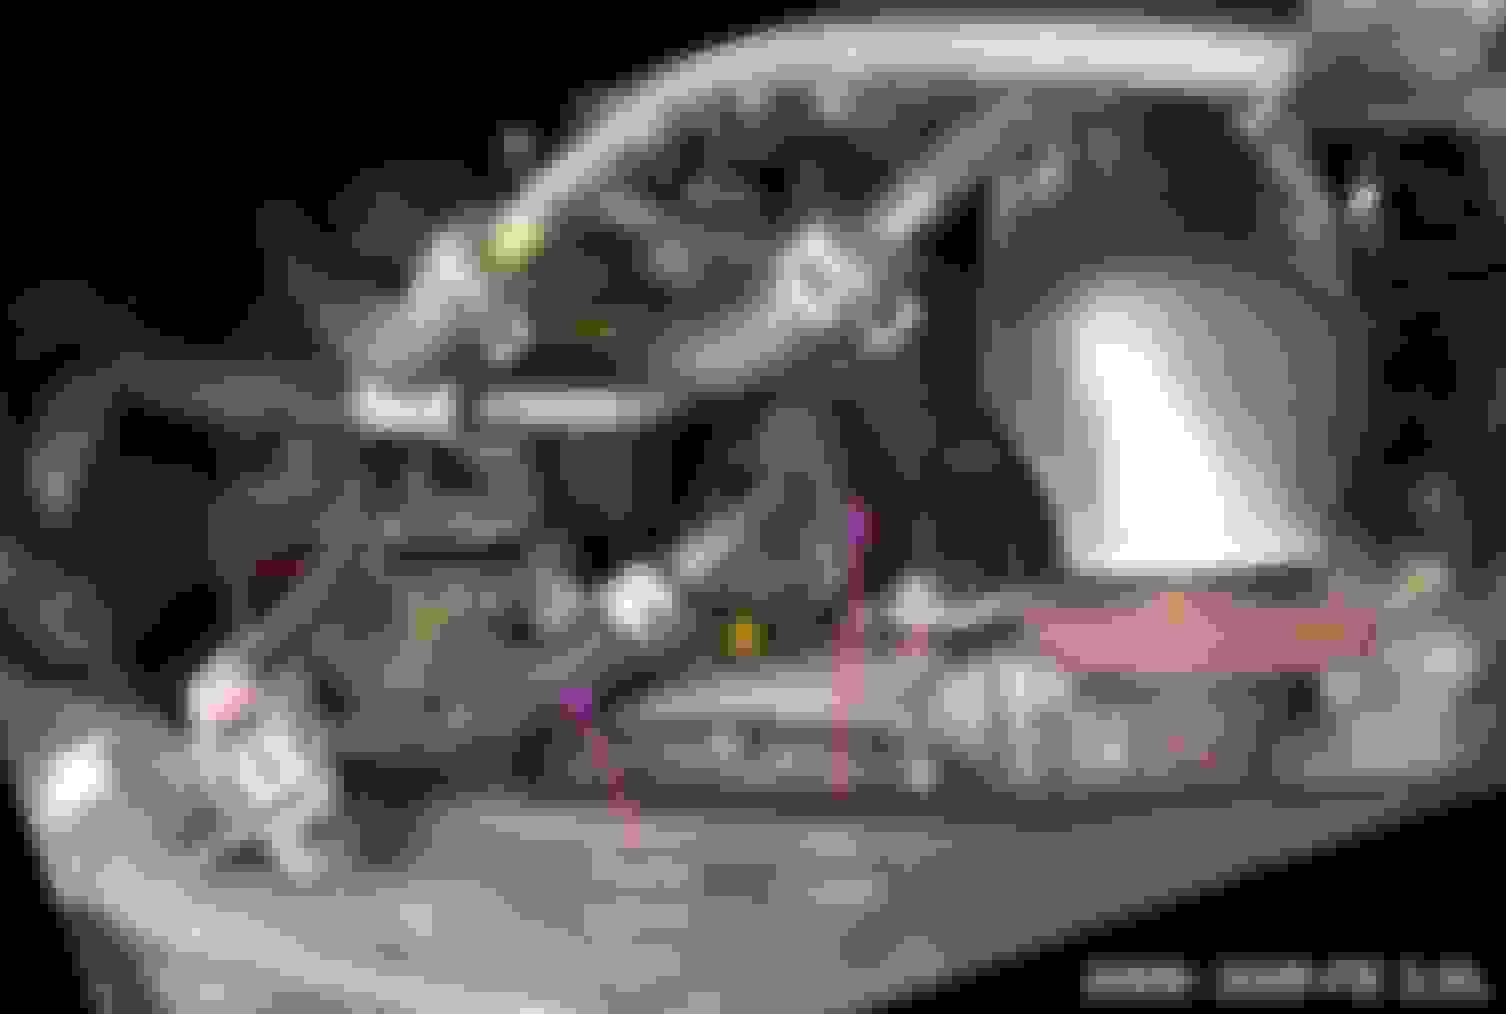
* original pic courtesy of another CL member..edited for notes.
Unplug front o2 sensor located on bracket left of front catalytic converter on top of crossmember. Press out attached o2 sensor connector from bracket and unbolt the o2 sensor bracket with a 10mm socket. Tuck both the connectors aside for more work space.
loosen the nuts from the drivers side oil cooler line with the 3/8 ratchet, extension wobble and unversal joint and 12mm deep socket. Depending on how the rubber hoses are clamped, you may need to use the needle nose pliers to squeeze the clamp and rotate the clamp to seat and fit the 12mm deep socket on the nut closest to the oil pan. (I found the nut marked by a star in the picture was best reached by behind the crossmember)
Put a oil catch container under the car to catch oil. Loosen the nuts on the passenger side oil cooler line flange.
Now that all the nuts are loose, back out the nuts on the drivers side flange and tug the flange to break the seal and catch oil. Repeat on passenger side. *Note due to corrosion on the studs, the nuts may back out the studs completely. You can use either the 12mm deep socket or continue backing out the studs with the 1/4" ratchet and e8 socket.
remove the old rubber hose oil cooler line assembly.
remove the 2 studs on passenger side mount. Clean mount surfaces on both drivers/passenger side mounts with brake cleaner and a paper towel.
Clean and Re-install drivers side studs if they have backed out at this time. Bottom out the studs but do not over tighten with the e8 stocket. (I used a bench vice to clamp the stuck on nuts and used the e8 socket to break the corrosion bond. Spray with penetrant oil..ie liquid wrench, 50/50 acetone & atf, etc.. if necessary. Use anti-sieze on the studs once bond has been broken and tighten and loosen the nut on the stud till resistance is minimal.)
Time to install the new metal oil cooler line.
Note the raised crush rings on the factory gaskets. The raised side should be placed against the new cooler line flanges. The flat side against the block. Place the drivers side gasket on the studs, line up and place the new cooler line flange over the studs and loosely thread on the nuts to secure the cooler line from dropping.
Carefully slide the passenger side gasket between the flange and engine block . Thread the two remaining studs on the passenger side through the oil cooler line flange and gasket. Thread on remaining nuts and bolt and snug up. Snug up nuts on driver side flange.
Tighten all nuts and bolts on both flanges evenly for final torque to seal. Spec is reported to be 15 ft/lbs but it is impossible to get a torque wrench in the space and torque cannot be measured accurately with a universal joint in place.
Preferably start the car and inspect the flanges for oil leaks. The oil pressure will be enough to spot any leaks if the flanges have not been torqued enough. Shut the engine IMMEDIATELY if any leaks are noticed. The oil will come out very fast if noticeable. Top off the engine with approximately 1/2 quart that has been lost from the removal of the original oil cooler pipe.
If no leaks are observed, clean off any surfaces that may have dripped oil with brake cleaner.
Reinstall o2 sensor plug bracket, and reconect sensor. Re-install lower body panel.
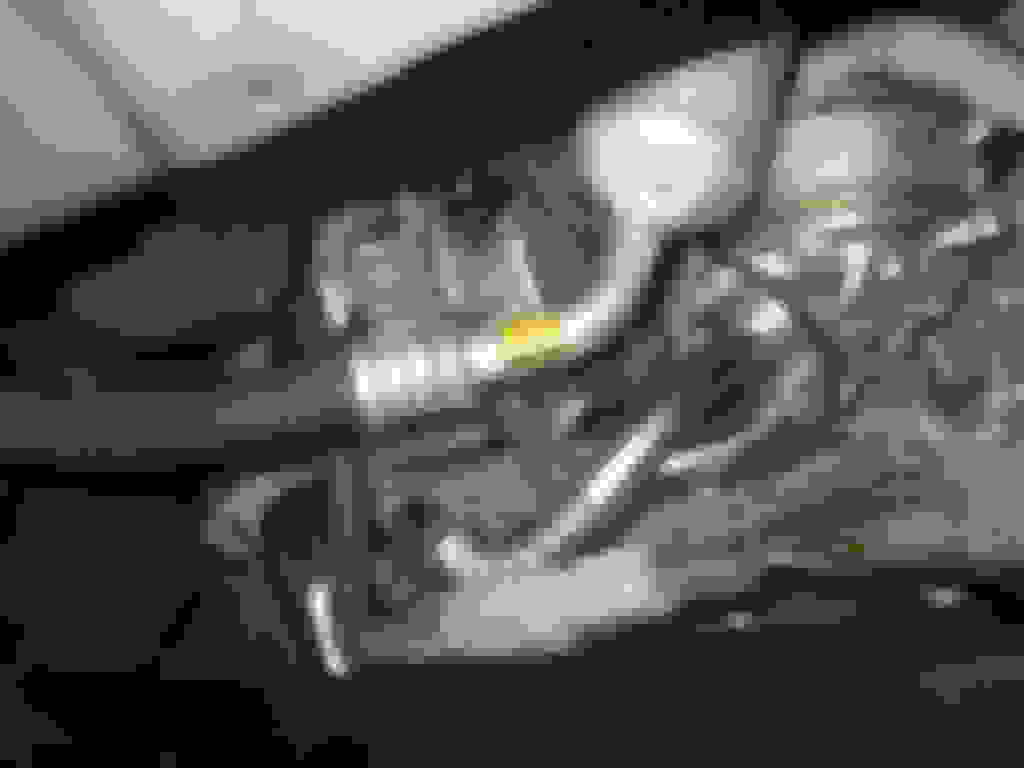
The finished install should look much like this install on a Toyota Sienna but the a/c component located higher.
Nice job explaining this project. I did it last year after studying the Toyota Nation procedure and realizing it was easier than they initially explained but as you explain, you do have to remove a few studs to remove and replace the lines. I did not have any corroded nut issues and everything was easy to take apart.
Nice job explaining this project. I did it last year after studying the Toyota Nation procedure and realizing it was easier than they initially explained but as you explain, you do have to remove a few studs to remove and replace the lines. I did not have any corroded nut issues and everything was easy to take apart.
If anyone is successful at removing the nuts on both flanges without removing the studs at the same time, there is enough flex in the stock rubber hoses to wiggle the unit out... However, it definitely makes it easier if the studs are removed on at least 1 flange for removal and replacement. My preference is to remove the passenger side studs because its an easier plane to work with when re-installing.
FWIW, I bought my Toyota OEM cooler line and OEM gaskets as a package through ebay around $63 shipped.
For those on a budget , a YouTuber brought to my attention Dorman makes the metal oil cooler line that can be found for cheaper at some outlets. #625-022. I have no experience with the Dorman lines, buyer beware.
I just bought a 2010 with 60k on it from an individual and it has the rubber hose so I�ll have to do this too. I won�t have time to mess with it for a couple months due to work. I�m not sure how many on the RX�s have ruptured destroying engines but I�m paranoid now. Has anyone considered using Fiberfix wrap as temporary insurance? I�ve used it on my ATV but never on high pressure applications. I figured if i wrapped the rubber and overlapped to the metal, if the rubber blew out it would slow the leak and not empty all the oil. I would think it would leak a little letting me know of the problem without ruining the engine. I�m ordering the metal line and gaskets but not sure when I�ll have time to change it out. I�m guessing I could wrap the hose in a few minutes and that would hold me over.
I just bought a 2010 with 60k on it from an individual and it has the rubber hose so I�ll have to do this too. I won�t have time to mess with it for a couple months due to work. I�m not sure how many on the RX�s have ruptured destroying engines but I�m paranoid now. Has anyone considered using Fiberfix wrap as temporary insurance? I�ve used it on my ATV but never on high pressure applications. I figured if i wrapped the rubber and overlapped to the metal, if the rubber blew out it would slow the leak and not empty all the oil. I would think it would leak a little letting me know of the problem without ruining the engine. I�m ordering the metal line and gaskets but not sure when I�ll have time to change it out. I�m guessing I could wrap the hose in a few minutes and that would hold me over.
if you are looking for a temporary preventative insurance to buy you time before you install the metal line, the regular fiberfix is not temp rated. The bursting hoses are caused the the heat fatigue from the radiating catalytic converter nearby. They do have a more expensive fiberfix wrap for heat though..but while going that route, i'd use one of the products from DEI which is known for heat management products and protection like their heat tape https://designengineering.com/reflec...lective-sheets
if you are looking for a temporary preventative insurance to buy you time before you install the metal line, the regular fiberfix is not temp rated. The bursting hoses are caused the the heat fatigue from the radiating catalytic converter nearby. They do have a more expensive fiberfix wrap for heat though..but while going that route, i'd use one of the products from DEI which is known for heat management products and protection like their heat tape https://designengineering.com/reflec...lective-sheets
thanks, I never thought about what causes the issue. My hose looks good but I�ll order some heat protective wrap to tide me over.
After checking the recall (and ordering the parts) I�m covered until the end of next month. I�m going to inspect it really well and if I see any oil take it to Lexus. If nothing else it gives me piece of mind that I�ve got warranty coverage until I hit the 10 year mark next month.
It didn't look very hard so I went ahead and made time to get this done. I will add two things, the studs are E8 size Torx not E4. I would also have a single sided razor blade to scrape the old gasket off and a Scotch Brite pad to clean up the gasket area after removing the old line. I also used blue Loctite on both the stud and nuts to make sure it stayed in place when installing the new line. Thanks for the directions, it made the job a lot easier.
It didn't look very hard so I went ahead and made time to get this done. I will add two things, the studs are E8 size Torx not E4. I would also have a single sided razor blade to scrape the old gasket off and a Scotch Brite pad to clean up the gasket area after removing the old line. I also used blue Loctite on both the stud and nuts to make sure it stayed in place when installing the new line. Thanks for the directions, it made the job a lot easier.
Glad the directions made things easier. Thanks for the correction, i'll update the directions..not sure why i wrote E4 originally
Thank you for the detail and picture, I appreciate the time you took to put this together. This will probably save me about $200 - 300 on my 2008 RX350. I ordered parts from Amazon - Toyota parts - 3 pieces.
This took me about 3.5 hours over two days. The first day was getting the car into the garage with minimizing the oil spilling all over my brick driveway, lifting the car, putting on jack stands, removing the bottom shields (2 plastic shields), cleaning up all of the dripping oil on the car and on the shields. Removing the old rubber hoses and metal connections took some time as one of the rubber hose clamps was in the way of removing the far nut on the right metal hose base. I ended up using a 1/4 drive with a deep socket and a joint, I also needed to remove one stud from the right hose base. I needed to remove both studs from the left hose base. After removing the hose assembly, there was some dripping oil, so I let that drip until it stopped - this took overnight. The next day it took about 30 - 40 minutes to install the new assembly. Checked that oil and added a quart, I then ran it for 10-15 minutes to check for oil leaks - none. Now I just need to put the shields back on and I am done.
This change should be mandatory for all Lexus RX owners with this rubber hose - The parts cost me about $90 for parts and 3-4 hours of work. That is better than a $4000+ engine replacement.
Last edited by leroyjnav; 01-15-19 at 04:56 PM.
Reason: My experience
Hi There,
I have the same 2008 RX and I just changed mine too. But I have problem for the last nut (driver side, right). There is not room for any tool to tighten it.
May I ask how you did yours?
Thanks.
Hi There,
I have the same 2008 RX and I just changed mine too. But I have problem for the last nut (driver side, right). There is not room for any tool to tighten it.
May I ask how you did yours?
Thanks.
Hi Felix,
Thanks for your reply. But I was having difficulty to tighten the right side panel bottom nut for the new part, not removing the old one.
I guess it is ok now there was no oil leak (with only one bolt and nut holding one panel). Hope it will last.
Thanks again for your reply.
Did you move the O2 sensor connector that is in the way?
A Deep socket with a U joint connector on an extension or flex extension may work. I assume you cannot get an open end wrench in there. What about a ratcheting box wrench?
You could always ask for help at a local repair shop. They would probably charge you very little to tighten it.
 05-07-18, 10:36 AM