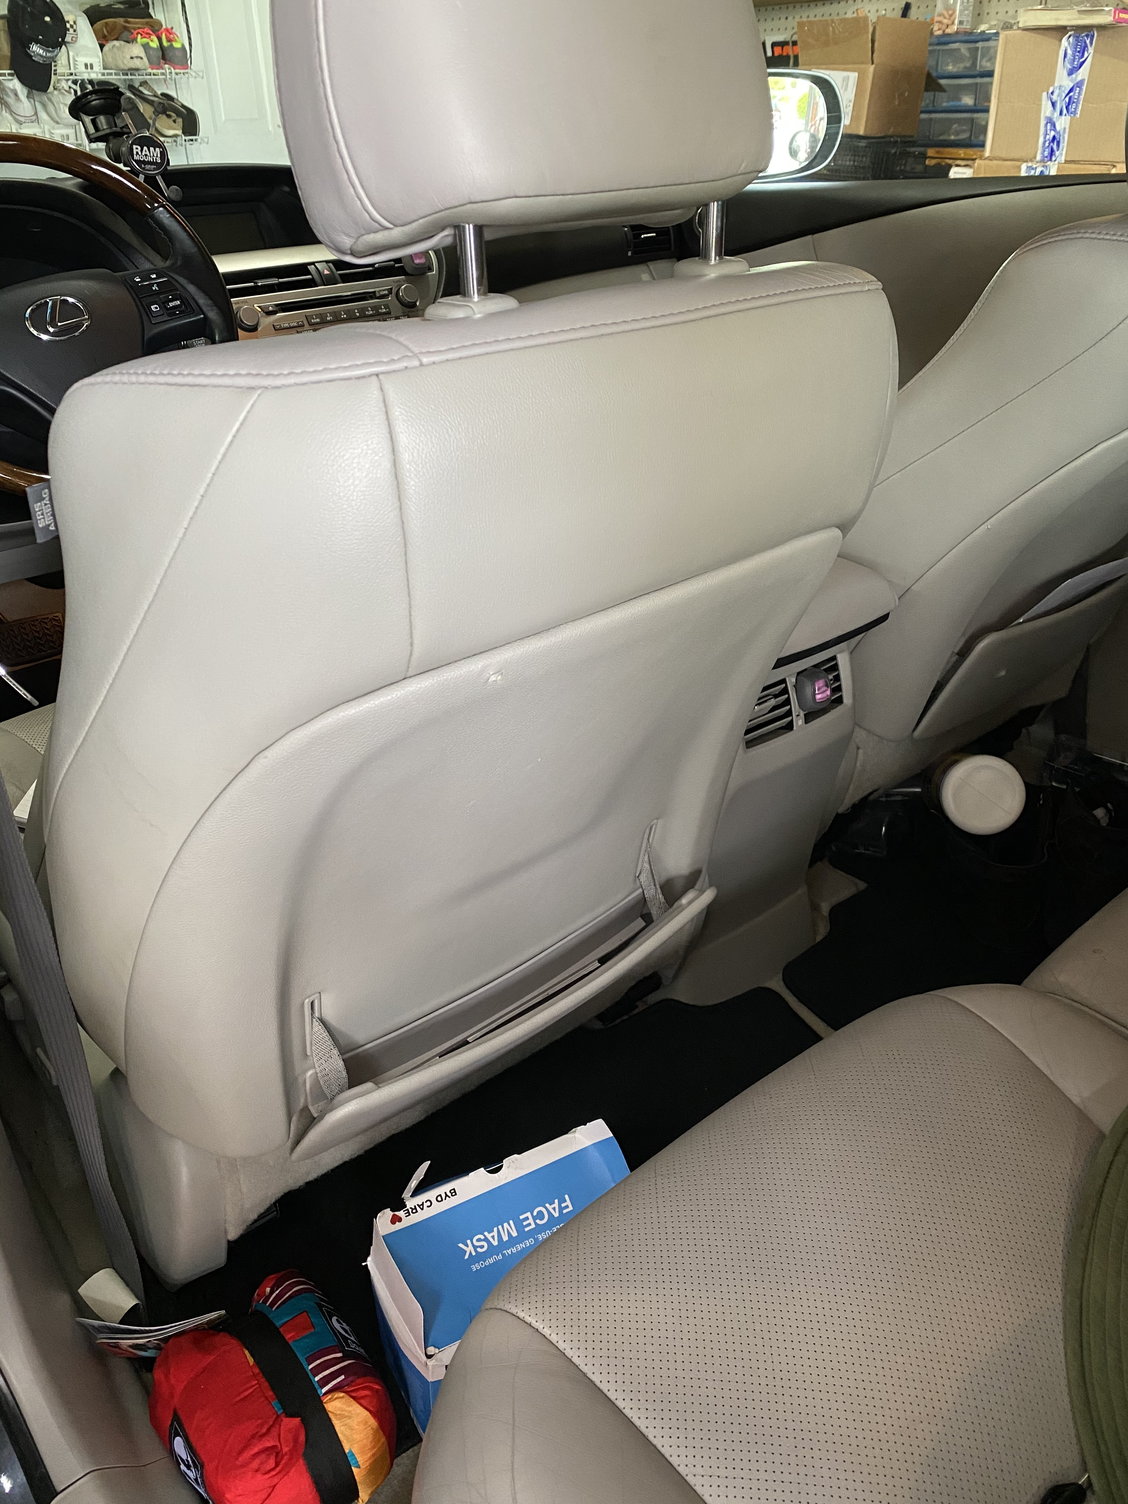
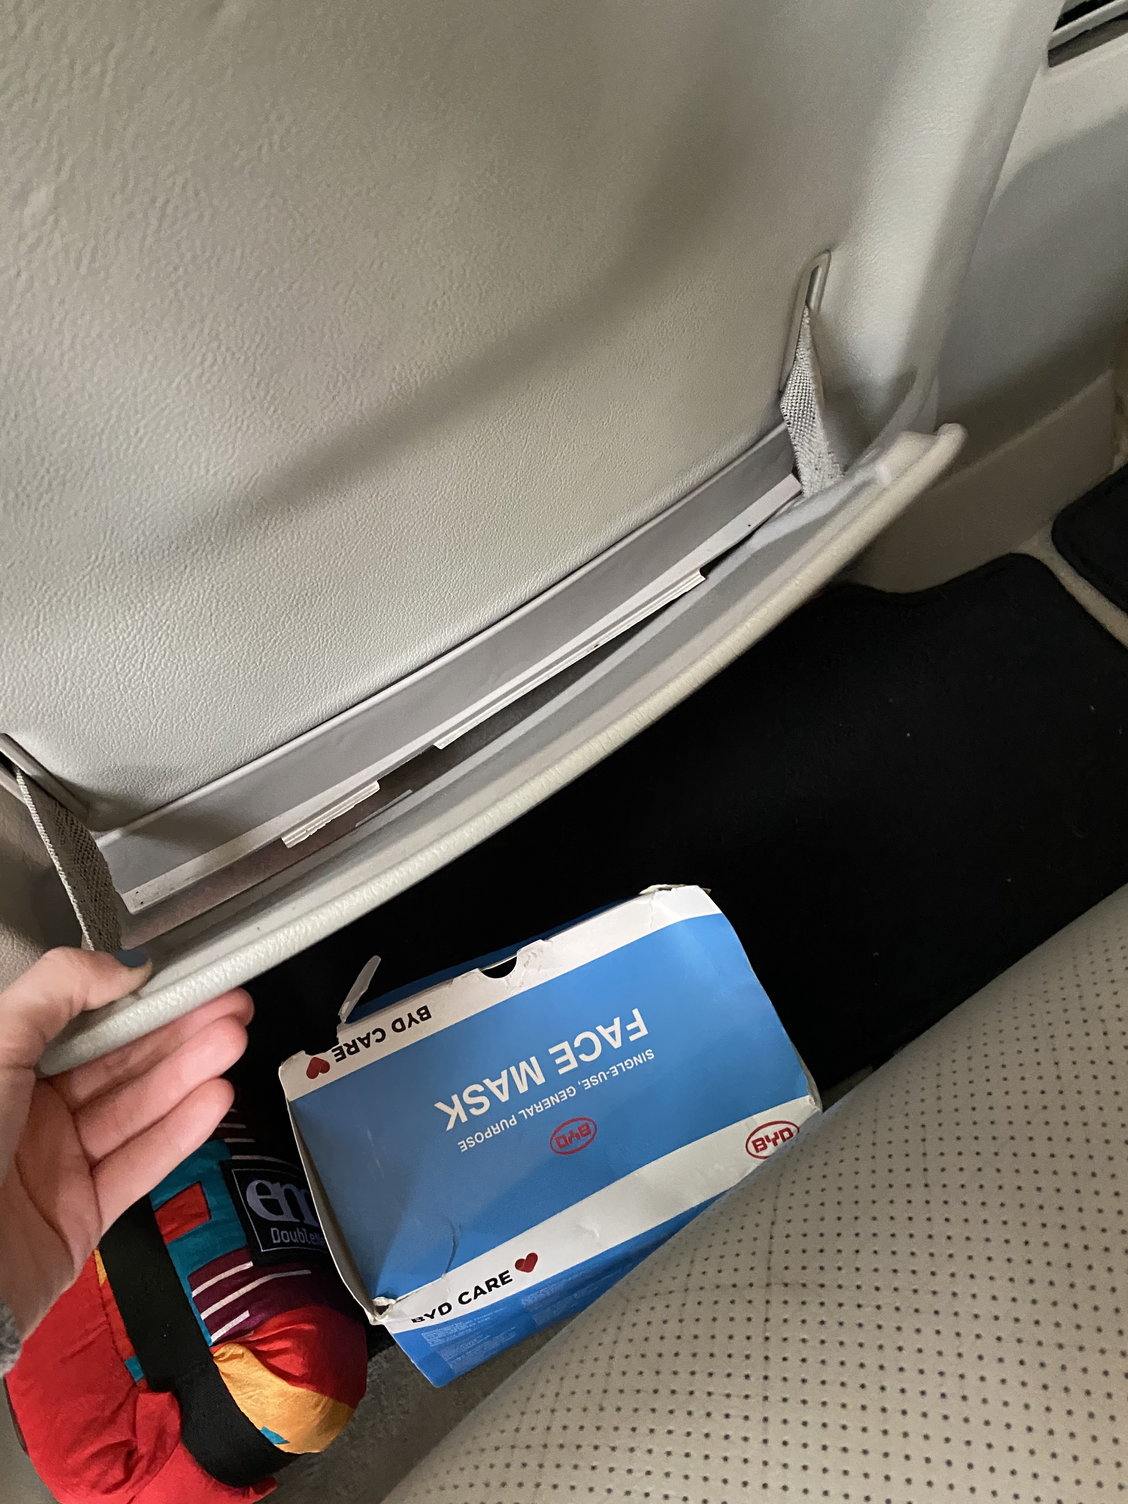
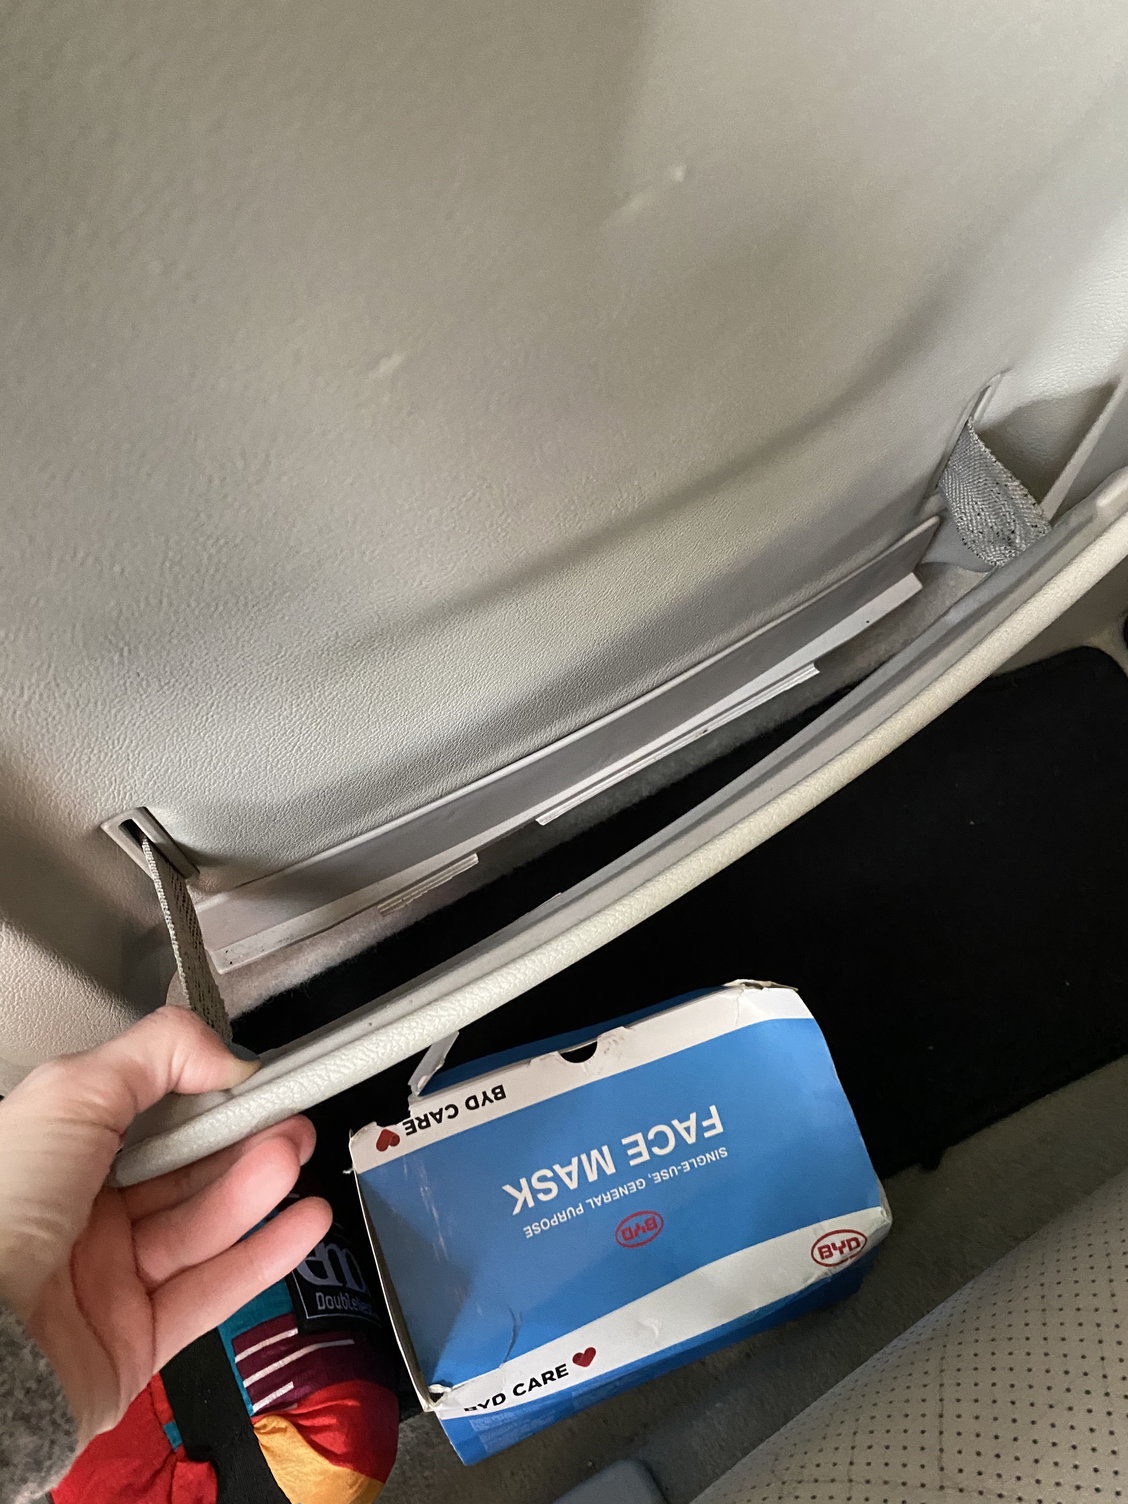
Back seat panel not staying up
#16
I have the same problem with my 2010 RX350 and after some head scratching i looked on Amazon and found some clear plastic hinges 35mm x 30mm they have adhesive strips rather then screws so they might just work. MUCH cheaper then buying new back panels.
Steve
Steve
#17
Great idea. I prefer small screws because adhesive usually comes loose in hot cars. But Iím trying this! Thanks.
#19
Moderator

Welcome to CL.
This is a link to the DIY sticky mentioned above. It mostly concerns installing DVD headrests, but the steps include removing the seat backs. The steps are excerpted below the link.
https://www.clublexus.com/forums/rx-...l-writeup.html
Using the photos above with these instructions will help provide the information you seek.
Step 3: Unlatch the lower carpeting on the bottom rear of the seat. It is held in place by two elastic straps that are hooked on the bottom of the seat. The picture shows these straps after being unhooked. Reach up under the seat and you will feel them.

Step 4: Pull the carpet piece forward and look up under the seat back. Unscrew the two philips screws holding the bottom of the seat back in place. The picture below shows what they look like, although on the panel after removal. Once it is off, remove the carpet piece from the seat by lifting up to remove the two clips from a horizontal bar on the seat back.

Step 5: There are 2 clips that hold the upper seat back in place. They clip upward onto a horizontal bar running across the interior of the seat back. The picture below shows one of the clips after the back has been removed.

Slip your hand into the top of the seat back and gently push down to unclip them. Continue pushing down and pulling back to release the seat back. Set it to the side.

Step 12: Re-install the lower carpet piece onto the seat by re-clipping the two upper clips.
Step 13: Re-install the seat back by sliding the back in and up to re-clip the upper clips on the horizontal bar. Finish seatback installation by replacing the 2 philips screws on the bottom side.
Step 14: Re-hook the two elastic straps on the carpet piece back underneath the seat bottom

Installing the driver's side is identical to the passenger side with one small difference. Rather than an elastic loop holding the carpet piece under the seat, there are two elastic straps with plastic hooks on the end, as shown in the picture. Also, in case things are mis-labelled, the INPUT side where the power harness connects to is also inboard next to the center console.

This is a link to the DIY sticky mentioned above. It mostly concerns installing DVD headrests, but the steps include removing the seat backs. The steps are excerpted below the link.
https://www.clublexus.com/forums/rx-...l-writeup.html
Using the photos above with these instructions will help provide the information you seek.
Step 3: Unlatch the lower carpeting on the bottom rear of the seat. It is held in place by two elastic straps that are hooked on the bottom of the seat. The picture shows these straps after being unhooked. Reach up under the seat and you will feel them.

Step 4: Pull the carpet piece forward and look up under the seat back. Unscrew the two philips screws holding the bottom of the seat back in place. The picture below shows what they look like, although on the panel after removal. Once it is off, remove the carpet piece from the seat by lifting up to remove the two clips from a horizontal bar on the seat back.

Step 5: There are 2 clips that hold the upper seat back in place. They clip upward onto a horizontal bar running across the interior of the seat back. The picture below shows one of the clips after the back has been removed.

Slip your hand into the top of the seat back and gently push down to unclip them. Continue pushing down and pulling back to release the seat back. Set it to the side.

Step 12: Re-install the lower carpet piece onto the seat by re-clipping the two upper clips.
Step 13: Re-install the seat back by sliding the back in and up to re-clip the upper clips on the horizontal bar. Finish seatback installation by replacing the 2 philips screws on the bottom side.
Step 14: Re-hook the two elastic straps on the carpet piece back underneath the seat bottom

Installing the driver's side is identical to the passenger side with one small difference. Rather than an elastic loop holding the carpet piece under the seat, there are two elastic straps with plastic hooks on the end, as shown in the picture. Also, in case things are mis-labelled, the INPUT side where the power harness connects to is also inboard next to the center console.

#20
Welcome to CL.
This is a link to the DIY sticky mentioned above. It mostly concerns installing DVD headrests, but the steps include removing the seat backs. The steps are excerpted below the link.
https://www.clublexus.com/forums/rx-...l-writeup.html
Using the photos above with these instructions will help provide the information you seek.
Step 3: Unlatch the lower carpeting on the bottom rear of the seat. It is held in place by two elastic straps that are hooked on the bottom of the seat. The picture shows these straps after being unhooked. Reach up under the seat and you will feel them.

Step 4: Pull the carpet piece forward and look up under the seat back. Unscrew the two philips screws holding the bottom of the seat back in place. The picture below shows what they look like, although on the panel after removal. Once it is off, remove the carpet piece from the seat by lifting up to remove the two clips from a horizontal bar on the seat back.

Step 5: There are 2 clips that hold the upper seat back in place. They clip upward onto a horizontal bar running across the interior of the seat back. The picture below shows one of the clips after the back has been removed.

Slip your hand into the top of the seat back and gently push down to unclip them. Continue pushing down and pulling back to release the seat back. Set it to the side.

Step 12: Re-install the lower carpet piece onto the seat by re-clipping the two upper clips.
Step 13: Re-install the seat back by sliding the back in and up to re-clip the upper clips on the horizontal bar. Finish seatback installation by replacing the 2 philips screws on the bottom side.
Step 14: Re-hook the two elastic straps on the carpet piece back underneath the seat bottom

Installing the driver's side is identical to the passenger side with one small difference. Rather than an elastic loop holding the carpet piece under the seat, there are two elastic straps with plastic hooks on the end, as shown in the picture. Also, in case things are mis-labelled, the INPUT side where the power harness connects to is also inboard next to the center console.

This is a link to the DIY sticky mentioned above. It mostly concerns installing DVD headrests, but the steps include removing the seat backs. The steps are excerpted below the link.
https://www.clublexus.com/forums/rx-...l-writeup.html
Using the photos above with these instructions will help provide the information you seek.
Step 3: Unlatch the lower carpeting on the bottom rear of the seat. It is held in place by two elastic straps that are hooked on the bottom of the seat. The picture shows these straps after being unhooked. Reach up under the seat and you will feel them.

Step 4: Pull the carpet piece forward and look up under the seat back. Unscrew the two philips screws holding the bottom of the seat back in place. The picture below shows what they look like, although on the panel after removal. Once it is off, remove the carpet piece from the seat by lifting up to remove the two clips from a horizontal bar on the seat back.

Step 5: There are 2 clips that hold the upper seat back in place. They clip upward onto a horizontal bar running across the interior of the seat back. The picture below shows one of the clips after the back has been removed.

Slip your hand into the top of the seat back and gently push down to unclip them. Continue pushing down and pulling back to release the seat back. Set it to the side.

Step 12: Re-install the lower carpet piece onto the seat by re-clipping the two upper clips.
Step 13: Re-install the seat back by sliding the back in and up to re-clip the upper clips on the horizontal bar. Finish seatback installation by replacing the 2 philips screws on the bottom side.
Step 14: Re-hook the two elastic straps on the carpet piece back underneath the seat bottom

Installing the driver's side is identical to the passenger side with one small difference. Rather than an elastic loop holding the carpet piece under the seat, there are two elastic straps with plastic hooks on the end, as shown in the picture. Also, in case things are mis-labelled, the INPUT side where the power harness connects to is also inboard next to the center console.

this was super helpful, thank you. I actually just repaired both of them. Took about 20 mins to do both
#21
I have never used the back pocks of my 2015. I went to look at them just now and after years of setting in the heat of day they are closed but the elastic doesn't seem the best. If they ever fall open. I believe ill use industrial strength Velcro or glue them with E6000 Adhesive. Have not used them in 9 years and won't be something I need.
#22
Thread
Thread Starter
Forum
Replies
Last Post


