When you click on links to various merchants on this site and make a purchase, this can result in this site earning a commission. Affiliate programs and affiliations include, but are not limited to, the eBay Partner Network.
Haven't contributed a lot in the forums for a long time (used be quite active in the 2nd gen) but I recently purchased a new set of tail lights for my car. I looked around the forum, online, youtube and most guides tend to just be words. I am a visual person so I hope this helps anyone that tries to do this and need a visual guide. As with everything, I did this on my car and it worked for me. You do this at your own risk and you are entirely responsible for what you do to your car. The instructions are just a guide. As with most things on the internet, pictures of the final installation
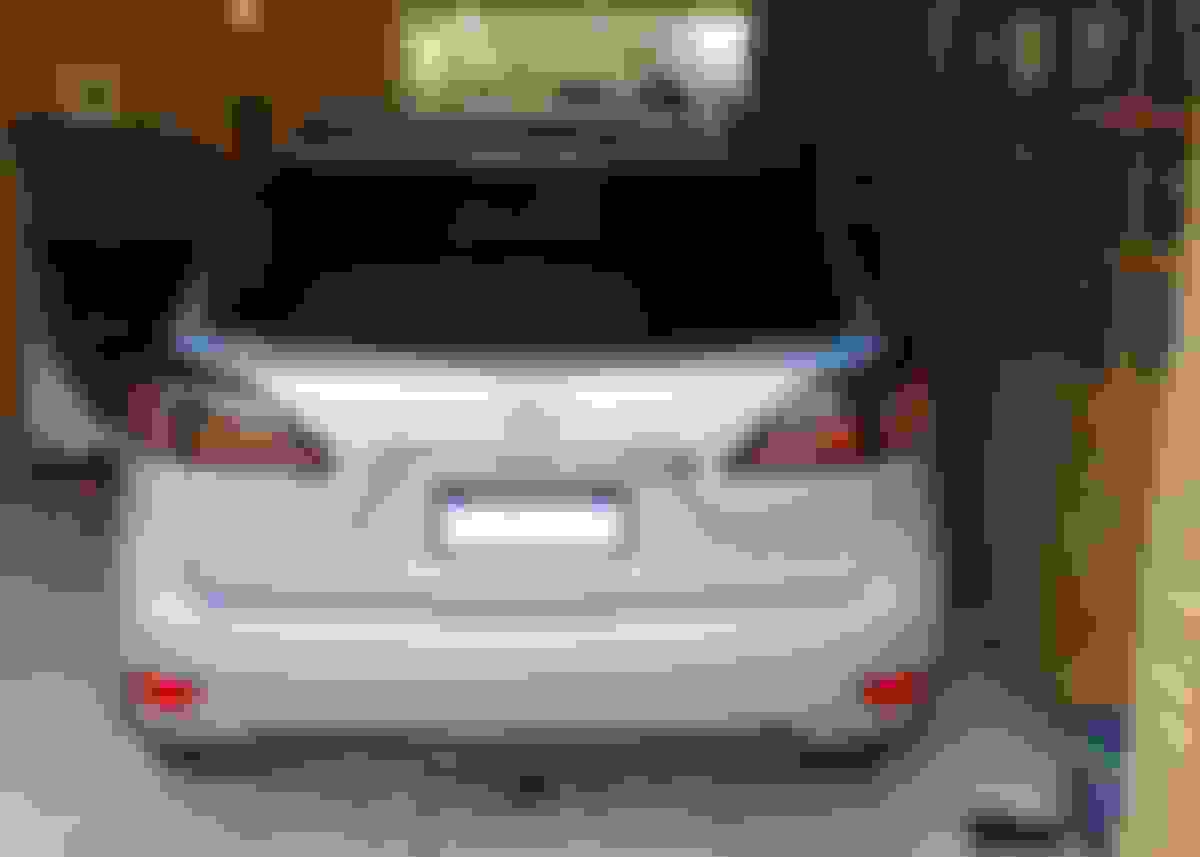
Lights Off Lights On Lights On and braking
Tools
Tools I used was a 10mm deep socket, 10mm normal spanner, trim removal tool, philips head screwdriver and a magnetic wand (this is useful as an in case).
Outer Light Install
Remove the top level flooring in the rear boot (trunk). Also remove the side storage bins on both the left and right side. Also remove the plastic trim pieces. These are all held in with the plastic pop out "screws". Need to remove the following (note the picture shows numbers but that was just the easiest way for me. This shows the left side of the boot but the right side is basically the same (the left storage pockets are smaller than the right).
Once removed, remove the plastic locking nut from just under where the rear cover tray extends to. This will allow some wiggle room later. The plastic tab can be turned in (I think) anti-clockwise direction (90 degrees) and it will pop straight off. Note that is a plastic surround under it that may or may not come out in your car. Remove the screw.
As you can see in the picture the cover near the speaker has also been removed to get access to the bolts. This is the section that you would remove if changing a blown globe. The tail light is held in by 3 bolts and a plastic clip (a later pic will show this). You will need a 10mm deep socket to loosen the bottom 2 bolts. I tried with a conventional spanner but there is no room to do this. The very top bolt in the following picture means you can't use a 10mm deep socket and a regular one will do. It will not sit flat so you have to have it at an angle. I found the bolts were not super tight and just need a crack before being able to under do it with your hand. I would highly recommend before doing this to secure your tail light to the car. I used some painters tape to keep it in place just in case.
Before you remove the tail light, you want to detach the wiring for the tail light. This can be achieved by pulling the trim back a bit and unplugging the 2 plugs behind the trim. There are only 2 plugs I saw here and one is a black plug, the other a white plug. As an interesting side note they are opposite for the latch to unclip them. There is not a lot of room to move around here and fiddly to get in if you have large hands. The following 2 pics show the plug location and then a bit of a close up. The plugs sit next to each other held into the body by a plastic holder (I didn't remove this).
Once done remove the tail light housing. You can now see where the bolts are and you can see that the pointy end of the tail light housing is held in place by a plastic tab
For those that are interested, the following picture shows the void between the tail light and the inner part of the car. It is just a gap. The reason for the magnetic wand is in case you drop one of the nuts into that area and need to fish it out.
Install the new tail lights and again SECURE them so they don't fall off the car until you can properly secure them. The new tail lights require the wires to be fed through the large opening. I found it easier to remove any cable ties, elastic bands and feed through as you can see in the following picture. Once the tail lights are secured, you can tuck these away.
Repeat on the opposite side.
Inner Light Install
The inner lights require that the most of the trim for the boot (trunk) lid is removed. You cannot install the inners if you don't do this. Remove the 3 removable panels as well as pop out the light with your trim removal tool
Remove the panel with the warning label, remove the cover around the boot (trunk) latch and remove the assembly for the boot close button. These all just pop off (using the trim removal tool). Unplug the boot close button.
Also remove the tabs in the "lip" between the glass and the trim panel. Pop these out and unscrew
The whole panel should just now "unpop" as it is all held in by plastic "screws". NOTE: This comes down in multiple sections so be careful and take your time and take care you do it section by section. Keep tabs on those plastic screws too. Once removed you have this.
Unfortunately I did not take as many pictures as I thought of the inner tail light bolts (there are 4 that hold it in place). In the above picture you can see one of the bolts between 2 plugs (black and white) on the left side. The other bolt is in the larger hole to the right. Again use a 10mm deep socket (not strictly needed) to remove these 2 bolts. Also unplug the black and white plugs from the assembly. Once done you need to remove the other 2 bolts on the outside of the inner tail light. The following picture shows their location. Note I did not bother with removing the lining around the bolts and just used a 10mm spanner to undo them. Seating them when installing the new inner tail lights was fun (line them up and screw them up. The edge does have a tiny bit of play in downwards so it is doable (a tip is to slowly raise the tail light away from the body when removing and installing to get it off/on the screws).
Wire it and all together and test the lights to ensure that everything is working as expected. One other thing I noted in my tail lights was that the rear globes need to be transferred from your old set to the new set. This is standard unplug socket and put in globe. Its the only thing that still has a globe associated to it!
Put everything back together again. A couple of points I will make:
The trim that surrounds the boot (trunk) lid on the left has 3 plastic tabs that the trim slides into. On my install I accidentally knocked them into the hatch and likely will never be able to get them out. They eventually settle but will drive you crazy if they rattle. I will endeavour this later when I am feeling a bit up to it. The wiring I snaked around the existing cables so room is at a premium when reinstalling the trim pieces. Be warned they will fall into the cavity of the lid.
I also noted on my fitment that there is a gap that water will most definitely get into. The light doesn't sit flush. Yes I did push the light as much as I could and tightened the bolts as best as I could. If you look in this picture you can just make out the wires on the side of the boot (trunk). The best way to resolve this I found was to use a rubber silicon to seal the gap.
 09-07-20, 06:42 AM