When you click on links to various merchants on this site and make a purchase, this can result in this site earning a commission. Affiliate programs and affiliations include, but are not limited to, the eBay Partner Network.
I'm assuming the sills are plug and play, like they were on the 3RX. All you have to do is pull the old sills up, likely pull the grommets off the new ones and plug it in to the hidden wire and snap the sill back down. I have a thread in the 3RX forum with photos of the whole process. If the process is the same I can try to find it.
Hey guys, sorry, got sick yesterday, so haven't had time to post.
The door sills are basically pop and lock. There's a white 3 pin connector once you remove the door sills, and the illuminated door sills will have the connection for it. Make sure to remove the cover on the connector attached to the car before plugging in the new door sills. I've removed a lot of door sills, and this is by far the most difficult. I was surprised by how much force I had to use to get the sills out. If someone finds an easier way, please share. For this reason, I won't be removing the door sills again for this DIY. I'm afraid I will break something lol.
Here are the pictures of the underside of the of the non-illuminated door sill. Everything is the same, except the illuminated ones have a white connector for it.
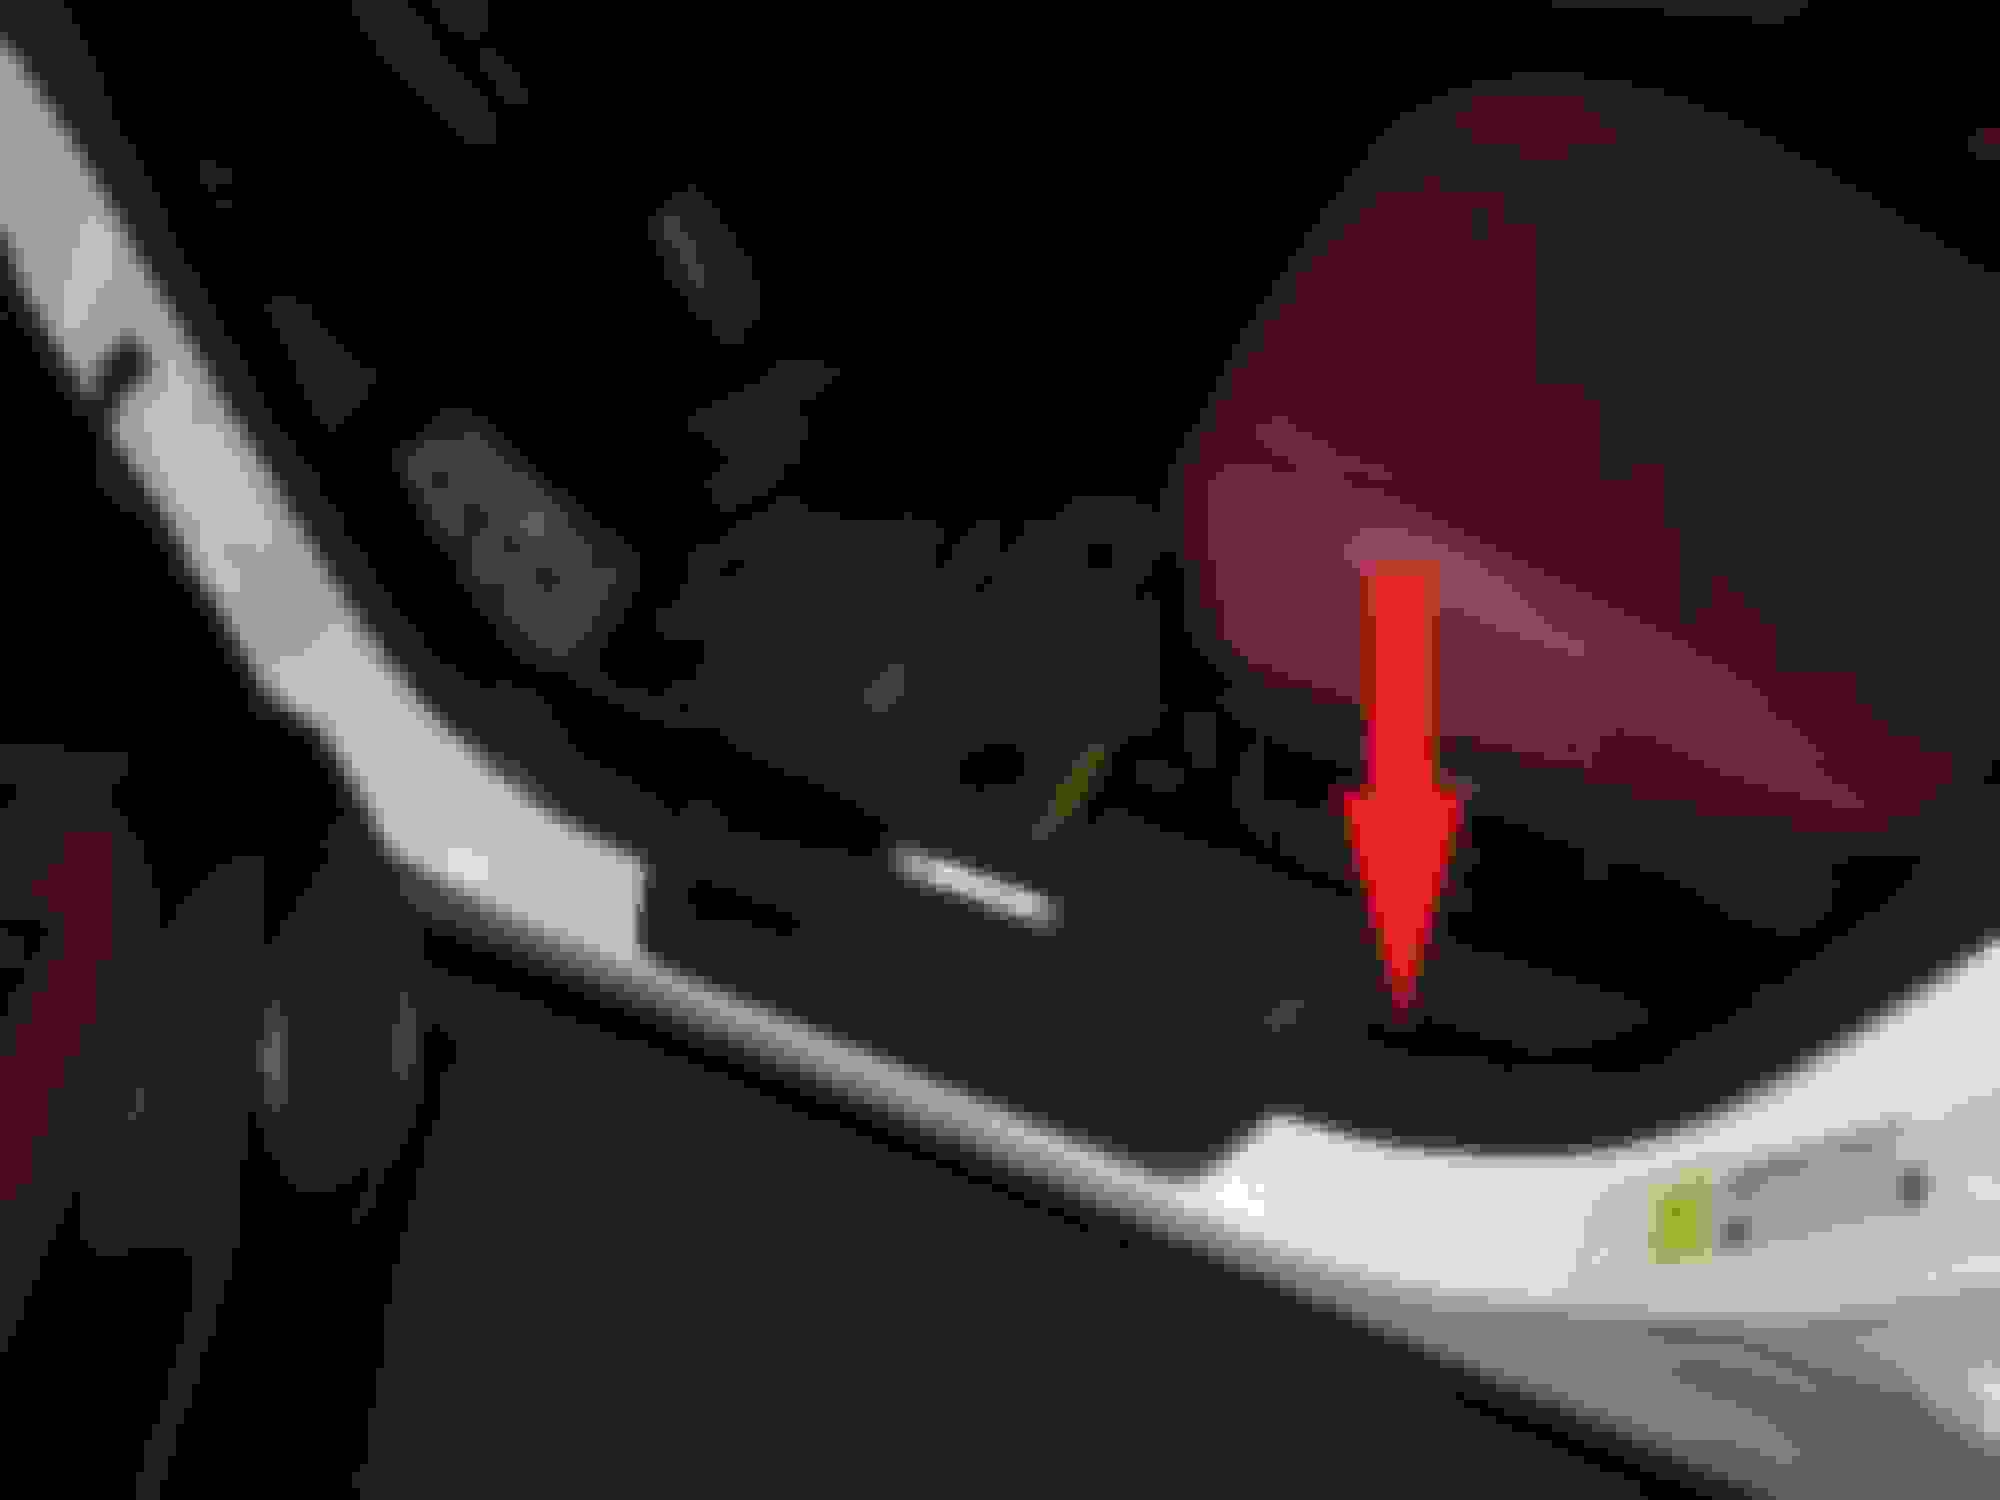
Here's the area where I ran into the most trouble trying to remove the door sill and what the connections look like underneath.
DIY for dashcam to be posted tomorrow! But here are some sample clips, make sure to watch in 1080p! No sound in first video because Youtube said audio was copyright infringement. Audio still works in second video.
how did you mount the dash cam under the windshield? Does it come with the package or you bought separately?
I will post a detailed DIY with everything you have to purchase tomorrow. The camera does not come with the mounts. The camera is held to the black cover on the windshield via 3M double-sticky tape.
Before Starting:
1) Format MicroSD Card with SD Card Formatter: https://www.sdcard.org/downloads/formatter_4/. Make sure "Full Overwrite" and "Format Size Adjustment ON" are selected. I used a 64gb MicroSD card and the process took about 3.5 hours on my 2015 Macbook Air.
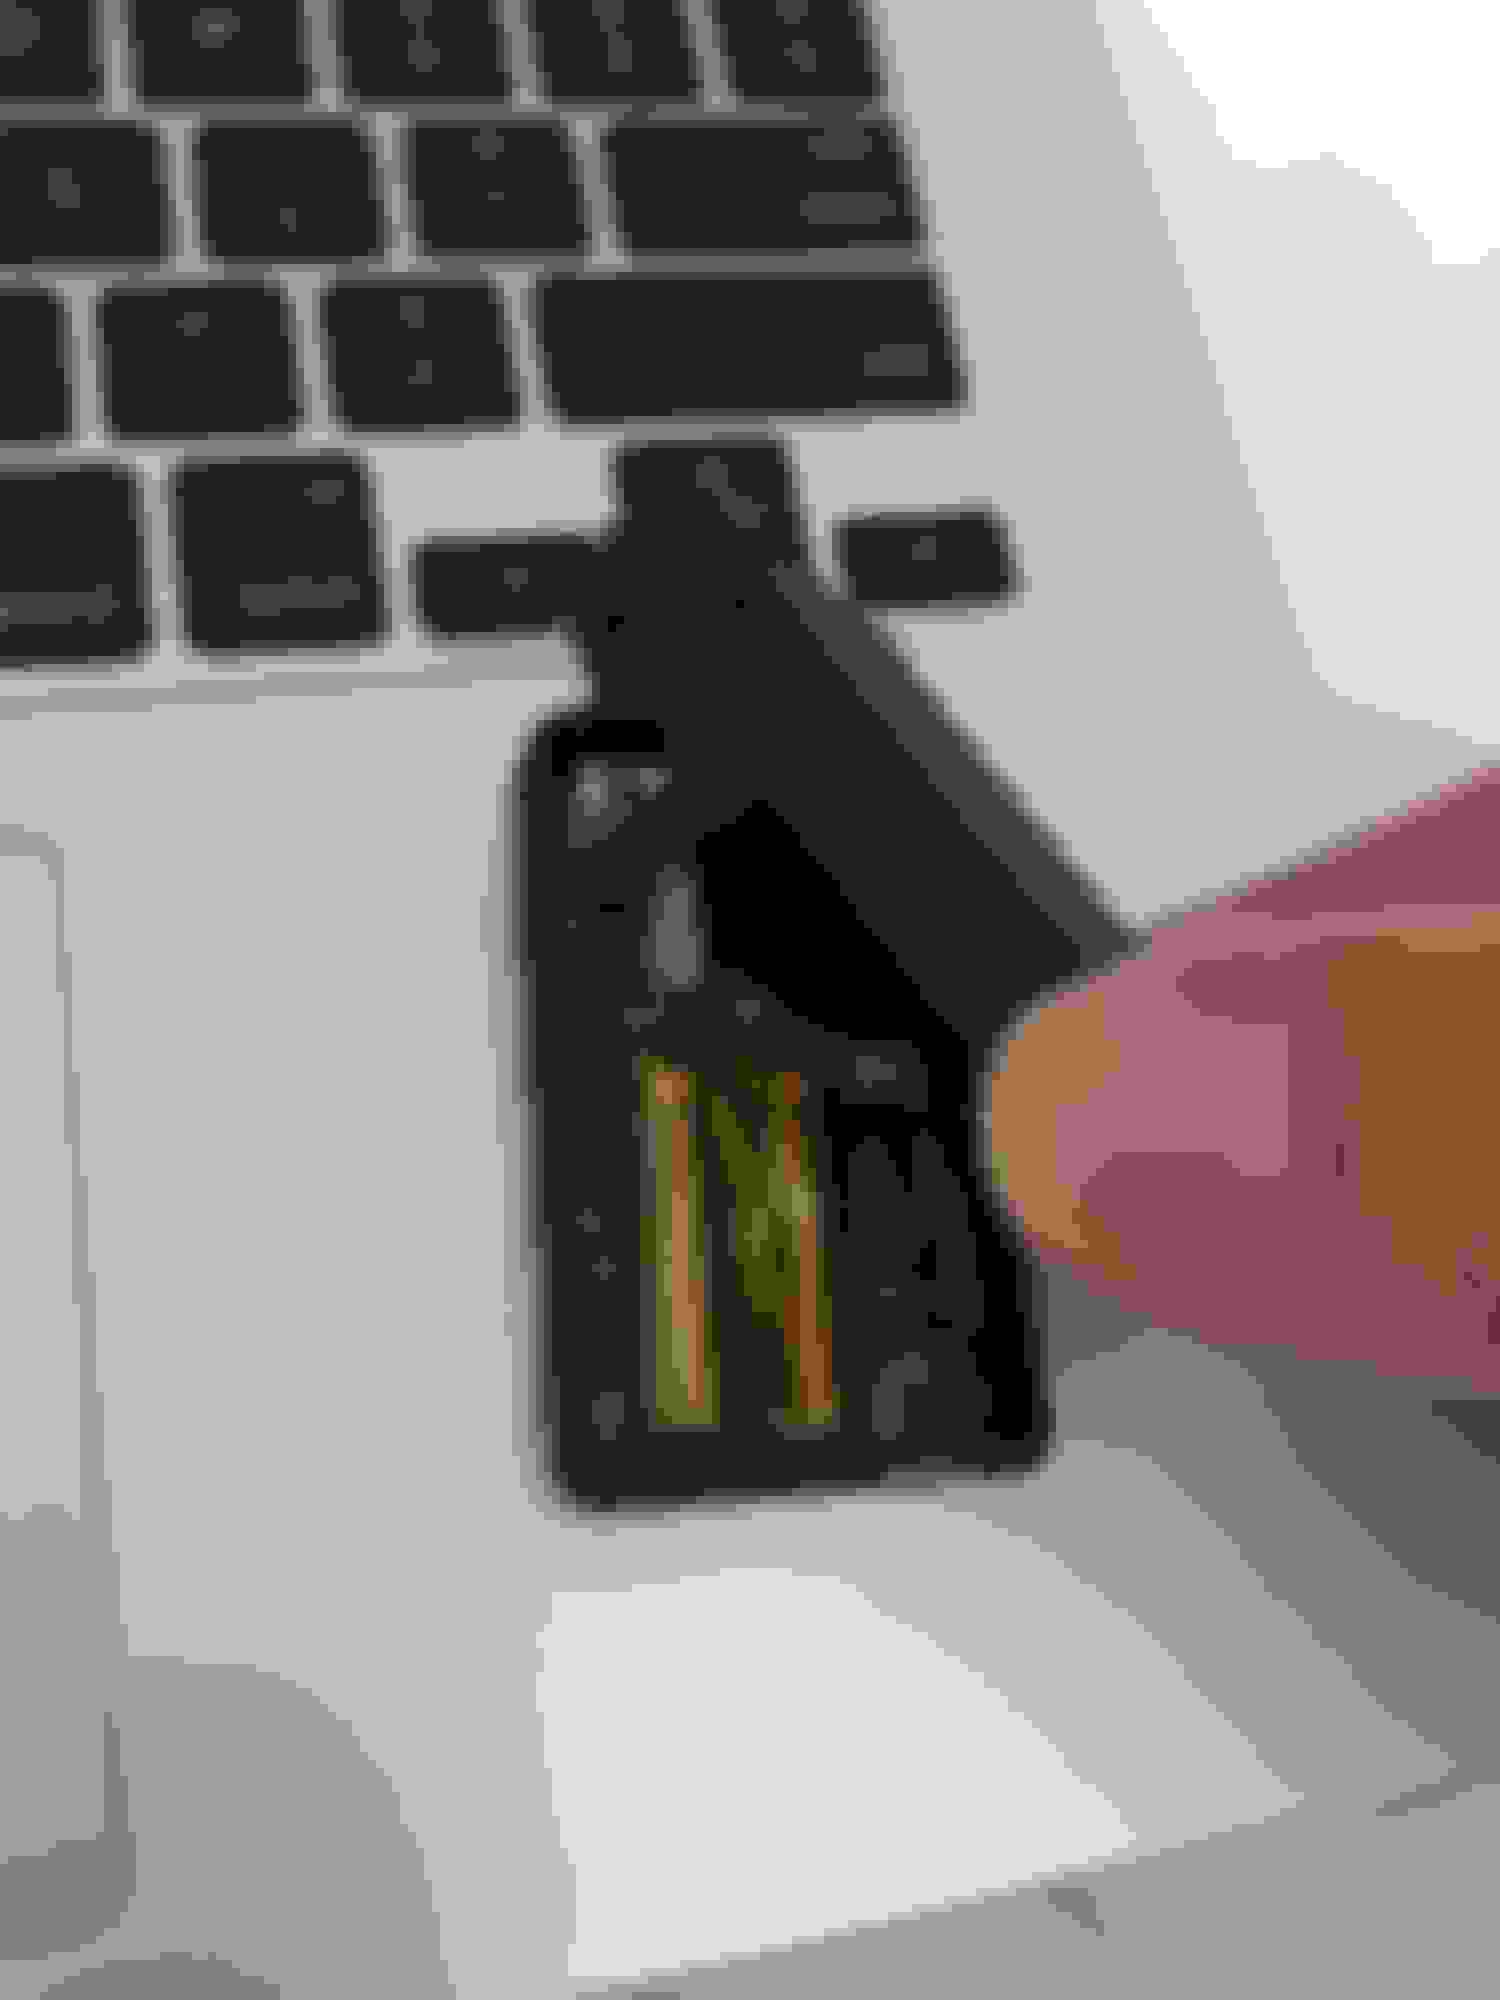
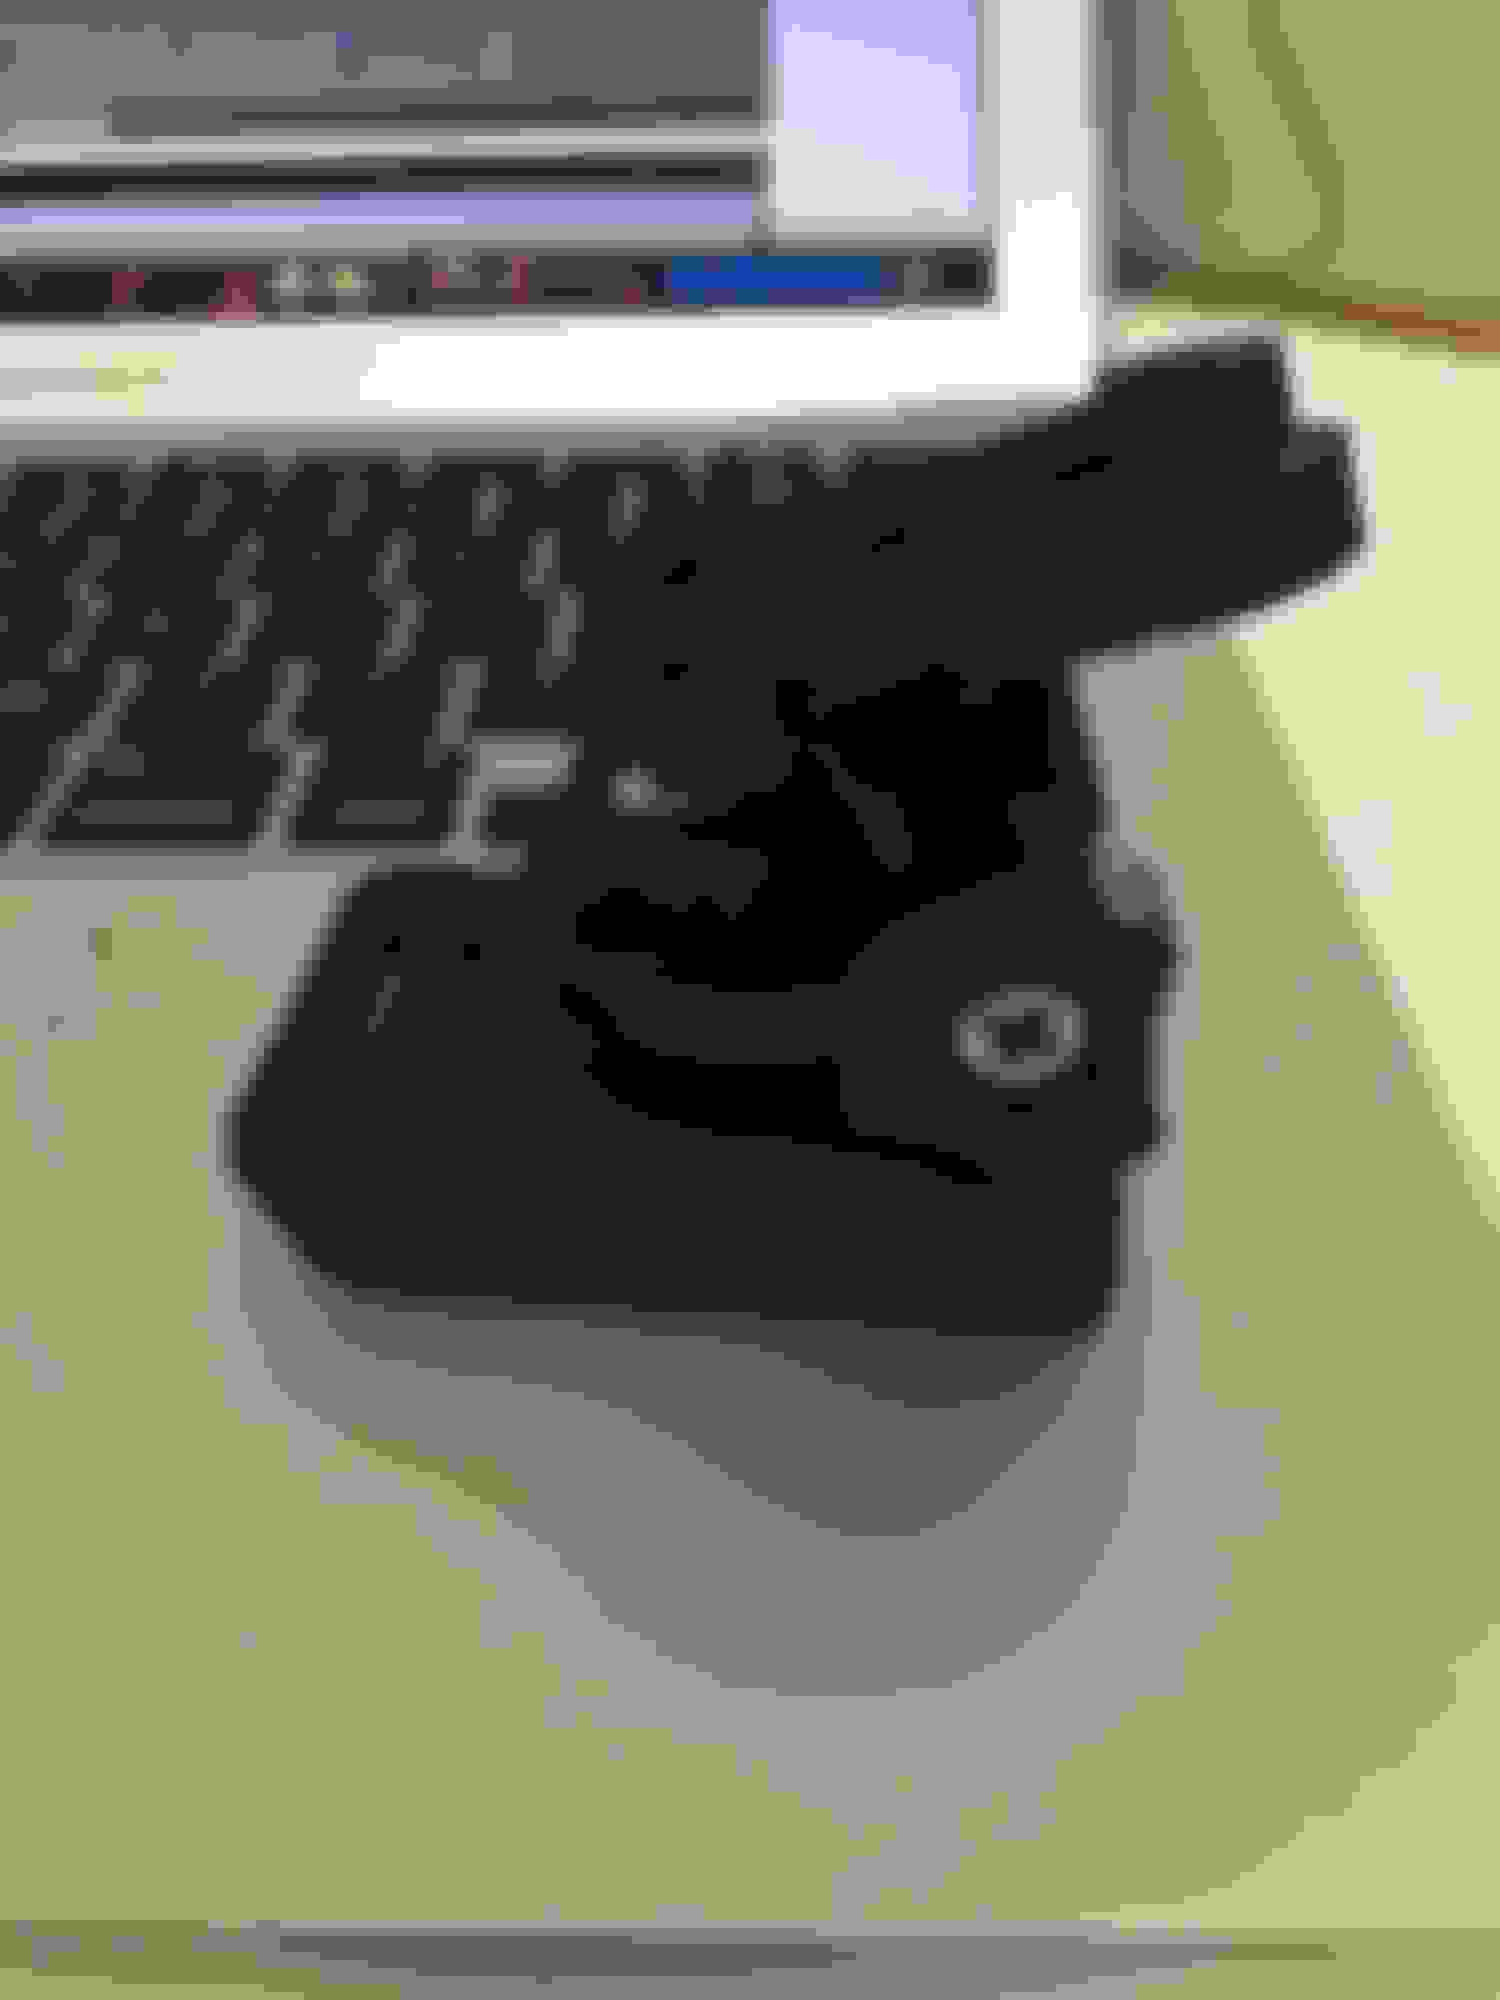
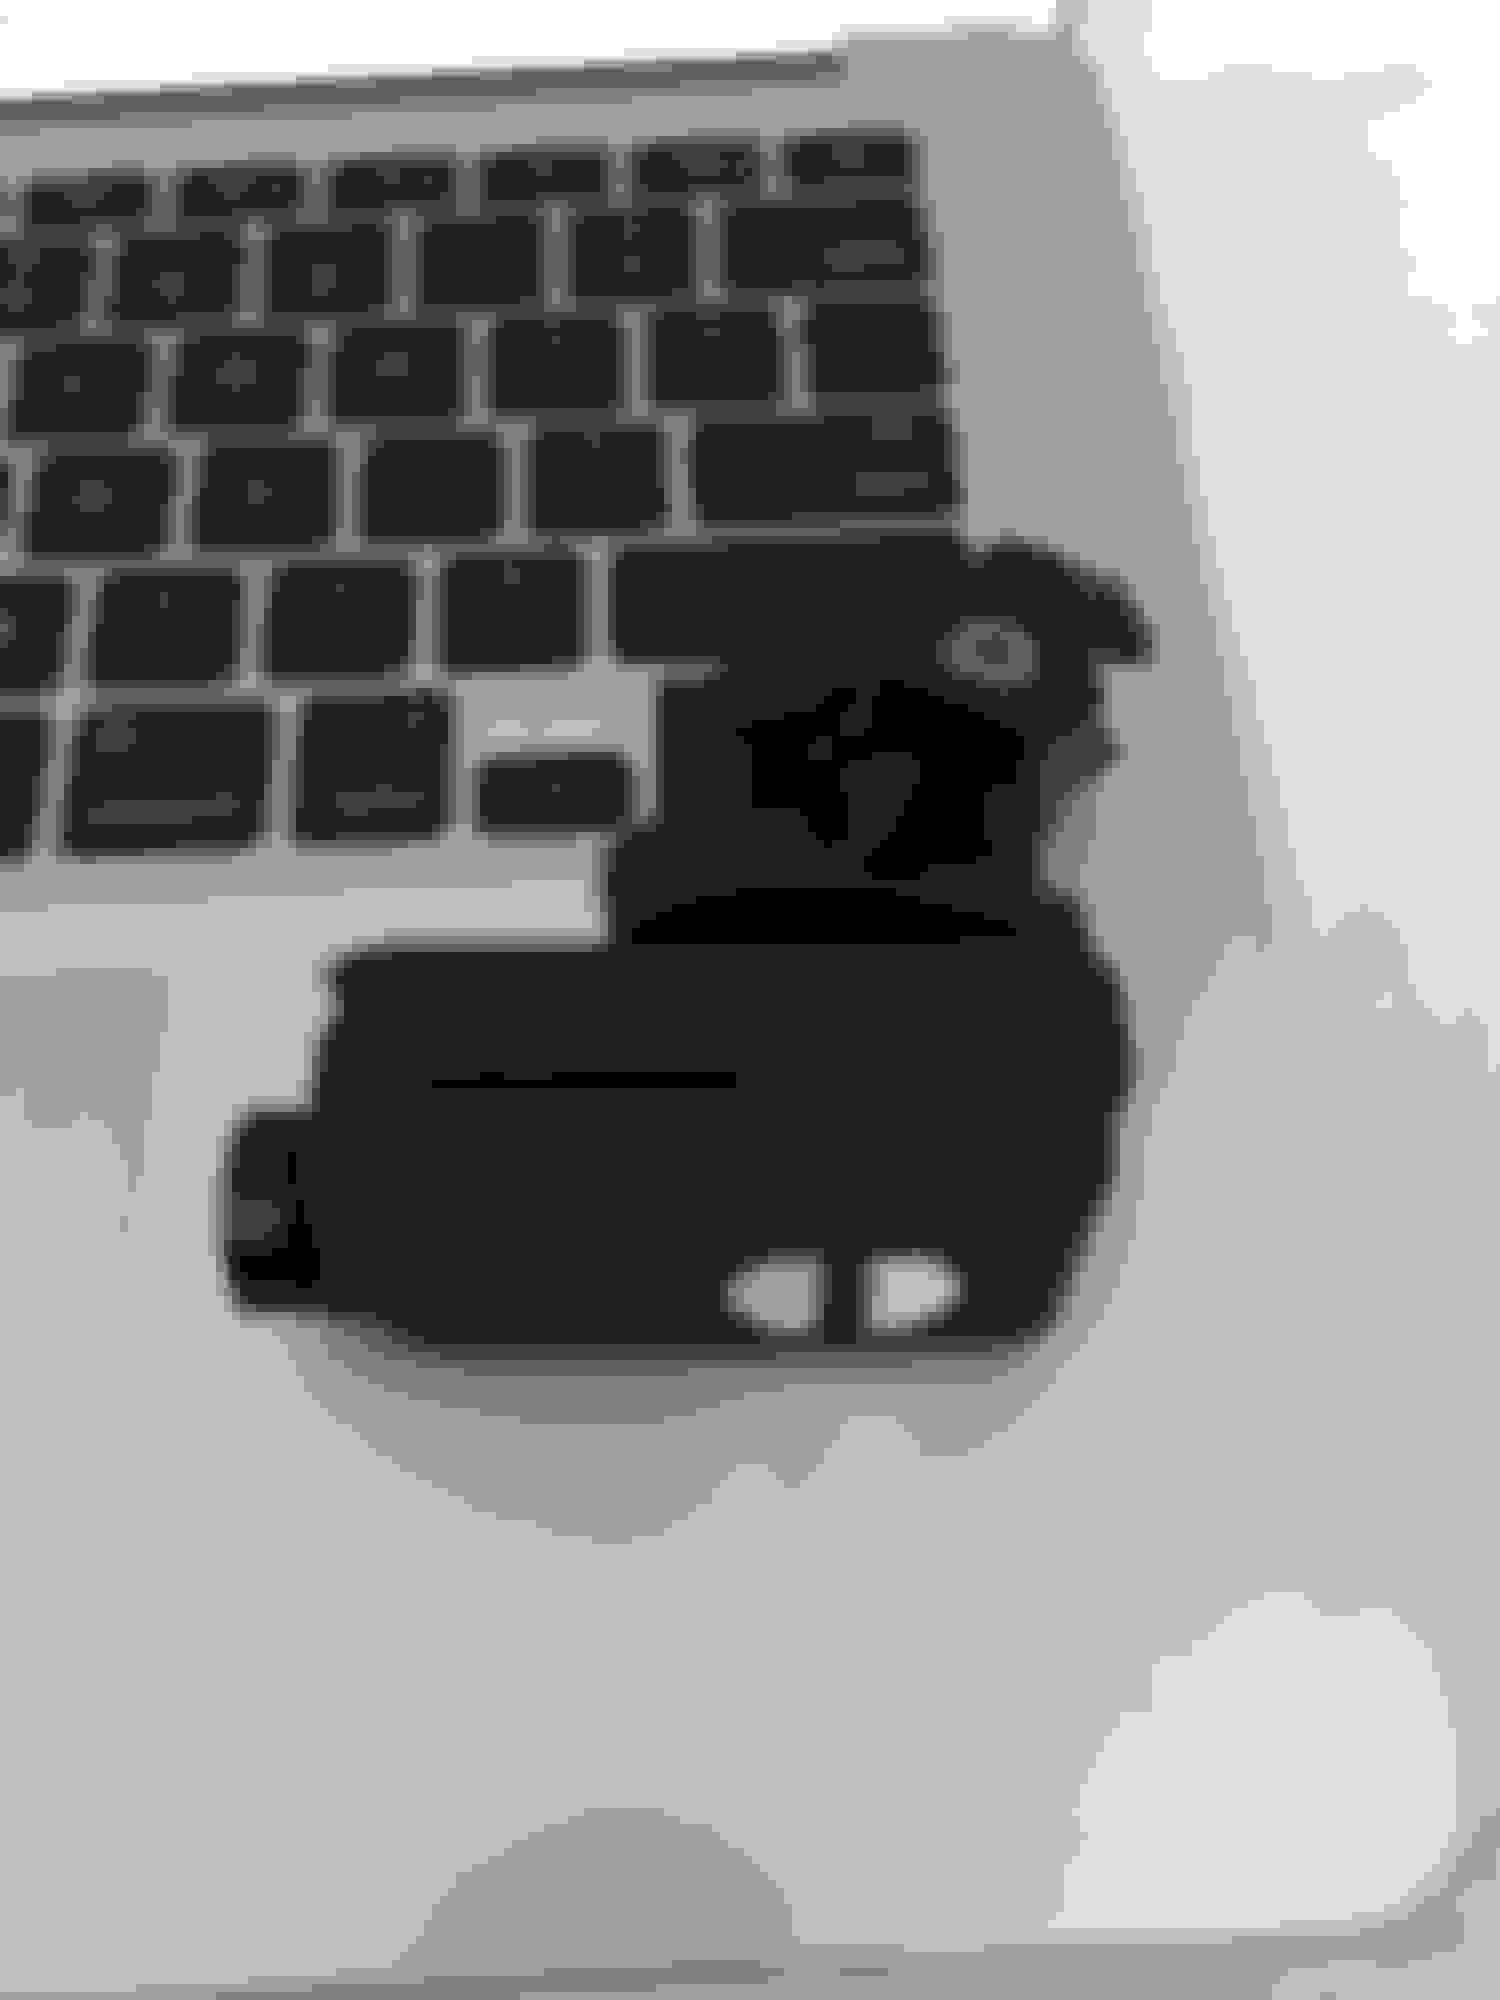
2) Install the SuperCapacitor. This requires taking the dashcam apart. There are two phillips on the bottom side of the camera. Once you've removed the screws, GENTLY LIFT the housing to reveal the internal battery. Disconnect the internal battery and remove it. You will notice the battery is attached via a double sticky tape. Once you've removed the battery, connect the SuperCapacitor and mount it to the same double sticky tape. The finished product should look like this:
Once you are satisfied with your settings, hit "set parameters".
Now that you've done the above steps, let's get started:
1) The dashcam should come with the mounting bracket, mount adapter, and usb cable. Connect the mount adapter to the mounting bracket by snapping it in. The final product should look like this:
2) Remove the orange stopper from the Veho Camera Mount. Mount the mounting bracket from Step 1 to the Veho Camera Mount. Make sure everything is tightened. Finished product should look like this:
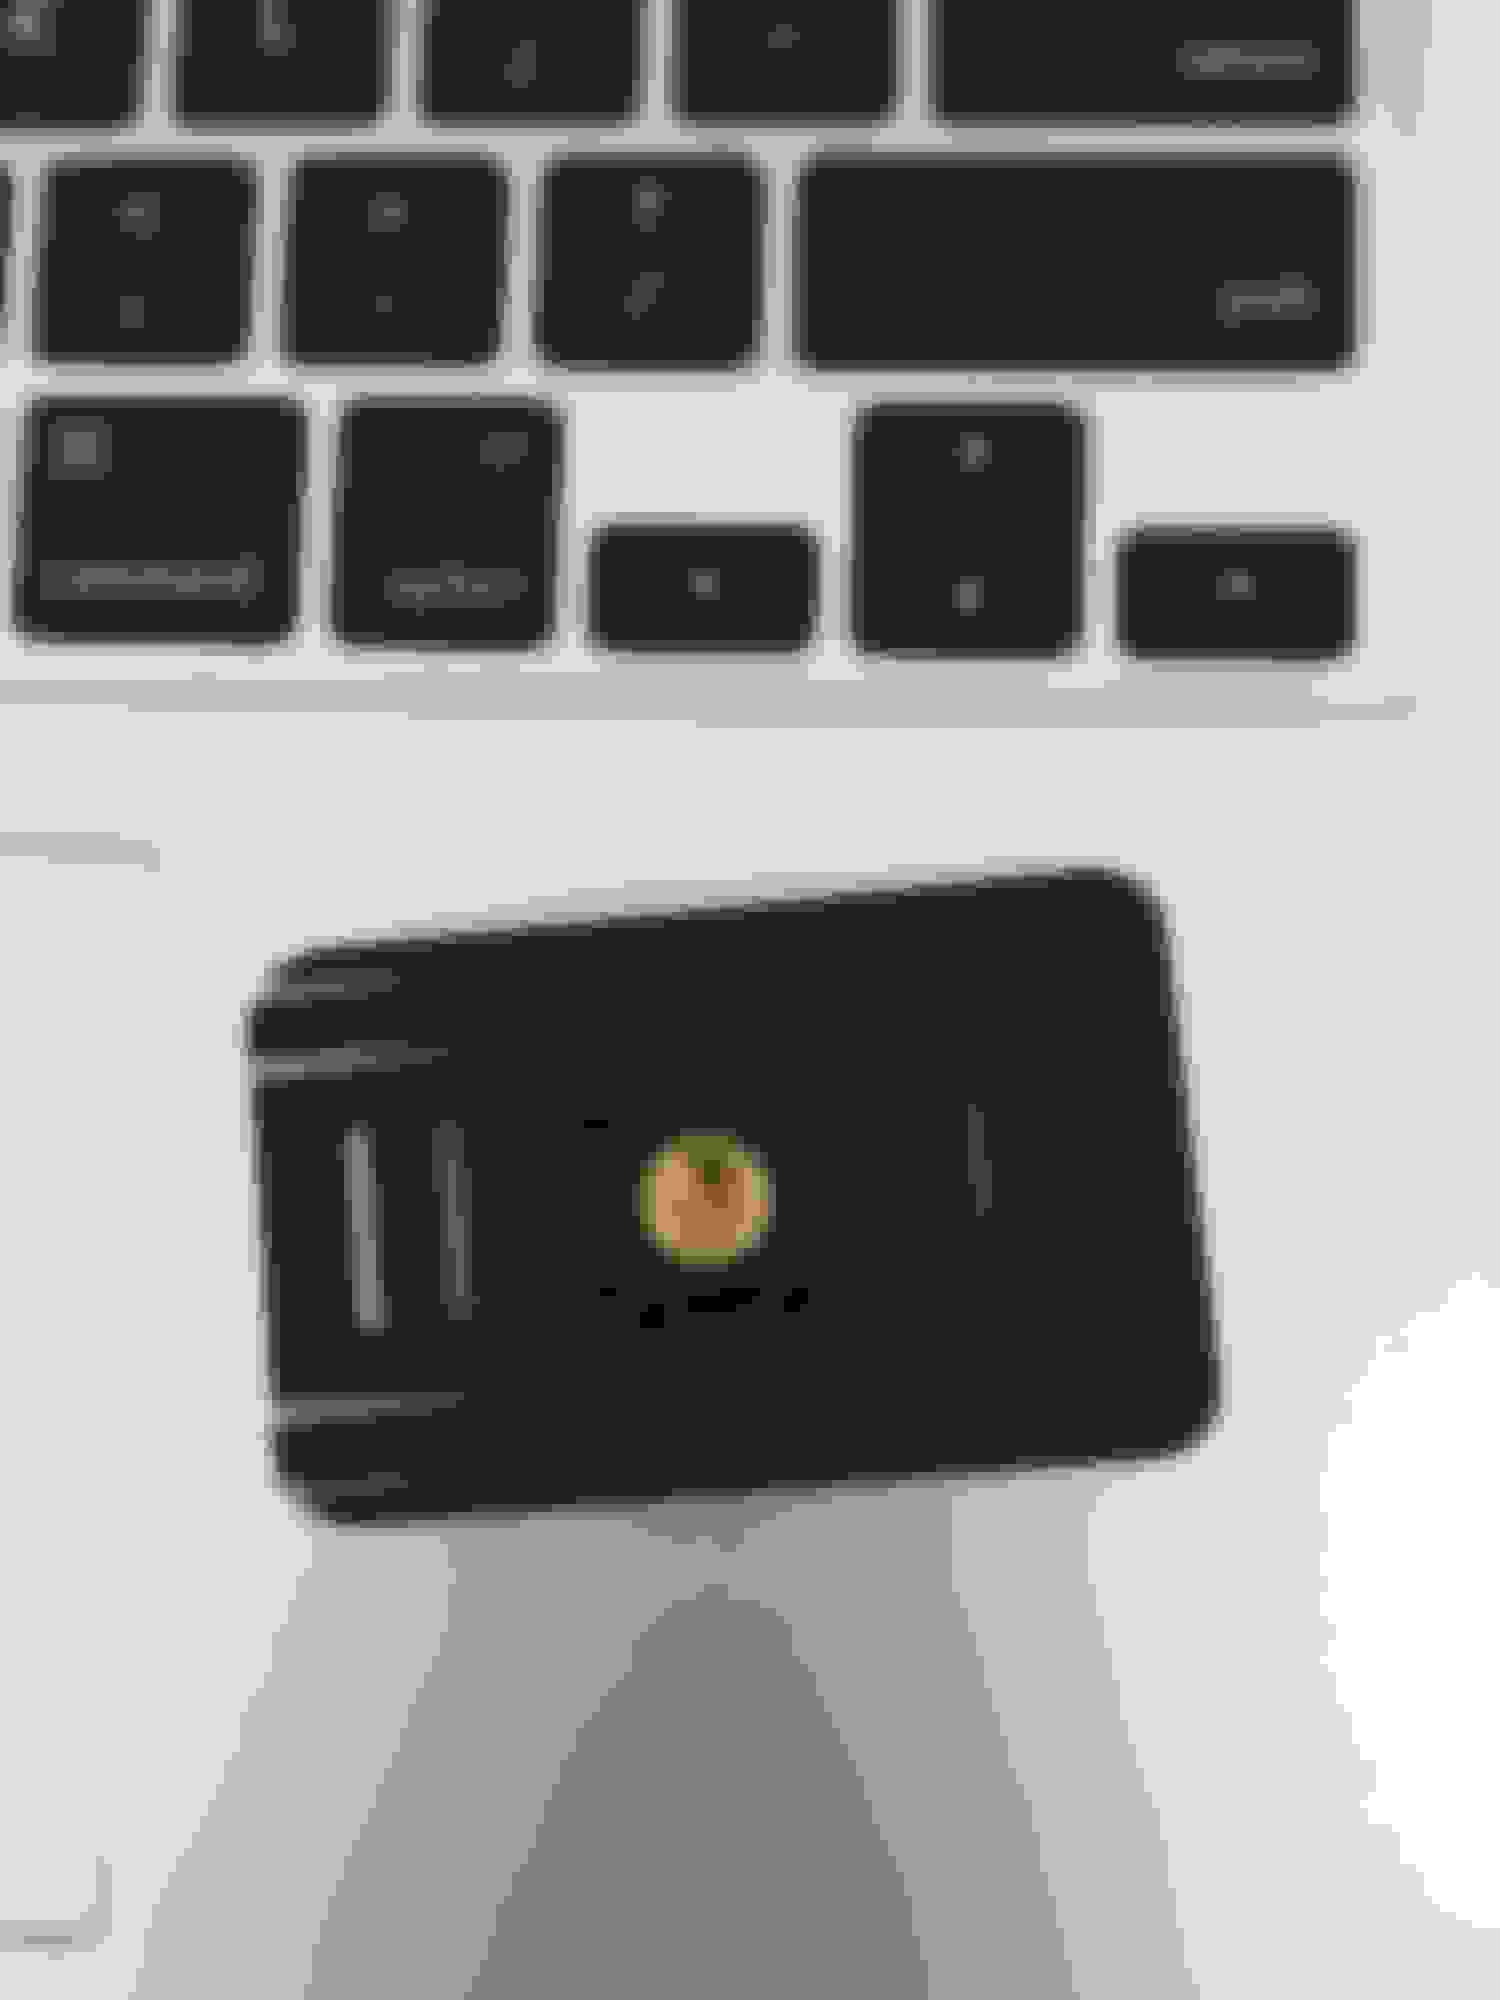
3) Slide the dashcam into the bracket and assembled mount from Step 2. The camera is upside down.
4) Attach the dashcam and mount from Step 3 to the Veho Adhesive Mount. The two should just slide in, click, and lock.
5) Now is the time to play around and see here you would like to mount your dashcam. I mounted mine on the black cover. You will notice there's a curve on the cover, before it straightens out. I mounted mine right in the center, right after the curve ends. Once you've decided where you want to mount your camera, clean the area with rubbing alcohol. Remove the protective plastic from the adhesive, and adhere to the surface. Hold for 30 seconds and make sure the adhesive is firmly planted.
6) Remove the cover above the rear view mirror. If you have skinny fingers, you can pop it off. Otherwise, use a trim removal tool or a flat head wrapped in cloth. BE CAREFUL, THIS PIECE IS EXTREMELY FLIMSY. This cover is where you're going to be running and hiding the cable that goes into the dashcam.
7) Connect the Male Mini-B connector from the Hardwire to the Female Mini-B connector from the extension wire. Determine how much slack you need from the extension wire to connect to your dashcam. Once you've done this, hide the wires by pushing the wires into the gap between the windshield and headliner. You're going to run the wire from the headliner to the gap between the headliner and A-Pillar, then hide the wires in the weather strip down to the footwell. Be careful when hiding the wires between the headliner and A-Pillar. I used my fingers to push the wires in. Notice that your airbag is in the A-Pillar.
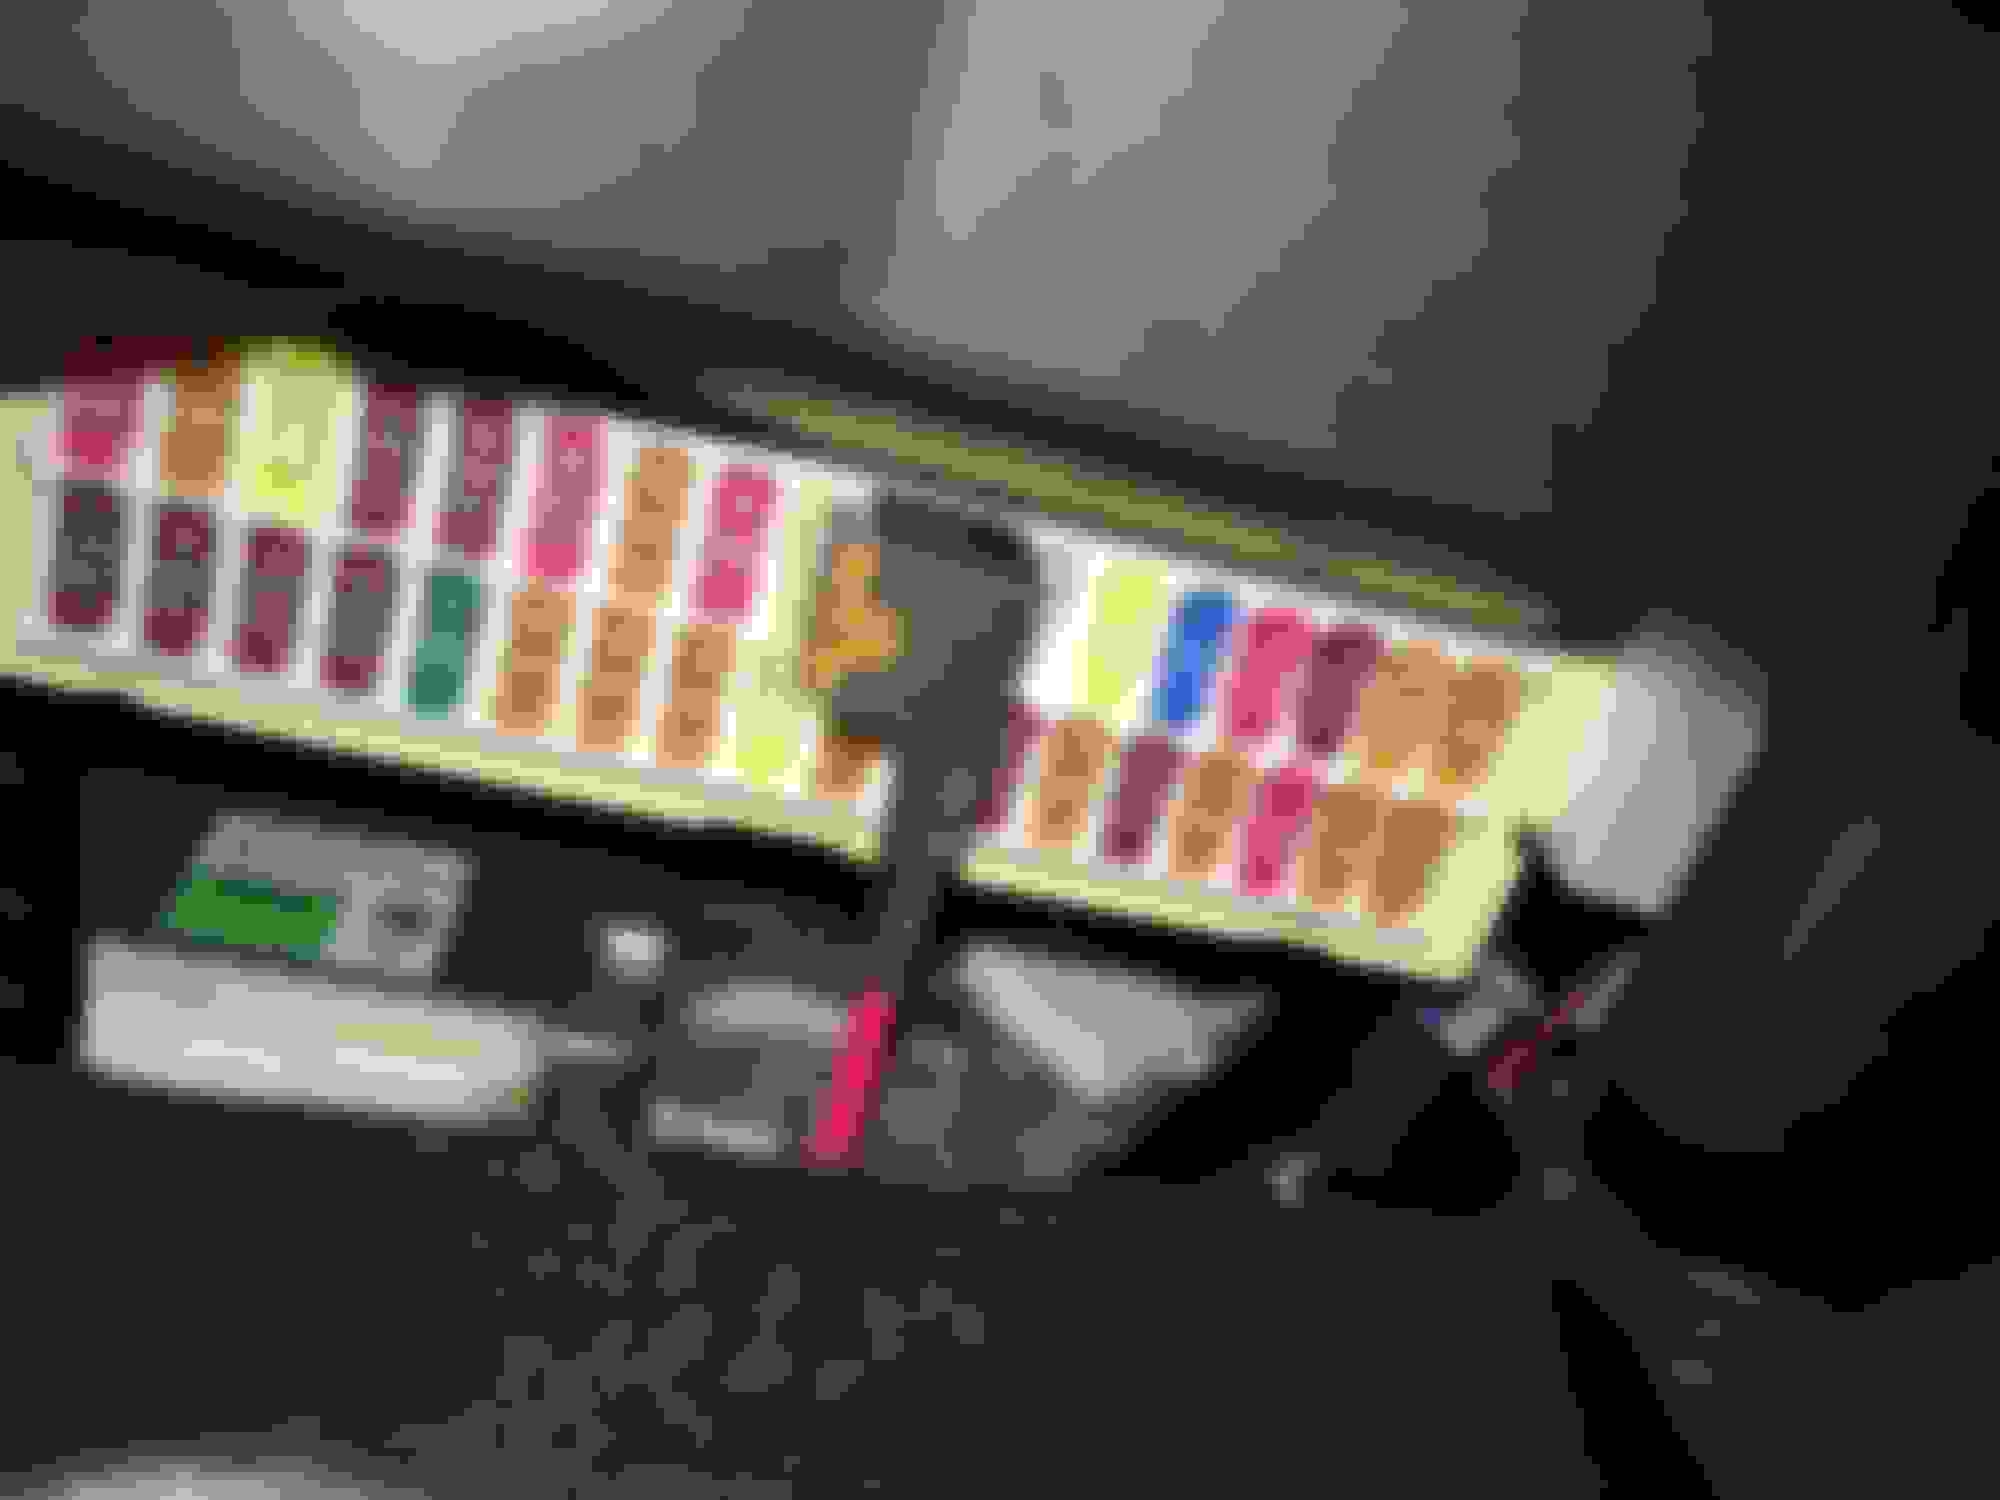
8) Remove the door sill, then remove the cover to the left of the dead pedal. There is a hand-tightened nut that you have to remove first.
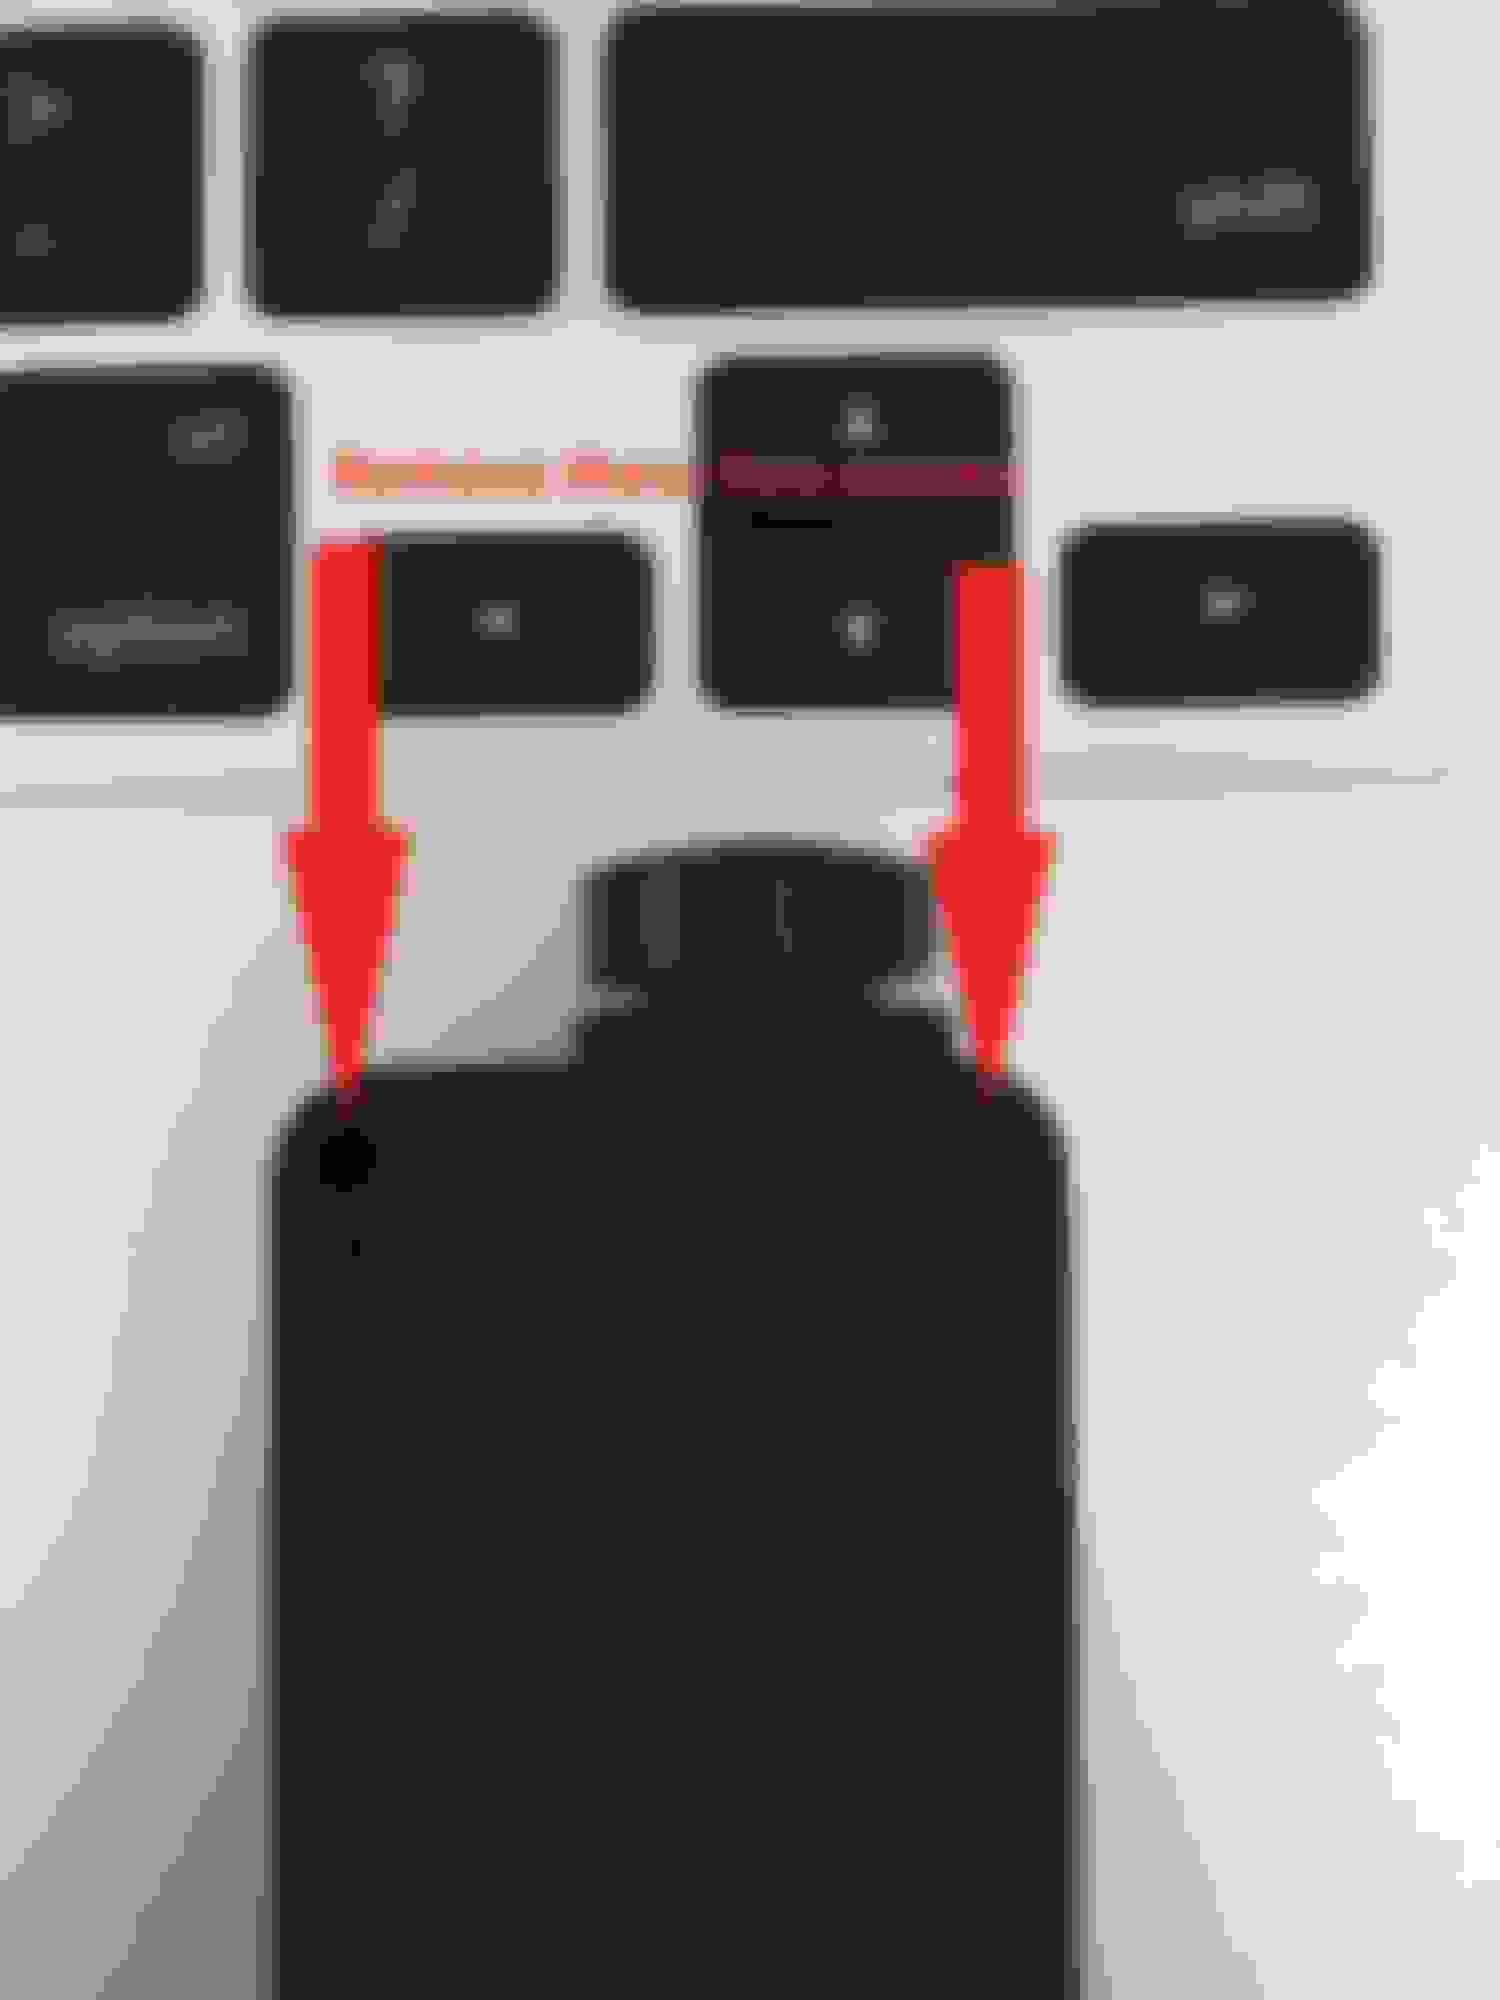
9) You will see plenty of ground points for your hardwire once you remove the cover. Connect your ground then crimp the red wire from the hardwire to the fuse tap. Now to find the extremely difficult to locate fuse box. You will need a flash light. The easiest way to describe this would be to look up between the dead pedal and brake pedal. Once you've located the fuse box, remove the cover. On the cover, look for the 15A fuse labeled P/OUTLET NO.1. Using a needle nose plier, locate and remove the 15A fuse. Connect the 15A fuse to the bottom socket of the fuse tap then connect the provided 5A fuse to the top socket. Connect the fuse tap back to the same socket where you pulled the 15A fuse from. Unfortunately, the fuse cover won't fit. So make sure to keep the cover in a safe place for future reference. The finished product should look like this:
10) Hide your wires and put everything back together. DONE!
What is the purpose of the super capacitor? Do i need to do this step? Why cant i use the batteries?
The super capacitor is used in place of the battery to allow the dash cam to operate at extreme temperatures (i.e. heat during the summer). There have been reports of the battery exploding inside the car, so you definitely don't want to risk that. This camera was originally marketed as an action cam and not a dash cam.
The super capacitor is used in place of the battery to allow the dash cam to operate at extreme temperatures (i.e. heat during the summer). There have been reports of the battery exploding inside the car, so you definitely don't want to risk that. This camera was originally marketed as an action cam and not a dash cam.
That great info! By replacing battery with super capacitor will i lose ability to record while car is off? To protect car from theives and vandals while parked?
That great info! By replacing battery with super capacitor will i lose ability to record while car is off? To protect car from theives and vandals while parked?
Yes, you will lose the ability to record when the car is off.


 01-15-16, 06:35 PM